
To enter the actual volcano, go all the way up to the entrance and talk to the guy standing in front of the entryway, which will put you in front of the queue and inside. Agree to throw your hats into the crater, then go and talk to Palmela at the southern end of the room. Luckily for you, Palmela acts as both an inn and a church, so you can replenish HP/MP and save your game with her whenever you need. Take the stairs in the next room and then go east to find more stairs, following this long path until you come to a room with some lava (it doesn’t hurt) and a chest at the end ( Seed of Strength ).
Return to the first set of stairs and go west this time. Once again, there will be a split at a point, but the southern one leads to a dead end, so go north. Keep following this path until you get to a big room with some winding paths. The inner path leads to a chest with a Medicinal Herb inside, and the other two paths lead to the same set of stairs, although there’s another chest on the northern path with a Seed of Resilience in it.
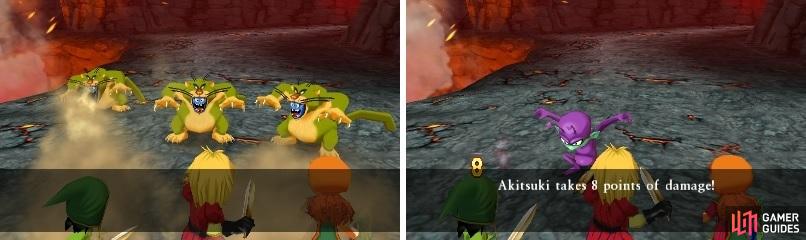
Shabby Cats can dazzle (blind) you with their sand skill (left). Little Devils are very strong enemies (right).
Take the stairs now and follow this path until you see a doorway on your map to the south, which leads to a small ledge with a chest ( Divine Dagger ). This is a slight upgrade for either the Hero or Kiefer, so go ahead and equip it on one of them. Back inside, use the stairs going up to eventually come to the room with a crater in the middle. This looks like a dead end, but if you jump into the crater, you’ll arrive on the floor below.
Fall into the next crater and stop right there, as there are two things in this room. The first is two chests in the lower left corner, containing 110 gold coins and an Antidotal Herb , while the second is a healing spot in the upper right, healing you back to full HP/MP as many times as possible. You can use this to grind a little bit, if you feel you are underleveled. When you’re ready, fall down the hole in the middle, as well as the next one, to come face-to-face with the boss.
BOSS - Glowering Inferno
As a big, giant, fire…head thingy, it should be easy to tell that fire damage won’t go over too well with this boss, so you’ll want to stick with physical attacks. You will find that the Glowering Inferno can do some decent damage, especially since it has two moves that hits all of your party members. This includes a stomp, as well as a fiery breath attack.
The former hits for around 9-10 damage to each character, with the latter dealing around 13-15 damage to each. The Glowering Inferno also has a normal physical attack that hits one character, doing about 15 damage. Lastly, it can “save its strength” to follow it up with a normal attack, dealing more damage. Maribel’s Sap works wonders to help you get that extra damage from your physical attacks (two castings should be enough). If she’s level 10, she gets Heal and can help out healer duty, in case you need more than one heal tossed out.
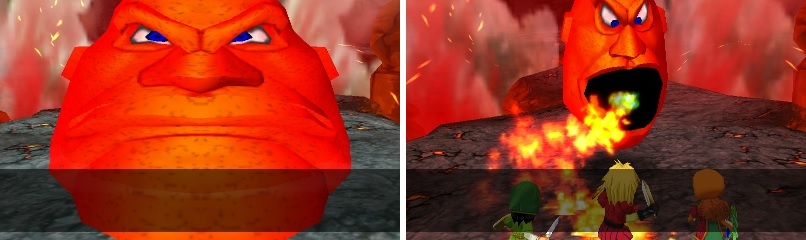
Glowering Inferno has two attacks that can hit all of your party members, so keep an eye on their health.
You receive a Blue Fragment from the giant-headed boss and the black fiery ball it was guarding rises up to the entrance, so things aren’t exactly over quite yet. Behind where the ball was is a hole that takes you to where you grabbed he first chest in the dungeon, which allows you to get back to the entrance. Talk to Palmela there and she will use her ability to locate something that will help with the ball.
If you haven’t figured it out on your own, it’s your uncle in Estard who has something you can use, so you’ll need to warp back to your own time and Zoom to Estard. Grab the item from your uncle’s house (top-right corner of the main town), but before you leave to return to Burnmont, go down the well in Estard to snag a Mini Medal (#1) . Zoom back to the shrine, teleport back to Emberdale and speak with Palmela at Burnmont to get rid of the black flames once and for all. After waking up from all of the celebrations, go to the item shop and talk to Palmela to receive a Blue Fragment as thanks for saving Emberdale.
No Comments