
| Quest Information | . |
|---|---|
| Location: | Monarch - Stellar Bay |
| How to Start: | Talk to Sanjar Nandi after completing “BOLT with His Name” |
After you complete BOLT with His Name by turning in the Bolt-52 cartridge, Sanjar will immediately continue his scheme and start this quest. Now that Sanjar has his BOLT-52 weapon - a legalistic, bureaucratic device rather than… you know, something useful - he needs a different sort of leverage. He needs evidence of some other corporation operating, illegally, on Monarch. He doesn’t know where this corporation is, which one it is, or what proof you’re looking for exactly, but he’s sure you can handle those trivial details. For a bit of direction, however, he suggests you meet with a woman named Catherine, who operates out of Fallbrook.
You can spend a great deal of effort finding the corporate presence on Monarch if you wish, but it’s all optional. If you head northwest from Fallbrook or west of Amber Heights, you’ll find what you’re looking for. The unnecessary busywork of locating the place and getting map markers will be covered under the heading “Uncovering the Corporation”, below, but if you want to skip that and just find the corporate presence on your own, skip head to “Securing Evidence”.
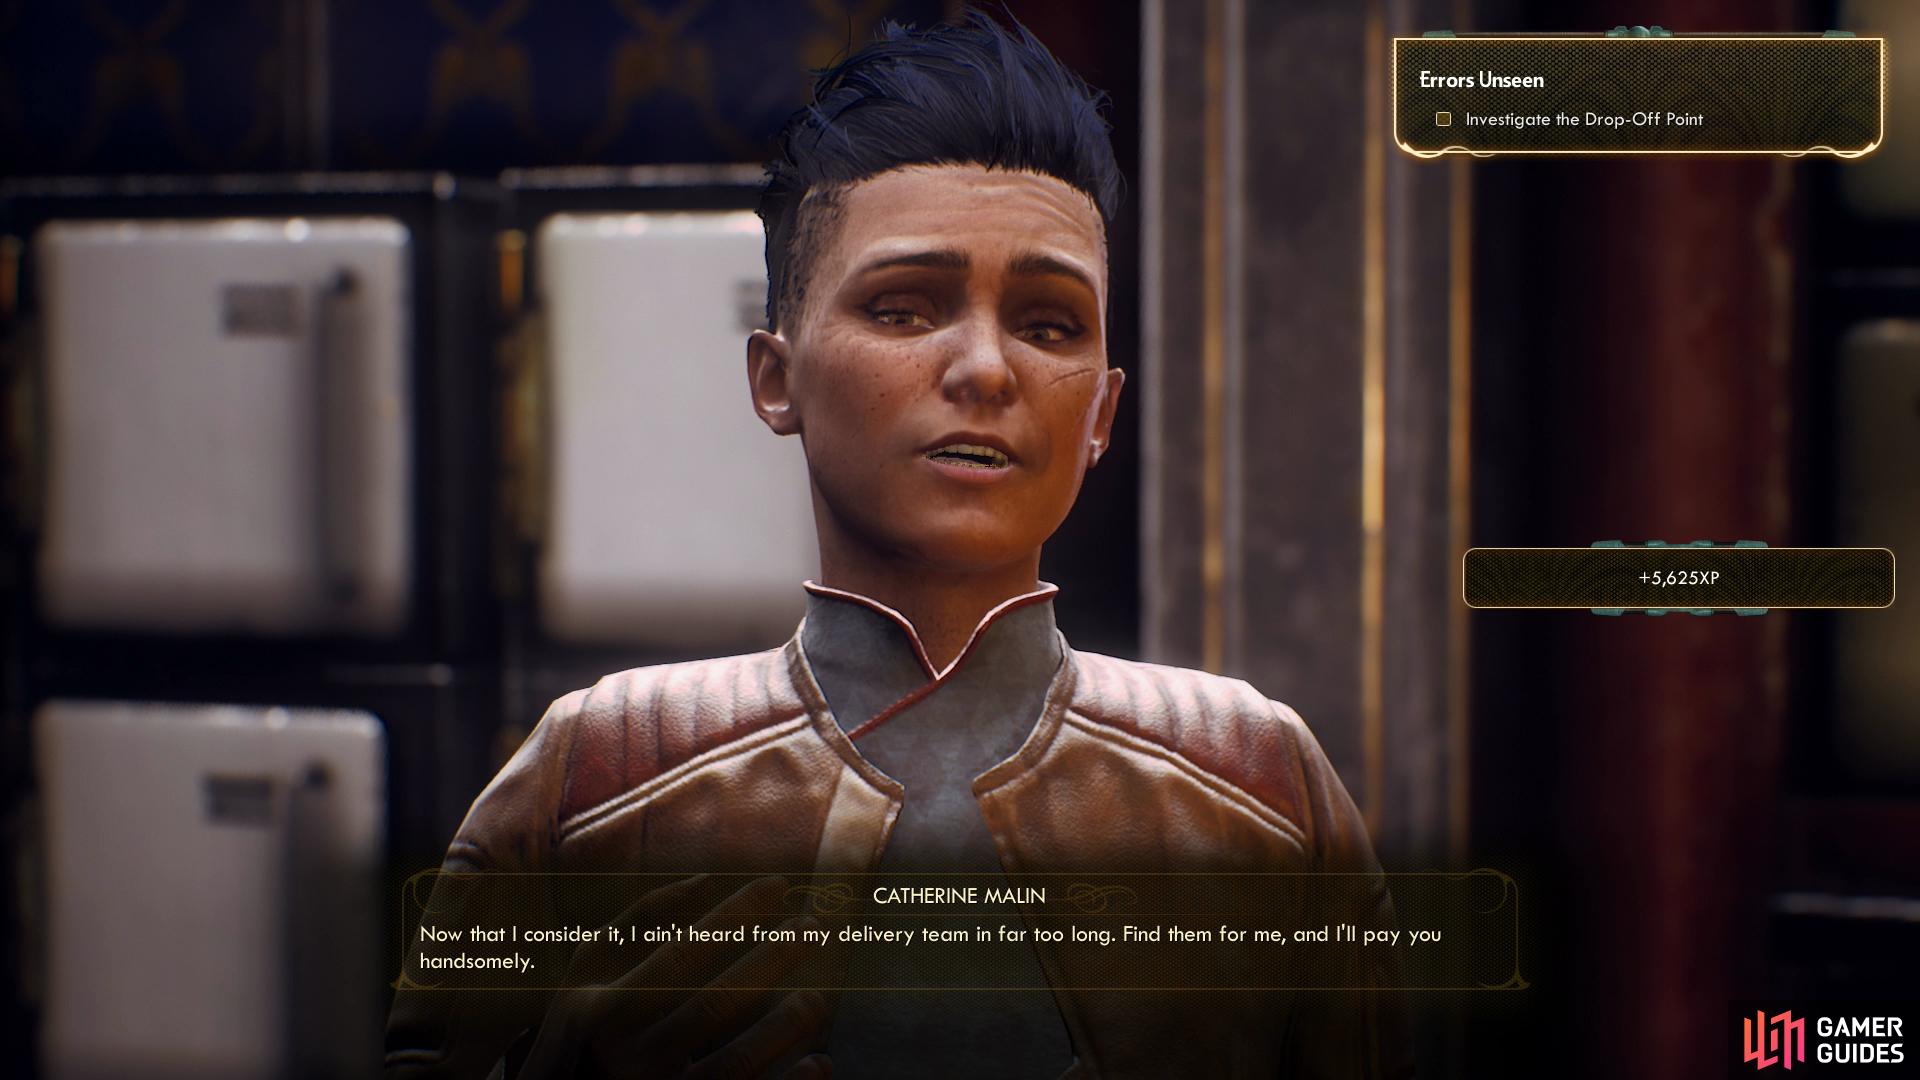
(1 of 3) Talk to Catherine to learn that her squad - which may have been making deliveries to some illicit corporation - has gone missing.
Uncovering the Corporation
Fallbrook is a good ways south of Stellar Bay, and can be found along the southeastern edge of the Monarch area map. Just follow the road south from Stellar Bay and you should reach it, eventually. Catherine herself can be found in the Malin’s House of Hospitality, which is fairly deep into Fallbrook. Enter the building and find Catherine in a side room, and when you find her say “Sanjar said you know something about a corporation operating in secret on Monarch.”, in response to which you’ll get the normal SubLight plausible deniability spiel which culminates in Catherine asking you to look for one of her teams who might have been making blind supply drops to a group that might be some corporate entity.
Now, if you can’t pass a [Lie 100] check, that’s where things will end as far as Catherine is concerned. You’ll be directed to search for Catherine’s missing men north of Fallbrook. On the other hand, if you pass a [Lie 100] check you can call Catherine out for not telling you everything and she’ll refer you to her bartenders. Talk to Westley Alexander downstairs and he’ll refer you to Yvonne Brennan upstairs, who in turn will tell you to talk to Huxley, an Iconoclast who can be found in Amber Heights.
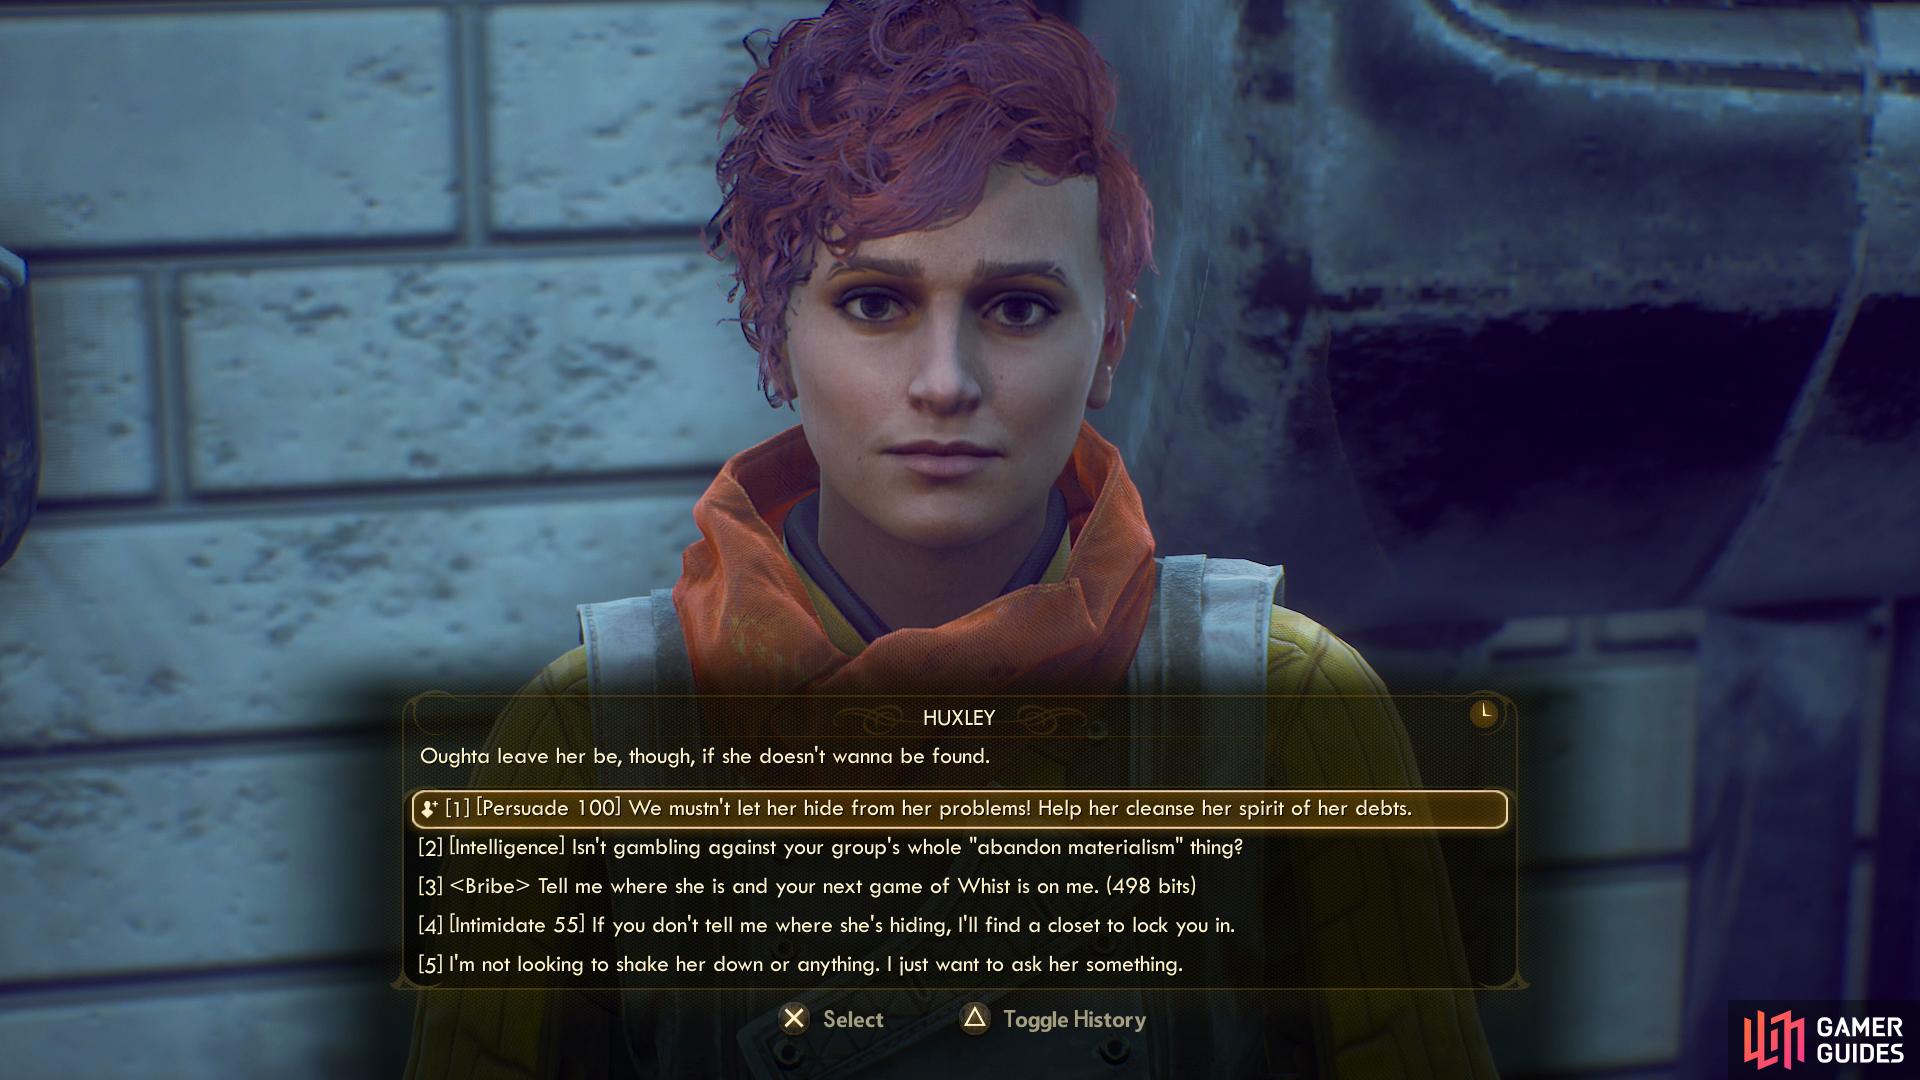
To advance this (optional) phase of the quest you’ll need to talk to Huxley in Amber Heights, which means you’ll need to have found and freed her during BOLT with His Name. Assuming you’ve done that, head to Amber Heights and ask Huxley about her friend Chastity, where you’ll get a chance to pass a [Persuade 100], [Intelligence] or [Intimidate 55] to get the information you want, or you can bribe (500~ Bits) her. For passing one of these checks or bribing her, Huxley will mark the location of her friend’s “hideaway” on your map and give you Chastity’s Hideaway Key, which opens an otherwise sealed gate to the north of the secret corporate installation. Not that you really need to bother with it, as it’s easier to reach from the south, anyways.
If you couldn’t pass the [Lie 100] check when talking to Catherine, or if you just want to be a completionist, follow the road northeast from the Fallbrook Crossroads outside of Fallbrook until you hit a group of marauders on the road. Or at least, their leftover junk, assuming you cleared them out recently. Kill them if they’re there, then veer off into the wilderness to the northwest to pass under the broken bridge above - discovering the Blown Bridge fast travel point in the process.
You should see the obvious signs of battle, including numerous corpses you can loot. Search an overturned loader to find a blood trail, then follow the trail southwest, northwest, then north to find a hatch leading to the Smuggler Tunnel area (this can be found hidden amidst some rocks northwest of the loader, if you prefer).
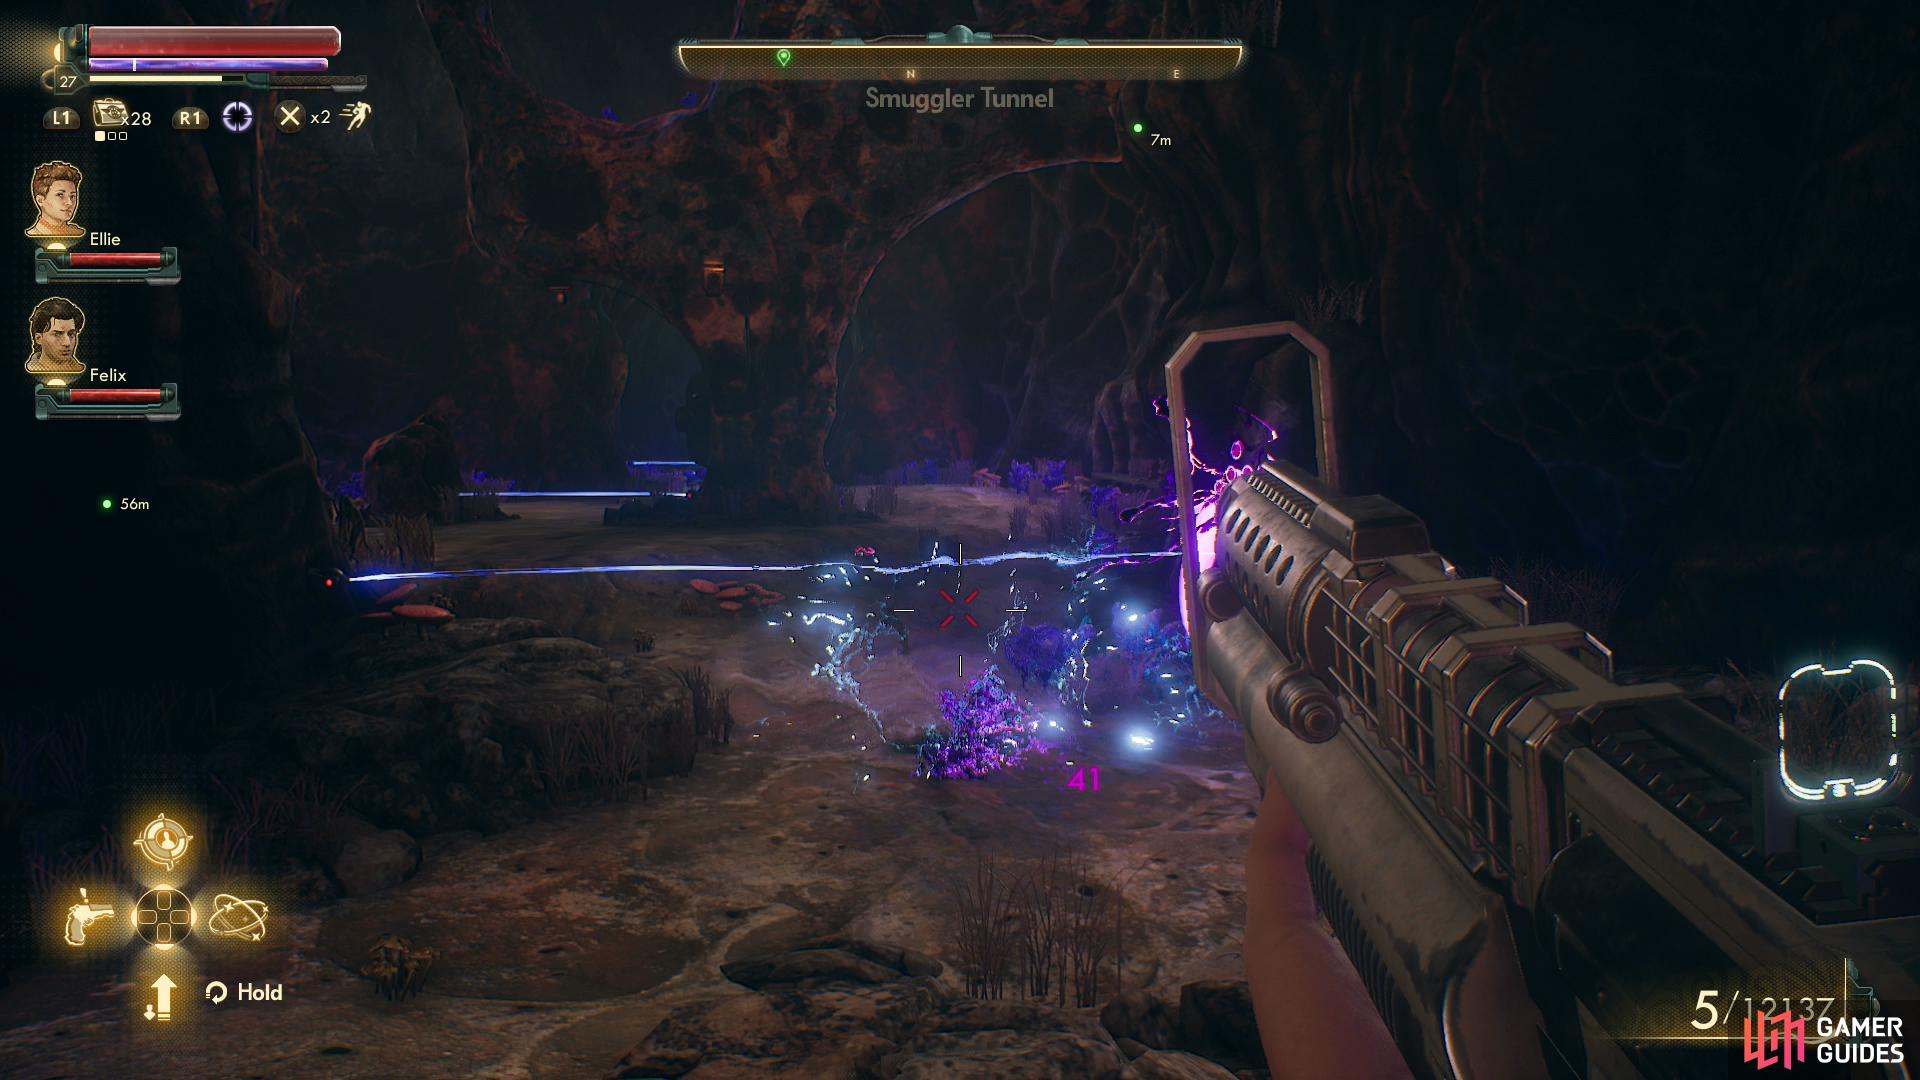
Make your way through the trap-filled cave
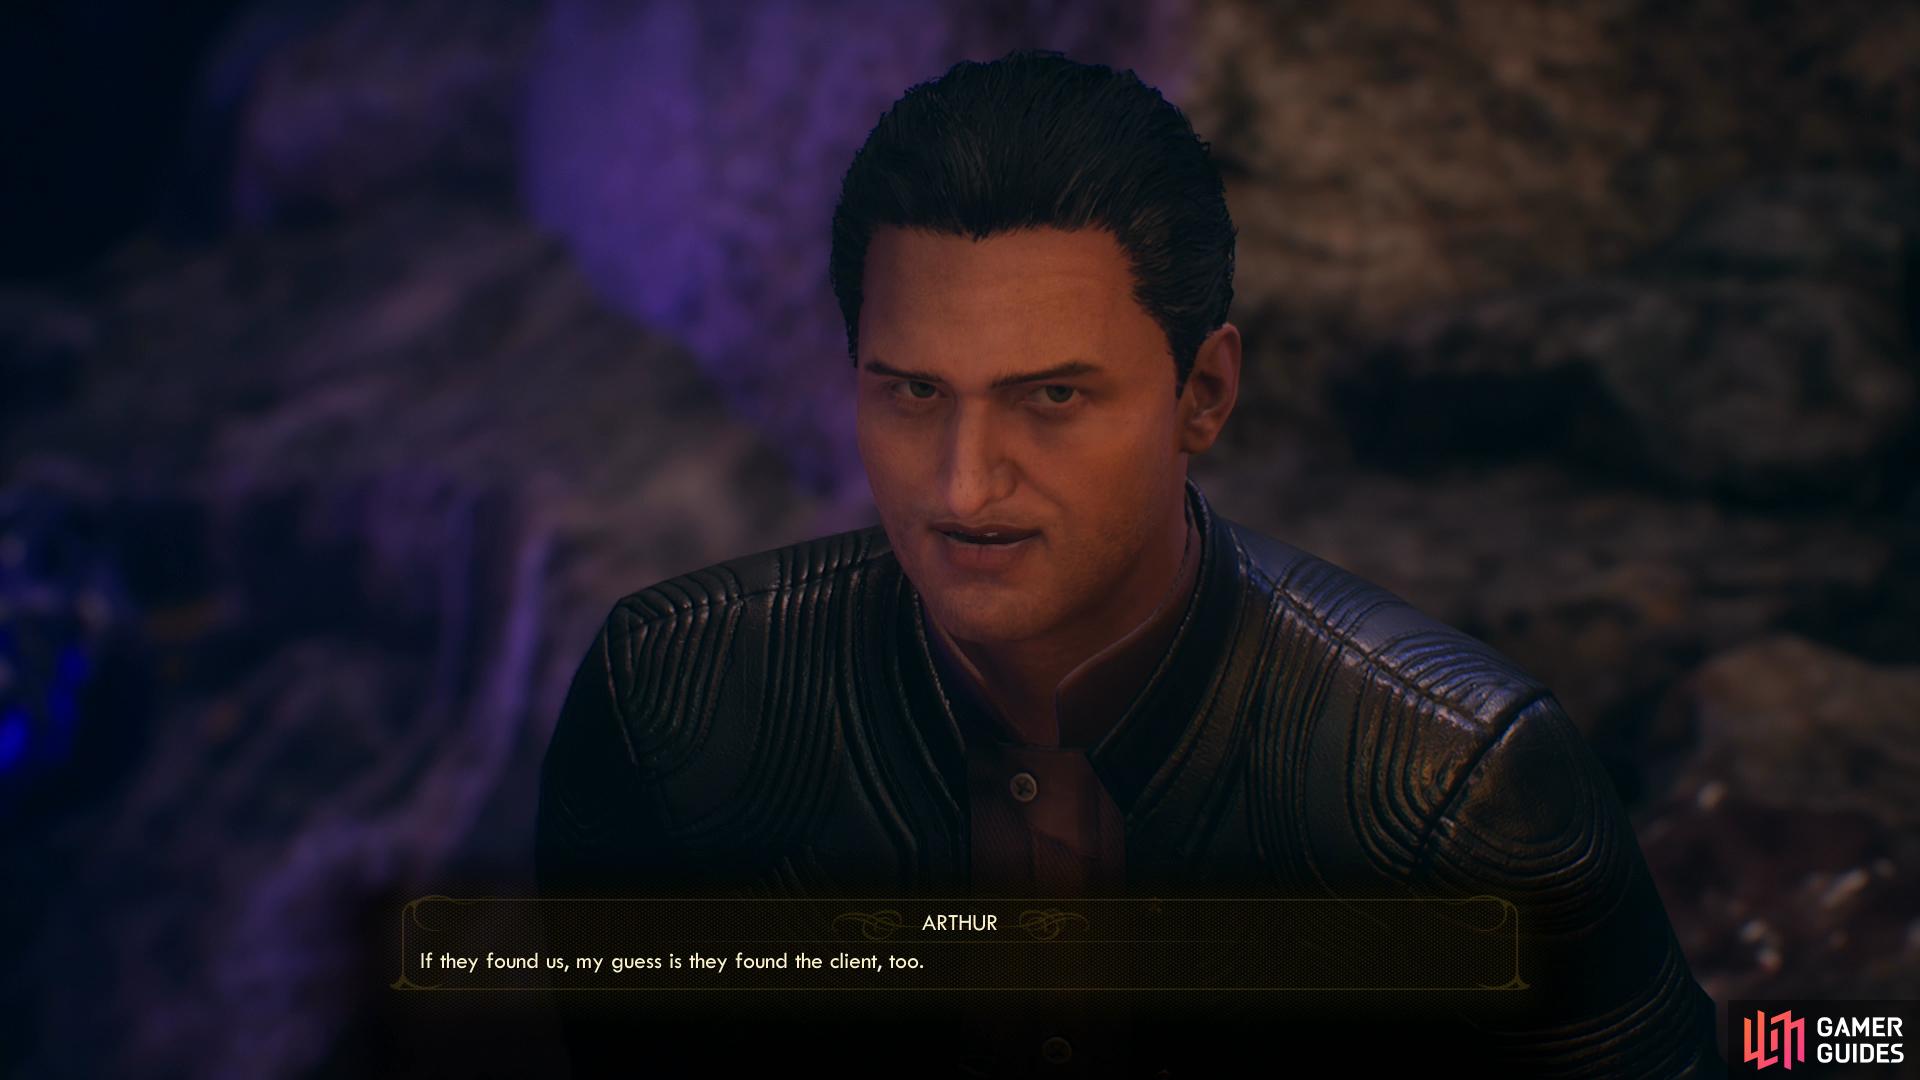
and talk to Arthur to learn the location of the corporate compound.
Enter the Smuggler Tunnel and you’ll find the place littered with traps, both laser tripwires and mines. Shoot the mines (be wary - there are an awful lot of them) and either duck under or jump over the tripwires. On the plus side, detonating some of the mines should knock out some of the tripwires. Advance through the cave until, at the end, you find a SubLight thug named Arthur. Pass an optional [Medical 40] check to patch him up and get on his good side (and earn some positive SubLight reputation), after which you can exhaust his dialogue options to learn what happened. Apparently some smarter-than-average marauders ambushed them, and if they know about the blind supply drops, they probably know about the destination, too.
Securing Evidence
Finally, whether through tracking down the missing SubLight squad, getting info from Huxley, or just stumbling upon the secret corporate installation on your own, it’s time to get the evidence Sanjar is after. As mentioned earlier, the corporate base you’re looking for is northwest of Fallbrook and west of Amber Heights, and if you talked to Arthur or Huxley you should have map markers making it easy to find.
From the Blown Bridge fast travel point (which can be found along the western-most road between Fallbrook and Amber Heights, on the ground over which a bridge once ran) head uphill to the west, northwest to reach a pond (where you can find a locked bin [Lockpick 95], turn north, northwest, kill some mantids, then turn northwest to reach the secret corporate installation - the UDL Lab. You’ll overhear a bit of chatter that confirms… well, at least two things: one, the marauders definitely know where this place is, and two, you’re not bringing any corporate workers back to Stellar Bay alive. Oh well.
There are are least three ways you can deal with this area. Simply kill all the marauders - there’s lot of tall grass, so sniping shouldn’t be remotely difficult, especially the ones on high ground, who tend to be fairly isolated. You can attempt to sneak past them (especially if you snipe some key targets), although many of the enemies are inside the northwestern-most building. Best of all, you can get rid of most of the marauders by flipping an alarm. To do this, sneak over to the northwestern-most building, find a terminal on the building’s northern corner [Hack 54], which you can access without the skill check if you obtained Chastity’s Hideaway Key from Huxley. If you can manage it, access the terminal and select the option [Activate Alarm] and wait a few moments and the marauders should vacate the premises… save for the few that tend to get hung up on the roofs/ladders.
Once the marauders have been dealt with one way or another, enter the largest, northwestern-most building in the UDL complex. To get the data you’re after, head through a door to the northeast, go up some stairs, then go through another door to the northeast and use the terminal in the small room you find yourself in and select the options [Research Data] and [Transfer Files to External Storage].
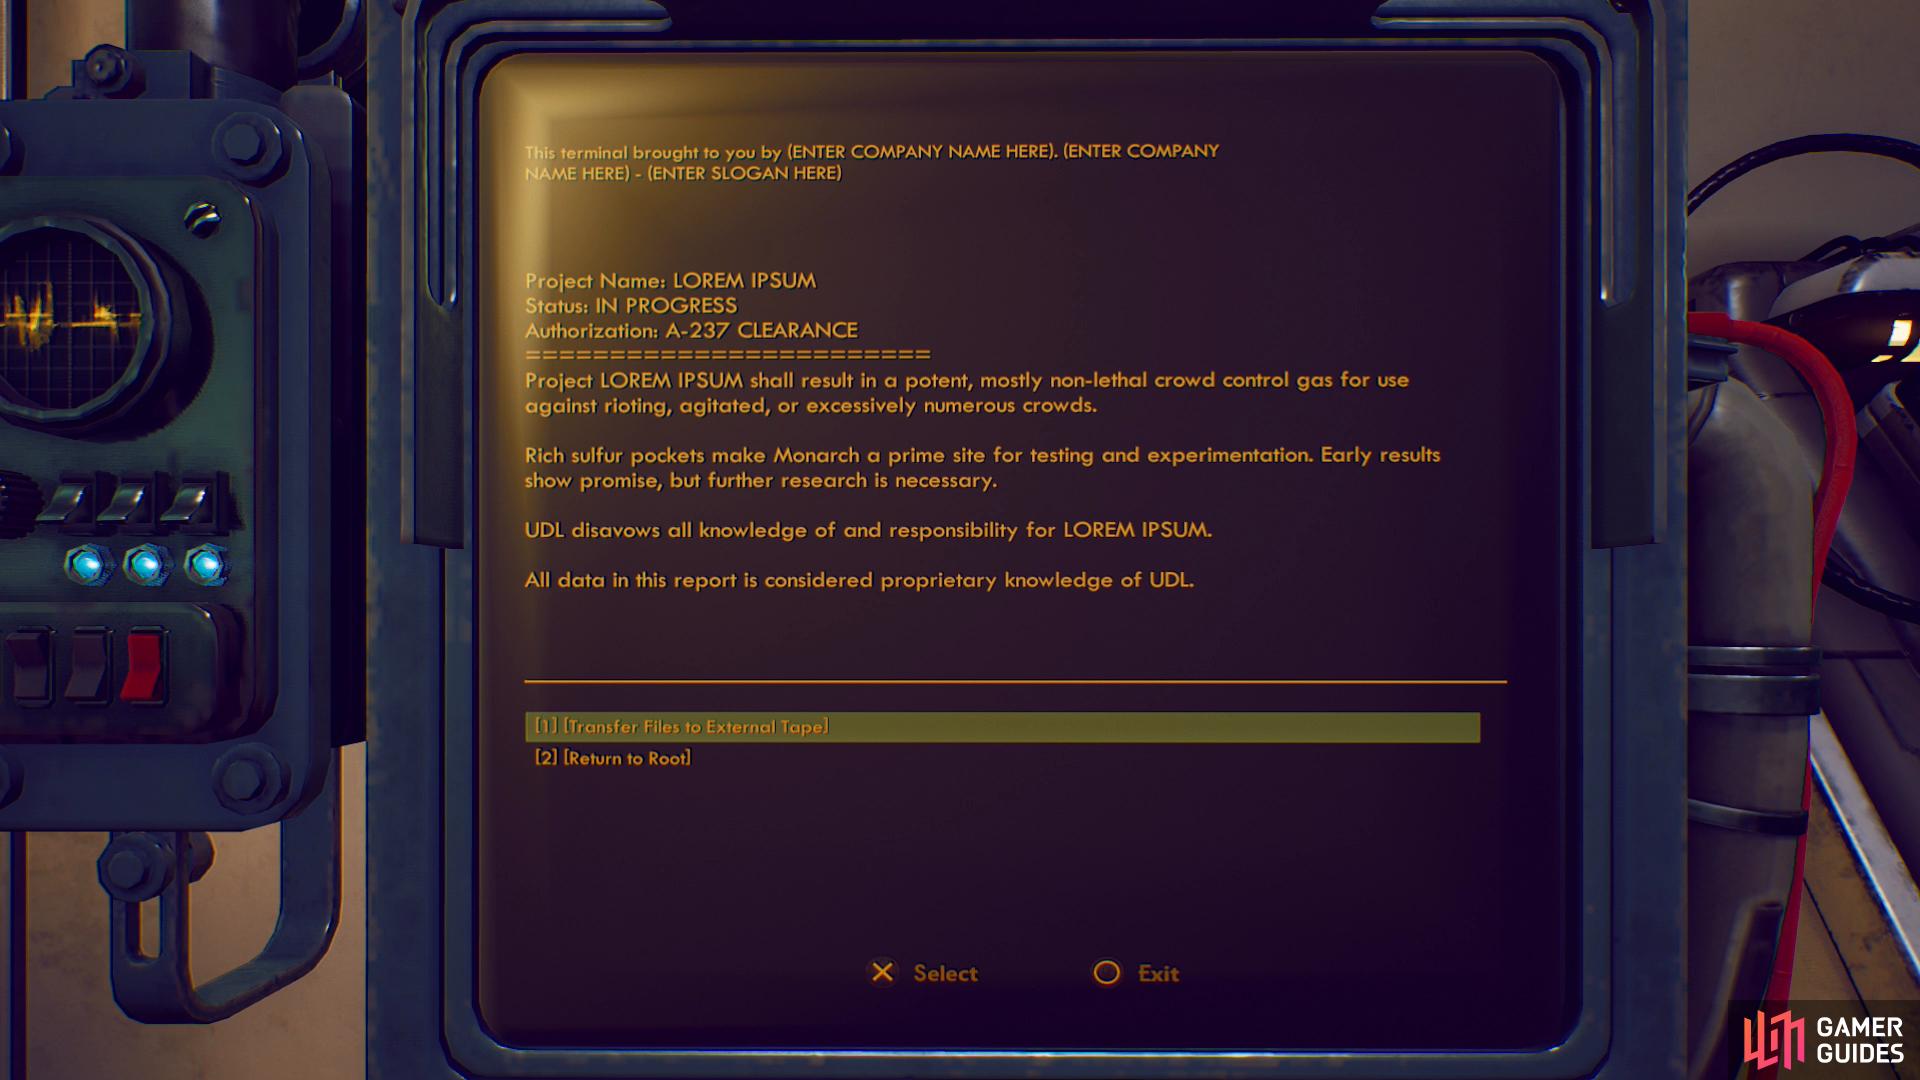
That should satisfy Sanjar, but there’s more snooping that can be done. Pick the [Alternate Project Files] option, then pass a [Hack 20] check which… just reveals some tepid workplace subversion. In the larger room to the southwest, search the tables to find a UDL Lab Weapons Terminal Keycard, with which you can bypass the security on a terminal downstairs [Hack 98]. Access said terminal and pick the option [Unlock Gloop Gun Containment Unit], after which you’ll have to either answer some questions or pass a [Hack 55] check. The correct answers are as follows:
-
Protect the Chairman.
-
Berate him relentlessly to defend the Chairman’s honor.
-
Arrest your spouse and admit your children to a reeducation program.
However you manage to get through the terminal’s security, when you do you’ll be able to open the containment unit and access the Gloop Gun, one of the game’s rare Science Weapons. Claim your prize, then loot the rest of the building.
All that’s left now is to return to Sanjar. Fast travel back, or, if you want to knock out a quest objective (there’s no real point save completionism) and open up a shortcut, continue northwest to find a sealed door, which you can open via the nearby terminal. This should put you pretty close to Stellar Bay, though you’ll likely have to fight or run past some marauders to get there.
Tell Sanjar you found the evidence he was looking for and you can investigate his proposed “reformations”, for what little it reveals. Give him the UDL data to complete this quest, earning XP, positive MSI reputation, 2,188 Bits and MSI Elite Armor. This will also convince Sanjar to stop clogging the airwaves - now that he’s got the components for his BOLT-52 scheme, he need not worry so much about advertising - potentially advancing the quests Radio Free Monarch and/or Signal Point in Space.
No Comments