
| Quest Information | . |
|---|---|
| Location: | Monarch - C3 Barracks or Devil’s Peak Caverns |
| How to Start: | Talk to Donald Anderson or Berthold Fox |
You can opt to take the “safe” route through Devil’s Peak cavern
or the “fun” route, which is marching up the mantid-infested mountain.
This task is so intertwined with Radio Free Monarch/Signal Point in Space that it’s virtually a sub objective rather than its own quest. There are numerous ways to start Mandibles of Doom, which will almost certainly be done during Radio Free Monarch/Signal Point in Space unless you go out of your way to avoid it. When you reach the Forlorn Crossroad fast travel point (which is southwest of Fallbrook) you can head uphill to the north past the Abandoned Relay Station. Following this mountain path north and west to reach the eastern approach to Devil’s Peak is just about the only way to go about Radio Free Monarch/Signal Point in Space without coming across this quest in some way.
If you follow the more conventional routes by heading south and west across a bridge you’ll be told by Nyoka there are two ways to reach Devil’s Peak from here (for an expert hunter, she sure didn’t seem to know about the Forlorn Crossroad route). There’s the “fun” way, which requires you to head west a bit further, then go up a winding, mantid-infested slope to the north or the “safe” way, which involves you following the river north from the bridge to find the Devil’s Peak caverns, which is also infested with mantids.
Both these routes will be covered for this quest.

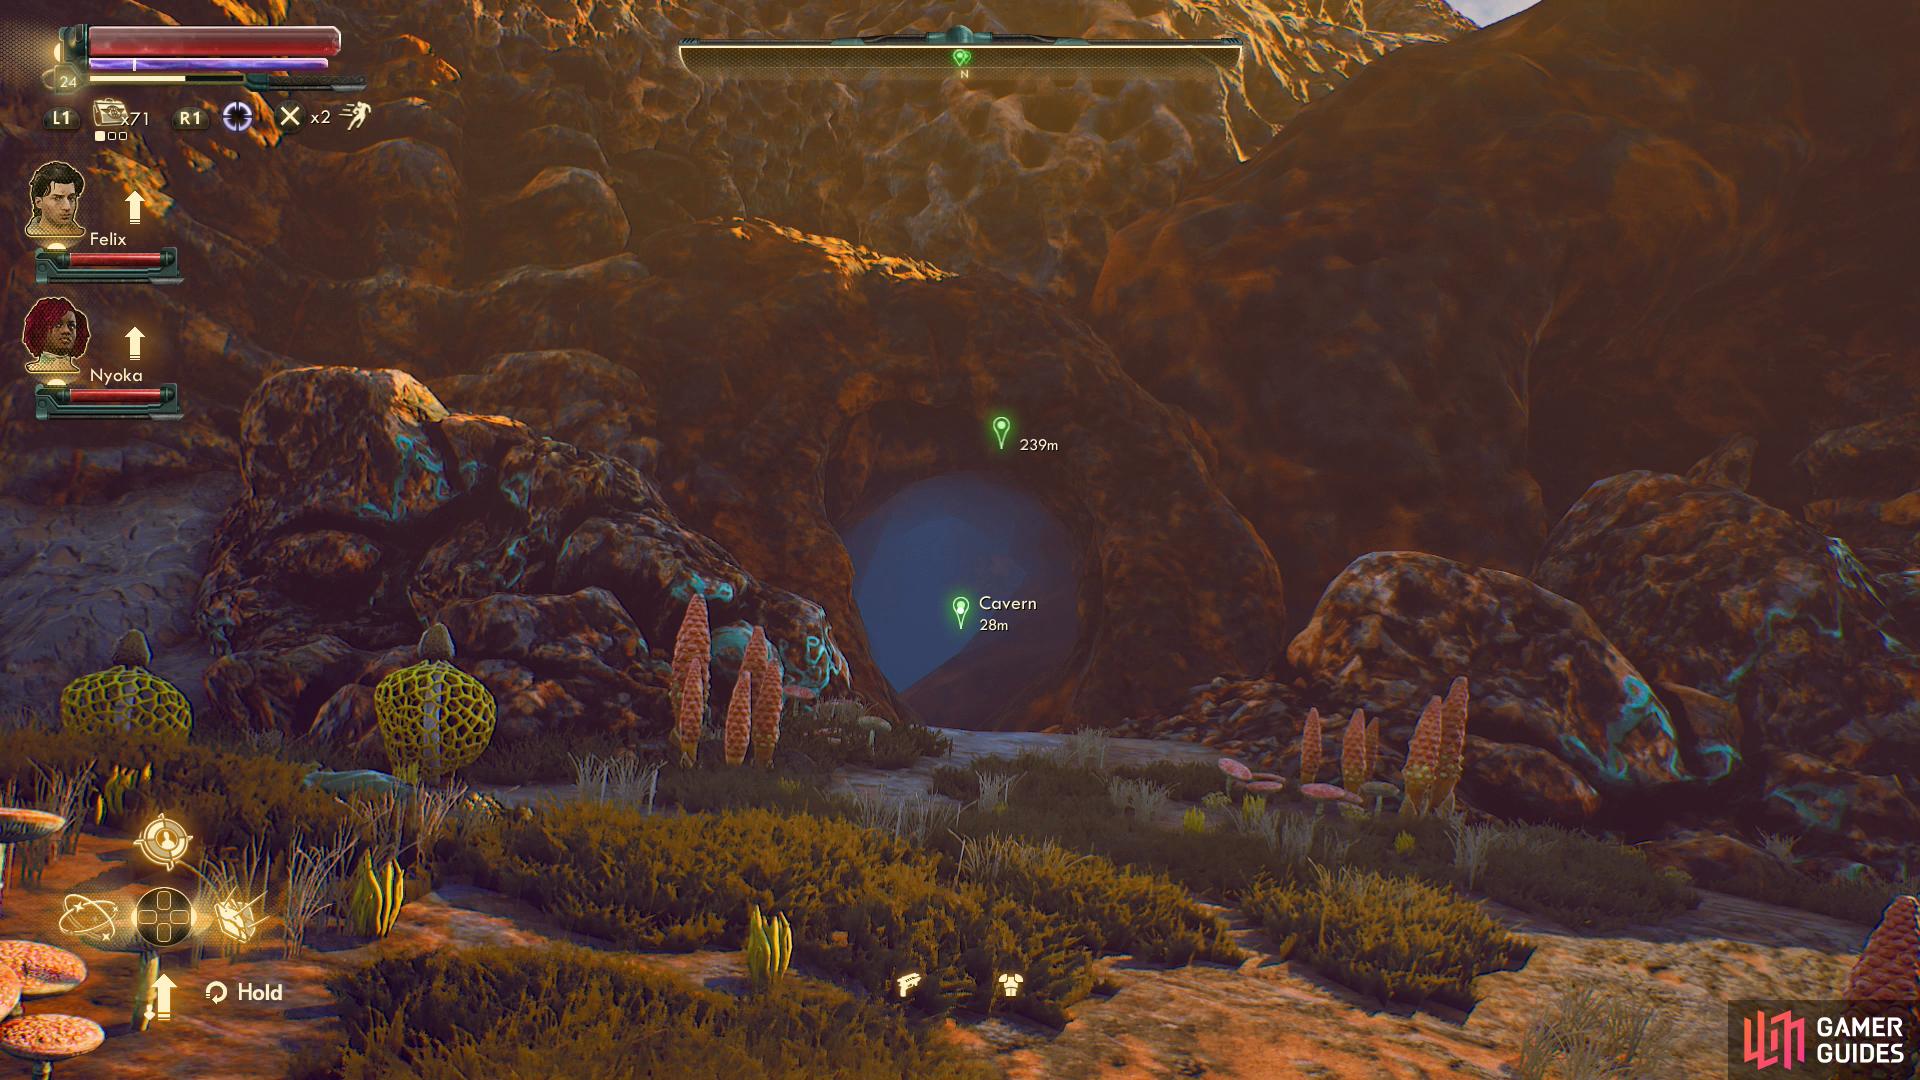
Through the Devil’s Peak Caverns
From the Forlorn Crossroads head south and west past the Abandoned Safehouse to reach a river. Cross the bridge and follow the river northwest to find the Devil’s Peak Caverns. Enter and make your way north, then northwest until you hit a larger chamber. Look northwest to spot an arch and Nyoka will detail your next steps well: head under the arch and turn left (south) and work your way uphill while turning 180 degrees until you’re facing north and cross over the arch you just went under, which now serves as a fine bridge. Naturally you’ll need to be wary of mantids as you go, but they shouldn’t be too hard to sneak past.
Once over the bridge head northeast a bit until you find a passage to the north you can head through. Do so and follow the winding route beyond until you find yourself in a chamber dominated by a Mega Mantiqueen. Yikes. On a ledge overlooking the chamber (to the west) you’ll spot Berthold Fox, and once again, Nyoka will comment on the bug and Berthold, while Berthold, for his part, will encourage you to kill the mantiqueen if you get close enough. This will finally start the task Mandibles of Doom.
Kill the Mega Mantiqueen, after which Berthold Fox will jump down and thank you… kind of. He does, however, offer to repay his debt to you, just as soon as you meet him at the C3 Barracks. To this end, exit the mantiqueen chamber via a passage to the south, then follow a walkway southwest and south to find the exit, which is up another passage to the west.
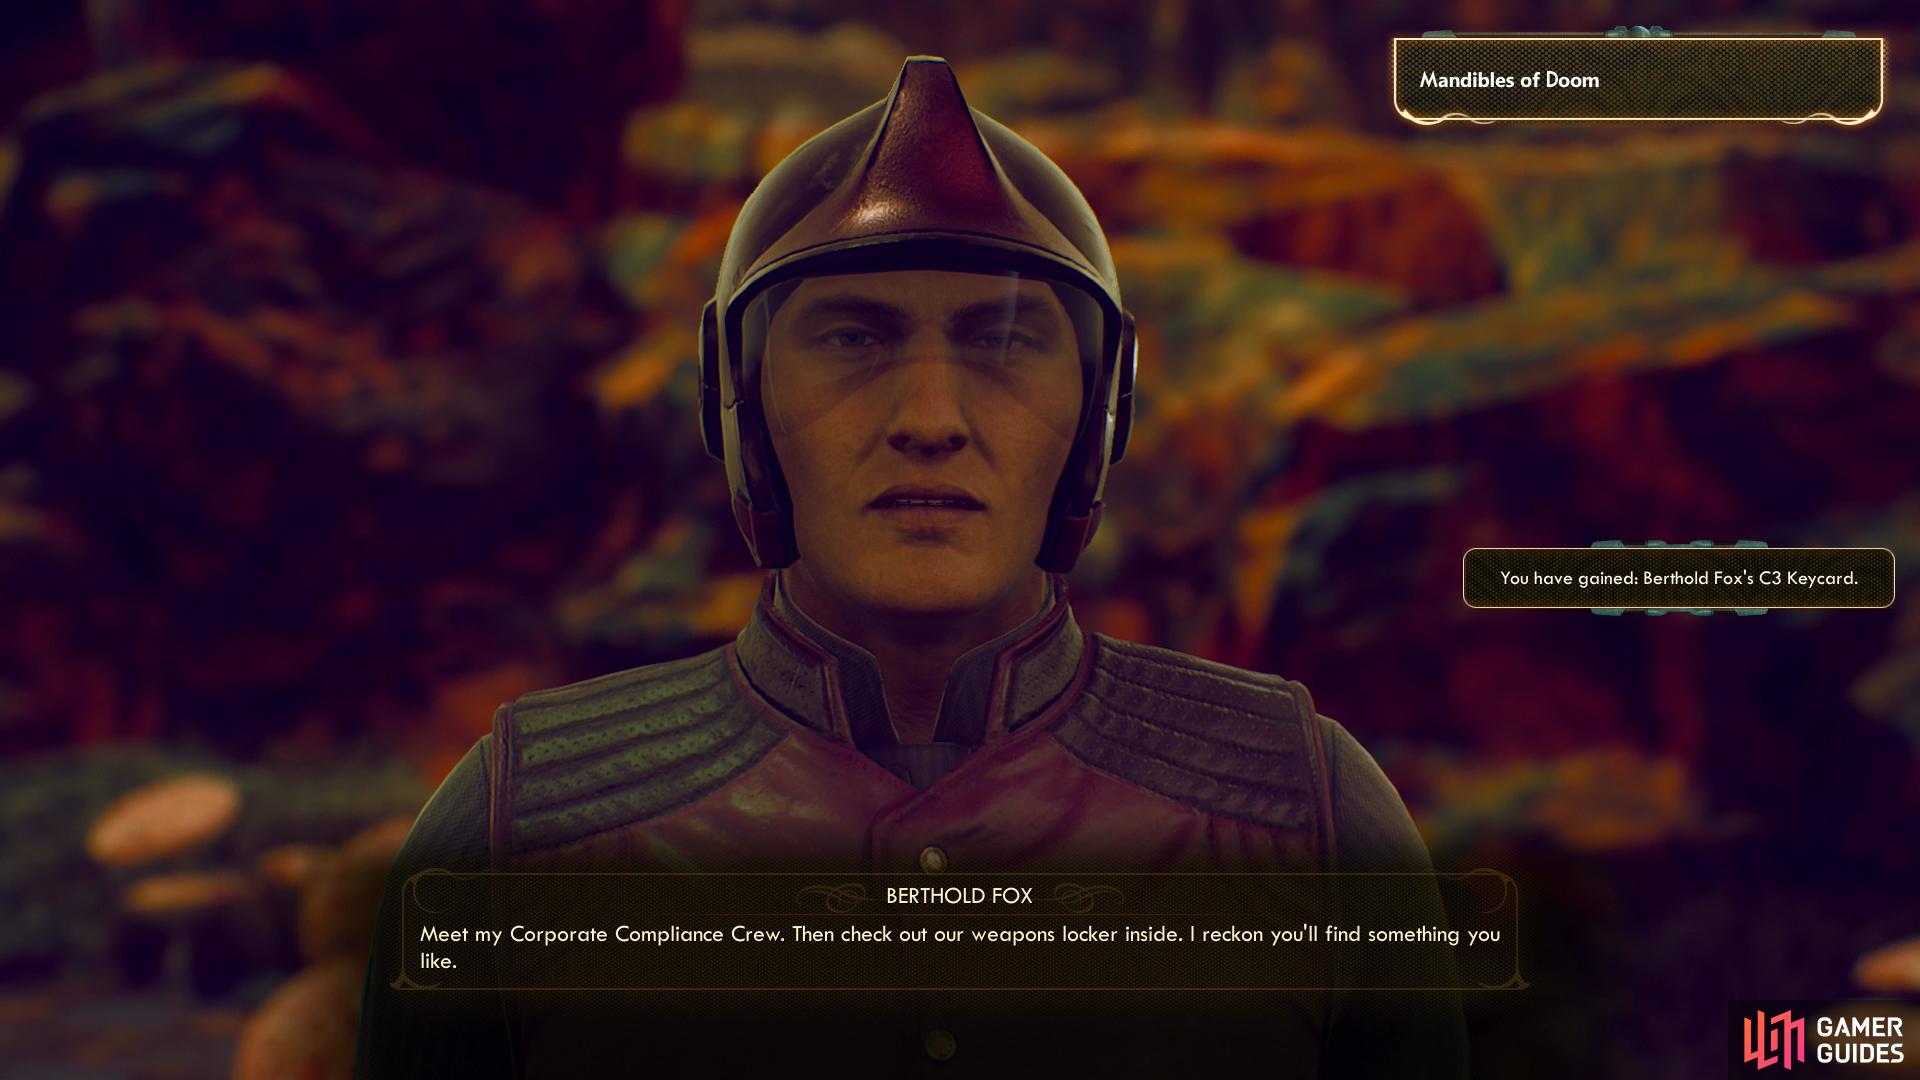
(1 of 3) Talk to Berthold near the C3 Barracks and he’ll prove to be a man of his word.
Once back outside head northeast a few steps and turn north to spot the Devil’s Peak broadcast station. If you approach you’ll be hailed by a mercenary named Joy Voivode, who will tell you that some marauders have taken over the station, but due to contractual nonsense she’s not inclined to do anything strictly outside of what she’s obligated to do. She will, however, refer you to the rest of her squad, which can be found at the C3 Barracks, which is downhill and to the east of where you exited the cave. This is where you’ll rendezvous with Berthold Fox, who will give you Berthold Fox’s C3 Keycard, which technically ends this quest.
Still, we’d be remiss in not pointing out some loot and options for the quests Radio Free Monarch/Signal Point in Space that are now at your disposal. Head into the C3 building and search a counter to the north to find Thunder, an assault rifle with the Mag-2-Zap mod installed. Since you’ve made friends with the C3 mercenaries, nothing in here should be stealing, and since you have Berthold Fox’s C3 Keycard you can freely open various bins and lockers to the east.
Finally, talk to Berthold and ask about why they’re guarding the station, then say “I’ll call it even if you help me wipe out the marauders in the broadcast station.” and they’ll decide to help you clear out the interior. A dead client isn’t a paying client, after all. As for the marauders around the exterior of the station, head north from where you exited the cavern to find Joy Voivode, who - along with her automechanicals and companion Hudson - will help you deal with the aforementioned marauders.

(1 of 3) If you go up the slope and reach the C3 Barracks without going through the caverns and meeting Berthold, you can get this quest by talking to Donald.
Up the Slope
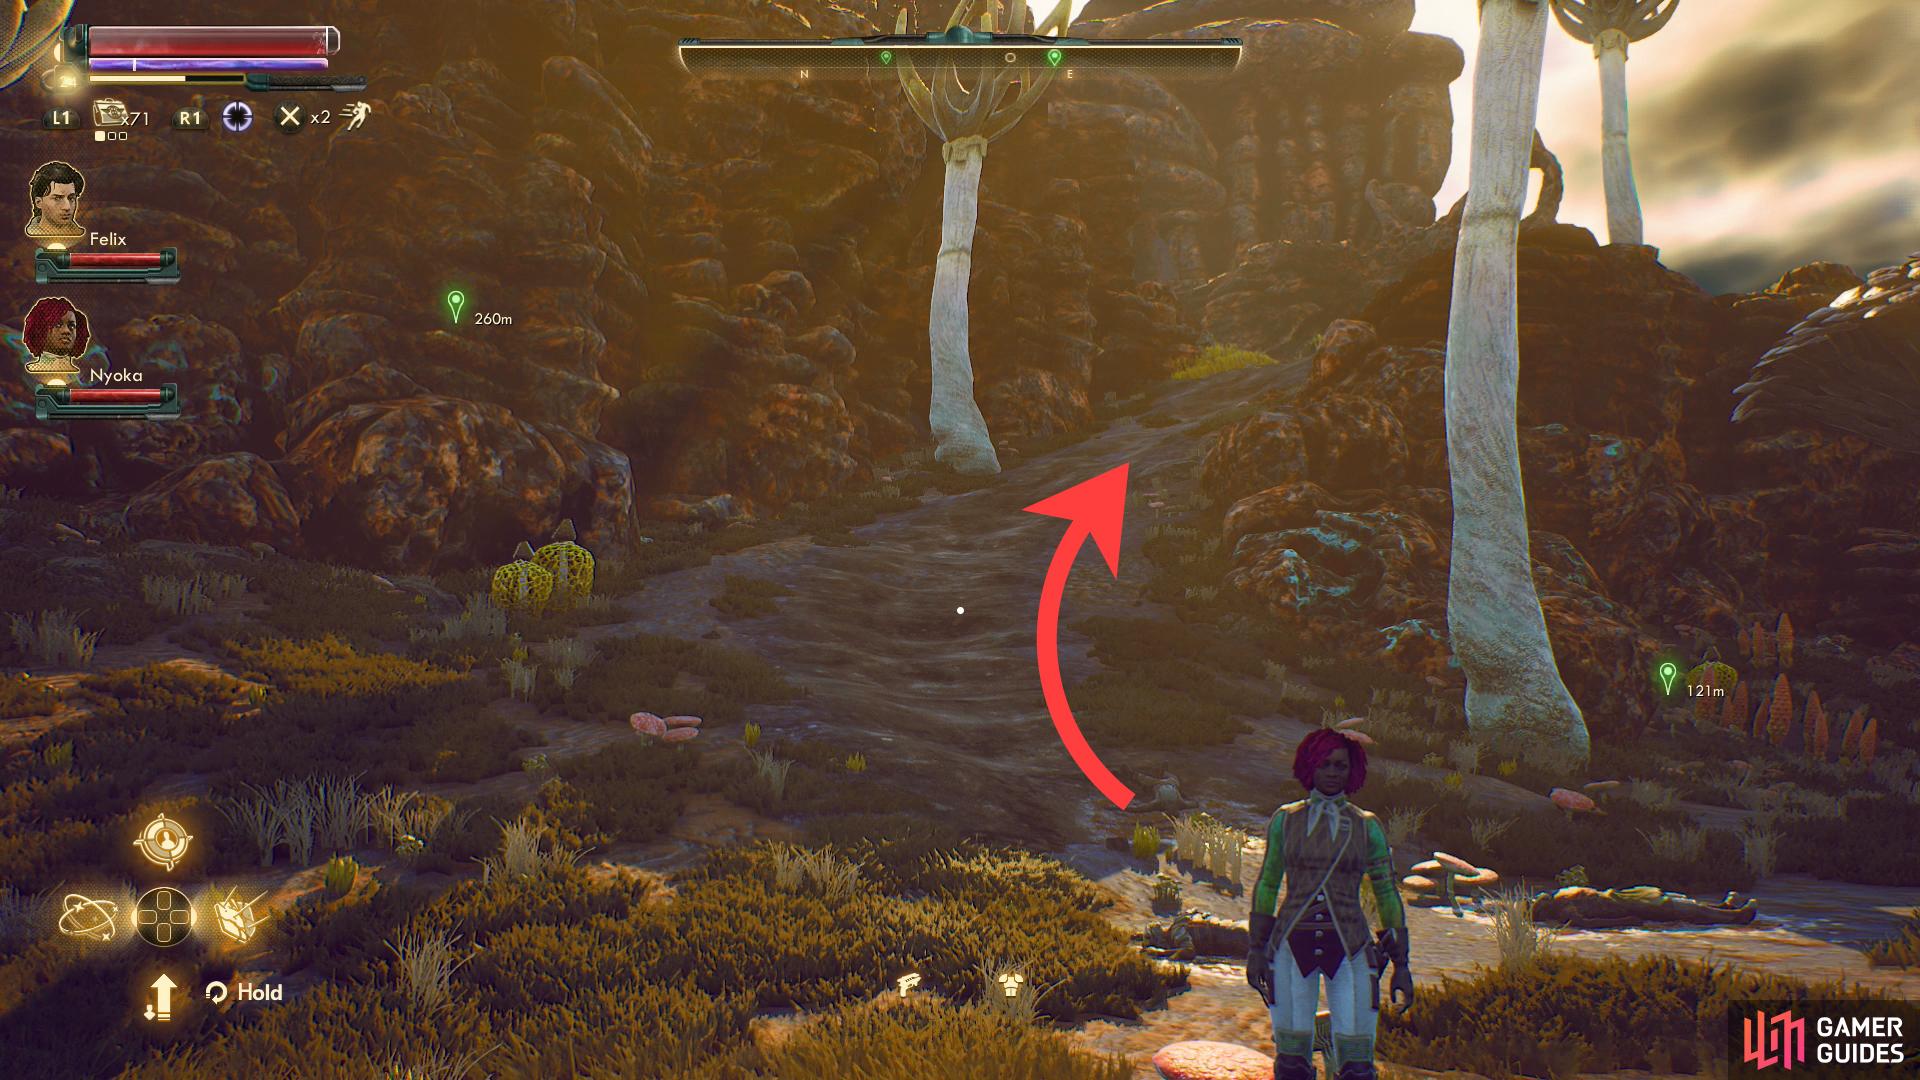
On the other hand, if you choose the “fun” path… well, fun in this case just means following the road from the bridge northwest until you find the mantid-ridden slope that’ll take you to the summit. Just follow the mantids along the switchbacks as you ascend - apparently Nyoka’s idea of “fun” is just a bug hunt. You probably won’t be sneaking past these mantids, but running past them shouldn’t be too hard. Eventually the path will fork and you can turn north to find the Devil’s Peak station (and Joy Voivode, who won’t engage until you deal with her fellow C3 mercenaries) or continue downhill to the east to find the C3 Barracks, where you’ll have to chat with Donald Anderson, rather than the absent Berthold Fox.
Talking to Anderson - with frequent interjections by Lance - will reveal why Berthold is the leader. These two just aren’t bright enough for the task. If you say “That’s right. I did.” and follow up with “Trying that would be a mistake.” will result in violence, so avoid that if you want to resolve this quest. Improbably enough, if you actually went through the caves and avoided messing with Berthold and his mantiqueen pal you can pick [Lie 35] for some extra XP. In any event, so long as you don’t provoke them you can wade through their dialogue and get them to calm down with a small bribe (635 Bits) or a [Persuade 20] check.
After this you can say *“Make me an honorary C3, and I’ll look for him.” to start the quest Mandibles of Doom, where you’ll be charged with going into the caves and rescuing Berthold, or you can say “Forget about Berthold. We’ve got to clear out the station.”, then pass a [Persuade 55], [Lie 20] or [Intimidate 55] check to get them to help you clear the marauders out of Devil’s Peak. If you enlist the C3 mercenaries without rescuing Berthold, however, you’ll miss or botch Mandibles of Doom.
Head uphill to the west and enter the cave, then follow a walkway to the east and northeast, then go through a passage to the north to reach a chamber occupied by a Mega Mantiqueen. You’ll also spot Berthold Fox on a ledge overlooking the chamber, who will encourage you to kill the mantiqueen if you get close enough.
Kill the Mega Mantiqueen, after which Berthold Fox will jump down and thank you… kind of. He does, however, offer to repay his debt to you, just as soon as you meet him at the C3 Barracks. Return there and talk to Berthold and he’ll give you Berthold Fox’s C3 Keycard, which technically ends this quest. There is, however, some loot and assistance you can gain for helping the C3 mercenaries.
First the loot. Enter the C3 building and search a counter to the north to find Thunder, an assault rifle with the Mag-2-Zap mod installed. Since you’ve made friends with the C3 mercenaries, nothing in here should be stealing, and since you have Berthold Fox’s C3 Keycard you can freely open various bins and lockers to the east.
Finally, the assistance. Talk to Berthold and ask about why they’re guarding the station, then say “I’ll call it even if you help me wipe out the marauders in the broadcast station.” and they’ll decide to help you clear out the interior. A dead client isn’t a paying client, after all. As for the marauders around the exterior of the station, head north from where you exited the cavern to find Joy Voivode, who - along with her automechanicals and companion Hudson - will help you deal with the aforementioned marauders.
No Comments