
| Quest Information | . |
|---|---|
| Location: | Monarch - Devil’s Peak Station |
| How to Start: | Talk to the Information Broker during “Radio Free Monarch” or “Signal Point in Space” after completing “BOLT with His Name”, “Errors Unseen”, “The Commuter” and “Pay for the Printer” |
This quest will start near the end of Radio Free Monarch and/or Signal Point in Space. Complete the quests MSI quests BOLT with His Name and Errors Unseen and the Iconoclast quests The Commuter and Pay for the Printer (and optionally Sucker Bait) then return to Hiram to advance Radio Free Monarch and/or Signal Point in Space. After talking to Hiram head outside and flip the switch on the console outside to jumpstart the tower.
After performing this trivial task you’ll witness a flaming UDL gunship careen out of the skies, which compromises the entire balance of power on Monarch. The crashed gunship has… well, guns, and whomever secures its armaments will be the undisputed master of Monarch. Sanjar and Graham (assuming you left them alive) are keenly aware of this, and they’ll contact you via the Devil’s Peak station to ask you to get the ship’s targeting module for them - the guns they’ll manage to salvage on their own, but without the targeting module they’re just paperweights.
Looks like you get to play kingmaker.
Securing the Targeting Module
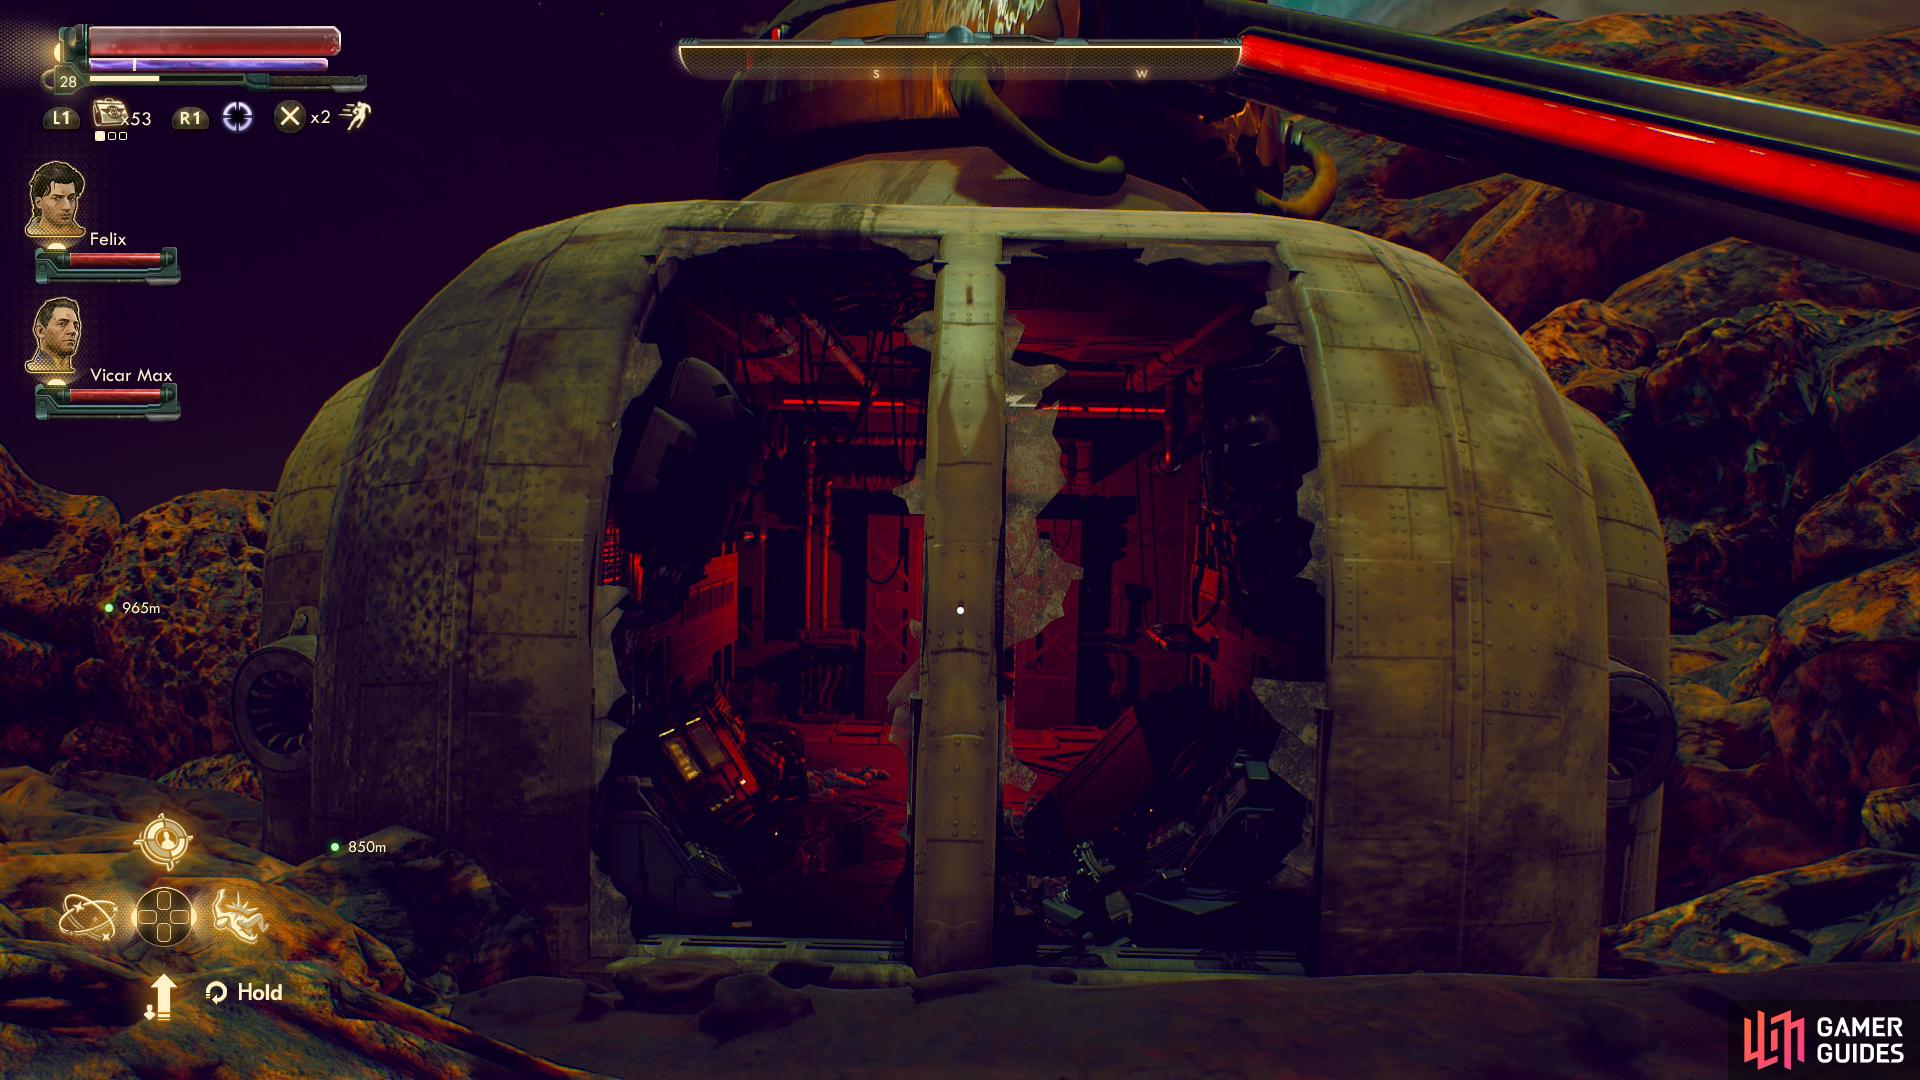
First, however, you’ll need to acquire the targeting module, and this is no small feat given where the gunship crashed. You’ll find the UDL shipwreck at the southwestern edge of the Sulfur Pits area, which is an open area between the Terra One Publications building and Cascadia. Even if you landed at Cascadia and cleared it earlier, many of the enemies have probably respawned, so expect to fight your way through raptidons and mantids whether you head northeast from Cascadia or southwest from Terra One Publications.
Fight your way to the gunship and enter the vessel, looting some corporate corpses as you work your way into the interior. Interact with a terminal and pick the option [Eject Captain Matsu’s Command Key]. Once you have said key, go through a doorway to the southwest, climb a ladder, go through another door, then approach the targeting module, which is locked away. Press two switches to open up the containment unit, then grab the Targeting Module.
Monarch’s crown is in your hands, you just need a noble brow to place it on. Or, well, the best of various bad alternatives.
There are three ways to resolve this quest - give the targeting module to Sanjar (see the header “Siding with MSI”, below), give the targeting module to Graham (see the header “Siding with the Iconoclasts”, below), or try to negotiate a truce between MSI and the Iconoclasts (see the header “Negotiating a Truce”, below). Both sides are keenly aware of the power the other will gain by securing these weapons, and if you don’t negotiate a truce between them you’ll have to exterminate the side you do not give the targeting module to. The only way you can bring the two sides to the negotiating table is if you completed the quest Sucker Bait and ousted Graham in favor of Zora - if Graham is still in charge of the Iconoclasts, no truce is possible. Also, you must have read Sanjar’s review on the terminal in the ARMS building during the quest BOLT with His Name. Make what decision you wish with what options you have available.
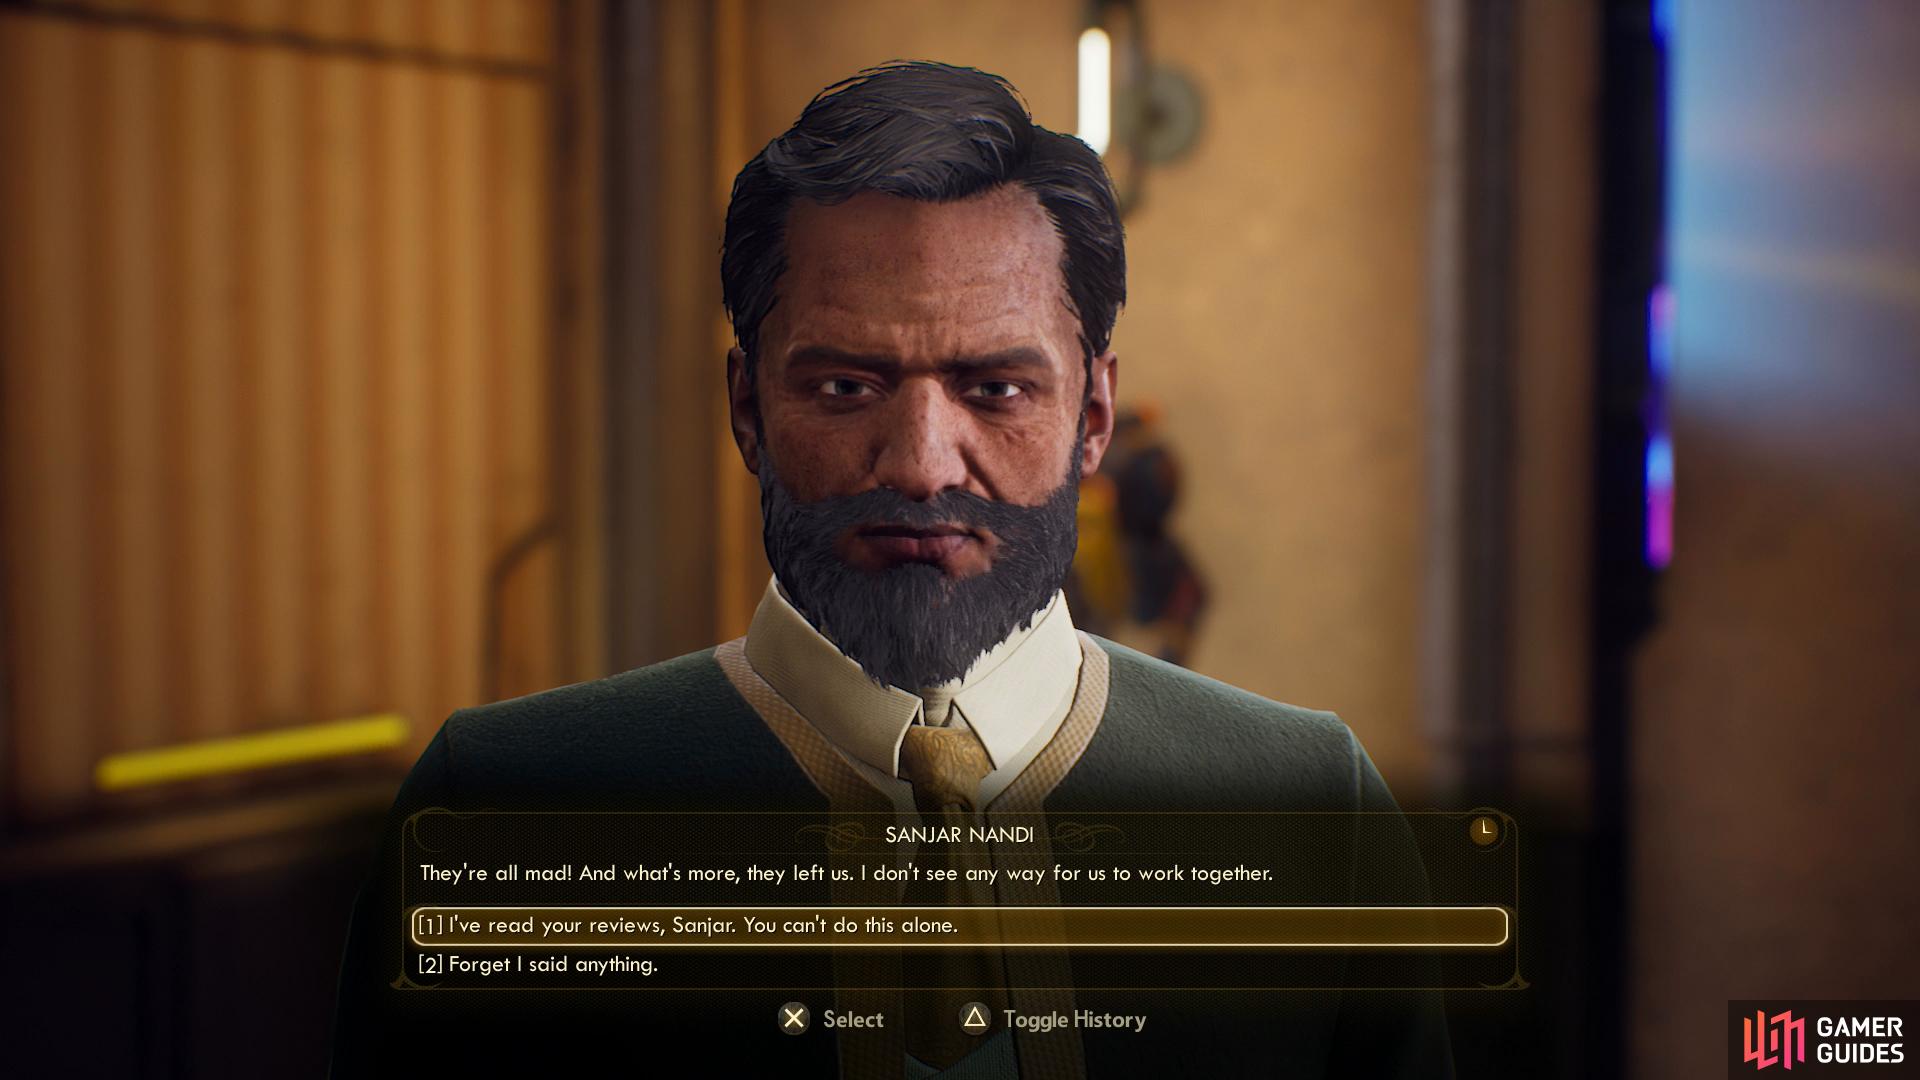
(1 of 3) As long as Graham is in charge of the Iconoclasts, Sanjar will not negotiate.
Siding with MSI
If you get the targeting module to Sanjar you’ll side with MSI, and once it’s in his hands he’ll inform you that the Iconoclasts are not going to accept this development idly. This is no exaggeration, either, as Iconoclasts have indeed massed in the ruins outside of Stellar Bay, and Celia makes a good argument for why, exactly, this is your problem as well as MSI’s.
Agree to help and head out the southwestern gate to reach the ruins to the west of Stellar Bay. What follows is a lengthy bit of combat, although compared to the Iconoclast’s battle against MSI in the alternative route, the battlefield you’ll fight across is much smaller, although the enemy are stronger and more densely packed, and your allies are considerably weaker. Iconoclasts tend to have heavier armor, so bring corrosive or n-ray weapons (in the case of the latter, be wary, as the area of effect damage can provoke any MSI allies caught in it).
Fight your way west through the ruins, past the ARMS building, then across the bridge to the southeast, where you’ll reach the southern ruins. Here you’ll need to fight your way east through another mass of Iconoclasts to reach their leaders - Graham and/or Zora - who are holed up in the abandoned church. Be wary of Iconoclast Revolutionaries, as they have heavy weapons and can mulch you fairly quickly if they get close, and you can expect at least one of them to be holed up in the church with Graham/Zora. Provoking the foes in the church, luring them to the entrance, then letting loose with n-ray infused bullets when they’re all grouped up is a fine tactic that quickly and relatively painlessly secured us victory, even on the hardest difficulties.
After you’re done massacring Iconoclasts, return to Sanjar who is naturally quite happy about your - “their” - accomplishments. He’ll promise good things for the future for Halcyon, after which you’ll gain XP, 2,188 Bits and the MSI Saltuna Searer, a unique flamethrower.

Siding with the Iconoclasts
You can side with the Iconoclasts by taking the targeting module to Graham, once it’s in his possession, war with Stellar Bay is inevitable, as the Iconoclasts aim to take the town over and secure it against the Board’s inevitable response to developments on Monarch. Or at least, Graham seems to think his petty alterations of media will prompt this kind of response.
What follows is one of the longest prolonged, unavoidable bits of combat in the game, as you’ll have to head on foot from Amber Heights to Stellar Bay’s northwestern gate. This basically boils down to following the road and assisting the Iconoclasts as they engage isolated groups of MSI troopers - fights that heavily favor the Iconoclasts already. In fact, most of these fights can probably be won without your help, if you’re inclined to be lazy. Just be wary of MSI technicians, as the plasma launchers they use can deal hefty damage. When you reach the ruins south of Stellar Bay the quality and density of enemies will pick up a bit, and you should keep in mind that all encounters aren’t equal inasmuch as you won’t always have consistent amounts support from the Iconoclasts.
Fight your way west through the southern ruins, northwest across a bridge, then northeast to the bridge leading to Stellar Bay. Sanjar himself will be one of the last foes you face and… well, it shouldn’t be much of a surprise that he’s not that powerful of a foe. Put Sanjar down, then return to Graham to complete this quest, earning you XP, 2,188 Bits and The Good Word, a unique light machinegun with the Mag-Num mod.
Stellar Bay, indeed all of Monarch now belongs to the Iconoclasts, although despite Sanjar’s absence and Graham and/or Zora’s relocation to the MSI building, not much will change around Stellar Bay.
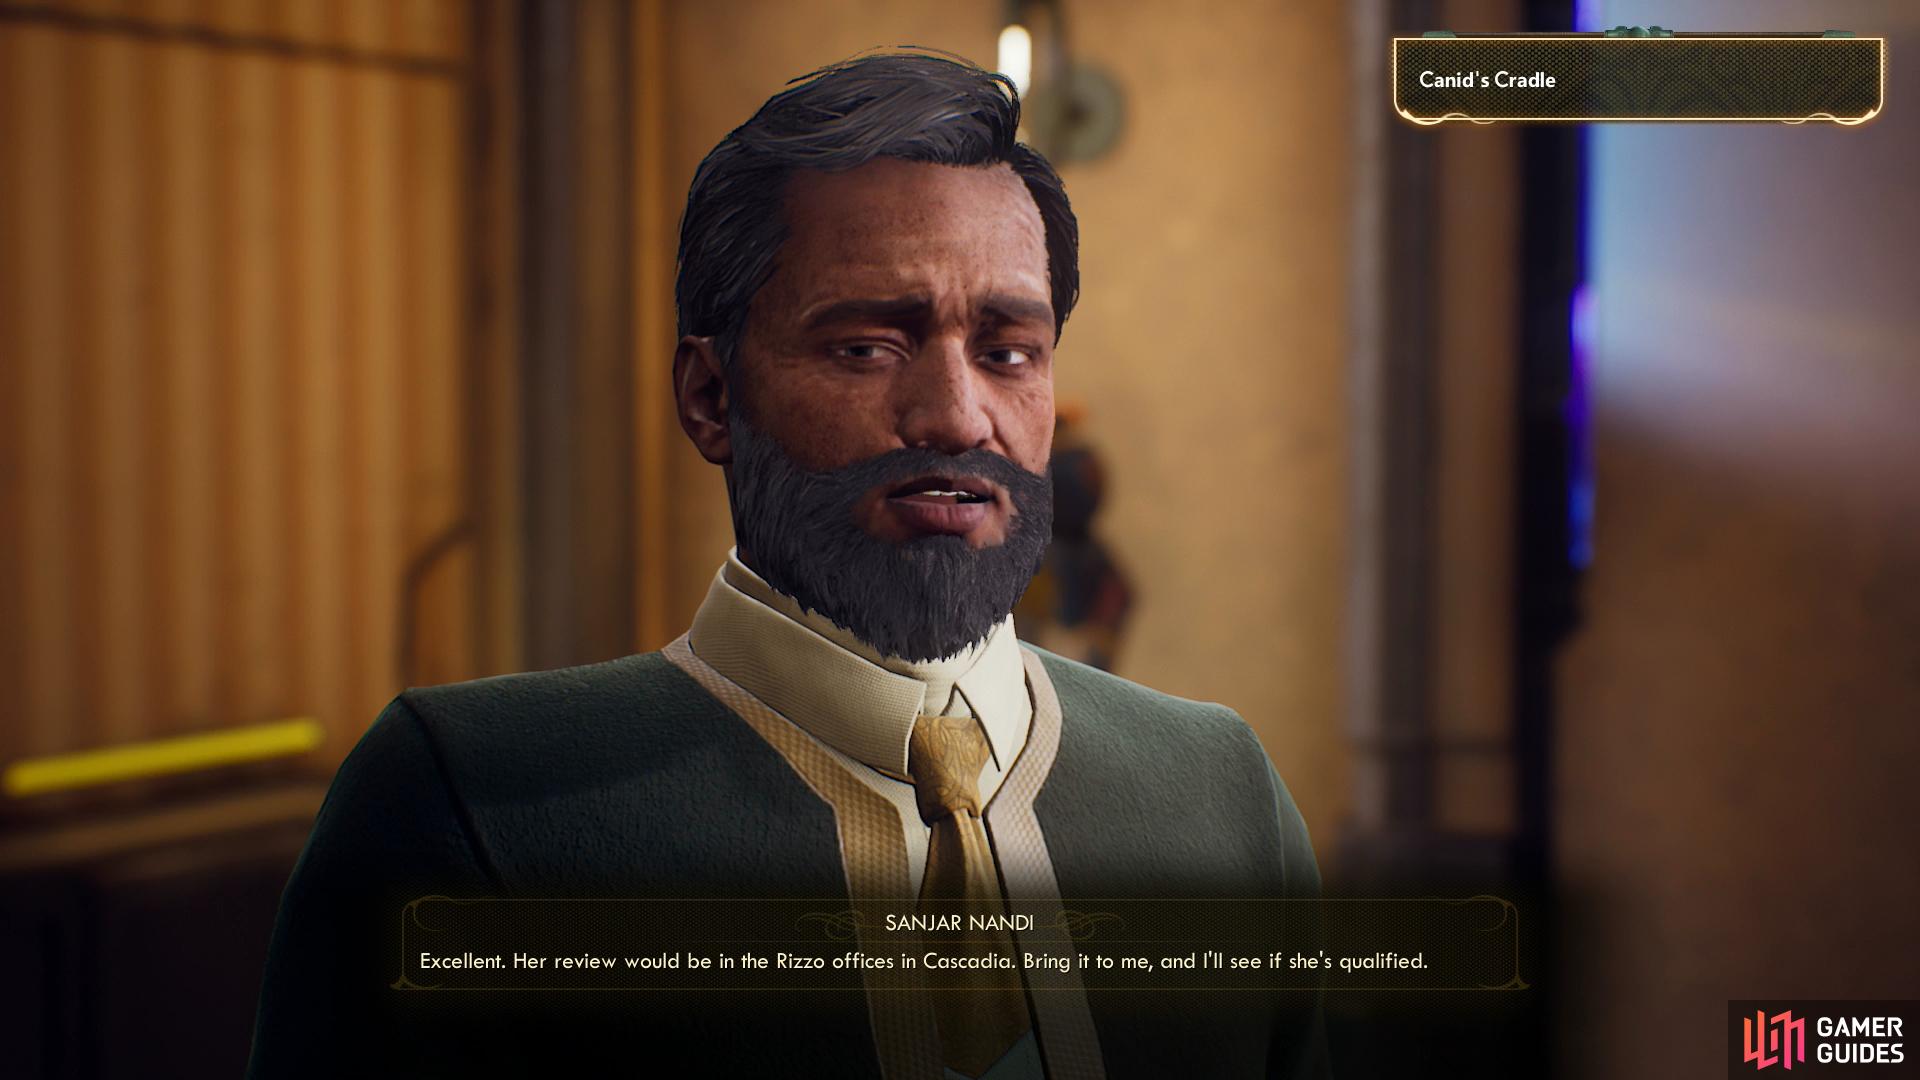
(1 of 4) If you try to negotiate a truce between the Iconoclasts and MSI, Sanjar will ask for Zora’s review.
Negotiating a Truce - Zora’s Review
If you want to negotiate a truce, you’ll need to talk to Sanjar and do not give him the targeting module - instead remind him of what his reviews said. Suffice to say, Sanjar has his strengths and weaknesses, but the former clearly don’t fully compensate for the latter; somebody with more decisiveness would definitely compliment his abilities. That said, Sanjar refuses to work with Graham, and Graham with Sanjar, so that’s a non-starter. Zora, however, has the skills Sanjar lacks and just as importantly hasn’t burned any bridges with Sanjar personally. Unbelievably, however, Sanjar will ask you to bring her performance reviews to him, so he can ascertain whether she’s suitable for the role you’re advocating.
To get Zora’s employee review you’ll need to travel to Cascadia, where she was once an employee of Rizzo’s. If you’ve already landed in Cascadia… well, this will do you no good, as you’ll need to explore the ruins on the southern end of the chasm that splits this part of Monarch - southeast of the landing pad. You can’t access this section of Cascadia from the northern bit, as there’s a sealed door in the way (a sealed door that can only be opened from the southern end, unfortunately) so you’ll have to follow the road a good distance west from Fallbrook.
Before you set off on this journey, however, you should complete Sucker Bait. If you can’t or haven’t completed this yet… well, then you either can’t or haven’t ousted Graham. In the former case, you might as well just turn over the targeting module to whichever side you favor more and abandon this path, as you can only negotiate a truce if Zora is in charge of the Iconoclasts, you can only put Zora in charge by completing Sucker Bait and you can only start Sucker Bait if you previously completed both of Zora’s optional objectives during The Commuter and Pay for the Printer. Whew. So, go complete Sucker Bait if you have that as an option, and only when that’s done and Zora’s in charge of the Iconoclasts should you bother making the trip to Cascadia.
Done? Good. Now it’s time for the trip to Cascadia. Start out from Fallbrook (or rather the Fallbrook Crossroads) and from there follow the road south and west. Pass by the Forlorn Crossroads and the Abandoned Safehouse as you venture your way west, crossing the river until you reach a fork a short distance later. At this fork head northwest, as going southwest will lead to the C&P Boarst Factory, and you’ll just need to follow the road from here until you reach the outskirts of the southern Cascadia ruins. This is all easier said than done, thanks to the numerous mantids and marauders on the road en route to Cascadia. You’ll notice that marauder activity spikes considerably near Cascadia - this is no coincidence.
Whatever virtues Cascadia once had, it’s now a haven for marauders, who have wisely taken shelter behind the abandoned corporate fortifications. Do a circuit of the walls to wipe out marauders and prevent any unpleasant surprises once you’re inside - you can even pick off marauders inside Cascadia through some of the holes in the wall, which should result in some limited-scale encounters. Once you’ve secured the exterior, find your way inside Cascadia. You can use the gate on the southeastern edge of Cascadia [Lockpick 100], or slip in through the many holes in Cascadia’s walls, the largest being along the southern corner of the town.
However you manage it, enter Cascadia and start picking off marauders - there’s more than a few within the walls, but the area is spread out enough that it’s pretty easy to pick them off from afar. Once the marauders have been vanquished (at least the ones outdoors), it’s time to get to exploring. The review you’re after can be found in the large building along the northern end of Cascadia, which you can enter via an open doorway to the east or by ascending a ramp along the western end of the building and going through a locked door [Lockpick 45]. Either way, kill any marauders skulking about in the building and make your way to an office in the eastern corner where you’ll find a terminal. Pick the options [View Data] then [Executive Review - BLACKWOOD, ZORA] and finally [Export Executive Review for BLACKWOOD, ZORA to External Datapad]. You can also loot a nearby safe [Lockpick 45] to score the unique Sugar Ops Helmet, among other loot.
Negotiating a Truce - Exploring Cascadia
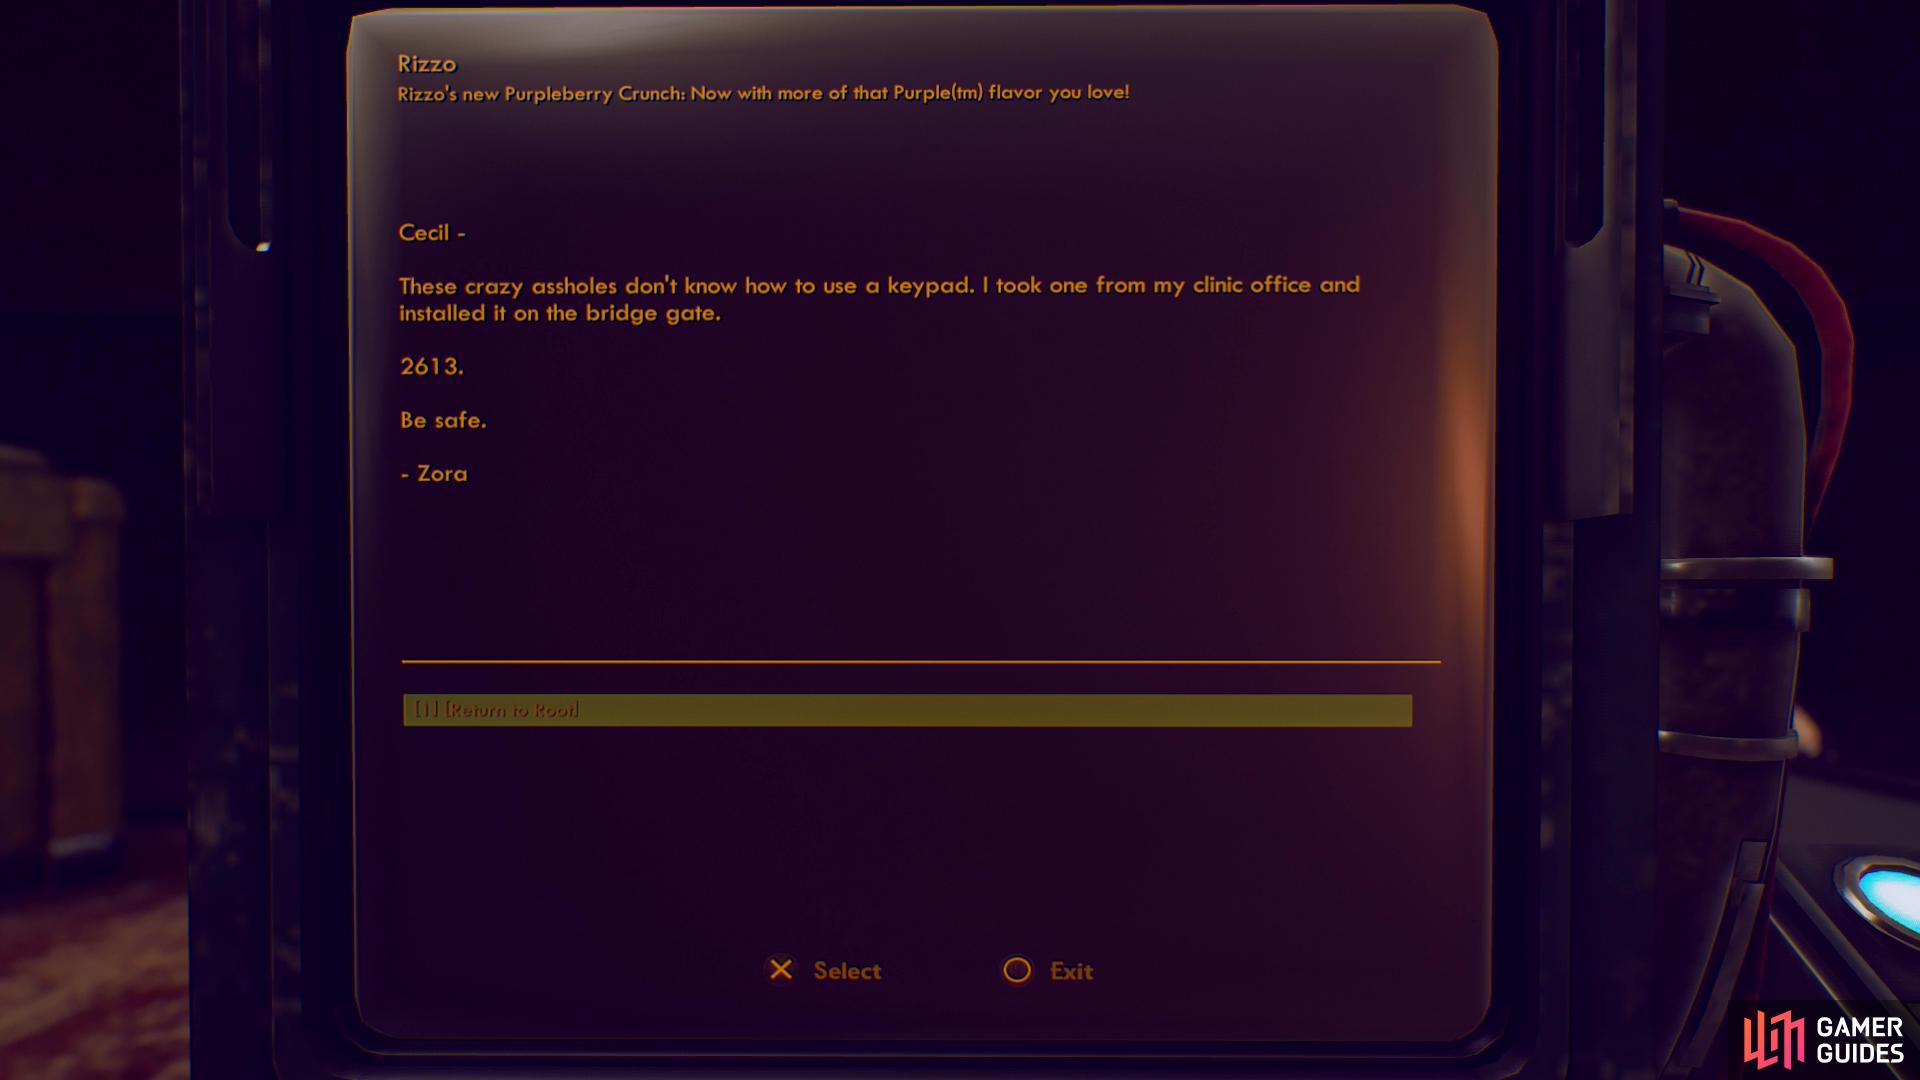
With Zora’s review in hand, you can now leave Cascadia behind and return to Stellar Bay… but while you’re here, there are some other things you can do if you don’t want to make a return trip. From the southern end of the large building where you found Zora’s review, head west under a fallen “Bottling Plant” sign to find a sealed door that presumably connects the two halves of Cascadia. You can get pas this sealed door in various ways: use the terminal next to it and pass a [Hack 100] check, enter an access code (more on this shortly) or simply bypass the wall by climbing over it.
To get the access code, head southwest to find a building you can enter along the western end of Cascadia, inside of which will be more marauders. Kill them and head into a bar in the back and interact with a terminal. Pick the option [March 11th, 2344] to find the access code to the sealed gate on one of Zora’s old messages. Also, search the counter nearby to find some Ersatz Sweetheart Cake, which will allow you to advance Parvati’s quest Don’t Bite the Sun. You don’t need Parvati in your party for this.
As for climbing over the sealed door, return to the large building where you found Zora’s review, head upstairs and go down a tunnel and through a doorway to the southwest. Once out on a balcony climb a ladder to reach the roof, then turn west, jump across to the wall and climb down another two ladders to reach the other side of the door.
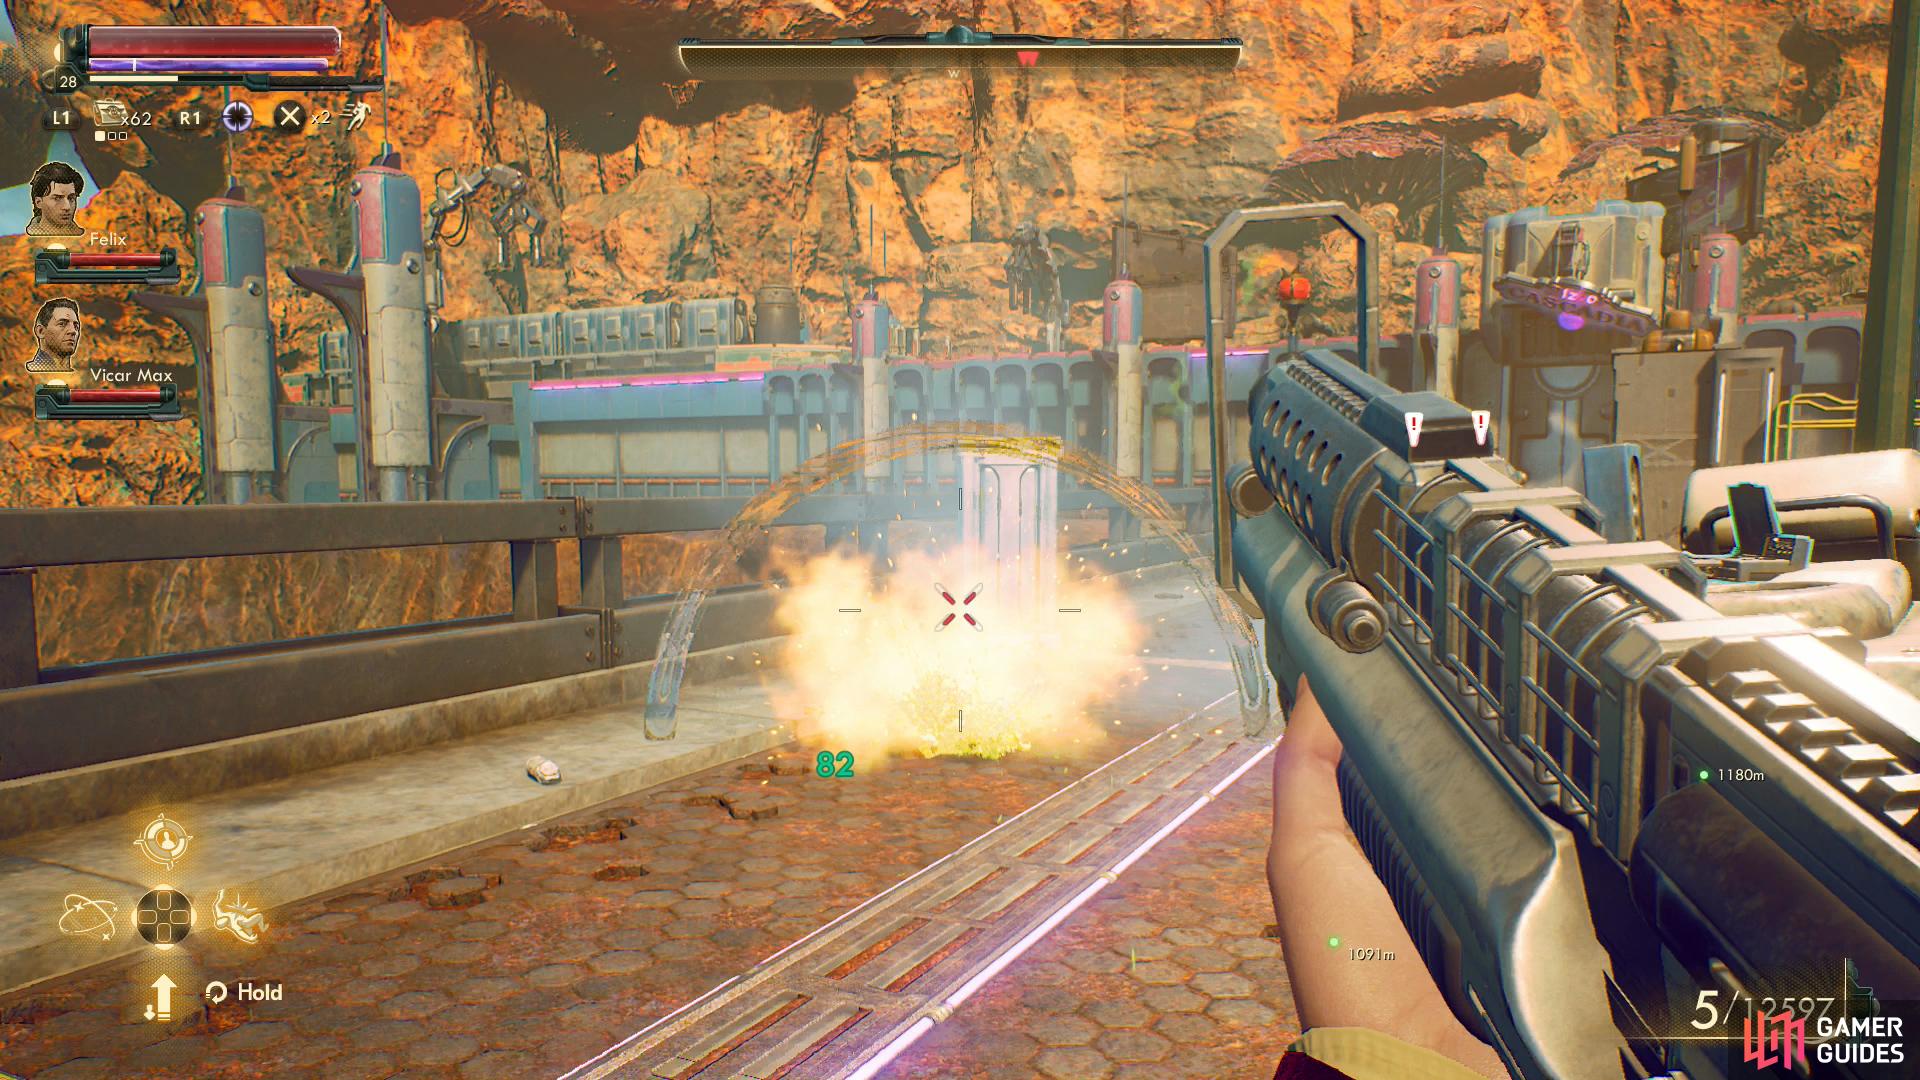
Clear some mines off the bridge
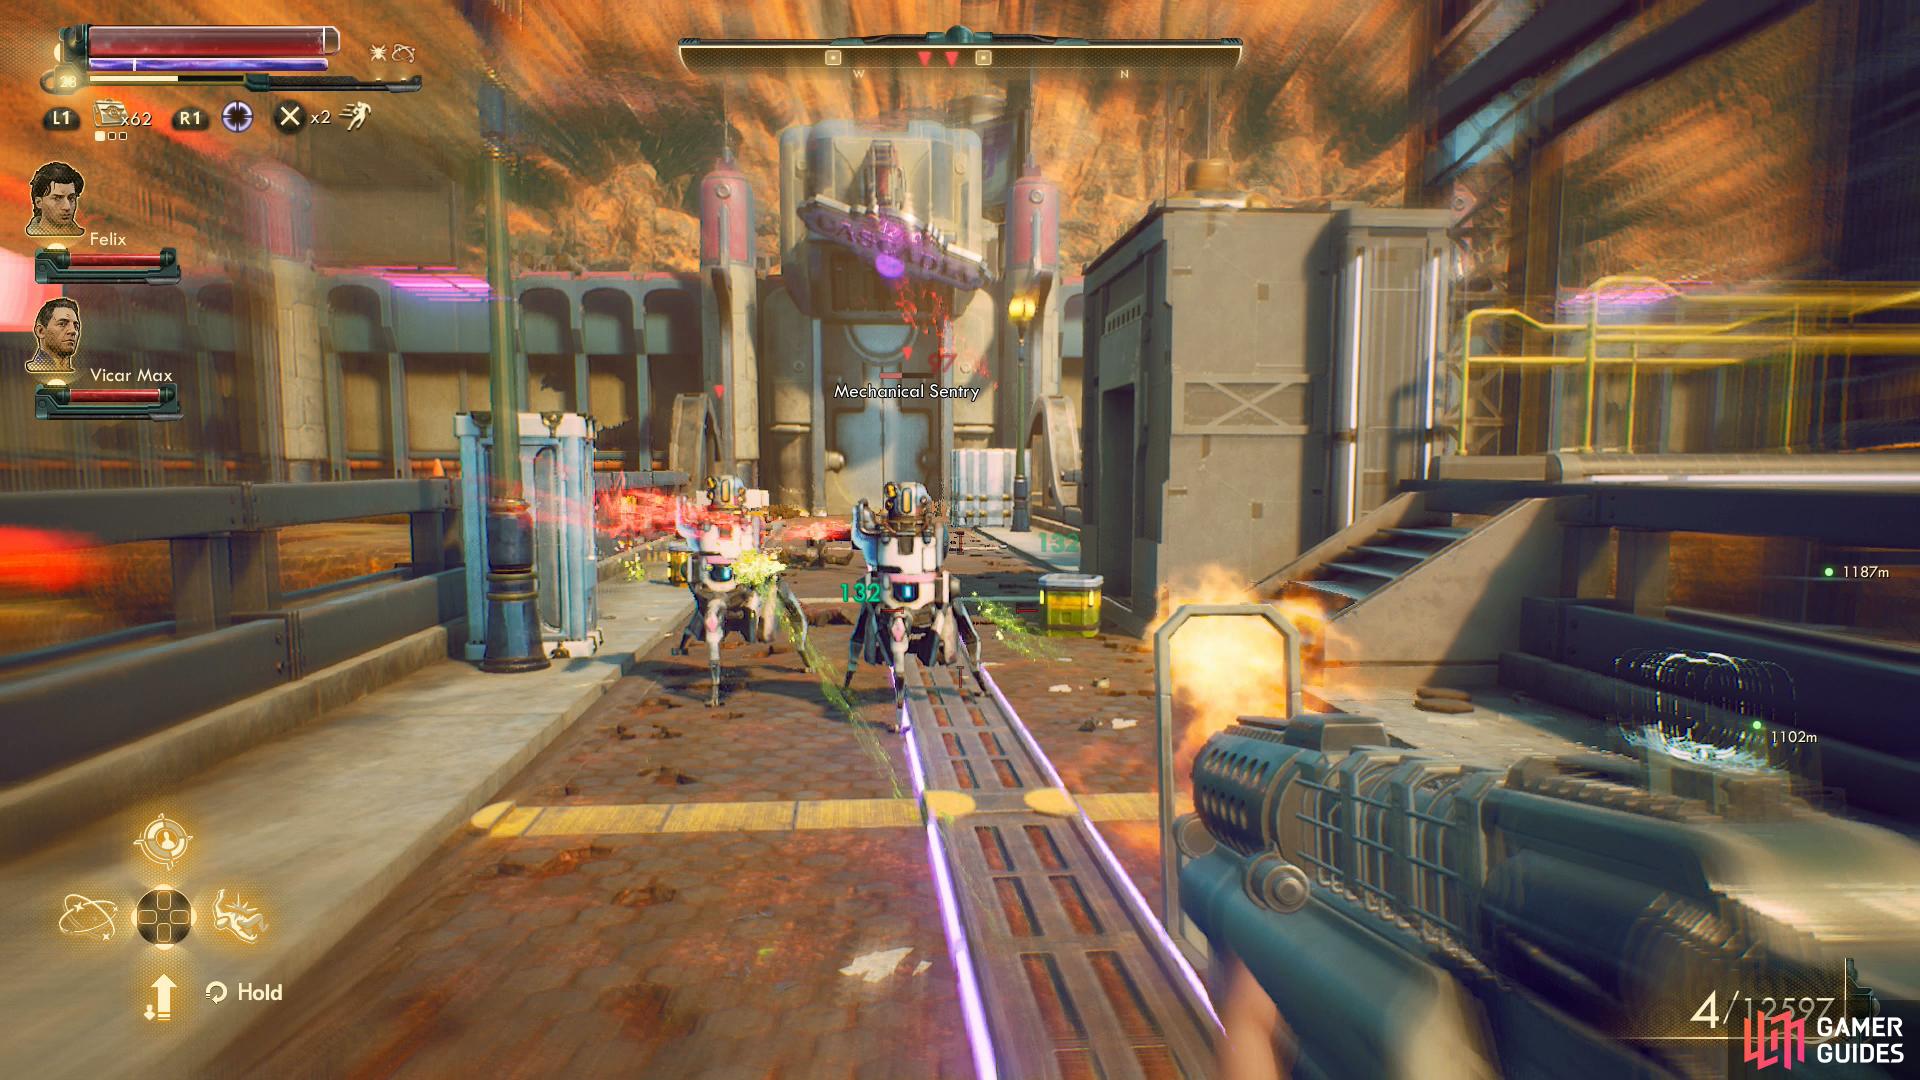
and disable two automechanicals.
However you manage it, once you’re past the door, cross a bridge to the northwest, being wary of mines and automechanicals as you go. A bit more than halfway across the bridge you’ll find a smaller bridge leading to an elevator, and a guard station. Enter the guard station first, use a terminal inside and pick the options [Open Northern Gate] and [Open Southern Gate], assuming they still need to be opened. Voila. Cascadia has been made whole again. Certainly raptidons south of the chasm will be pleased that they can now gorge on whatever the hell Rizzo’s was bottling in northern Cascadia.
One last thing to take care before you go is the aforementioned smaller bridge near the guard station. Destroy a mine on this smaller bridge, then cross it to reach an elevator, which you can ride down to reach the Cascadia Safehouse. Pick a locked door [Lockpick 45] and sneak in, as the place is not unoccupied, as your compass should reveal. Inside you’ll find… a woolly cow! Err… more importantly you’ll also find some dormant automechanicals and a man named Herbert messing around with a cystypig on a table.
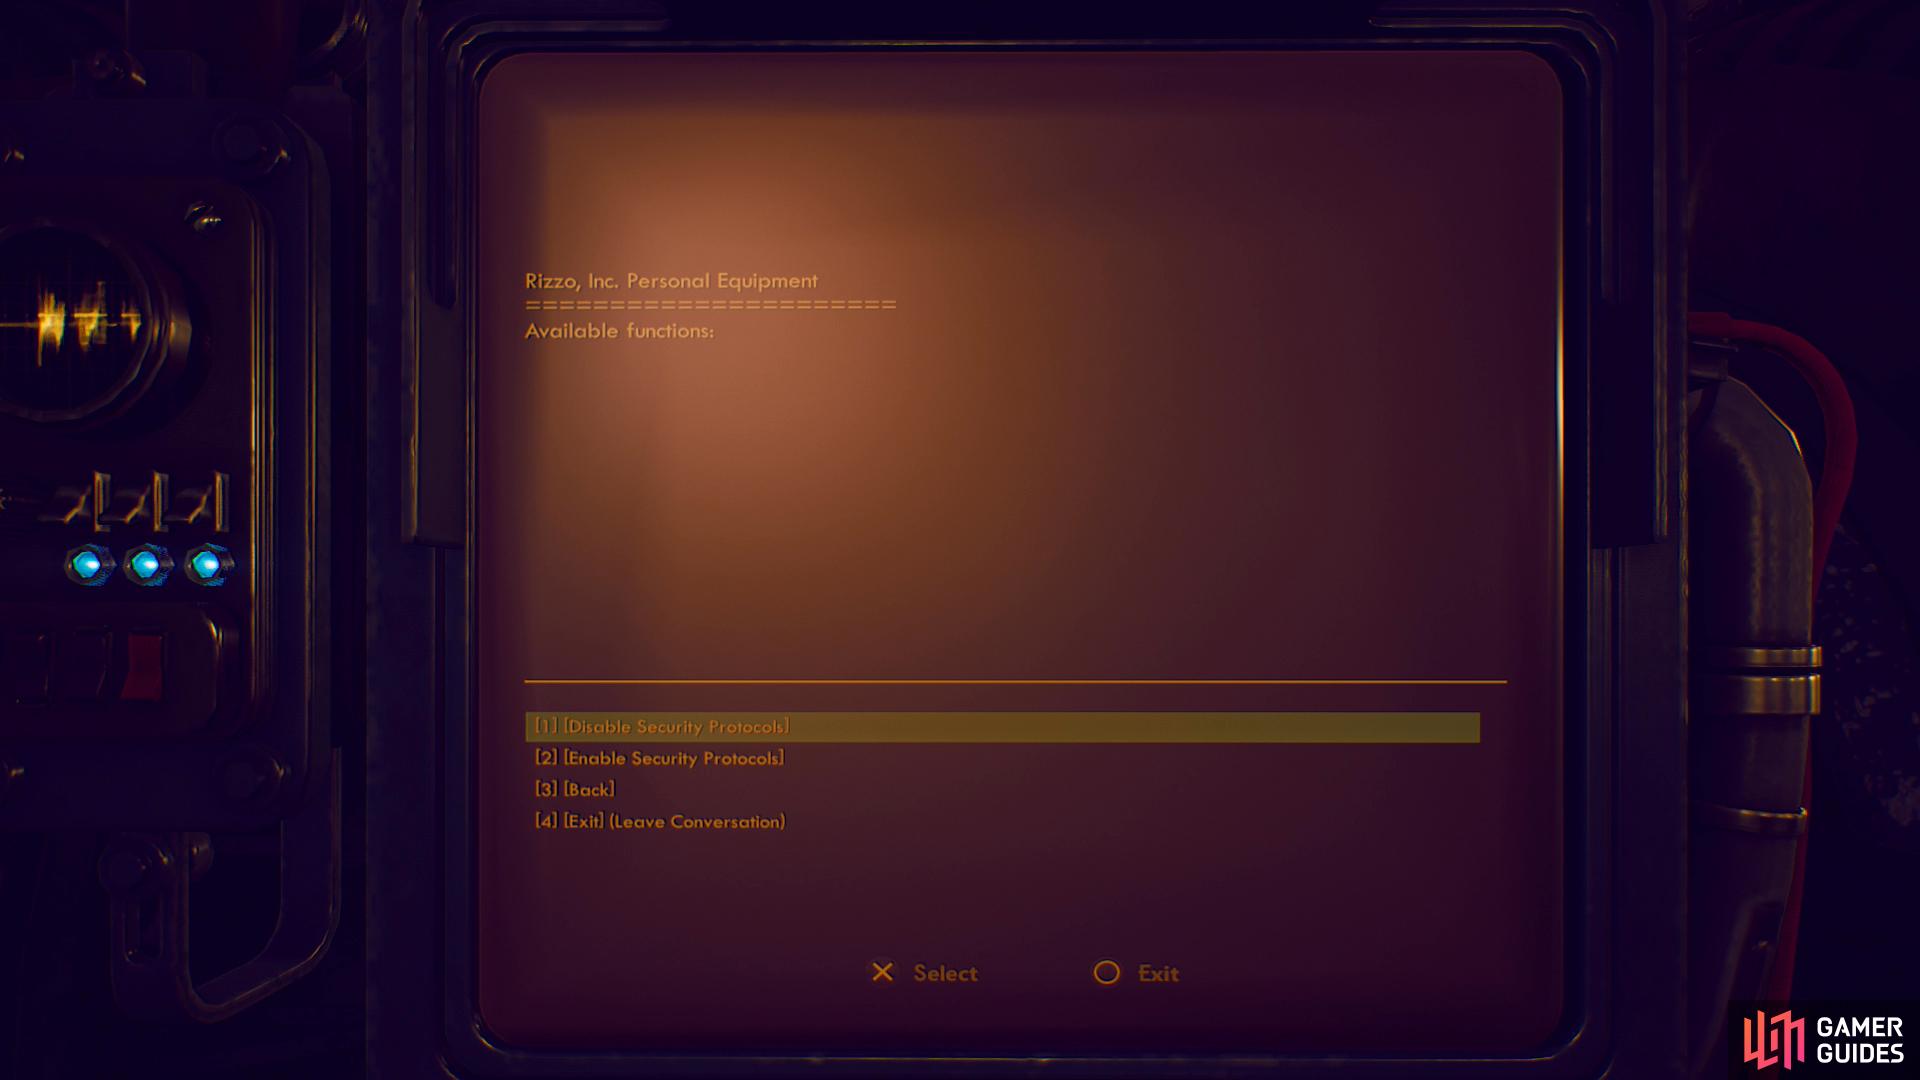
Herbert is not your friend, and he’s got an outrageously high armor score - a small matter, perhaps, if you have corrosive or n-ray weapons, but otherwise you should treat him as a significant threat, and not just because of the automechanicals he’ll bring to bear if you start a fight. If you sneak up to the terminal behind him, however, you can pick the options [Access Automechanical Controls] and [Disable Security Protocols] to take the automechanicals (which also have incredibly high armor scores) out of the equation… although they should only attack if your comrades provoke them, which they probably will. After you’re victorious, loot Herbert for The Candy Cane, an inferno scythe with the Mr. N mod, giving it n-ray damage, and the Sugar Ops Armor. There’s also plenty of food and other loot to be had around here, for what that’s worth. Oh, and do be sure to read the terminal’s entries to learn about Herbert’s sad backstory.
Negotiating a Truce - The Negotiation
Assuming you’ve completed Sucker Bait and have deposed Graham, replacing him with Zora, and you’ve acquired the Targeting Module, it’s time to attempt some diplomacy.
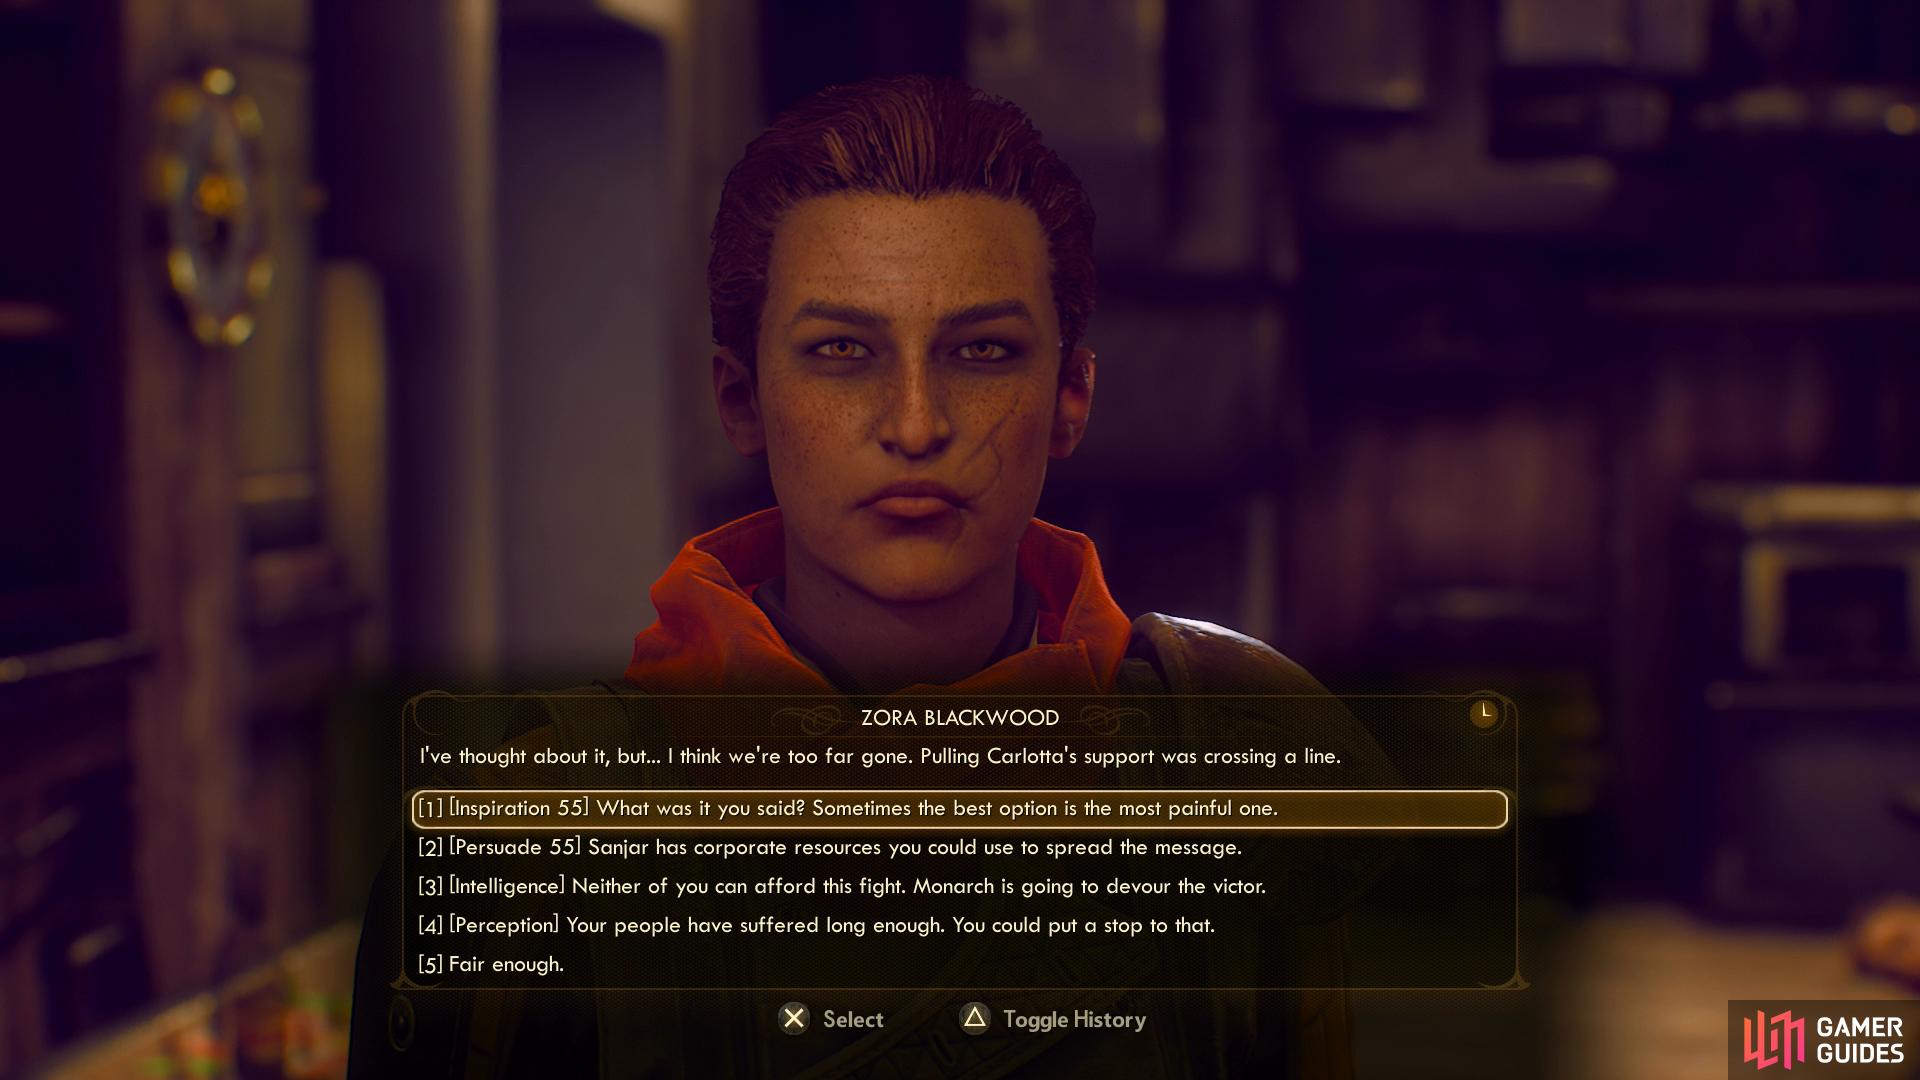
Head to Amber Heights and talk to Zora, picking the option “Hold on. I was thinking you and Sanjar could join forces.”. She’s still sore about the whole Carlotta thing, but you can convince Zora to give it a shot by passing an [Inspiration 55], [Persuade 55], [Intelligence] or [Perception] check. Given how bellicose Zora has been, it’s rather surprising she’ll change her mind so easily.
Leave Amber Heights and return to Sanjar in Stellar Bay, and, assuming you convinced Sanjar to consider an alliance and recovered Zora’s employee review, hand it over. He can’t argue with a corporate review, despite his past history with them, and will agree to meet Zora in the OSI church in the ruins outside of Stellar Bay.
Exit Stellar Bay via the southeastern gate and head through the ruins to reach the church and as important as these talks seem, you really can’t screw them up, so say what you will. There are a few dialogue choices you can make, like a [Persuade 35] or [Intimidate 35] after saying “What if the Iconoclasts just supported your supply lines?”, but this is just flavor and an opportunity to feel like you’re having more impact than you really are. The hard bit was getting them to meet in the first place. After they agree to terms this quest will and and you’ll get 2,188 Bits and Soft Speaker, a unique telescoping staff that attacks incredibly quietly and boosts your Intimidate by +10.
No Comments