
| Quest Information | . |
|---|---|
| Location: | Monarch - Amber Heights |
| How to Start: | Talk to Graham Bryant after completing “The Commuter” |
This quest will start after you finish and turn in The Commuter, with Graham asking you to repair the printing press at Terra One Publications. Zora, for her part, will ask you to rescue the Van Noys, whom Graham sent on the same task he’s now risking your life on. Fortunately this time Zora’s request doesn’t conflict with Graham’s so there’s no reason not to do both. Unfortunately, the Terra One Publications building is quite far afield, and a good bit of your effort on this quest will probably be spend simply traveling there.
Start out by exiting from the southwestern gate of Stellar Bay, cross the bridge to reach the ruins west of Stellar Bay. Make your way through the ruins until you come to the ARMS building, which is rather near the southwestern edge of these ruins, near the bridge running southeast to the southern ruins. From the ARMS building (you can see the ARMS sign if you look up) head into the wilderness to the southwest.
It’s a surprisingly short hike from the ruins to the Van Noys, who stand watch along the way to the Terra One Publications building, which can easily be seen to the southwest. Talk to May Van Noy and say what you will, only to be informed of a complication - they’ve got wounded and they’re not keen on abandoning them, but their medic is also missing, so they can’t exactly patch them up without a trauma kit. This objective is simple: you find the medic and bring back the trauma kit and you’ll save the Van Noys, if not, not.
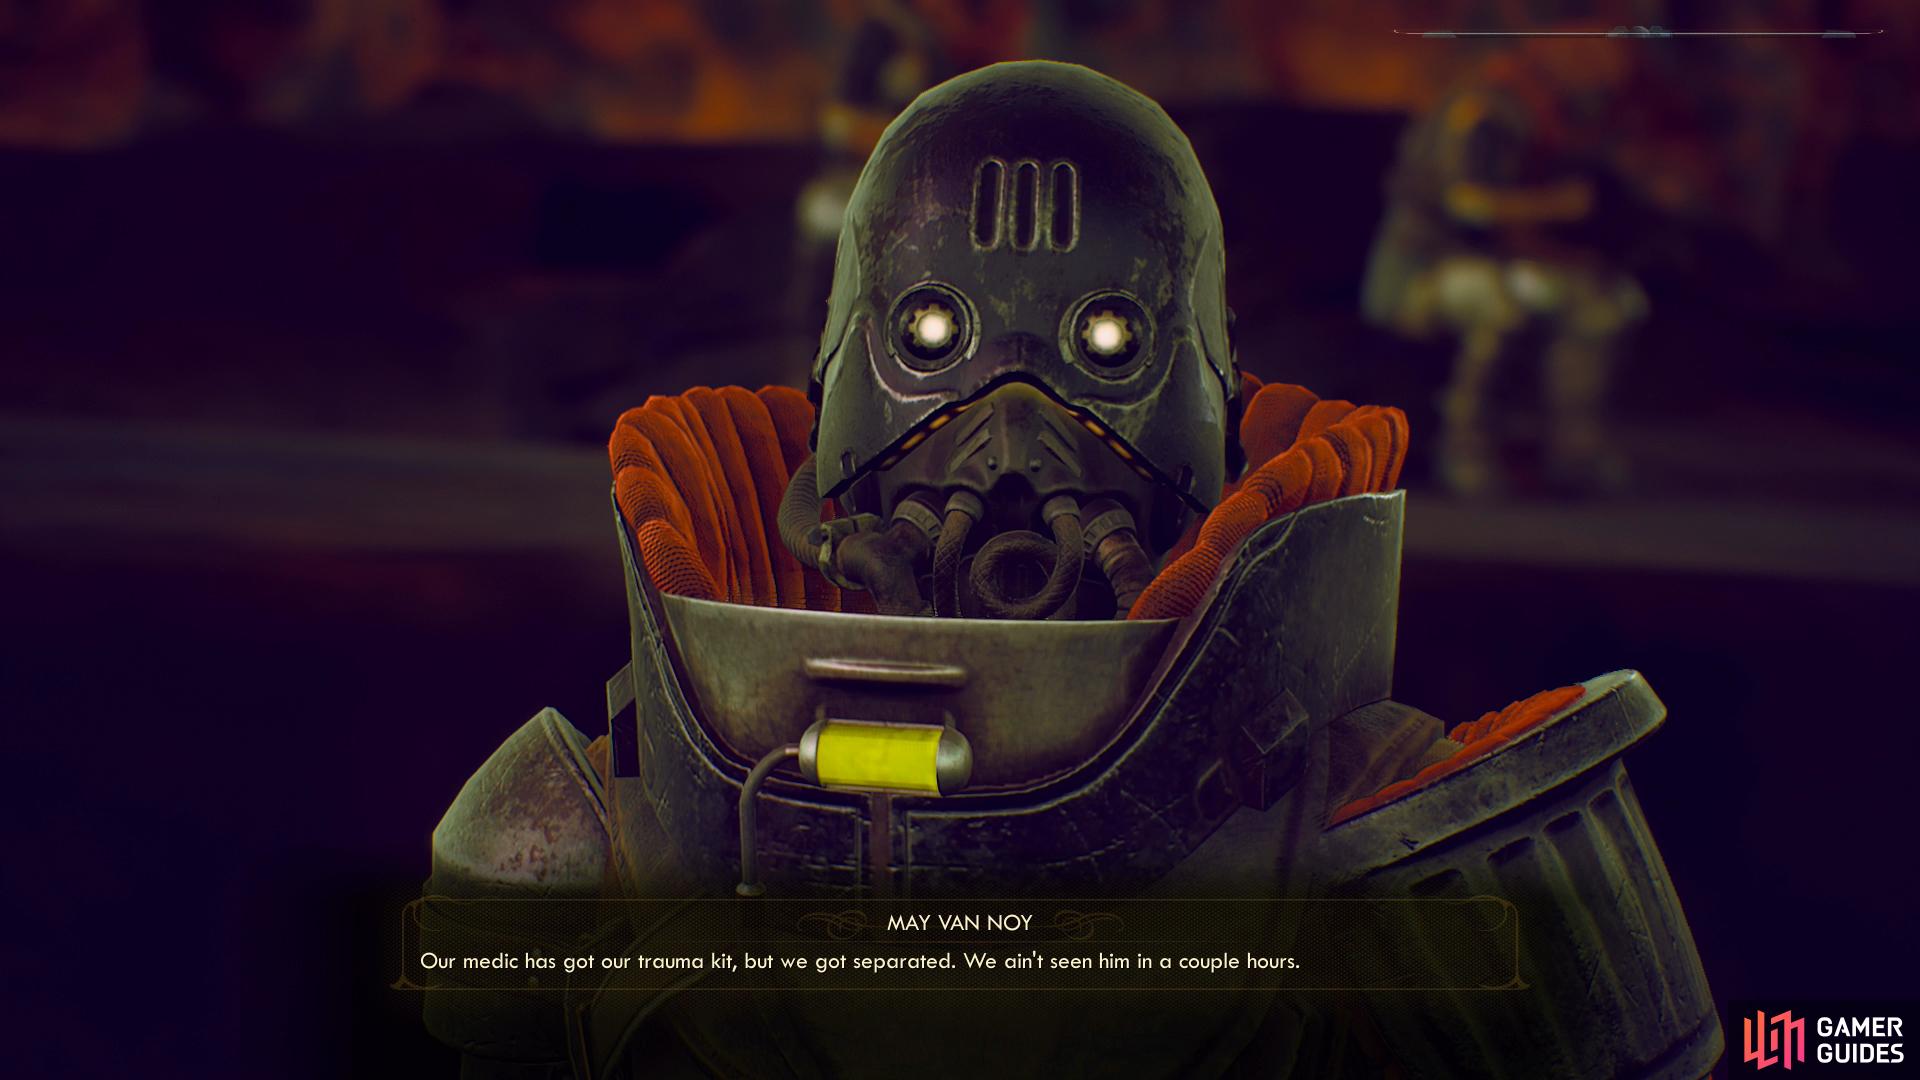
(1 of 3) Talk to the Van Noys near the Terra One Publications building and they’ll ask you to find their medic.
Saving the Van Noys
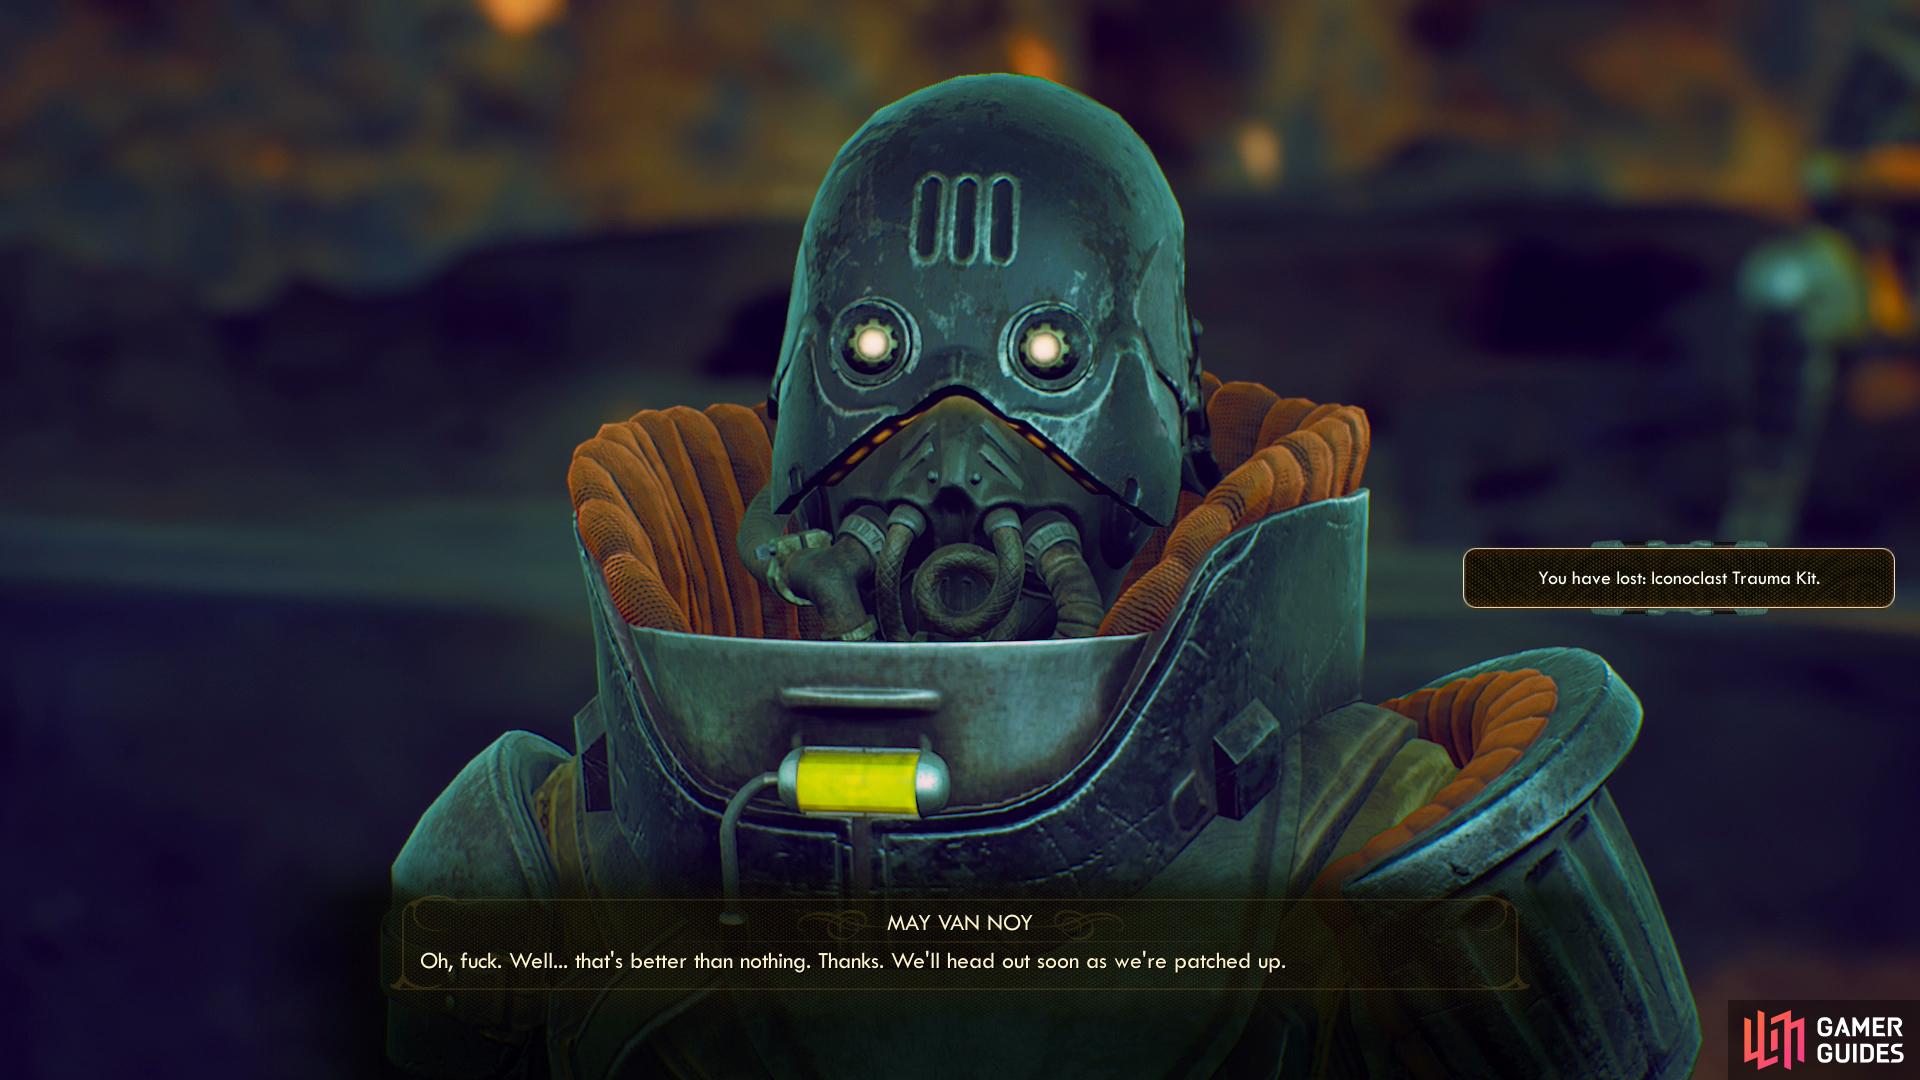
Make your way southwest from the Van Noys to reach the Terra One Publications building, around which there are quite a few raptidons. Once you reach the building, head around it to the northwest to find an ever greater host of raptidons - if you need help, don’t be afraid to retreat to the Van Noys. At the very least, another pair of machineguns trained on your foes can’t hurt. Once they’re dead, search a house to the northwest to find the dead Iconoclast medic. On their body you’ll find an Iconoclast Trauma Kit and the unique shotgun Euthanasia Kit.
Return to the Van Noys and tell them “I found your trauma kit. Your medic is dead.”, which will allow them to patch up their wounded and head home. This will appease Zora and have no other consequences on the outcome of the quest. On the other hand you can say “Help me get to the printing press and we can all go home.”, after which you’ll need to pass a [Persuade 60], [Lie 60] or [Intimidate 60] check to get them to comply. Doing so will convince May and August to accompany you into the Terra One Publications building, where they’ll do a fine job of exterminating the raptidons. Send them home or recruit them to your cause, then head over to the Terra One Publications building.
Inform the Van Noys of their medic’s demise and send them home
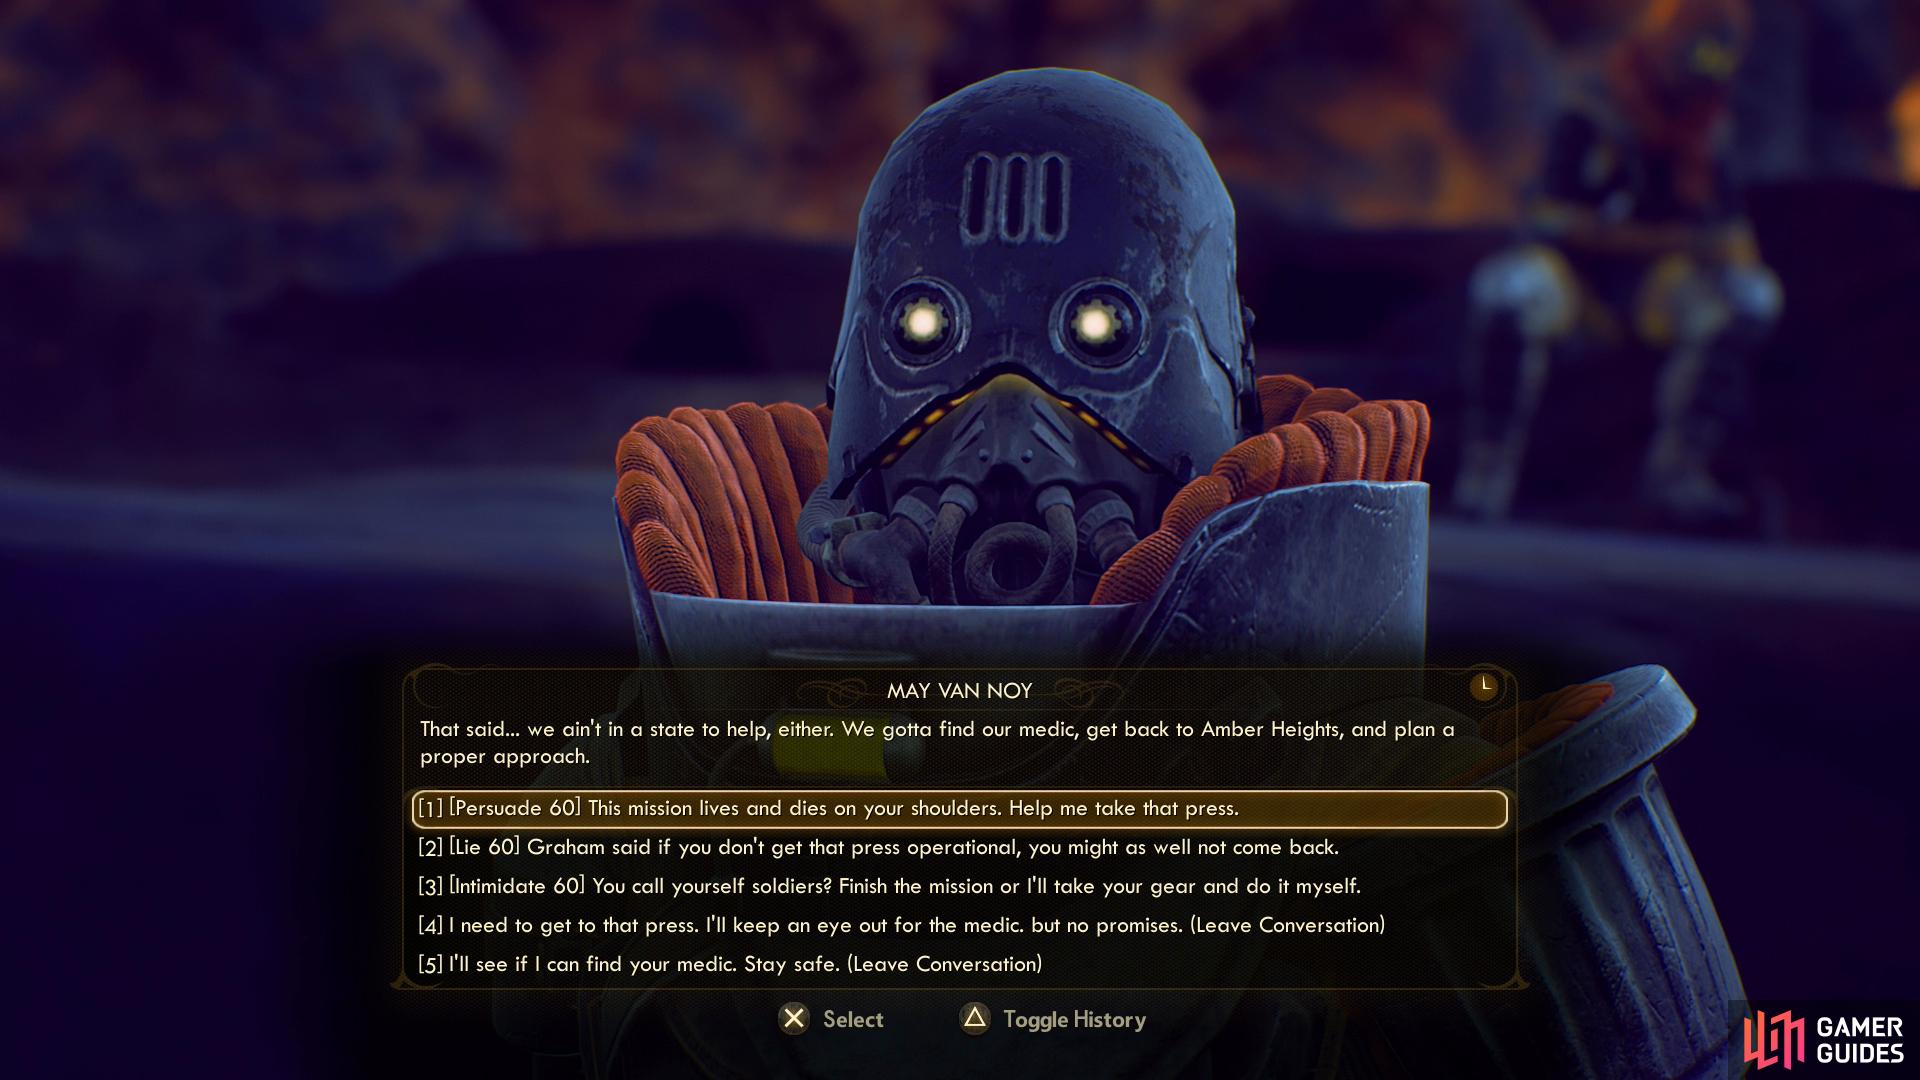
or convince them to help you assault the Terra One Publications building.
Repairing the Printing Press
There are two entrances to this building, a large bay door on the northeastern side of the building and a smaller door on the southeastern end of the building. We recommend the latter, because it’s easier to sneak to your destination from here, and more defensive, so whether you want to pick a fight or avoid one, this entrance will give you better prospects.
When you arrive, go through a doorway to the north, northwest and either kill all the raptidons in the large room occupied by the printing press (using the doorway as a bottleneck will work wonders here) or sneak your way through this room to the west, southwest, passing through another doorway after passing under a walkway. From here, continue west, southwest and up some stairs, being wary of another pair of raptidons feasting on people food (not actually people as food, for a change), and at the top of these stairs you’ll find three doors.
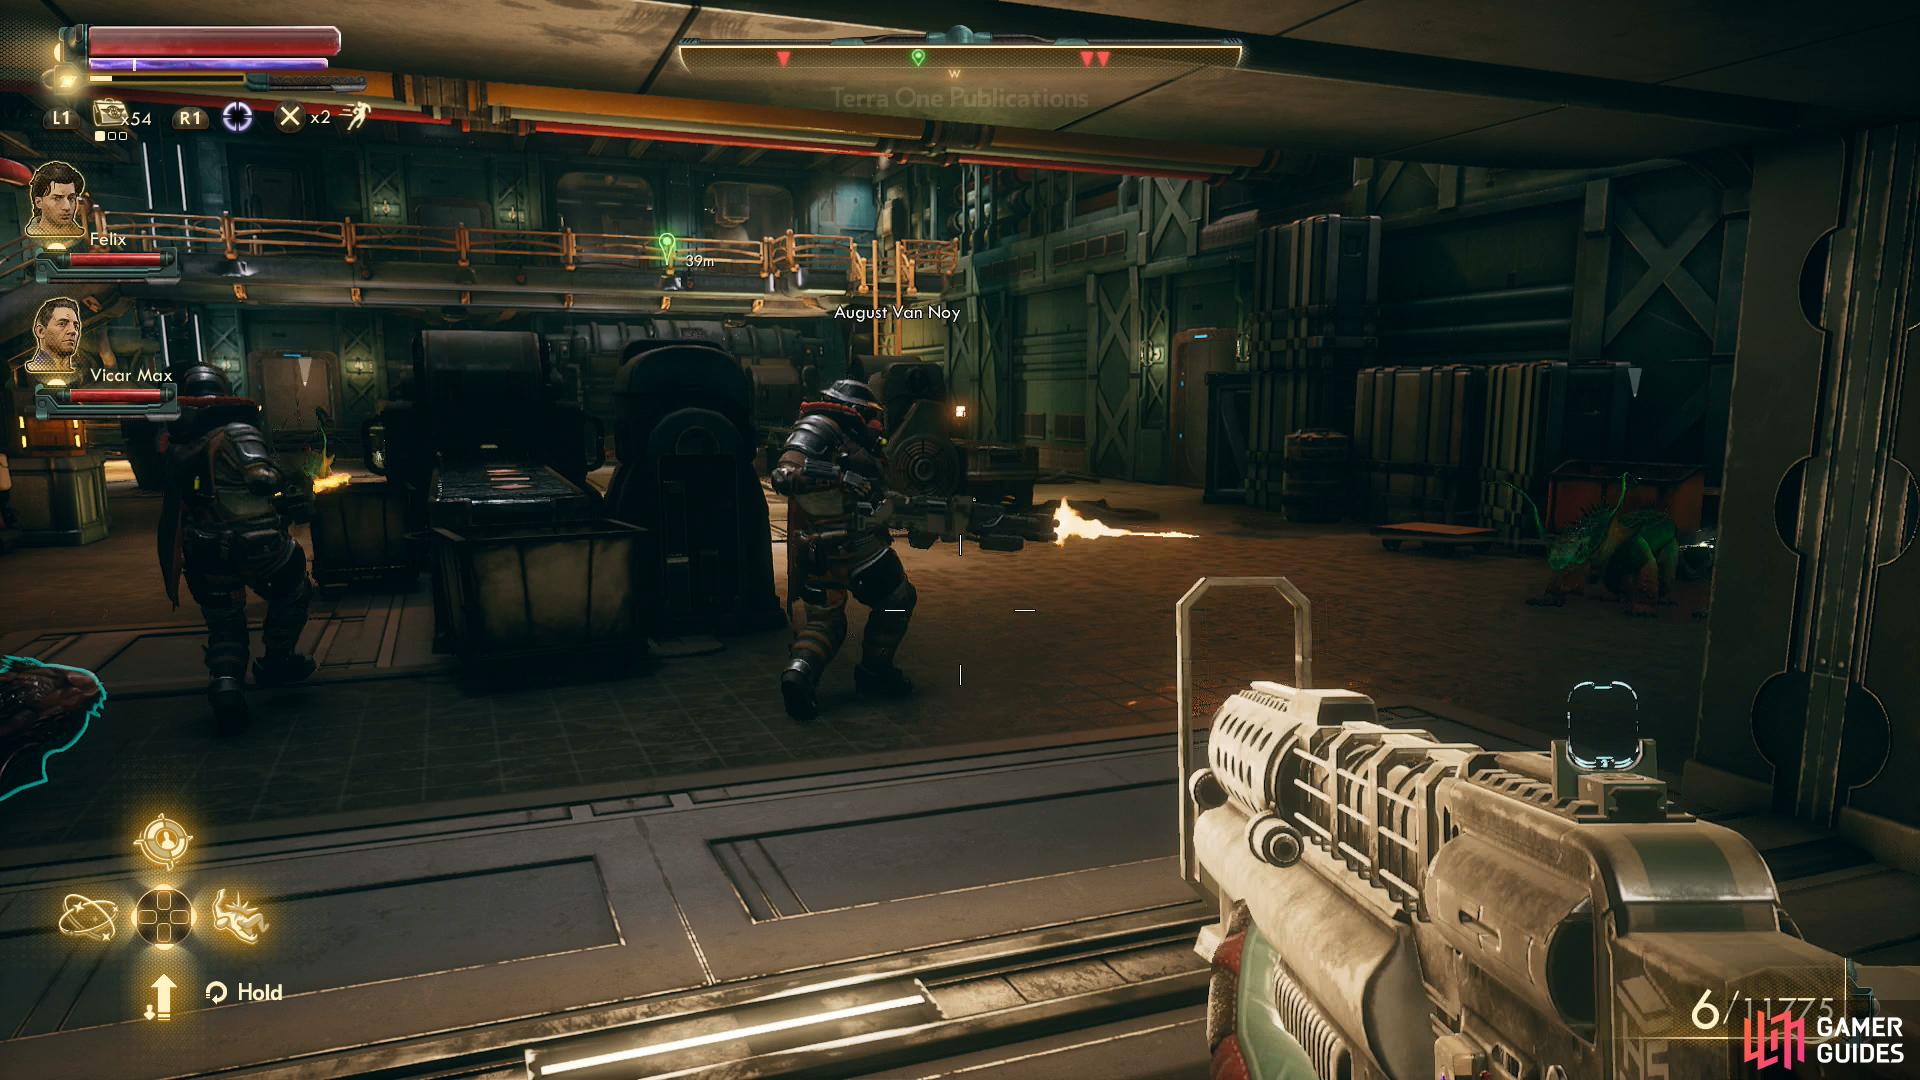
(1 of 4) If you convinced the Van Noys to help, they should do a fine job exterminating the raptidons.
The first (western-most) door isn’t very interesting, in spite of its terminal, but the second (middle) is interesting because of its terminal. Interact with the terminal in this room and pick the option [Install Rollers} to get the printing presses up and running. The raptidons will decide they don’t like the noise and vacate the building. See? That wasn’t so bad. You can now freely loot the building, and while there’s plenty of goodies to find, there’s nothing noteworthy or unique. It’s also worth noting all the dead Iconoclasts in the building - Graham got a lot of blood spilled to get his printing press.
Return to Amber Heights and talk to Graham, who is currently arguing with Zora about attacking Stellar Bay, with Zora being the bloodthirsty party this time around. Ask what questions you will - this isn’t something that’ll get resolved here. Ultimately you’ll need to inform them of your work with the printing press and the Van Noys, and for his part Graham will inform you that he’ll finally stop broadcasting. For your reward you’ll get XP, 2,188 Bits plus 750 Bits if you rescued the Van Noys, Iconoclast Apostle Armor and positive Iconoclast reputation.
Most importantly, if you completed Zora’s objectives during The Commuter (by securing food and medicine supplies instead of Graham’s high-capacity cartridges) and Pay for the Printer (by rescuing the Van Noys) she’ll ask to talk to you in the med bay, which will ultimately lead to the quest Sucker Bait.
No Comments