
| Quest Information | . |
|---|---|
| Location: | Monarch - Amber Heights |
| How to Start: | Talk to Zora Blackwood after completing “Pay for the Printer” |
You can start this quest by talking to Zora Blackwood in Amber Heights, but only after completing both The Commuter and Pay for the Printer, and even then, only if you completed Zora’s subobjective for both by asking for food and medical supplies instead of Graham’s high-capacity cartridges and by saving the Van Noys. If you met these requirements, she’ll ask you to meet her in the med bay after completing The Commuter.
Do so and she’ll talk to you about the history of Amber Heights, where pirates killed all the MSI higher-ups back in the day - an event whose aftermath left Sanjar and Graham as two of the higher-ranking MSI figures. Apparently one of Zora’s “people” (presumably differentiated from one of Graham’s “people”) found a data cartridge that may allow access to a radio station, into which the Amber Height raiders fled after their crime. There are numerous reasons to check this place out, according to Zora - munitions, valuables that can be sold… answers. In any event, she’ll give you the Relay Station Access Codes you need to proceed.
When you’re ready to proceed, make your way to the Forlorn Crossroads, which is west of Fallbrook. From there head northwest to reach the Abandoned Relay Station, either killing or avoiding some mantids along the way. Once on the grounds of the relay station, head to the northern-most building to find a terminal outside, which you can access with Zora’s keycard. Pick the option [Enter Code] and open the door to the nearby building, then head inside.
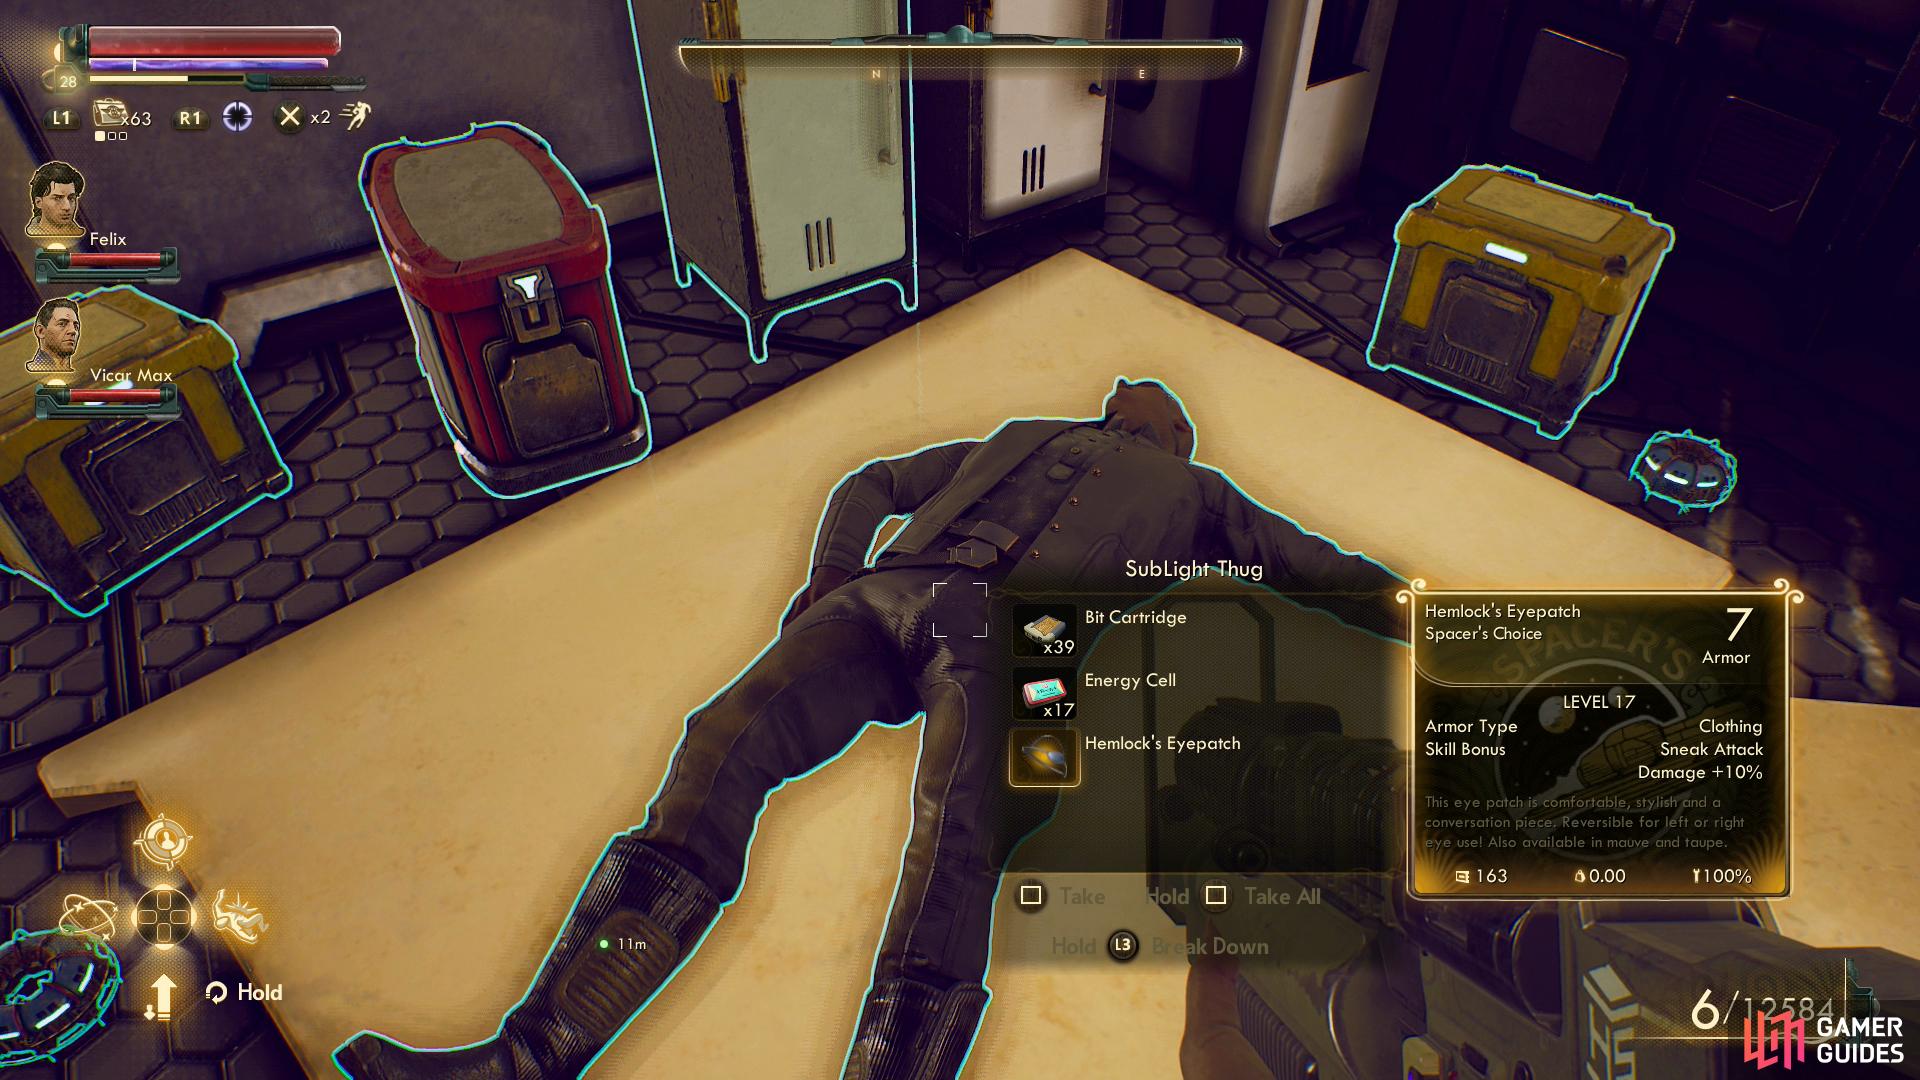
Search the corpse of a SubLight Thug to find Hemlock’s Eyepatch, which improves sneak attack damage by 10% - always a welcome boost - then loot the place, paying particular interest to two large bins. The locked one [Lockpick 50] merely contains bits, but the other one will yield an Old Data Cartridge.
Return to Amber Heights and present the Old Data Cartridge to Zora, who will examine the cartridge which reveals some damning information about Graham. Looks like Graham’s hatred for corporations isn’t new, and he’s more than willing to commit atrocities to get his way. Probably not the sort of guy who would be in a position of power, especially not leading a cult. Those combinations tend to end poorly. Zora will ponder her options and while she won’t make any decisions yet, this sets up an option for the quest Canid’s Cradle. Your rewards for completing this quest include XP, 750 Bits and some positive Iconoclast reputation.
Return to Amber Heights after completing “Sucker Bait” and Zora will have made a decision regarding Graham.

Graham proves unreasonable, so put him down.
Deposing Graham
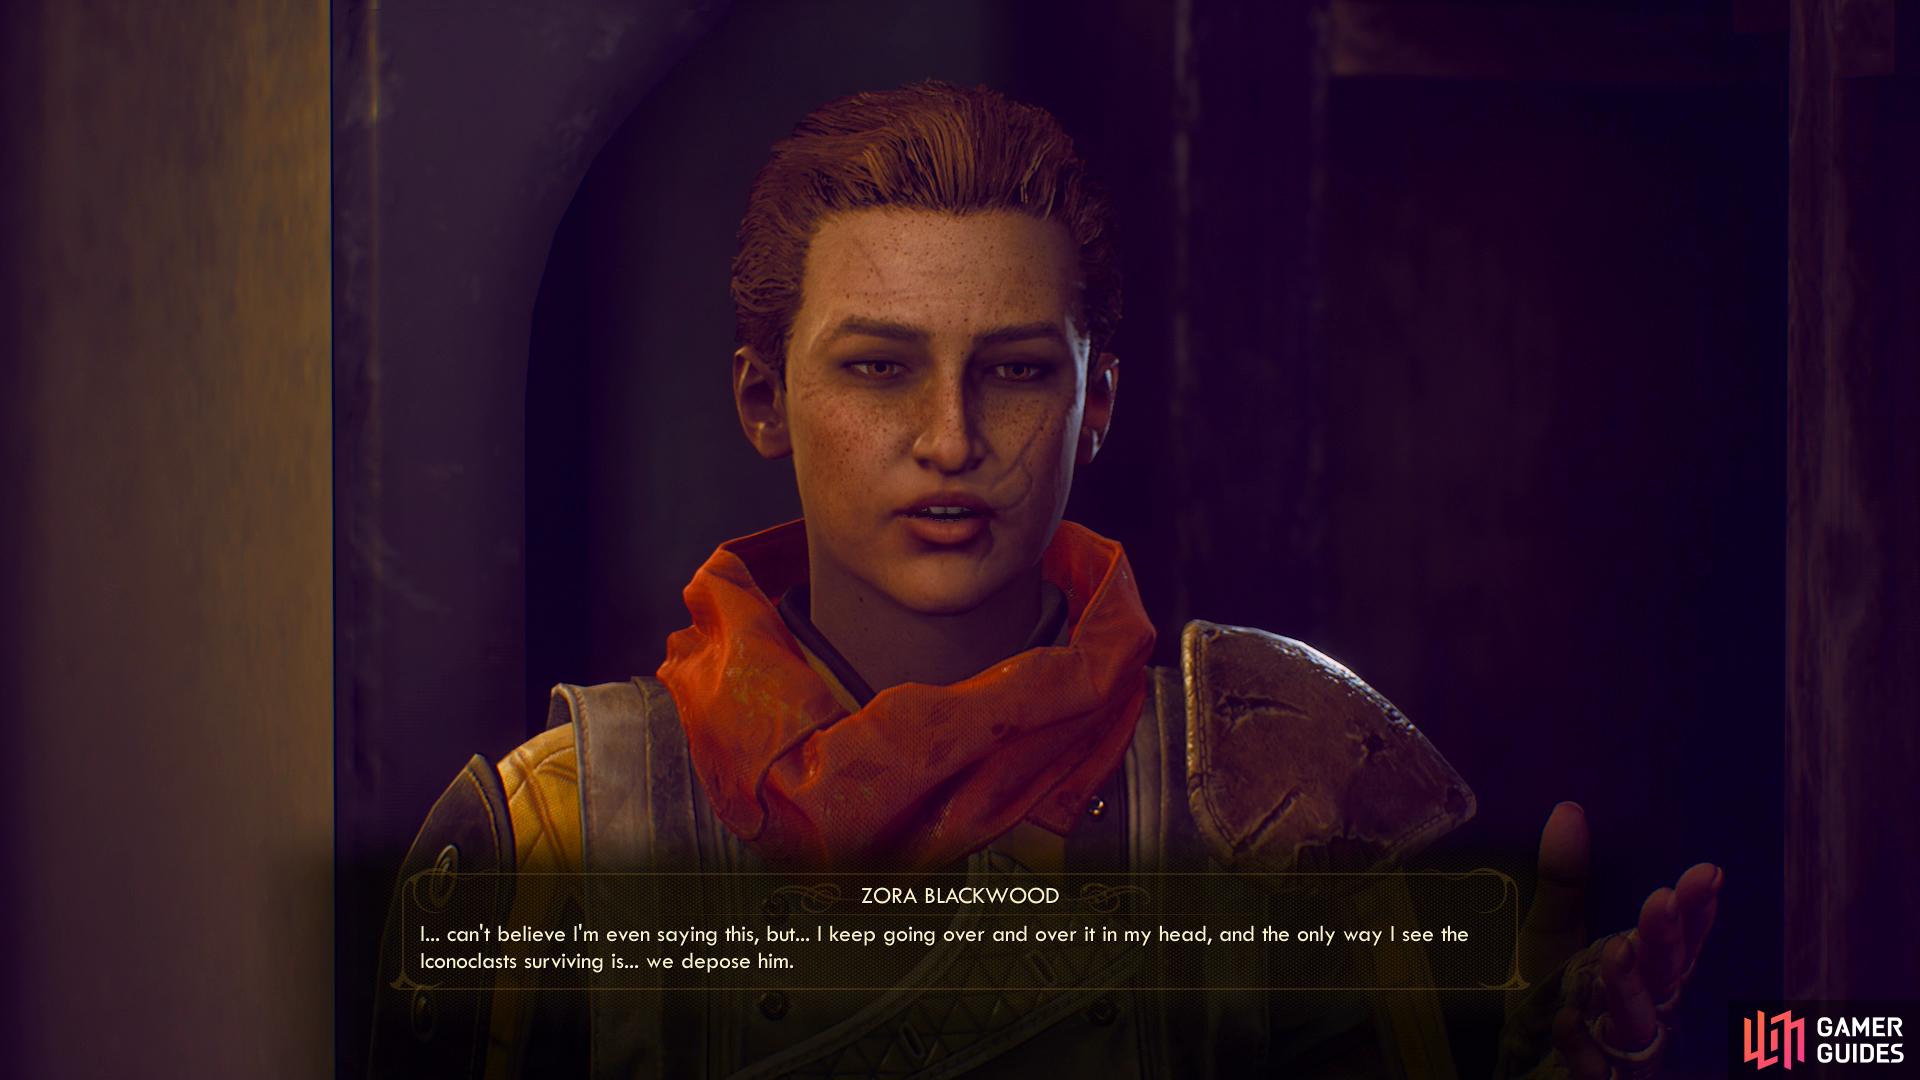
While not technically part of this quest, the fallout attached to Zora’s contemplation as a result of completing Sucker Bait are worth discussing. Leave Amber Heights and return (or just save and load your game), then make your way to Graham. On the way you’ll be stopped by Zora, who will tell you that after thinking about it, she can only come to one conclusion - Graham must be deposed. If you refuse to help her, she won’t act, and if you advance Canid’s Cradle to the point of handing off the targeting module you’ll lose your chance to depose Graham, whether you’re siding with MSI or the Iconoclasts. If you want to strike a truce between both sides, Graham must be deposed.
Assuming this is the case, agree to help Zora, then follow her upstairs to confront Graham. Say what you will - there’s only one way this ends, with Graham refusing to comply and resisting. Put him down, then talk to Zora. If Canid’s Cradle is started, she’ll take Graham’s place in asking for the targeting module, although unlike Graham she’ll actually listen to a request to join forces with Sanjar… something to consider, at least. You’ll earn a tiny bit of negative Iconoclast reputation for killing Graham, but gain a good amount of positive reputation with the Board.
No Comments