
Traveling to Monarch
You’ll start this quest after acquiring a Stellar Bay Navkey, either by buying one off Gladys during Passage to Anywhere or by working for the Board and completing Long Distance. Either way, after you get such a navkey, return to the Unreliable and talk to ADA to get in contact with Phineas, who will tell you to travel to Monarch, seek out an Information Broker named Hiram Blythe, who knows where the chemicals Phineas needs can be found. Of course, finding this Broker can be difficult in its own right, so you’ll be encouraged to seek out the services of a skilled guide - specifically one Nyoka. The quest Passage to Anywhere doesn’t officially end until this conversation with Phineas, after which Radio Free Monarch starts.
Before you head over there, a few things are worth mentioning. First, as mentioned elsewhere in this guide, you can have this quest and its Board equivalent, Signal Point in Space active at the same time. There’s no conflict between the two, they have the same goals and steps at nearly every phase, and will both update at the same time. You can even complete both by talking to both quest givers (Phineas and Akande) after both are completed. Second, while these quests do have some exclusive objectives - mostly revolving around finding the Information Broker - they’re mostly superquests for a variety of side quests and faction quests which you’ll have to deal with before you can complete this, much like how The Distress Signal was for Roseway.
In any event, when you arrive at Monarch (regardless what landing pad you choose) you’ll be informed of a strange broadcast by ADA, who plays it for you. You’ll be treated to some unidentified broadcaster spouting some sermon or another, which functionally just informs you that not only is Monarch full of ravenous beasts, but apparently religious kooks, too. Lovely. For the purposes of the guide we’ll assume you’re landing at Stellar Bay, but we’d be remiss if we didn’t cover Cascadia, so before we get to any proper questing…
The Cascadia Run
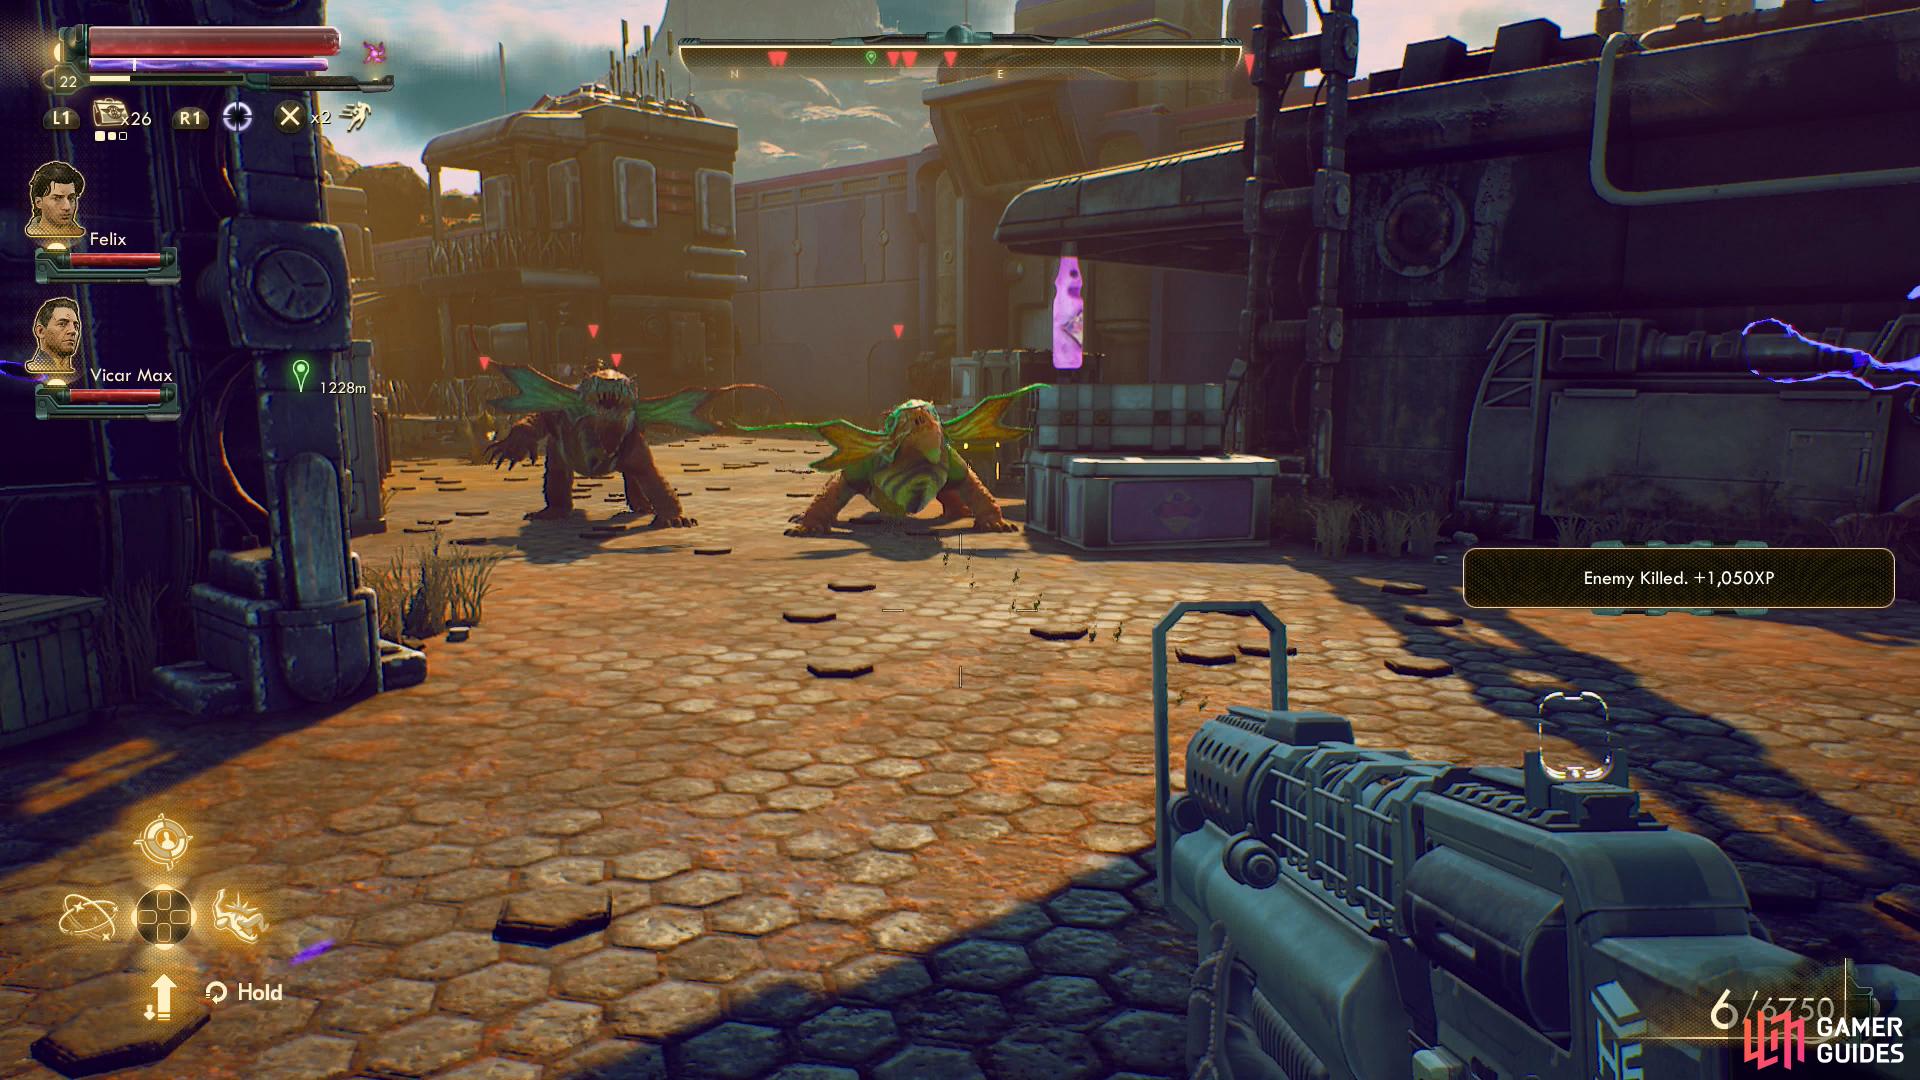
The entire paragraph first paragraph in this section is conditional - you don’t technically need a Stellar Bay Navkey, as you can travel to Cascadia and try to figure things out for yourself. You’ll need to make your way on foot by leaving the landing pad you’re on, exiting the city via a northeastern gate, although in the city itself you’ll need to battle two unique raptidons, Stheno and Euryale, among other lesser raptidons and mantids. Things aren’t any better outside the gates, and you’ll need to follow the road northeast until it ends, then pass through the wilderness of the Sulfur Pits as you continue east and north, harassed by raptidons and mantids the entire way. That’s not to say there’s not a lot of loot along the way, including numerous bins filled with much-needed ammo, but the trip is at best arduous and at Supernova difficulty it should be avoided entirely.
If you want to get through this in a timely manner, you can likely just sprint through and bypass most of the enemies. If you fight, expect to repair your gear numerous times along the way - the enemy really are that numerous. In addition to the aforementioned bins, you’ll also be treated to the odd “Mega” enemy, which are walking treasure chests in their own right… if you can bring them down, of course. Unless you’re terribly over-leveled, each group of foes can easily be worth several thousand XP (especially if you’re graced by the presence of a “Mega” foe), and if you clear the way from Cascadia to Stellar Bay you could easily level up at least once. All in all, there’s a lot to be gained by exploring the route from Cascadia to the northeast, but the levels of your foes will range from the low twenties to the high teens, are densely populated and include incredibly dangerous specimens.
As for specific points of interest along the way, here are several:
– Along the northwestern end of Cascadia you’ll find a small guard building, inside of which you’ll find a datapad detailing potential security weaknesses, which the raptidons may well have exploited. You can also find the unique Purpleberry Police helmet in a bin, which reduces bribery costs by 10%.
– In bottling plant (a large, central building that can be access through a bay door) you’ll find numerous raptidons, lending credence to the info on the datapad found above. Pick a locked [Lockpick 100] door to find a small room with a safe [Lockpick 65], which in turn contains the Purpleberry Police armor, which comes with the Laminated, Electro-Charged Surface and Geographic Scanner mods, and boosts Stealth skills by +5.
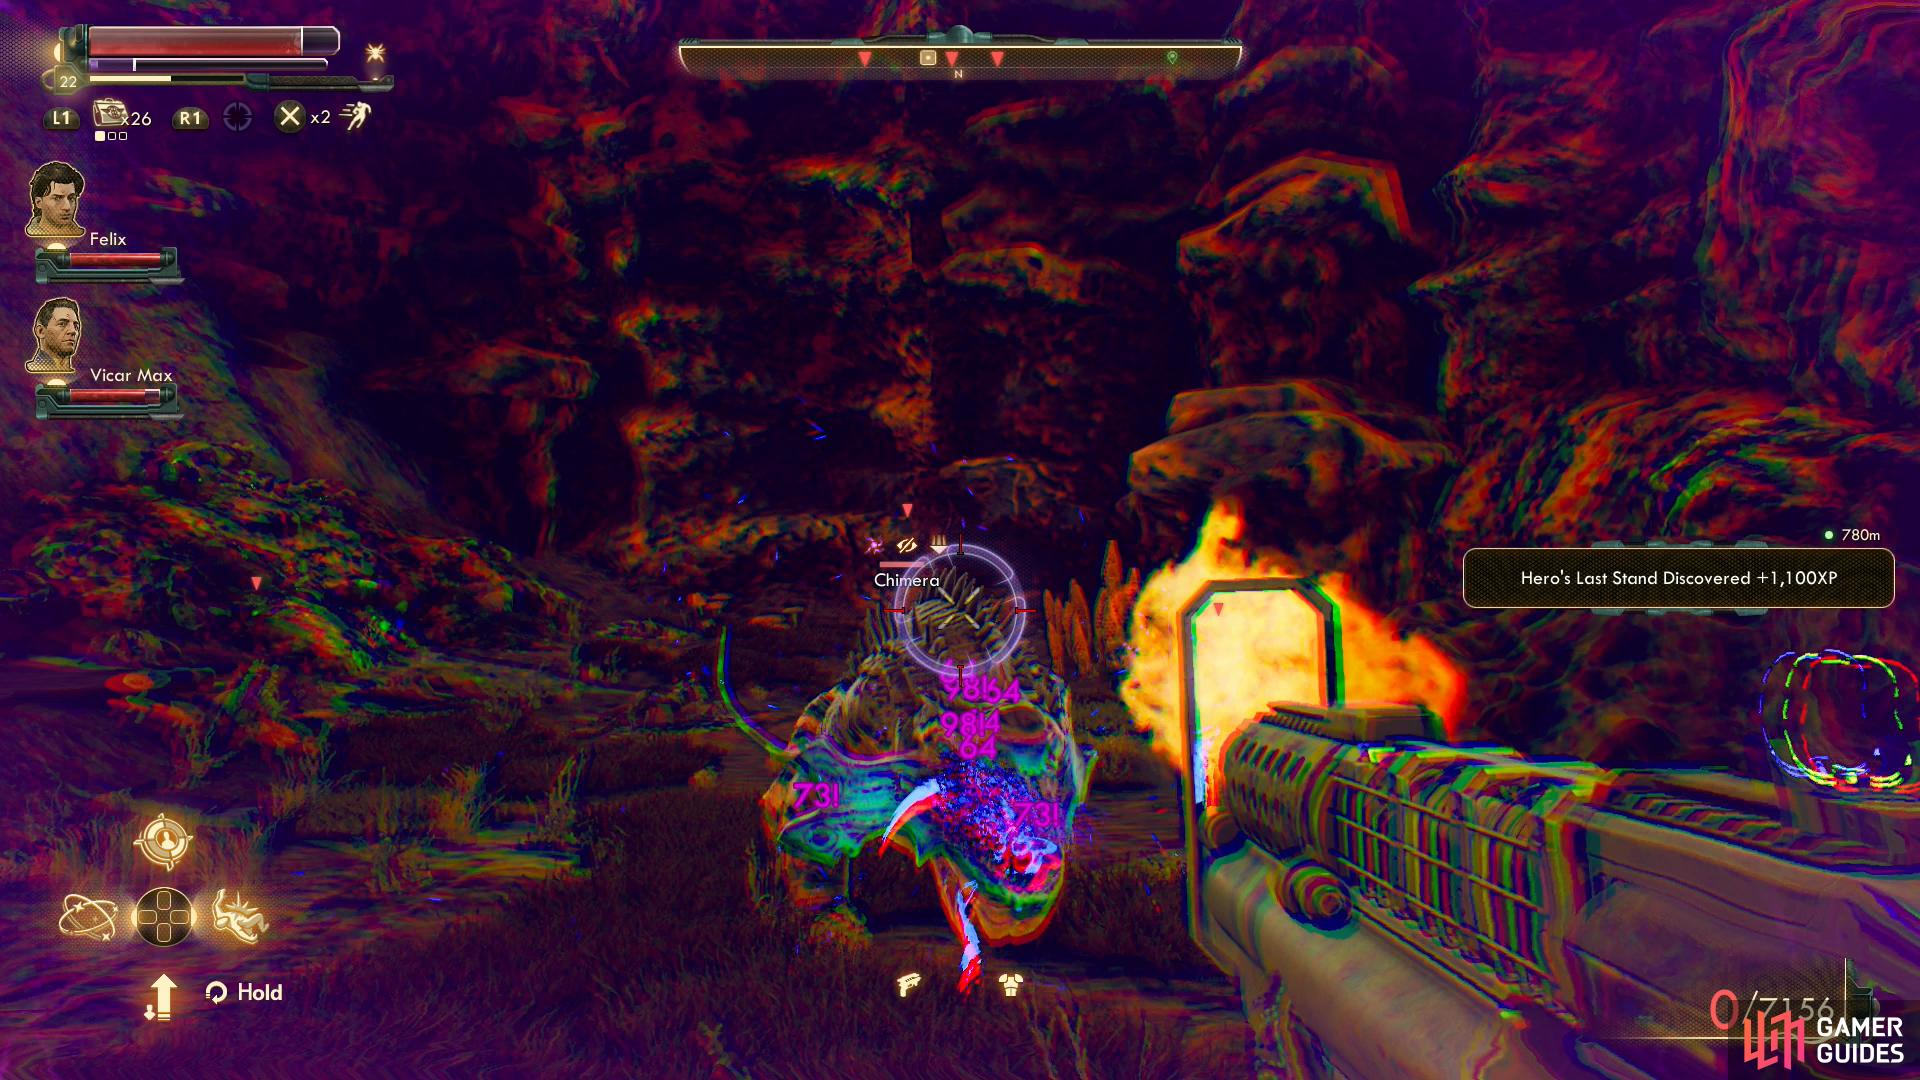
Kill another unique raptidon, Chimera,
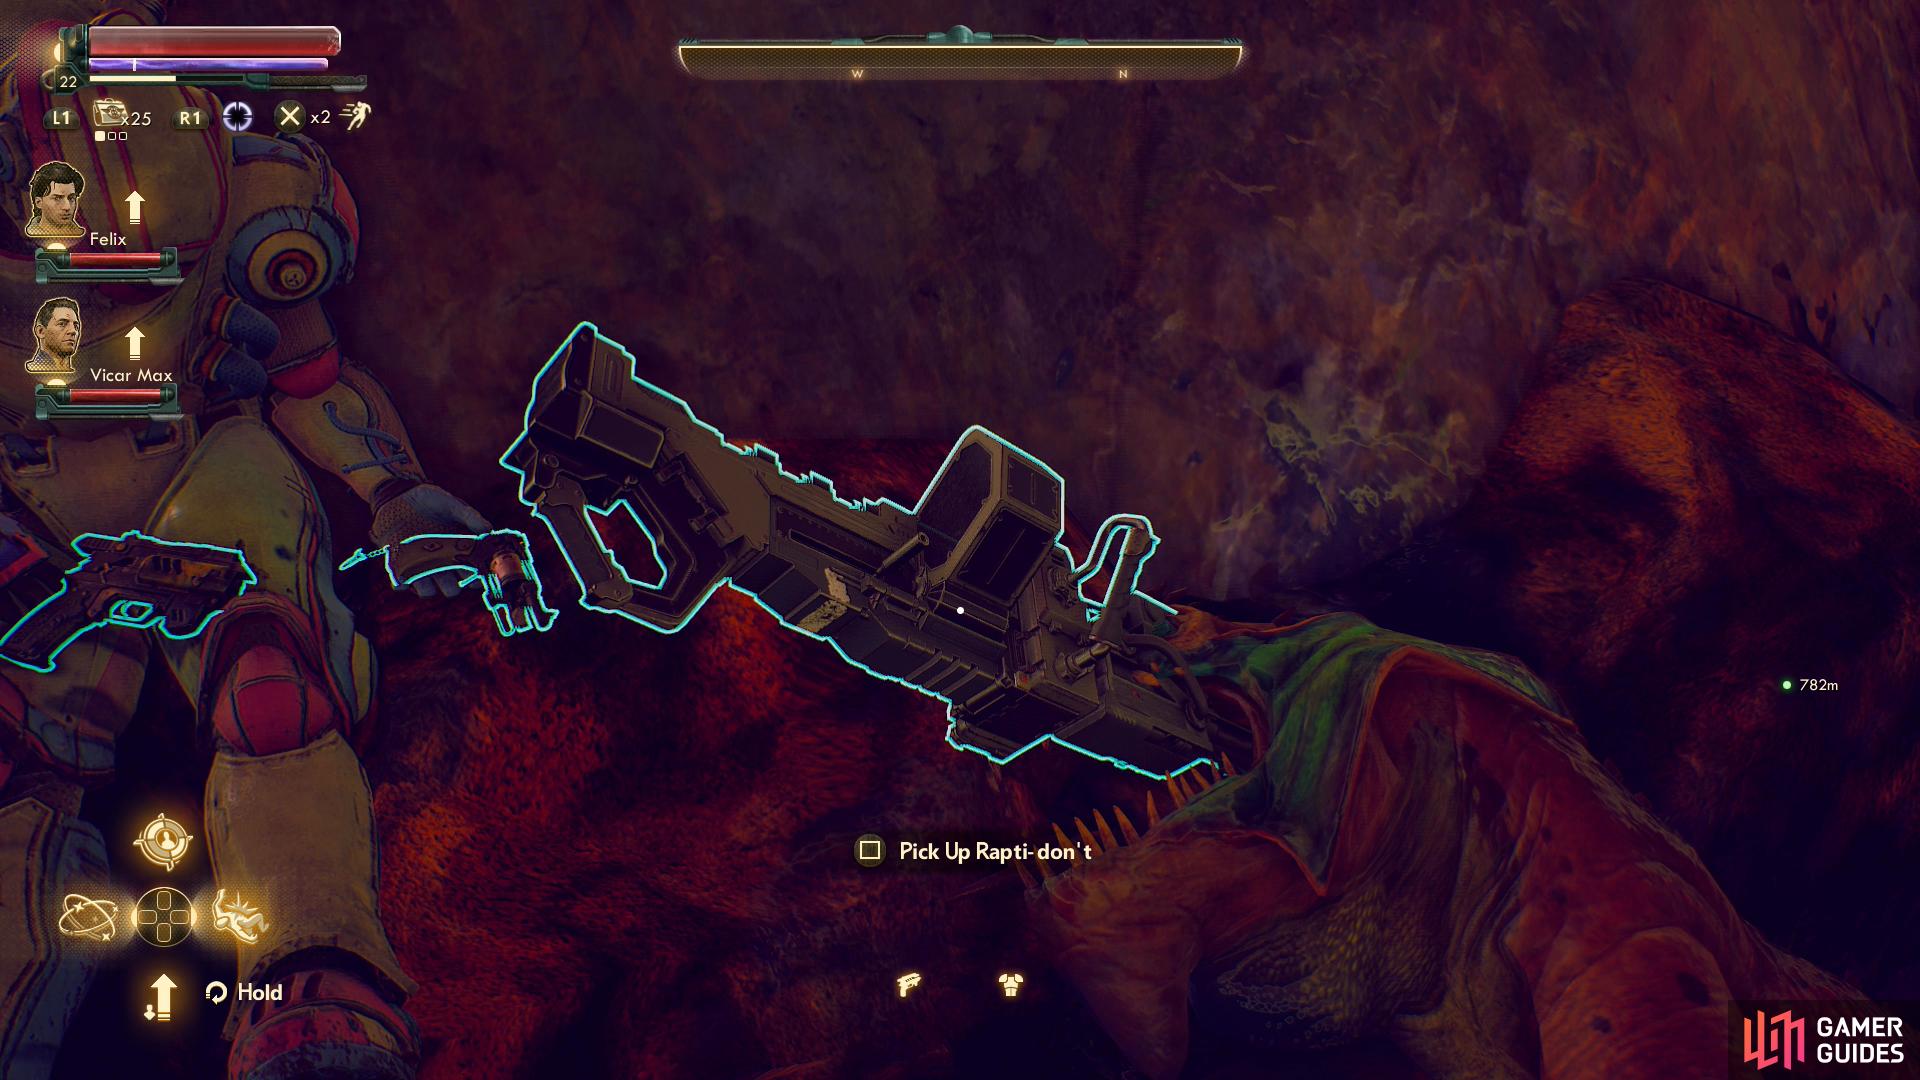
then pick up the unique machinegun Rapti-Don’t from atop a pile of corpses.
– At the northern end of the Sulfur Pits area (which itself is just north of where the road ends) you’ll find the Hero’s Last Stand point of interest, which is the den of another unique raptidon named Chimera. Kill it and its brood, then loot a pile of corpses to find the unique light machinegun, Rapti-don’t, which deals plasma damage thanks to its Mag-2-Power mod. Not a bad get, really.
– East of the Sulfur Pits you’ll find the Terra One Publications building, which you may need to visit for the quest Pay for the Printer later on. For the sake of continuity we’ll assume you’re not exploring it yet, but finding it will give you a fast travel point, for what that’s worth.
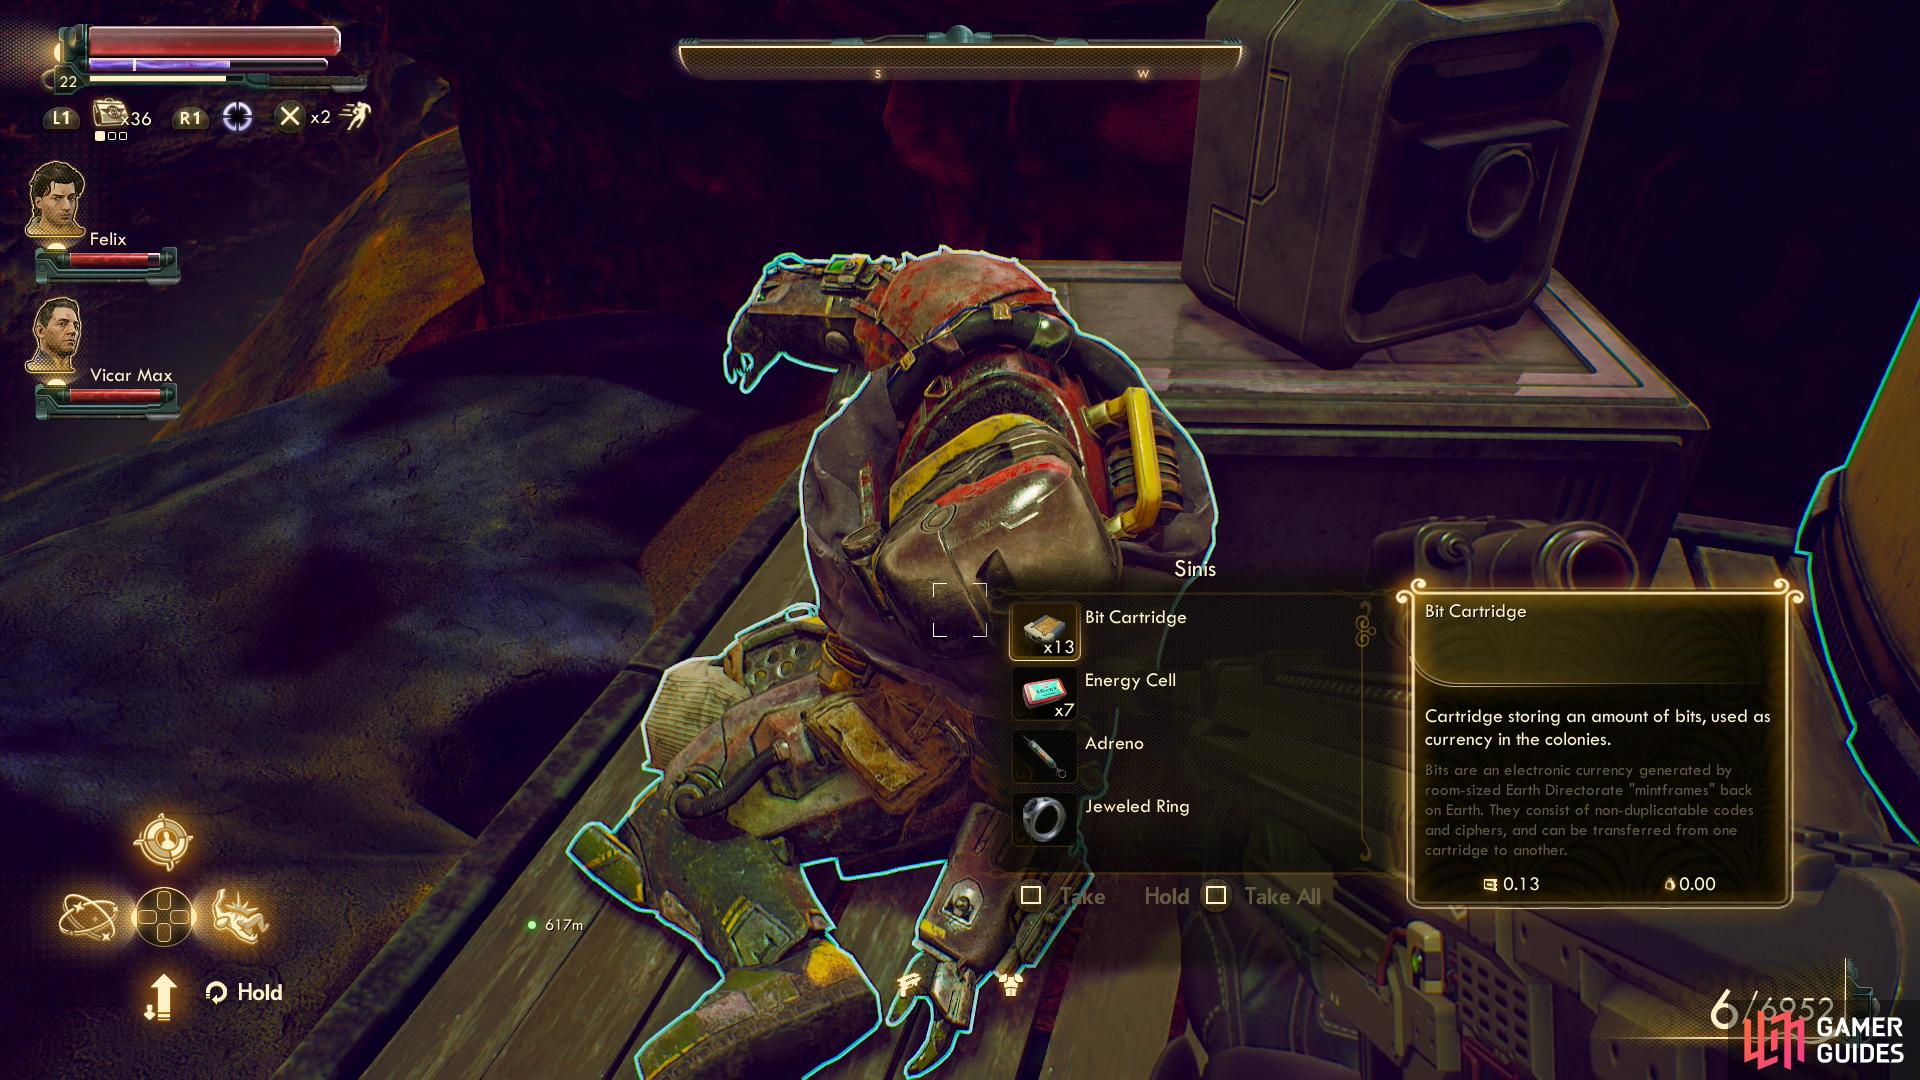
(1 of 4) At a marauder camp you’ll find a named marauder named Sinis, who… apparently isn’t special.
– South of Terra One Publications you can find a rather large marauder settlement. Although the marauders are numerous, you tend to be able to engage them in small groups, especially if you use stealth to pick a few off at a time. There’s a named marauder named Sinis here, but he doesn’t seem to be part of any quests nor does he have anything unique on him. You can, however, loot a bin near him to find the Marauder Survivalist Armor. It comes with the Insulated, Chrono-Field Aggregator and Nightingale Step mods.
There’s also a building that used to be a pub in this settlement (it’s the only building you can enter). Head upstairs and out onto a balcony, pick a locked door [Lockpick 55] and search a safe to find the Raider Survivalist’s Helmet, a rare helmet that causes sneak attacks to ignore 10% of the target’s armor. Not so useful for high-damage rifles, but for a shotgun, it can increase damage appreciably.
Once you’re past (northeast of) the Terra One Publications building, things will become much easier, as the enemies are typically lower level (mid-teens) and less dense… although to be fair, few places in The Outer Worlds have the sheer enemy density of the Sulfur Pits. You’ll just need to travel through some abandoned suburbs outside of Stellar Bay which are now swarming with relatively weak raptidons and cross the bridge to Stellar Bay.
While the ammo, XP and other rewards are nice enough, the ground trip from Cascadia to Stellar Bay is less of a reasonable alternative to getting a Stellar Bay Navkey as it is a vanity for the already powerful loot and XP obsessed players who want to make the run.
However you get to Stellar Bay we’ll pick up from there.

Contact(s) in Stellar Bay
Get to Stellar Bay by whatever means you can, and for the sake of continuity we’ll assume you’re coming from the landing pad in the northeastern edge of Stellar Bay. Ride the elevator down if you need to, then talk to a guard named Grimm when he hails you to learn about the UDL dropships that have Monarch blockaded. Allowing him to act as the welcoming party will earn you a tiny bit of positive reputation with MSI, and he’ll repeatedly drop the name “Sanjar”. Probably somebody worth talking to… eventually. As you go to leave, Grimm will ask you to run an errand for him. What is it with guards asking you to perform menial tasks for them? In any event, this starts the quest The Grimm Tomorrow.
Head down the street to the south to find a bar, “The Yacht Club”. Can’t imagine there are too many yachts on Monarch… anyways, this is where Nyoka wallows, and if you only have the quest Radio Free Monarch, this is where you want to go. On the other hand, if you have Signal Point in Space you’ll want to talk to Everett Gill, first. He wastes his time in a less flashy bar around the corner, just follow the “road” to the east and turn the corner to the south. To your right (west) you should spot a large, well-guarded building in which Sanjar does… whatever menial corporate castaways do. Continue down the nearby street to the west, passing by the weapon shop of one Zeng Shuren, complete with a work bench and everything!
From Zeng’s shop, the unmarked pub you’re looking for is the third building to the right, the last (westernmost) and only enterable building on this side of the street. Enter and talk to Everett Gill and if you refuse to say the passphrase, “The kindapine grows by night.” you can get a [Persuade 35] check to bypass it. Useful information you an get from Gill includes your destination - Devil’s Peak, some crude directions, the names of the groups responsible for the broadcasts (the Iconoclasts and MSI) and referral to a guide… Nyoka.
Yep, regardless what path you take, you’ll be encouraged to seek out Nyoka regardless. You don’t have to do this, of course, you can make your way there on foot just fine… well, maybe not just fine, but it’s no less difficult with Nyoka. Still, the more help the better, so we might as well check it out. It’s also worth noting that completing this objective was worth some XP, however pointless it ultimately was.
Anyways, make your way to The Yacht Club and talk to Nyoka, where she’s living up to her reputation for being a drunkard well enough. Put up with the drunk-acting and she’ll tell you that she’ll help guide you to Devil’s Peak… if you help her sober up. Naturally she wants to achieve this by taking some other drugs to counteract the poison she already consumed. Agree to help her to start the quest Passion Pills. You’ll need to do this before continuing with the current quest… well, not really, but if you want to tidy up each quest objective, skip to the relevant page, complete Passion Pills, then return to this page.
Now that you have a guide, you’re ready to leave Stellar Bay and head to Devil’s Peak, right? Right, but we’d be remiss if, as per the norm, we didn’t point out various quests and points of interest in Stellar Bay. Check out the following “Exploring Stellar Bay” header if you care to, otherwise continue on with “The Journey to Devil’s Peak”.
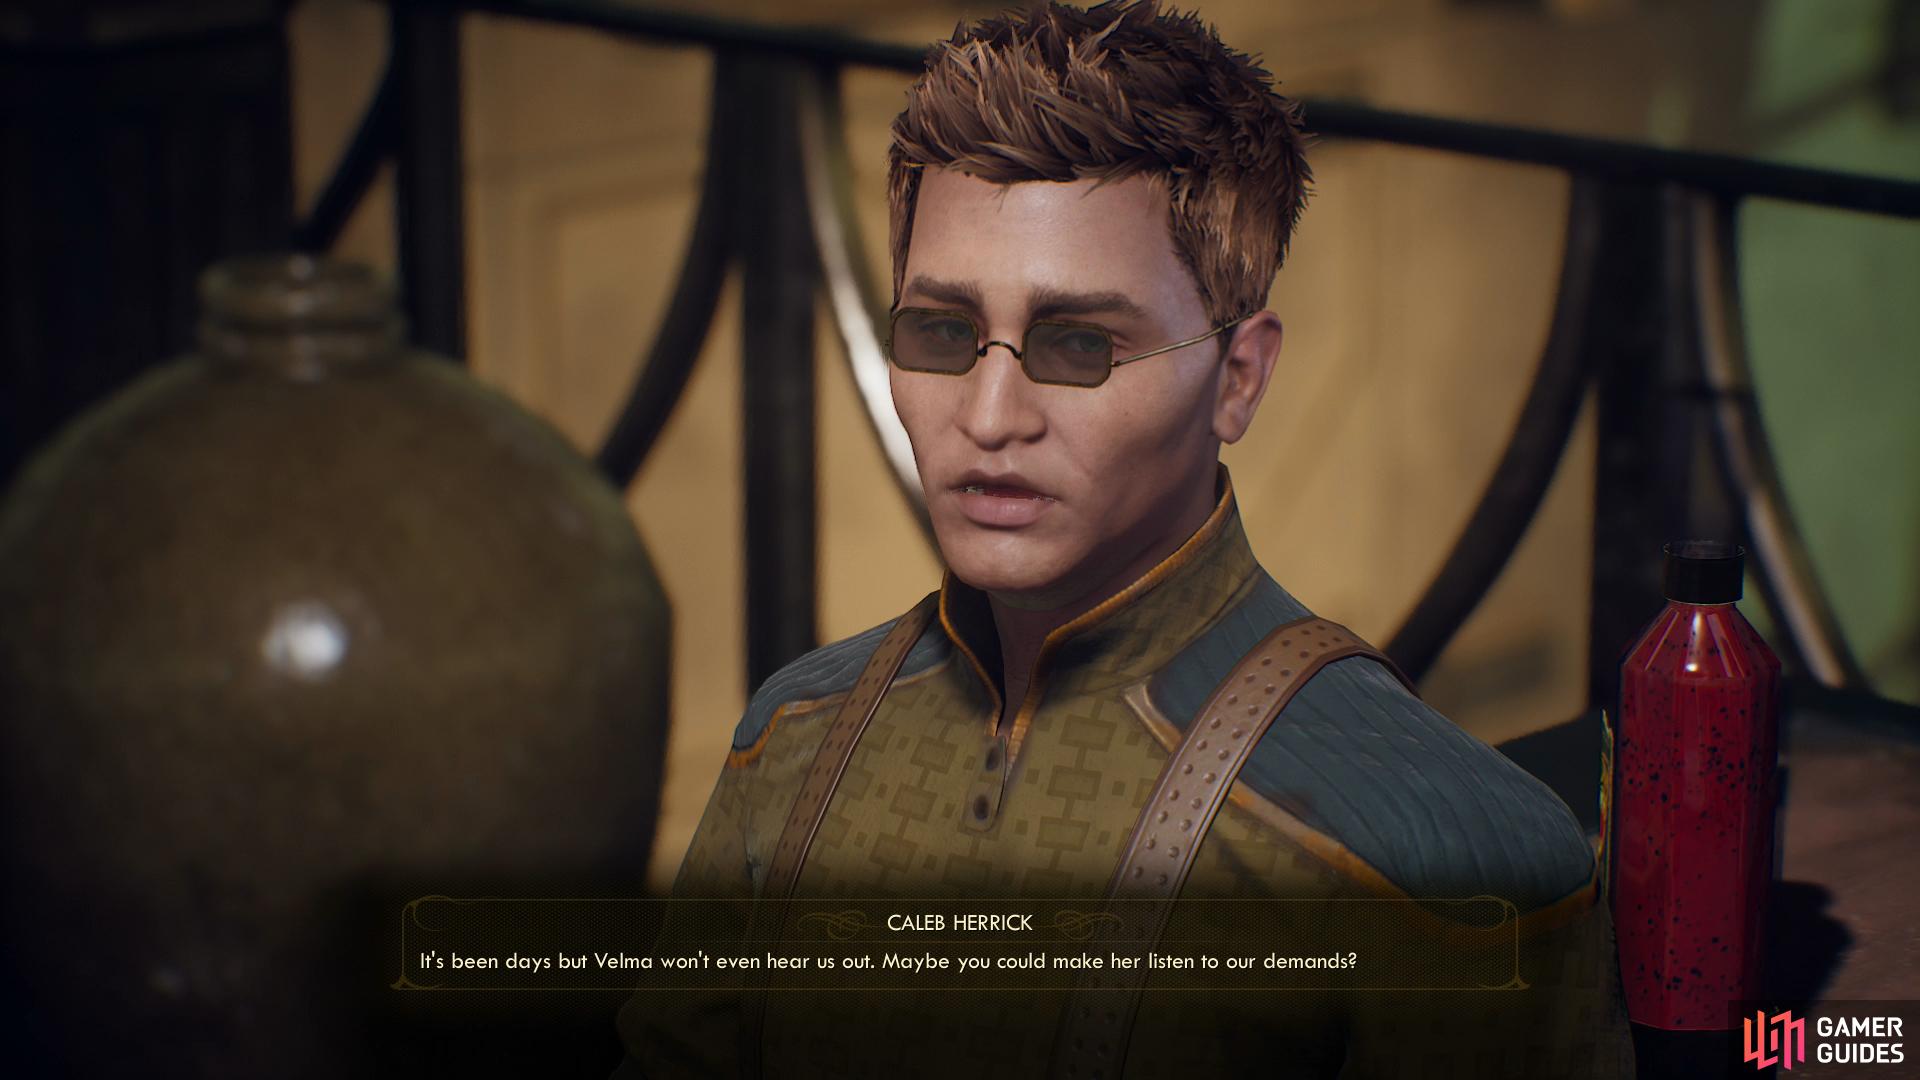
You can start the quest “Herrick’s Handiwork” by talking to Herrick himself
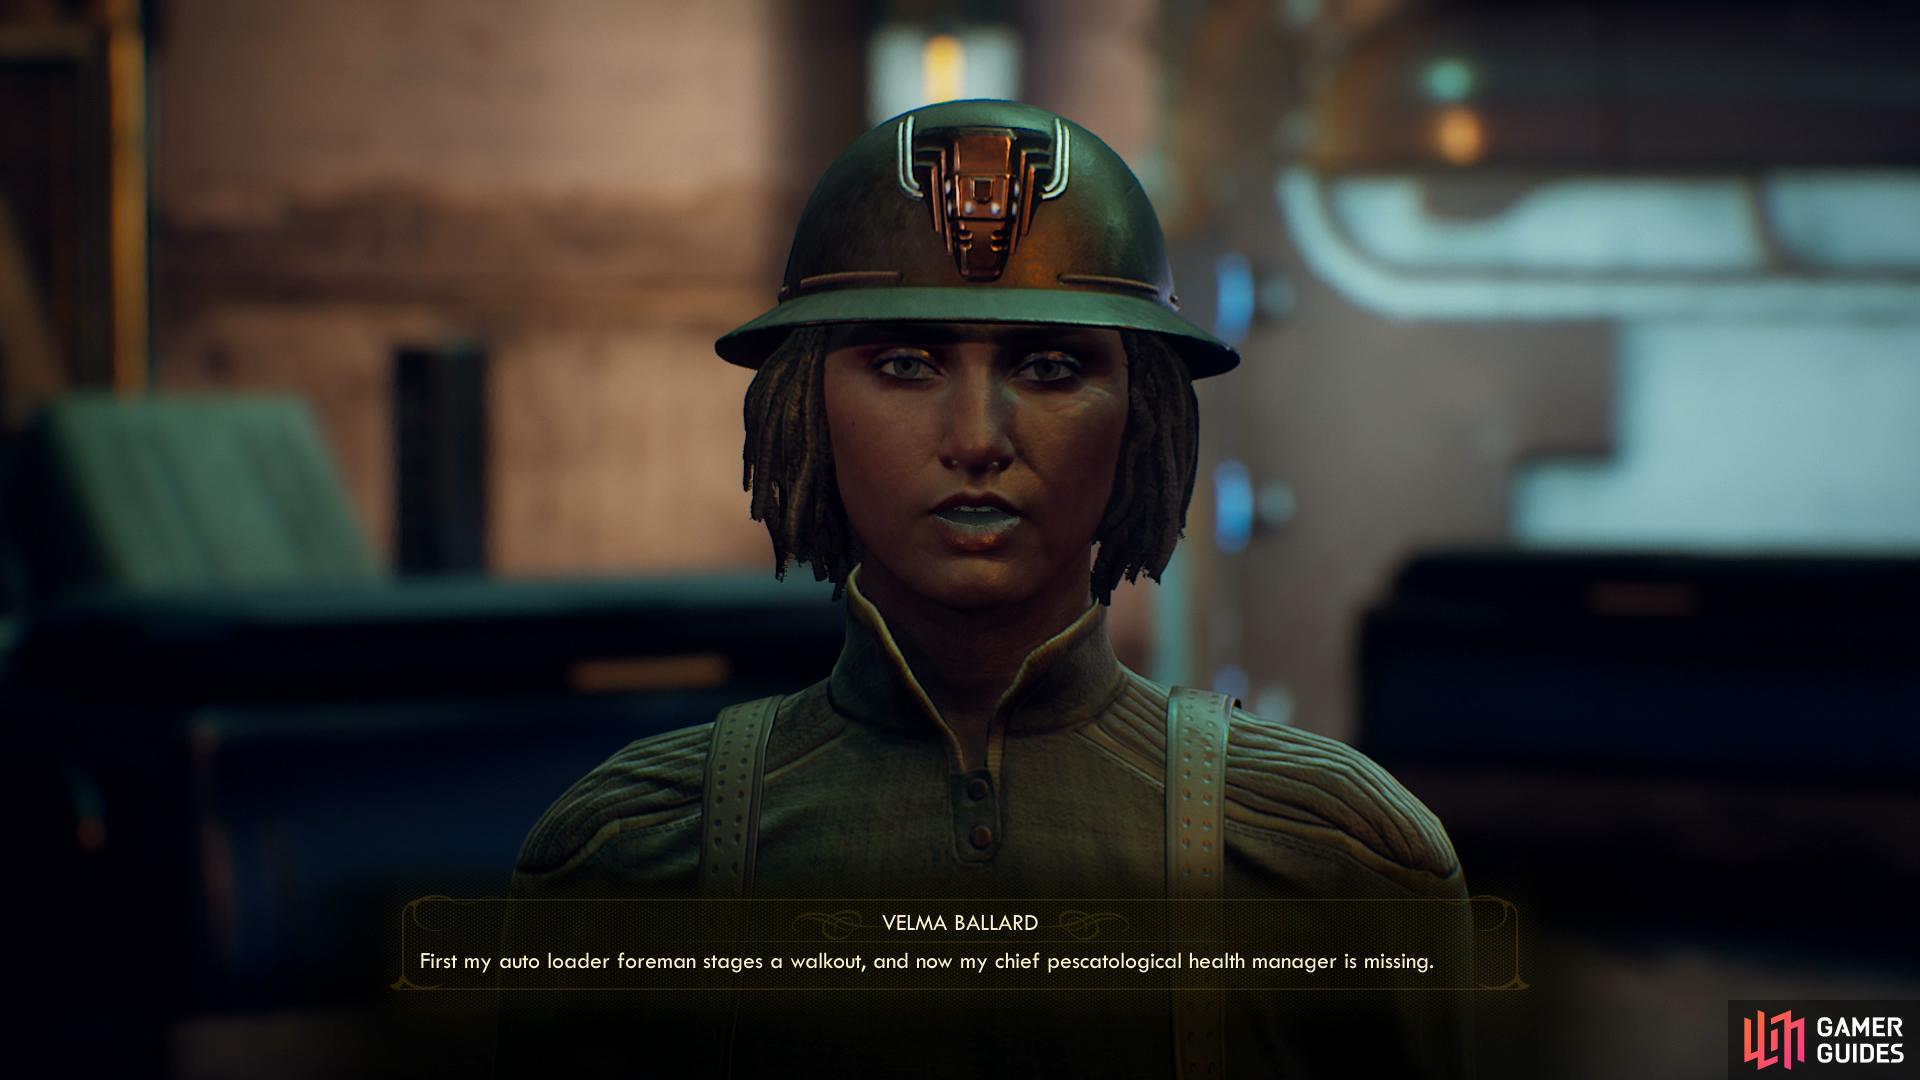
or his overseer, Velma.
Exploring Stellar Bay
Once you’re done with Passion Pills (or you decide you don’t care to bother with it, for whatever reason), it’s time to see what other quests and points of interest lie around Stellar Bay:
– Head to the top floor of The Yacht Club and exit onto the balcony to find a resting Caleb Herrick. He’ll give you the quest Herrick’s Handiwork.
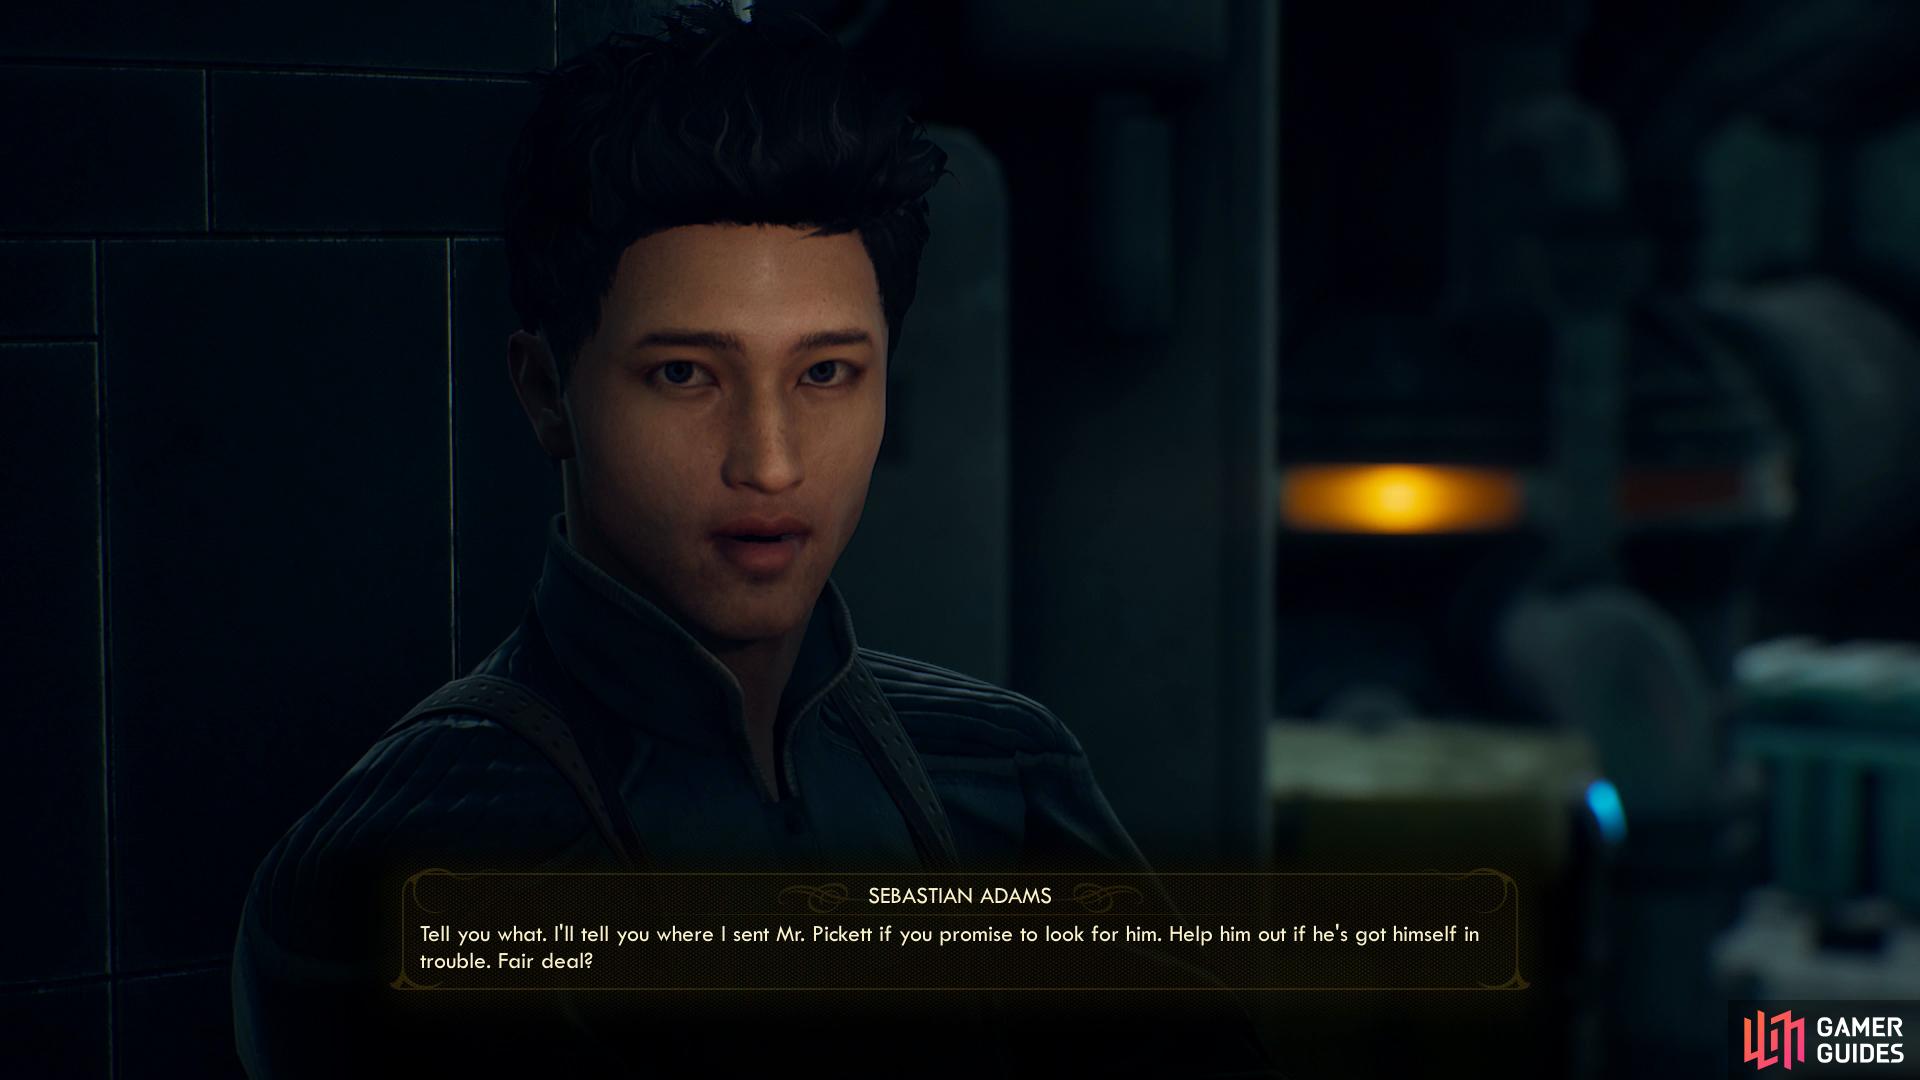
Talk to Sebastian to start “Mr. PIckett’s Biggest Game”
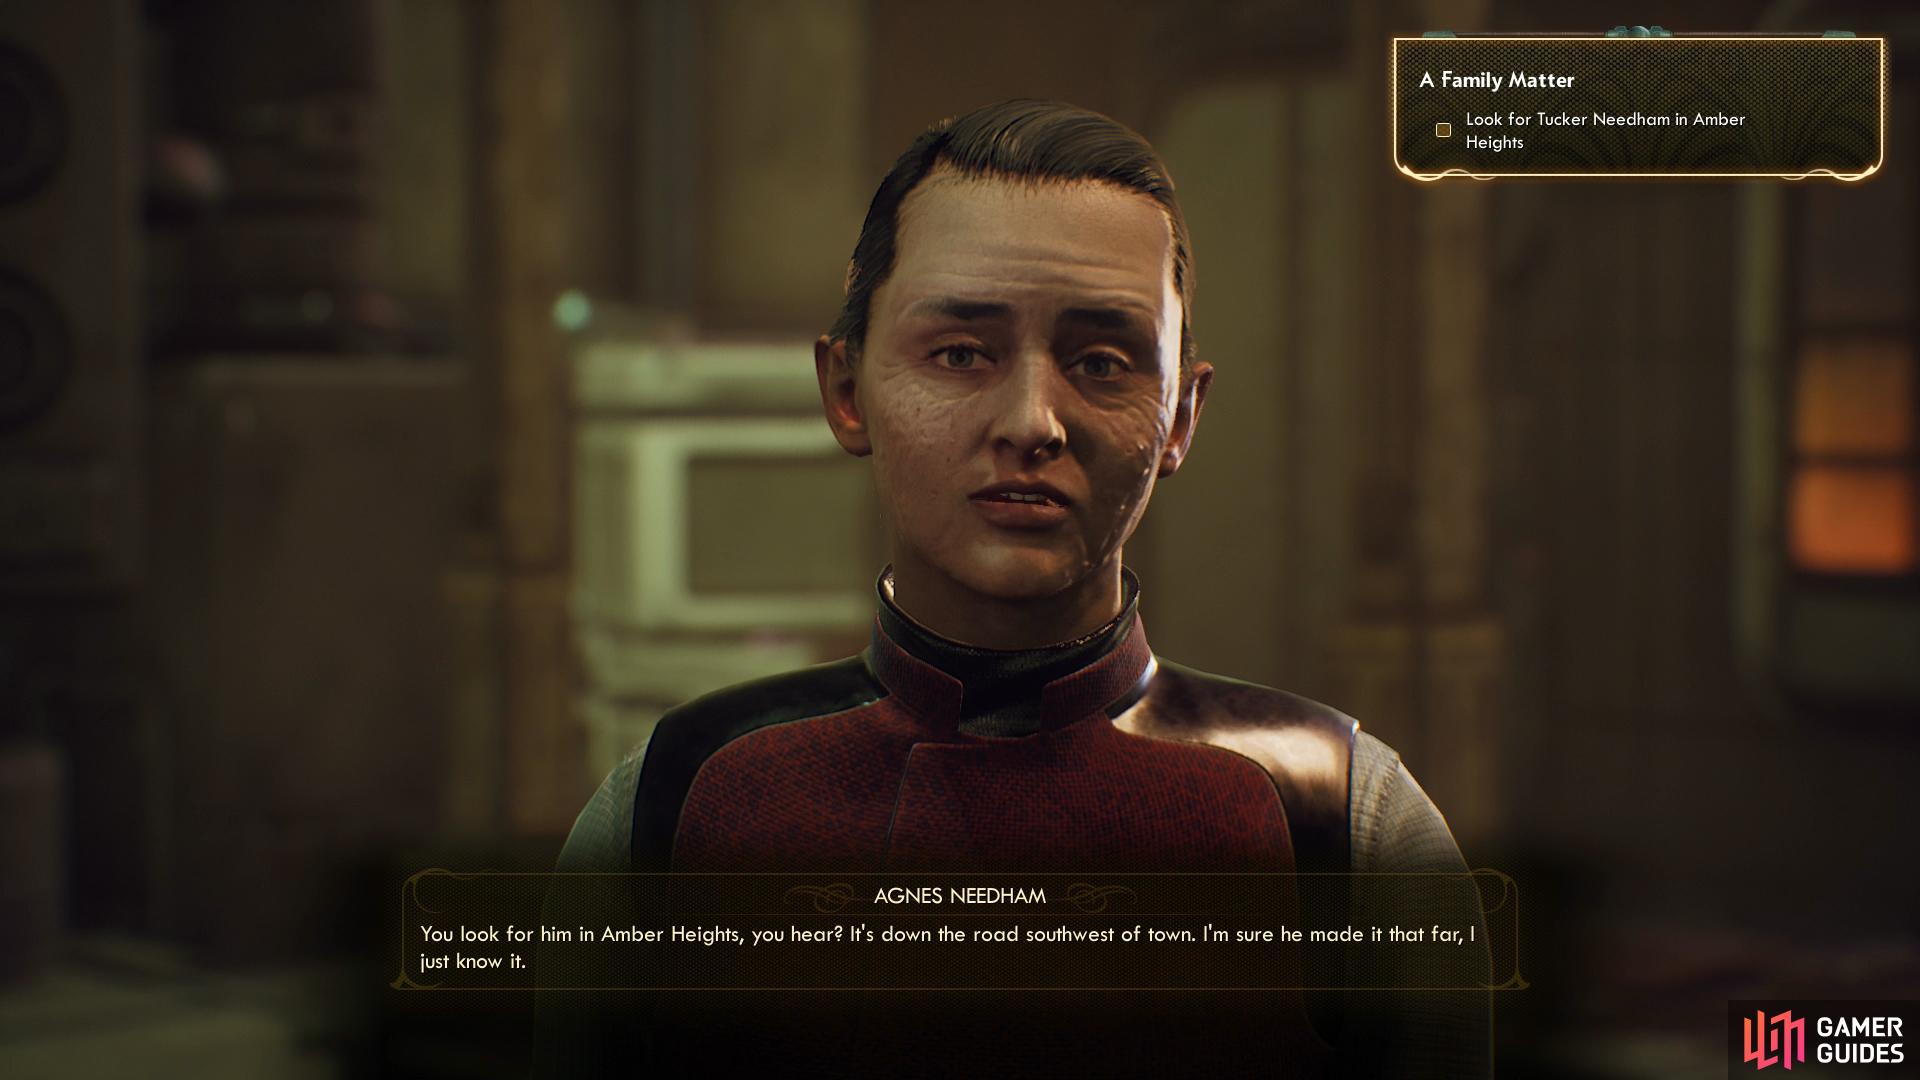
and Agnes to start “A Family Matter”.
– East of the MSI building where Sanjar resides (and Zeng Shuren’s shop, for that matter) you’ll find Sebastian Adams, who will sell you various beastie bits from mantisaurs and raptidons. He’ll also give you the quest Mr. Pickett’s Biggest Game.
– Near the southeastern gate you’ll find Agnes Needham, who is wonderfully hyperbolic. Agree to help her find her son to start the quest A Family Matter.
– From the southeastern gate of Stellar Bay head down the street to the west to find Talmadge Kerr screaming bloody murder. Or, well, rather screaming about a bloody murder. Ask him what happened, then head into the apartment complex, south down a hallway between some stairs and vending machines, then left (east) through a doorway. Merely entering the apartment here is enough to start the quest The Stainless Steel Rat.
– Enter the fishery warehouse (the large building along the northern end of the building) and talk to Velma, who will immediately start complaining about some Catherine. Pass a [Lie 20] check for some XP if you can, and lie or no Velma will continue to vent about her problems, which include a worker strike and her missing pescatological health manager. In the former case she’s referring to Caleb Herrick and his crew, and you can start the quest Herrick’s Handiwork by talking to Velma as well as Caleb. If you ask about her missing employee she’ll give you the quest The Secret People.
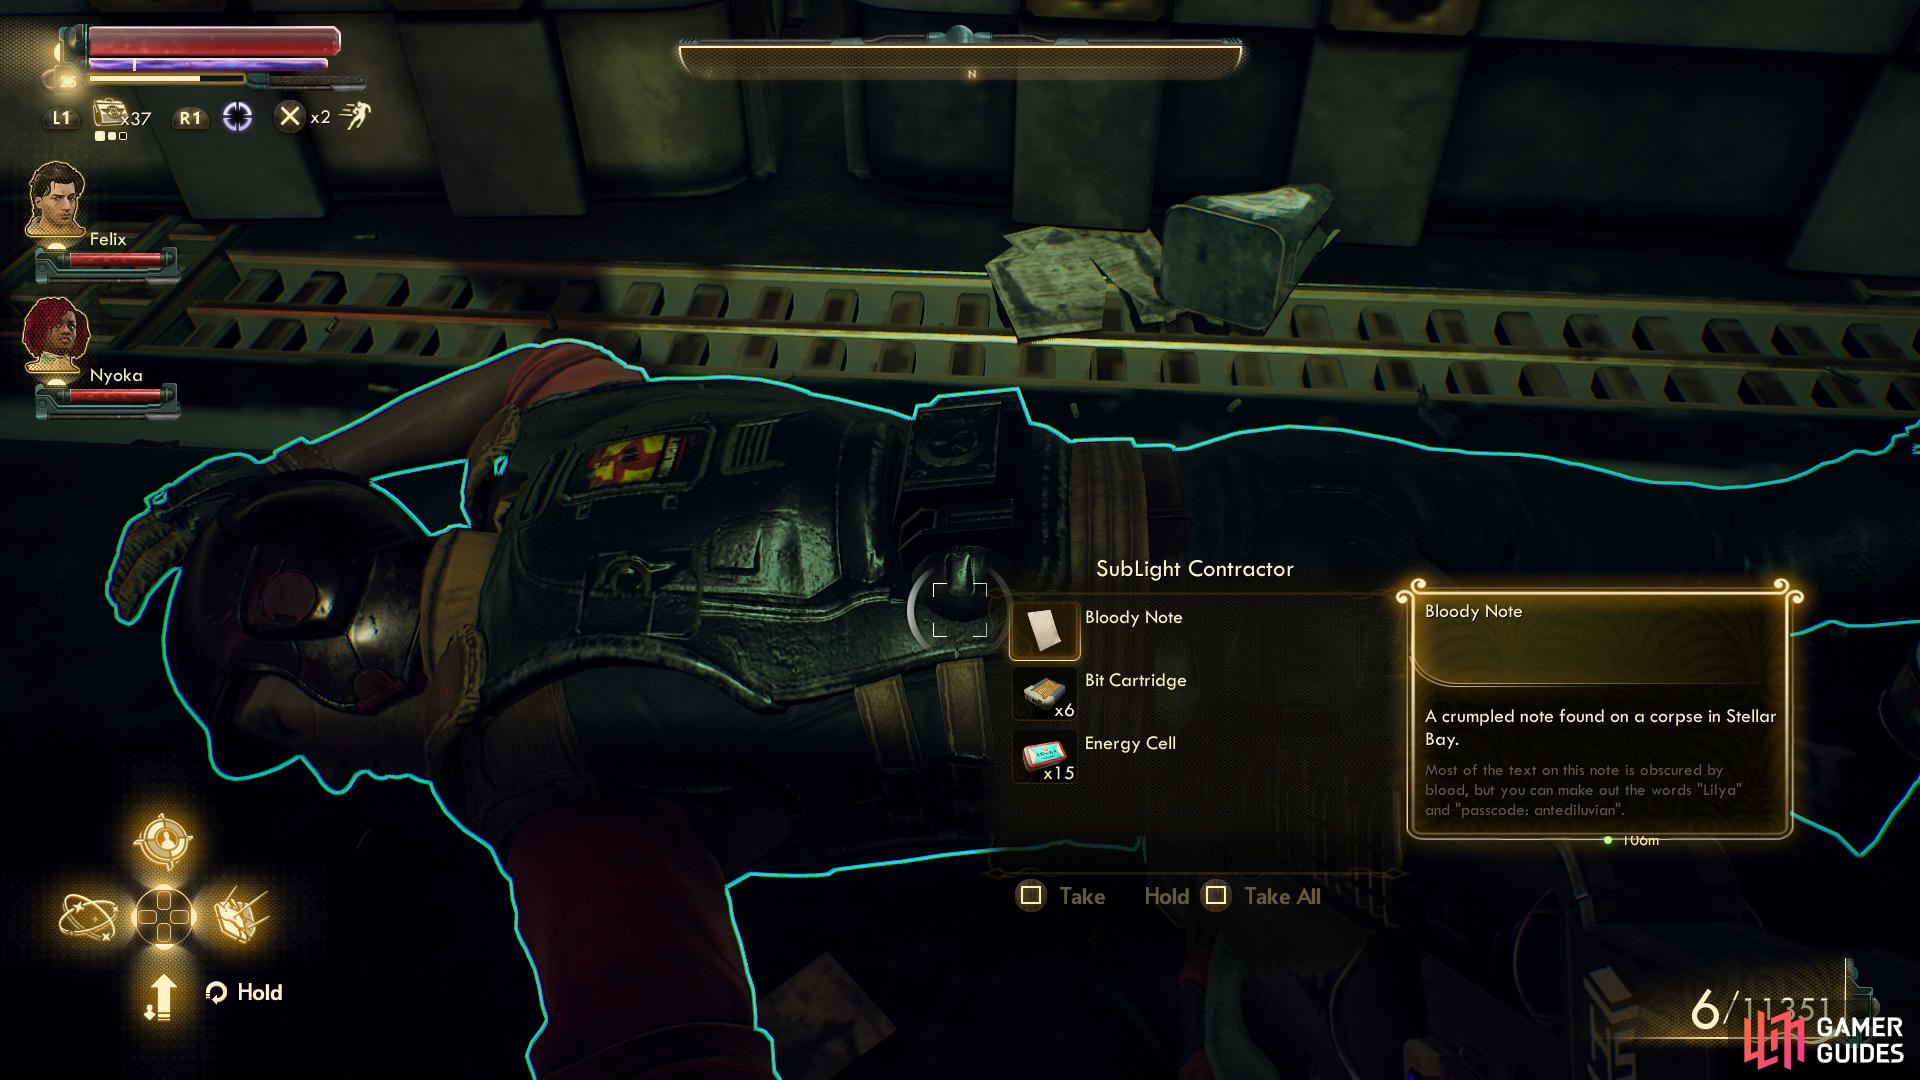
– Exit the fishery warehouse via the northern exit to reach the edge of the fishery itself, If you search the southwestern edge of the exterior area outside the fishery you’ll find a corpse with a Bloody Note on it, which is part of the quest Space-Crime Continuum. Climb a ladder to the west of this corpse to find a bin and a SubLight ID Cartridge on the ground. This latter item will come in handy during the quest The Commuter.
– You can also search a bin behind the fishery warehouse to find a Broken Tossball Stick, which is an item useful in the quest The Stainless Steel Rat.
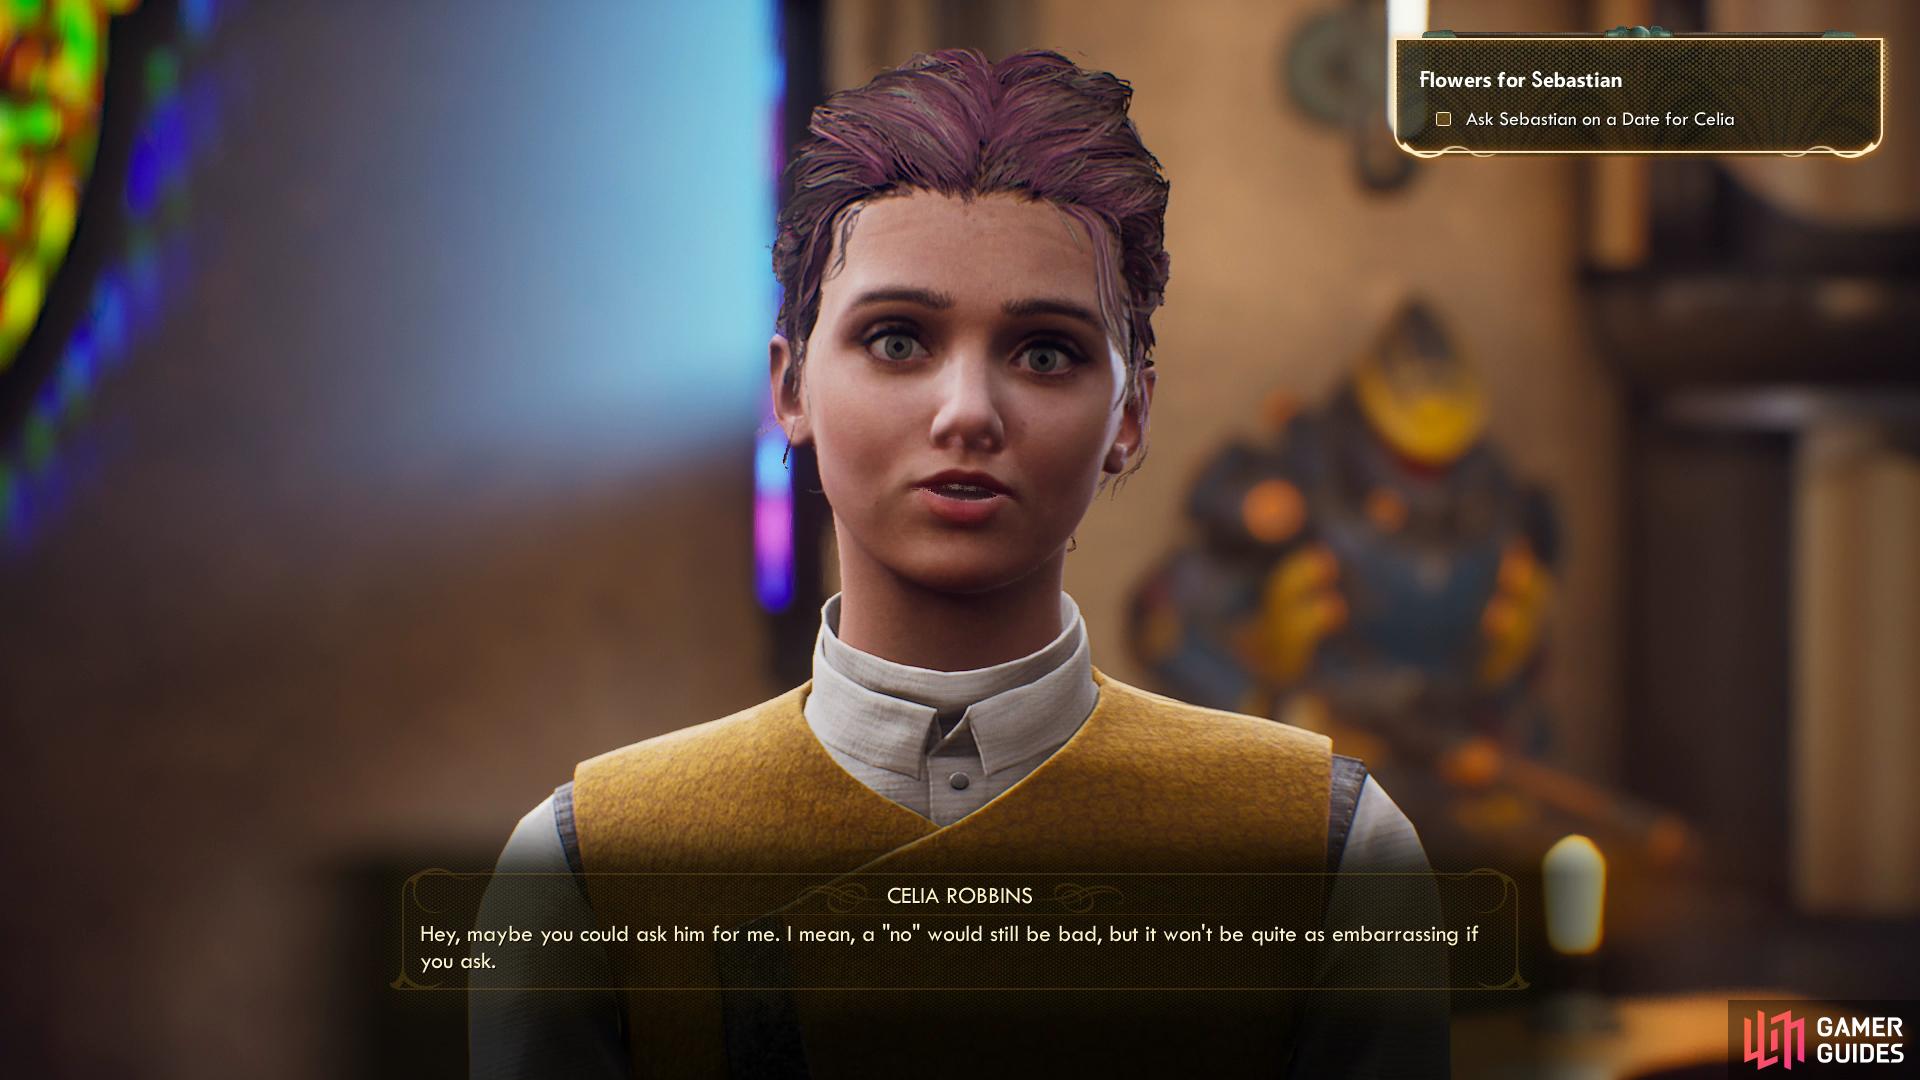
Talk to Celia and she’ll ask you to ask Sebastian out for her, starting “Flowers for Sebastian”.
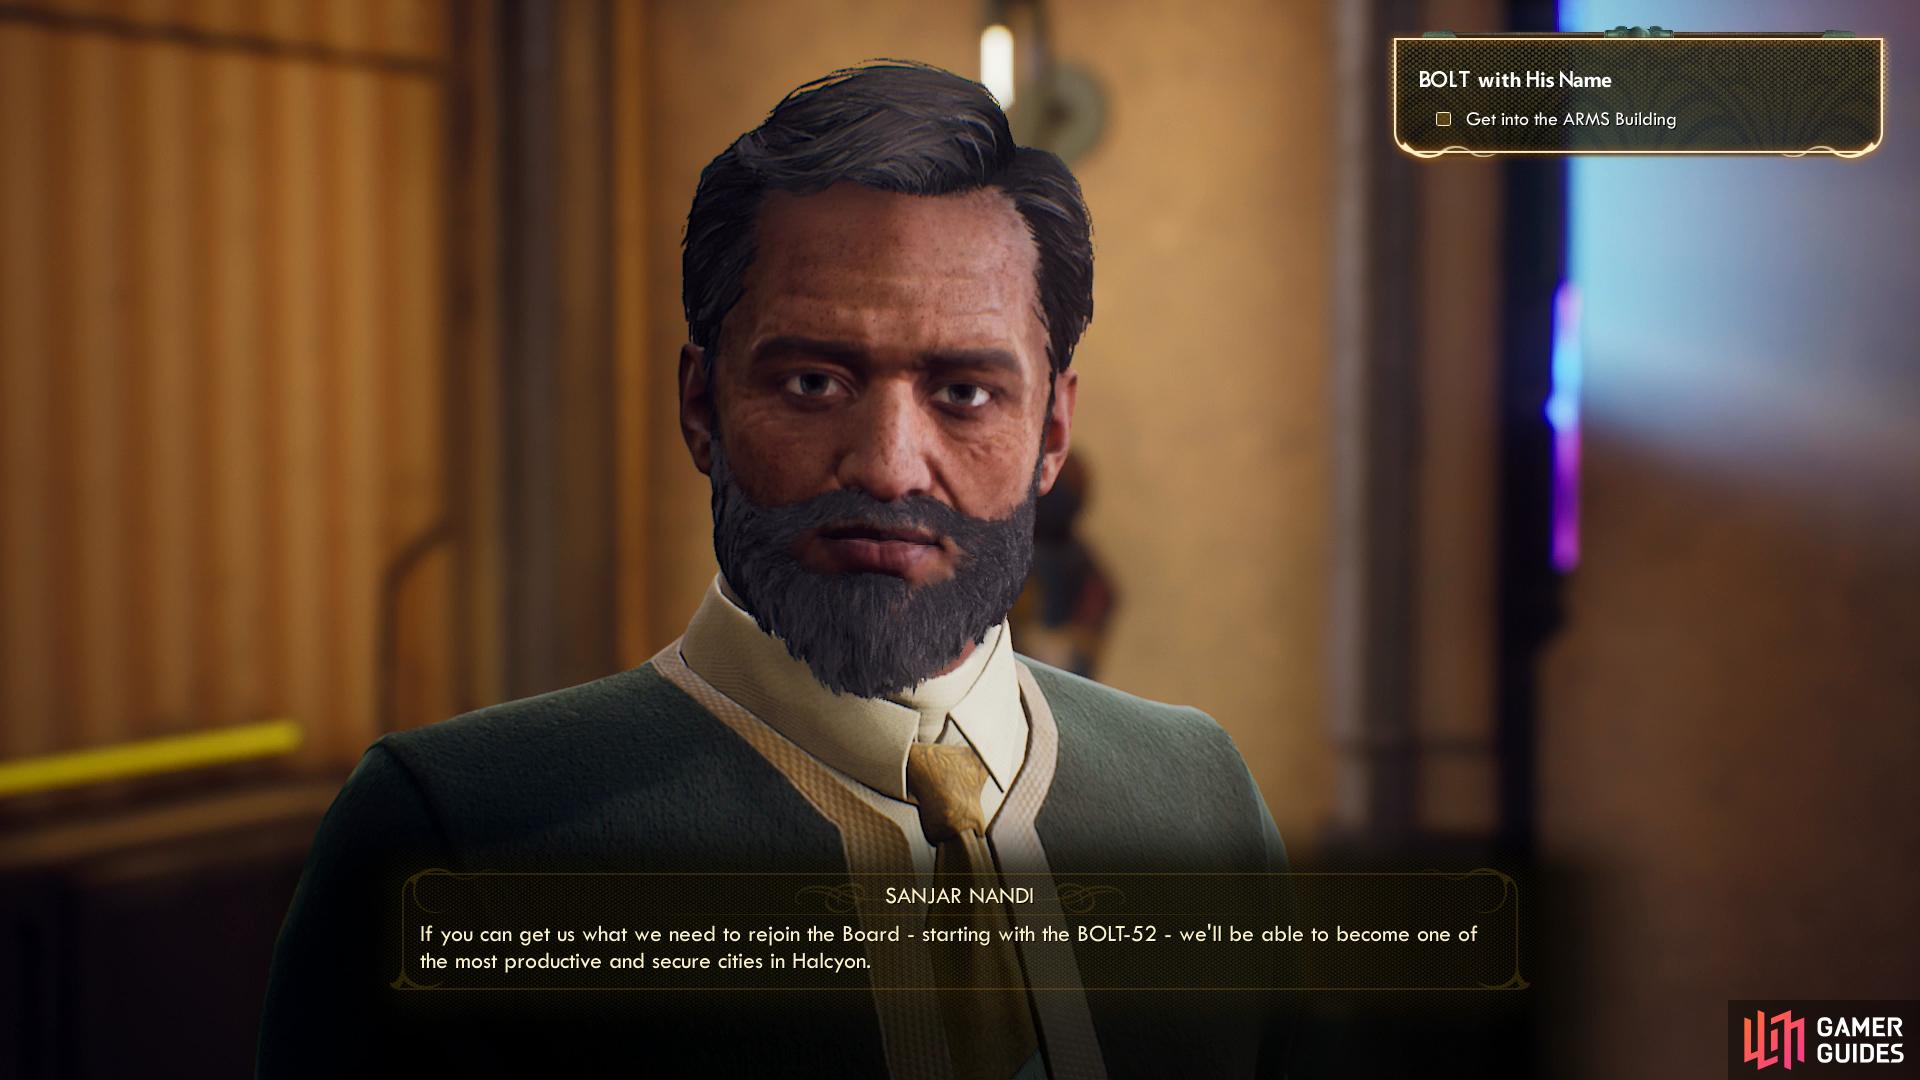
Sanjar’s scheme will start a much more important quest, “BOLT with His Name”.
– Enter the MSI building to find Sanjar Nandi and Celia Robbins. Talk to the latter and get her talking about Sebastian to start the quest Flowers For Sebastian. Weird woman.
– You can chat with Sanjar Nandi in the MSI building and, after much chatter, he’ll ask you to help see to shoring up Stellar Bay’s defenses by securing a BOLT-52 cartridge. This starts the faction quest BOLT with His Name, which is actually an objective to complete Radio Free Monarch and Signal Point in Space, although this won’t become obvious until you visit Devil’s Peak. There’s no harm in doing it whatsoever, but for the sake of continuity we’ll assume you’re leaving it until its proper place in the guide. While it’s not quest related, it’s also worth questioning Sanjar about MSI and Monarch, as he can provide much information and history that’ll help you understand Monarch, MSI and the Iconoclasts - information that might prove useful to you when it comes time to make certain decisions later on.
And there you have it - the quests in and around Stellar Bay. Well, most of them. Herrick’s Handiwork, The Stainless Steel Rat and Flowers for Sebastian can all be completed without setting foot out of Stellar Bay, if you want a chance to score some relatively safe an easy XP. The Secret People and BOLT with His Name both only require you to travel into the abandoned suburbs around Stellar Bay, where you’ll find relatively weak raptidons, making them easy quests to complete for even the moderately adventurous, while The Grimm Tomorrow may require travel, or just some skill checks, depending on your aptitudes and inclinations. Only Mr. Pickett’s Biggest Game requires you to travel far afield, and it’s likely the most perilous quest you’ll pick up in your first trip to Stellar Bay… which doesn’t necessarily make it hard, but if there’s one quest you might want to skip in Supernova difficulty, this is it. Then again, it’s nowhere near as dangerous a journey as the trip to Devil’s Peak will be.
It’s also worth noting that if you have Nyoka with you, you’ll be able to start her companion quest, Star-Crossed Troopers. She should ask to talk to you as soon as you set foot outside of Stellar Bay with her in your party. You should also be able to advance Parvati’s companion quest Don’t Bite the Sun now that you have access to Stellar Bay.
Anyways, do as many of these quests as you care to. When you’re ready to move on it’s time to go to Stellar Bay.
The Journey to Devil’s Peak - Bayside Terrance Ruins
Time to make the trek across Monarch! First, make sure your gear is in tip-top shape, as there’s a lot of fighting ahead. Having a level in the high-teens also won’t be a bad idea. You can usually avoid most fights by sneaking past them, veering off the road if you must, or by running past, as your build, capabilities and inclinations demand. We’ll leave those details up to you, but you should be prepared to deal with marauders, mantids, raptidons, canids… everything but primals, really. By now we were using a modified n-ray weapon, which performed well against the mobs we fought, but a cheaper alternative would be to use plasma for… almost everything, and corrosion for heavily armored foes (generally marauder ringleaders), mantids and automechanicals.
You can complete most of this journey by just following the road, and don’t be fooled by the map - there is no passage to Devil’s Peak from the north. There is a door, but it’s not all that close in the grand scheme of things, and it, too, is sealed from the north, so just follow the road.
From Stellar Bay, head southwest across the bridge and follow the road through the ruins. You’ll likely have to deal with some raptidons and marauders, and eventually the road will veer in an easterly directly, leading to the Bayside Terrace Ruins, which are occupied by canids. You may notice a switch on the southern end of the building here, but there’s nothing you can do with it just yet - it’s part of the quest Odd Jobs, and with any luck you’ll never need to bother with it. If you want another map marker that’s currently not very interesting, you can head uphill to the northeast and pass through a tunnel to reach the Bayside Terrace Warehouse. You’ll need to come back here during the quest The Commuter, but it can’t hurt to locate it now, eh?
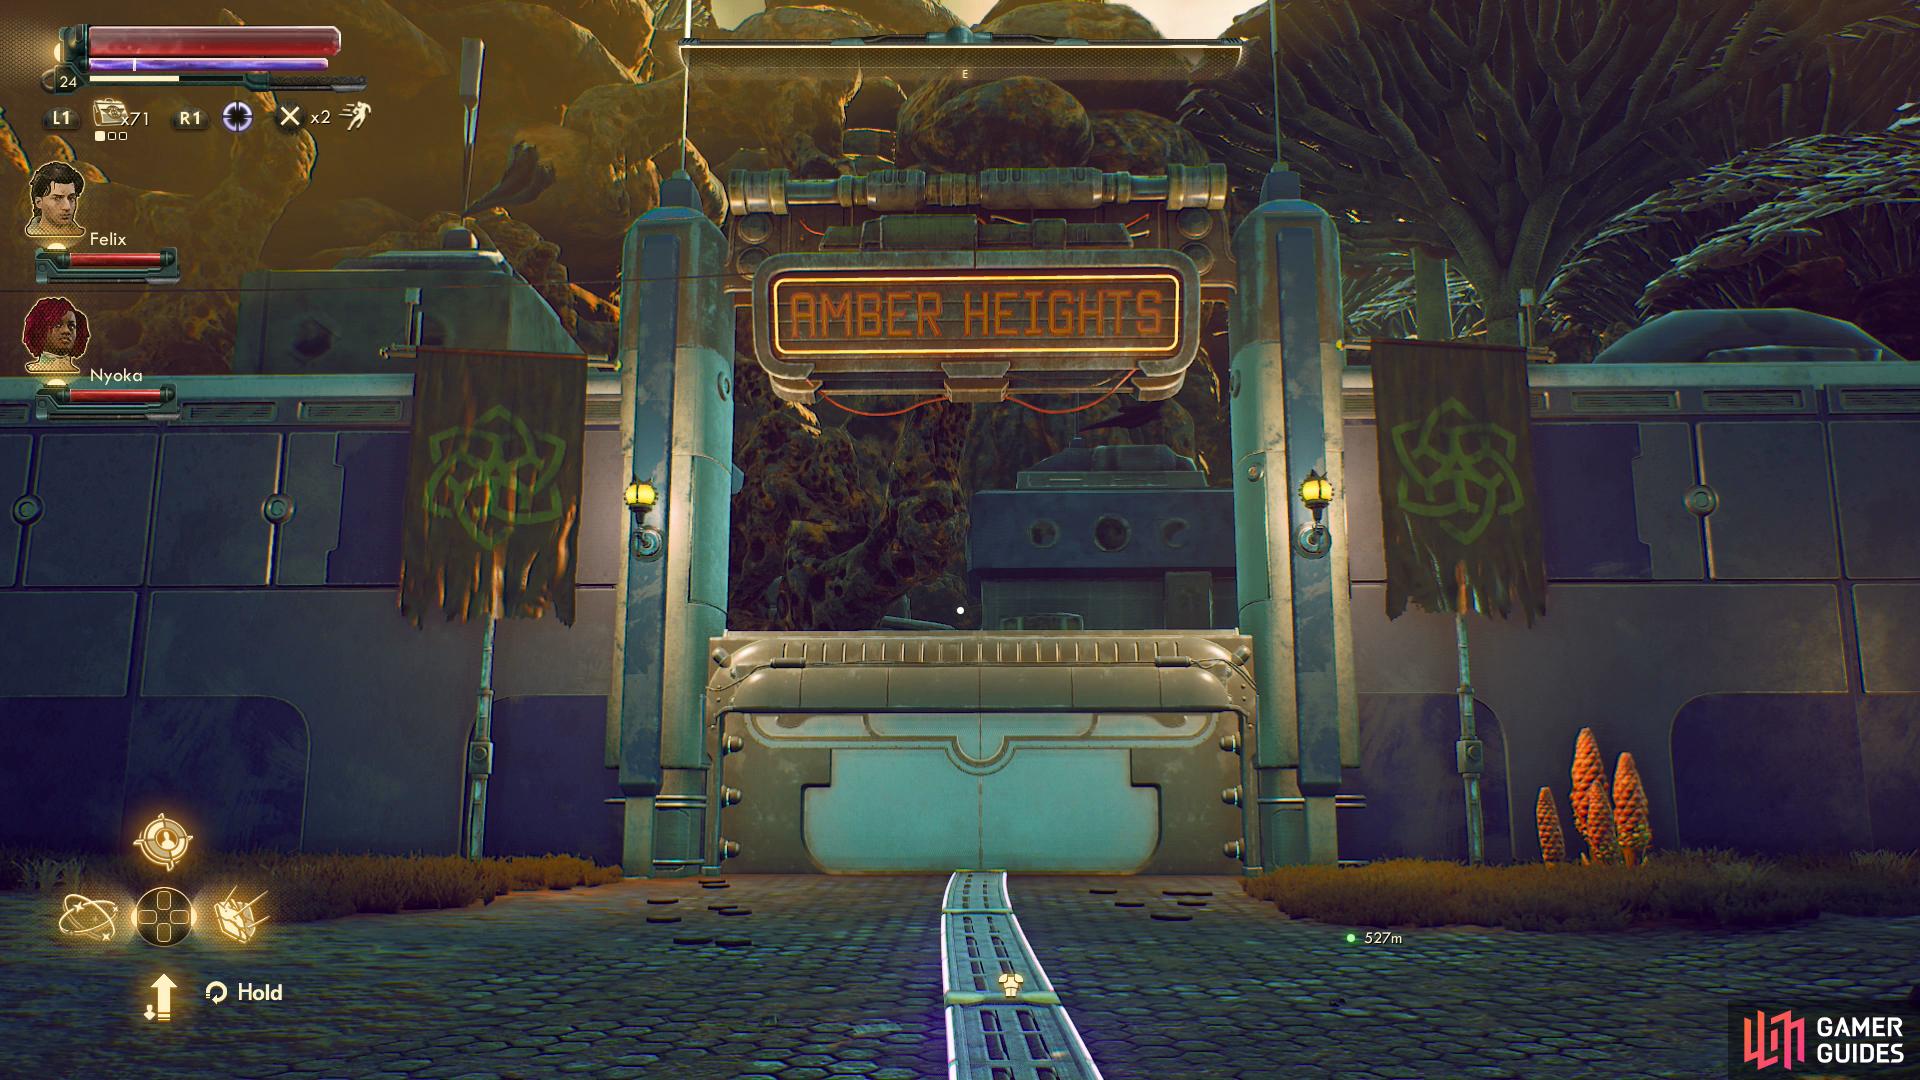
On your journey to Devil’s Peak you should discover Amber Heights
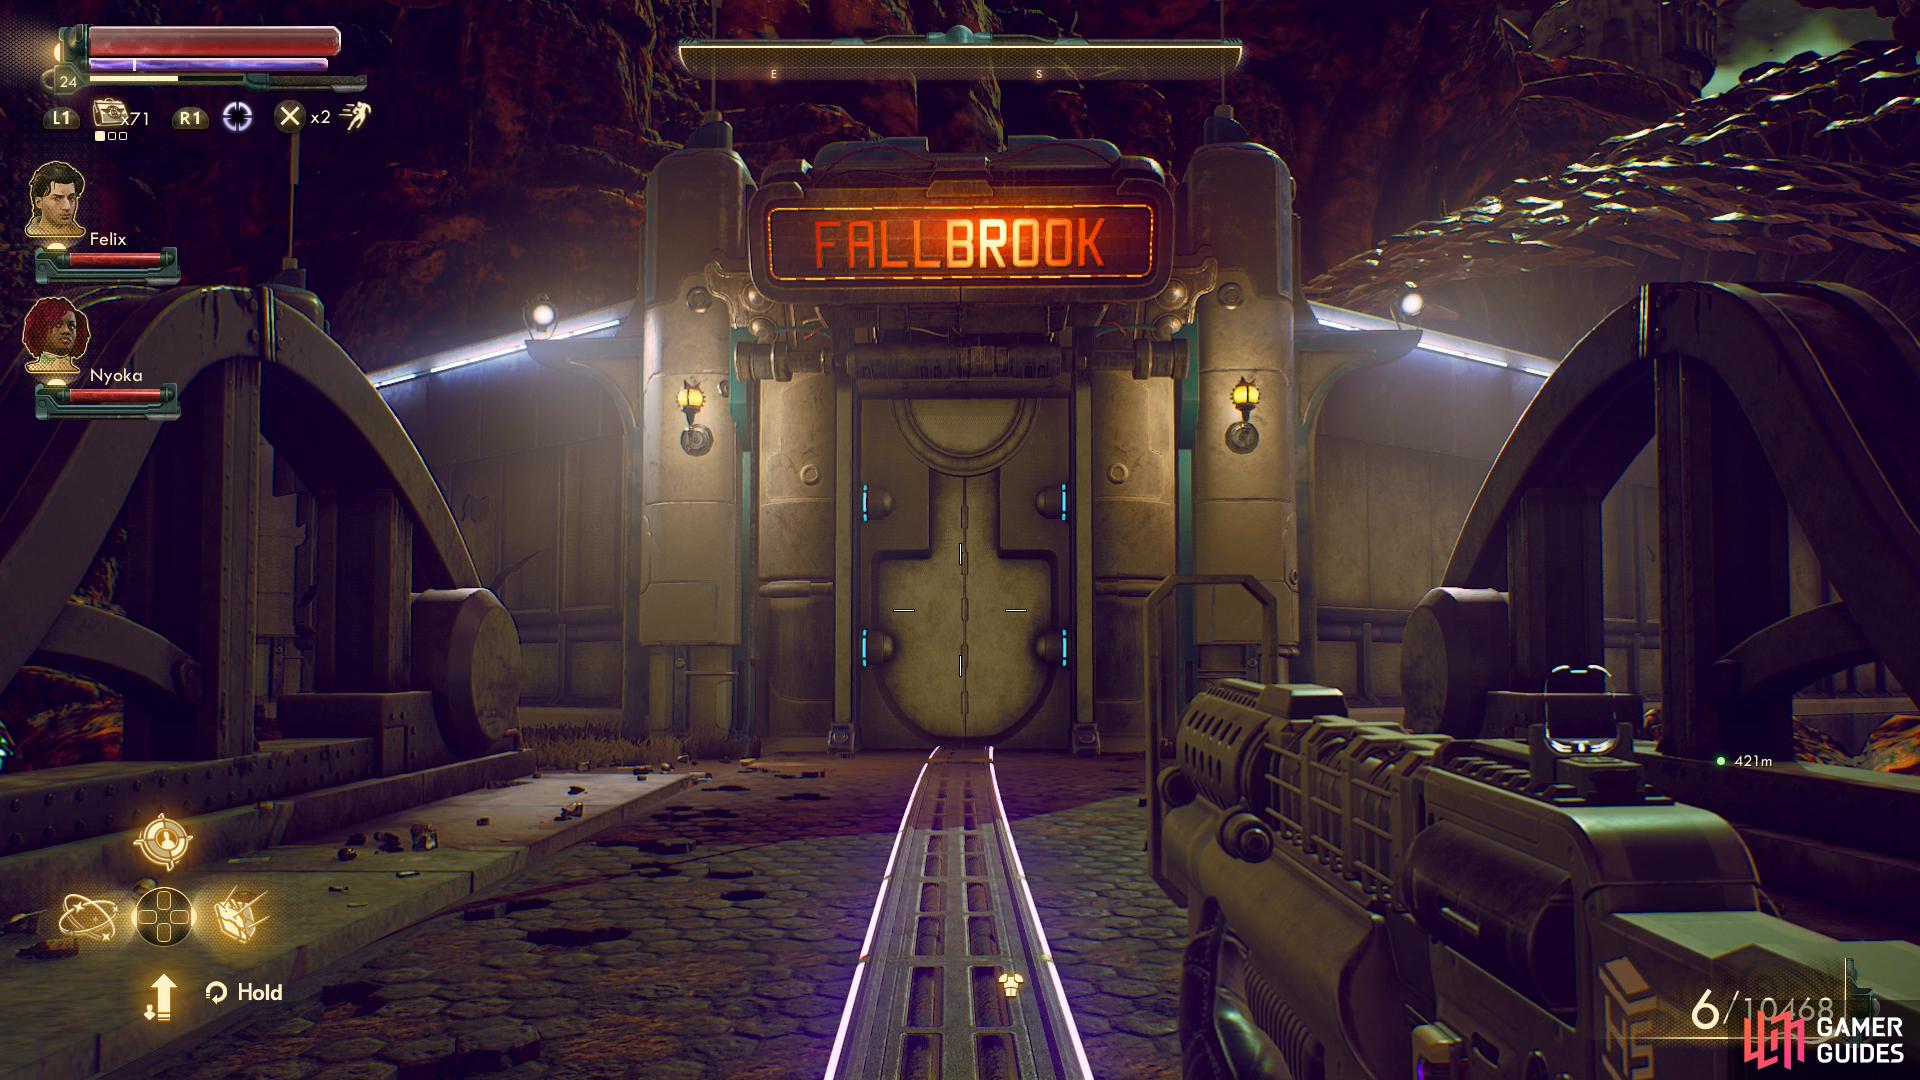
and Fallbrook.
The Journey to Devil’s Peak - Amber Heights
The next destination is relatively easy to reach, just follow the road from the Bayside Terrace Ruins and kill a few small groups of marauders until you reach the Amber Heights Crossroads, near which is Amber Heights itself, the home of the Iconoclasts. You can start a few quests here, like The Commuter, Little Memento and Odd Jobs, and you can advance A Family Matter, but until the main quest takes us here (and it will), we’re content to ignore it for now.
Fight your way through a group of mantids
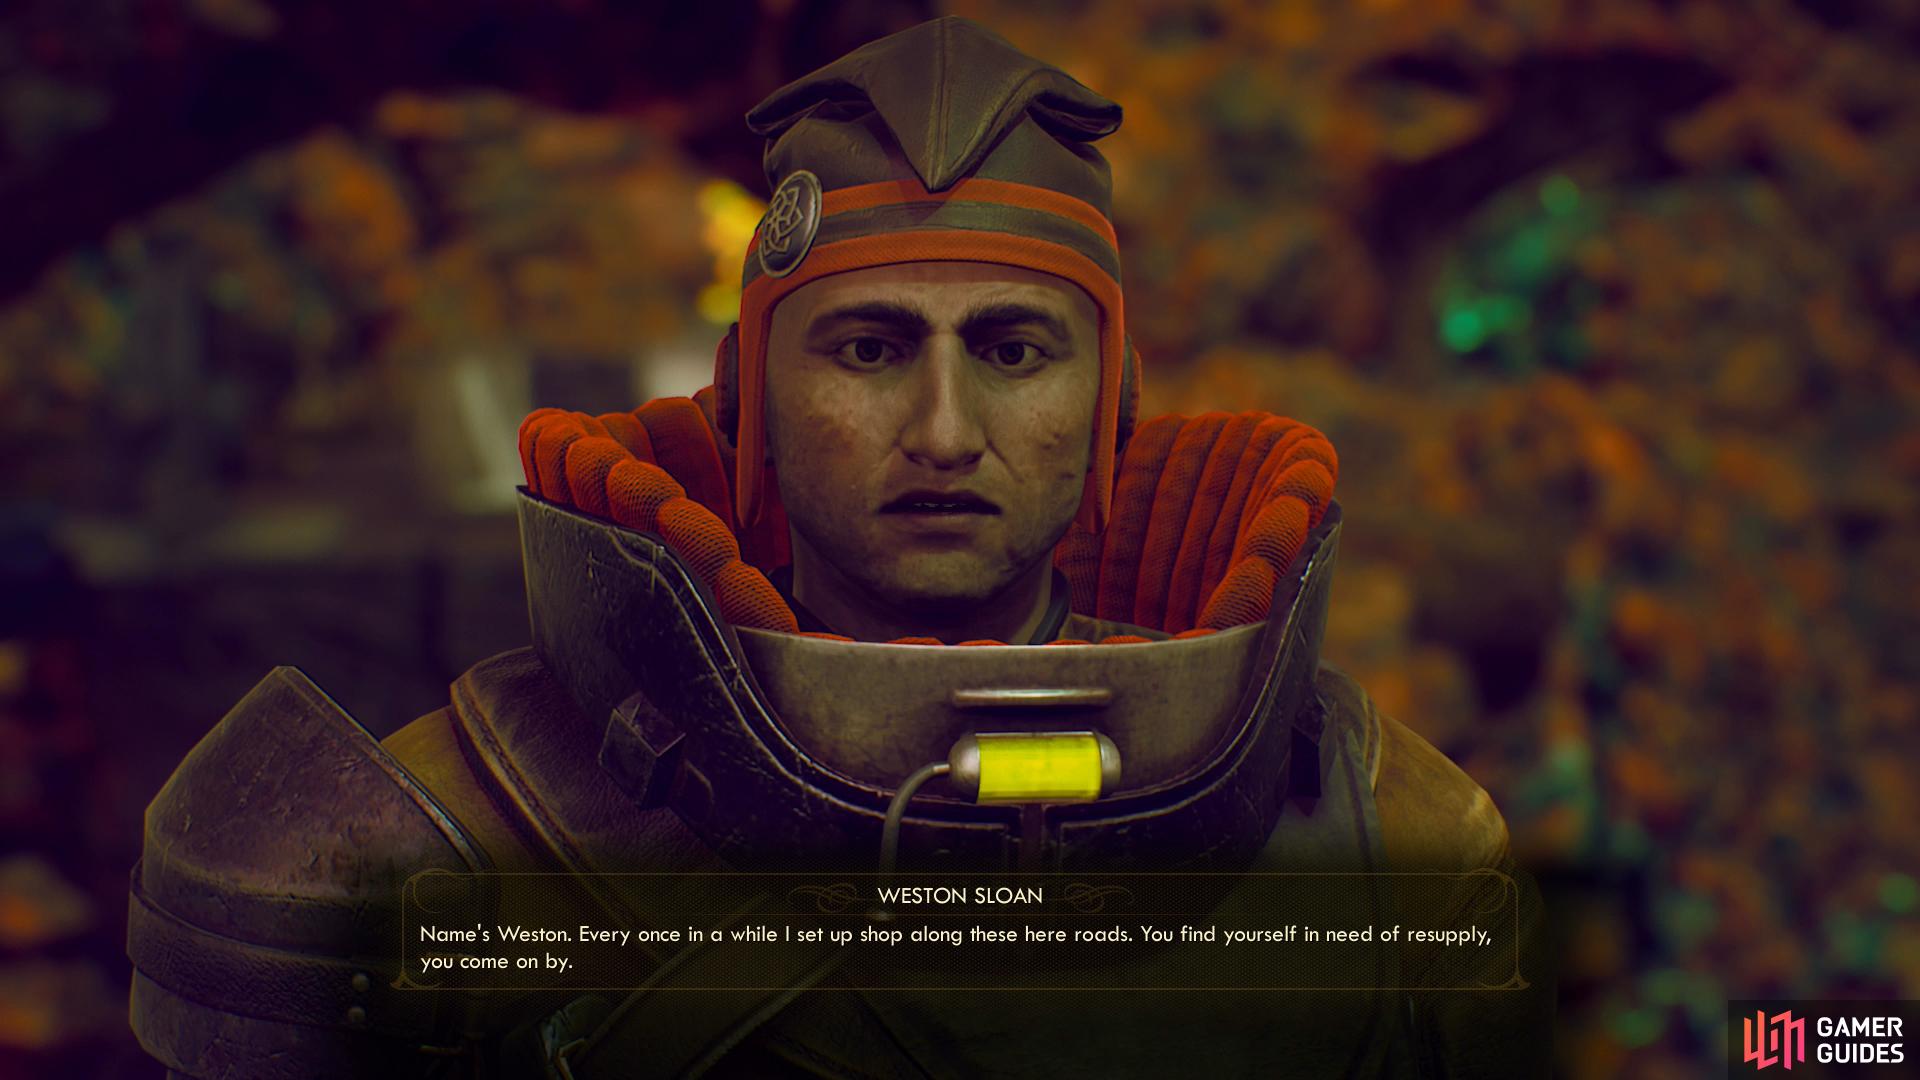
to rescue the Iconoclast merchant, Weston Sloan.
The Journey to Devil’s Peak - Fallbrook
Continue following the road from the Amber Heights Crossroads and when it forks take the southeastern path, as the alternative southwestern path ends in a broken bridge. Eventually the southeastern road will lead to a four way intersection, which is its own fast travel point, the Fallbrook Crossroads.
At this intersection you can head southeast to reach Fallbrook itself, where you can start or advance the quests Errors Unseen, Slaughterhouse Clive, Space-Crime Continuum, Spratkings and The Empty Man. Busy place, but again, we’ll get an excuse to come here later for the main story, so there’s no reason to bother with it now, unless you need a workbench or vending machine.
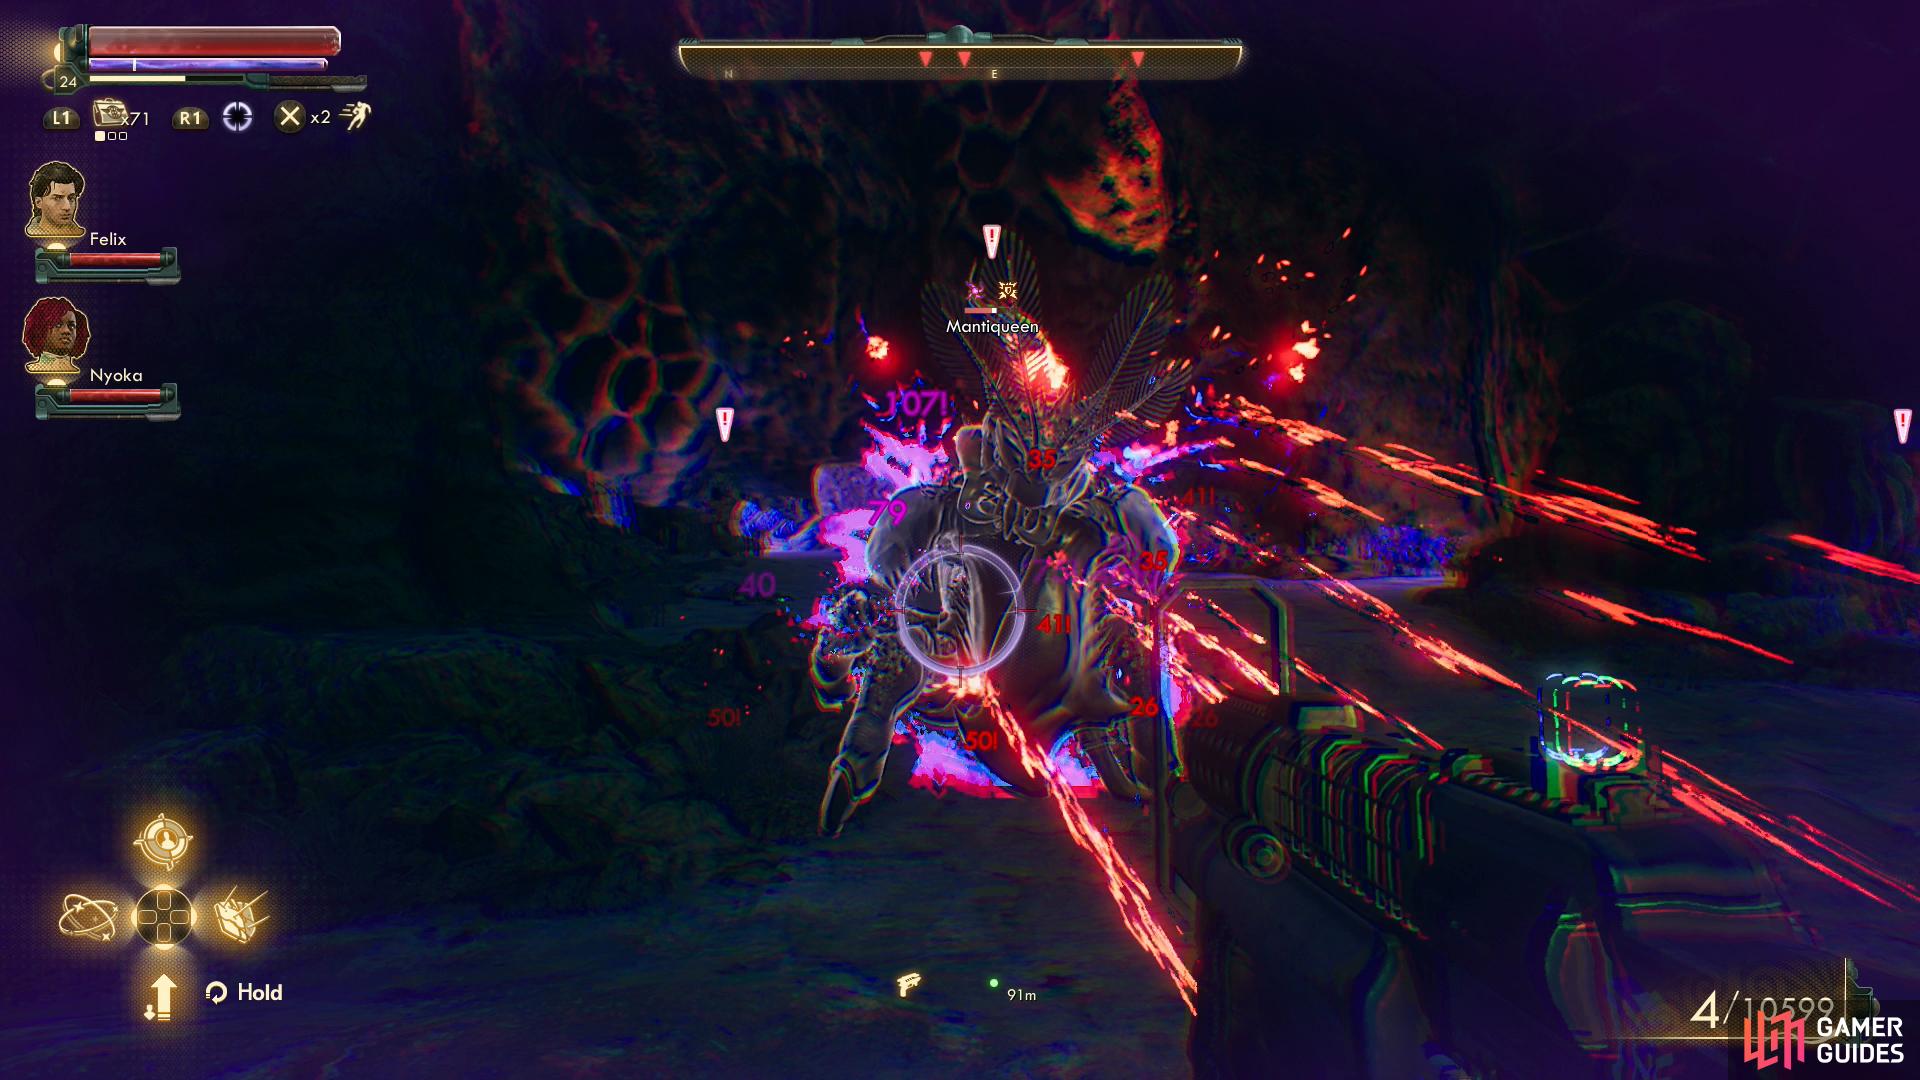
If you head northwest from the intersection you’ll be greeted by a rather large group of mantids, possibly including two queens. Yikes. If you can kill them and reach the far end of the bridge, however, you’ll find a wandering Iconoclast merchant named Weston Sloan. Worth pointing out, even if his wares likely don’t justify the effort to reach him.
The Journey to Devil’s Peak - Forlorn Crossroads
If you have Nyoka with you, she’ll inform you that you’re about halfway there. Oof. From the intersection head southwest and the road will shortly veer west. Kill some marauders on the road, then note some building to the northwest. Nyoka will also point them out if she’s with you, but regardless, sneak close to discover the Abandoned Relay Station, which is merely a point of interest, not a fast travel option. Fortunately, a short distance on you’ll find the Forlorn Crossroads, which is indeed a fast travel point.
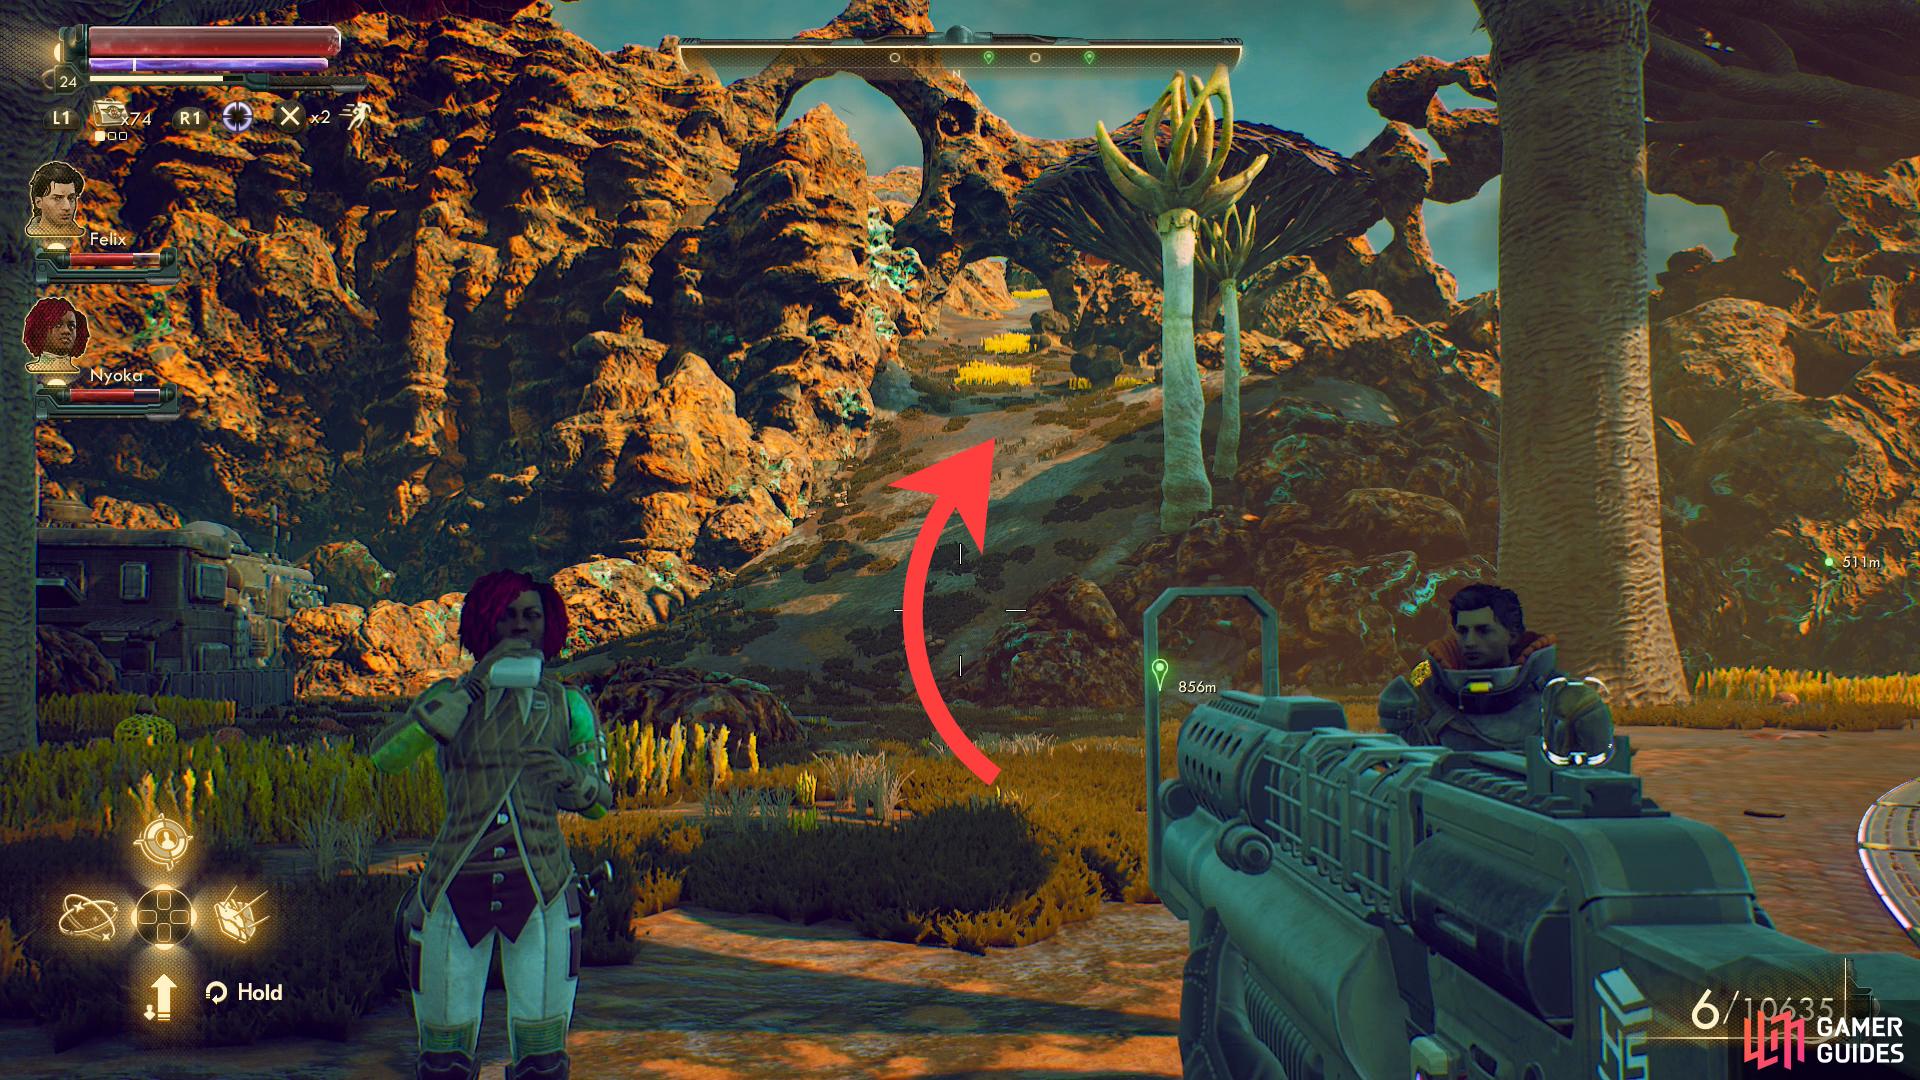
(1 of 4) You can reach the Devil’s Peak station via an alternate route by heading north from the Forlorn Crossroads.
The Journey to Devil’s Peak - The Forlorn Crossroads Route
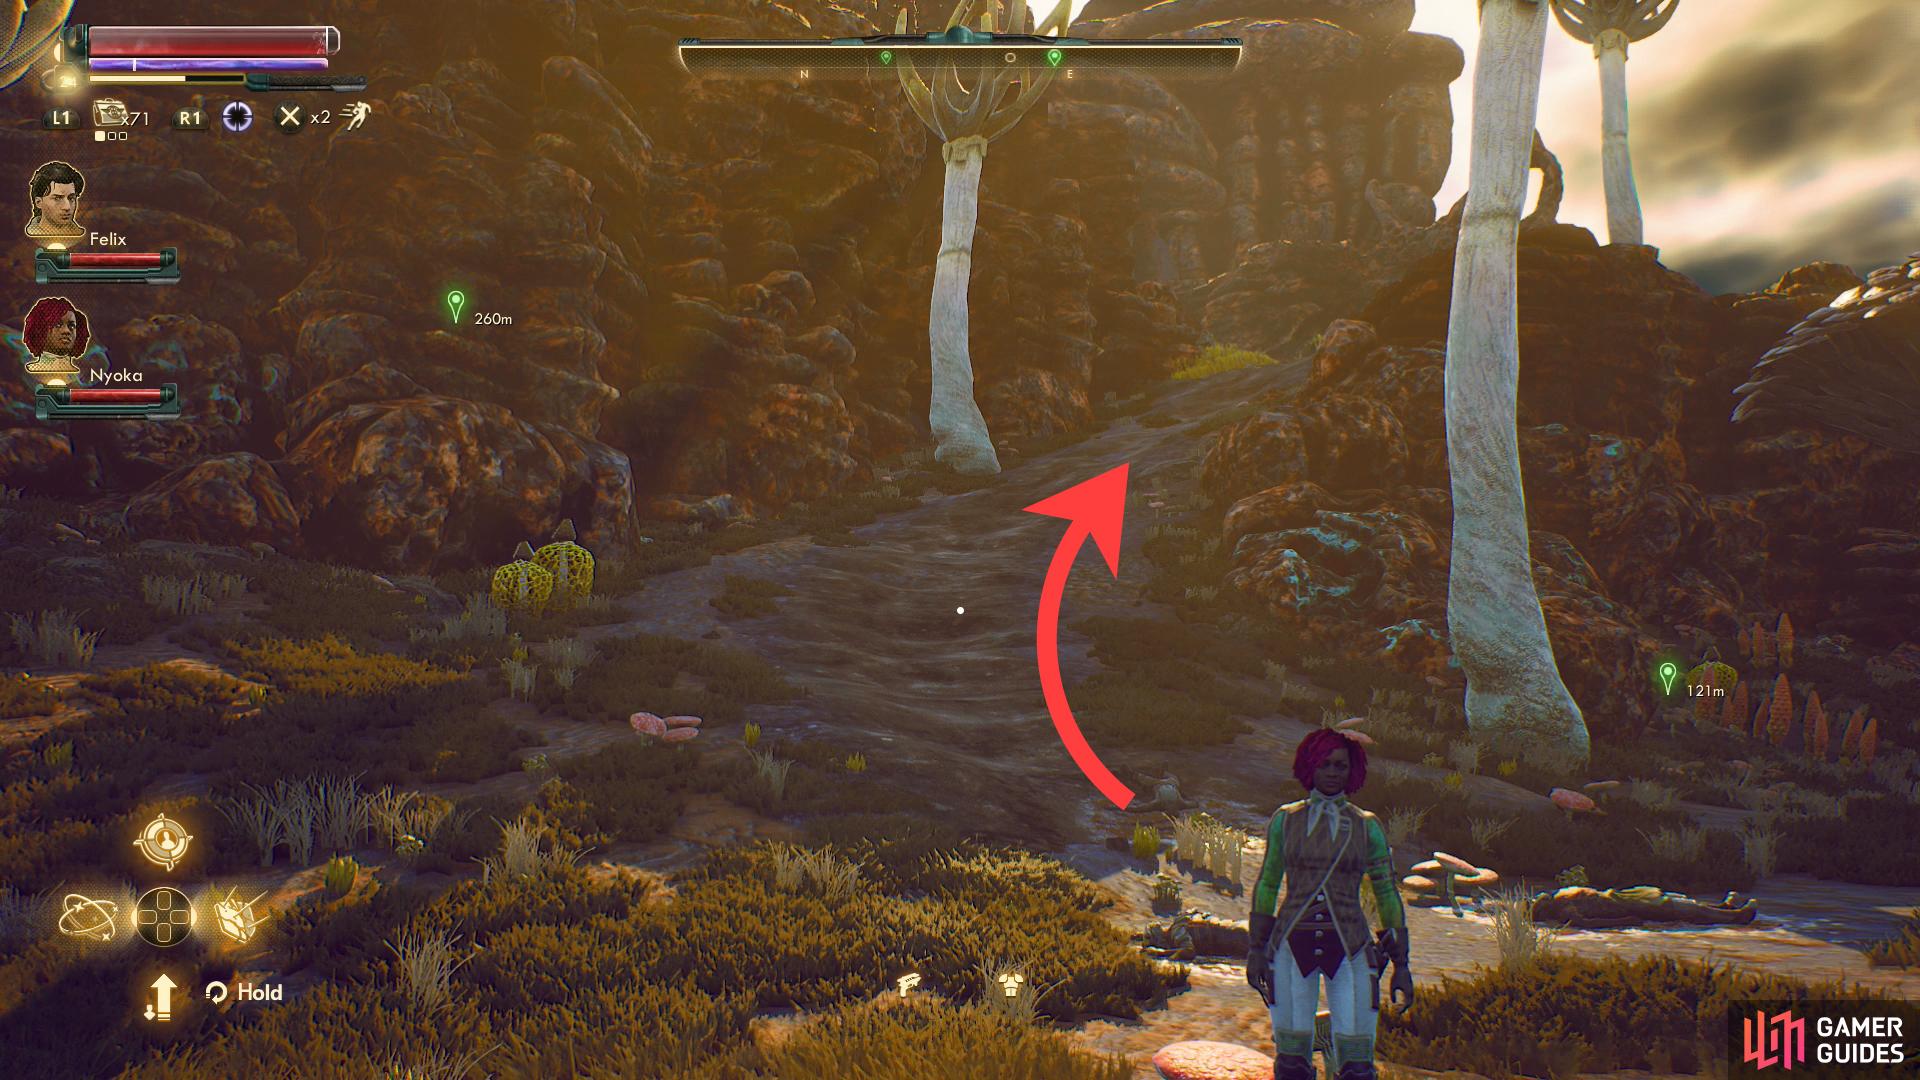
Now, if you want to continue on the Nyoka-approved route you’ll need to follow the road south, but there’s another way to get to Devil’s Peak from here, although it’s arguably no less dangerous than any other route. It is, however, pretty lucrative. Stand in the middle of the Forlorn Crossroads and look north and you should see a slope past the Abandoned Relay Station, running up under an arch. Head north up this slope and evade or kill a group of mantids (including a Mega Mantiqueen!), progressing until you’re near the arch.
From near the arch along this slope, turn east to find another arch somewhat downhill. Pass under it to find the enclose lair of a unique mantiqueen named Karkinos. Put the bugs down, including her highness, then search the northeastern corner of Karkinos’ den to find a pile of skeletons, near which is the Anti-Manti Ray. This long gun class weapon fires a three-round burst and deals corrosive damage thanks to its Mag-2-Melt mod.
Return back west, then continue uphill under the arch, shortly after which you’ll reach a fork from which you can continue west or north. It doesn’t matter which way you choose, as the paths wrap around and meet shortly anyways, although there’s a marauder camp to the north. Whichever choice you make you’ll soon find yourself at a second fork, at which the directions of interest are southwest and northwest.
If you go uphill to the northwest you’ll find yourself at, you guessed it, another fork. If you continue southwest past some crates you’ll find yourself at the eastern flank of Devil’s Peak (huzzah!) while to the northwest you’ll find a linear trail leading to the Sundered Rock map marker (not a fast travel point). Between the sundered rocks at the end of this trail you’ll find The Hammer of Olympus, a unique impact hammer bestowed with a Mr. Zap mod.
On the other hand, if you head southwest from the previous fork you’ll reach the C3 Barracks (covered below, and also in the Mandibles of Doom section of the guide), and from the C3 Barracks you can continue uphill to the west to reach yet another fork, from which you can venture north reach the front approach to Devil’s Peak.
Two unique weapons isn’t a bad detour, and if you’re fine going this way, you may want to go read the Mandibles of Doom page, which will cover some options you otherwise might miss if you reach Devil’s Peak by this route. On the other hand, if you want to make sure you do and see everything as it was likely intended, there’s also no harm in backtracking to the Forlorn Crossroads and following the roads from there to reach the two approaches Nyoka was going to suggest, which are covered in the following headers starting with The Journey to Devil’s Peak - The “Safe” Way. If you just want to get on with Devil’s Peak, skip to the header “Recapturing Devil’s Peak”.
The Journey to Devil’s Peak - The “Safe” Way
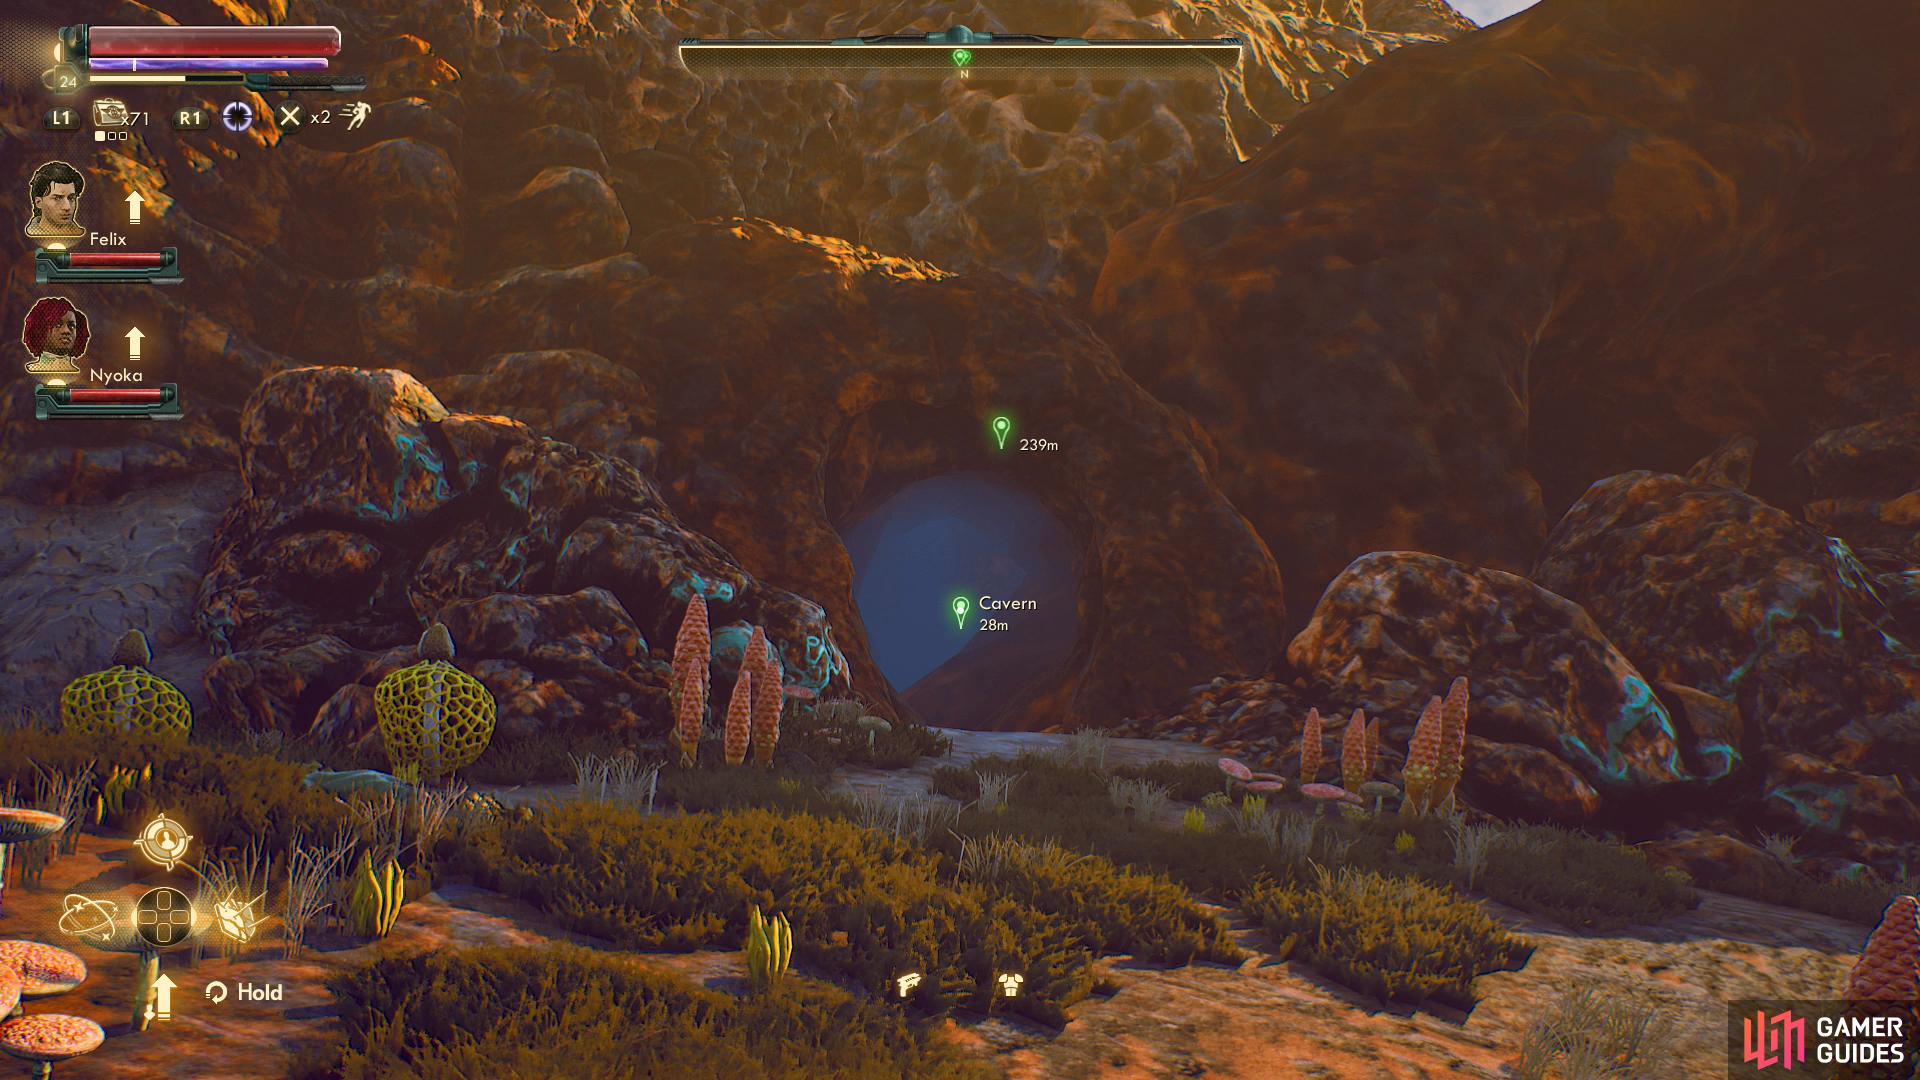
Follow the road south from the Forlorn Crossroads and you’ll reach a marauder camp set up near some abandoned buildings. You’ll notice that one of the buildings here is locked and can’t be opened without the Hunter Outpost Keycard, which you’ll get during the quest Little Momento. Cross a bridge to the southwest and again, if you have Nyoka with you she’ll comment on your options. You’re in the final stretch, and there are two ways to proceed: the “safe” way involves following the river north from the bridge to find the Devil’s Peak Caverns (an area transition and a fast travel point) through which you’ll reach Devil’s Peak and the “fun” way, which involves continuing down the road a bit to the east until you find a slope you can ascend. The mantids prowling along the latter path should indicate the sort of “fun” you’ll encounter.
If you enter the caverns near the river, you’ll need to sneak or fight through the mantid-infested cavern complex until you reach a chamber in the northwestern edge of the cavern complex. This cavern is occupied by a Mega Mantiqueen, and on a ledge overlooking the chamber (to the west) you’ll spot Berthold Fox. Nyoka is, once again, good at calling this out, but Berthold will also encourage you to kill the mantiqueen if you get close enough. This will start the task Mandibles of Doom and while it’s completely optional, it’s thoroughly embedded in the quests Radio Free Monarch/Signal Point in Space. If you kill the mantiqueen, great - Berthold will come down and promise a reward. After you deal with Berthold or if you just want to ignore him, sneak out through a passage to the south, then follow a walkway southwest and south to find the exit to these caves.
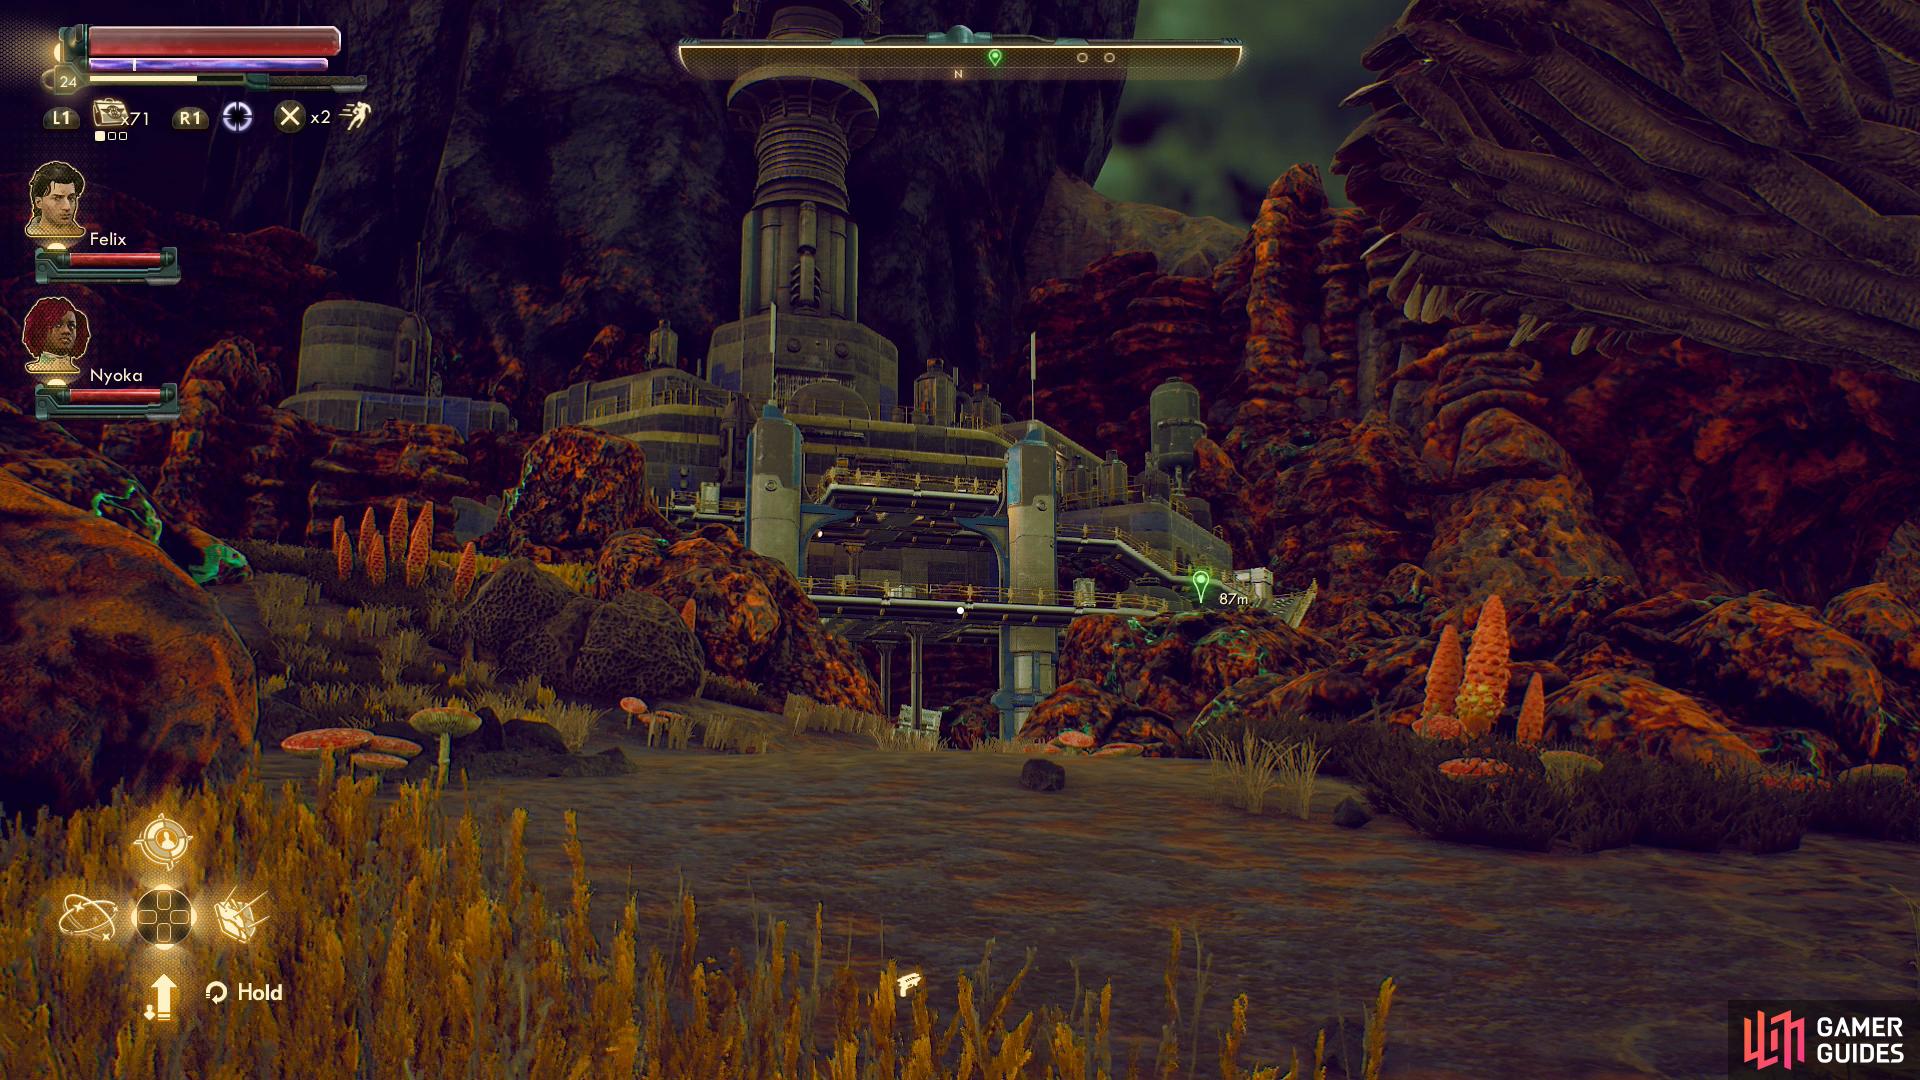
Once back outside head northeast a few steps and turn north to spot the Devil’s Peak broadcast station. If you approach you’ll be hailed by a mercenary named Joy Voivode, who will tell you that some marauders have taken over the station, but due to contractual nonsense she’s not inclined to do anything strictly outside of what she’s obligated to do. She will, however, refer you to the rest of her squad, which can be found at the C3 Barracks, which is downhill and to the east of where you exited the cave. This is where you’ll rendezvous with Berthold Fox, get your reward, and possibly secure assistance against the marauders occupying Devil’s Peak. All of this is covered in more detail in the Mandibles of Doom section of the guide, but it should be pointed out that none of this is necessary - you can ignore Berthold and the rest of the C3 mercenaries and just sneak/fight your way into Devil’s Peak.
The Journey to Devil’s Peak - The “Fun” Way
On the other hand, if you choose the “fun” path… well, fun in this case just means following the road from the bridge northwest until you find the mantid-ridden slope that’ll take you to the summit. Just follow the mantids along the switchbacks as you ascend - apparently Nyoka’s idea of “fun” is just a bug hunt. You probably won’t be sneaking past these mantids, but running past them shouldn’t be too hard. Eventually the path will fork and you can turn north to find the Devil’s Peak station (and Joy Voivode, whose interaction with you is no different this time around) or continue downhill to the east to find the C3 Barracks, where you’ll have to chat with Donald Anderson, rather than the absent Berthold Fox.
This conversation can lead to all the same things that going through the caves did. Just avoid picking a fight and avoid saying “Trying that would be a mistake.” if it comes up - your passive-aggressive threat will, in fact, result in violence. On the other hand, you can wade through their dialogue and get them to calm down with a small bribe (635 Bits) or a [Persuade 20] check. After this you can say *“Make me an honorary C3, and I’ll look for him.” to start the quest Mandibles of Doom, where you’ll be charged with going into the caves and rescuing Berthold, or you can say “Forget about Berthold. We’ve got to clear out the station.”, then pass a [Persuade 55], [Lie 20] or [Intimidate 55] check to get them to help you clear the marauders out of Devil’s Peak. If you enlist the C3 mercenaries without rescuing Berthold, however, you’ll miss or botch Mandibles of Doom.
Anyways, check out the Mandibles of Doom quest for more details (although it has honestly been covered fairly well here) and we’ll pick up when you’re ready to deal with Devil’s Peak.
Recapturing Devil’s Peak
Whew. That task was a bit of a diversion. Still, you should be ready to move on Devil’s Peak now, with or without the aid of the C3 mercenaries. If you enlisted their help but want to prevent them from interfering (at least against the external forces) you’ll need to talk to Joy Voivode and say “I’d prefer to get through unheard and unseen.”, or just not talk to her at all. Either way, they’ll still intervene if you get caught.
With that resolved, there are two approaches to the Devil’s Peak station: from the south and from the east. The eastern path can only be reached by scaling the mountain via the Forlorn Crossroads route, or by heading northeast, northwest then southwest from the C3 Barracks. You’ll encounter mines along the path, and it’s further from the ramp you’ll need to ascend on the station’s western side, so there’s not much point in going from this way - especially if you intend to sneak.
Approach via the south, and, if you don’t care for subtlety, start murdering marauders and their scrap automechanical. Even without infiltration, a good sneak attack is a good way to start out the fight. If you want to be sneakier, hug the western cliffs as you work you way north and you should find yourself on a ledge overlooking the marauders below, about level with the elevated walkway outside of station. You’ll need to ascend this walkway via a ramp on the western edge of the station and work your way east to another ramp on the far side, and while there aren’t too many bandits directly in your way, there’s also not a lot of room to maneuver and not a lot of places to hide. That being the case, sniping some of the marauders immediately in your way (if you can kill them in one hit, you should be able to hide after firing and ultimately avoid detection) will make the process of infiltration much easier.
Or you could just run for it. Kill, sneak or run up the ramp along the western side of the building, make your way east across a walkway on the eastern side of the build, and enter a door just off the second ramp - the enemies won’t follow you inside, and if you clear the broadcast station, you’ll find that the C3 mercenaries took care of the marauders for you. Not too bad.
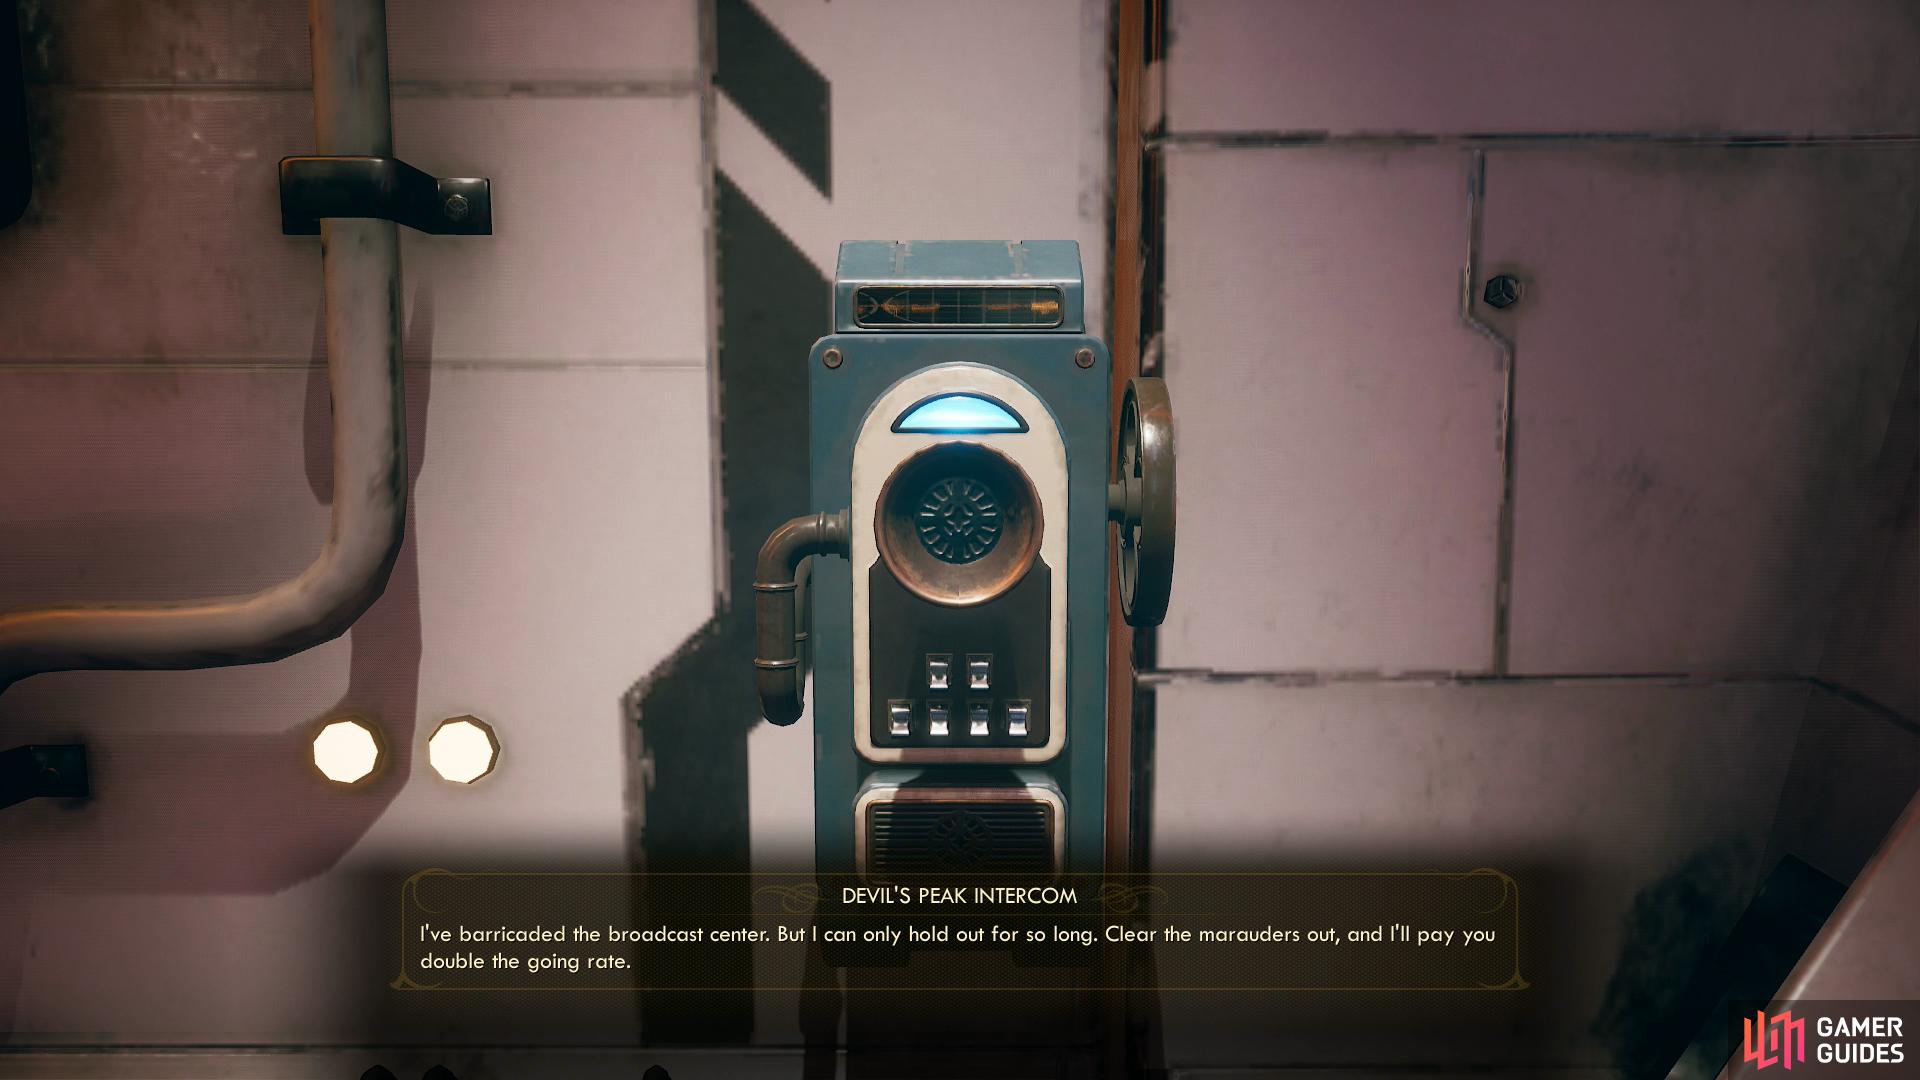
Speak to the Broker via an intercom
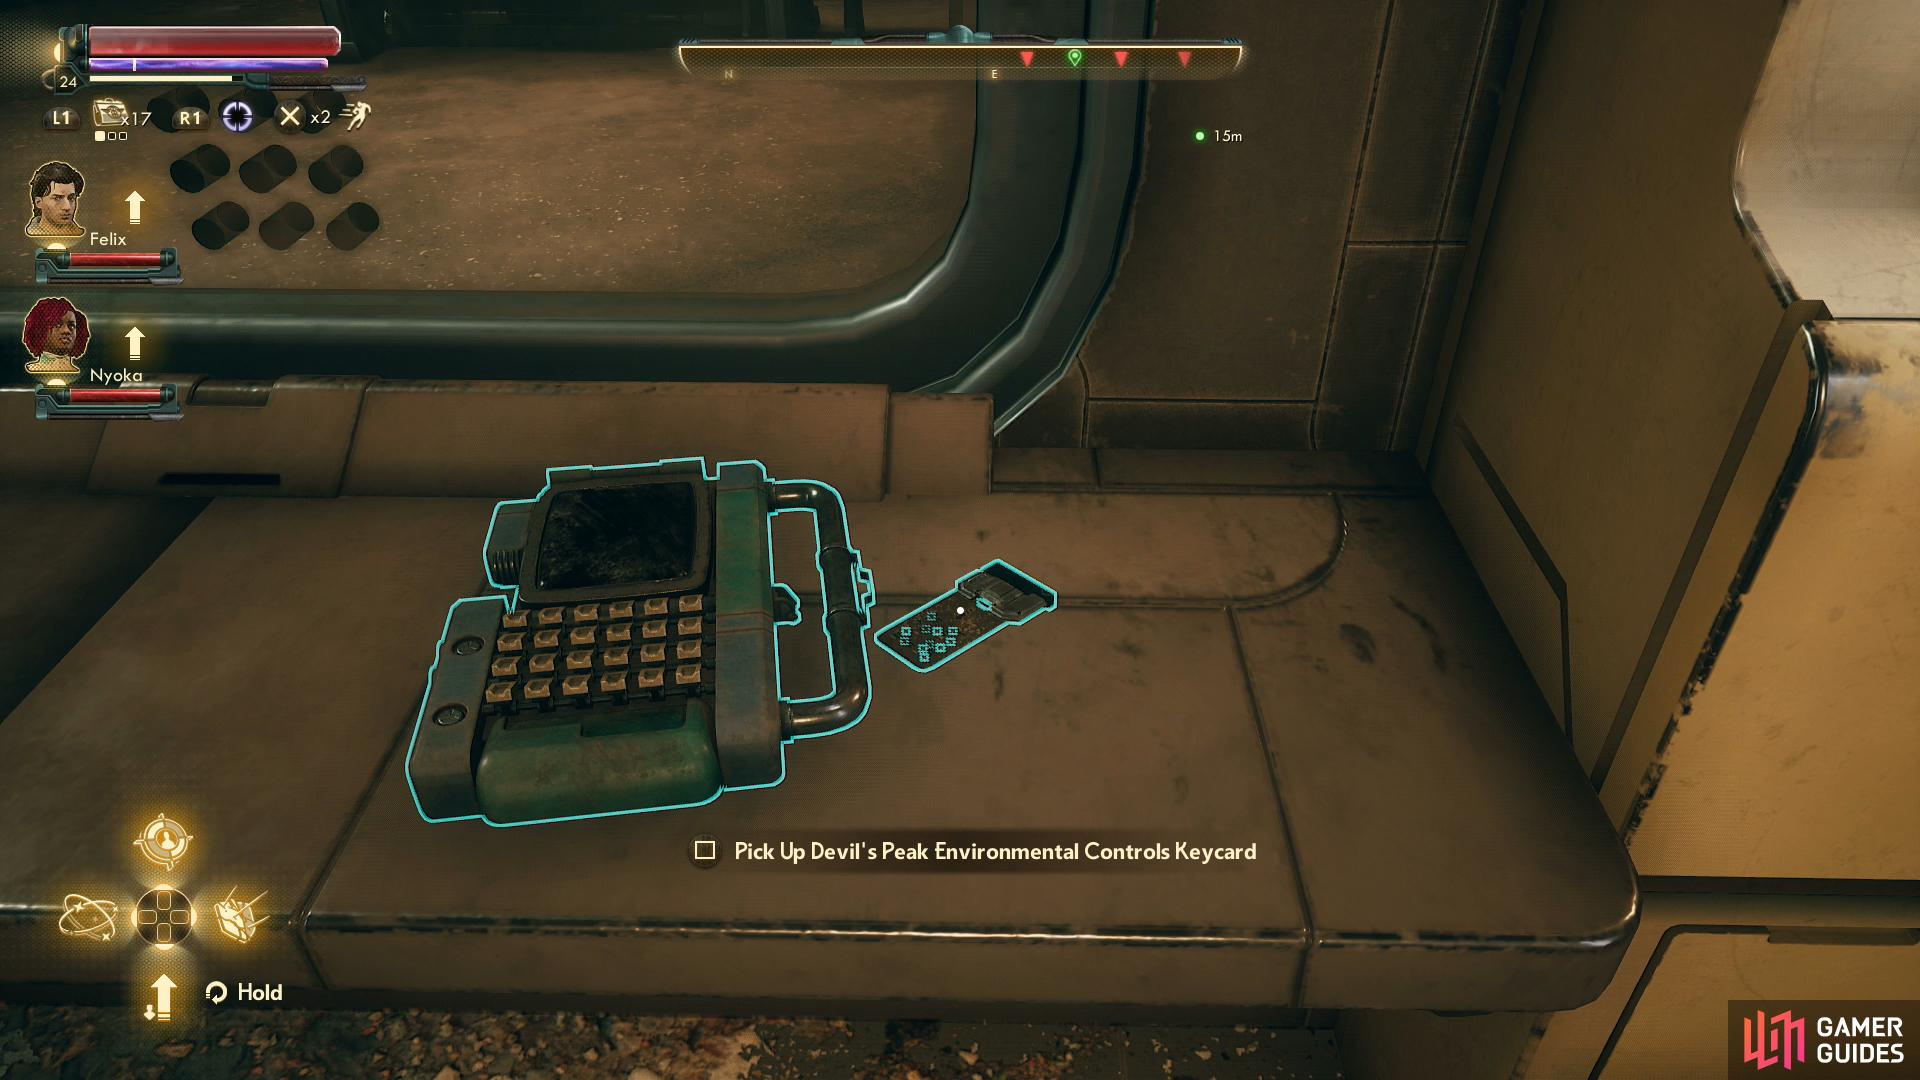
and pick up an Environmental Control Keycard.
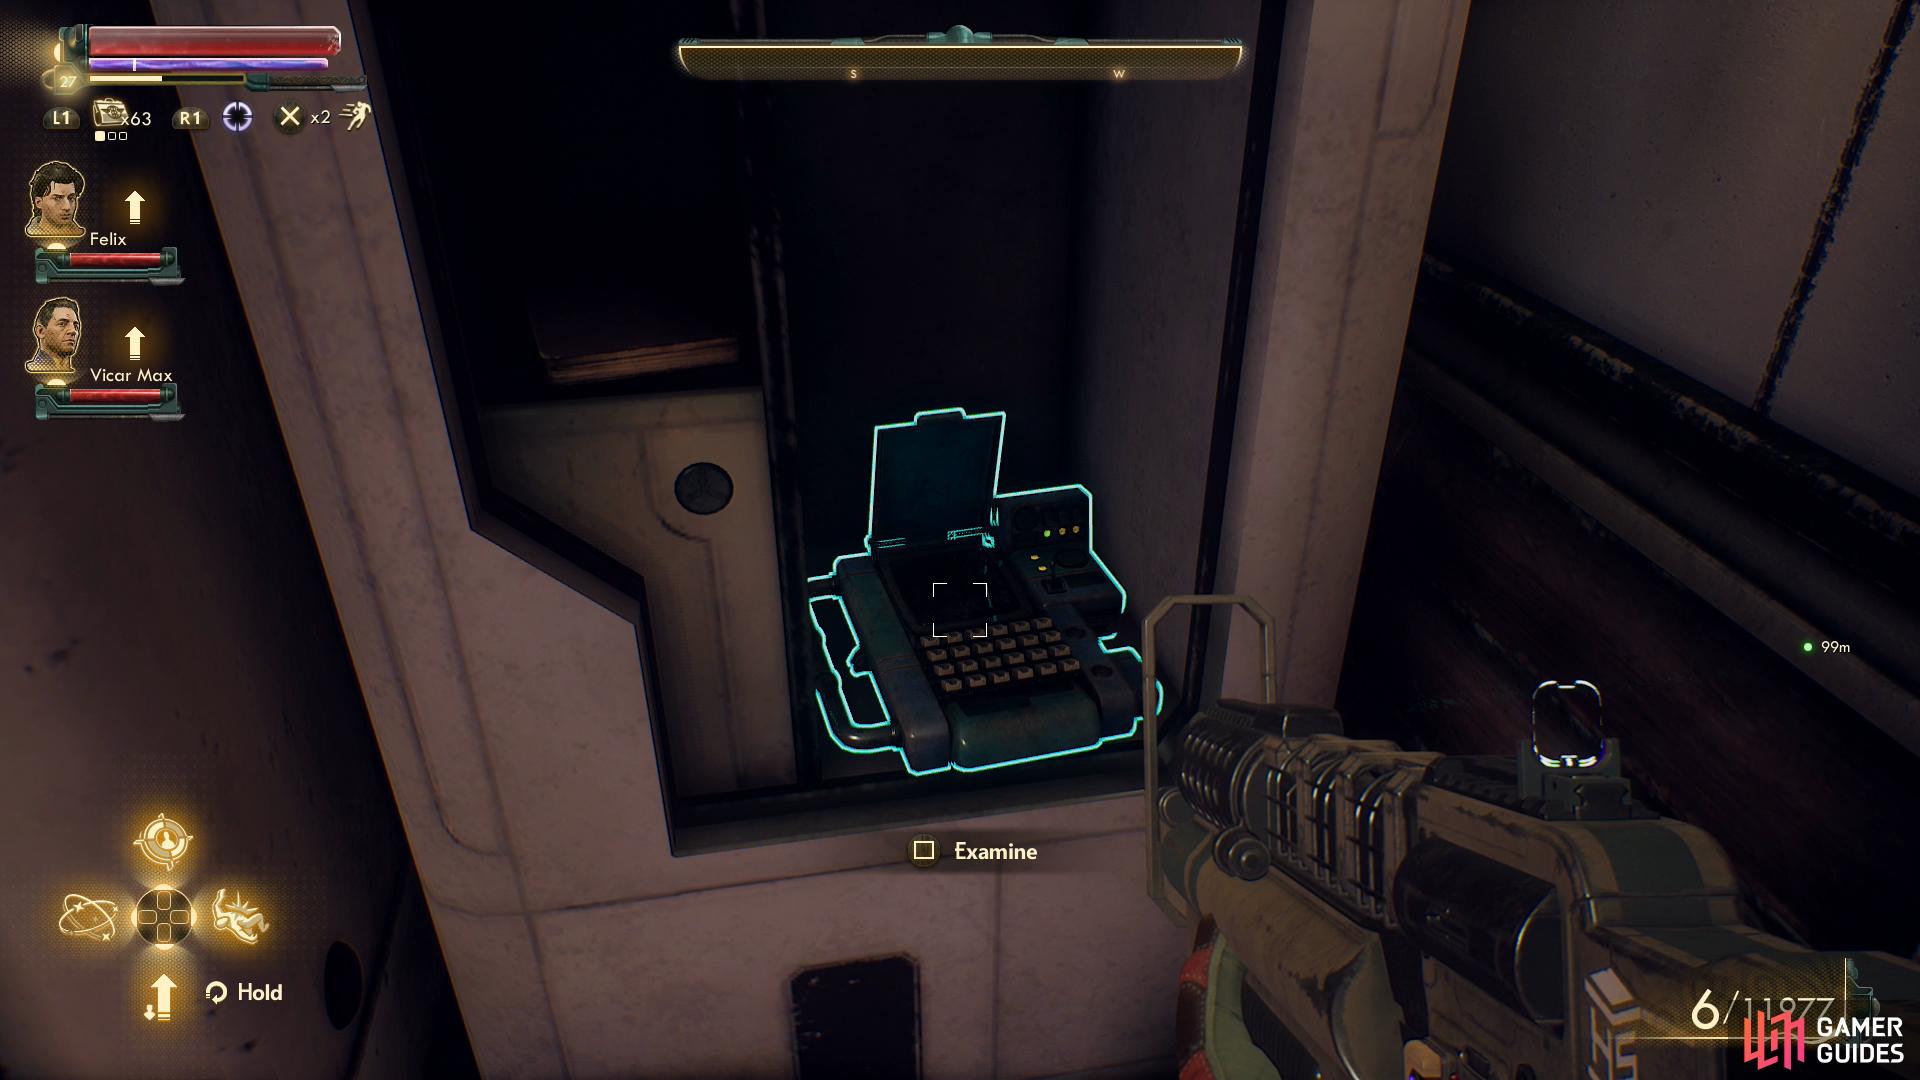
Once inside, look west through a doorway to see kitchen occupied by two marauders and a tamed canid, while a third marauder is down the hall to the north, in a bathroom. It’s easy enough to sneak past, if you wish, just wait for one wandering marauder to be out of sight and you can sneak your way down a hallway and through a door to the north. Then again, there’s only four marauders on this level (including the canid) so it’s pretty trivial to just kill them all. However you do it, you’ll want to head down a hallway to the north and through a doorway to reach a room with a communications terminal in the northwestern corner. Here you’ll be contacted by Hiram… the Broker, whatever you deign to call him. He’s got a lot to say, but it all fundamentally boils down to “go up the elevator and kill the marauders”.
The elevator you’ll need to ride is back in the kitchen, through a now unsealed door along the western wall. But first, there’s more to do and see on this level. In the room with the communications console, pick a locked door [Lockpick 55] to find a room liberally loaded with loot. The Broker can just consider this an… ah, advance on your promised payment. Make your way back south towards the kitchen, stopping along the way to open another locked door [Lockpick 35], beyond which is another well-stocked room. Most importantly, pick up the Environmental Controls Keycard on a counter along the eastern end of this room - it may come in handy shortly. The datapad next to it should give you some ideas as to what you can manage to do with it.
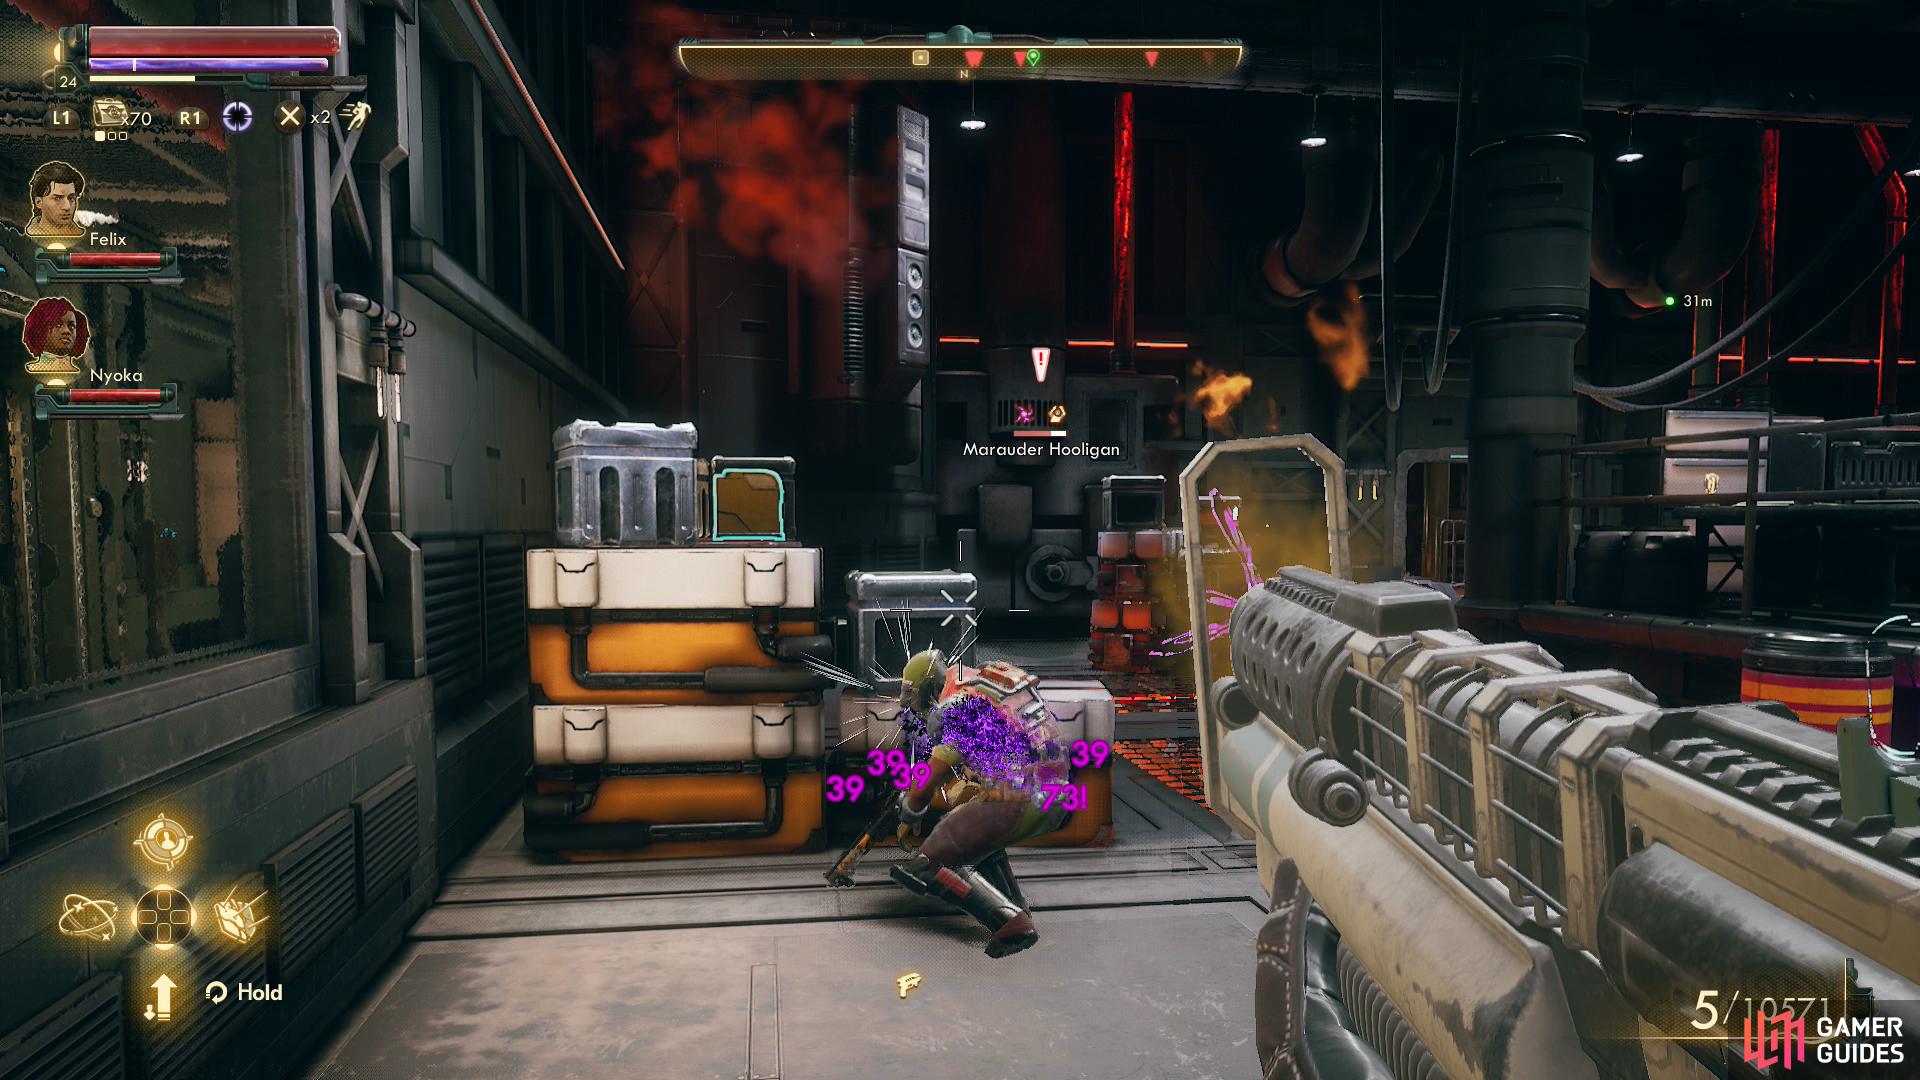
Ride the elevator up and go through a doorway to the east. If you made a deal with the C3 mercenaries to help take back Devil’s Peak, they’ll show up via a doorway to the south, and collectively they should be more than capable of routing the marauders here without you having to lift a finger. If you don’t have such aid and would rather avoid a fight anyways, you still have options. Sneak your way east across the southern end of the room and go through a doorway to the east to reach a smaller side room. In here you’ll find a terminal [Hack 35], which if you can access (either through skill or possession of the Environment Controls Keycard) will help you effect the demise of the station’s marauders. Pick the entries [Atmospheric Controls] then either [Deploy Fire Suppressant Systems in Main Hall] or [Activate Station Fire Alarm], which will kill everything outside this room - including any C3 members who may have entered the station.
From the large, marauder-infested central room, fight your way into a smaller room to the north, then up some stairs to the west and clear another small room to the east. Or, you know, just stroll on up if you used the terminal to take care of things. When all the marauders are dead, use an intercom near the door to the east to finally meet with Hiram Blythe, the Information Broker, and the operator of this broadcast station. Whether you’re here for the quest Radio Free Monarch or Signal Point in Space, he’s the guy you need to talk to.
Unfortunately there’s a problem, and whether you’re here looking for information or to stop the broadcasts coming from Monarch, it’s the same problem. Local factions - the Iconoclasts and the MSI - are in a technological shouting match with each other, scrambling each other’s outgoing transmissions. If you’re working for Phineas, this means the data Phineas sent you to get can’t get through, while the problem if you’re working for Akande is much more obvious. Blythe also can’t shut them down remotely, so you’ll have to convince them to stop broadcasting… or kill them. Ask Hiram about both factions as your curiosity demands, then we’ll discuss what needs to happen next.

To achieve your goals, you’ll need to get MSI and the Iconoclasts to stop broadcasting.
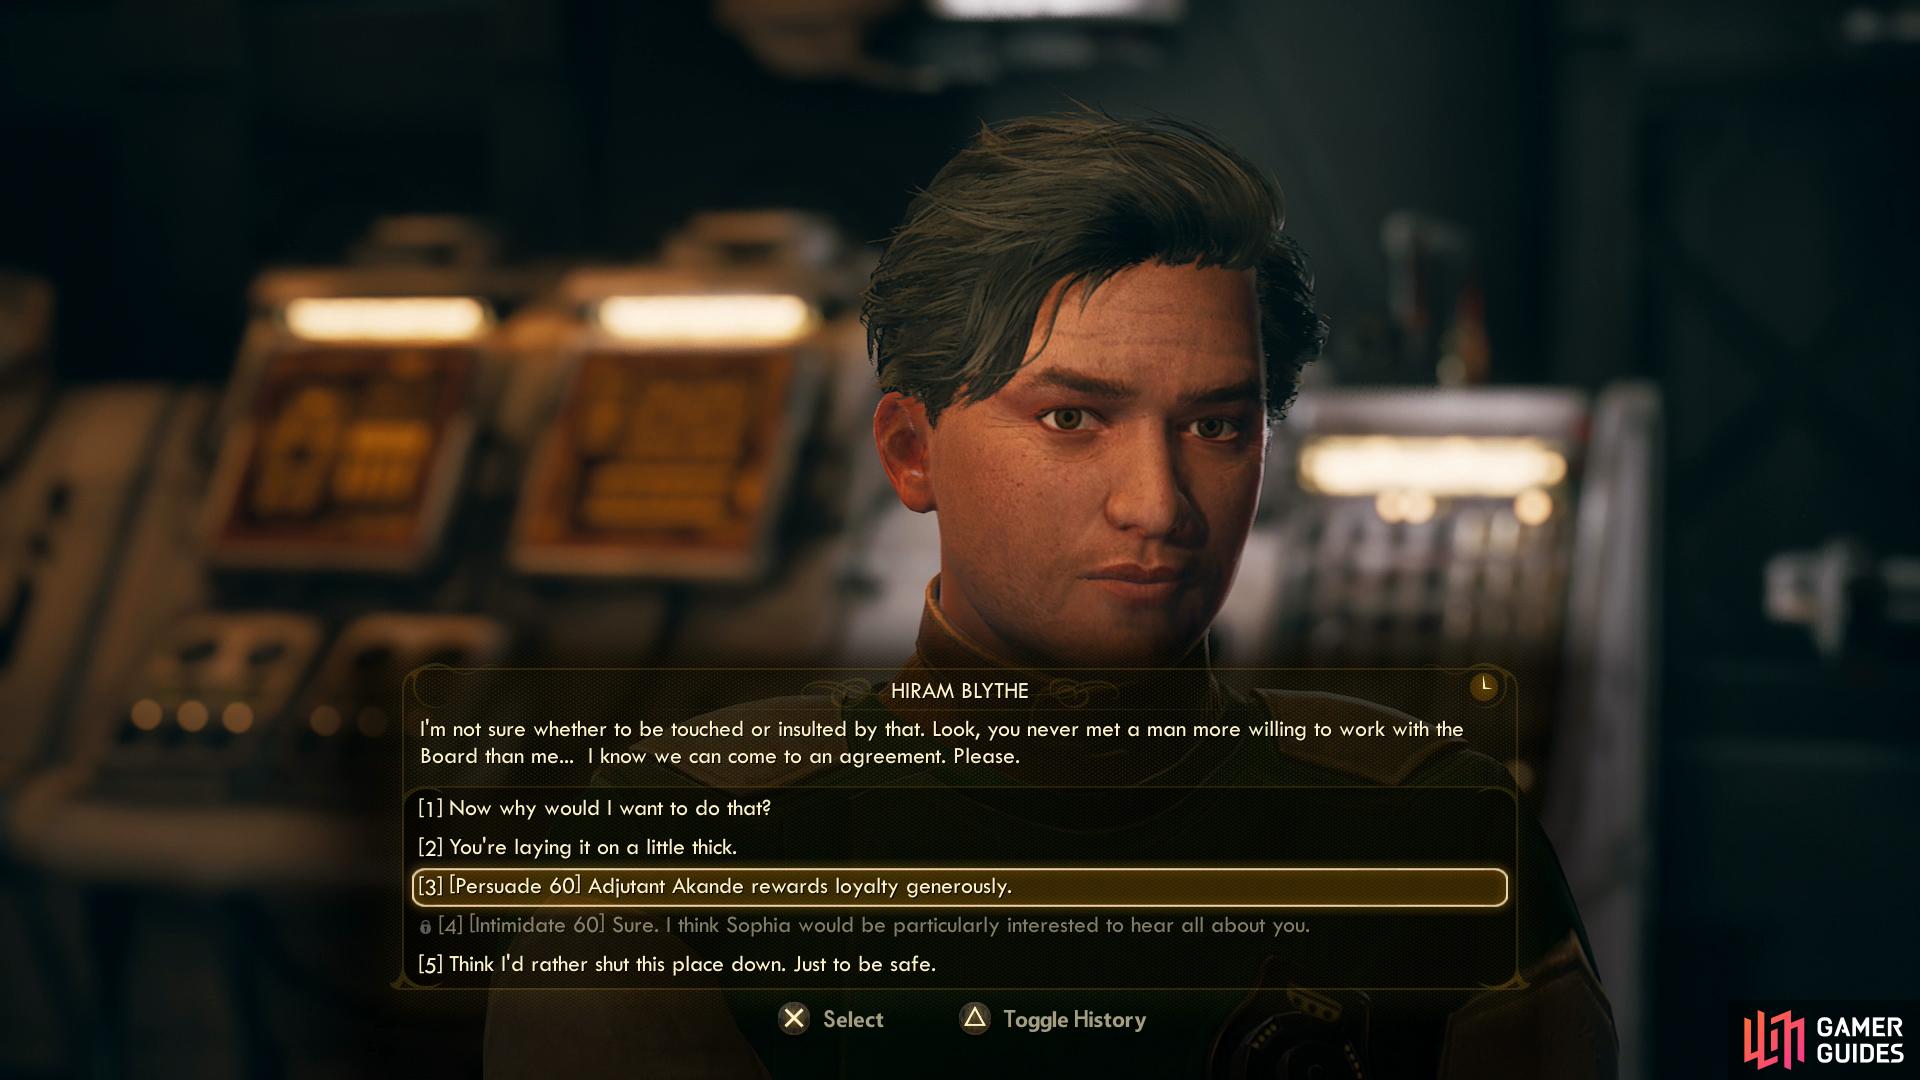
If you through the Board’s weight around you’ll find Hiram to be… quite groveling, really.
You’ve got two ways to deal with the Iconoclasts and MSI: You can just kill their leaders, which are Graham Bryant for the Iconoclasts in Amber Heights and Sanjar Nandi for MSI in Stellar Bay. Killing them will, naturally stop their broadcasts, and it’s easy enough to do - getting away alive afterwards is the tricky bit. Alternatively, each of these factions has two quests you can do for them, after which they’ll agree to stop broadcasting. For the Iconoclasts it’s the quests The Commuter and Pay for the Printer while for MSI it’s BOLT with His Name and Errors Unseen. If you want to kill them, we suggest performing a sneak attack, then running for the exit - the enemy won’t follow you out of Amber Heights/Stellar Bay. On the other hand, if you’d prefer to do the quests, skip to their relevant pages.
This is also a fine time to quickly go over the quests and points of interest in both Amber Heights and Fallbrook, since you’ll be traveling to both of them to complete these quests. This will be covered in the traditional way, under the headers “Exploring Amber Heights” and “Exploring Fallbrook”, below. If you don’t care about that, skip ahead to the header below them, “Monarch Muted”, to discuss the end of Radio Free Monarch and Signal Point in Space.
An Iconoclast will greet you when you enter.
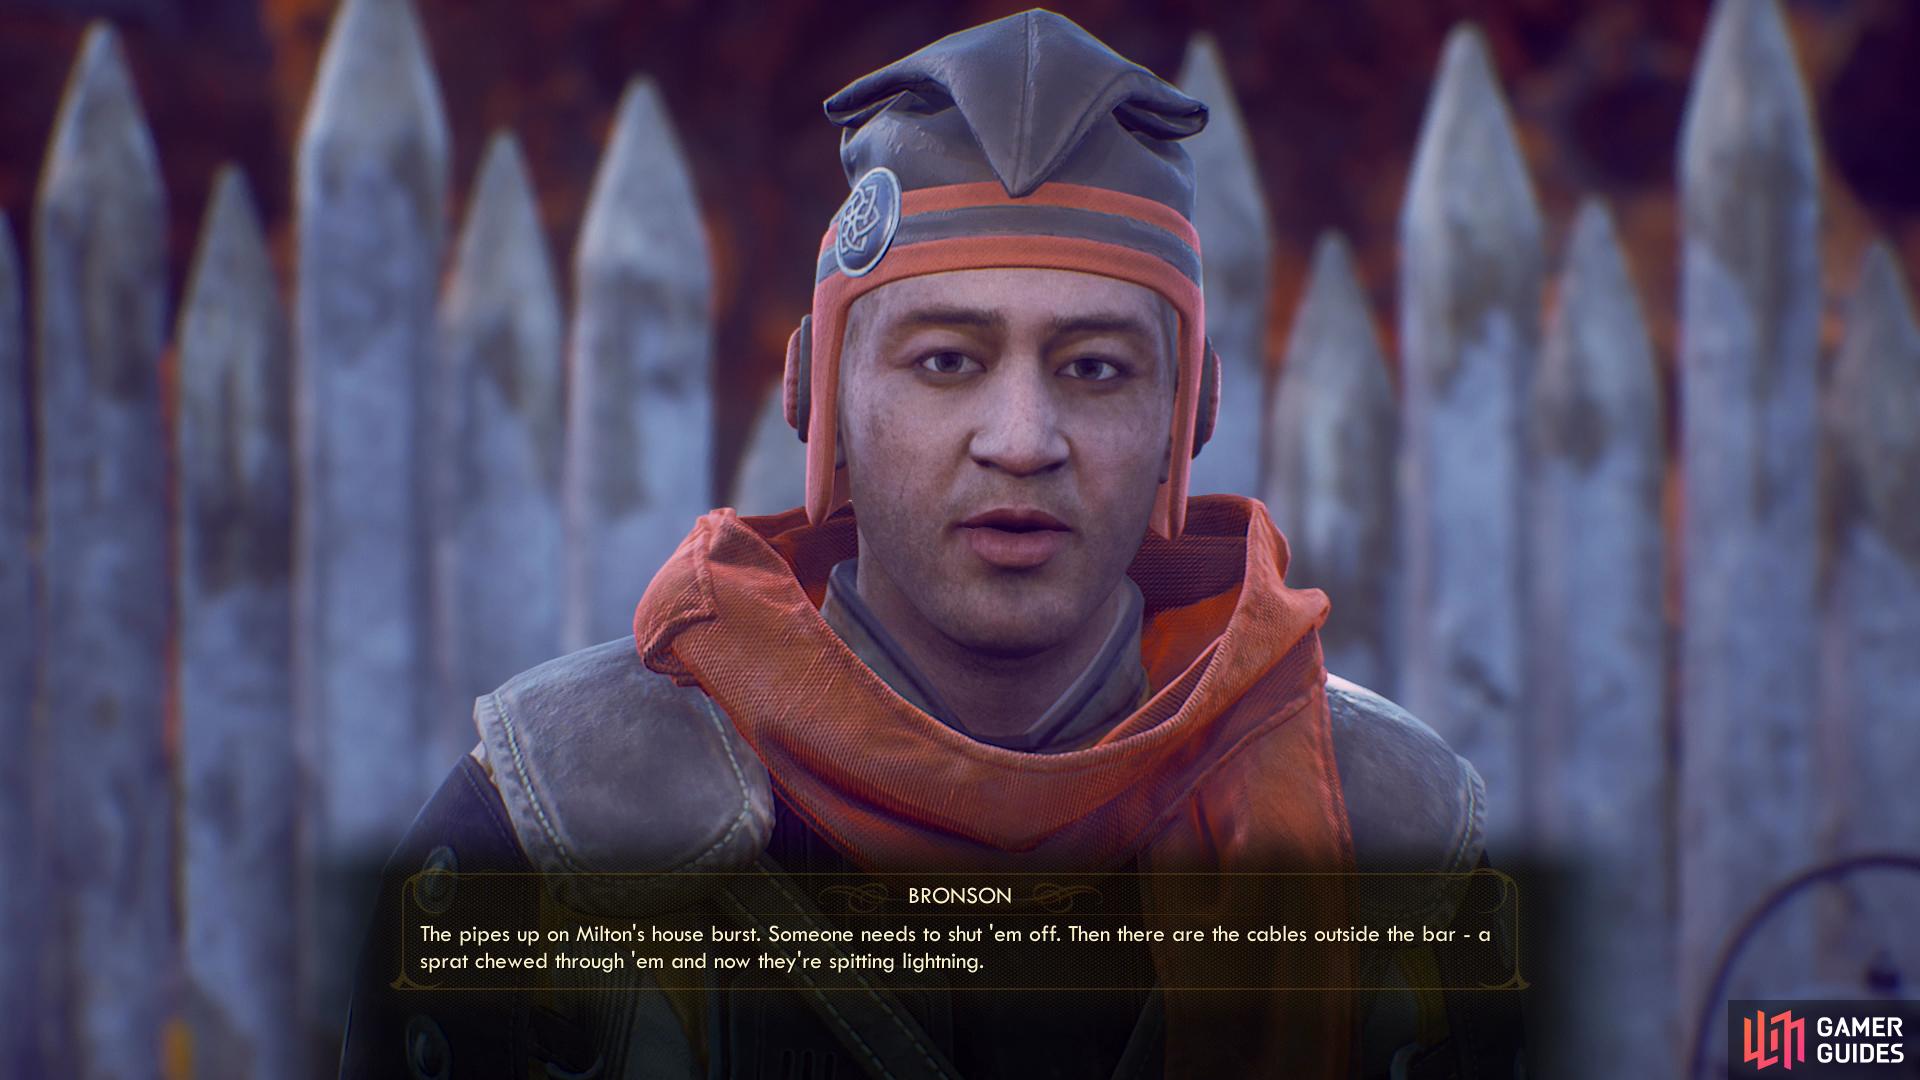
Bronson will give you the quest “Odd Jobs”.
Exploring Amber Heights
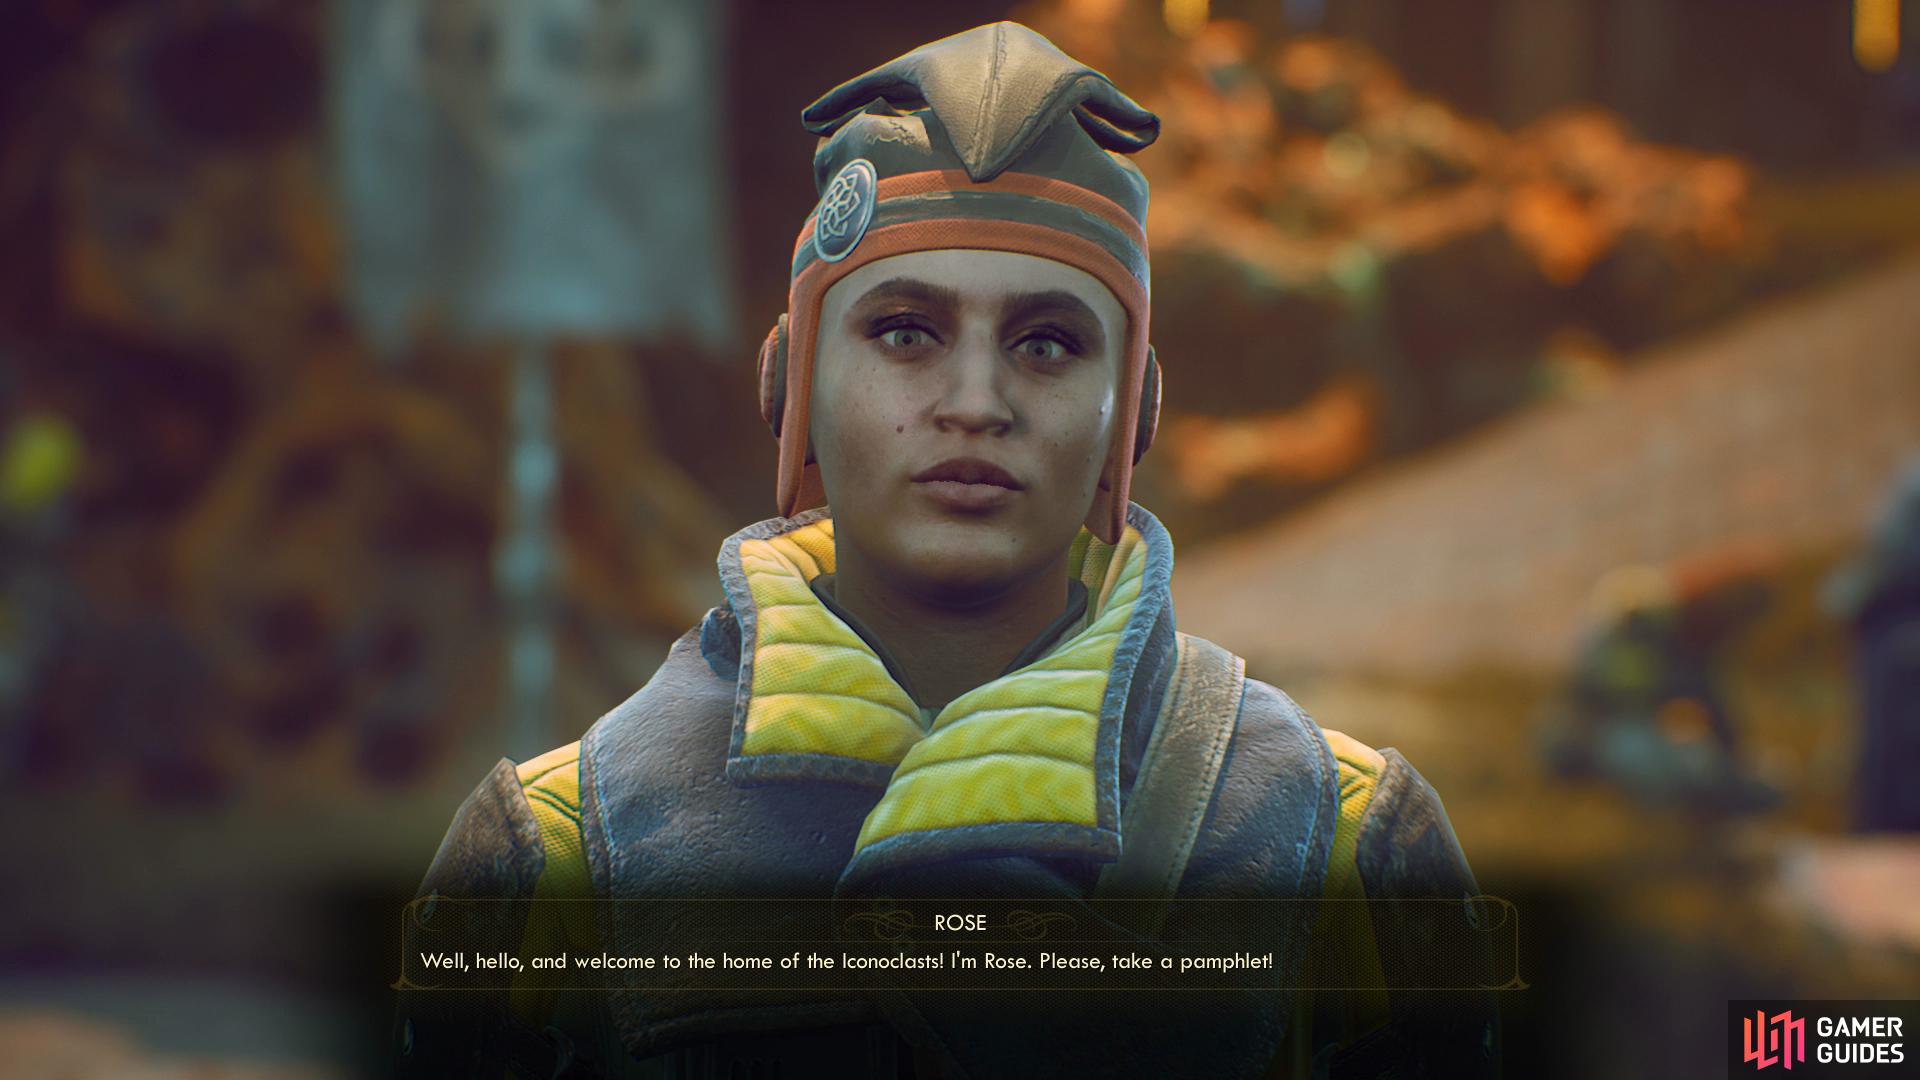
Amber Heights is the home of the Iconoclasts, and can be located south of Stellar Bay, as the pteroray flies. You can just exit via the southeastern gate and follow the road to get there, although it’s fairly winding. When you arrive you’ll be pestered by Rose, a friendly but perhaps overly talkative woman who will ensure you know a bit more about the Iconoclasts by the time she finally stops yammering. She definitely has that cult-indoctrination vibe going on, and she’ll refer you to Graham and Zora, the former of which you’ll need to talk to - or kill - to deal with the hole broadcast issue.
– Head north from the gate to find Bronson, the Iconoclast’s quartermaster who also runs a store - the emporium. He’s also the chef. Guess you have to wear a lot of hats to make it out here. Anyways, he doesn’t sell anything terribly interesting, but if you ask “Anything I can do to help you out?” you’ll start the quest Odd Jobs.
– Leaning near a rock to the northeast of the gate you’ll find Bradford, who doesn’t let his inarticulacy get in the way of boasting about the “freedom” offered by the Iconoclast’s anarchic lifestyle. You can pass a [Lie 20] and [Perception] check while talking to him, and while he doesn’t offer any quests, he will reveal that Zora’s more interested in survival than ideology, as compared to Graham. Push comes to shove, she might be a more reasonable person to negotiate with.
![Pass a [Hack 55] check to fix a terminal](/assets/guides/161/the_outer_worlds_radio_free_monarch_terminal_fix.jpg)
Pass a [Hack 55] check to fix a terminal
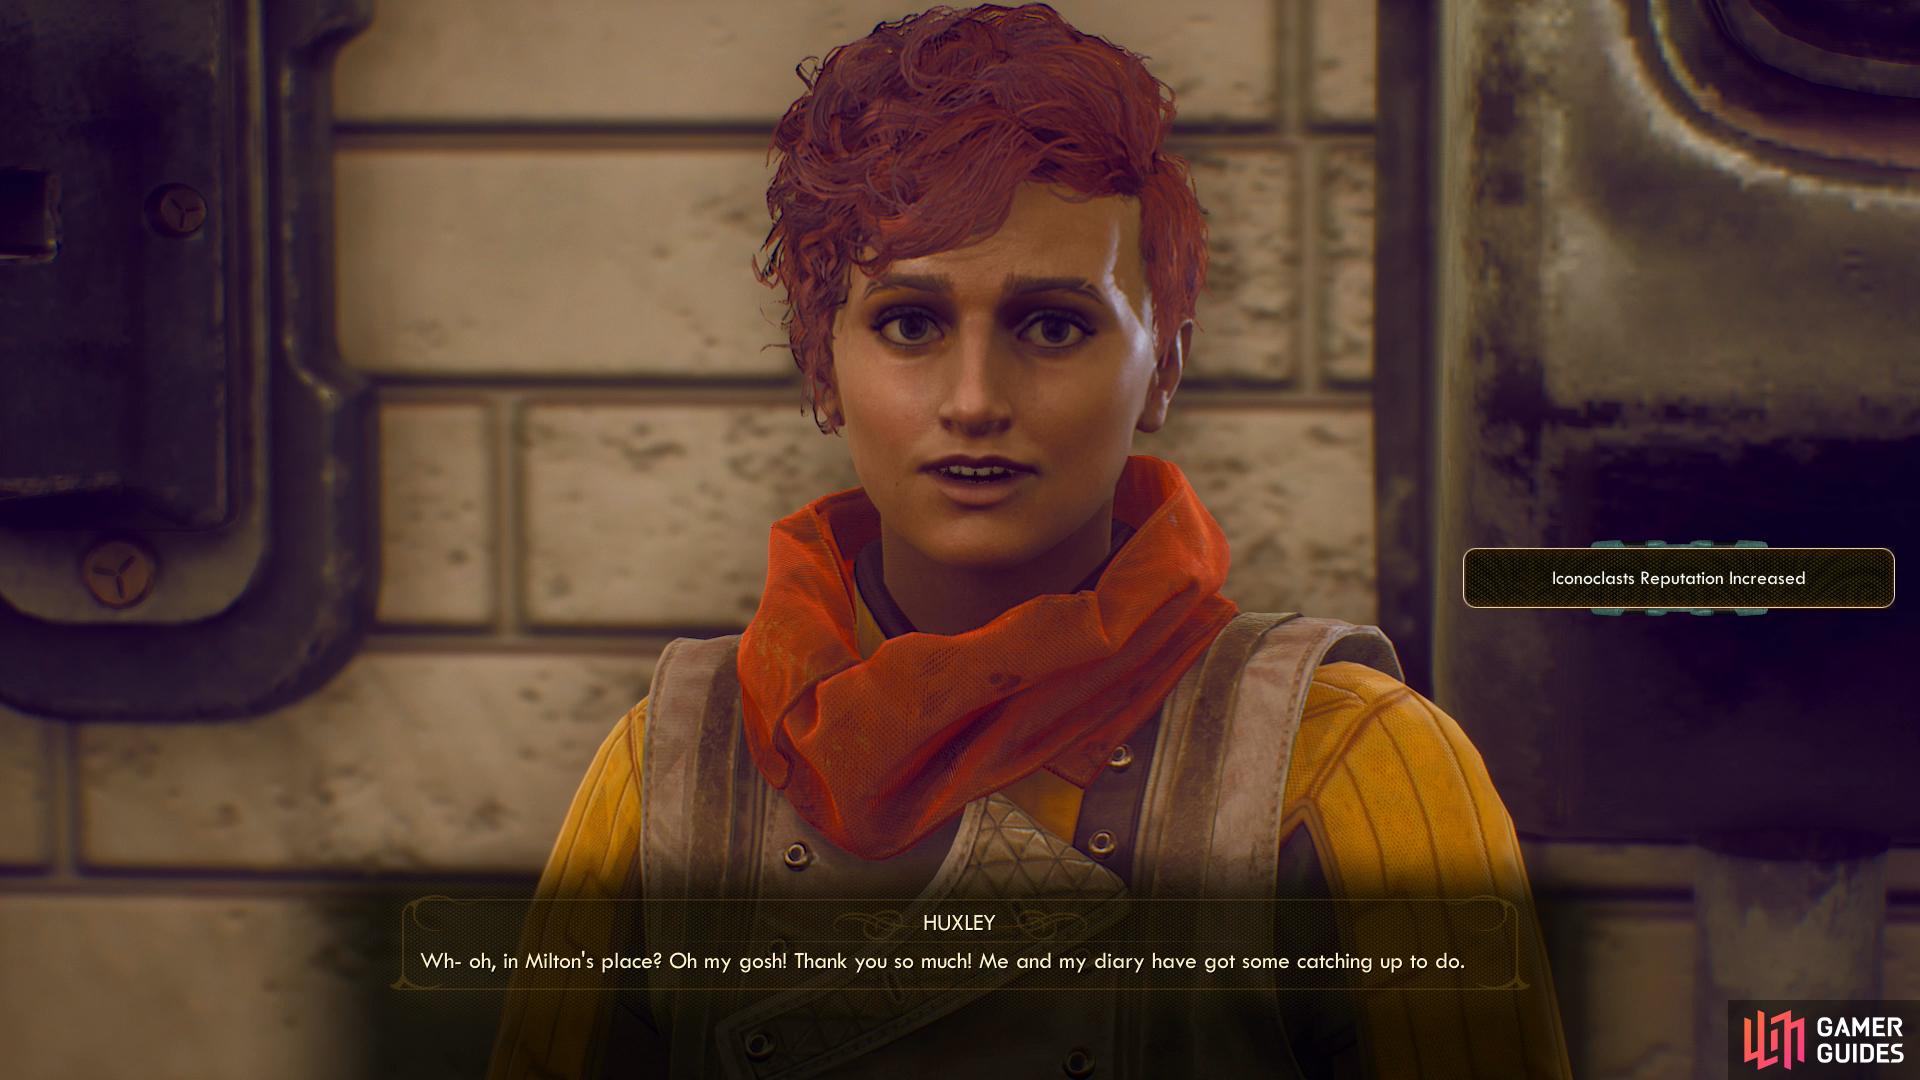
and tell Huxley the news to gain positive reputation with the Iconoclasts.
– To the south of the front gate you can find a workbench and a house with a terminal in it. On the latter you can pass a [Hack 55] check to fix the terminal, which on its own is worth some XP. If you completed the quest BOLT with His Name and rescued Huxley you’ll find her sitting outside a house northeast of the gate. Talk to her and tell her you fixed the terminal to score some Iconoclast positive reputation.
– Along the northern end of Amber Heights you’ll find two buildings you can enter. In the western of these two buildings you’ll find Tucker, whom you can talk to in order to advance the quest A Family Matter.
– In the same building where you’ll find Tucker you’ll also locate a terminal, the Amber Heights Routing Terminal, to be exact. Here you can resolve every one of the issues Bronson wants resolved for Odd Jobs, which definitely cuts down on the footwork. You can also use the terminal to remotely open a sealed door to a residence above the med bay.
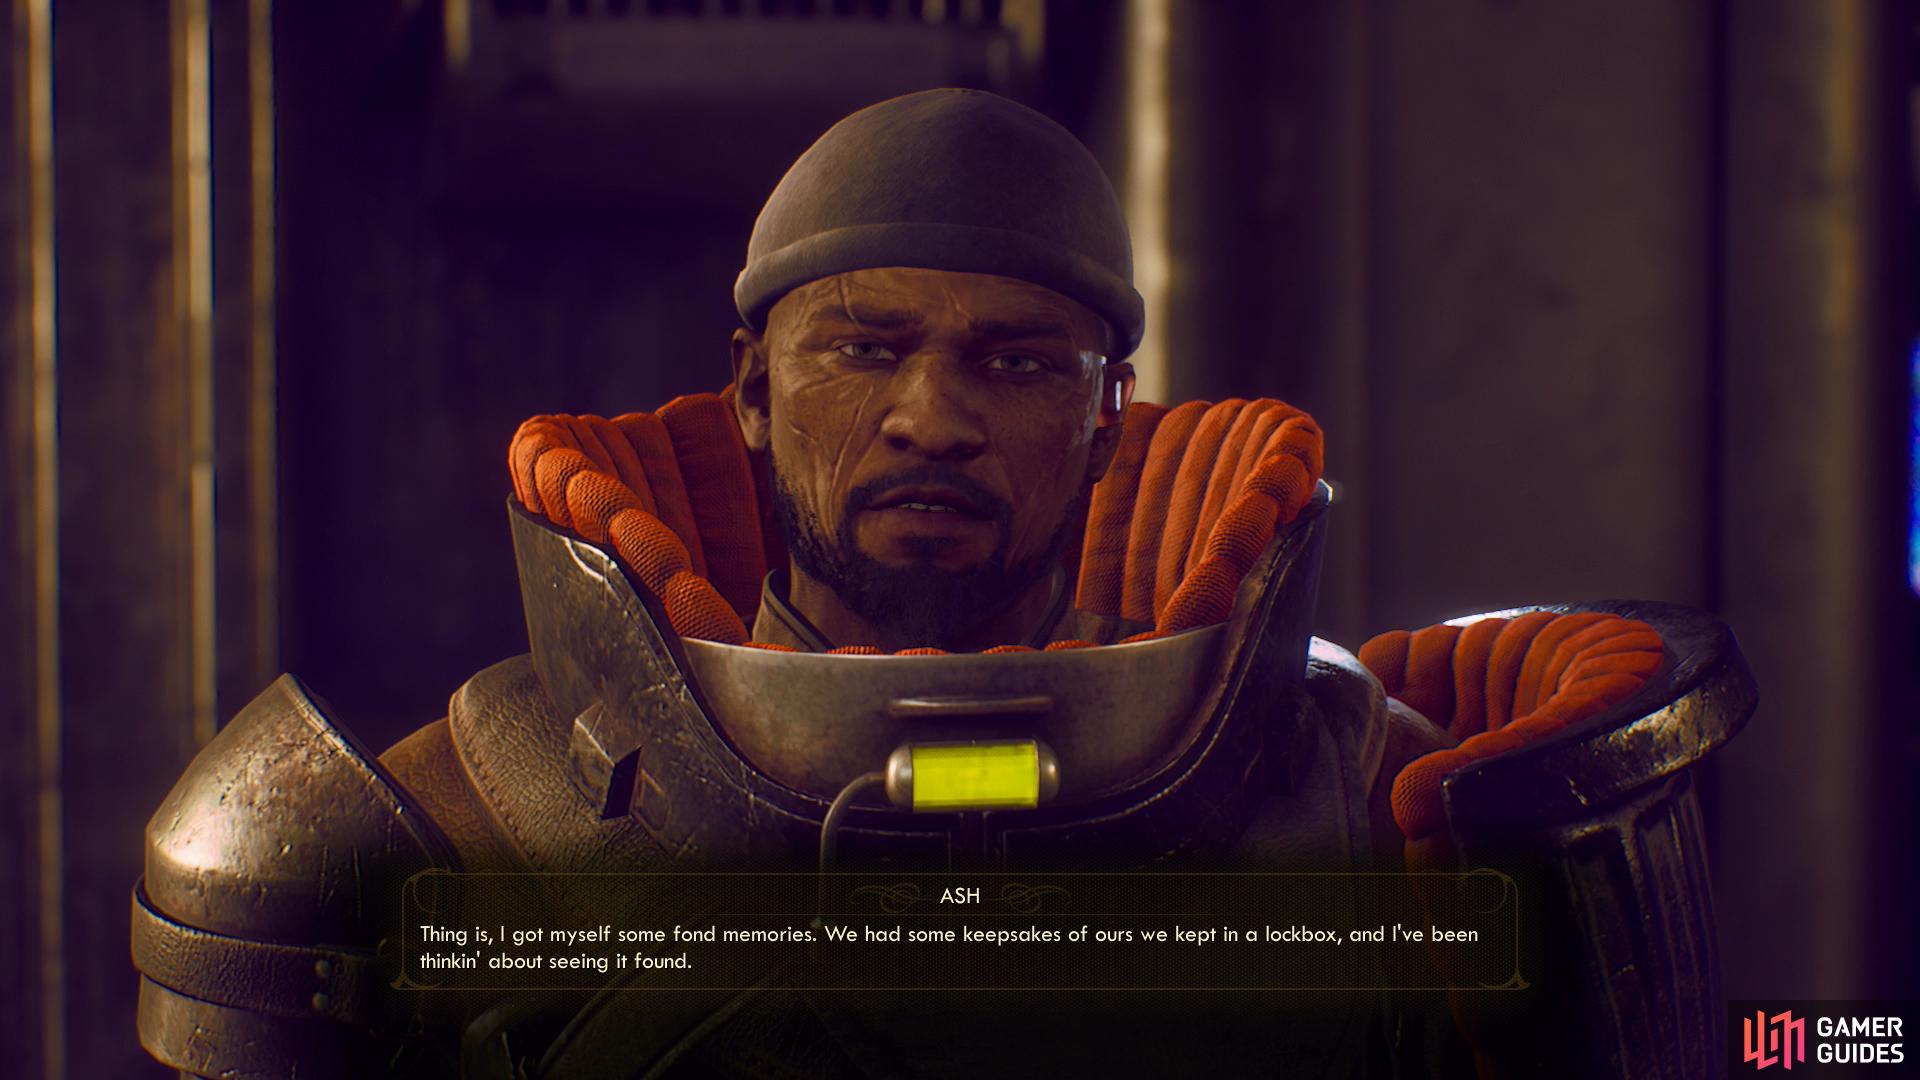
– In the northern-most building of Amber Heights you’ll find a bar, inside of which you’ll find Ash. Talk to him and ask about “heartbreak” to start Little Memento.
– Make your way up to the second floor balcony of this pub to find a locked door [Lockpick 30]. It can be bypassed if you steal Bronson’s Key from… well, Bronson, but we found picking the lock much easier than stealing Bronson’s Key. In any event, if you can get inside you can nab a SubLight ID Cartridge of a crate near the door.
– Return to the front gate and head east past Bradford, then turn southeast up a hill to find two houses on high ground overlooking the rest of the settlement. The right building (south) is the med bay while the left building (north) is where you’ll find all the important characters, at least on your first visit. If you explore the right-most building, the Med Bay, you’ll find that the ground floor isn’t too eventful at the present, but if you head to the northern end of the building you’ll find some stairs leading up. These stairs terminate at a sealed door, which can be remotely opened via the terminal in the house Tucker is in. There’s some loot beyond it if you get it open, but nothing noteworthy.
– Enter the left building, head upstairs, and talk to Graham Bryant, the cult-leader himself. He’ll give you both of the Iconoclast faction quests, The Commuter and Pay for the Printer.
In any event, you’ll need to chat with Graham and complete his faction quests, starting with The Commuter. This will be discussed in greater detail on the linked page for that faction quest, and if you do nothing else in Amber Heights, it should be the Iconoclast faction quests… or you can kill Bryant and try to flee town before the numbers game catches up with you. In any event, it’s time to talk about Fallbrook next.
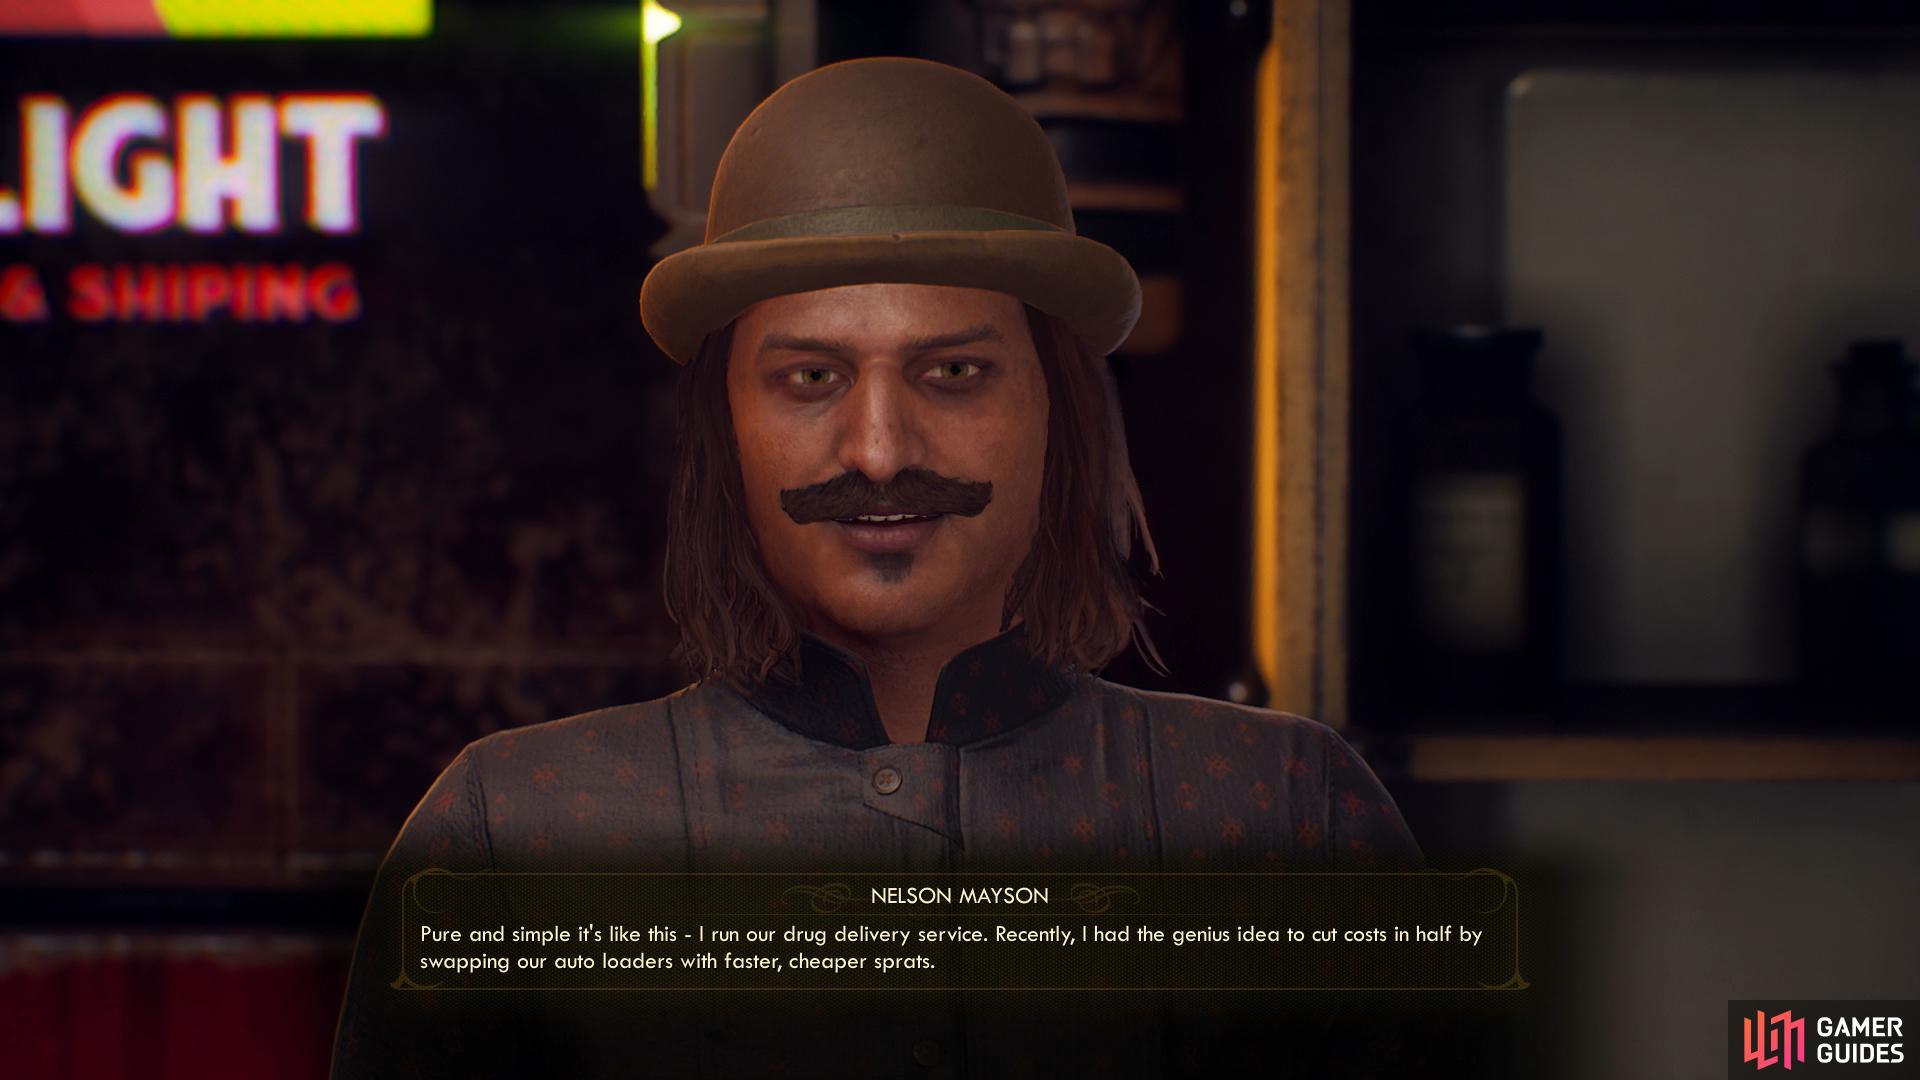
You can talk to Nelson to start “Spratkings”
while in another domicile you’ll find a datapad that updates “The Empty Man”.
Exploring Fallbrook
Fallbrook is the hub of criminal activity on Monarch, which isn’t quite as sinister as it sounds, since technically according to the Board all activity on Monarch is illegal. Still, it’s primarily a haven for SubLight Salvage & Storage, a group of “ethically flexible” contractors with the veneer of legal compliance. Okay, they’re space mobsters who engage in smuggling and piracy, among many other crimes. The town of Fallbrook is decidedly seedy, then, but not entirely lawless, as long as you’re willing to accept the definition of “lawful” as “whatever doesn’t piss off Catherine”. You’ll find Fallbrook along the southeastern reaches of the Monarch area, south and somewhat west of Amber Heights.
– Follow the road and enter the first building on the left (east) to find Nelson Mayson, a unwholesome character who will immediately ask you to help him with some scheme of his. This starts the quest Spratkings, and it should be noted that you can pass a [Lie 1] check while talking to him to earn some XP, as well as a [Persuade 100] check to bump his offer for the aforementioned quest up from 5% to 35%. Be sure to punch him in the eye twice when prompted, as doing so will gain you some positive SubLight reputation. Nelson will also try to sell you some discount at the Ante up, which is nothing short of a scam - don’t waste your Bits on it.
– Continue deeper into Fallbrook by following the road east until you find two houses you can explore on either side of the road. Enter the southern house and read a datapad to update the quest The Empty Man.

In the SubLight Dry Goods & Sundry shop you can buy the Sublight Plasma Knife
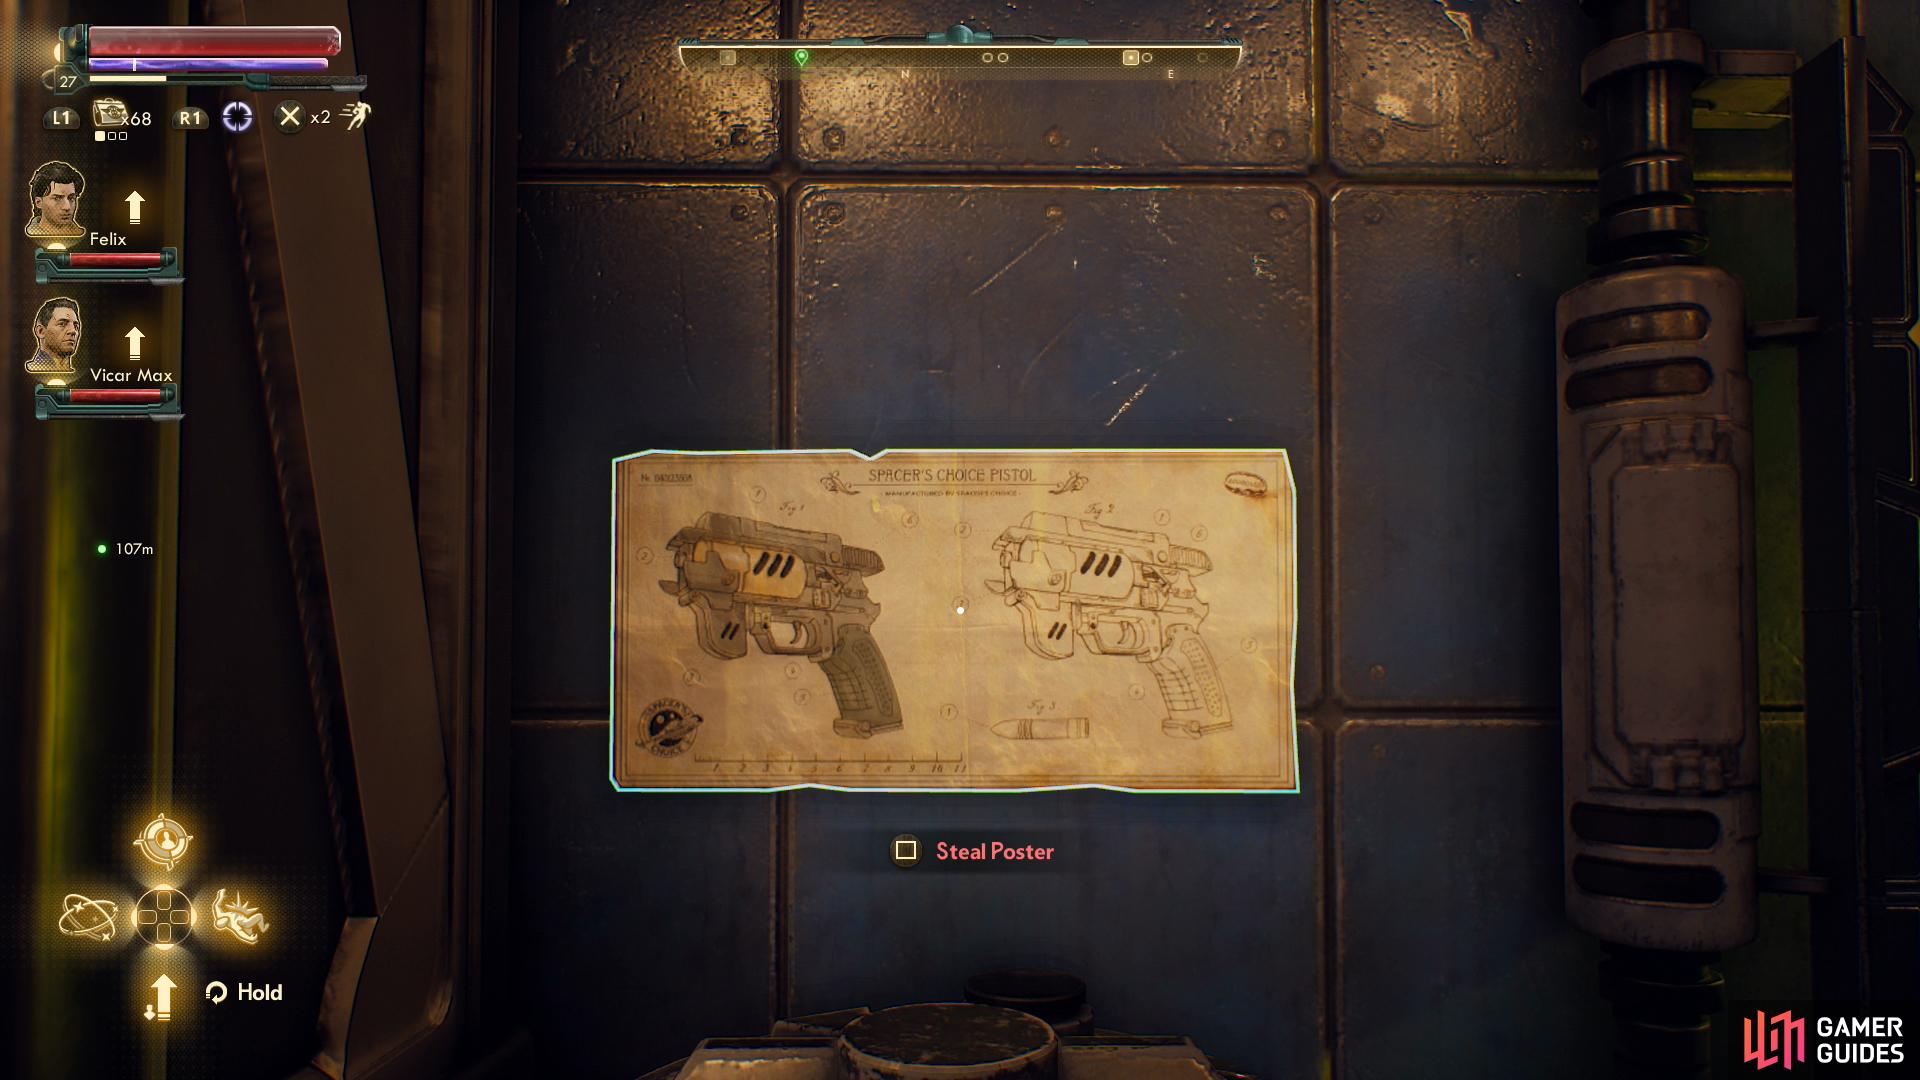
and steal a poster.
– The next building to the east, also on the southern side of the road, is the Sublight Dry Goods & Sundry shop. This place consists of Duncan Elley, who sells armor and Lyanna Reed, who sells weapons. The former sells two items of interest, a SubLight Datapad and a Damaged UDL Datapad, both of which update the quest Weapons From the Void. Lyanna, for her part, will sell you a Sublight Plasma Knife from the latter… at least, you can when your SubLight reputation is high enough. There’s also a Poster on the wall to the north near Lyanna you can steal, if you want to decorate the Unreliable more, but it’s hard to see how you’ll manage this without getting caught.
– Across the street (north) of the Sublight Dry Goods & Sundry shop you’ll find the offices of the Greater Halcyon Insurance Group, wherein you can have an Insurance Agent regale you with all manner of legalese. You can also advance the quest The Low Crusade if you started it in Byzantium (something obviously only possible at this point in time if you completed Balance Due), but you can’t actually start any quests here.
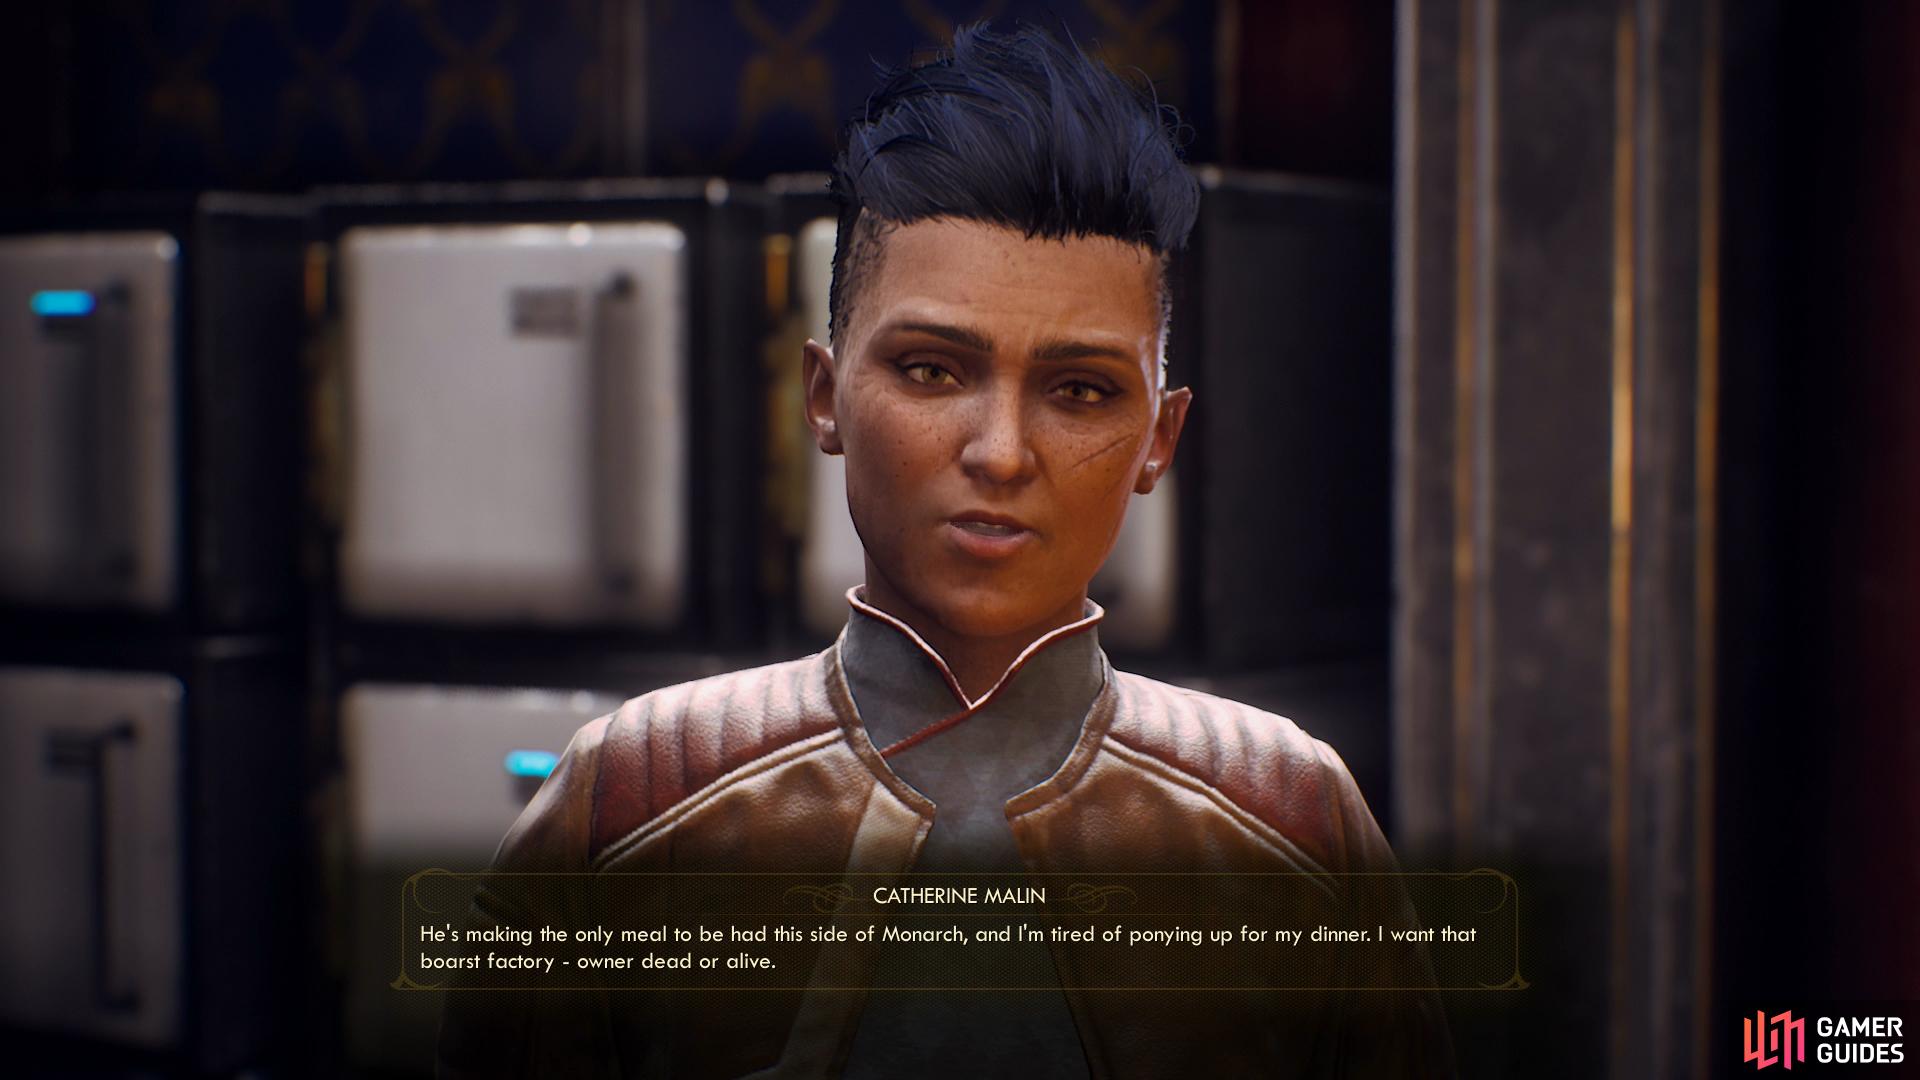
– Next up is Malin’s House of Hospitality, which is just east of the Sublight Dry Goods & Sundry shop. On the bottom floor, In a side room you’ll find Catherine Malin, who is the closest thing to a leader Fallbrook has… or rather, a “person best not pissed off”. You can pass a [Charm] check when initially talking to her to gain some positive SubLight reputation, and she’s also the person you’ll need to talk to to advance the quests *Space-Crime Continuum* and Errors Unseen (although the latter is admittedly optional).
If you completed Spratkings you can tattle on Nelson by saying “Took care of your little drug-running problem.” then score 375 Bits by picking either of the two options that follow. If you ask “Need a hand for hire?” you’ll get the quest Slaughterhouse Clive. Finally if you say “I’d like a room.” she’ll essentially sell you unlimited use of a domicile for under 300 Bits, although this comes off as a bribe, for whatever reason. You can reach this domicile by following the road outside to the east until it ends, then turning northeast - the loot you’ll find inside is quite nearly worth the cost of the domicile itself.
– On the ground floor of Malin’s House of Hospitality you can search a short shelf along the southwestern wall (rather near the bartender - Westley Alexander) to find a Tossball. Sadly, this counts as stealing, and it won’t be easy to obtain this without getting caught.
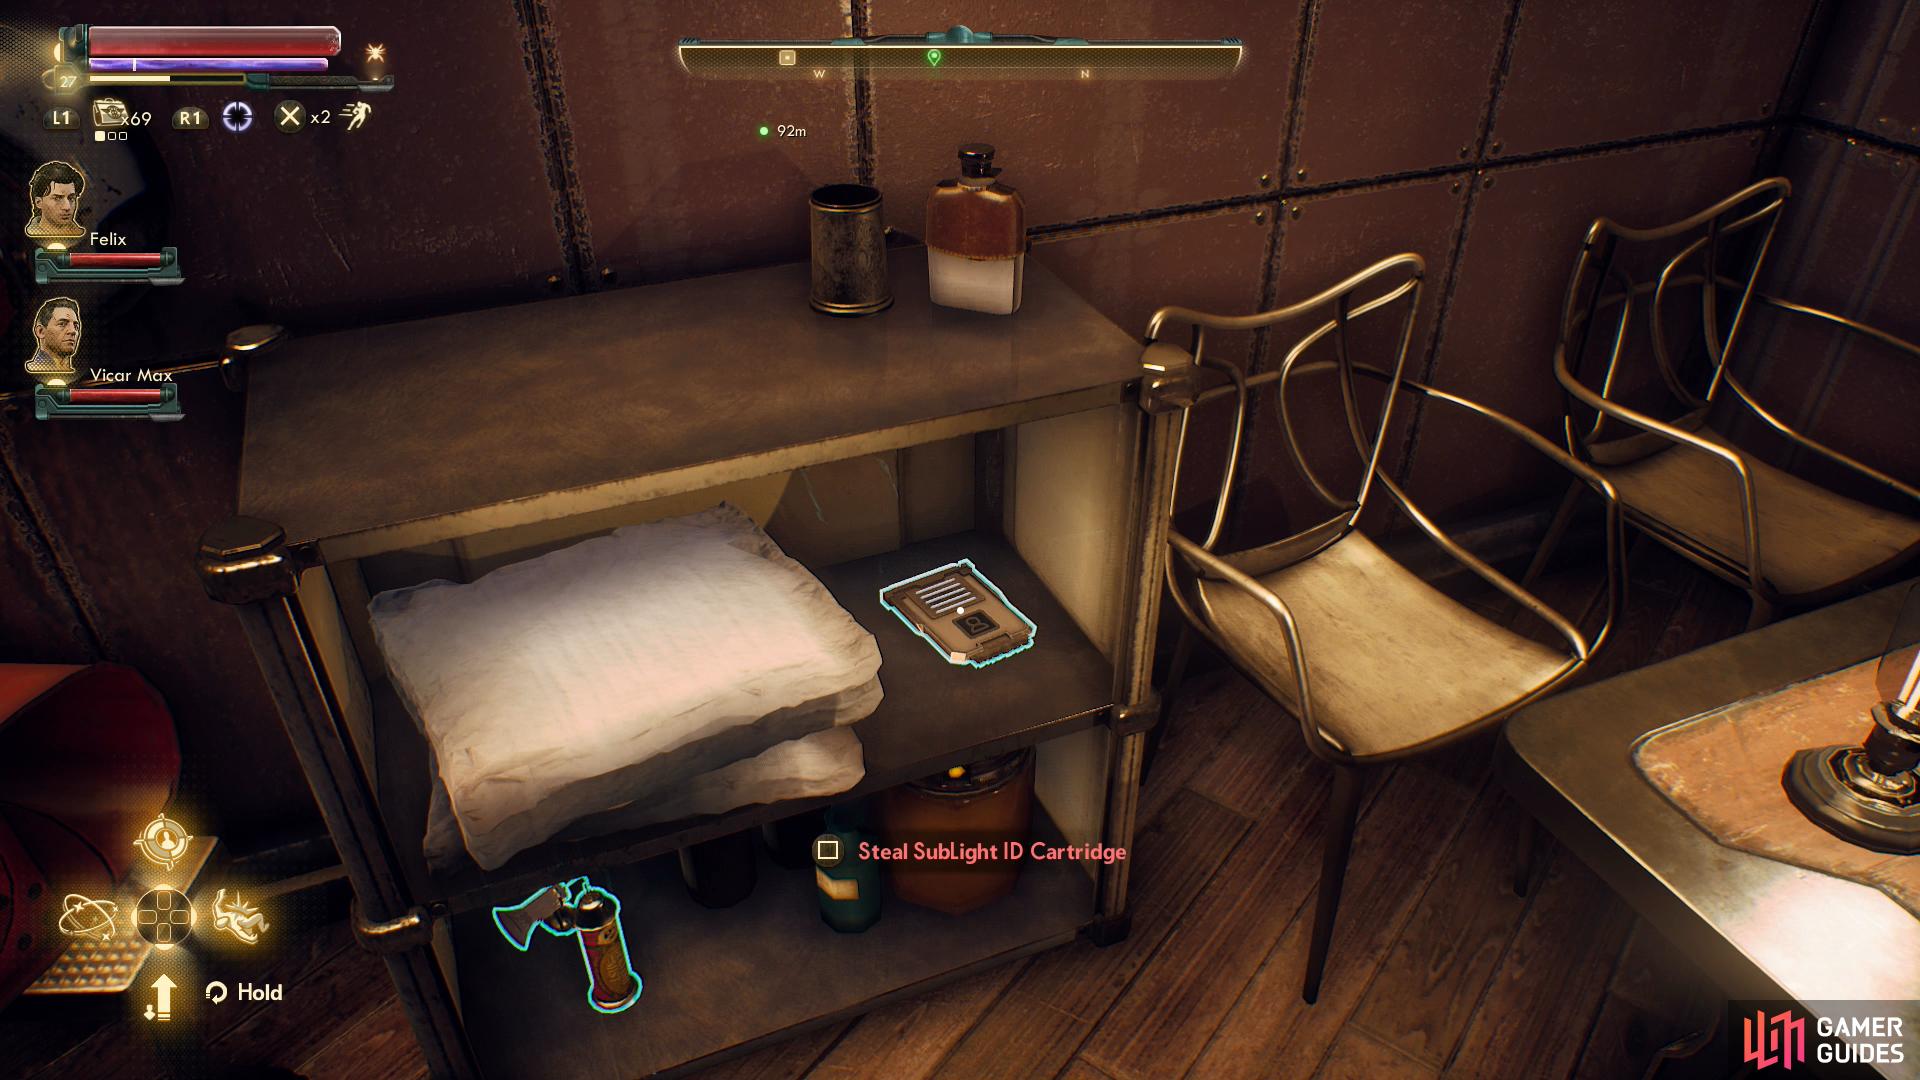
(1 of 5) You can find SubLight ID Cartridges in the Greater Halcyon Insurance Group building
– While there’s a bunch of loot (most of it must be stolen, some of the bins you’ll find are locked) scattered throughout Fallbrook, most of the major stuff has been accounted for. There are, however, several SubLight ID Cartridges strewn about:
- In the Greater Halcyon Insurance Group building, across the street (north) from the Sublight Dry Goods & Sundry shop. Head into a back room on
This page looks incomplete? Is there something missing, or is it just me?
This page looks incomplete? Is there something missing, or is it just me?