
| Quest Information | . |
|---|---|
| Location: | Monarch - Fallbrook |
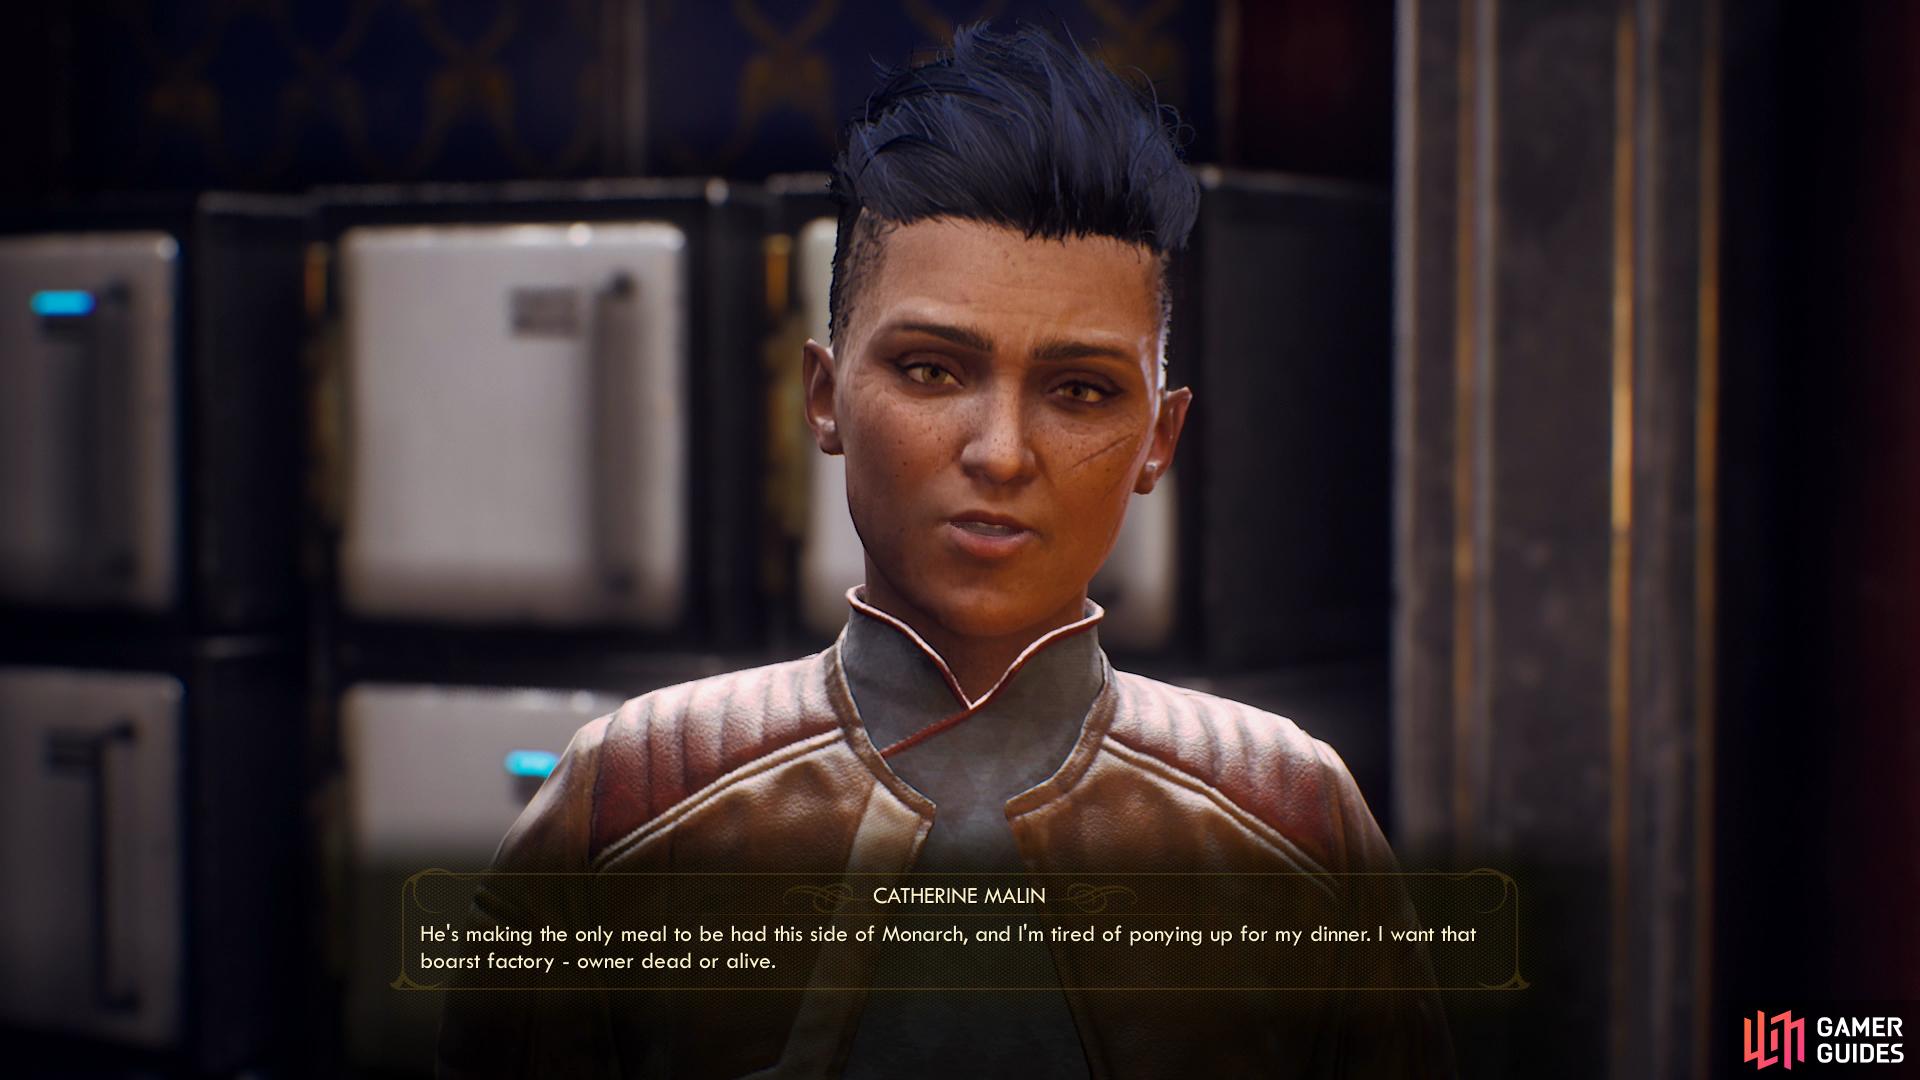
| How to Start: | Talk to Catherine Malin |
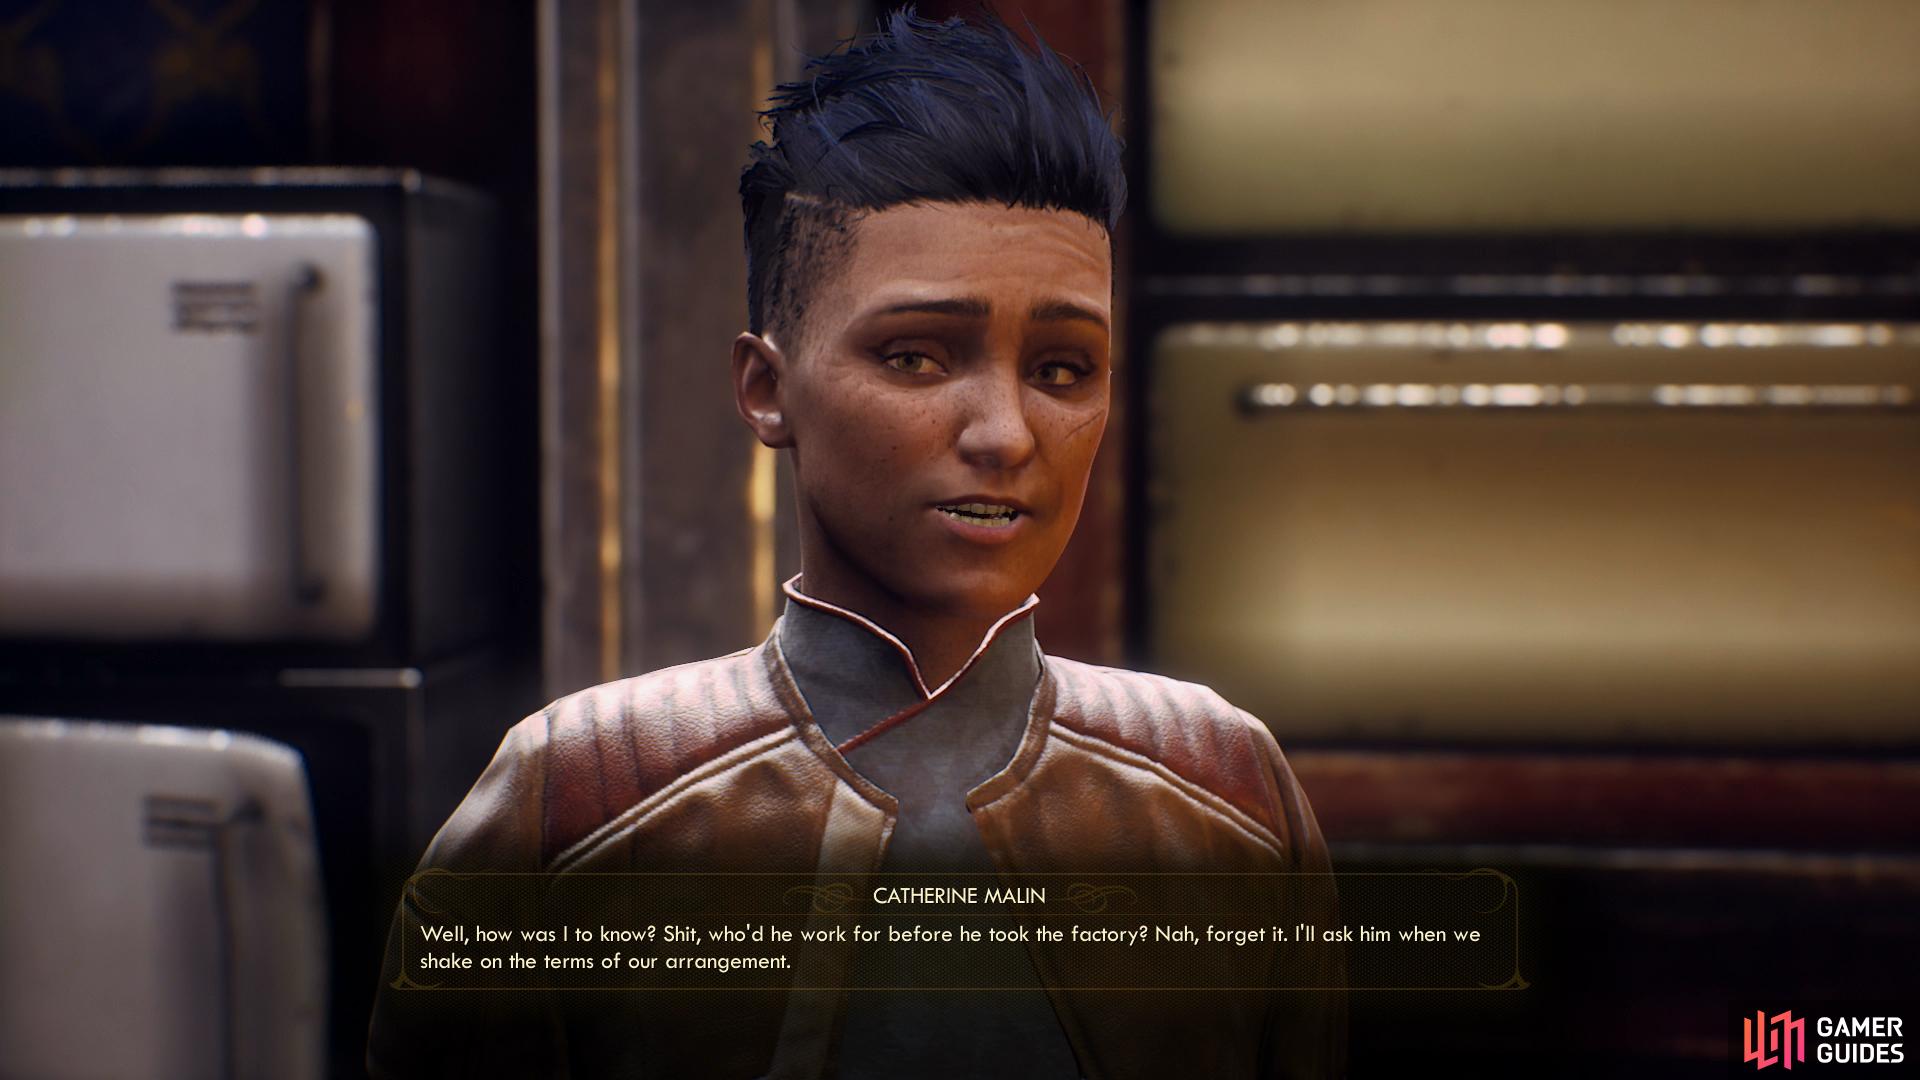
You’ll find Catherine Malin in Malin’s House of Hospitality in Fallbrook. Talk to her and ask “Need a hand for hire?” to start this quest, which she gives you pretty readily, given you’re a complete stranger. Anyways, food security is an issue in Monarch, and one of the only sources aside from Stellar Bay’s saltuna is boarst-meat. This has allowed Clive Lumbergh, the owner of the last boarst factory on Monarch, to get incredibly wealthy, and Catherine is frankly just sick of paying. Exhaust her dialogue options on the topic and you’ll find that there are many ways to go about this quest, from stealth to assault, sabotage to assassination.
You’ll also be told that a man named Duncan - who can be found in the adjacent Sublight Dry Goods & Sundry shop - may be able to get you a ID cartridge for the C&P factory. If experience has taught you anything, getting this ID cartridge will make any infiltration attempts much easier, so before we get to actually dealing with this factory, let’s discuss all the ways you can actually infiltrate the factory, including a number of ways of getting ID cartridges.
Talk to Catherine Malin to start this quest
If you get an ID cartridge from Duncan before leaving Fallbrook, you’ll be well-equipped to infiltrate the factory.
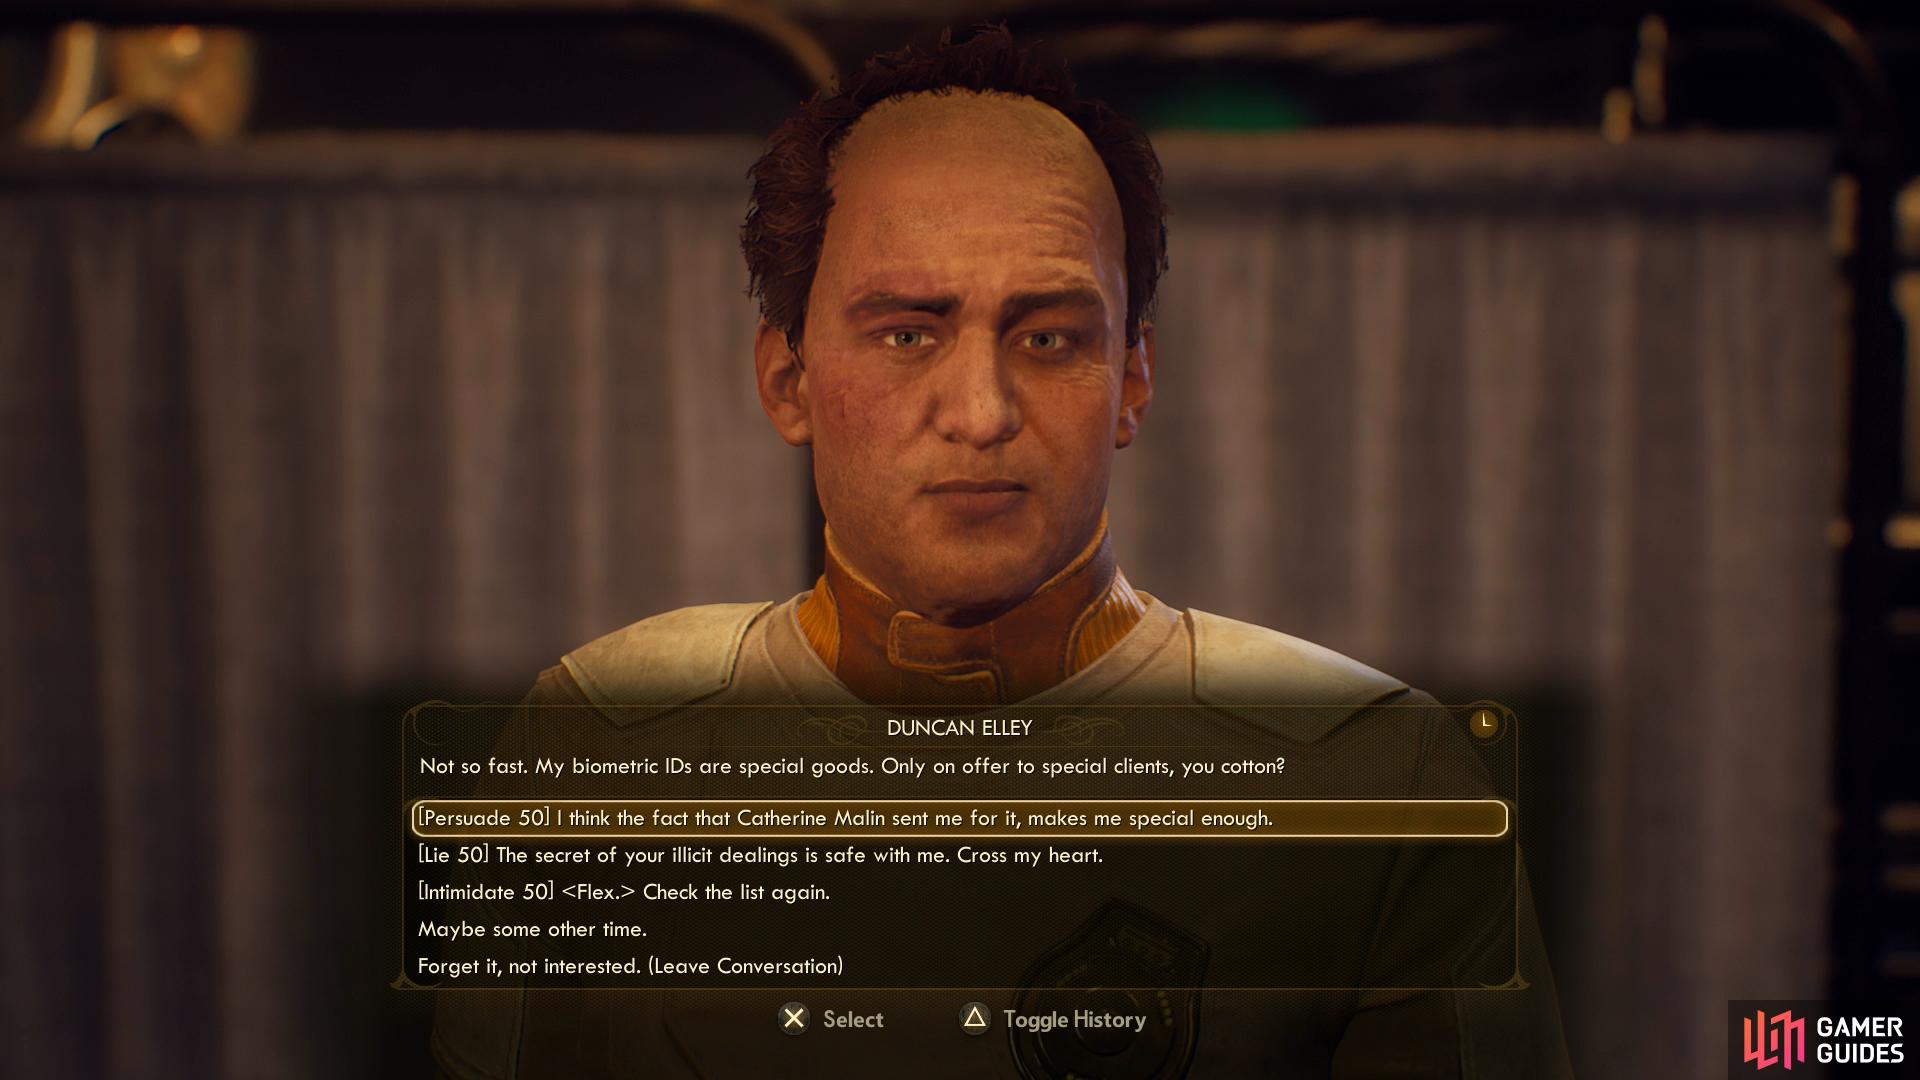
ID Cartridge - Duncan Elley
Talk to Duncan Elley and say “Catherine said you can give me an ID cartridge for the C&P factory.”, after which you’ll need to pass a [Persuade 50], [Lie 50] or [Intimidate 50] check. Do so and you’ll acquire a Boarst Factory ID Cartridge. If you can pull this off you’ll make this quest much easier, but never fear - with a little effort you can obtain one within the factory itself.
(1 of 3) The ID cartridge itself won’t get you past the front gate - some good old fashioned diplomacy will have to do.
ID Catridge - The Front Gate
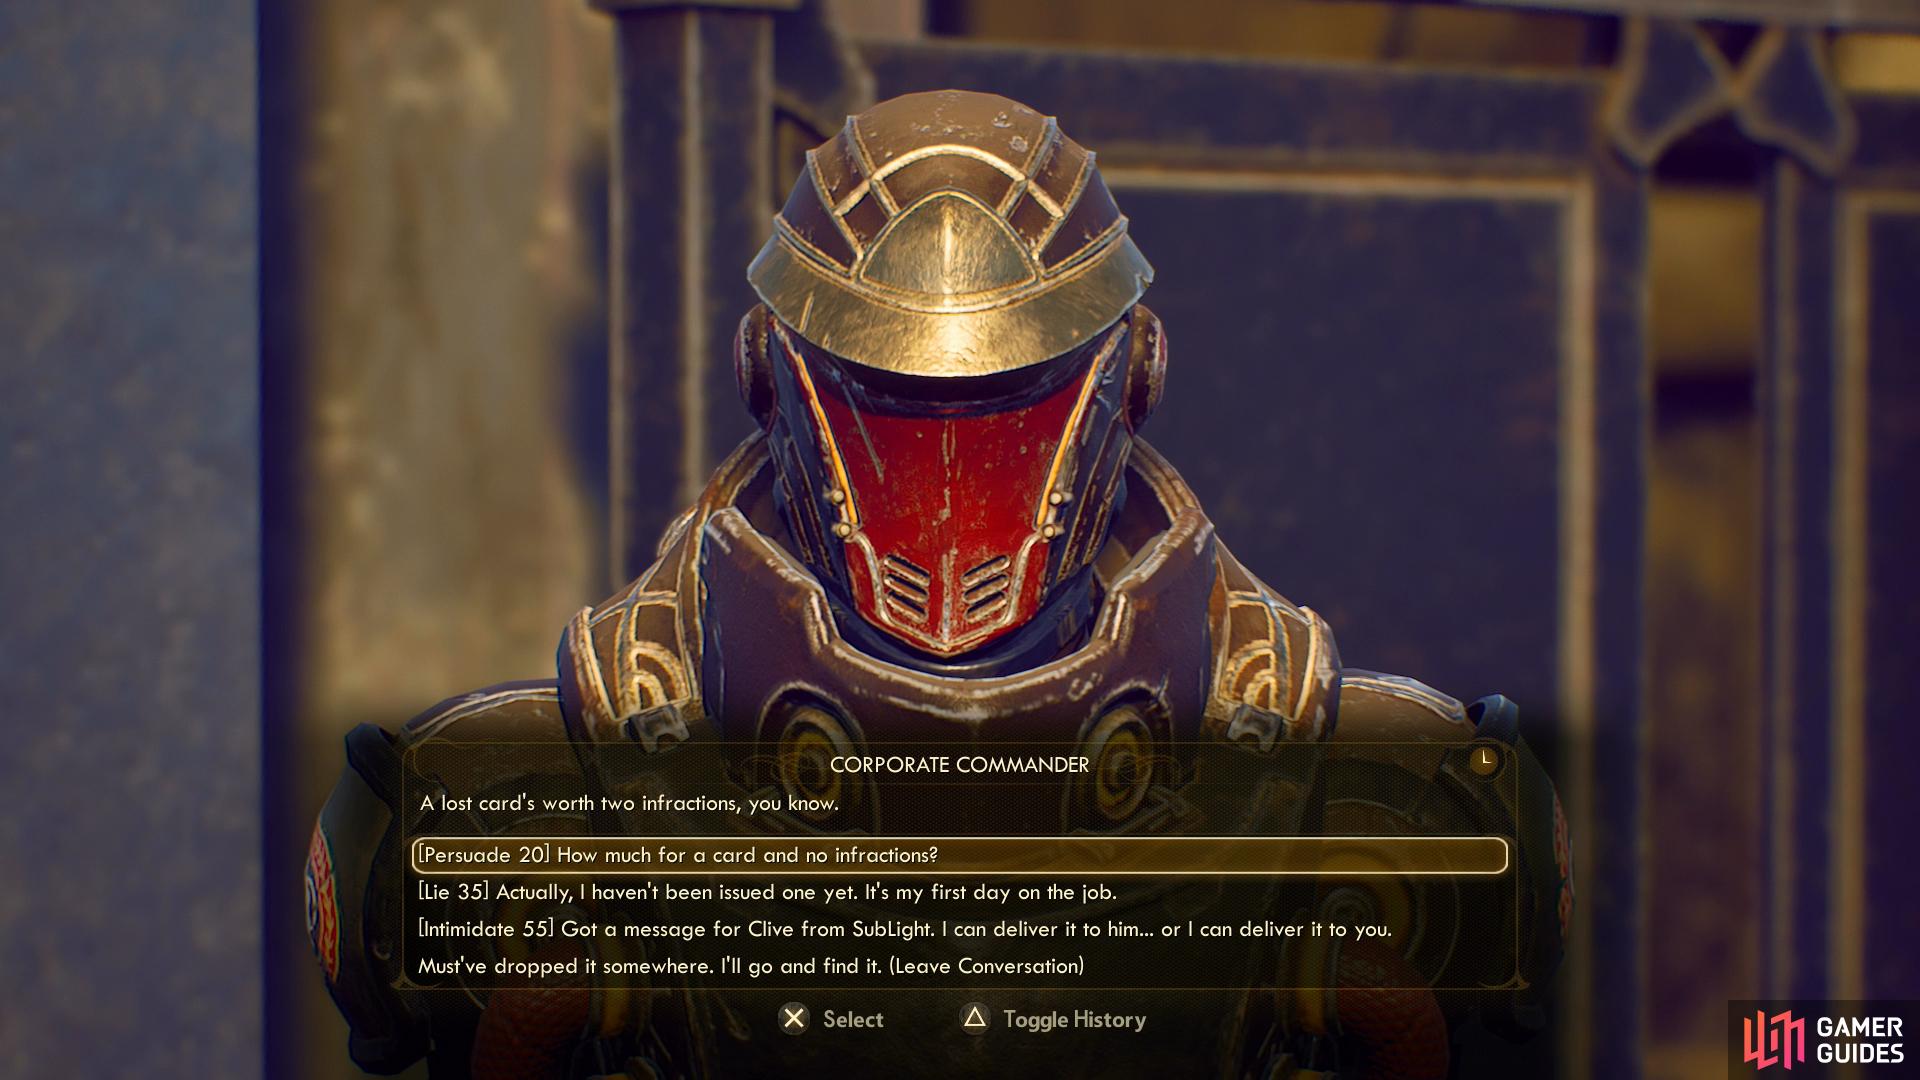
Whether you have the ID cartridge or not, it’s time to head to the C&P Boarst Factory. From Fallbrook follow the road west past the Abandoned Safehouse, cross a bridge to the southwest, and at a nearby fork continue southwest to reach the front of the factory. If you have an ID cartridge you can walk right through the restricted zone, although you’ll still be stopped by a guard, who reprimands you for not having your keycard. You’ll need this to get through the front gate, and fortunately you can pass a [Lie 35] or [Intimidate 55] to obtain a C&P Boarst Factory Gate Key from the trooper, or alternatively you can pass a [Persuade 20] check, then bribe the trooper (this set us back 300 Bits).
Once you get the gate open, you can continue southwest through another large gate to reach the factory itself. Also worth noting, if you go into the northwestern building you can find two more Boarst Factory ID Cartridges, one on some shelves near a bed in the eastern corner of the room, and another in a locker near some stairs. If you got in through the front gate, you probably already have an ID cartridge, unless you shot your way in, in which case these ID cartridges might come in handy inside the factory itself.
(1 of 3) If the front gate is a bit too on the nose, you can also enter via a riverside sewer hatch.
ID Cartridge - The River Entrance
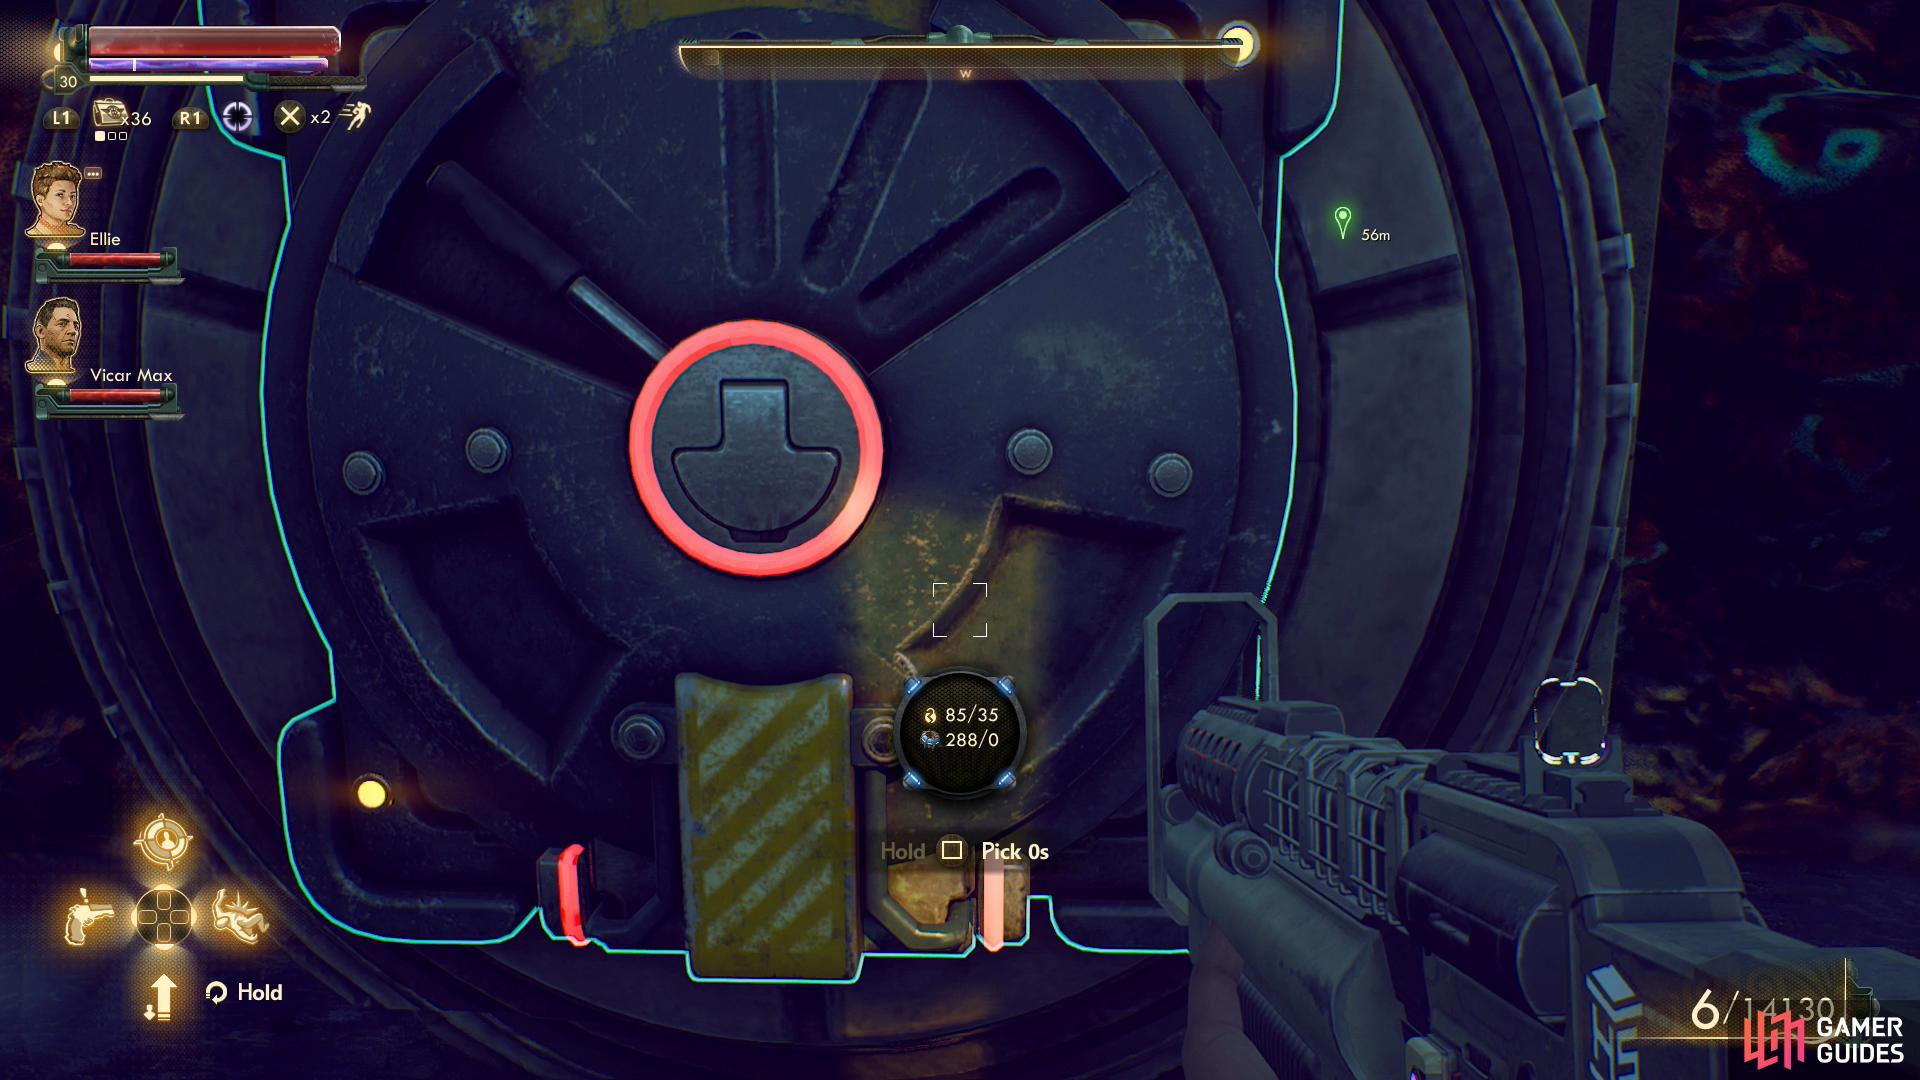
If getting one of the previously mentioned ID cartridges didn’t appeal to you, for whatever reason, or if you’re just averse to going through the front door, there’s another way to get into the factory. From the restricted area near the front gate head east to reach a river, and once you’re standing in the river turn southwest to find a hatch leading to the factory [Lockpick 35]. If you don’t want to go in guns blazing and didn’t get an ID cartridge from Duncan Elley, this riverside entrance is your best bet.
Once in the factory, head forward and climb a ladder to surface behind the boarst sties. The bad news is that multiple guards patrol around near these sties, but the good news is that barriers obstruct their sight, making it likely that they’ll likely only spot you when you leave the sties There are multiple ID cartridges you can get relatively close by, so let’s cover them and then we’ll get to all the ways you can go about completing this quest.
From the first ladder turn northwest to spot another a short distance off. Climb it and continue northwest through a doorway, then turn northeast to spot a bathroom. Sneak past an open doorway to the left (northwest) where an automechanical prowls and into the bathroom, where you’ll find a corporate trooper doing his business… while wearing power armor. The glass privacy barrier will prevent you from being detected, and if you’re Competent (40+ skill points) in Sneak you can pick the trooper’s pockets fairly easily for a Boarst Factory ID Cartridge.
If you can’t get that ID cartridge for whatever reason, never fear - another one can be found. From the first ladder sneak southwest past the cystypigs until you find an opening in the barrier to the right (northwest). Be wary of the patrolling guards and sneak northwest to an enclosed area with a terminal, and when the coast is clear, sneak northwest again to find a locker containing another Boarst Factory ID Cartridge.
Hopefully by now everybody who wants an ID cartridge has one, as it’ll make sabotaging Clive’s operation much easier. Below we’ll discuss each way you can go about sabotaging the factory, which will be discussed in the “Sabotage” sections, below. Before that, however, you can optionally cull some of the enemy, which will make all your sneaking even easier. This will be covered in the “Clearing the Factory Floor” section, immediately below. Finally, if you want to reach Clive Lumbergh to deal with him, check out the “The Clive Question”.
Clearing the Factory Floor
First things first, let’s make sure everybody is starting from the same place, namely the cystypig pens. If you came in through the riverside hatch, you’ll be there as soon as you ascend the first ladder. If you entered via the front gate you’ll need to ascend the stairs over the workbench and enter the doorway beyond to reach the reception area. Pass through a larger doorway to the southwest to reach an office/cafeteria room patrolled by an automechanical. From here there are two doorways you can pass through - one on the southwestern wall and the larger door on the southeastern wall. In the former case head down some stairs to find yourself on the northern corner of the cystypig pens, while in the latter case you’ll need to turn southwest, then go through a doorway to the southeast and descend a ladder to reach the eastern corner of the cystypig pens.
Once we’re all in the cystypig pens you’ll want to head to the western corner of this large room, which invariably means heading southwest (then perhaps northwest, if you started in the eastern corner). Go through a large bay door, then turn northwest to find another large bay door, which leads into the processing chamber of the factory floor. Get yourself familiarized with these two chambers on the factory floor, as ways to resolve this quest lie in both rooms, but when you’re ready to carry on with the task at hand go through a smaller doorway to the southwest and up some stairs. When you reach a small room with two vending machines, turn northwest to find a room overlooking the processing chamber.
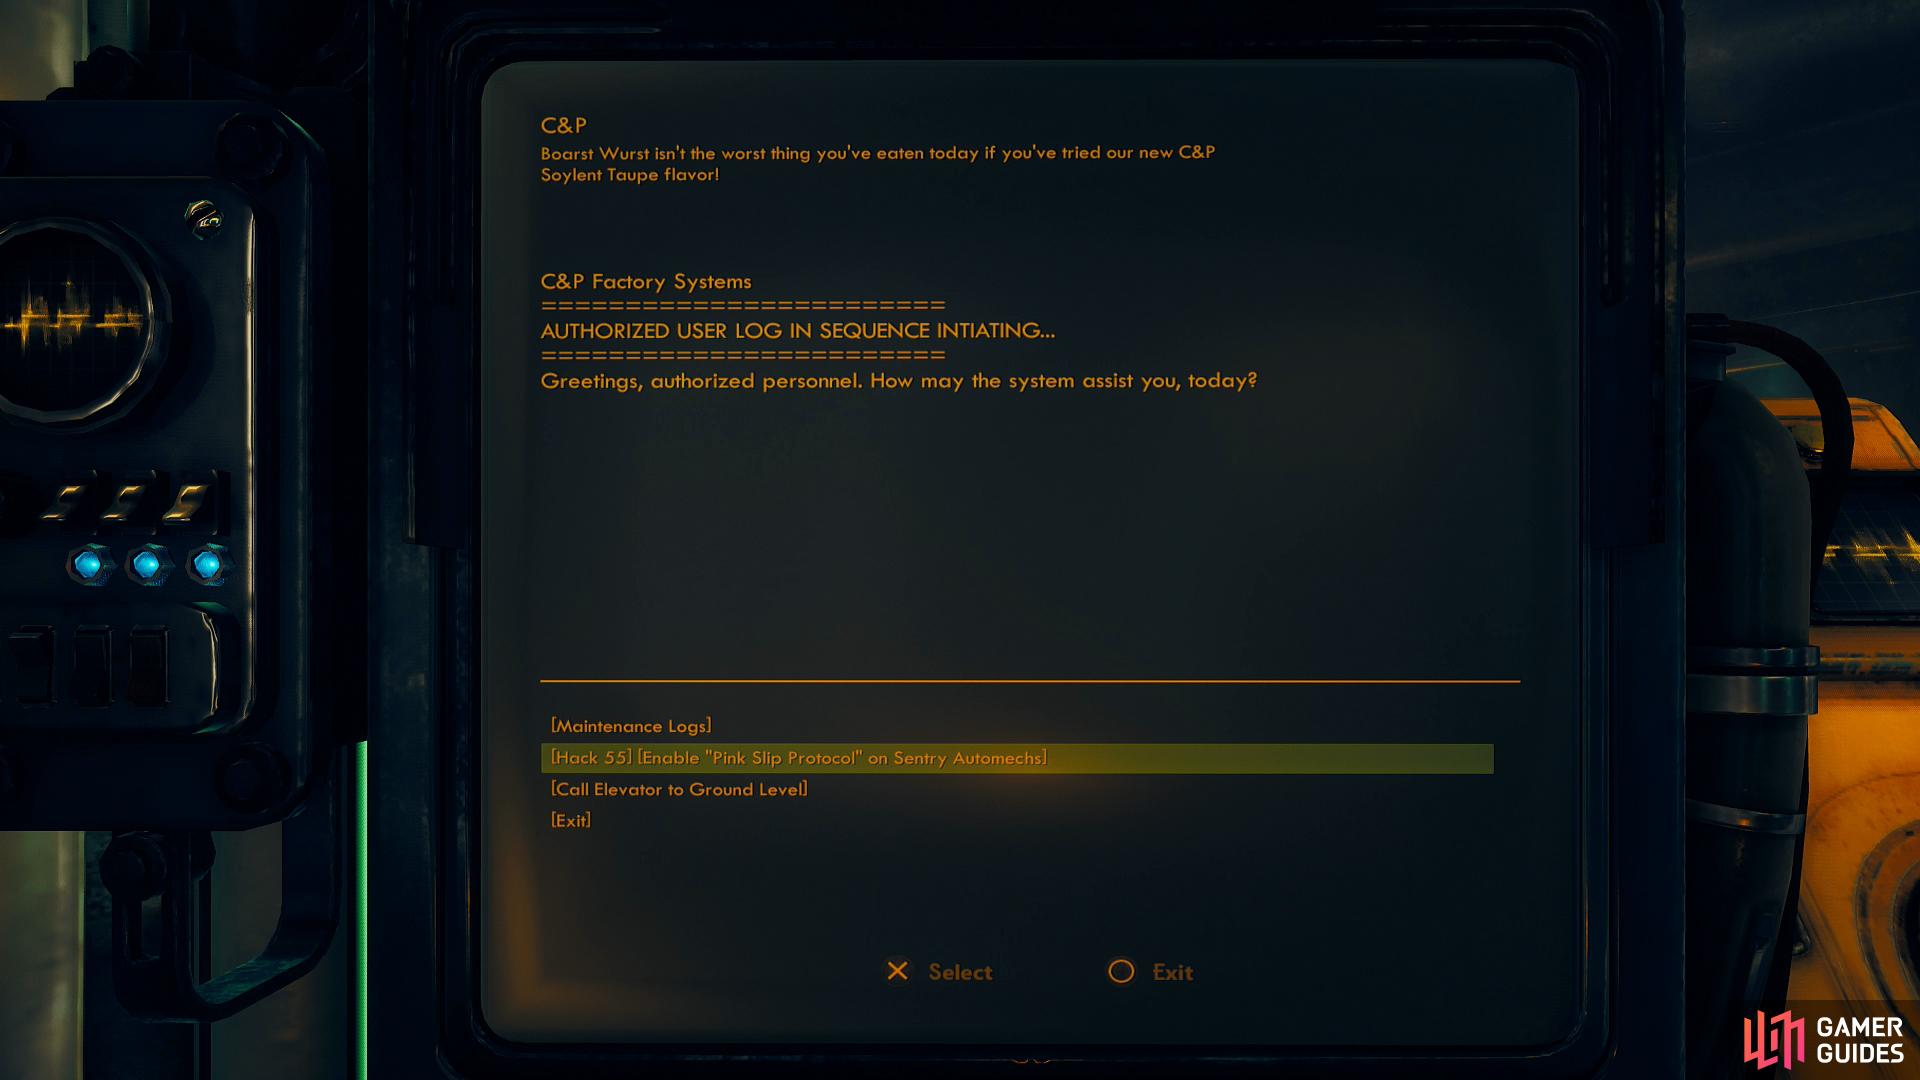
Here is where you can cause some mischief. You can use a terminal and pick the [Hack 55] option to enact the “Pink Slip Protocol”, which causes the automechanicals to liquidate the workers and guards, or you can use the intercom and pass a [Lie 55] or [Intimidate 100] check. Whichever you choose, the result is largely the same - most or all of the people in the factory will leave or be killed, resulting in a lot less bodies wandering around the factory. This should be sneaking around considerably easier, and won’t cause you to gain any negative reputation like killing the workers or troopers would.
You’ve now had multiple opportunities to score an ID cartridge and/or get rid of a significant portion of the factory’s population. How much of that you care to do is up to you, but the details of how you’ll need to go through the rest of the factory - whether you just stroll around through a half-empty factory covered by your Holographic Shroud or sneak through a full factory - will be largely left up to you to manage. Frankly, at this point, if you have any difficulties it’s because you’ve taken no steps to make things easier on yourself.
If you want to open up some more options, say, make it easier to reach Clive Lumbergh, also be sure to use the terminal and pick the option [Call Elevator to Ground Level]. If you go out of your way to reach this room at all, it’s the least you should do. That said, you don’t really need to bother - there’s another way to reach Clive that’s not much more work, but… options?
In any event, it’s time to finish this quest, and there are many ways to go about this. Check out the “Sabotage” sections below for relatively straight-forward ways to complete your objective in the factory, at least as far as pleasing Catherine Malin goes. Dealing with Clive Lumbergh, however, will present considerably more options, which will be presented under the “The Clive Question” header.
(1 of 4) You can sabotage the factory in a variety of ways, including overdosing the cystypigs…
Sabotage - Vitamin Overload!
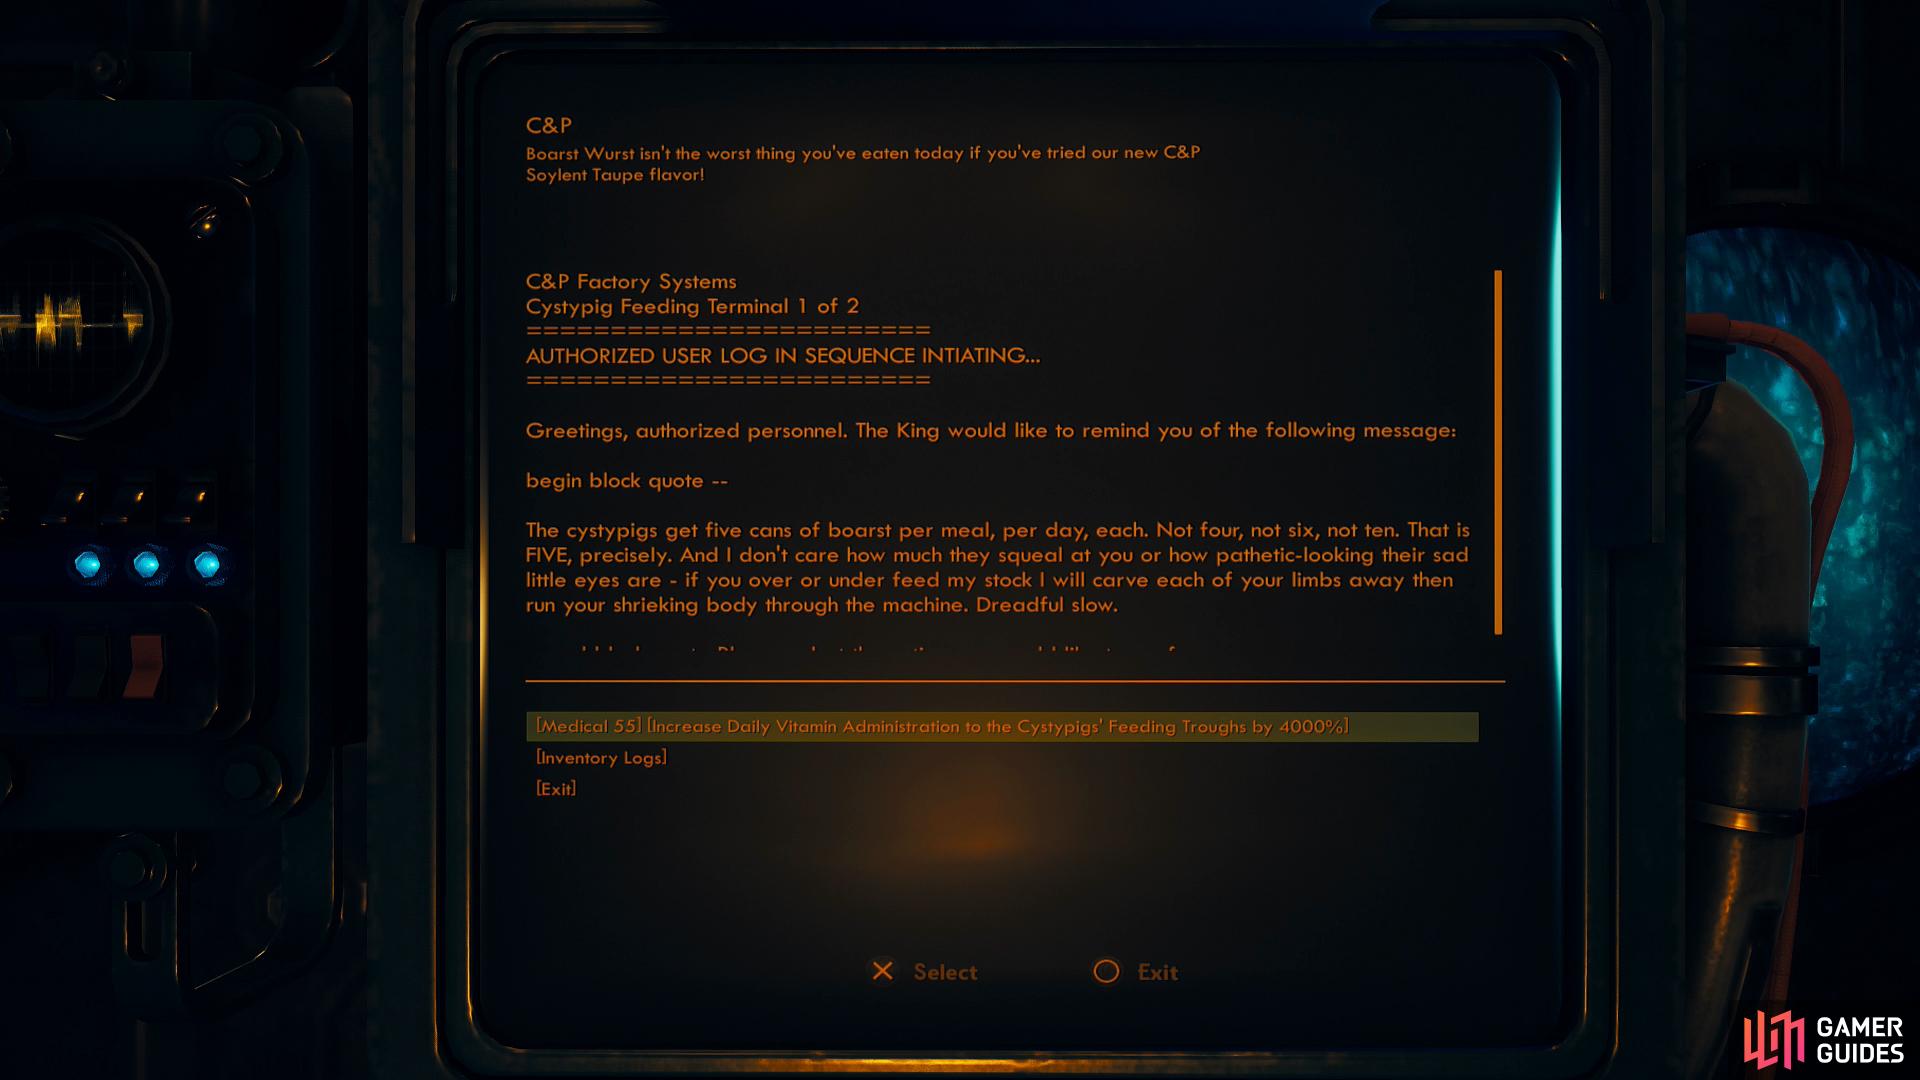
Arguably the easiest way to resolve this quest, especially if you entered via the riverside hatch. In the center of the cystypig pens you’ll find two enclosures, each of which has a terminal. Access both terminals and pick the [Medical 55] option to overdose the cystypigs - a trivial task if you have an ID cartridge, or just the tiny bit of patience required to avoid the patrolling guards. Once the cystypigs are sucking down way too many vitamins, exit the factory and report back to Catherine Malin to earn 2,188 Bits, four units of Oxy-Comp Aromatic and a SubLight Contractor Helm, as well as some positive SubLight reputation.
Sabotage - Fudging Financial Records
From the cystypig pens, head upstairs (either by climbing a ladder along the eastern end of the pens or by going up stairs along the northern end of the pens) to reach the office/cafeteria room where an automechanical prowls. Go through a doorway in the southern corner of the room and use a terminal, the pick the option [C&P Financial Records] and pass an [Intelligence] check to fudge the factory’s financial records. Return to Catherine Malin to earn 2,188 Bits, four units of Oxy-Comp Aromatic and a SubLight Contractor Helm, as well as some positive SubLight reputation.
Sabotage - Production Problems
For the final sabotage option, head into the processing chamber and walk along either of the two conveyor belts or head into the western corner of the chamber to find a ladder. Any of these three ladders will lead you to an elevated platform, on the southwestern edge of which is a terminal. Use the terminal and pass an [Engineering 55] check to increase the production rate beyond the factory’s ability to handle. Once done, exit the factory and head back to Catherine Malin to earn 2,188 Bits, four units of Oxy-Comp Aromatic and a SubLight Contractor Helm, as well as some positive SubLight reputation.

You can satisfy Catherine by killing Clive outright
or you can double cross Catherine and work for Clive.
The Clive Question
If for whatever reason you don’t care to sabotage the plant, you can always go find Clive Lumbergh, and surprisingly there are only two ways to reach him. Make your way into the processing chamber and walk along either of the two conveyor belts or head into the western corner of the chamber to find a ladder. Any of these three ladders will lead you to an elevated platform, where you’ll find some yellow pipes along the northeastern edge. Cross the pipes to reach a balcony to the northwest and pick a locked door [Lockpick 35] or, if you want to use the elevator (assuming you unlocked it via the terminal with the “Pink Slip Protocol” command), you can go through a door below, in the northern corner of the processing chamber.
However you do it - via the balcony or by riding up the elevator - you should find yourself in Clive Lumbergh’s office. Here you’ll find Clive Lumbergh, who stands around with his back to you, ensuring he’ll pose no threat to you whatsoever unless you provoke him.
If you just want to kill him, it should be a trivial matter to do so, after which you’ll just need to leave (the elevator to the northwest will provide you with a shortcut to the surface) and return to Catherine Malin, whereupon you’ll earn 2,188 Bits, four units of Oxy-Comp Aromatic and a SubLight Contractor Helm, as well as some positive SubLight reputation.
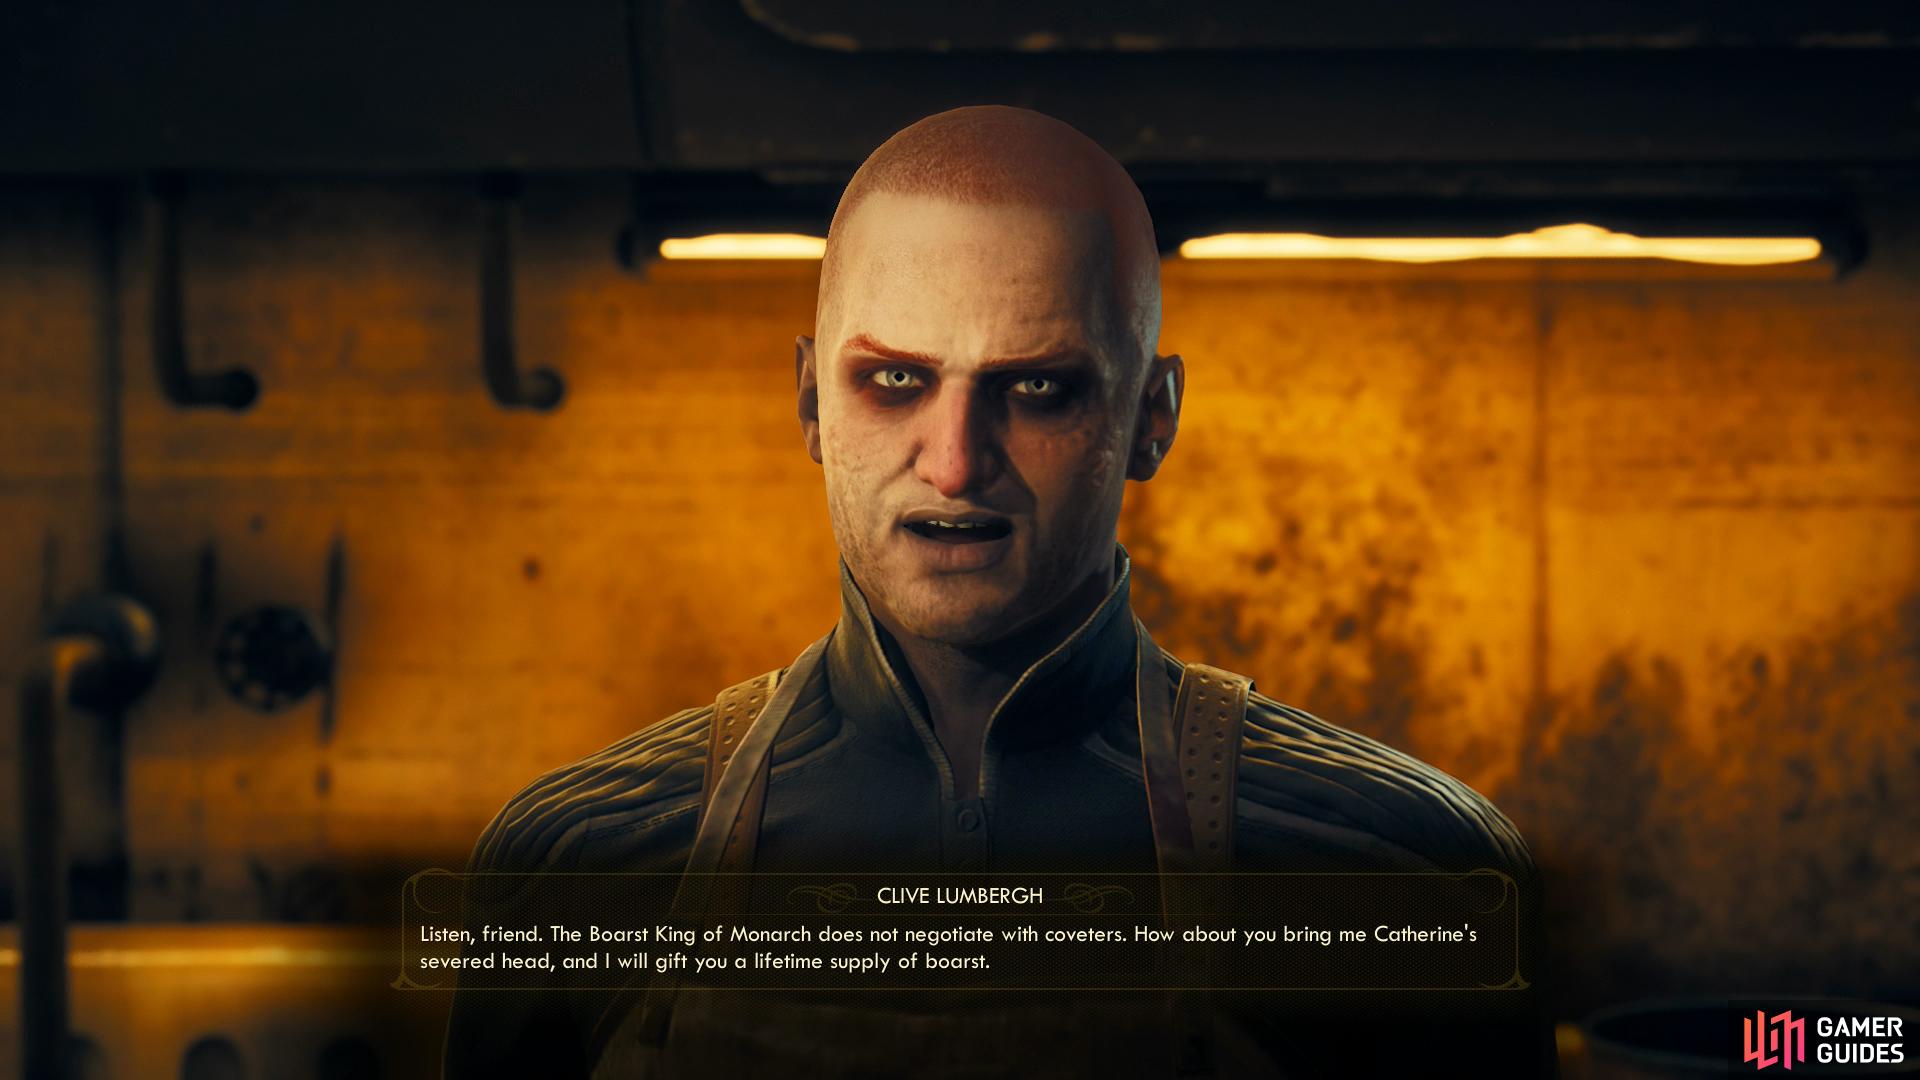
You can also talk to Clive if you want some more options. He’s… a thoroughly creepy individual, who is… probably a cannibal, and seems to be barely containing a terrible rage, if various terminal entries are anything to go by. Anyways, when you get the opportunity respond with “SubLight sent me to kill you. But I’m sure we can work something out.” and Clive will ask you to kill Catherine for him. If you respond with “Good deal. I’ll kill Catherine for you.” or “I’ll think it over and get back to you.” you’ll start the rather obscure quest A Cysty-Dance with Death which, for obvious reasons, is rather inseparable from Slaughterhouse Clive.
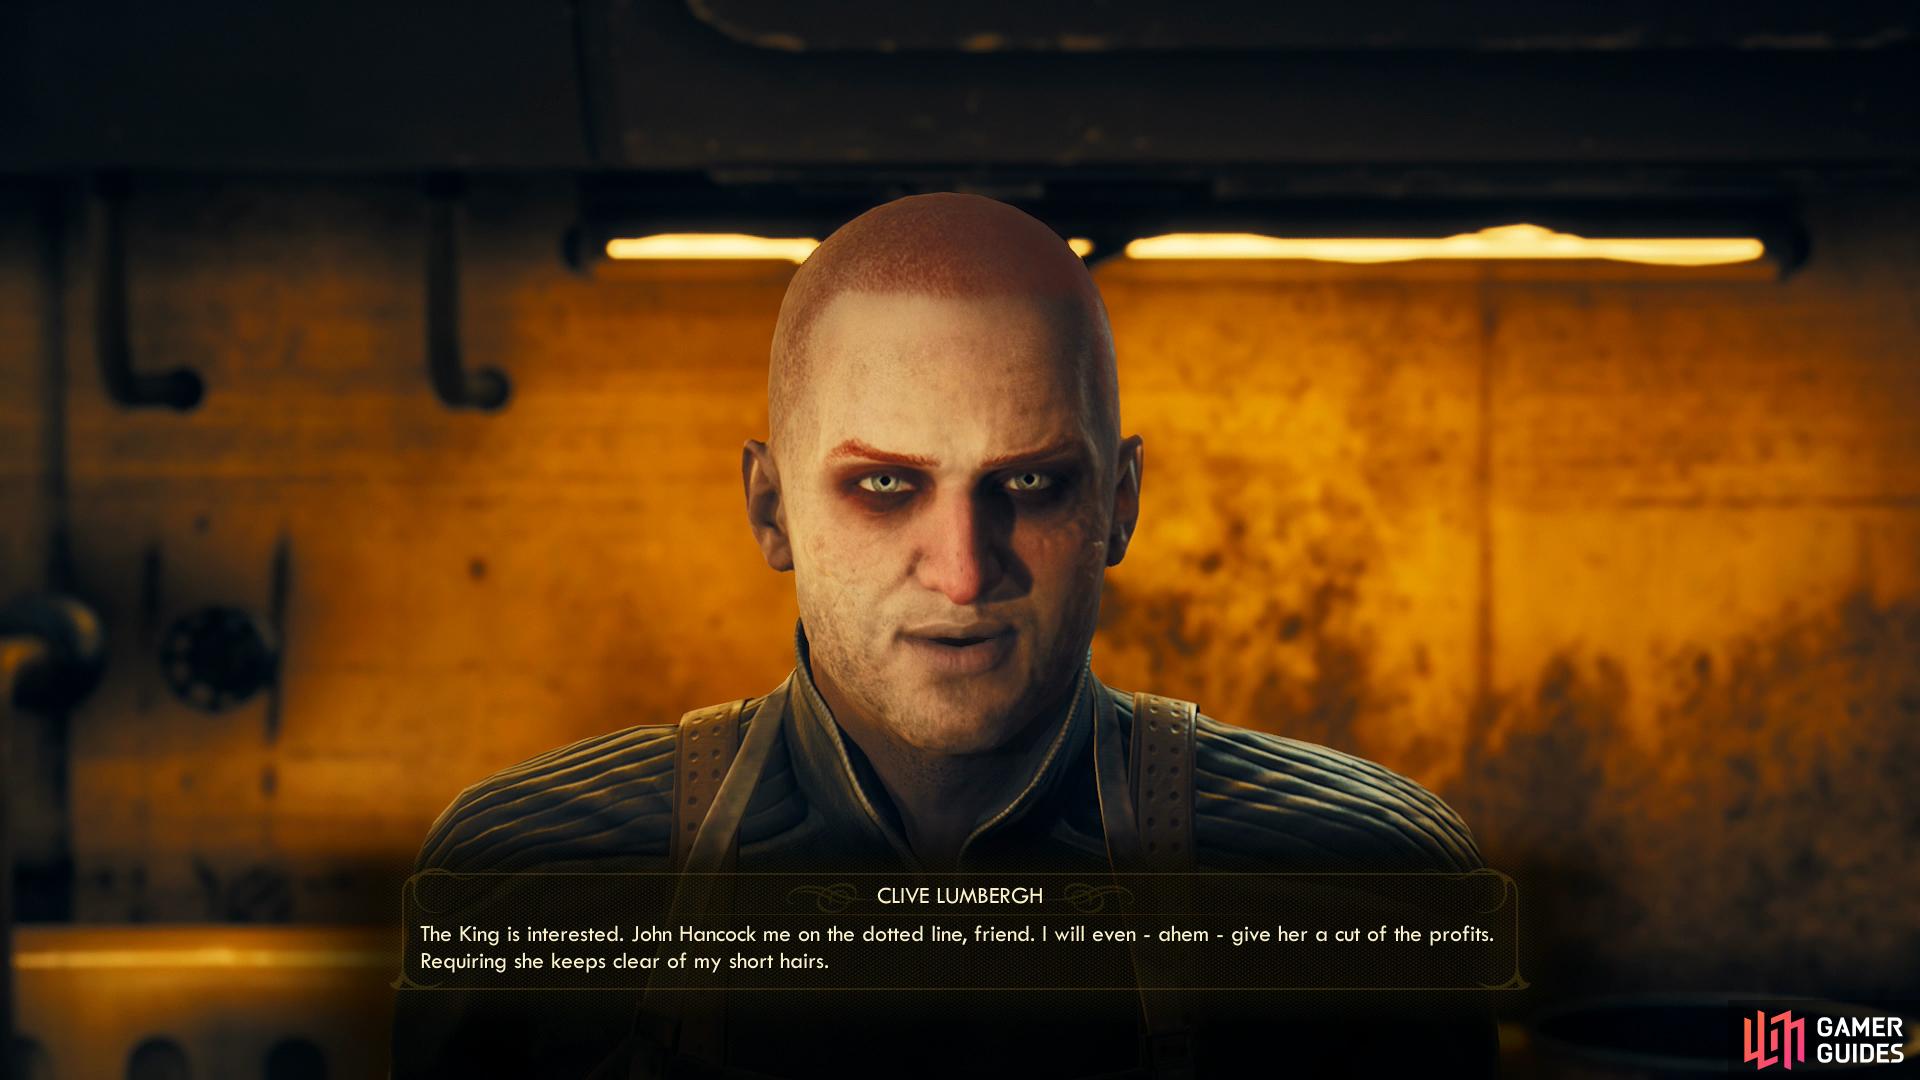
Alternatively you can try to get the two sides to work together by saying “What if you and Catherine partnered up. Two great empires combined.”, or by asking “Why can’t you and Catherine just bury the hatchet?” after one of the aforementioned dialogue choices. To get him to consider such a proposal you’ll need to pass a [Persuade 55], [Medical 55] or [Intimidate 100] check (the Medical check confirms Clive is, in fact, a cannibal). Following such a check you can then pass a [Persuade 1] check to start the aforementioned A Cysty-Dance with Death. Suffice to say, it’s very easy to walk out of a conversation with Clive with both the option of killing and convincing Malin.
The quest A Cysty-Dance with Death will be covered in its own page (as simple as it is), but the matter of forging an alliance can be found under the “Clive and Catherine Cooperation” header, below.
You can also convince Clive into working with Catherine
after which you’ll also have to convince Catherine.
Clive and Catherine Cooperation
After convincing Clive of the merits of allying with Catherine - not the least of which being his continued existence - return to Catherine Malin in Fallbrook. Pick the dialogue options “Got a proposition for you… from Clive.” and “Clive is willing to be your cleaner if you leave the factory to him.”. Catherine make a rather fine point for why she doesn’t need Clive, even in the best case scenario, but you can convince her with a [Persuade 50] or [Lie 100] check. You’ll gain the standard reward from Malin: 2,188 Bits, four units of Oxy-Comp Aromatic and a SubLight Contractor Helm, as well as some positive SubLight reputation, but this will botch the quest A Cysty-Dance with Death if you have it started.
Complete the quest however you wish - you should be spoiled for options.
No Comments