
| Quest Information | . |
|---|---|
| Location: | Groundbreaker |
| How to Start: | Complete the quest “Space-Crime Continuum” |

You’ll be offered this quest immediately after finishing “Space-Crime Continuum”.
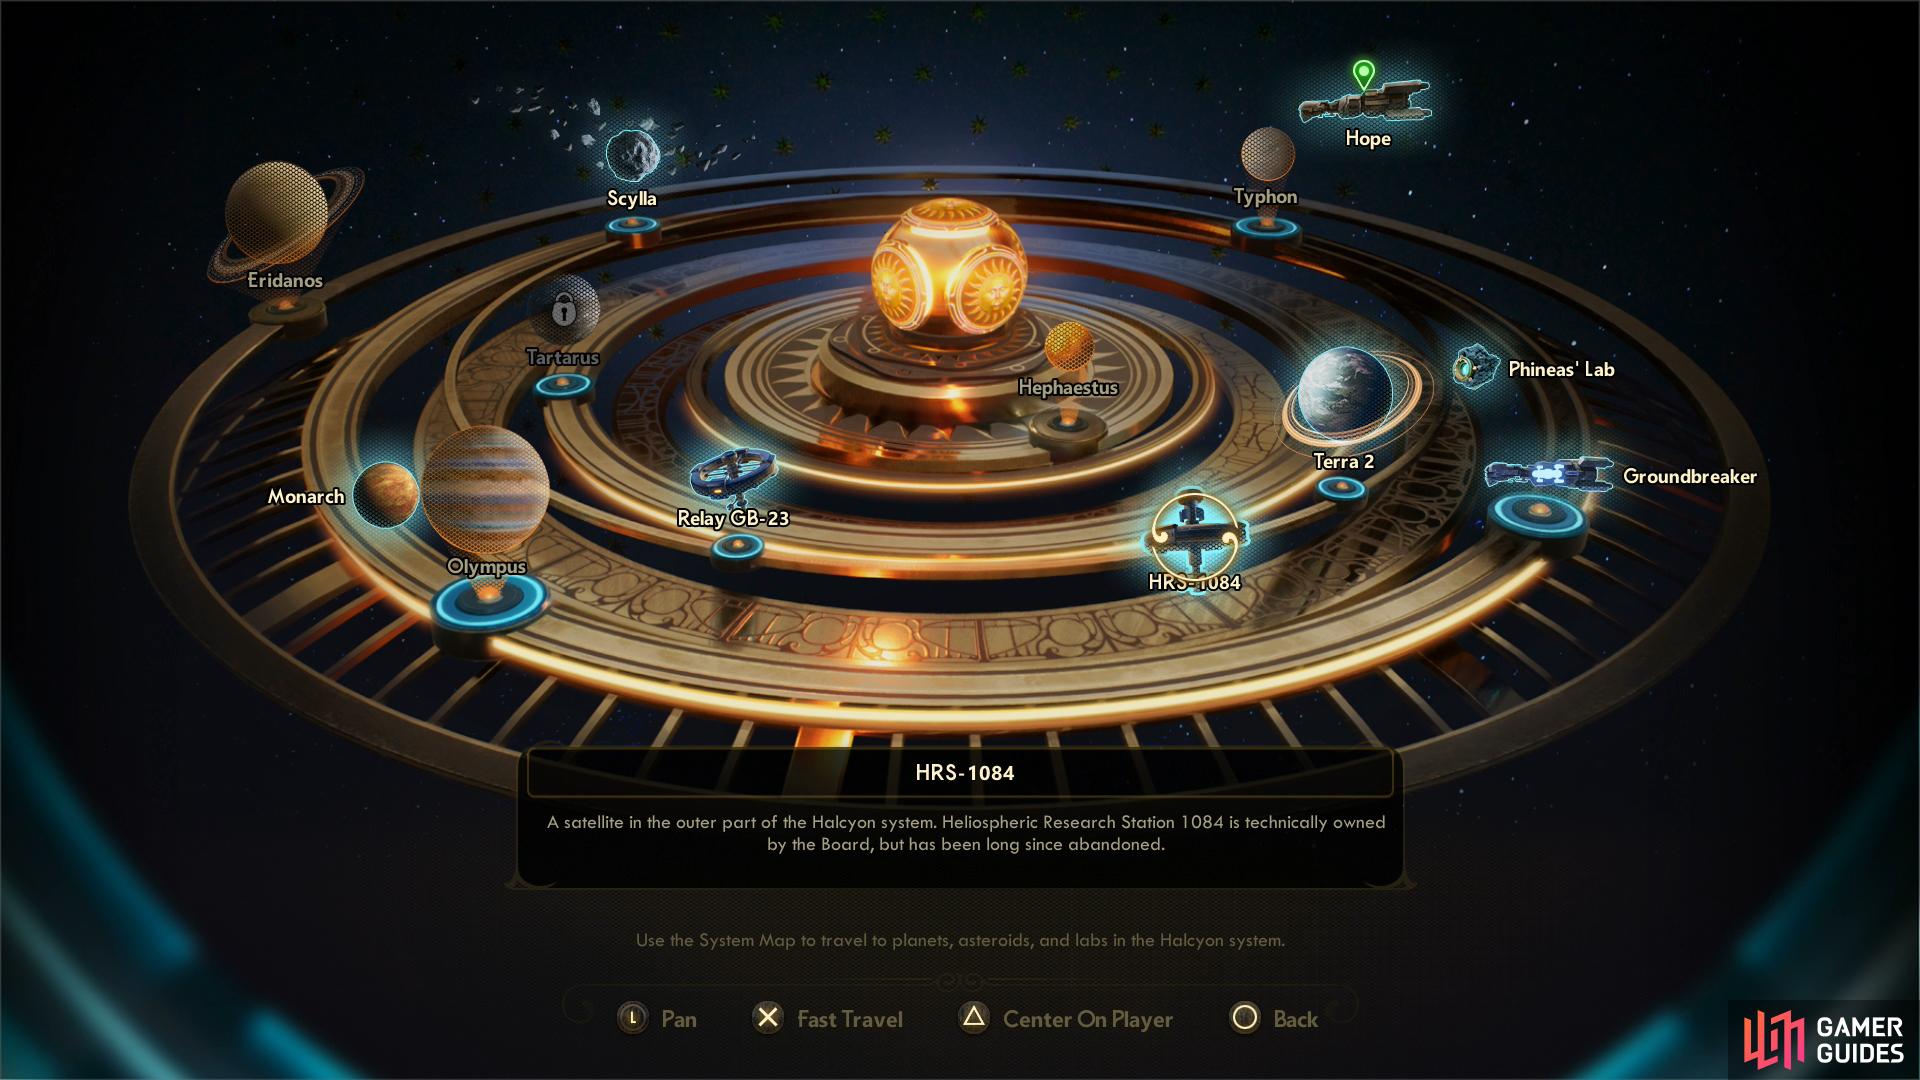
Tasking you with travelling to HRS-1084.
You’ll be offered this quest immediately after completing Space-Crime Continuum for Lilya Hagen, you need merely accept. Anyways, Lilya will tell you about Heliospheric Research Station Ten Eighty-Four (HRS-1084), a derelict Board station that she wants you to claim for SubLight. Exhaust her dialogue questions, and when you get a chance respond with “Wink, nod.” to gain some more positive SubLight reputation - if you pick “You’re being cryptic. Again.” you’ll gain a tiny bit of negative SubLight reputation. Either way, she’ll give you an Override Cartridge and send you on your way.

Scour the station for mines
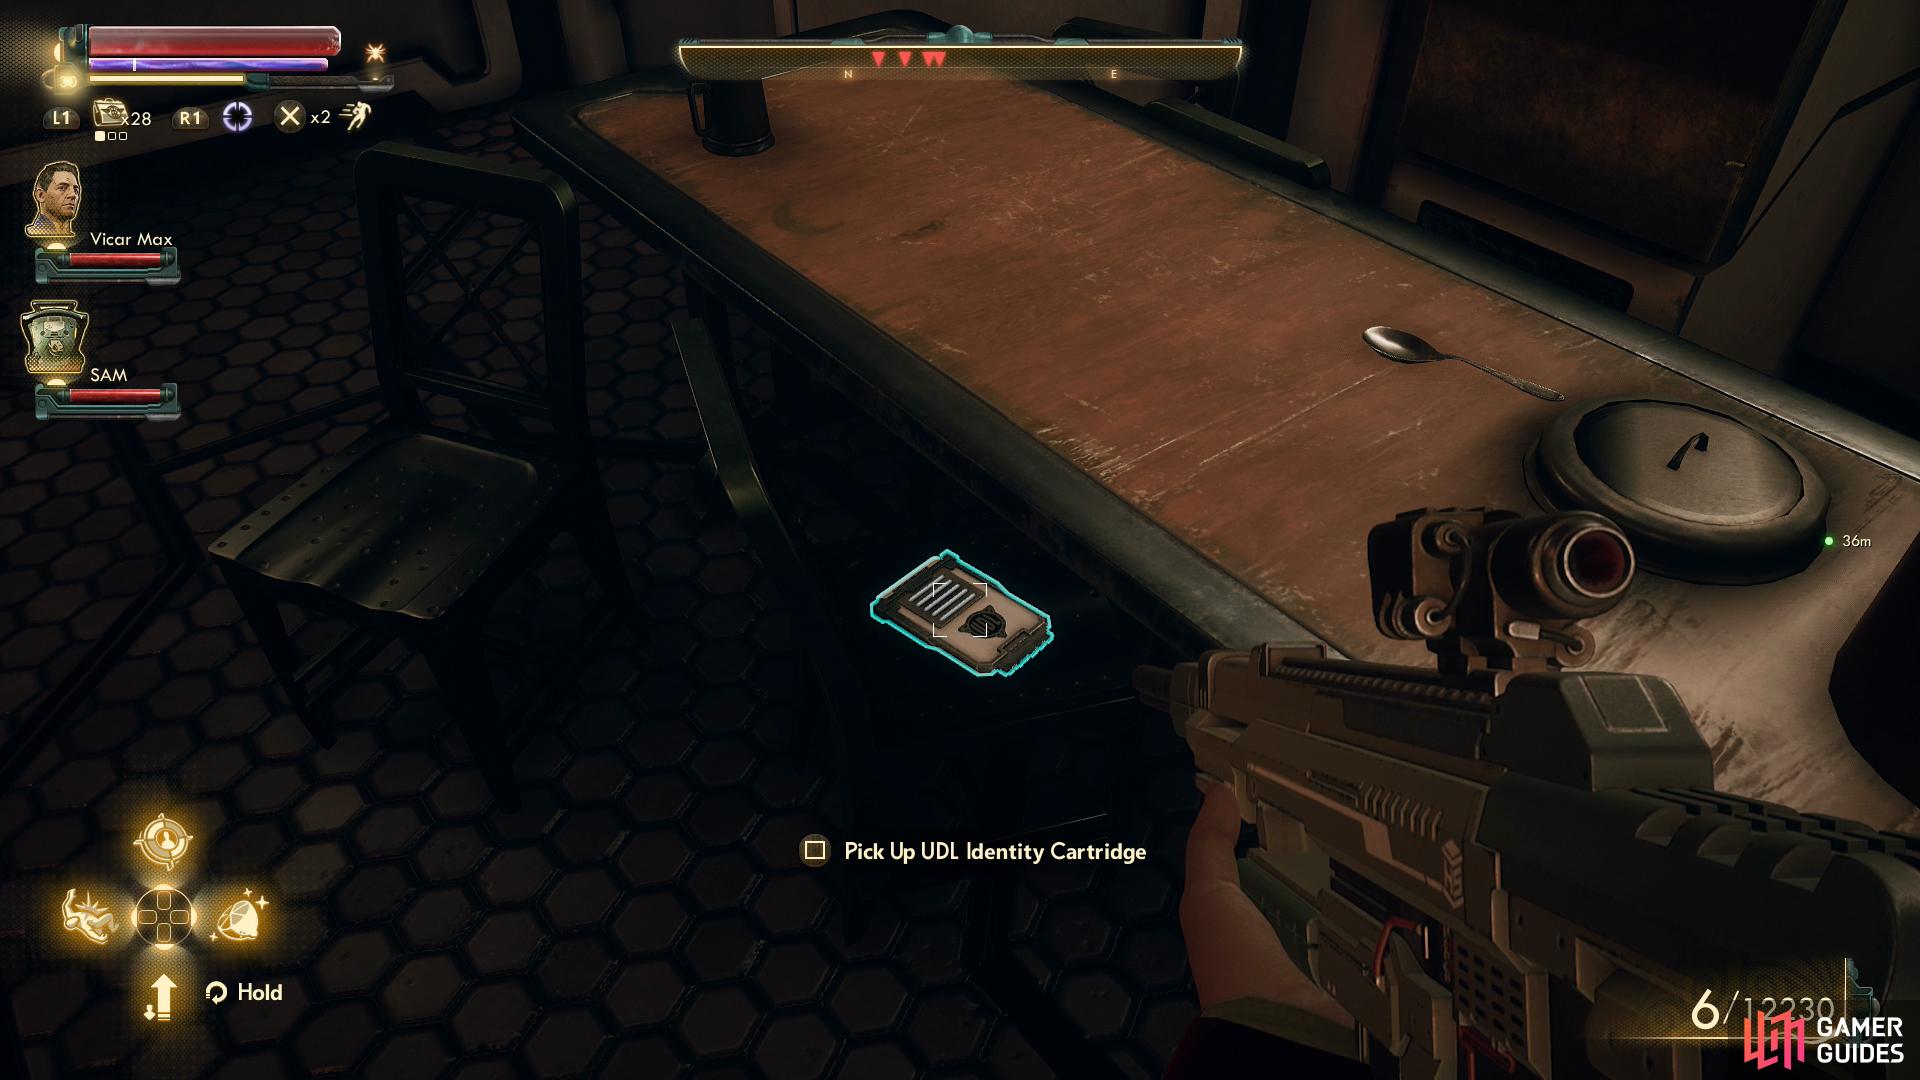
and be sure to grab a UDL ID Cartridge from the cafeteria.
Return to the Unreliable and fly to the newly unlocked HRS-1084 station and when you arrive, head north, then turn left (west) through a doorway to reach a large cargo room. If you read a note on a cargo crate you’ll find a corporate disclaimer about concussive mines. Joy. There are a few places you can go right now, but until the power is up, there are a lot of dead-ends. Case in point, if you go through a door along the northern end of the cargo room you’ll find an under-powered terminal. Keep it in mind for later and note two doors on either side of the room - the northeastern and northwestern ends, specifically. Through both doorways you’ll find plenty of mines, and while your ultimate objective lies through the eastern door, access is restricted by lack of power - a problem you can resolve by going through the western door. That said, take the opportunity to go through both doors and clear out all the mines you find by shooting them. Your ability to cause a ruckus may be impeded once the power is turned back on.
When you’re ready to move on go through the western door, then when you find another door to the left (south) go through it to find a cafeteria. Plenty of food here, for what that’s worth, but more importantly, search a chair on the eastern side of the room to find a UDL Identity Cartridge, which will come in quite handy shortly. Exit the cafeteria and head downstairs to the north, then turn east to find a terminal - the only powered terminal on the ship at this point in time.
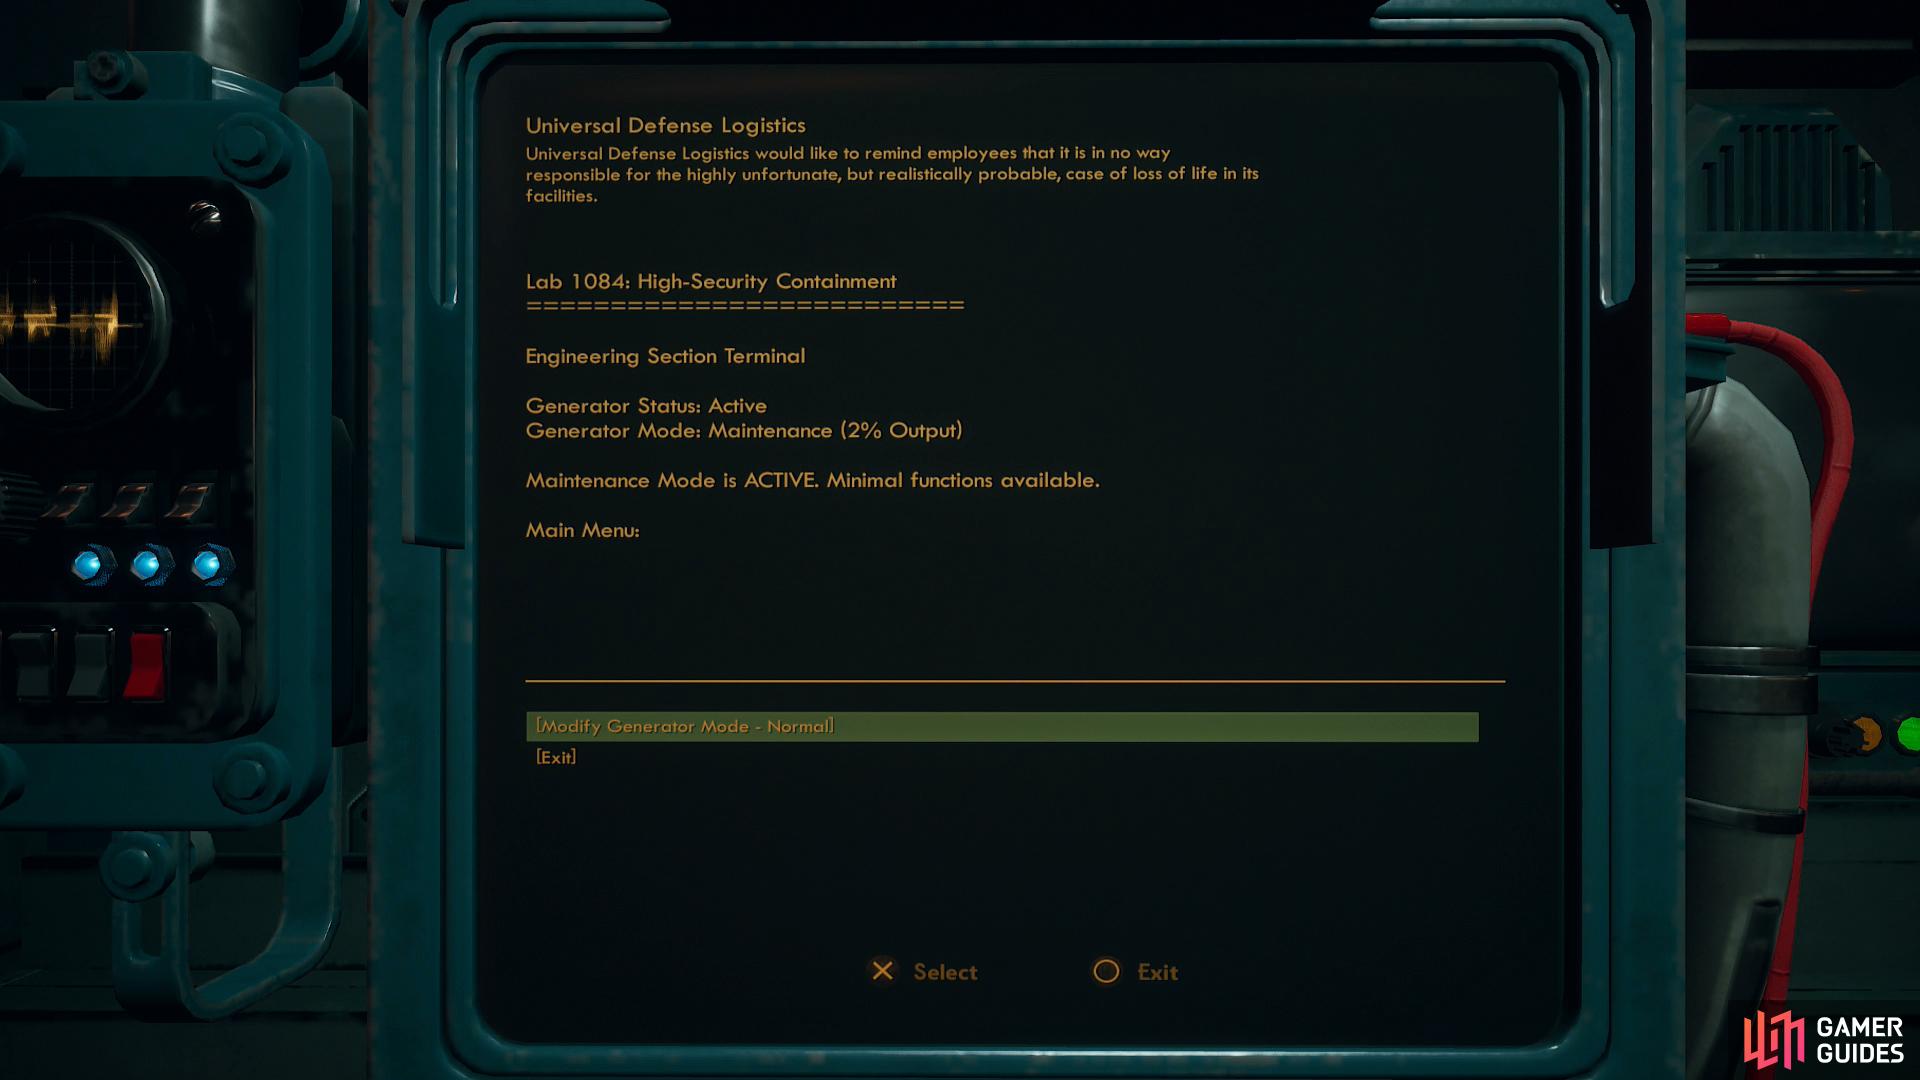
Find a terminal near the station’s power source and restart the power.
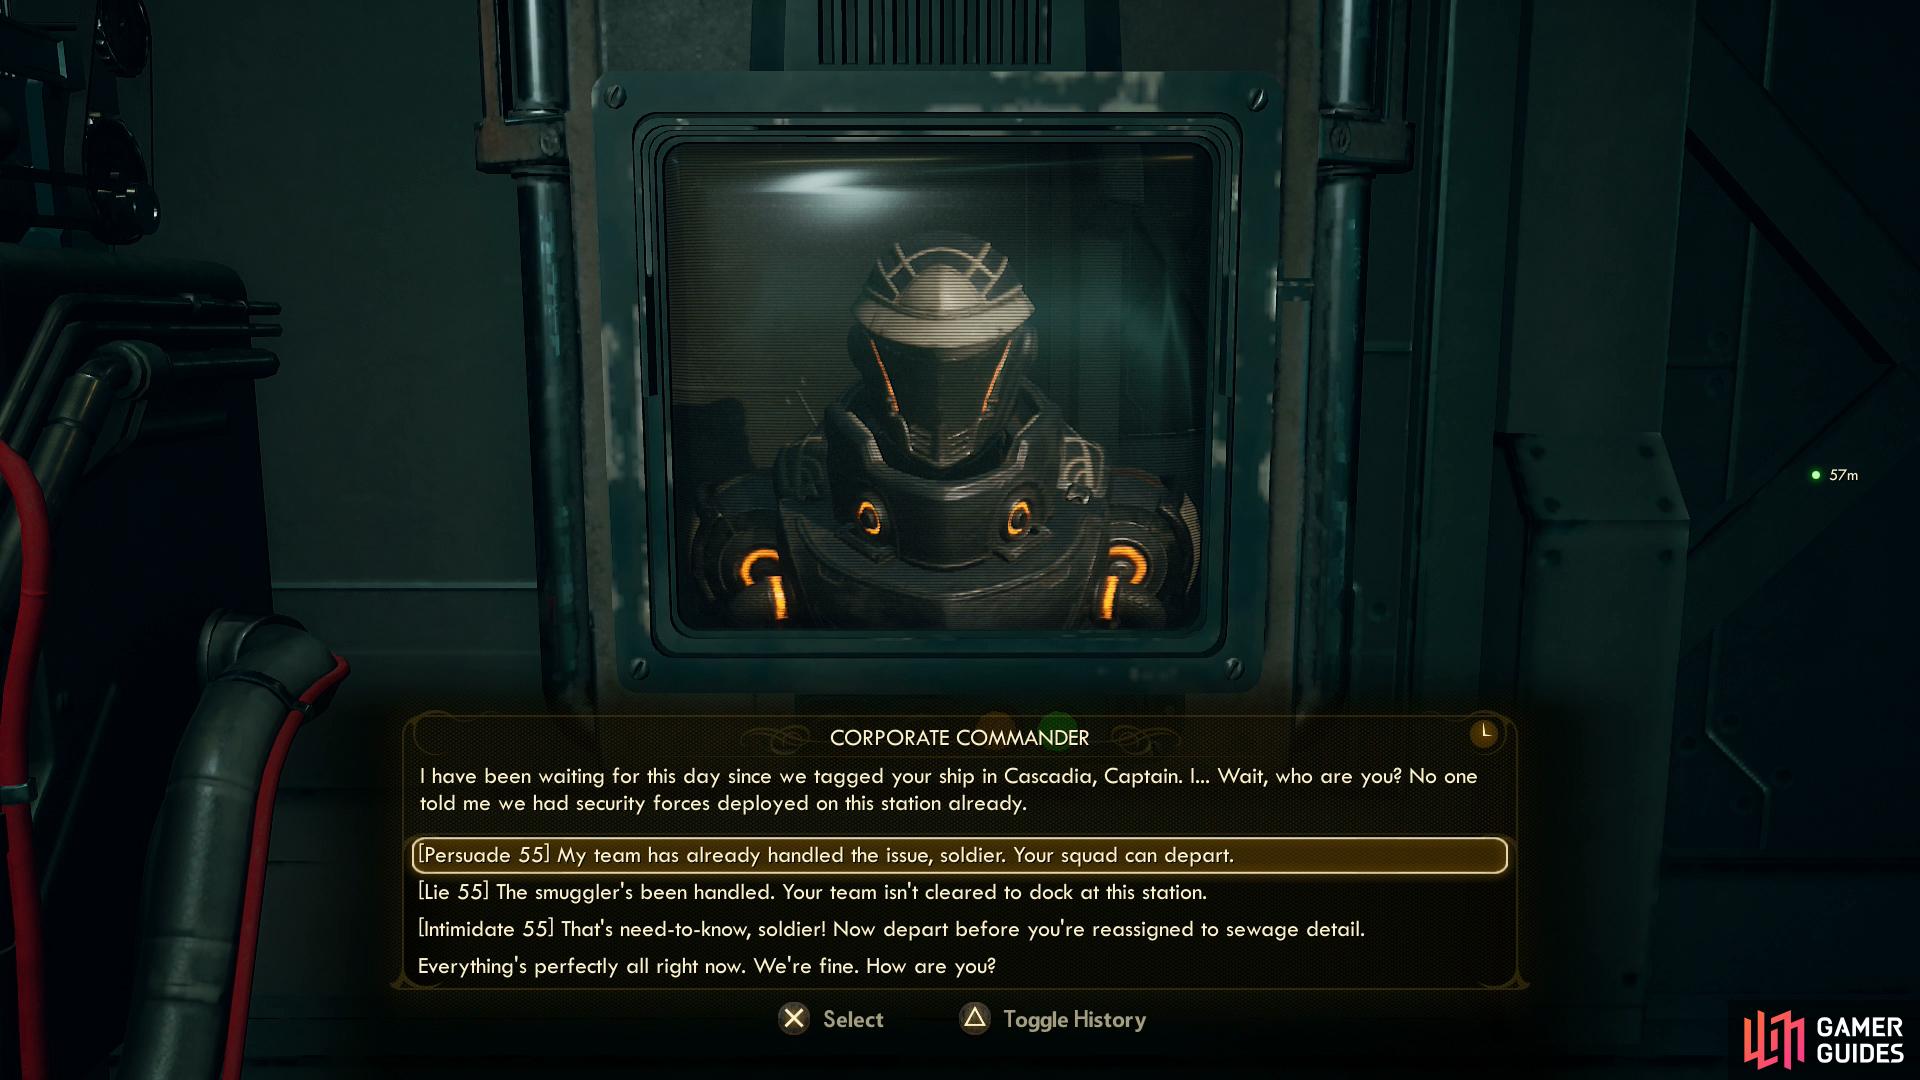
When you do you’ll be contacted by a corporate commander - a silver tongue can convince them to go away.
Interact with the terminal and pick the option [Modify Generator Mode - Normal], then read some maintenance logs, if you wish. When you exit the terminal, ADA will communicate you and warn you of an approaching UDL ship before being interrupted by said UDL ship. Seems like Hagen was right about you being followed.
Assuming you have the UDL ID Cartridge, your Holographic Shroud will give pause to the corporate commander talking to you, but you’ll need to pass a [Persuade 55], [Lie 55] or [Intimidate 55] check to fully pull off the disguise and get the UDL troopers to leave the station. If you can pass the first check, you should be able to pass a subsequent [Persuade 35], [Lie 35] or [Intimidate 35] check to talk the trooper out of reactivating the automechanicals (you’ll only get two of these three options - whichever dialogue check you passed first will be excluded for the second option), which will eliminate virtually all threats from the rest of this station.
If you can’t pass one of the first three checks you’ll be forced to say “Everything’s perfectly all right now. We’re fine. How are you?”, which just serves to expose you. Following this you can attempt to pass a [Persuade 55], [Intimidate 65] or [Lie 65] check, provided, of course, you didn’t pick the option Cut the transmission. earlier. Presumably these redundant options are here for those who didn’t get a UDL ID Cartridge earlier. Failing all of that you can bribe the corporate commander (this set us back around 1,200 Bits).
If you get the troopers to leave, you just made your life a bit easier, if not, some corporate troopers will board the station and will be patrolling the cargo room upstairs. If the troopers are there they’ll also be joined by some automechanicals, who were aroused when the power was turned back on. If you got the troopers to leave but didn’t pass the subsequent dialogue check, or if you didn’t have a UDL ID Cartridge and passed one of the alternative dialogue checks, the automechanicals will be prowling the cargo room alone. In either event, grabbing the UDL ID Cartridge from the cafeteria will make the next few steps much easier.
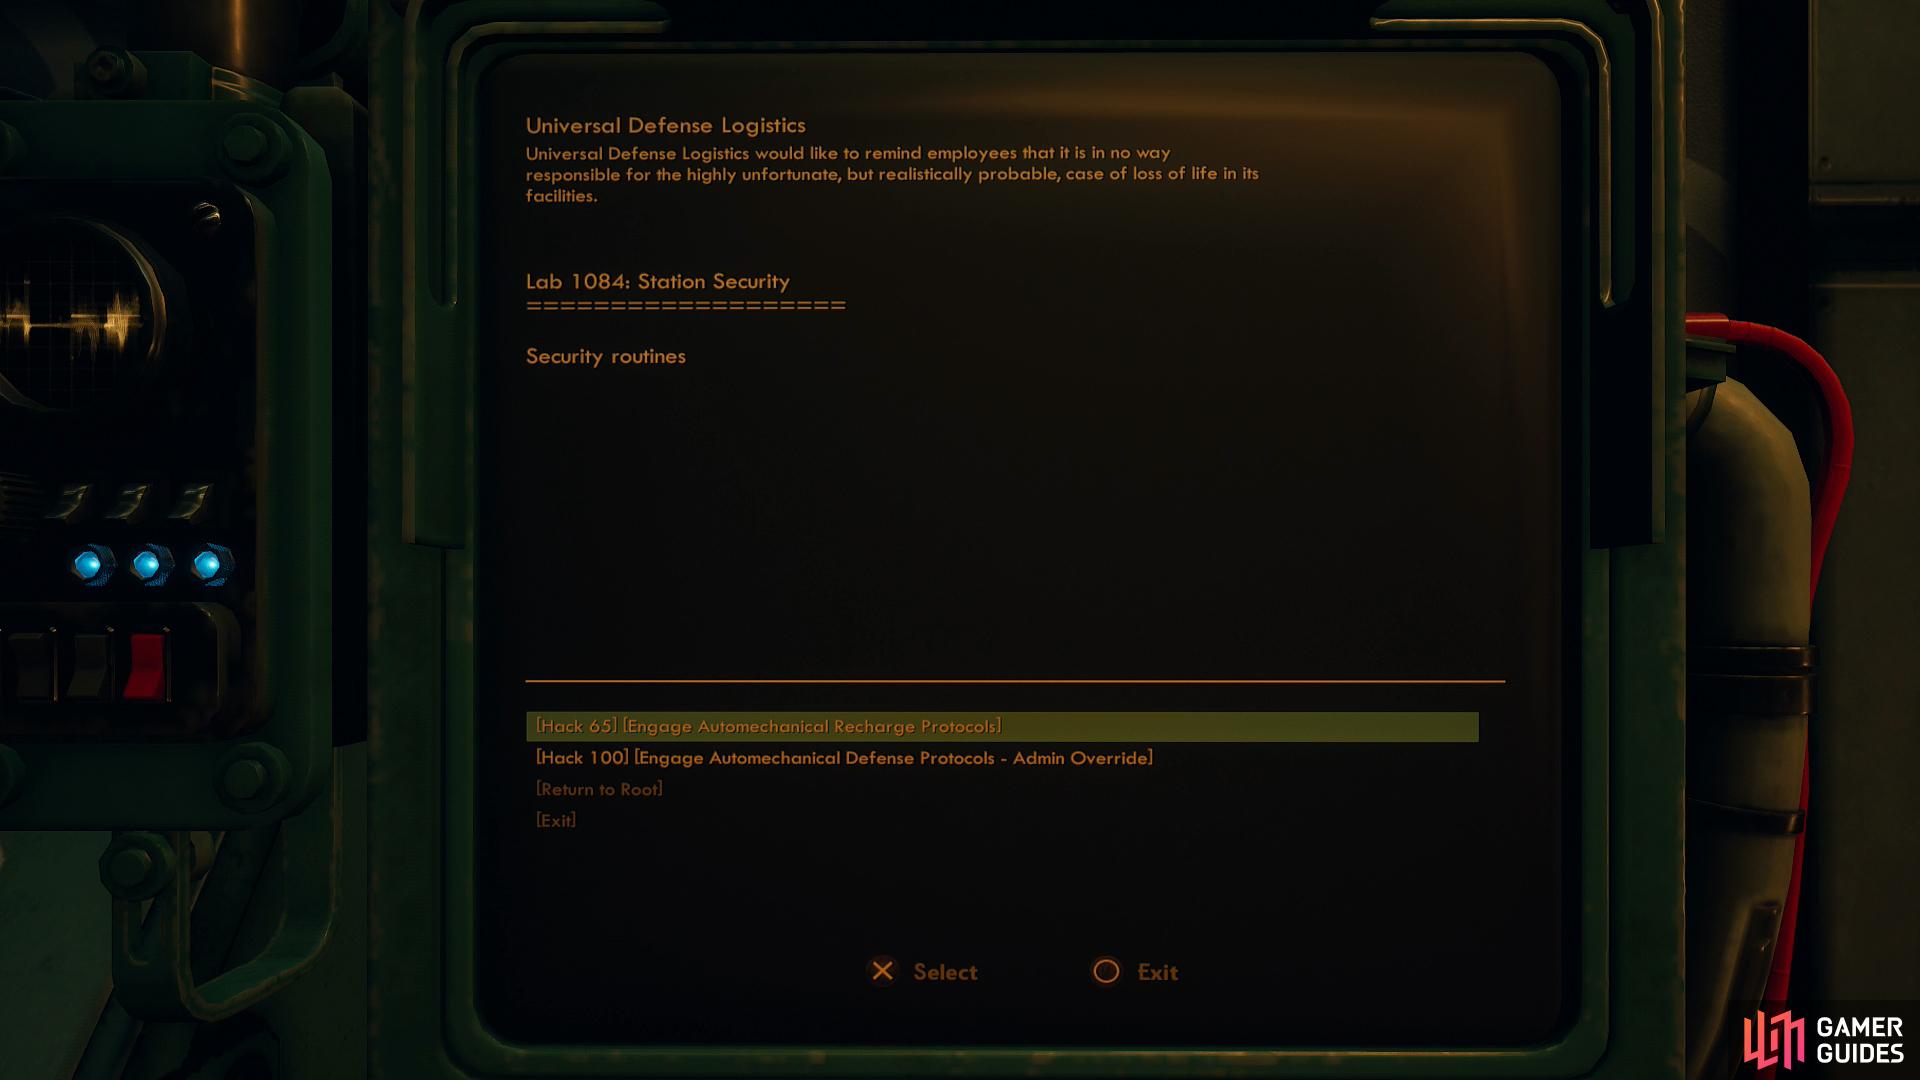
With a sufficient Hack skill score you can power down the automechanicals
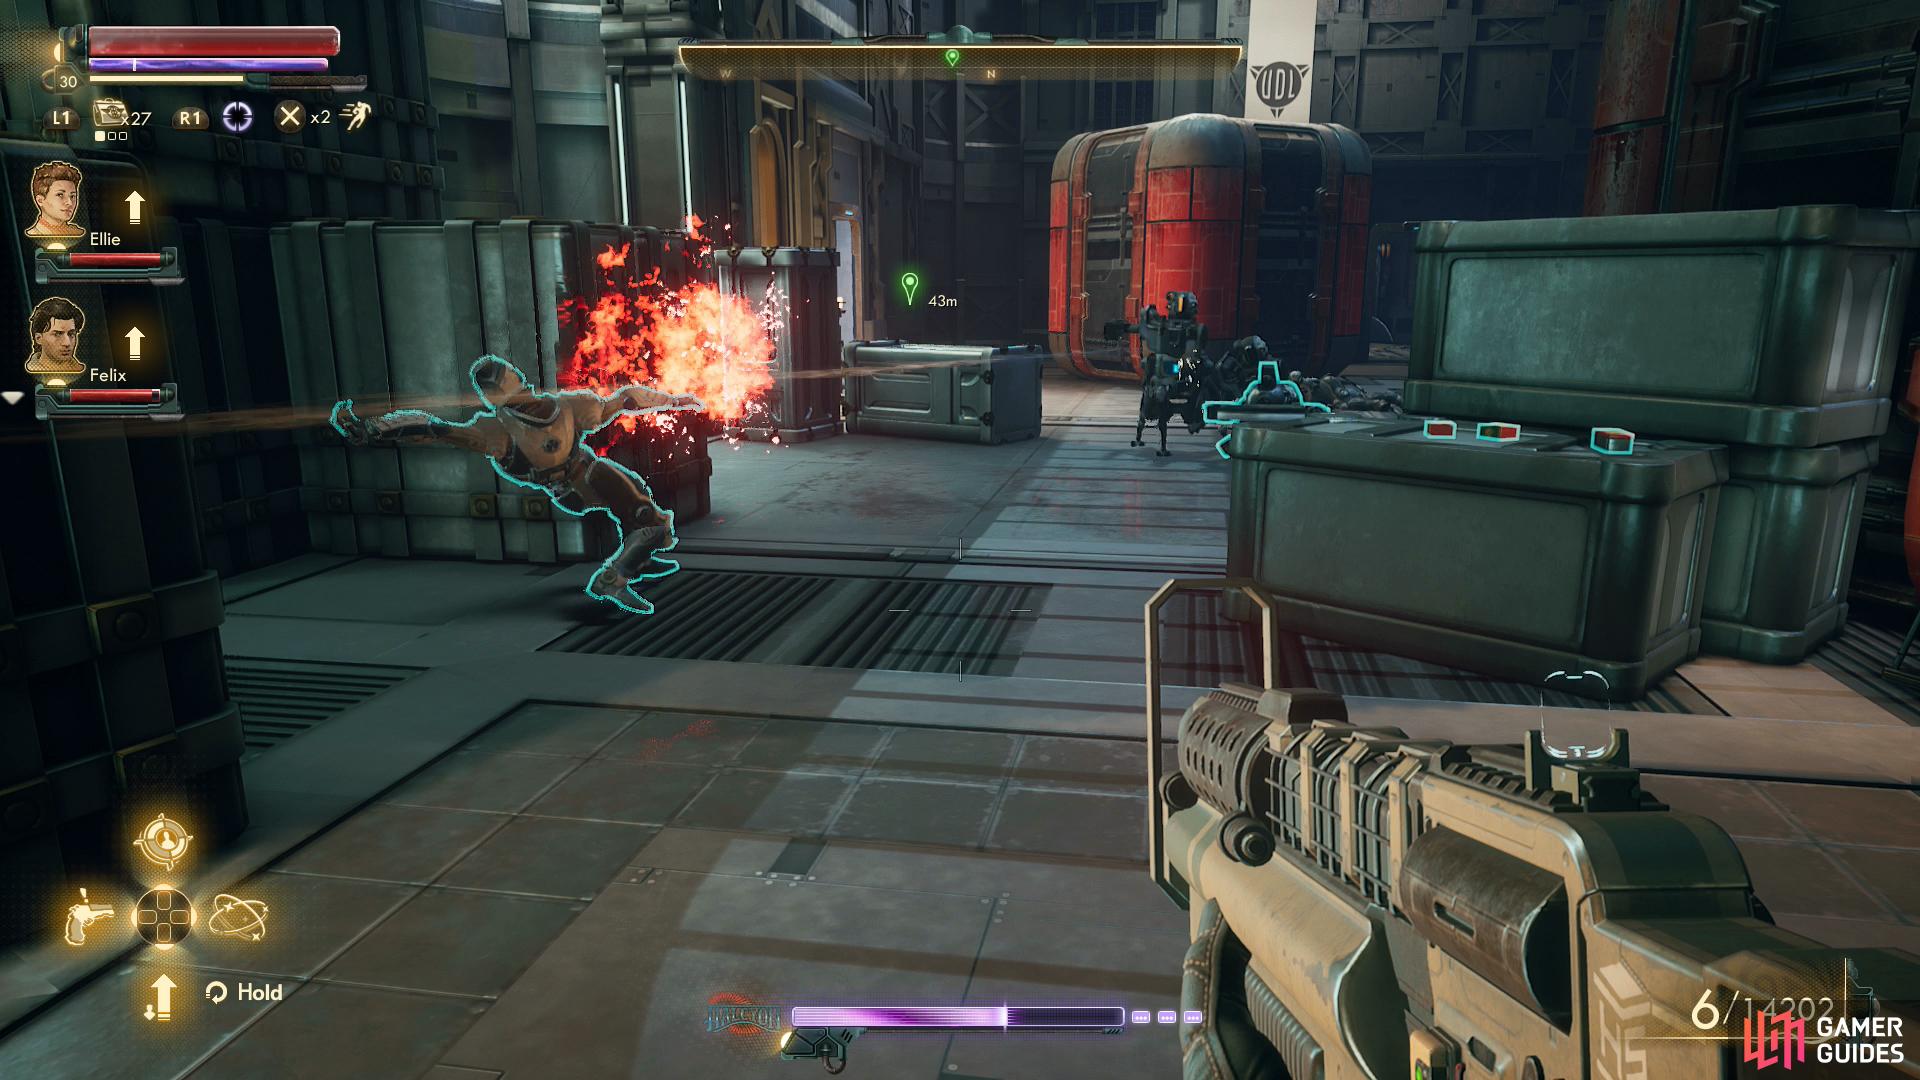
or even turn them against the corporate troopers!
Head back upstairs to the cargo room, which may now be a bit more active than it was before. Whether you have troopers and automechanicals, or just the latter, you’ll want to turn your attention to the eastern-most of two rooms along the northern edge of the cargo room (not the northeastern room which you de-mined earlier). With the Holographic Shroud it should be a simple matter of just strolling on in, but if for some reason you can’t bring yourself to grab the UDL ID Cartridge, stealth shouldn’t be too difficult, as the crates provide a good bit of cover.
However you get there, once you’re in the eastern of the two northern rooms you’ll find that the terminal is now powered back on. Interact with it and pick the [Hack 65] option to power down all the automechanicals, which is all you need to do to neutralize all hostiles on this station if you talked (or bribed) the troopers into leaving. If you have to deal with both troopers and automechanicals, however, you can pick the [Hack 100] option to turn the latter against the former, and there’s a good chance the machines will win the ensuing fight, after which you can just put them to sleep with the aforementioned [Hack 65] check.
Failing any of that, you can always just resort to stealth or violence to get through.
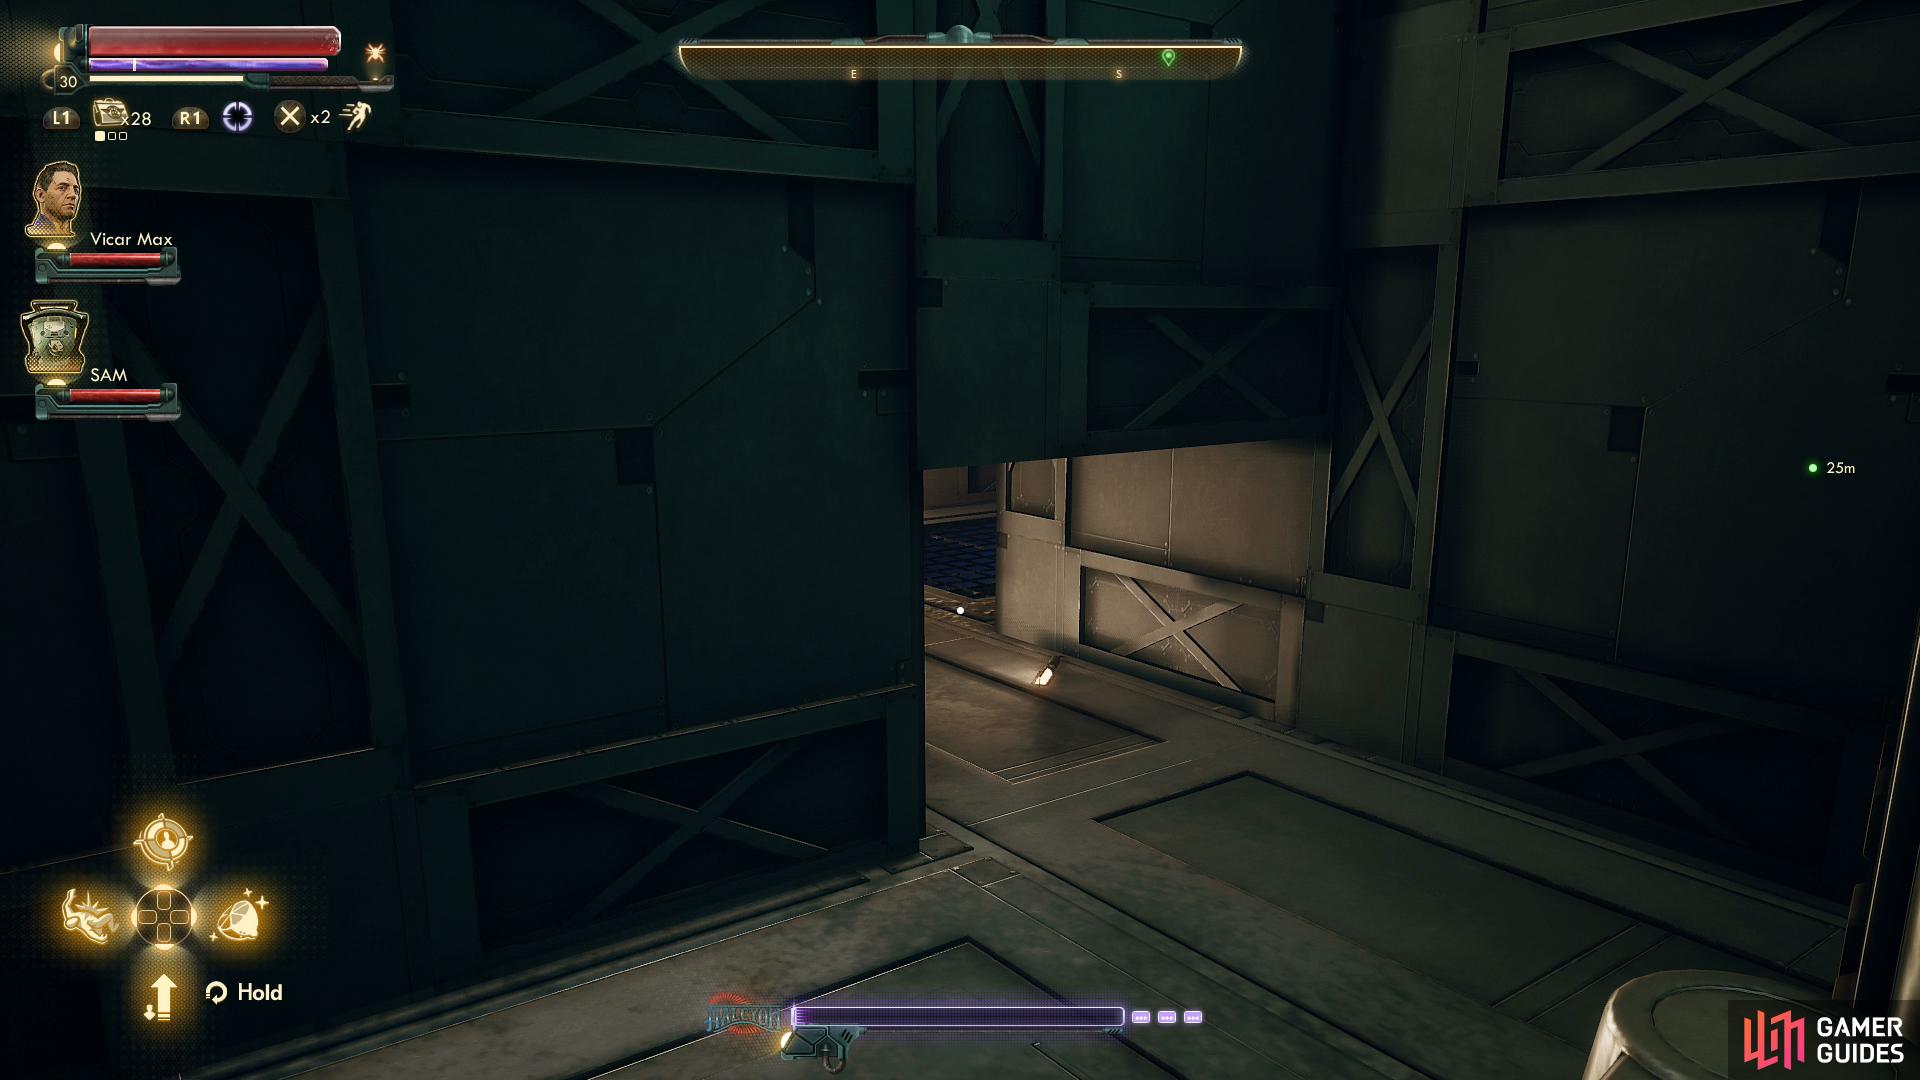
Once you’ve (hopefully) neutralized your foes in the cargo room, make your way to the southeastern end of the cargo room. If the coast is clear, just go through a door to reach a small office, while if you need to sneak, search behind some crates to find a passage you can crawl through, which will lead to the same small office, as well as to a ladder you can use to reach the roof above this office, where you can find some loot.
When you’re in the office, pick up a Blank UDL Keycard off a cabinet, then use the terminal and pick the option [Encode Keycard] to create an Electrical Control Room Keycard, which will help you bypass a lock shortly. While you’re here, you can also loot the room to find various goodies, include some items in a safe [Lockpick 40].
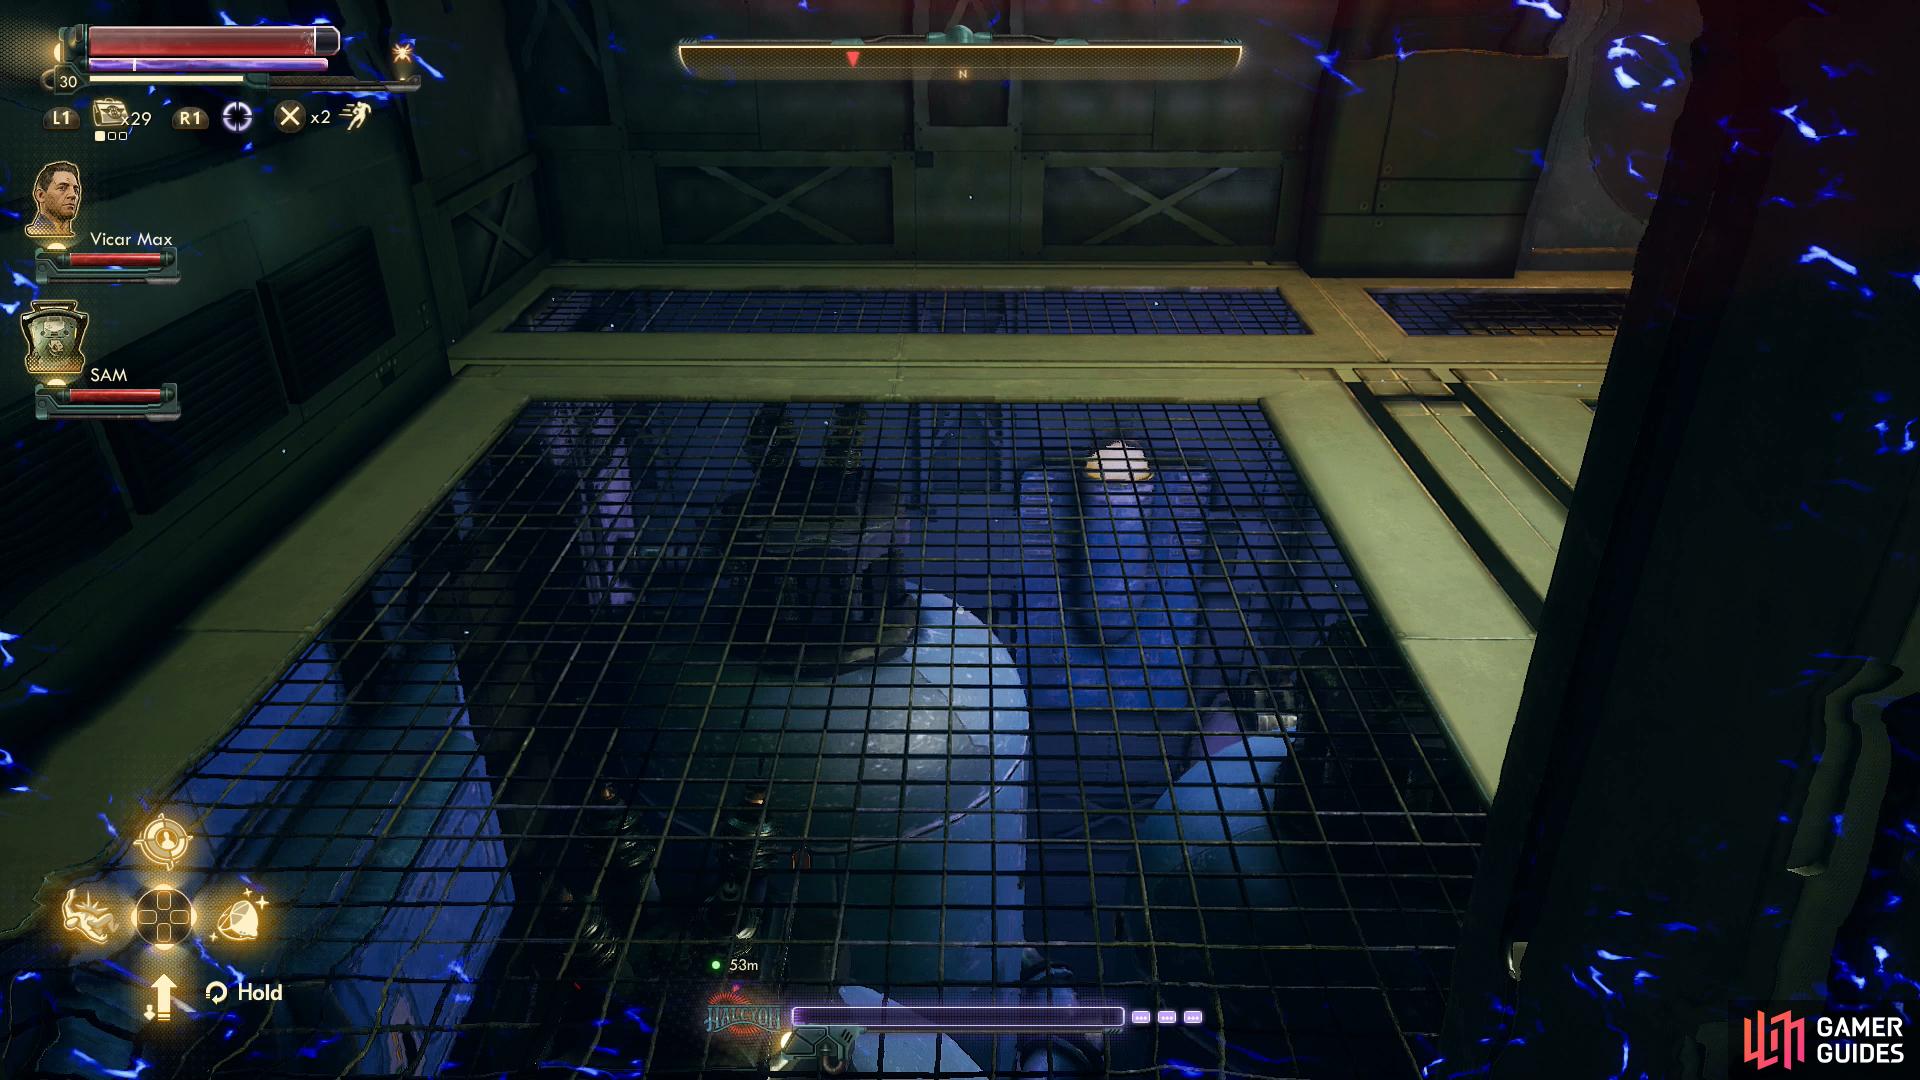
An electrified floor impedes your progress.
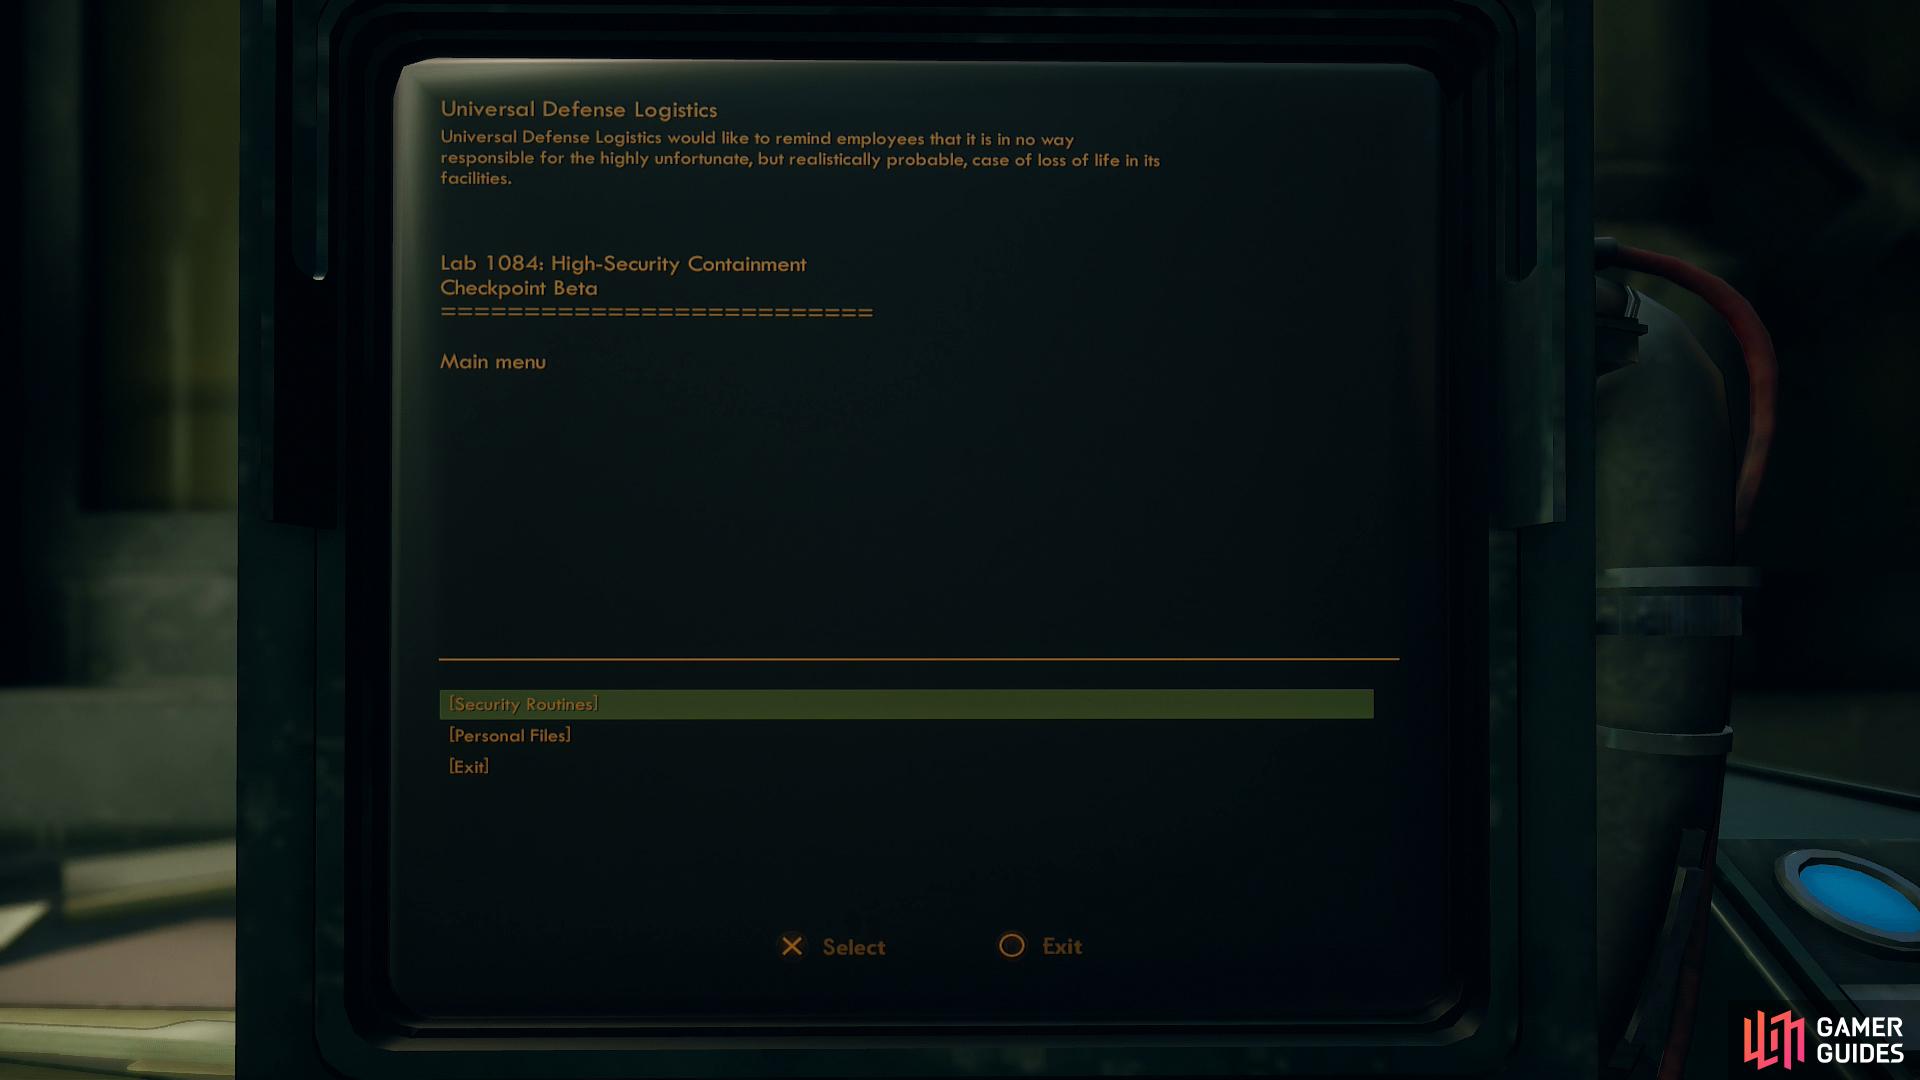
Use a terminal in a security checkpoint to disable the floor.
Return to the cargo room and go through the door to the northwest, descend some stairs (hopefully you destroyed the mines so you don’t have to deal with them now - a potentially risky endeavor if the cargo room is occupied) to find two doors. Through the unlocked door you’ll find your way blocked by an electrified floor. Since you can’t go that way, you’ll need to go through the locked door to the east [Lockpick 40], which you can also bypass with the Electrical Control Room Keycard. Once inside, loot the room for trivial treasures, then use the terminal and disable the electrified floor by picking the [Security Routines] and [Disengage Checkpoint Security] options.
Cross the formerly electrified security checkpoint and go through a door to the north. If you continue north you’ll find various crew quarters, which contain little of interest. That being the case, go through the door to the west to find a lab, complete with scientists preserved in stasis tubes. There may also be the odd automechanical lurking around if you didn’t deactivate them. Read some Holding Tank Logs if you wish, then head up some stairs to the west. Unbar a barred door to the south to reach the automechanical room adjacent to the cargo room - a convenient egress - then enter an office to the west.
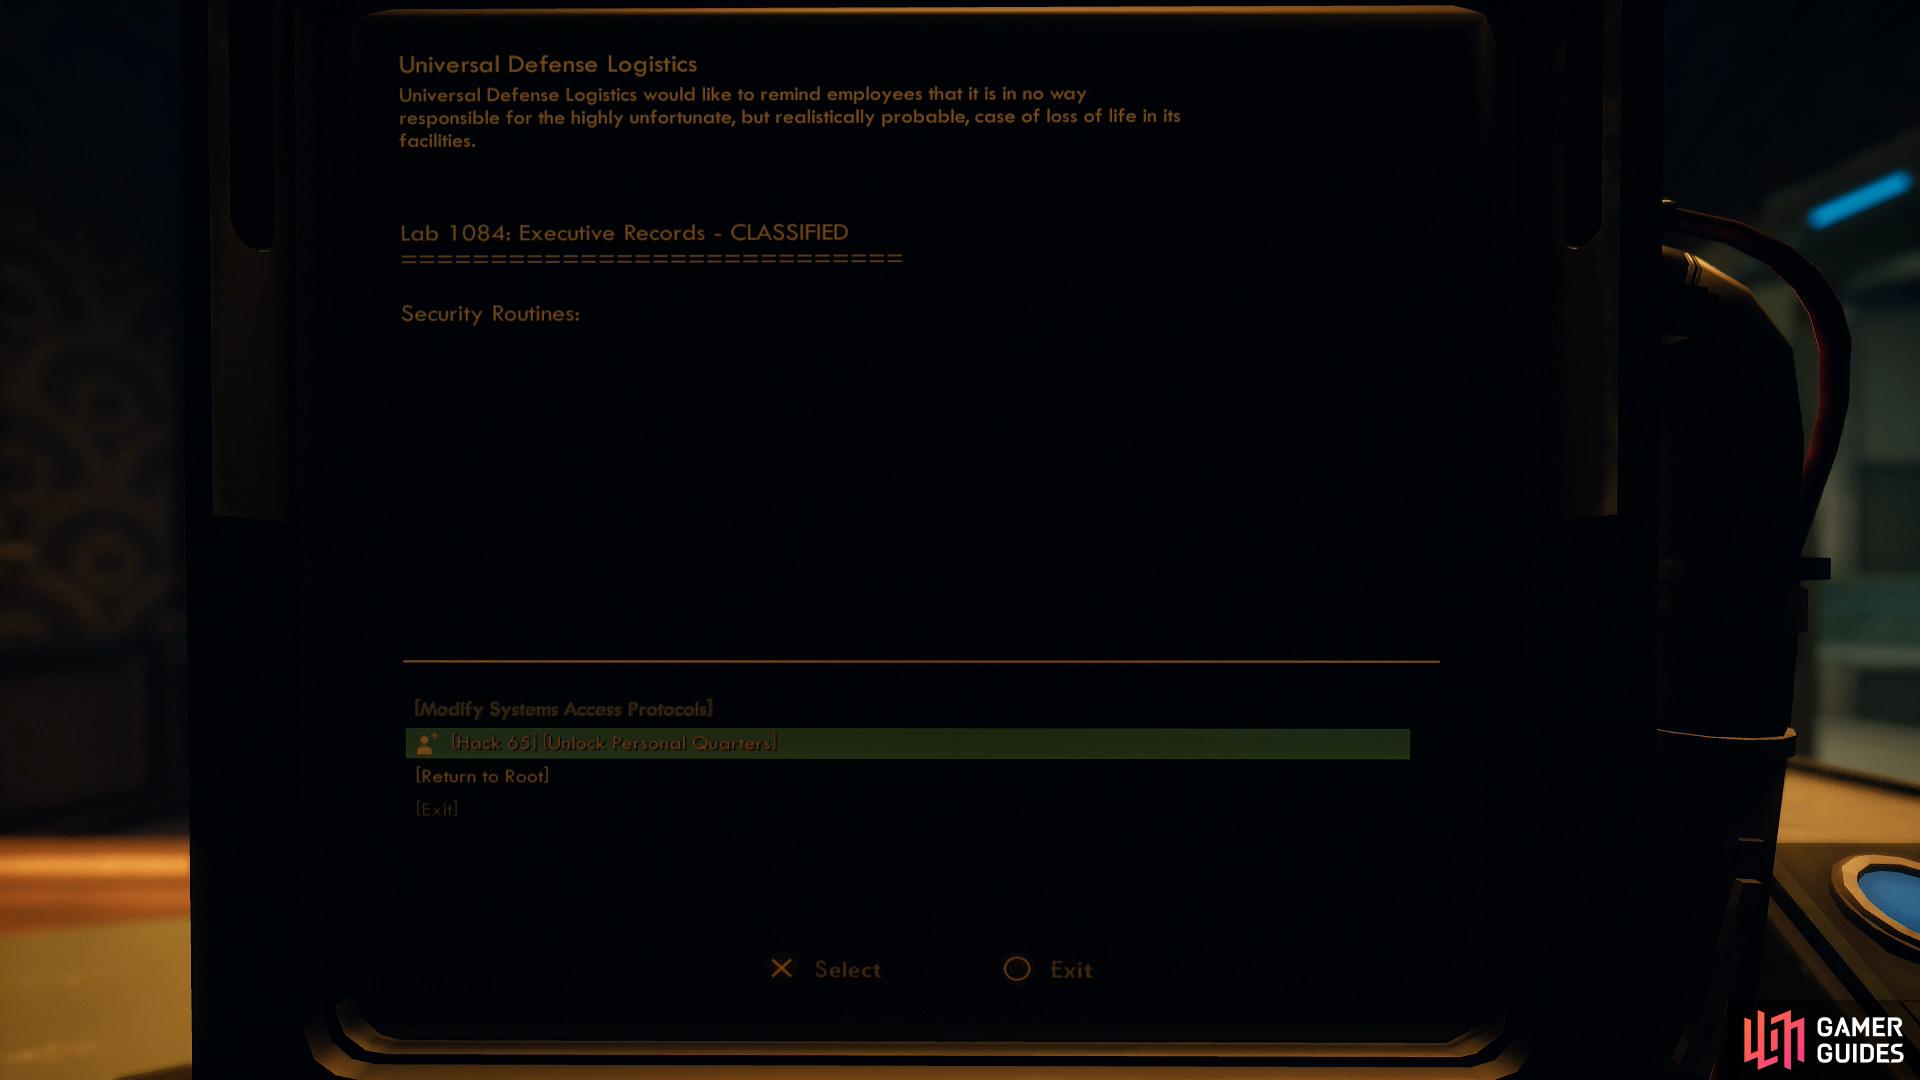
In this office you’ll find a terminal and locked door [Lockpick 100] to the north. Interact with the terminal and pick the options [Security Routines] followed by [Hack 65] to bypass the locked door to the south. In a safe in this room you’ll find various treasures, including the unique Researcher’s Mask headwear, which causes bleed duration to be extended by 30%.
Return to the terminal in the office and pick the options [Modify Systems Access Protocols] and [Insert SubLight Override Cartridge] to transfer control of the station to Lilya Hagen. You can also read various logs on the terminal to find out that the Board was trying to create human/raptidon chimeras… which expectedly bad results.
Exit HRS-1084 and return to Lilya Hagen on Groundbreaker to finish this quest. You’ll gain positive SubLight reputation and 2,188 Bits, and can pass an [Intimidate 100] check to wrangle 500 Bits from her. After this she’ll ask if you were followed, allowing you to tell the truth or pass a [Lie 1] check, a choice which really doesn’t matter in the long run. Lilya will then decide to finally be honest with you, which isn’t exactly a good thing, as she’ll expose you to the full-blown crazy conspiratorial nonsense that occupies her mind. Apparently she believes that the only possible explanation for the research at the last two labs you visited is… aliens. Hoo-kay. Pass a [Perception] check for some more positive SubLight reputation, endure the crazy lady’s fearmongering, and she’ll ultimately give you another job - kill Dr. Chartrand, whom Lilya believes is a turncoat working for the aliens. This starts The Chimerist’s Last Experiment.
No Comments