

Talk to Parvati before you leave to start the quest “Drinking Sapphire Wine”.
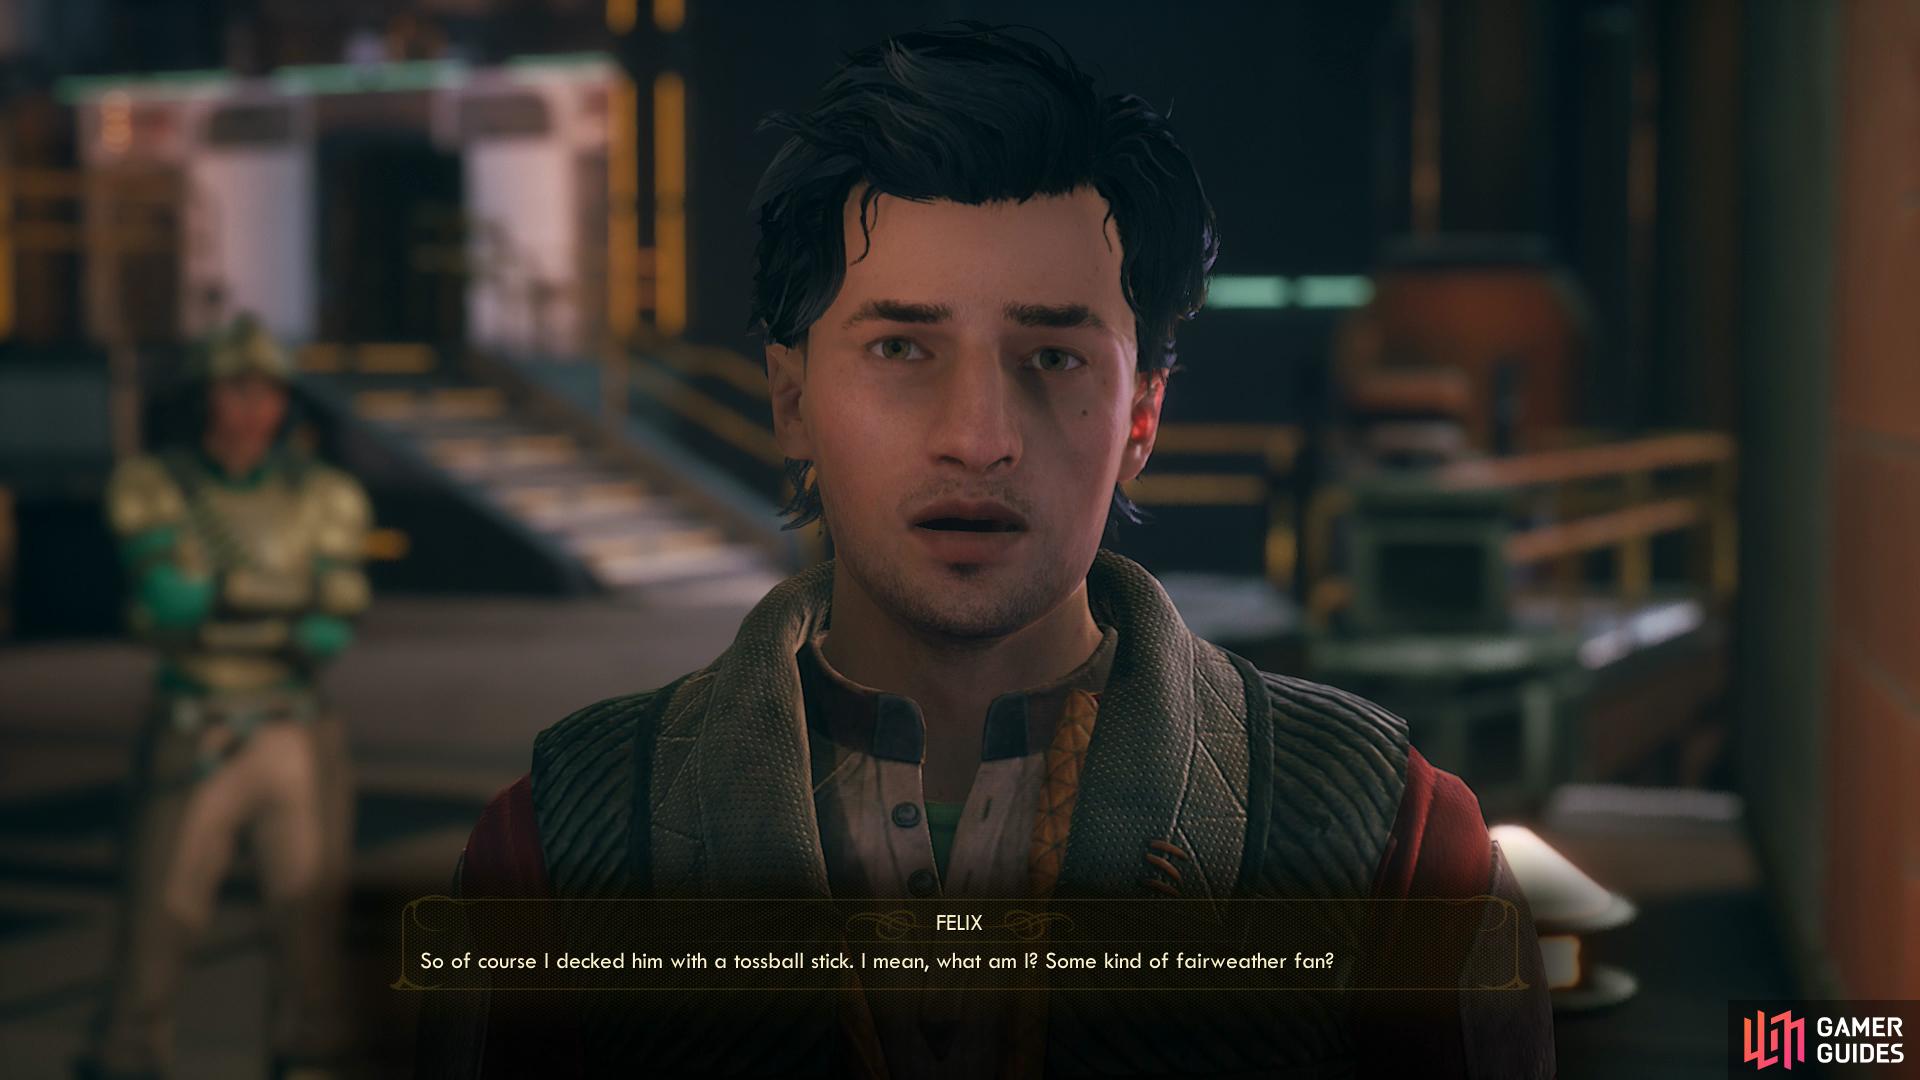
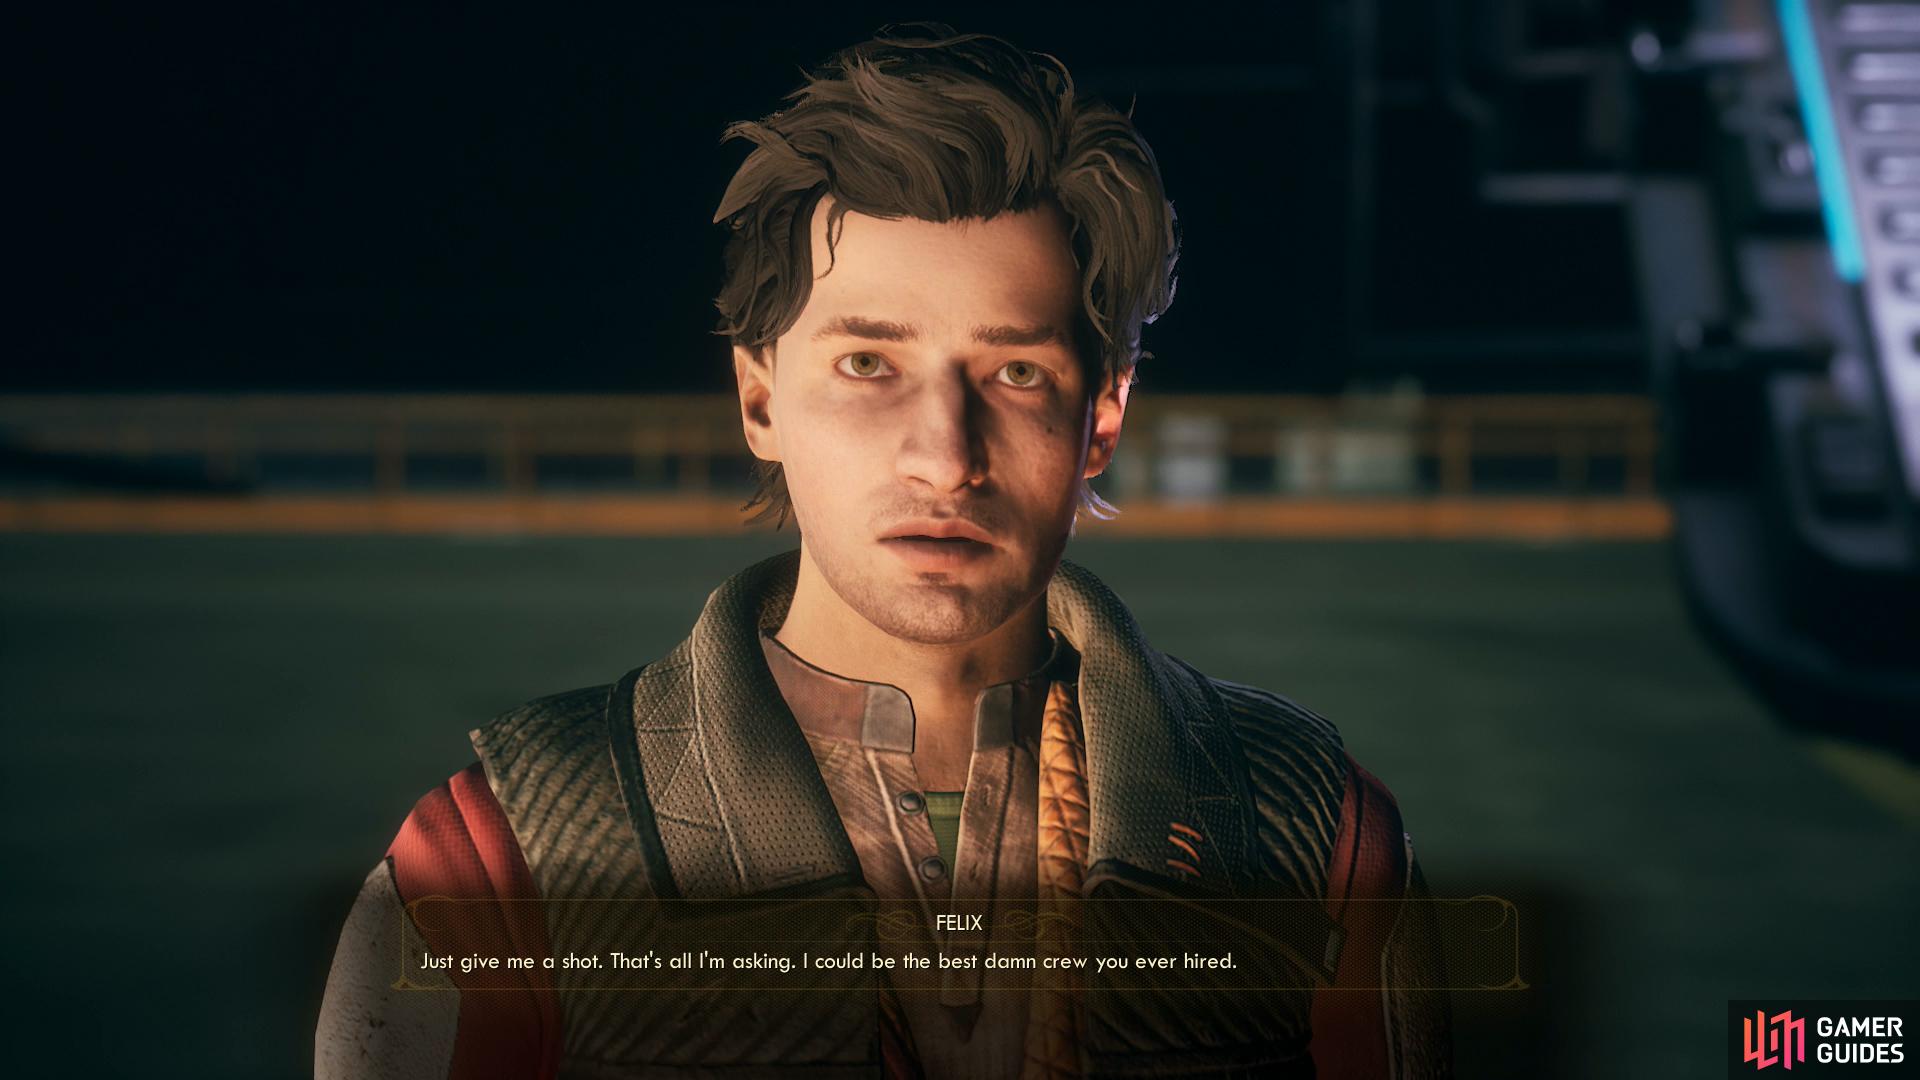
You’ll run into a rascal named Felix on the docks who… well, really likes his tossball team.
Companions and Complications
When you arrive at Groundbreaker, Parvati will try to get your attention near the ship’s door. Talk to her and she’ll request you take her to meet the Groundbreaker’s chief engineer, Junlei Tennyson, from whom Parvati wishes to learn a thing or two about starship maintenance. Agree to start the quest Drinking Sapphire Wine. Can’t hurt to have another quest, right?
Leave the ship and head north to find a Mardet and a Corporate Trooper confronting a man named Felix about a recent altercation he had. Talk to Felix and he’ll openly admit to the assault, and while the catalyst for the assault was trivial, Felix spins it as a long-suppressed act of anti-authoritarian revolt. He doesn’t have anything on his plate and will ask you about your ship, but stops short of joining your crew… for now, anyways.
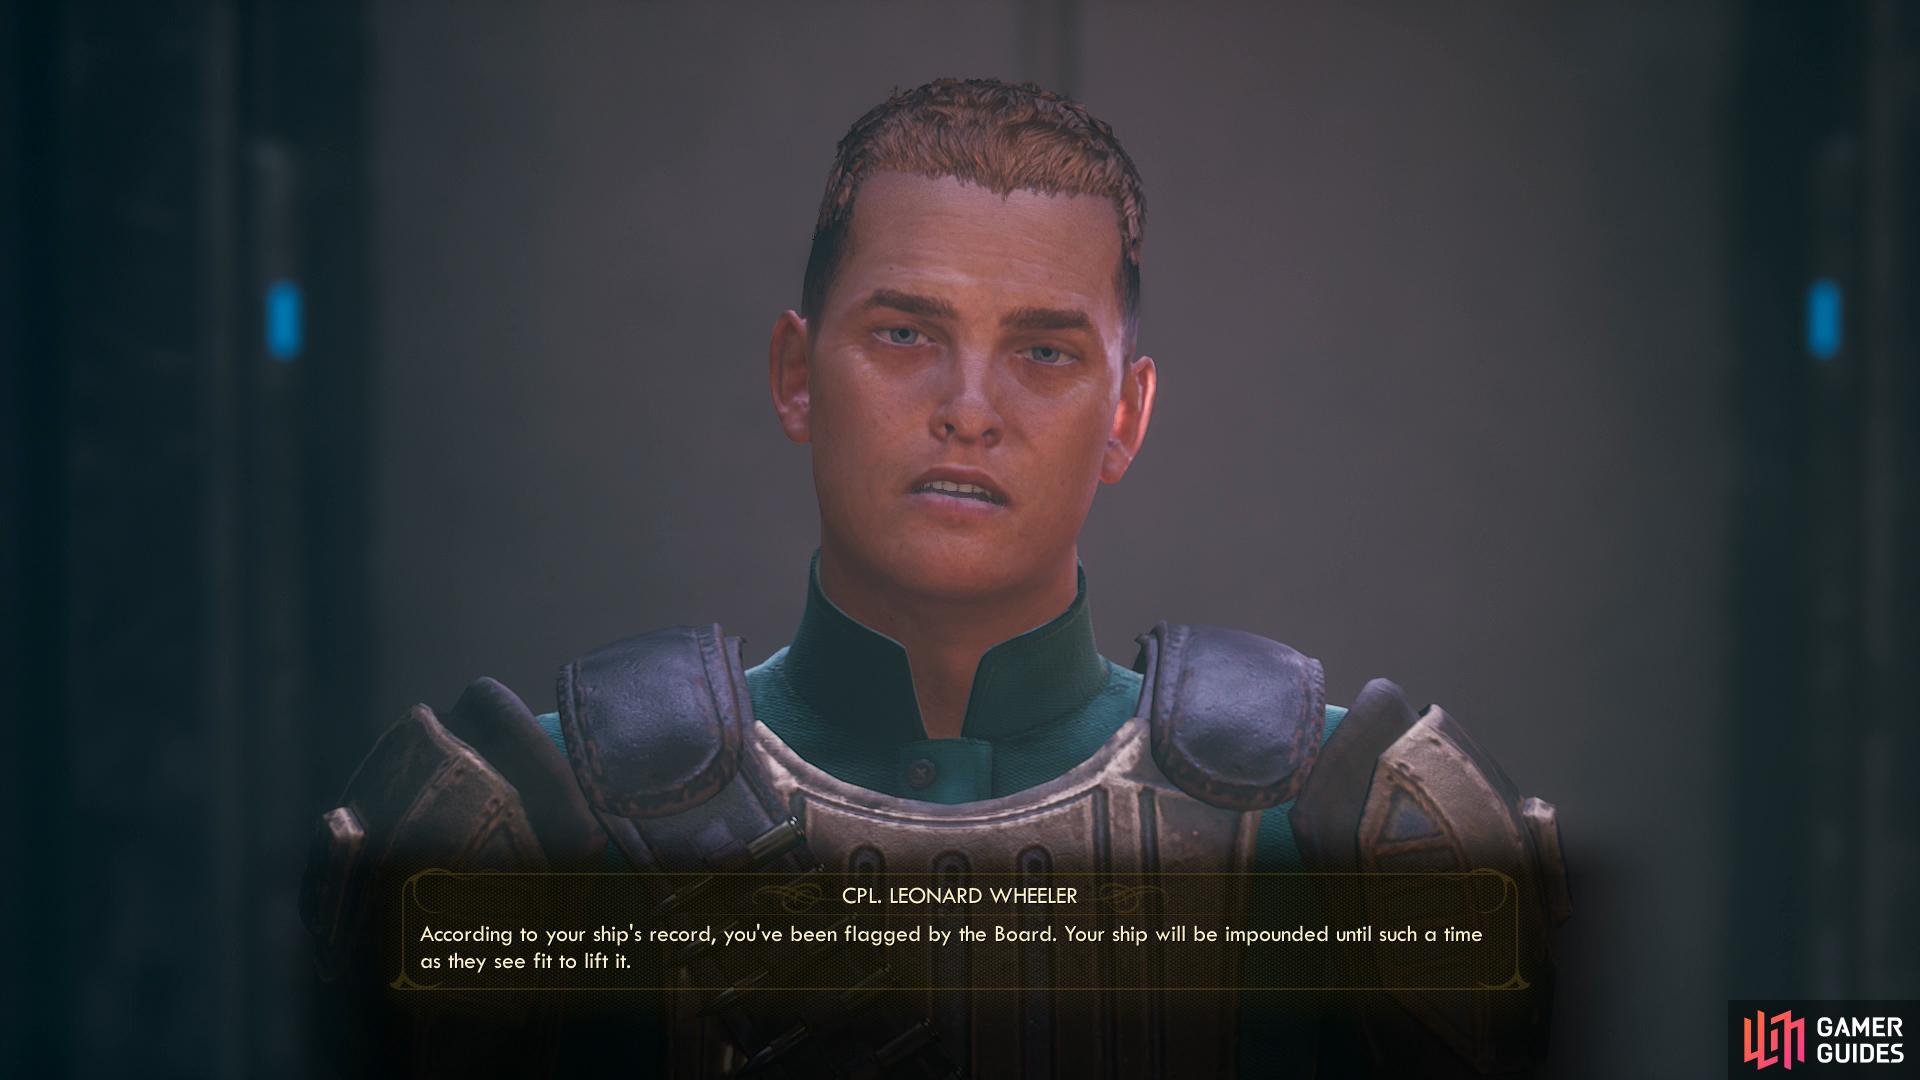
Cpl. Wheeler will inform you that your ship has been impounded by Udom Bedford.
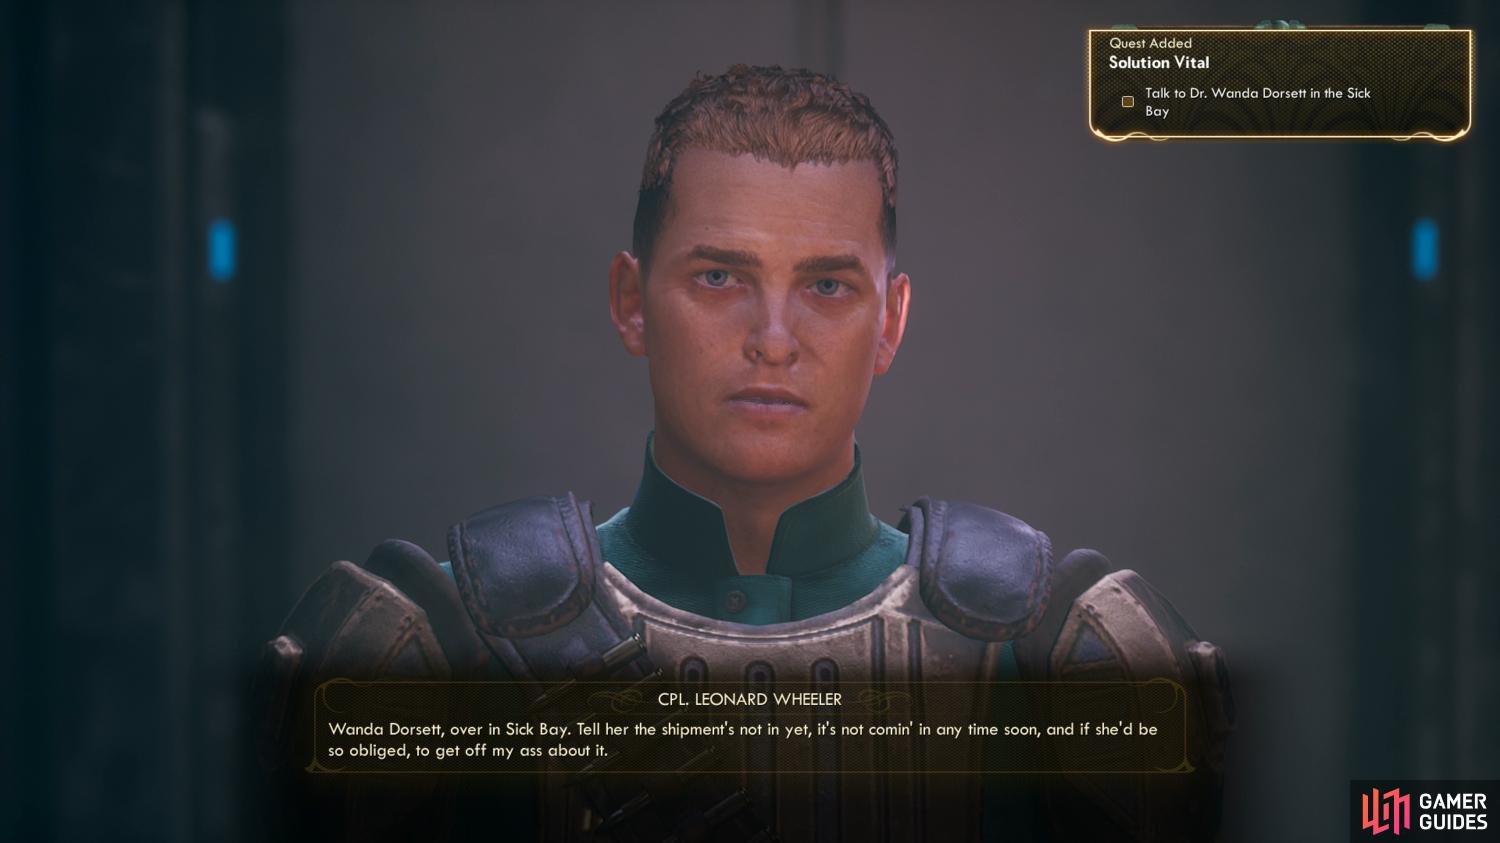
After which he’ll have the gall to ask you to run an errand for him.
From Felix head northwest up some stairs and approach a security checkpoint manned by Cpl. Leonard Wheeler. Talk to the security officer and when you eventually have to give him your ID he’ll inform you that your ship has been impounded by Udom Bedford - the Board’s representative on Groundbreaker. If you read Hawthorne’s terminal, you’ll know that this isn’t the first time Udom has played this game. Regardless of your knowledge going into this conversation, Wheeler will refer you to Udom Bedford, complicating your visit to Groundbreaker somewhat. If that’s not enough, however, he’ll ask you for a favor - tell Wanda Dorsett in Sick Bay that her package isn’t here nor is it imminently due. A security guard asking a favor from some stranger whose ship was just impounded by the Board for unknown reasons is a bit of a stretch but… fine. This starts the quest Solution Vital.
Feel free to ask Wheeler about persons of interest, if you wish. He’s uncharacteristically chatty for a guard. You won’t start any new quests, but you can learn about getting some more bounties, the local amenities onboard the Groundbreaker, and some lore about Groundbreaker, the Board and Halcyon in general.
Now, you can continue north into the Groundbreaker’s Promenade, which is where most of the… stuff… is… but before you do that there are some things to mess with in the docks area. First, as you’ve probably noticed there’s tons of loot strewn about… and a lot of Mardets and other Groundbreaker natives keeping an eye on it. You probably won’t be able to steal everything, and the loss of reputation for getting caught (at best) isn’t worth that extra Mag-Pick. You’re just going to have to practice restraint, and learn to pick your battles.
Holographic Shroud Trial Run
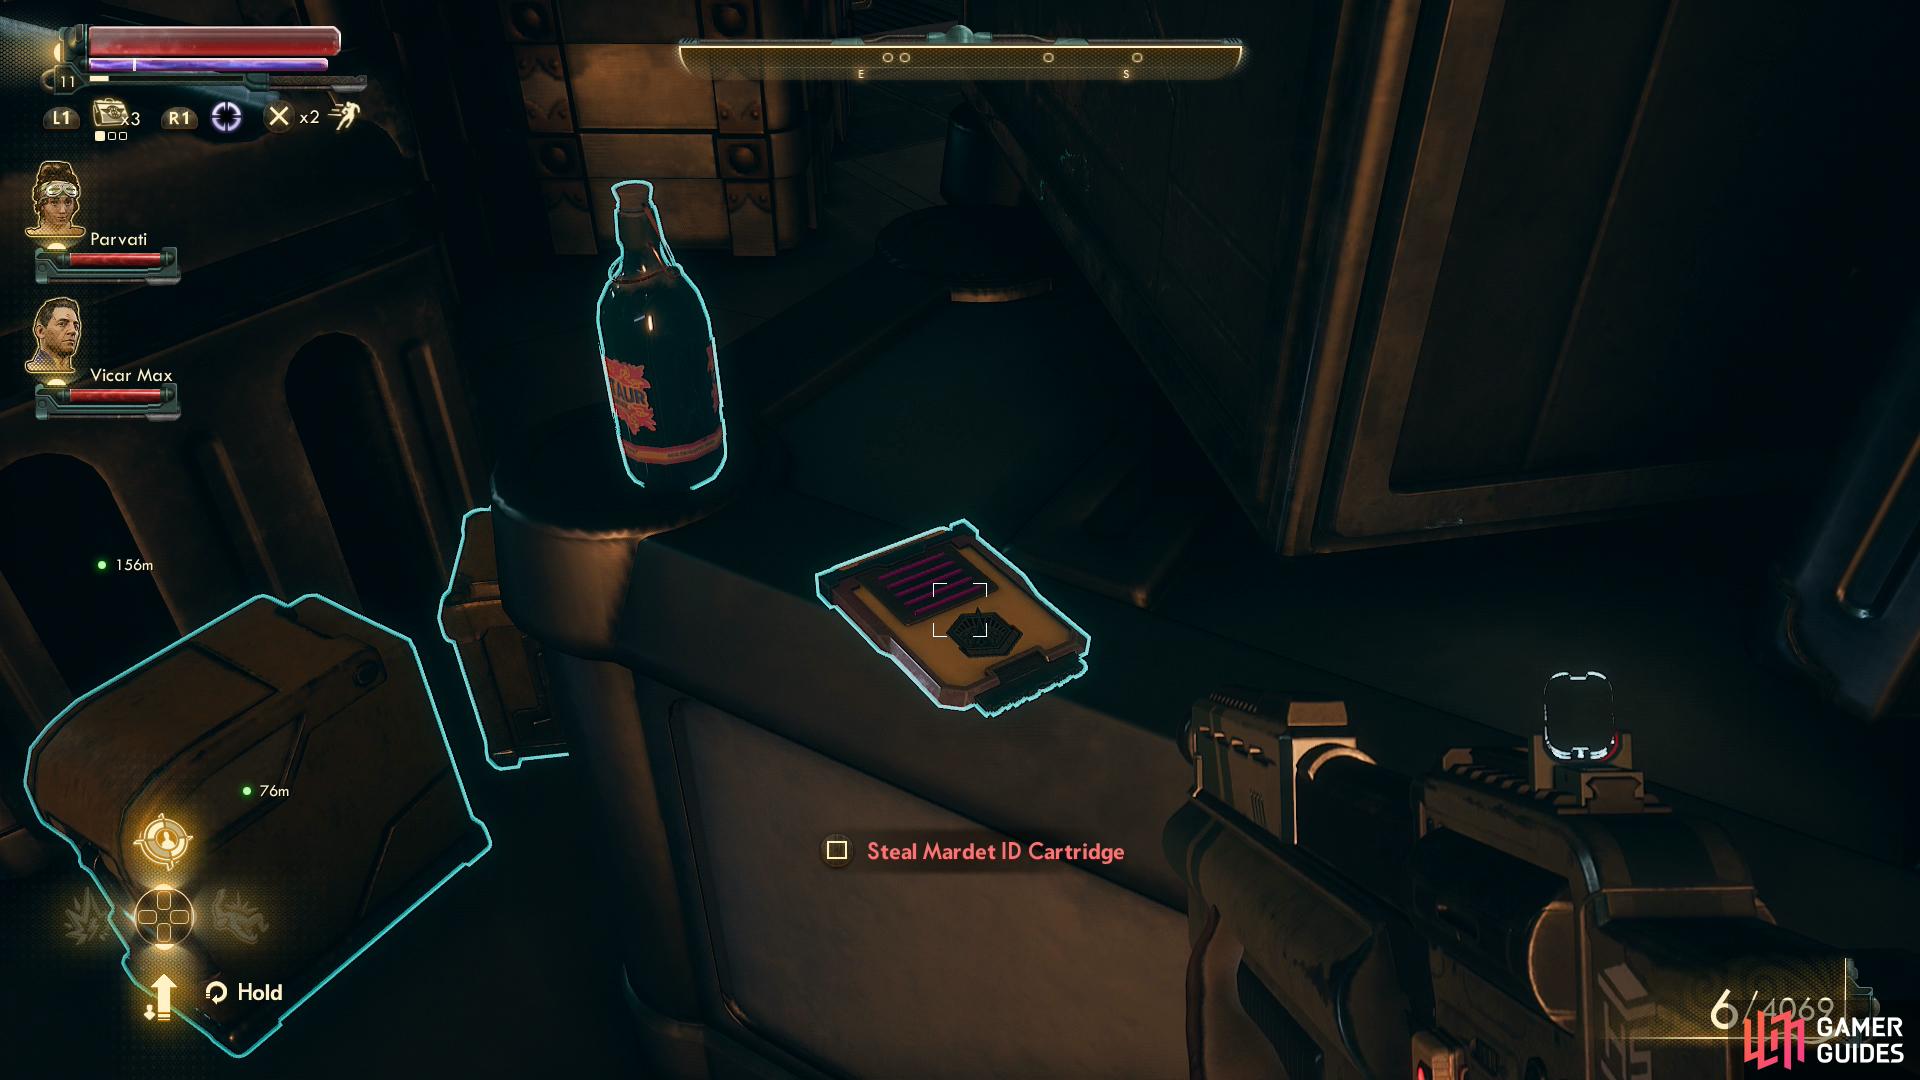
That said, there is something you should definitely seek to steal. From Wheeler’s office head down some stairs to the west and search on some crates to find a Mardet ID Cartridge. If you paid attention to Welles’ explanation of his Holographic Shroud, it uses data stored on these devices to create holograms - in this case, this device will make you and your allies appear like Groundbreaker Mardets. All the other stuff he said about running and jumping, keeping a low profile? Cystypigwash.
Don’t just take our word for it, this is something easier to play through than simply explain, so let’s walk through using the Holographic Shroud now where it’s simple and controllable. From where you found the Mardet ID Cartridge, head up some stairs to the north to find a door [Lockpick 35] - the bright “RESTRICTED ACCESS” text should make this pretty obvious. Pick the lock when nobody is around (a Mardet patrols around here) and head through the warning text.
Once you pass the threshold and enter the restricted area the Holographic Shroud will immediately kick in (assuming you have the correct ID Cartridge) and create a hologram that makes you appear like… well, whatever the appropriate ID Cartridge makes you appear like, in this case a Mardet. Should you have the correct ID Cartridge you’ll be able to infiltrate restricted areas, otherwise you’d have been attacked on sight. As Welles’ said the hologram is imperfect, and moving - be it walking, running or jumping - will compromise the disguise. This isn’t a matter of nuance, however, instead you have a purple bar at the bottom of the screen that shows you how much cover the Holographic Shroud provides. The more you move, the more it depletes, and the depletion rate seems largely proportional to the distance moved, so you don’t have to worry about “acting suspicious” as much as you have to worry about keeping an eye on that bar.
Should the bar deplete while you’re in a restricted area, you still have options - you can leave the area and your Holographic Shroud will replenish fully, allowing to function… well, kind of like an underwater mechanic, really. Go into a restricted area, do as much as you can with one bar, leave and “get some air”, then return and repeat. You can also just use good old fashioned sneaking to avoid contact with the guards as long as possible, but if you eventually get caught in a restricted area while your Holographic Shroud meter is depleted, you still have options, as you’ll get a chance to pass a dialogue check [Persuade], [Lie] or [Intimidate] to shake off the overly-inquisitive guard who caught you and replenish your Holographic Shroud. You can do this three times per entry into a restricted area (the dialogue checks will get more difficult each time you’re caught), hence the three purple tabs to the right of the Holographic Shroud meter. Deplete your bar, get caught, pass a dialogue check, lose a tab and refill the bar, repeat. And yes, when you leave a restricted area your tabs are refilled, too.
All in all, it’s a pretty simple and generous system that takes a great deal of tedium out of some of the stealth segments, allowing you to substitute conventional stealth with dialogue if you wish… and that’s ignoring the possibility of just dispensing with any form of subtlety altogether and going in guns blazing… which is not recommended here, by the way. You can, however, loot this area. Just be mindful of the Mardet walking around - just because you’re disguised doesn’t mean they won’t confront you if they catch you up to any funny business. You can nab some more Mardet ID Cartridges in here, as well as a Hoop, and if you explore deeper into the guard station you’ll be able to advance Vicar Max’s quest The Empty Man.
Exploring the Groundbreaker
Now it’s time to explore Groundbreaker, more thoroughly, but it should be pointed out that there are a lot of side quests and companion quests you can start and/or advance here, which will be covered in more detail in their own sections. Still, we’ll point out where you can start and/or advance these quests, and cover other points of interest that aren’t quest-related.
First from the western door leading to the restricted area covered above look north to spot a ladder you can climb. Once you’ve ascended, jump up a series of crates and turn northeast to spot a ledge you can leap to. Turn north and drop down a ledge to find some containers you can loot, none of which count as stealing, then use some more crate to leap onto another ledge to the north. From this second ledge look northeast to spot another ledge you can reach via a running jump, then turn east to spot a rather… dangerous looking gap you can pass through. In this apparently forgotten chamber you’ll find a container you can loot for some goodies, near which rests a skeleton. Creepy.
Return to in front of Wheeler’s station and continue north past the security checkpoint. In the room beyond turn west to find Comdt. Sanita beyond a window. Talk to her and express interest in the MacRedd bounty, which will start the quest Who Goes There?. If you bring up Phineas, she’ll refer you to Udom Bedford, but we’ll get to that a bit later…
Continue north past a workbench and pass through another door to finally reach the Promenade, where most of… well, everything worth doing and seeing on Groundbreaker can be found. This area is essentially a large rectangle, with everything of interest located on the outer edges. Starting from the west and working your way north, east, then south you’ll find the following points of interest:
- Rest-N-Go
- Spacer’s Choice Shop
- Sick Bay
- Sublight Salvage
- Spratwurst Vendor
- Ike’s Armory
- Engineering
- Auntie’s Kitchen
- Byzantium Embassy
- Waste Disposal
- Belle’s Shells
- The Lost Hope
Again, we’ll be covering side quests in more detail in their own pages, so the following headers will largely cover interactions, shopping and looting that falls outside the purview of such quests… although it will be pointed out where such quests start or can be advanced, and there are many interesting odds and ends that may contribute to the completion of said quests worth pointing out.
If you can’t be bothered and just want to get on with the main questline, skip ahead to the header “Speaking with Gladys”. For other quests, seek out their pages for detailed walkthroughs. Quests on Groundbreaker are as follows:
- Drinking Sapphire Wine (started on the Unreliable, can be completed on Groundbreaker)
- Salvager in the Sky (must acquire the Navkey from Gladys to complete)
- Solution Vital (must travel to Scylla to complete)
- The Empty Man (started on the Unreliable, can be advanced on Groundbreaker)
- Weapons From the Void (started on the Unreliable, can be advanced on Groundbreaker)
- Who Goes There? (can be started and completed on Groundbreaker)
- Worst Contract (can be started and completed on Groundbreaker)
Exploring the Groundbreaker - Rest-N-Go
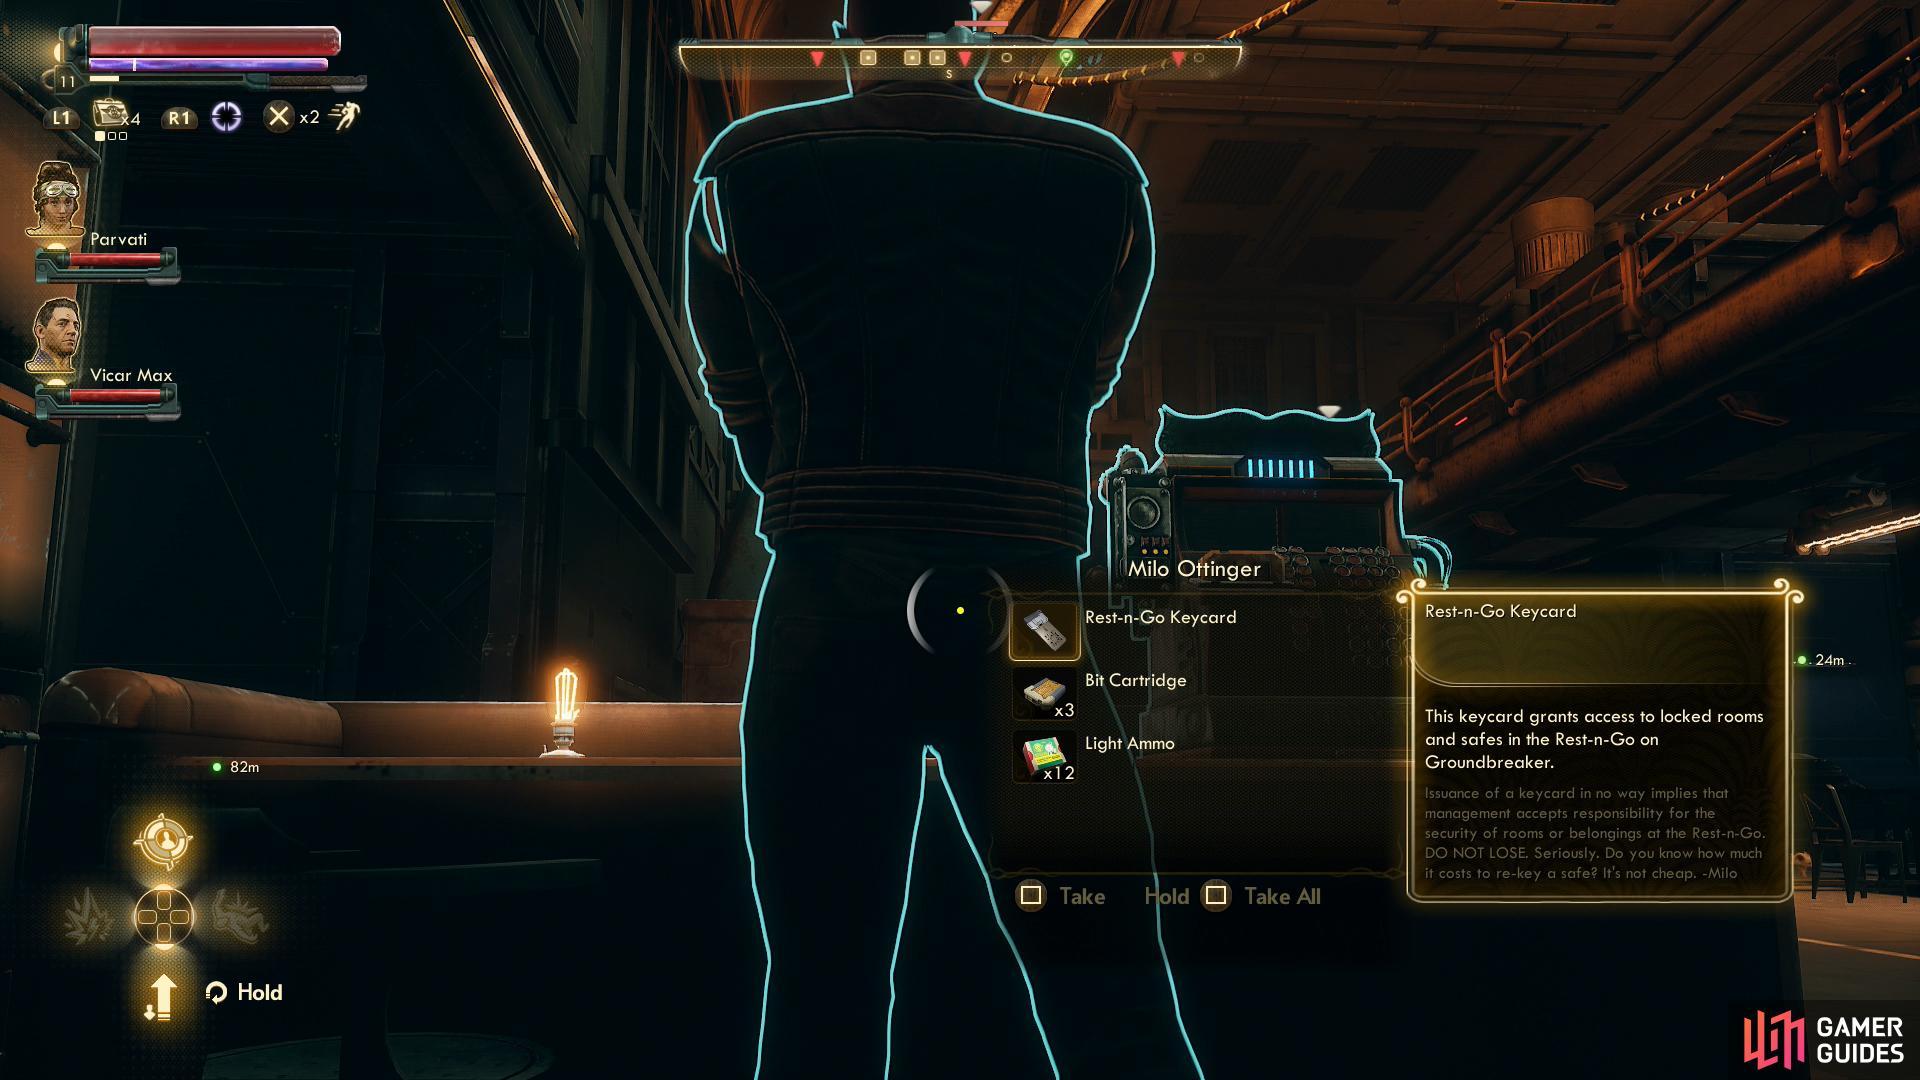
There’s much to do here, as you’ll find Gladys in the southern room on the ground floor. We’ll ignore her for now in favor of… anything that’s not a main quest right now. Talk to Milo Ottinger, proprietor of the Rest-N-Go to score a bit of lore, then pickpocket a Rest-N-Go Keycard, then go through a door to the west to find a room full of lootables, including three safes that can only be opened with these keycards. Open one now if you wish, others will be pointed out as you explore and it’ll be left to you to come back and use them.
You’ll also find a ton of loot strewn about, some stealing, some free for the taking. There’s one secret that stands above the others in terms of interest, however. From Milo head south and you’ll find a bathroom door. From this door turn west down an alley to find a passage hidden behind a dumpster. Crouch and crawl through it to find an apparently abandoned homeless encampment. Read a datapad on the floor to learn that life onboard the Groundbreaker is pretty brutal if you’re not an employed native, then crawl through another passage to the north, which terminates in a restricted area at the western end of the Sick Bay. This can help you with an upcoming companion quest Worst Contact, so keep it in mind… although there’s precious little reason to poke around here just yet. You know, aside from the loot…
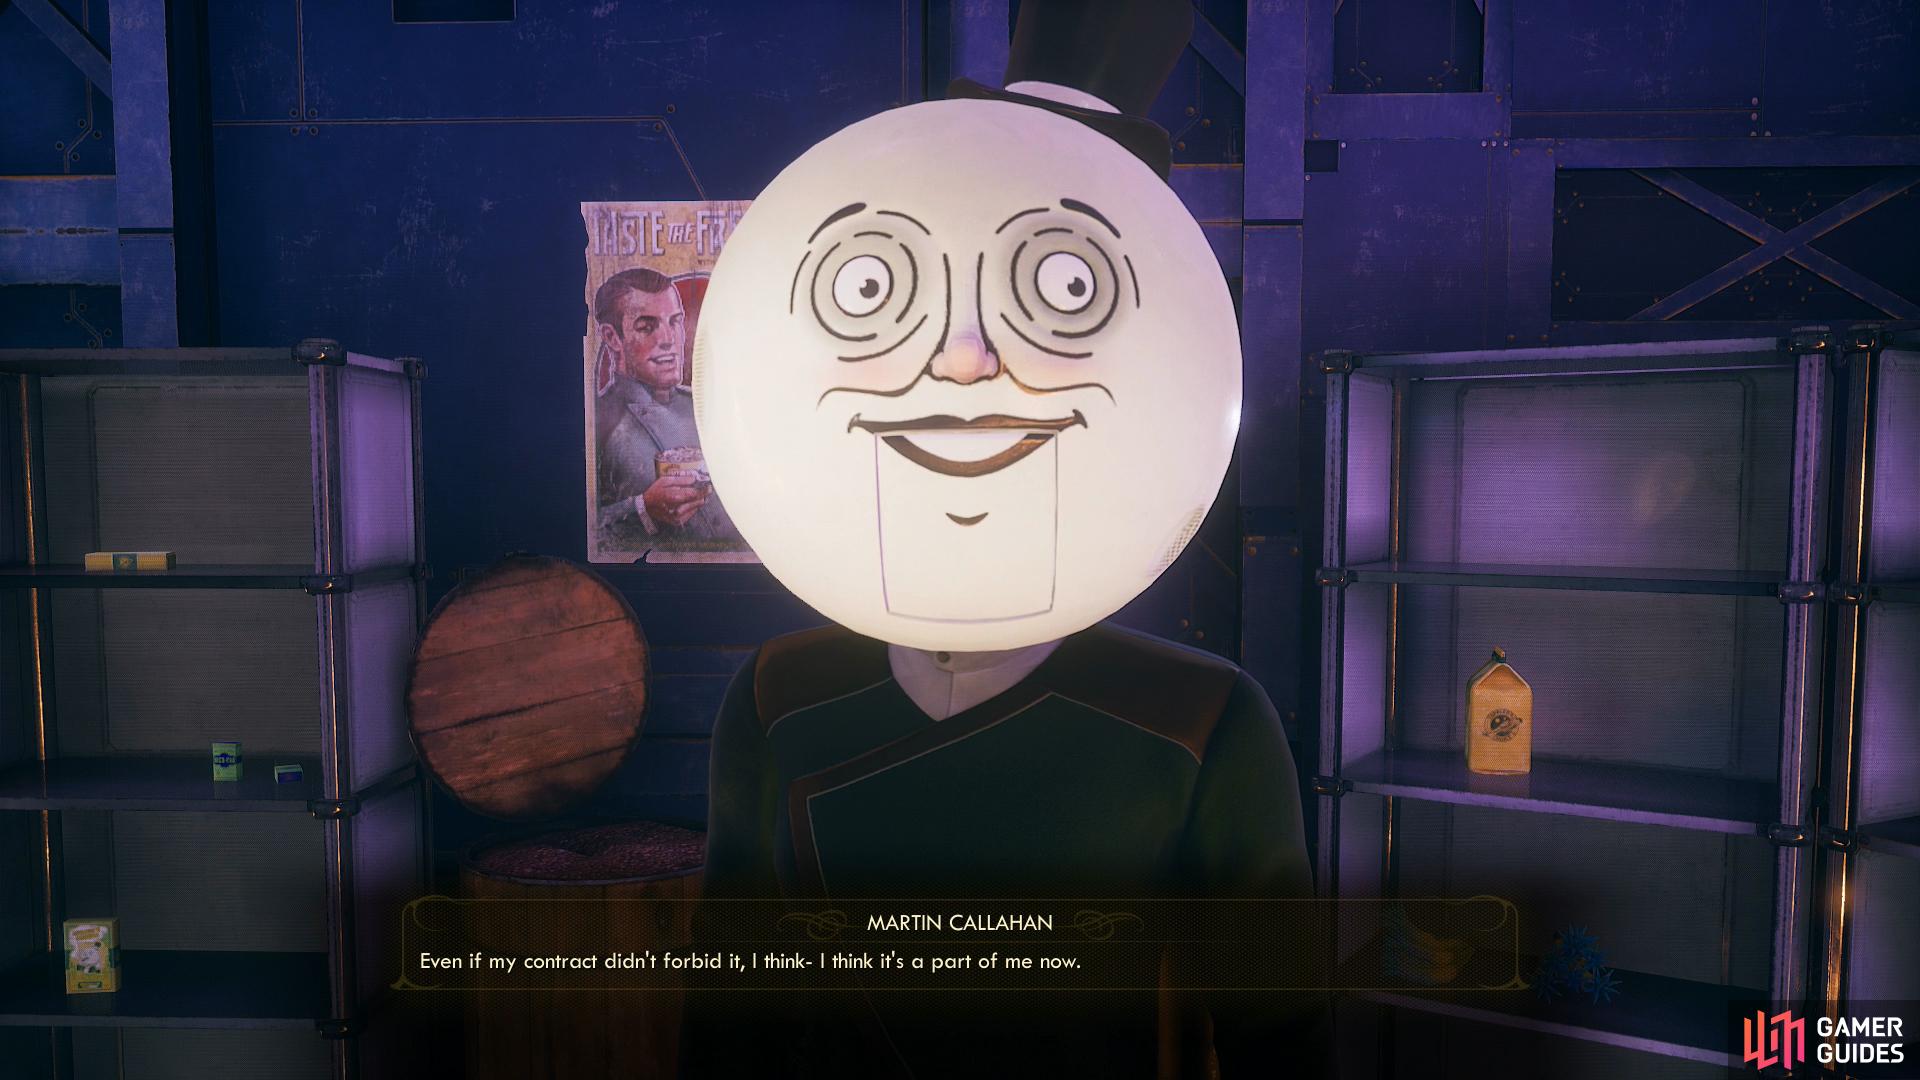
(1 of 3) Martin has paid quite a price for his job, but he carries on his corporate-approved banter admirably.
Exploring the Groundbreaker - Spacer’s Choice Shop
Just north of the Rest-N-Go is the Spacer’s Choice shop, managed by one Martin Callahan, the poor damned soul confined into that hideous MoonMan Helmet. He does an admirable - if pathetic - job of spinning almost everything you say into a corporate talking point, albeit with a few slip-ups when it comes to the quality of life in that hat of his. You can buy one of your own if you wish to emulate poor Martin’s purgatory (this corporate-approved headware will tellingly boost your Lie skill by 5) but you can also pick a locked door [Lockpick 25] behind the shop, beyond which you’ll find a Defective MoonMan Helmet for the taking. Unlike the other MoonMan Helmets, this rare specimen will boost your Temperament by 1. You can also find a second Rest-N-Go Keycard on the floor nearby, partially under a crate.

Talk to Ellie to start “Worst Contact”
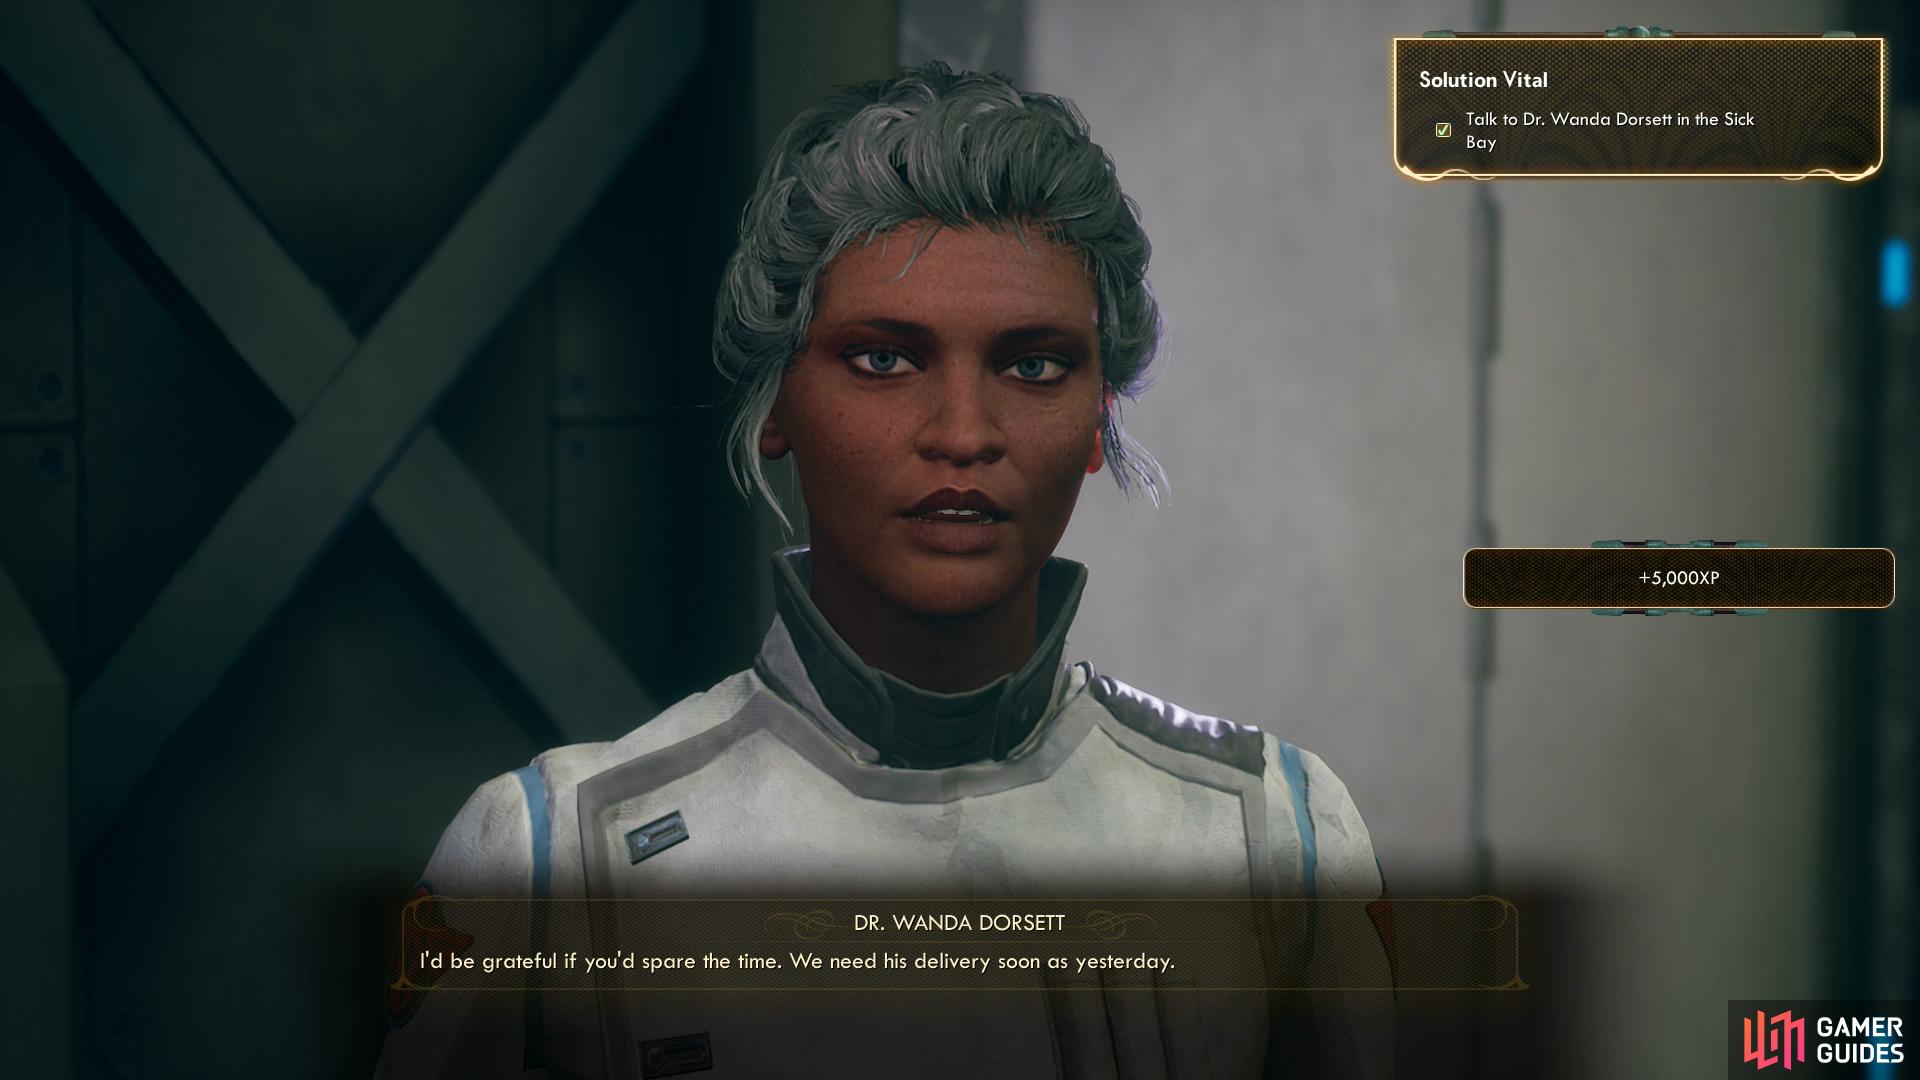
while talking to Wanda will advance “Solution Vital”.
Exploring the Groundbreaker - Sick Bay
Next up is the Sick Bay, and when you enter you’ll find a doctor named Ellie arguing with another doctor named Mfuru. Talk to Ellie and she’ll express annoyance that an acquaintance of hers, Jessie, is in Sick Bay and for some reason isn’t receiving visitors. Sounds fishy, and Ellie seems to lack the… people skills to get her way, so offer to help to start the quest Worst Contact.
If you talk to Dr. Mfuru you can further the quest Worst Contact by asking to see Jessie, but it’s a fruitless endeavor even if you succeed at an optional [Perception] check… and it’s beyond the purview of this section, anyways. You can also ask about purchasing medical supplies, but until your get permission from Chief Junlei, the Groundbreaker’s limited stock precludes such capitalistic endeavors.
Head into the back room and you’ll find Dr. Wanda Dorsett, whom Wheeler told you to talk to as part of the quest Solution Vital, which you can advance by bringing the topic up here. It’s worth some XP and will pitch the quest to Scylla, a place you’ve no immediate need to travel to.
Exploring the Groundbreaker - Sublight Salvage
Continue north along the western edge of the Promenade to find the Sublight Salvage offices. Before them, however, you’ll run across a terminal with the message [Seeking Contractor: Sublight Salvage], which tells “ethically-flexible” spacers with Stellar Bay landing clearance to seek out Lilya Hagen for a job opportunity. If you recall, you’re seeking a Navkey for just such a landing clearance right now, so while you don’t meet that requirement (the ethically-flexible bit is up to you), it’s worth keeping in mind.
You can enter the Sublight Salvage building, ride the elevator and talk to Lilya Hagen if you wish, but until you have the Navkey to Stellar Bay you can’t advance the task Salvager in the Sky, so there’s little need to bother.
Exploring the Groundbreaker - Spratwurst Vendor
North of Sublight Contractors you’ll find the Spratwurst vendor, Ethel Gaibler, who has a lot to say about Spratwurst, none of it being terrible useful. She’ll also sell…Terra-Fried Spratwurst and Dehydrated Water. Oh boy. She has nothing to steal or pickpocket, making this by far the least interesting interaction on the Groundbreaker’s Promenade.
Exploring the Groundbreaker - Ike’s Armory
Northeast of the Spratwurst Vendor you’ll find Ike Kristiansen, who operates Ike’s Armory. He doesn’t have much more of interest to say than Ethel did, but at least he sells arms and armor, although none of it is unique.
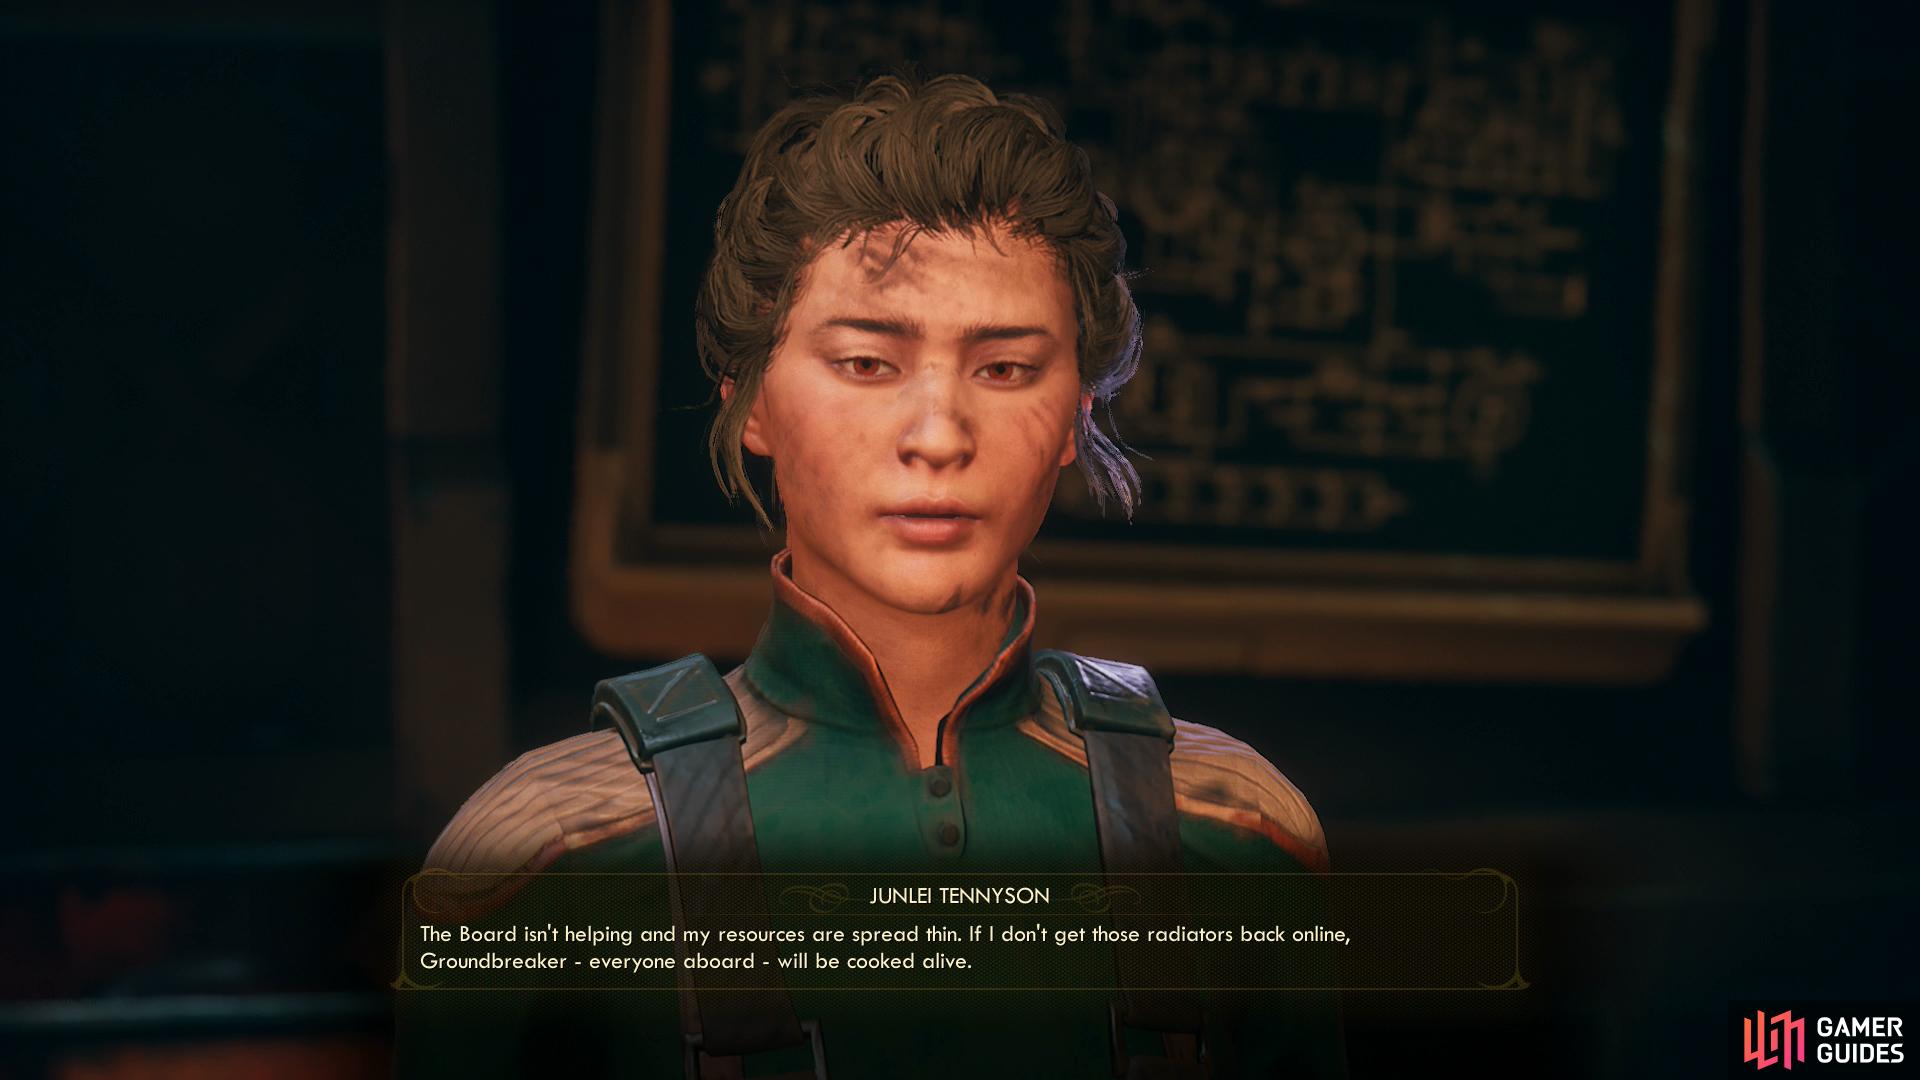
Talk to Junlei to start the quest “Happiness is a Warm Spaceship”
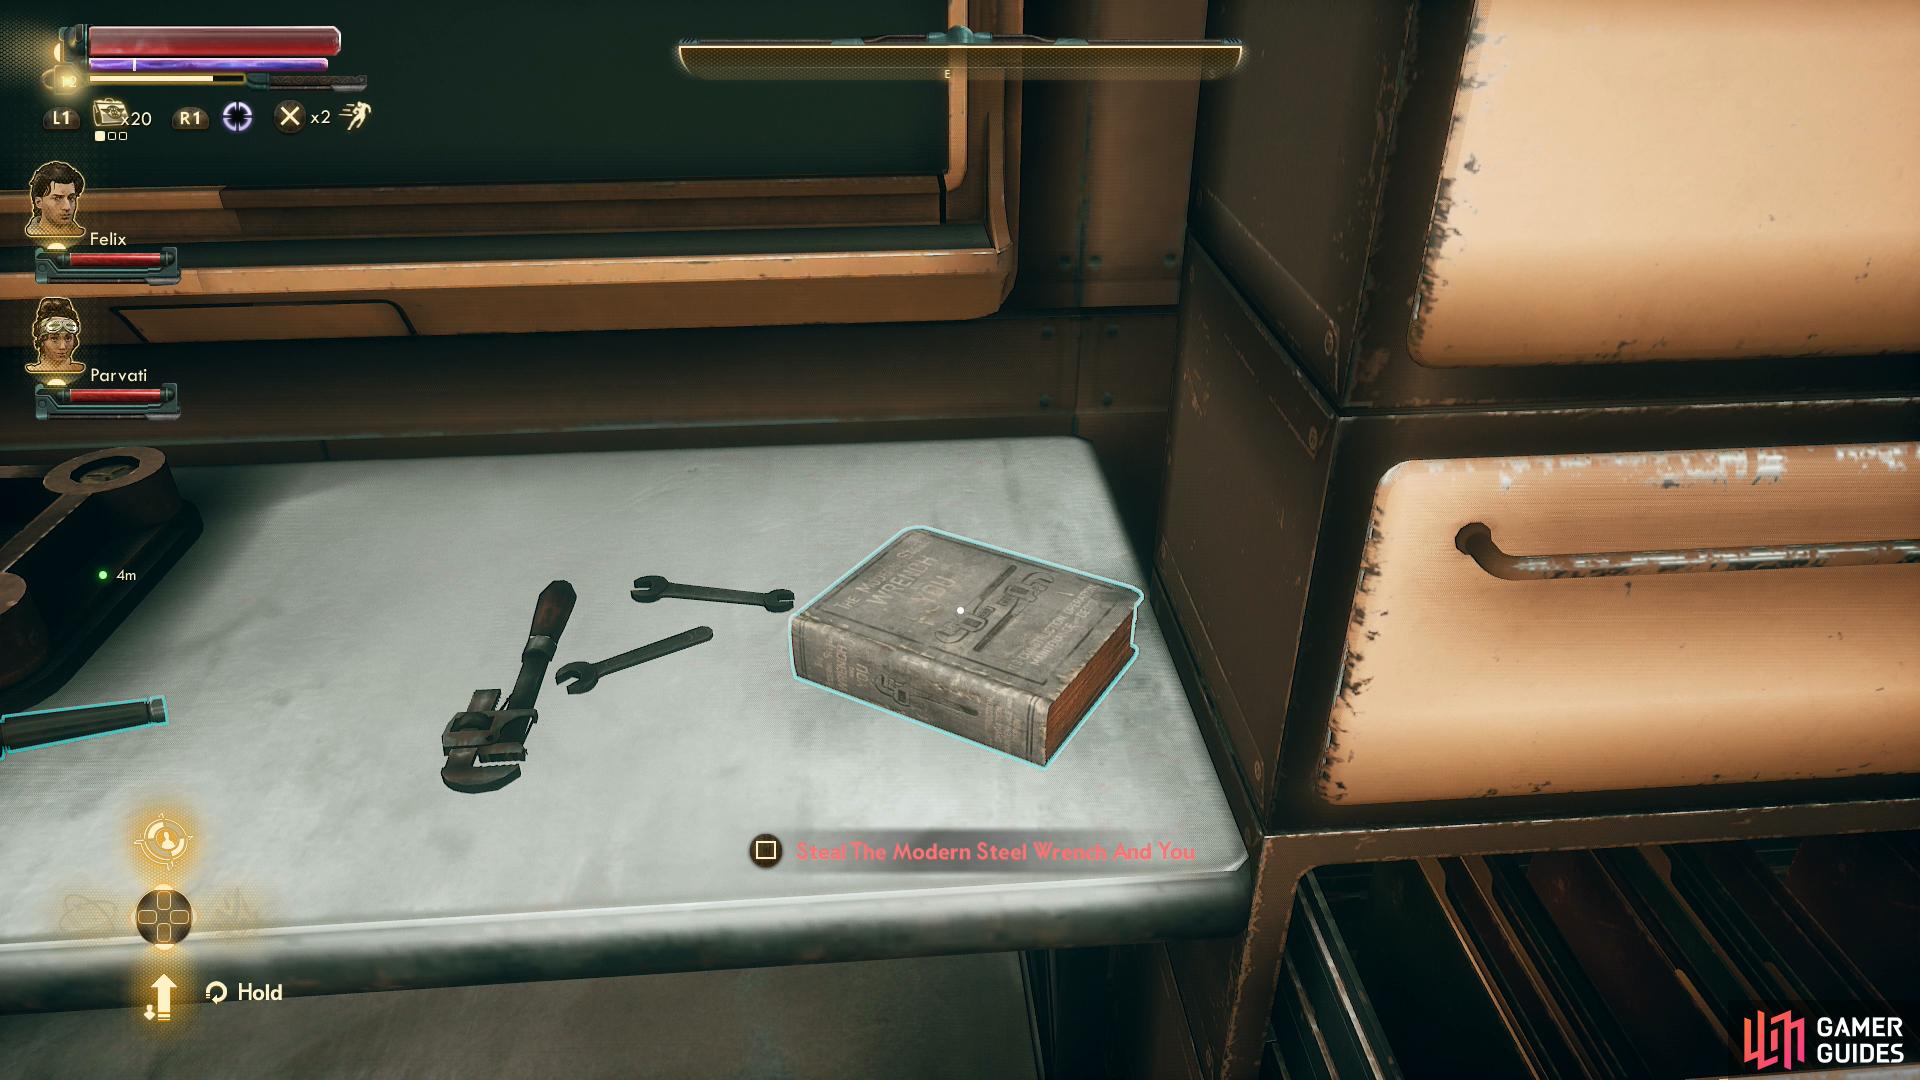
You can also score a copy of “The Modern Steel Wrench and You” from a table nearby, which can be used to decorate the Unreliable.
Exploring the Groundbreaker - Engineering
The Engineering Bay is located at the northern end of the Promenade, between Ike’s Armory and Auntie’s Kitchen. This area is pretty interesting, as you can advance the quest Drinking Sapphire Wine here as well as start up a new quest, Happiness is a Warm Spaceship, by talking to Junlei. That said, despite this place being interesting, it’s outside of this section’s purview, but you should definitely see to those quests sometime - ideally before leaving Groundbreaker. You can, however, swipe a copy of The Modern Steel Wrench and You off a table on the eastern end of Junlei’s office, if you wish.
Exploring the Groundbreaker - Auntie’s Kitchen
The Auntie’s Kitchen stall is east from Ike’s Armory, and in between them is the Engineering Bay, which you shouldn’t bother with just yet, as it’s pretty much exclusively questy. Do be sure to search the western alleys around the Engineering Bay door to find two bins and an Auntie’s Kitchen Keycard, which will help you bypass a trivial Lockpick check in a moment.
At the shop itself you’ll find an automechanical named Greasy. Appetizing. You can peruse some proteins dispensed for your ingestion, but aside from a Chef Hat the bot doesn’t sell anything remotely interesting. If you pass an [Engineering 25] check you can restore the automechanical’s shock simulation routine, allowing it to express discontent at being called an over-glorified vending machine.
Make your way to the side of the shop and you’ll find a locked door, which you can open with the Aunties Kitchen Keycard or with a paltry [Lockpick 15] check. In the room beyond you’ll find a rather… ripe corpse of the Auntie Cleo worker that must have manned this restaurant at one point, along with a book on a table indicating what may well have happened to make them dead. User error, sure, but also the inevitable consequence of such anti-tampering systems - it’s always more likely to affect legitimate users. If you talk to the machine again it’ll clarify what happened, but nothing ultimate comes of it.
Next up is the Byzantium Embassy, in which you’ll find Udom Bedford. Like the Engineering Bay, you can’t help but advance quests here, so we’ll pass by it for now and save it for later.
Just beyond (south of) the embassy you’ll find another terminal. Pass a [Hack 25] check to get admin rights if you want to read some extra messages (and score some XP), but it’s all just flavor.
Exploring the Groundbreaker - Waste Disposal
From the embassy head south down some stairs and just beyond them you’ll find a door to the left (east), beyond which is a hallway with two more doors. Both the northern [Lockpick 25] and southern [Lockpick 35] door are locked.
The southern door will lead to a small tunnel with a passage you can crawl through to the north. This passage will lead to a larger chamber occupied by some Rapid Sprats you’ll need to put down where you can also find another passage that’ll take you to the storeroom of the Belle’s Shells shop. Plenty of loot for the taking here, and at the cost of having to pick a lock and kill some Sprats, it’s a… steal. Pun intended.
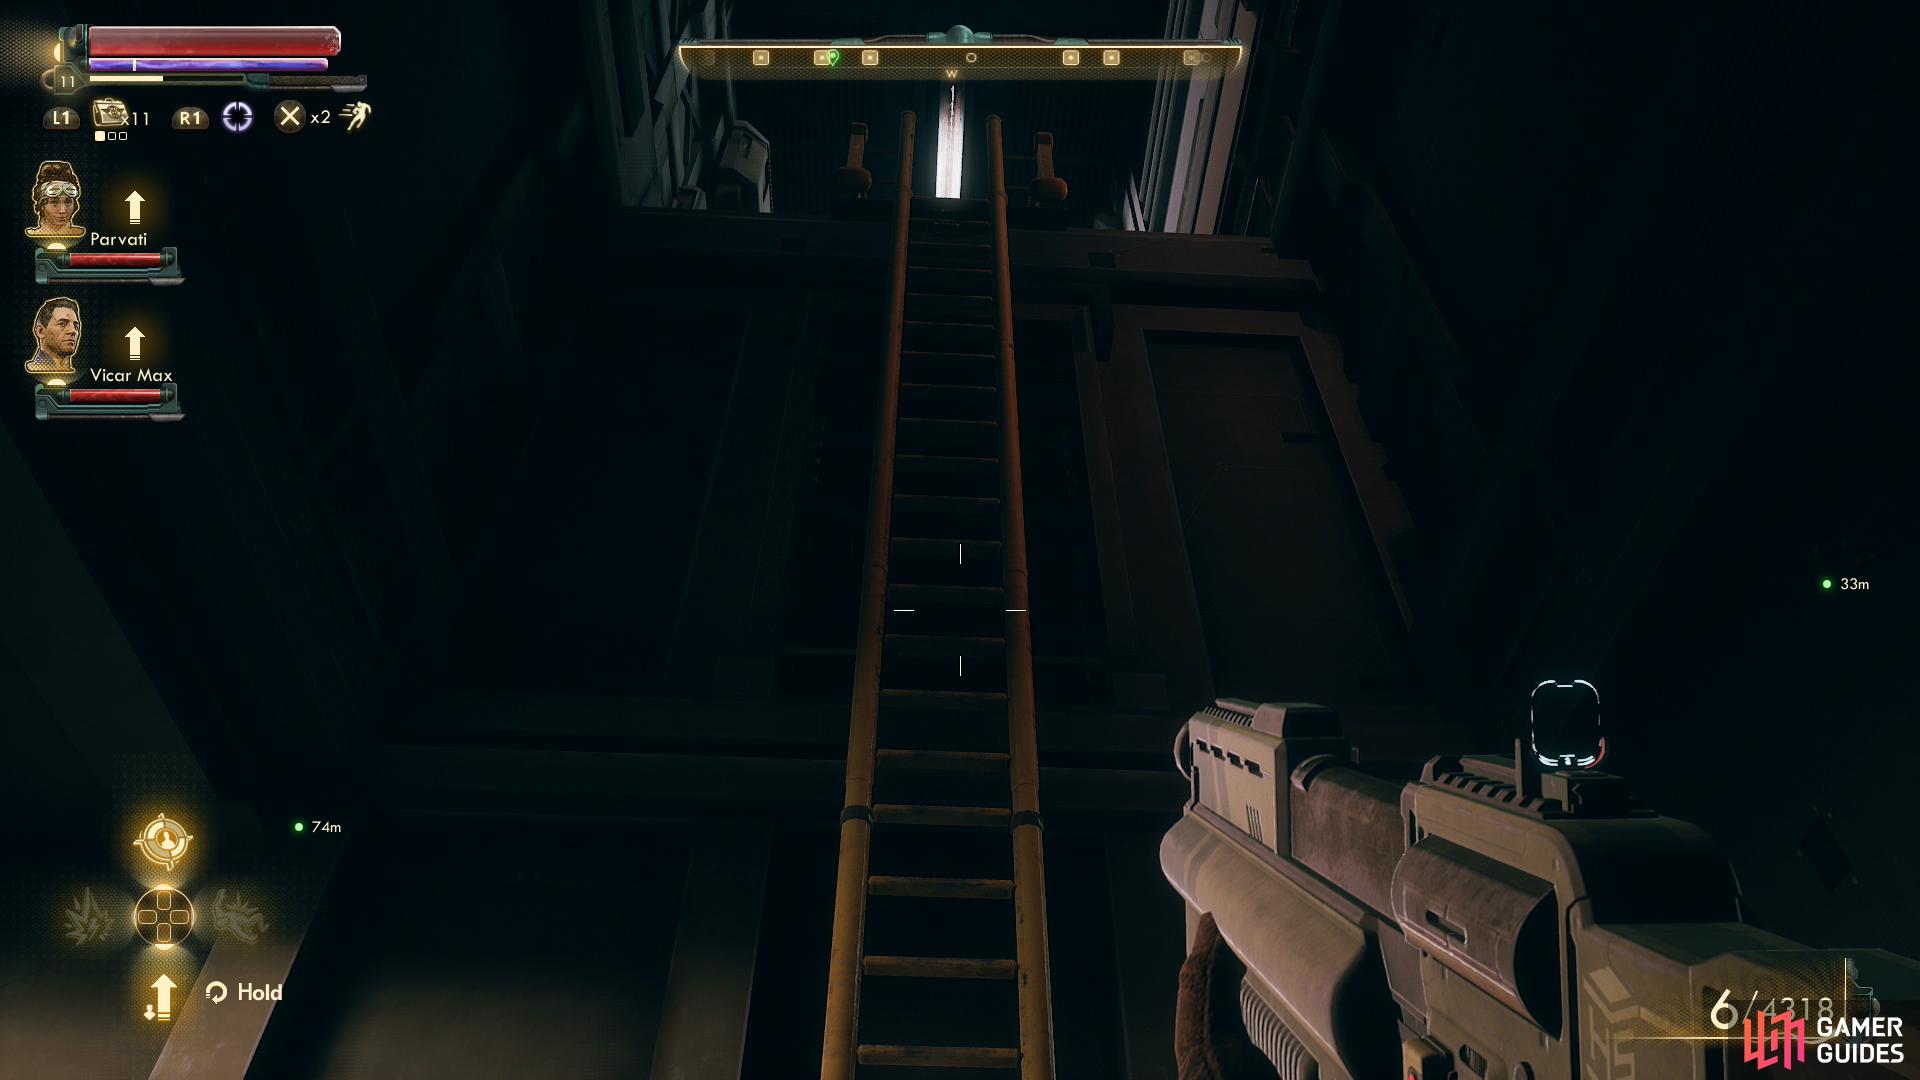
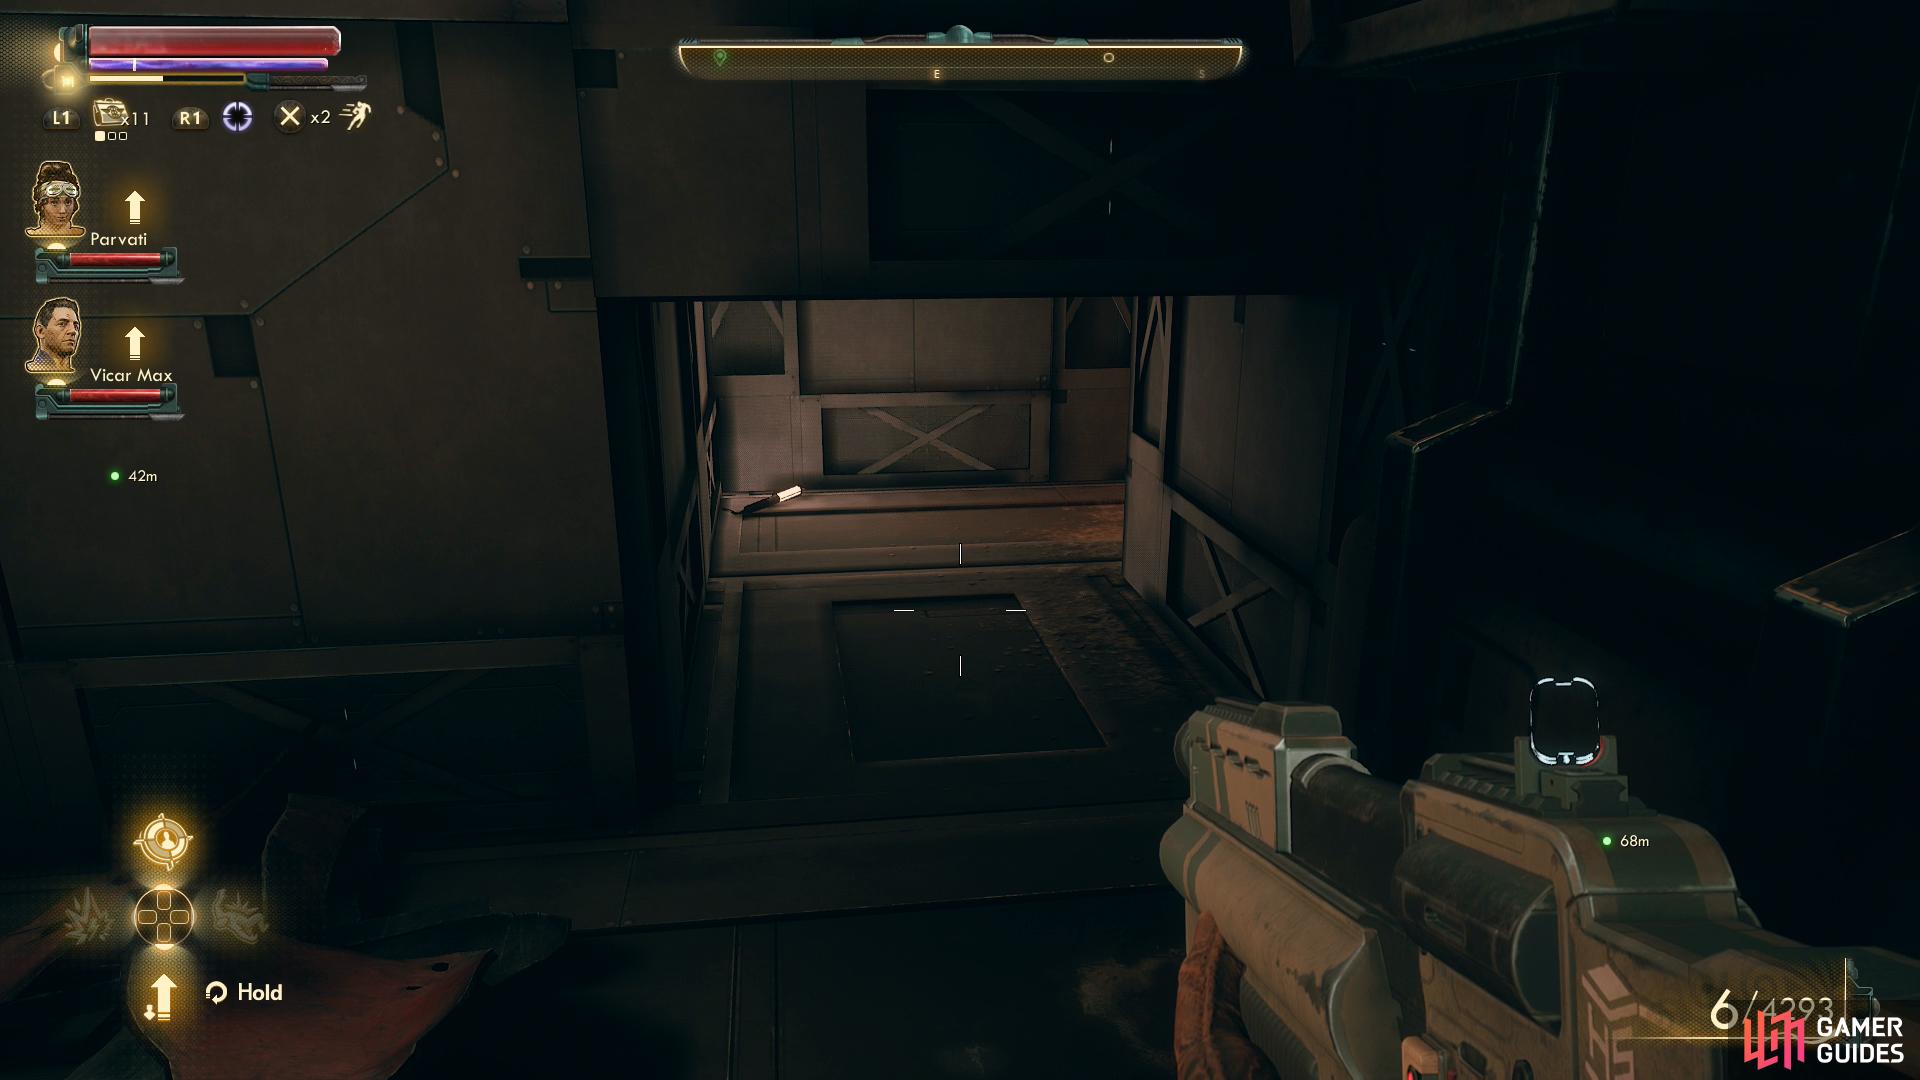
Through the northern door you’ll find a ladder. Climb it, ascend some stairs, then go through a door to find yourself in another hallway, where you should hear one Private Taylor calling for help. Head south and turn west to find an unlocked door you can open, beyond which you’ll find more pests - three Mantipillars. They spit plasma globs, but they shouldn’t be too hard to take down if you start things out with a sneak attack and use some explosive canisters wisely. Once they’re defeated search the room to find the chewed-on bodies of engineers, which seems like a real occupational hazard onboard this wretched ship.
Go through a door to the south to return the hallway. If you turn north you’ll be able to unbar a sealed door, while if you go south you’ll find a ladder taking you down to the storeroom of The Lost Hope, bypassing a locked door [Lockpick 60]. Feel free to plunder the room for all its goodies (including a Lost Hope Bar Keycard), then ascend the ladder and head back up the hallway, stopping when you find a locked door [Lockpick 15].
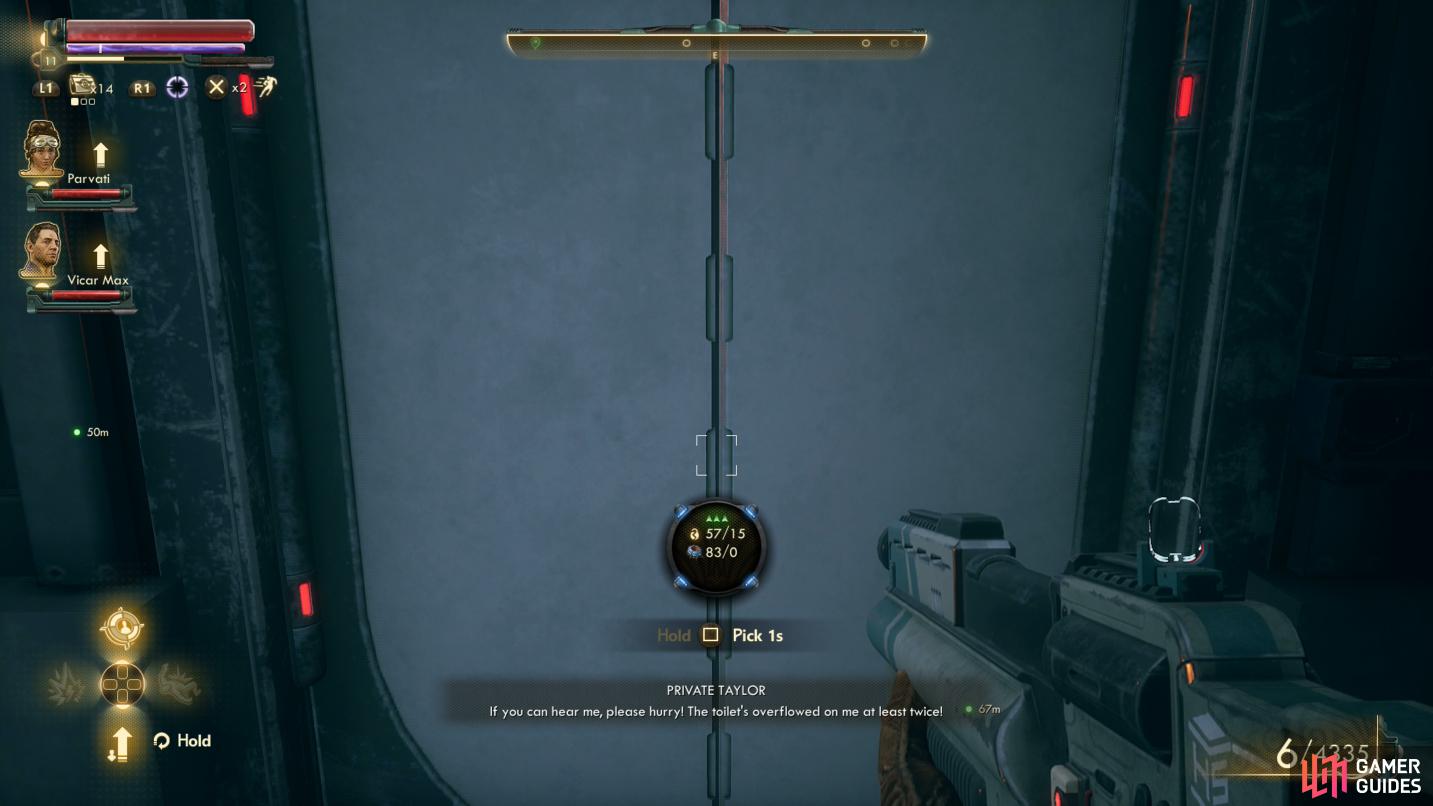
Open a locked door
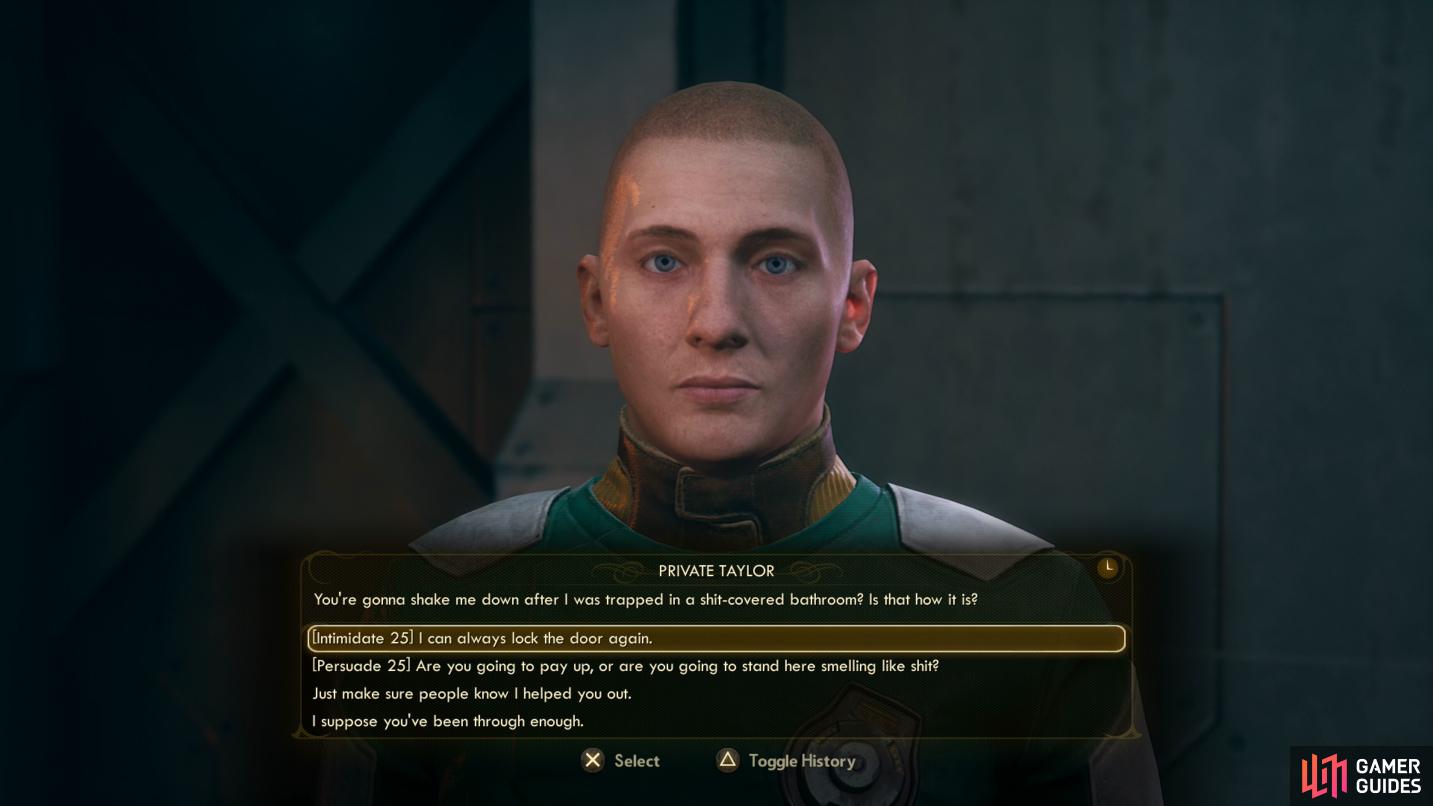
to free Private Taylor, whom you can extort for some Bits.
Beyond you’ll find poor Private Taylor, who will be understandably thankful that you freed him from his stinky purgatory. You can try to shake him down for some reward with an [Intimidate 25] or [Persuade 25] check, in this case 250 Bits, or you can simply say “Just make sure people know I helped you out.” to gain some Groundbreaker reputation. If your Charm is high enough and you plan to do other side quests, you might not need this boost. Then again, money is trivial to farm, reputation is finite. Your call.
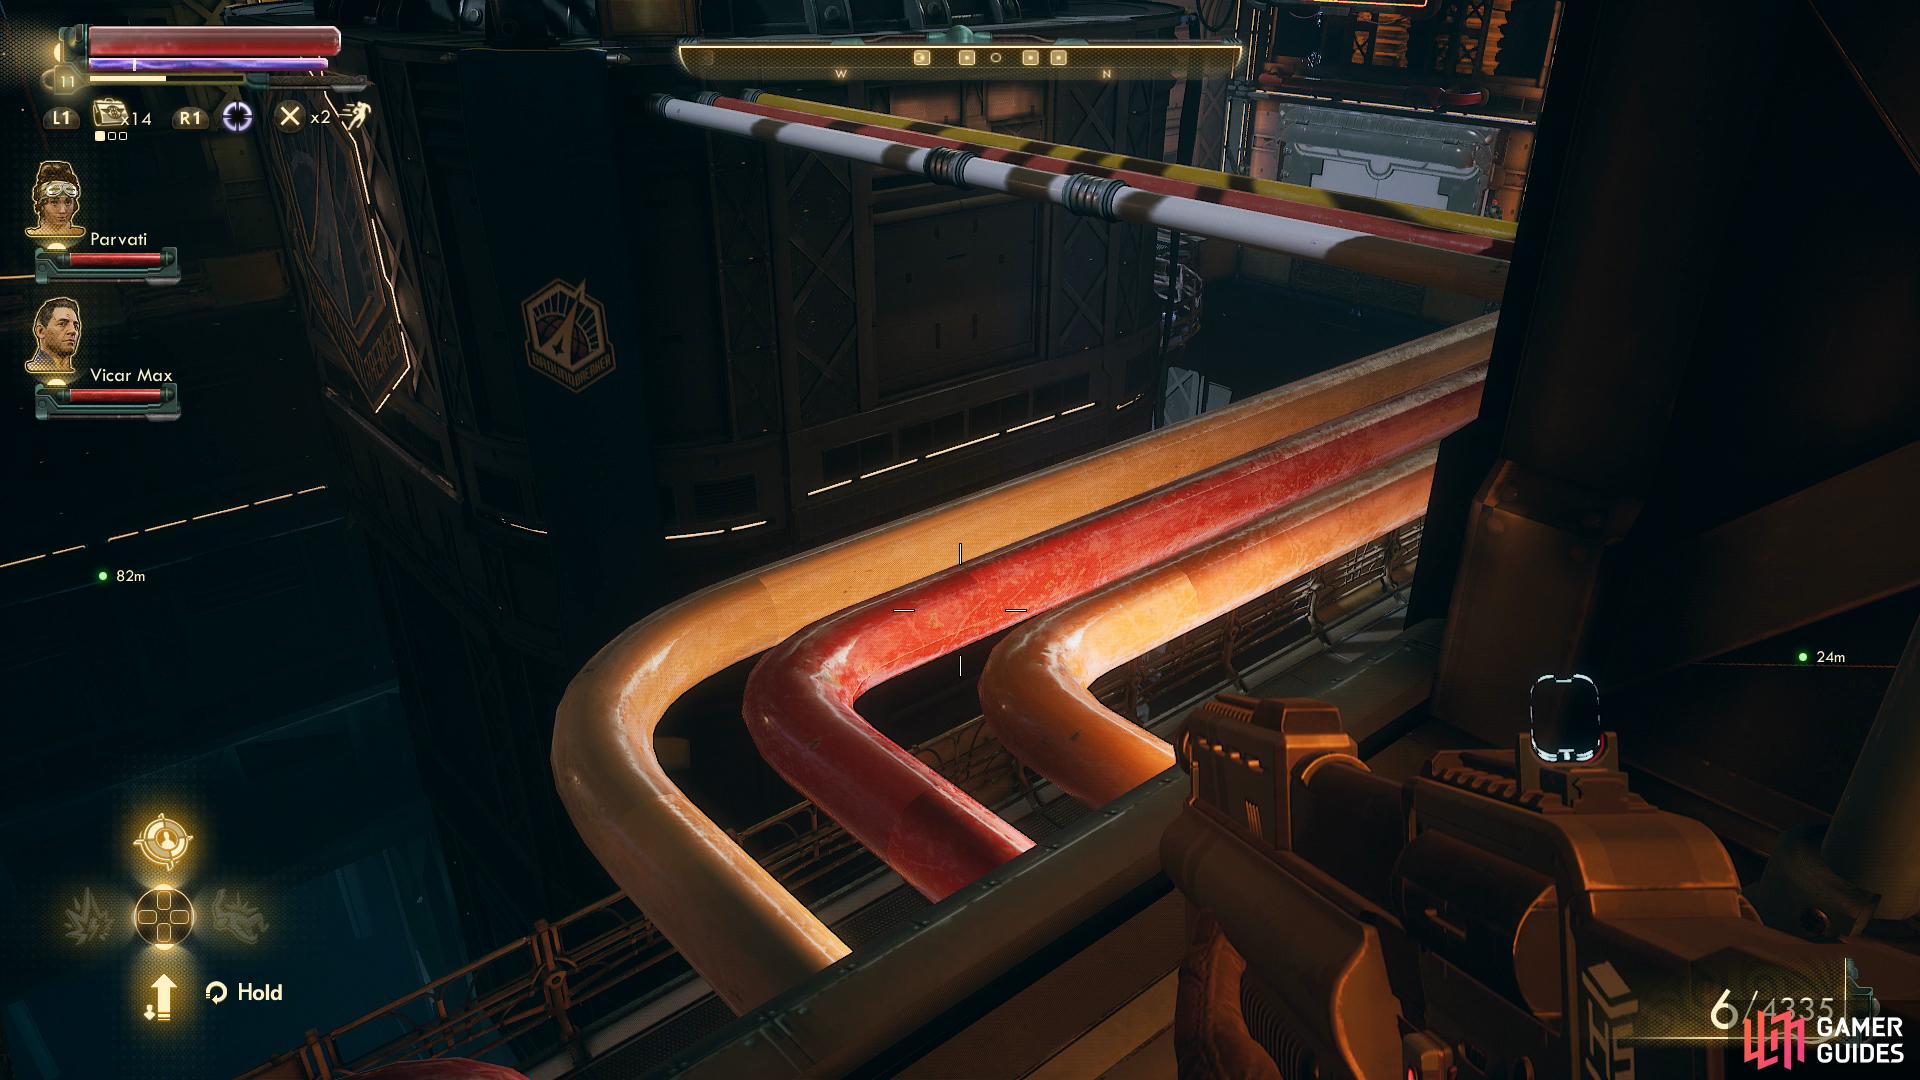
Walk across some pipes
to reach a bin you can loot.
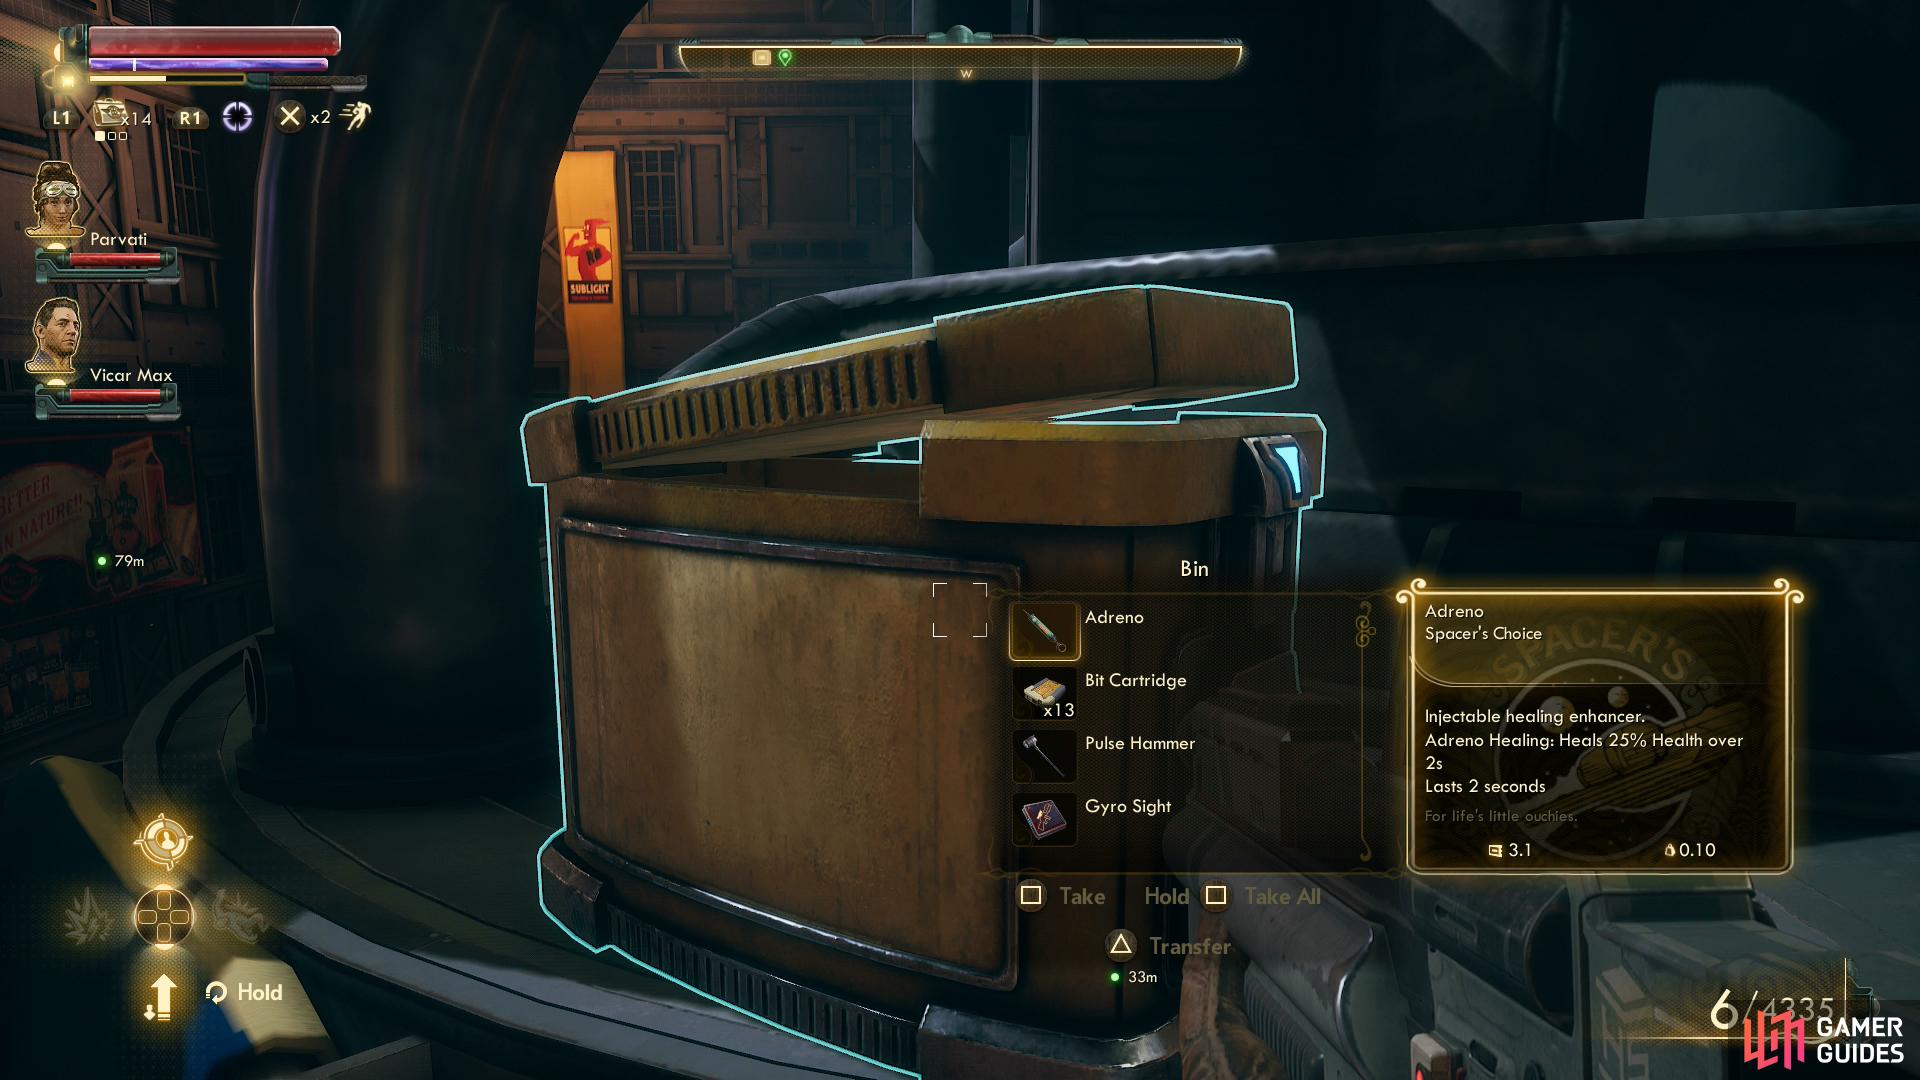
Next make your way to the northern end of the hallway and loot some Mag-Picks and Bypass Shunts on some crates, then turn west and exit through an opening to find yourself out on some pipes. Follow these pipes to find a large bin at the end, which is worth looting for some free goodies.
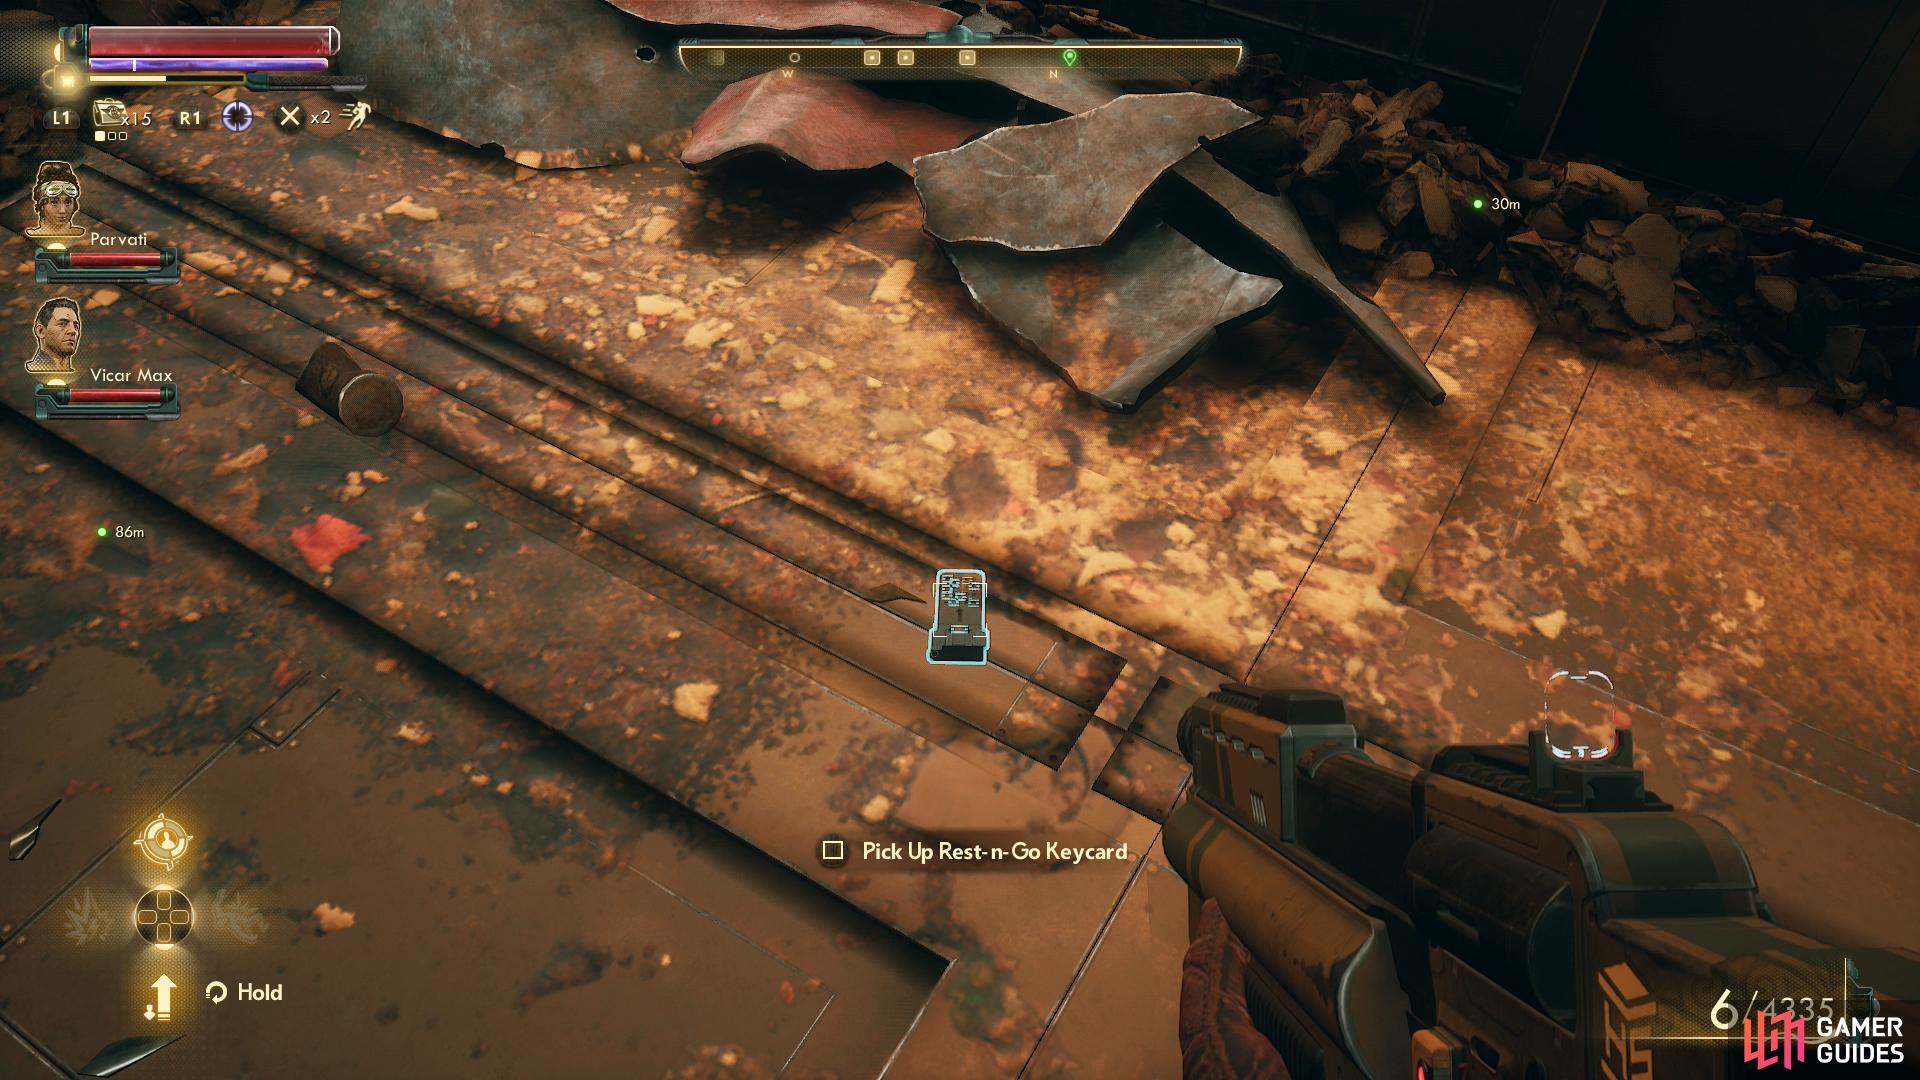
Search near the waste chute to find a Rest-N-Go Keycard
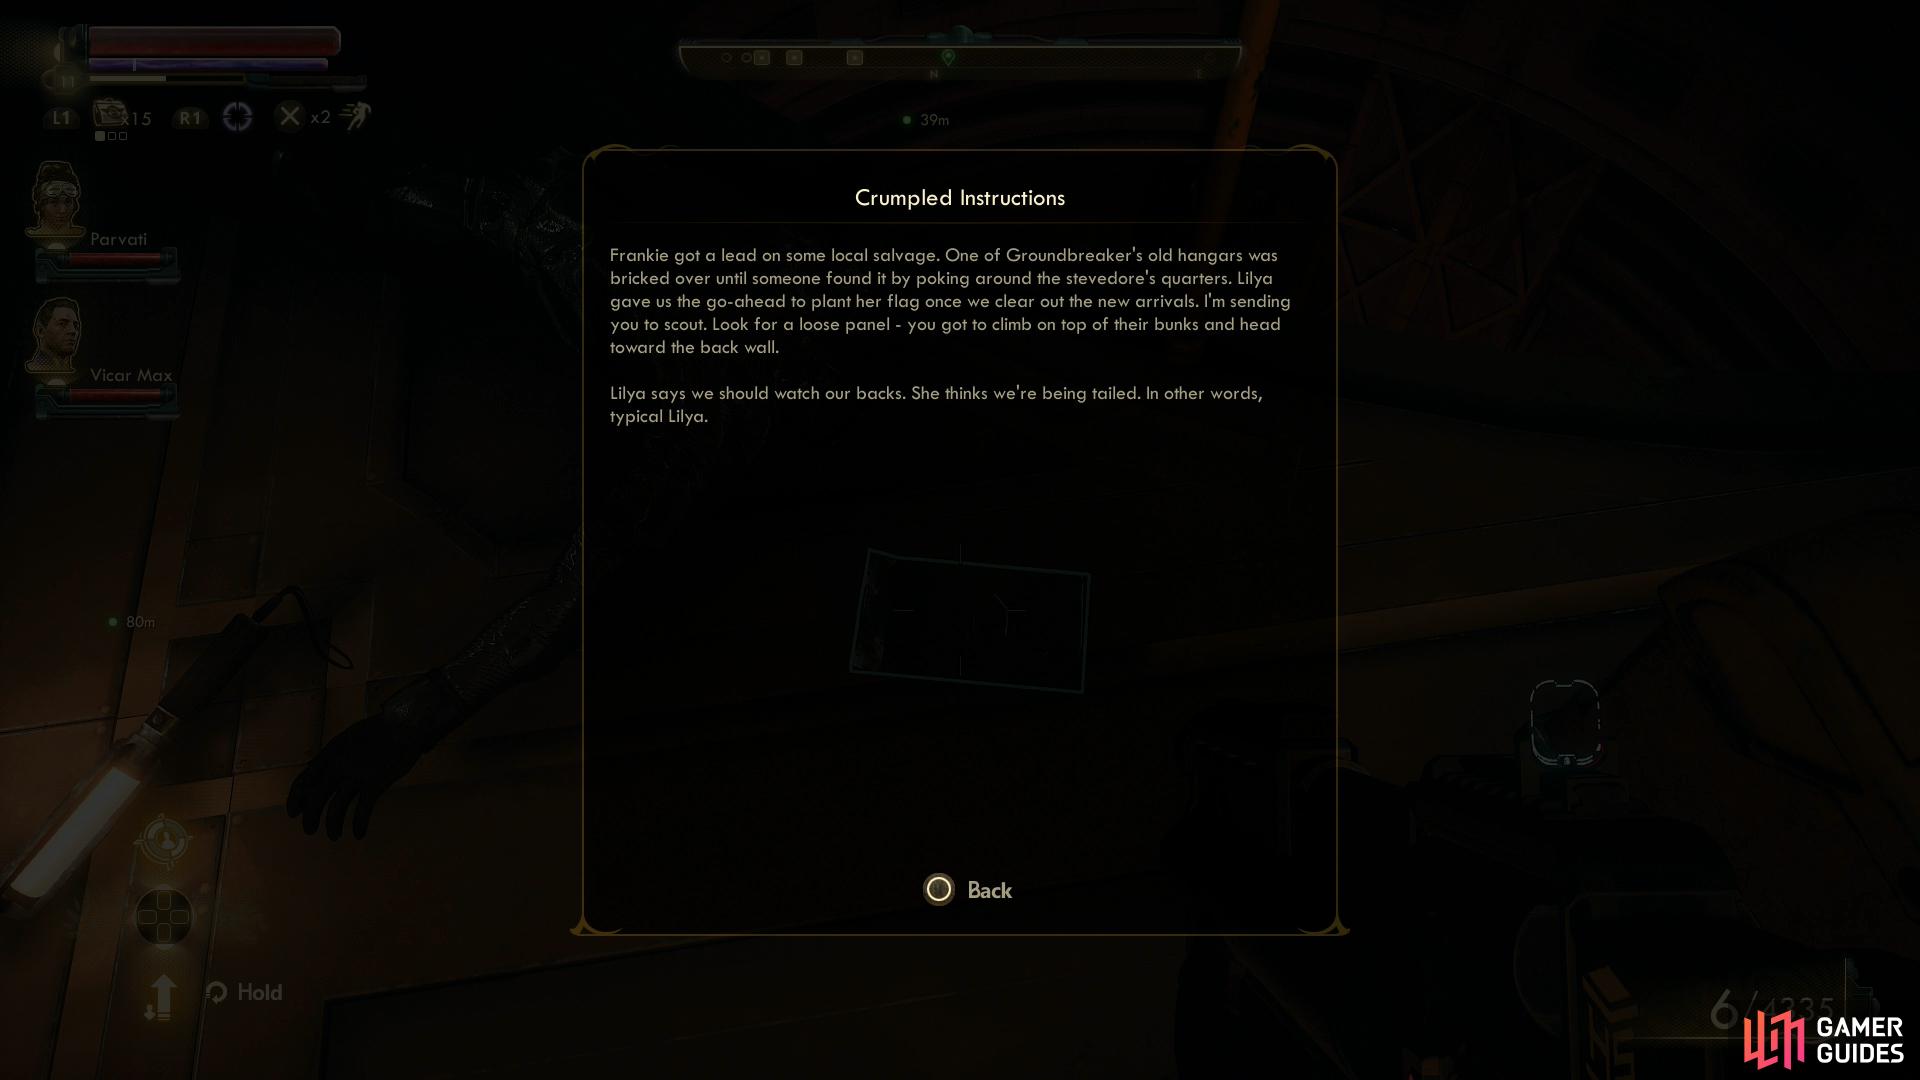
as well as a note mentioning a once-hidden hangar, now uncovered.
Finally climb back down the ladder you used to reach this upper hallway and return to the first hallway and follow it east to find a waste disposal chute, after which this section is named. Climb down another ladder to get your feet dirty and search the waste-covered floor to find a Rest-N-Go Keycard, some bins, and note of “Crumpled Instructions” near the mutilated corpse of a Stevedore. This note details some long-forgotten hangar that was recently uncovered, which Sublight’s leader, Lilya, apparently has her eyes on. This unceremoniously disposed-of corpse should provide you fair warning that Lilya was not just being paranoid, so be prepared for the risk if you go poking around.
Finding this hidden hangar will be covered under the heading “The Hidden Hangar”, below. If you wish to pass it by, skip ahead to “Exploring the Groundbreaker - Belle’s Shells”.
The Hidden Hangar
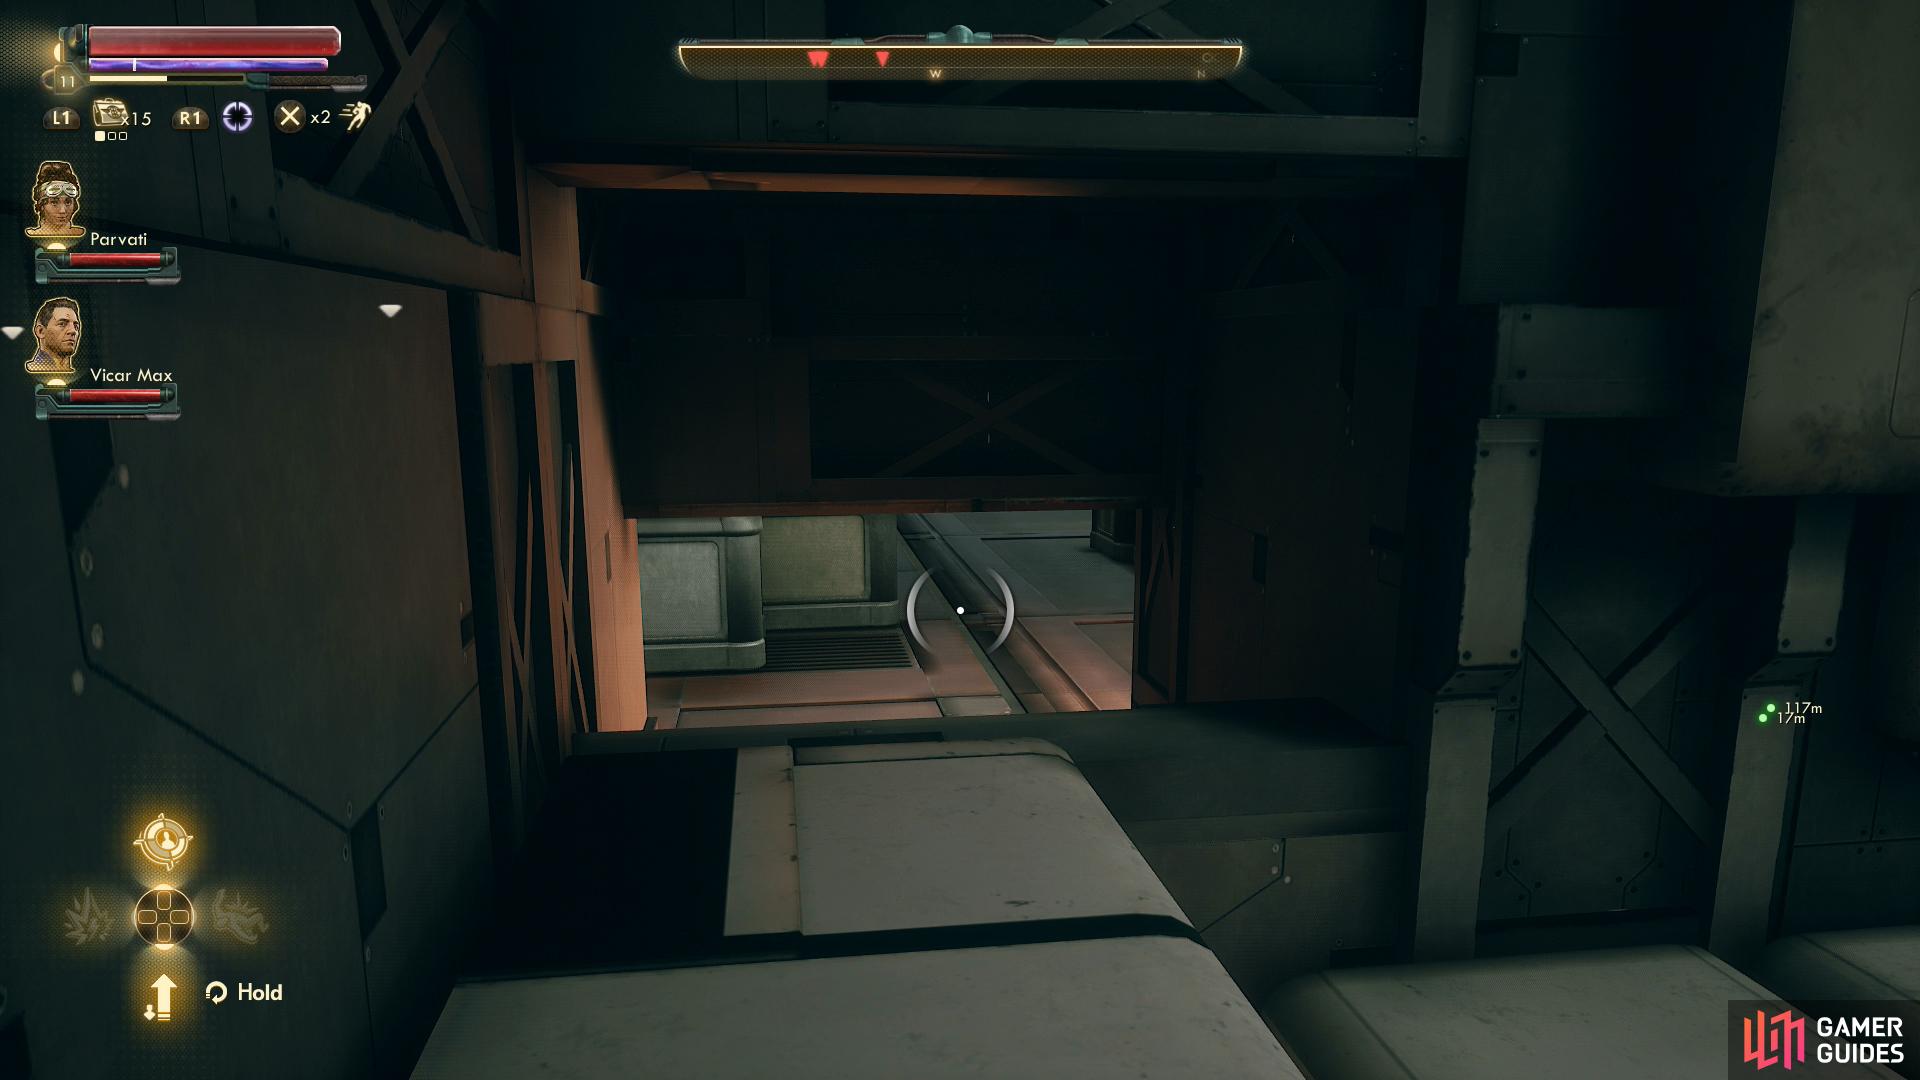
Return to the security checkpoint between the docks and the Promenade and from there head through a large passageway to the west, then turn north through a doorway to find the humble barracks where the Groundbreaker’s poor Stevedores dwell. Use some crates to climb atop the bed-domiciles and sneak your way west to find the opening to the hidden hangar mentioned in the letter by the corpse in the waste disposal chute.
Sneak into the hangar and watch out for several outlaws and their Scrap Mechanical. No way to avoid a fight here, so just try start out the upcoming fight in a good way by scoring a sneak attack if possible. The crates should provide cover while you gun down the outlaws, and once they’re down you can focus your attention on the Scrap Mechanical. Plasma works well on the outlaws, while shock will take the Scrap Mechanical down quicker. When they’re dead, loot the Outlaw Squad Leader for a Repair Hangar Keycard, which will open a locked door [Lockpick 60] to the north.
Beyond this door you’ll find the Prismatic Hammer Science Weapon in a safe that looks… rather too small for it. Picking this up will update the quest Weapons from the Void. You can also find a terminal discussing the unpleasant side effects, which… I’m sure you’ll be fine. Just don’t sleep with the weapon near you, eh? You’ll find more loot in the hangar, including a nice cache atop some crate near the workbench. Loot as you please, then head to the eastern end of the hangar to find a barred door which you can unbar to open the way back to the less clandestine parts of the Groundbreaker.
Exploring the Groundbreaker - Belle’s Shells
Belle’s Shells can be found just south of the door leading to the waste disposal chute, and its proprietor, Belle Everson, has much to say about modding weapons. A bit late for this tutorial on her part, as you may have already modded weapons before (added shock damage to weapon, for example), but better late than never, right? Talk to her all you want and peruse her wares - despite her enthusiasm, she doesn’t sell anything unique. These vendors are kind of lame, honestly.
Behind Belle you’ll find the locked door [Lockpick 35] to her storeroom, which you can access via the tunnels in the waste disposal area.
Exploring the Groundbreaker - The Lost Hope
Last up is The Last Hope, a rather tame bar south of Belle’s Shells. You can jawjack with the proprietor, Vera Krivanek, who will complain about the Groundbreaker’s busted radiators and the resultant ship-wide heatwave. Question her about this further to get a shot at an [Engineering 25] check, but other than this she’s got little of interest to say. As for the rest of the bar, there’s a bathroom with some loot in it, a kitchen, and a storeroom [Lockpick 60], the latter of which is easier to reach and plunder via the garbage disposal tunnels.
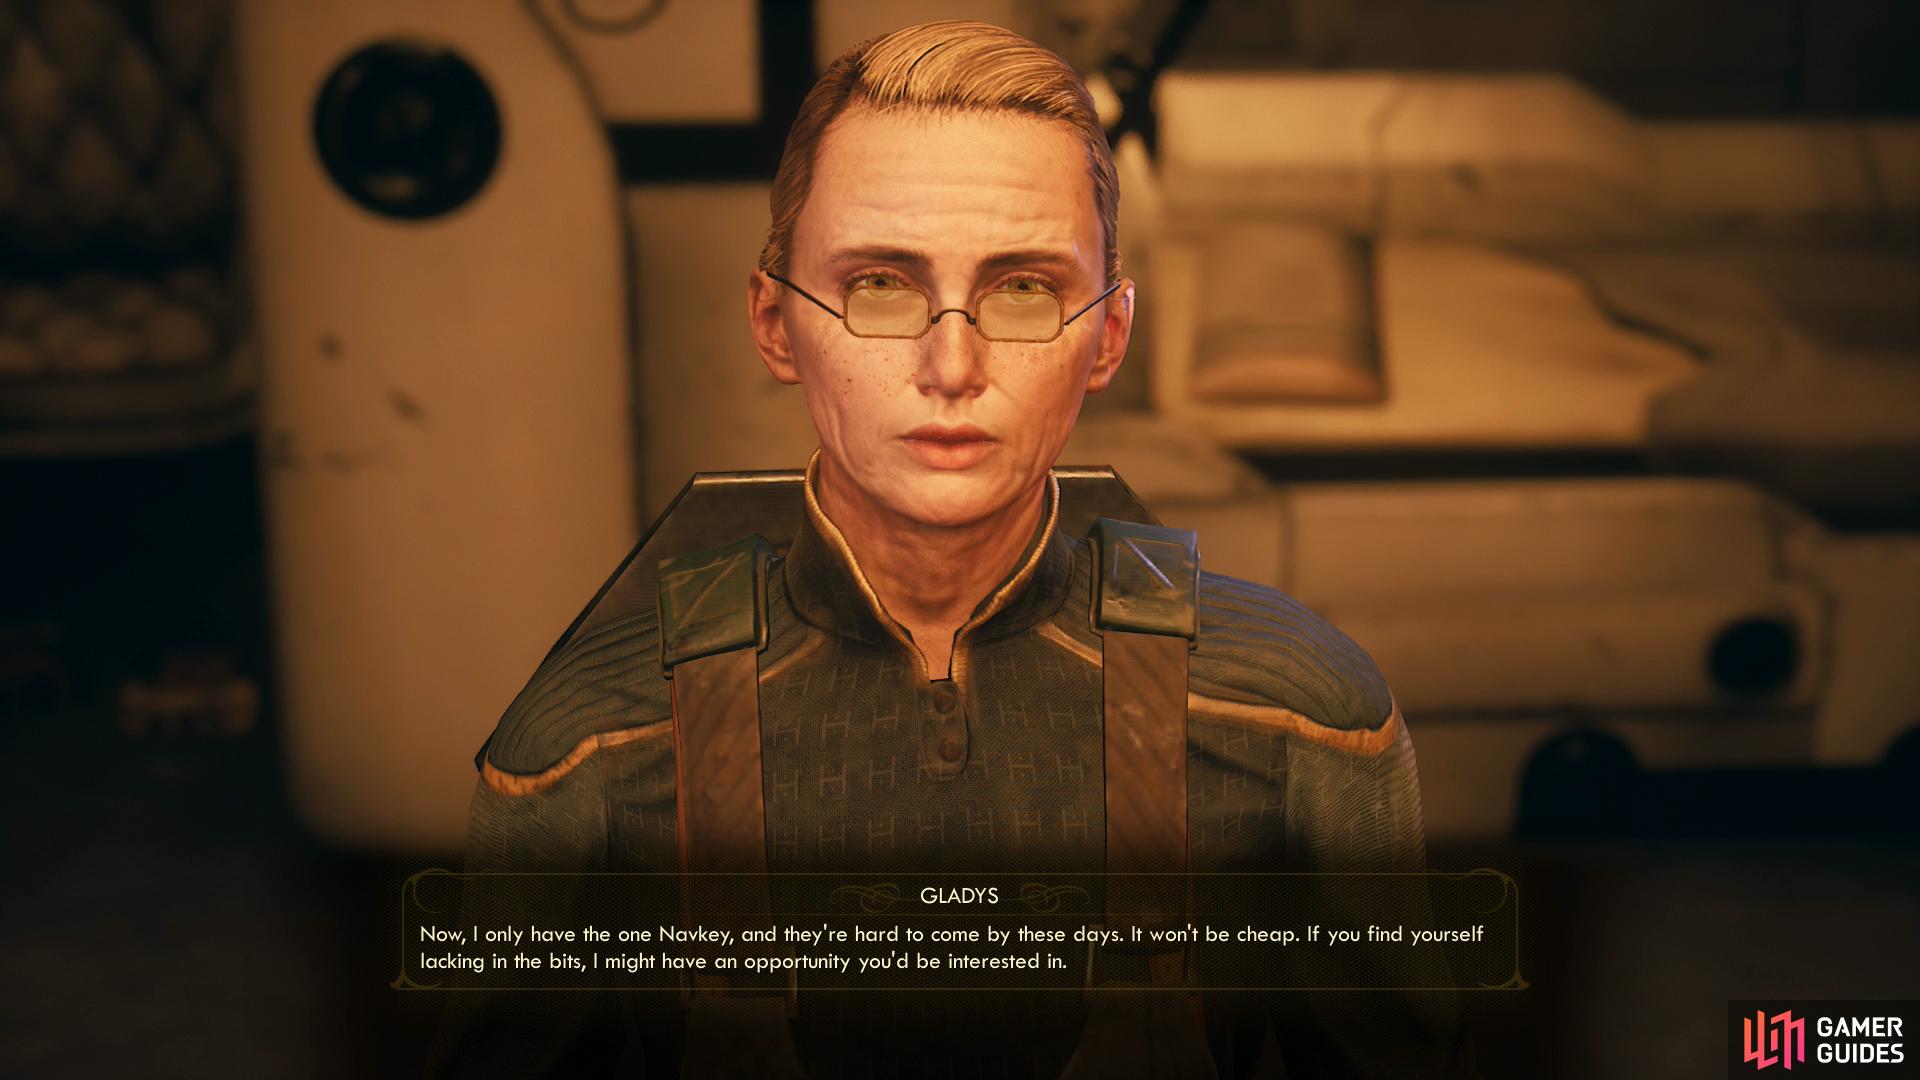
(1 of 3) Gladys does indeed have a Stellar Bay Navkey - but she won’t part with it for less than 10,000 Bits.
Speaking to Gladys
Okay, the Groundbreaker is explored… more or less. Time to push the main quest a bit. There’s a split coming up in the main questline, but whatever your ultimate choice is, nobody will be hurt by paying Gladys a visit. Head to the Rest-N-Go at the southwestern end of the Promenade and enter the southwestern-most domicile on the ground floor - the Spacer loitering outside all guard-like should make the door quite conspicuous.
Talk to Gladys, who will ply you with her good old grandma shtick. Ask about the Navkey to Stellar Bay to find out that such a device come with a price - 10,000 Bits, to be exact. If you’ve got that amount of cash (who knows, maybe you spent time picking on marauders back in Emerald Vale?) you can just buy it, and hence buy your progress through this quest. There are better options, however, including a job opportunity Gladys has that’ll help you raise the cash, and another source of a Stellar Bay Navkey that’ll ensure you don’t have to give Gladys a single Bit… well, for the Navkey, anyways.
Inquire about said opportunity and she’ll tell you that she, like Lilya, needs a freelance captain with some “moral flexibility”. Long story short, she intercepted a distress call from a supposedly abandoned Auntie Cleo installation, Roseway, which is on Terra 2. If somebody is down there all secret-like, they might have something to hide, and whatever they’re trying to hide might just prove valuable. This starts the quest The Distress Signal which, despite branching off a main quest, is itself a side quest. Roseway is entirely optional, but the quests down there - and hence all the XP and Bits you can earn from completing said quests - make it well worth your while.
Gladys will also gab on about a variety of tactics, with a common thread between them being her distrust of the Board. You can also peruse her wares, where she’ll sell the Salvager’s Helper pistol, which deals corrosive damage thanks to its Mag-2_Melt mod. More interesting are the Battered Mardet Datapad and Hephaestus Mining - Archive Cartridge she sells. The former mentions some Mardet encounters on the ship, hinting at the fate of the Prismatic Hammer’s former owner (and explaining the skeleton you may have found above the docks) while the latter will update the quest Weapons From the Void. Good to know!
Now that you have a means of making money to buy your way to Stellar Bay, you’ll need to finally talk to Udom Bedford and get your ship back… and perhaps line up a sequence of quests that will both earn you, and save you, a tremendous amount of Bits.
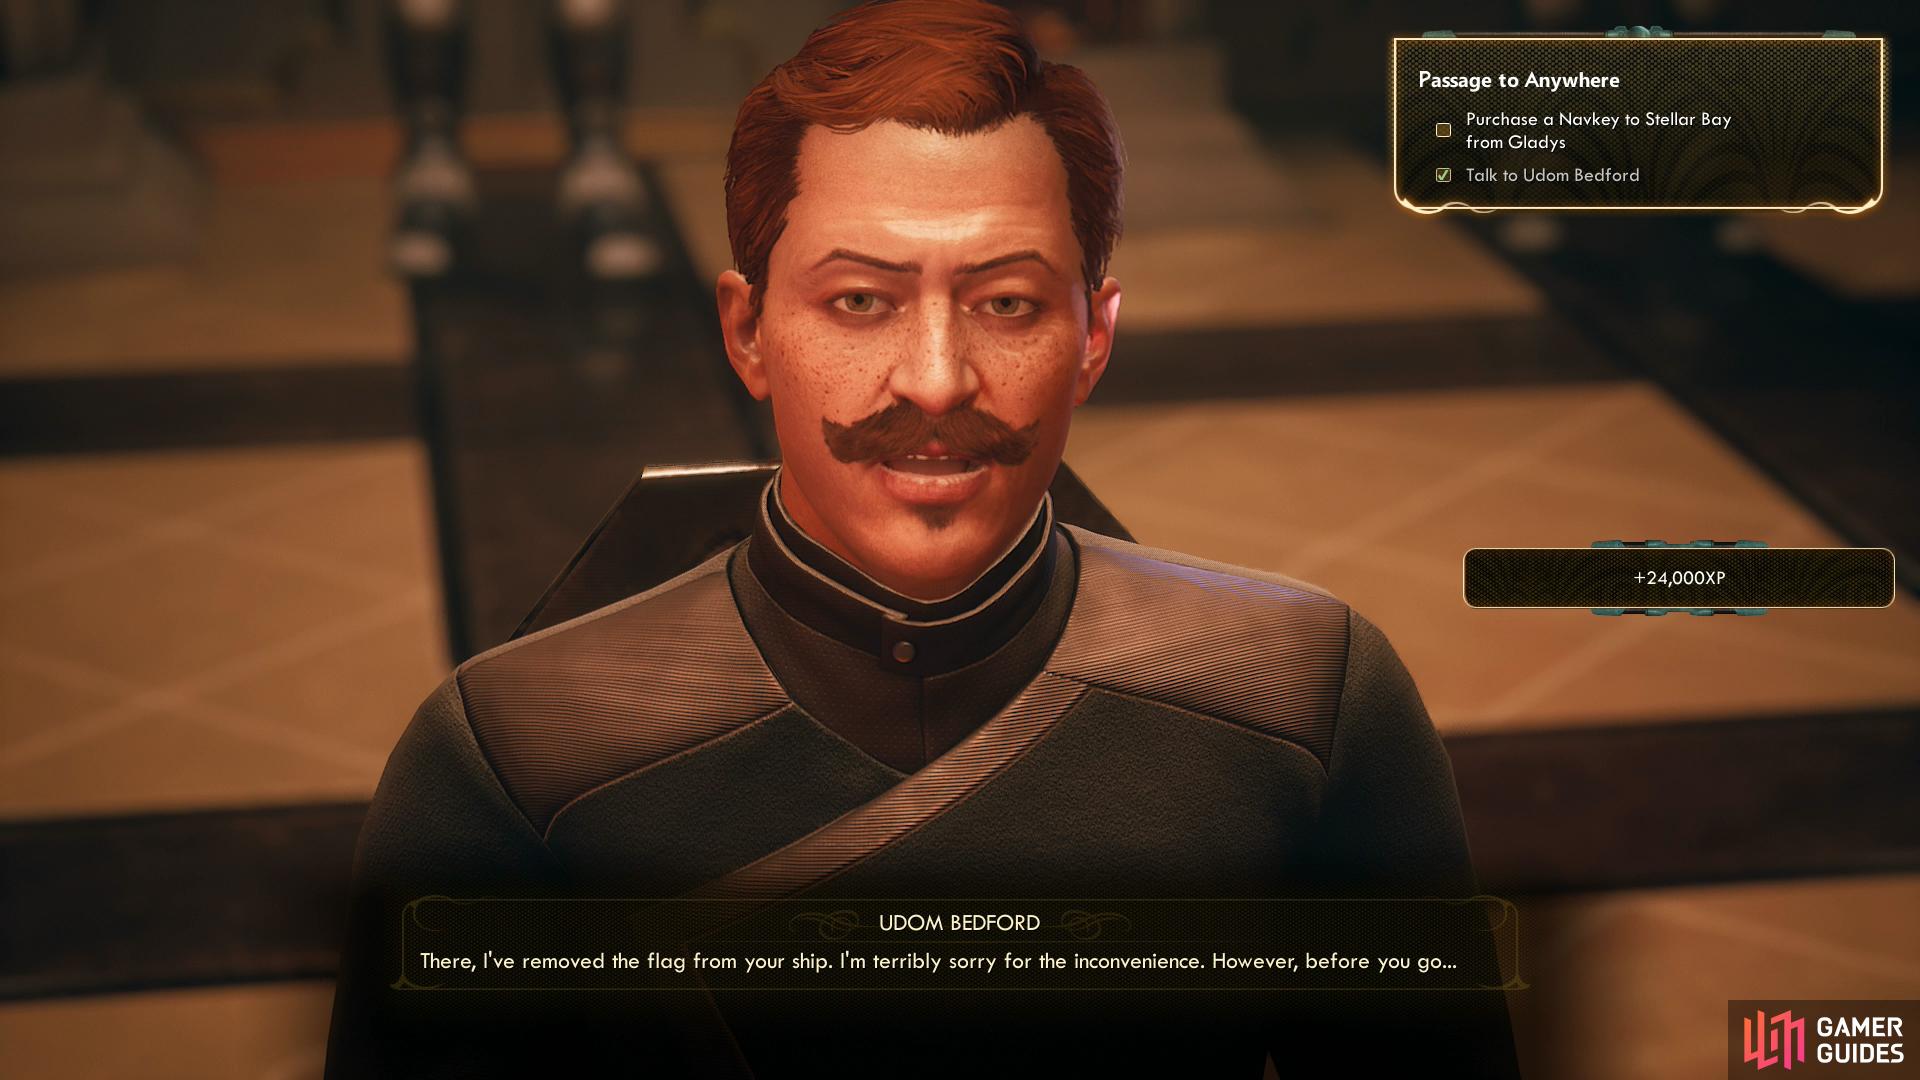
It won’t take much effort to get Udom to free your ship from impound.
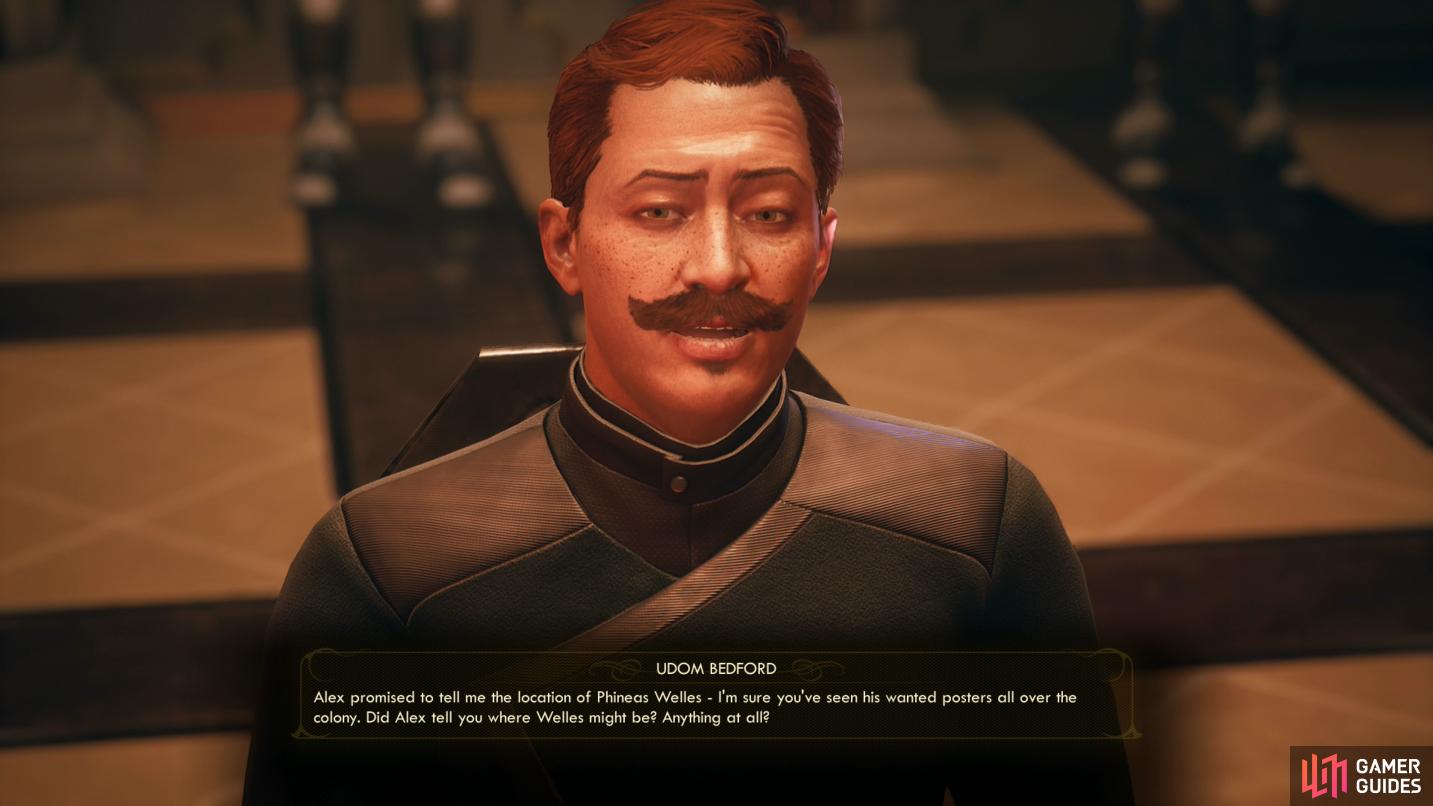
The snake will also ask about Phineas, setting up the first major split in the main questline.
Udom Bedford and the Issue of Phineas Welles
Make your way to the Byzantium Embassy, in which you’ll find Udom Bedford. It’s easy enough to get him to lift the impound on your ship, although you’ll have to endure his theatrics about Alex’s demise. This is the only interaction you absolutely must have with the corporate snake, but he’ll be sure to bring up Phineas Welles and claim that Hawthorne promised to turn in Phineas. Whether this is true or not, Phineas’ fate now lies in your hands, and turning him into the Board will lead you down the Board questline, as opposed to the non-Board questline if you don’t turn him in.
If you offer to turn in Phineas you’ll start up the quest Balance Due. Although Udom is only too willing to get this info - he’s got a lot to gain from such a catch, personally - there’s a bit of a problem… he… well, kind of pawned his official Board seal to Gladys to fund his hobby, which you can learn via an [Intimidate 40] or [Persuade 40] check is producing bootleg serials. Maybe he’s not so bad, after all? In any event, before you can travel to Byzantium and turn in Welles to some corporate goon higher on the food chain you’ll have to get Udom’s seal back.

Udom foolishly misplaced his board seal
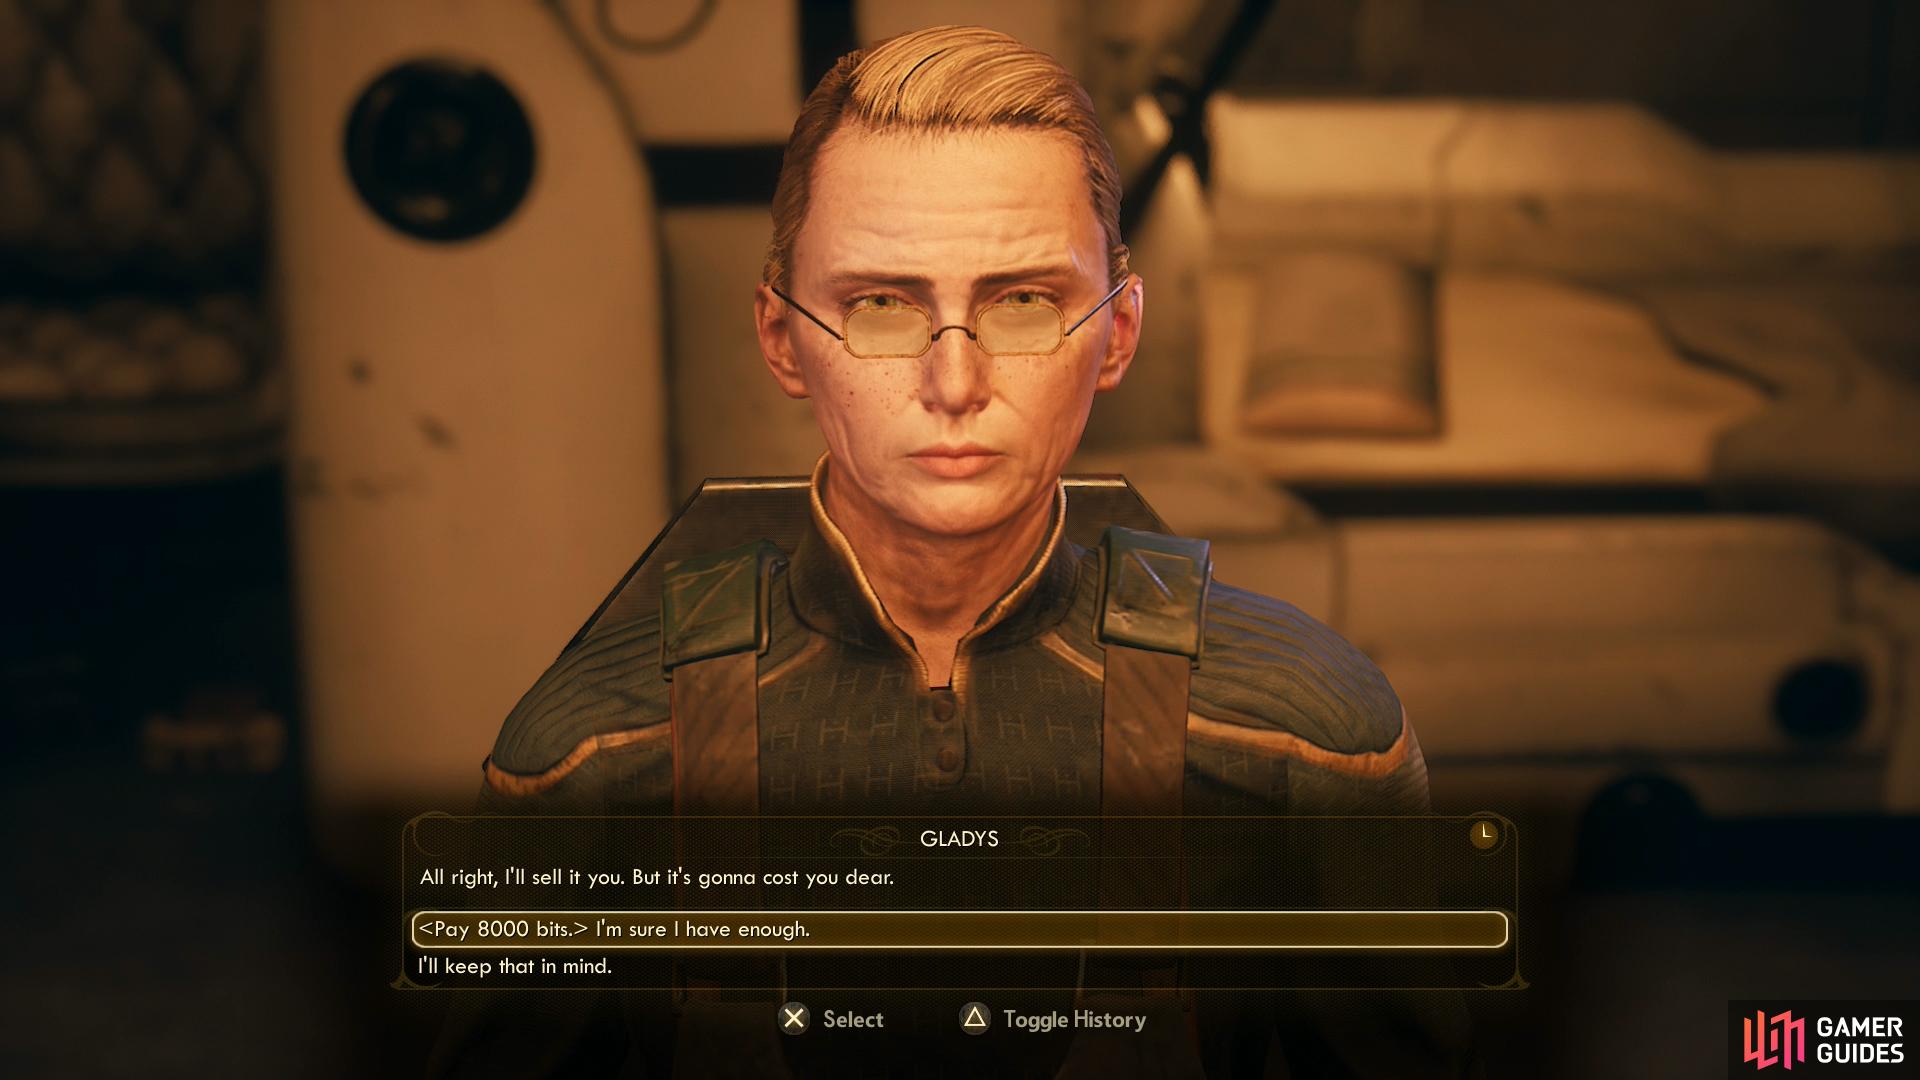
to get it back you’ll need to buy it from Gladys… for a whopping 8,000 Bits. Whether you want Udom’s seal or the Stellar Bay Navkey (or both), Gladys will offer you the quest “The Distress Signal” to generate some cash.
How are you going to get this seal back? The same way you can get the Stellar Bay Navkey - by buying it from Gladys. It’ll set you back a whopping 8,000 Bits, and to raise money for it she’ll offer you a job… That’s right, whether you want the Stellar Bay Navkey or Udom’s seal back (or both!) you’ll need to raise money, and to raise money Gladys will send you after valuable secrets at Roseway. If you were wondering, you’ll also go to Stellar Bay whether you turn Phineas in or not, although on the Board questline you’ll stop at Byzantium before Stellar Bay, rather than afterwards as in the non-Board path, and you also may have some Board-exclusive quests both before and after Stellar Bay. Best of all, if you work for the Board you’ll make a hefty haul of Bits and you won’t have to pay Gladys the 10,000 Bits she wants for the Stellar Bay Navkey, making this an incredibly smart financial decision… and it doesn’t even hurt your working relationship with Phineas!
That being the case, there’s no good reason not to keep your options open and play both sides for now. Do everything that’s possible for both Phineas and the Board before you have to make a choice that excludes one side or the other. This choice, to be fair, is right near the end of the game, so playing both sides allows you to functionally experience almost everything the game has to offer. Either way, it’s a good idea to head to Roseway now to start earning the Bits you’ll need for either (or both) paths.
To recap exactly what we’re doing so you can follow along: be sure to talk to Gladys about the Navkey, then talk to Udom to get your ship unimpounded and bring up Phineas Welles to start the quest Balance Due, thus setting yourself up for Roseway.
Finishing Up Groundbreaker
As you go back to your ship you’ll find Felix waiting for you. Since he’s no longer employed, he’s eager for adventure… probably anything that’ll get him off Groundbreaker, really. No sense in turning him down, accept his offer to add a third member to your crew. Felix specializes in the Persuade, Sneak and Lockpick skills, all of which are very useful, making him a favored companion in our books.
Before you head to Rosewater - or go wherever you intend to go - there are also some other quests you might want to see to before you leave. More XP, Bits and companions never hurt anybody, right? The quests Happiness is a Warm Spaceship, Who Goes There? and Worst Contact can be cleared without leaving Groundbreaker and the last will also earn you the services of Ellie as a crewmember. Suffice to say, it’s recommended you complete these quests. If you have Parvati with you, you can also complete Drinking Sapphire Wine.
There’s also no good reason not to advance The Empty Man while you’re here - it just involves a little sneaking, lockpicking and hacking. If you’re more ambitious, you can complete The Silent Voices (you can start this after finishing Happiness is a Warm Spaceship) and start Don’t Bite the Sun (must complete Drinking Sapphire Wine) which will earn you even more XP and loot, although they’ll require you to leave Groundbreaker.
As for Roseway, it’ll be covered in The Distress Signal section of the guide. That’s right, you’ll want to click that link there, instead of scrolling down. As for finishing off the quests Balance Due and/or Passage to Anywhere, it’s mostly just a matter of raising up 8,000 or 10,000 Bits for Gladys, respectively. Another excellent reason to see to some of these side quests, by the way.
If you give Udom his seal back - specifically his Official Seal of Halcyon Holding Board - you’ll complete the quest Balance Due and start The Puppet Masters, which tasks you with traveling to Byzantium. This not only nets you the Byzantium Navkey, which you’ll need to travel to Byzantium on Terra 2, but some Byzantium Travel Authorization Papers, which entitle you to land at Adjutant Akande’s Landing Pad. Note that this does not invalidate Passage to Anywhere, so there’s absolutely no harm in doing this at any point you find convenient. If you want to follow the Board questline exclusively, or play both sides, continue following the guide at The Puppet Masters, although we do recommend completing the aforementioned side quests and visiting Roseway, first. Monarch and Byzantiums can be quite dangerous, and you’ll be there before you know it - a few levels and new gear certainly will make your trip less suicidal.
On the other hand, if you buy back the Navkey from Gladys, return to your ship at your leisure and talk to ADA, where you can choose to communicate with Phineas. Do so and he’ll tell you that you’ll need to head to Monarch to find one Hiram Blythe, who should have the information you need. He’ll also suggest you take along a local scout named Nyoka, who can help you reach your destination. This ends Passage to Anywhere and starts Radio Free Monarch. Again, we suggest doing all the aforementioned side quests and visiting Roseway first, as Monarch is not the most hospitable of planets.
If you don’t want to make up your own mind and want to complete as much as possible while following the guide, we suggest the following course of action: complete/advance the aforementioned side quests on Groundbreaker, then go to Roseway and complete the quests there to earn XP, Bits and inevitably some new gear. When you have the money, buy back Udom’s badge to complete Balance Due, then travel to Byzantium and pick up with The Puppet Masters, The Demolished Woman and Long Distance. Doing this won’t lock you out of any quests or damage your working relationship with Phineas, in fact you can go back and buy the Navkey from Gladys and any time and jump right into Radio Free Monarch, but having access to Byzantium early is a benefit everybody can appreciate. Even better, if you finish Long Distance for the Board, you’ll get a Stellar Bay Navkey for free, saving you 10,000 Bits and allowing you to talk to Phineas by contacting him on the Unreliable (via ADA) and starting Radio Free Monarch.
So, to summarize one last time, the guide suggests you hop around as follows:
– Complete the aforementioned side quests on Groundbraker.
– Travel to Roseway and complete the quests there.
– Do a sequence of quests for the Board, starting with Balance Due and ending with Long Distance to get a free Stellar Bay Navkey.
– Travel to Monarch and complete Radio Free Monarch and Signal Point in Space simultaneously.
No Comments