
Tiny Tina’s Wonderlands has dropped its first piece of downloadable content (DLC) and it requires you to venture to an area called Dreamveil Overlook. This page will detail how to complete the Coiled Captors DLC.
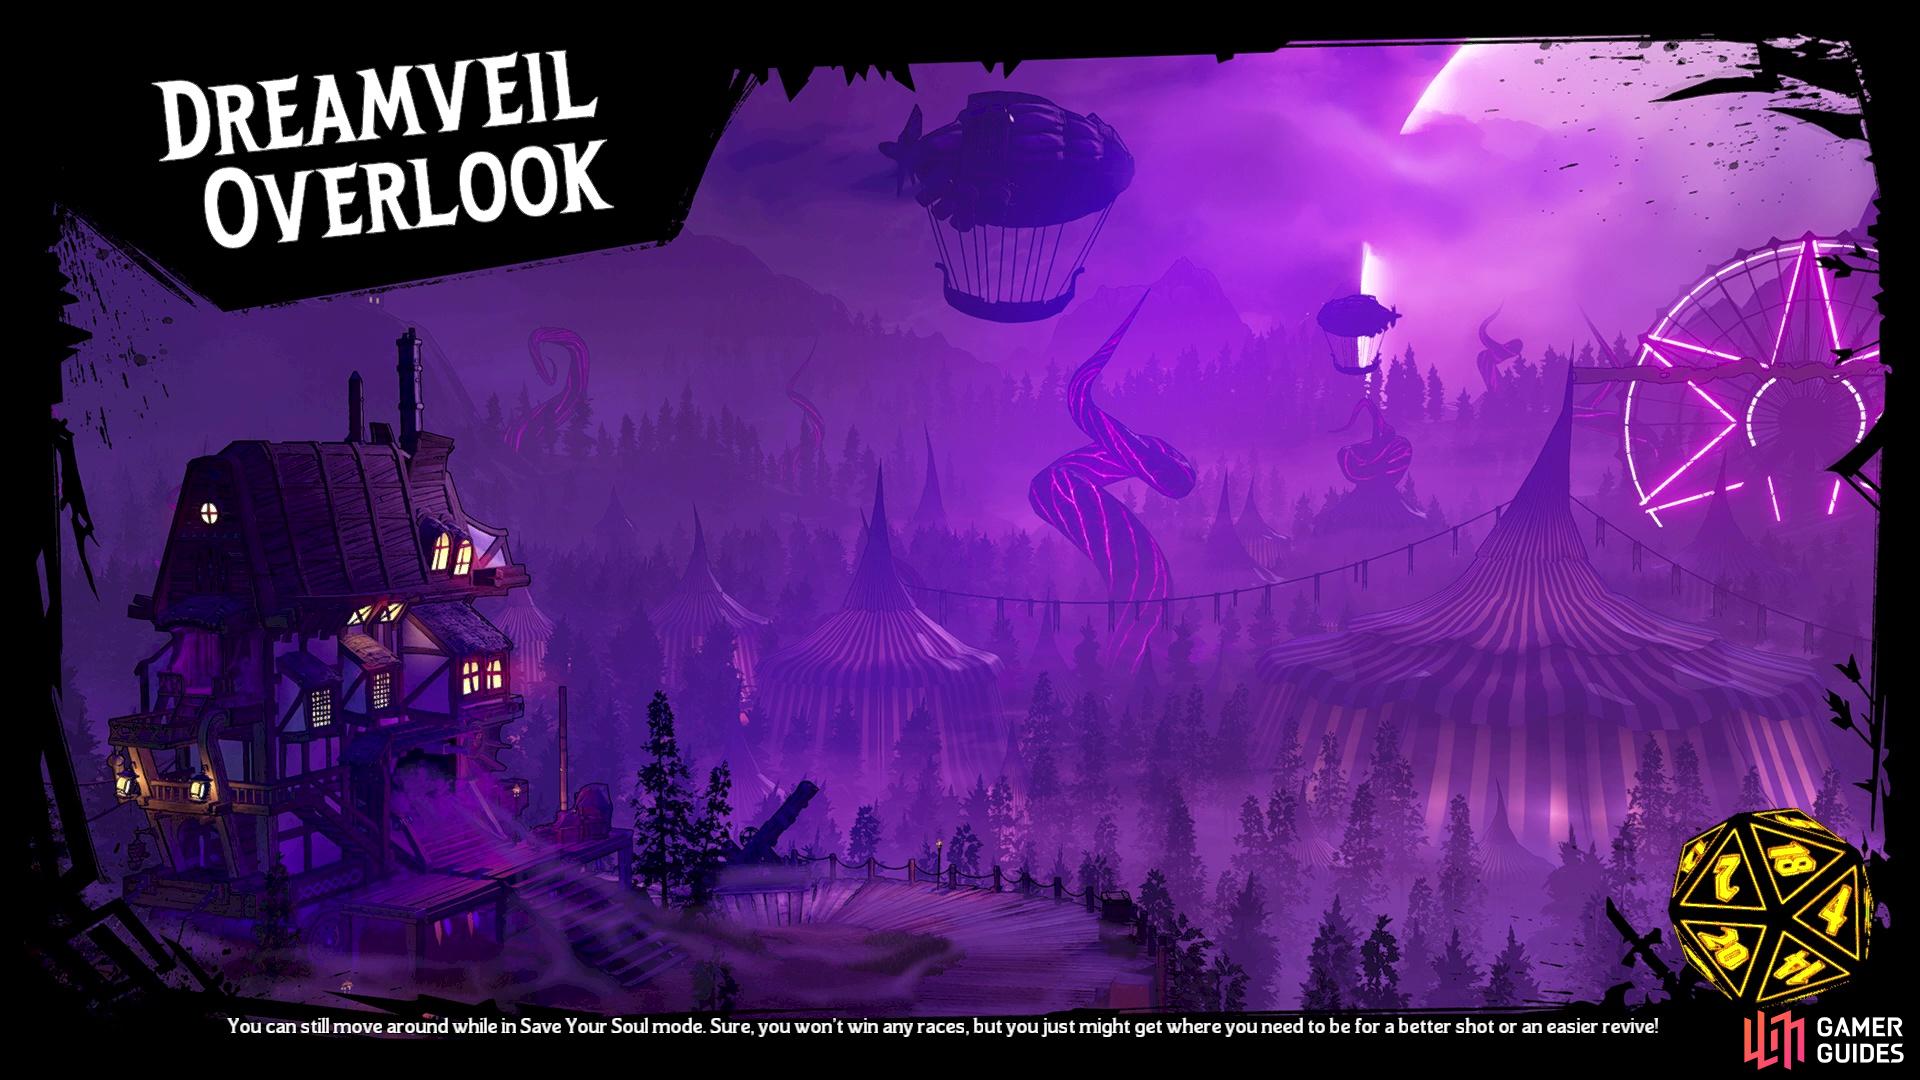
Your journey starts in the Dreamveil Overlook
Meet the Wheel of Fate
Upon finding the location of Dreamveil Overlook, head on over to the giant wheel with an eyeball to find Vesper. Of course, she will be talking to you this entire time, carrying on a conversation and welcoming you to this little strange area. Eventually, she will give you a quest called Meet the Wheel of Fate, introducing you to the demonic looking wheel. Press the designated button at the wheel to attune yourself to it, which will cause it to spit out little crystals. These are Lost Souls and are a currency needed to spin the wheel. Do that to get an item from the Wheel, then you can carry on to the next part. To find out more about this mechanic, visit the What is the Wheel of Fate? page.
Best Chums - 1st Room
Near the Wheel of Fate, you should see a large mirror that will act like a portal to the actual DLC area you will be visiting. The DLC area is kind of structured similar to the Chaos Chamber, except the objectives in each room will be the same across all playthroughs of it. Initially, you will only be able to choose Difficulty 1 upon going through the mirror, but as the weeks go by, additional difficulties will be added, which will change the boss at the end a little bit. Also, there is a hidden challenge in each room, which is to find two soul chests. These look like normal gear chests, but upon finding and opening them, you will receive three Lost Souls.
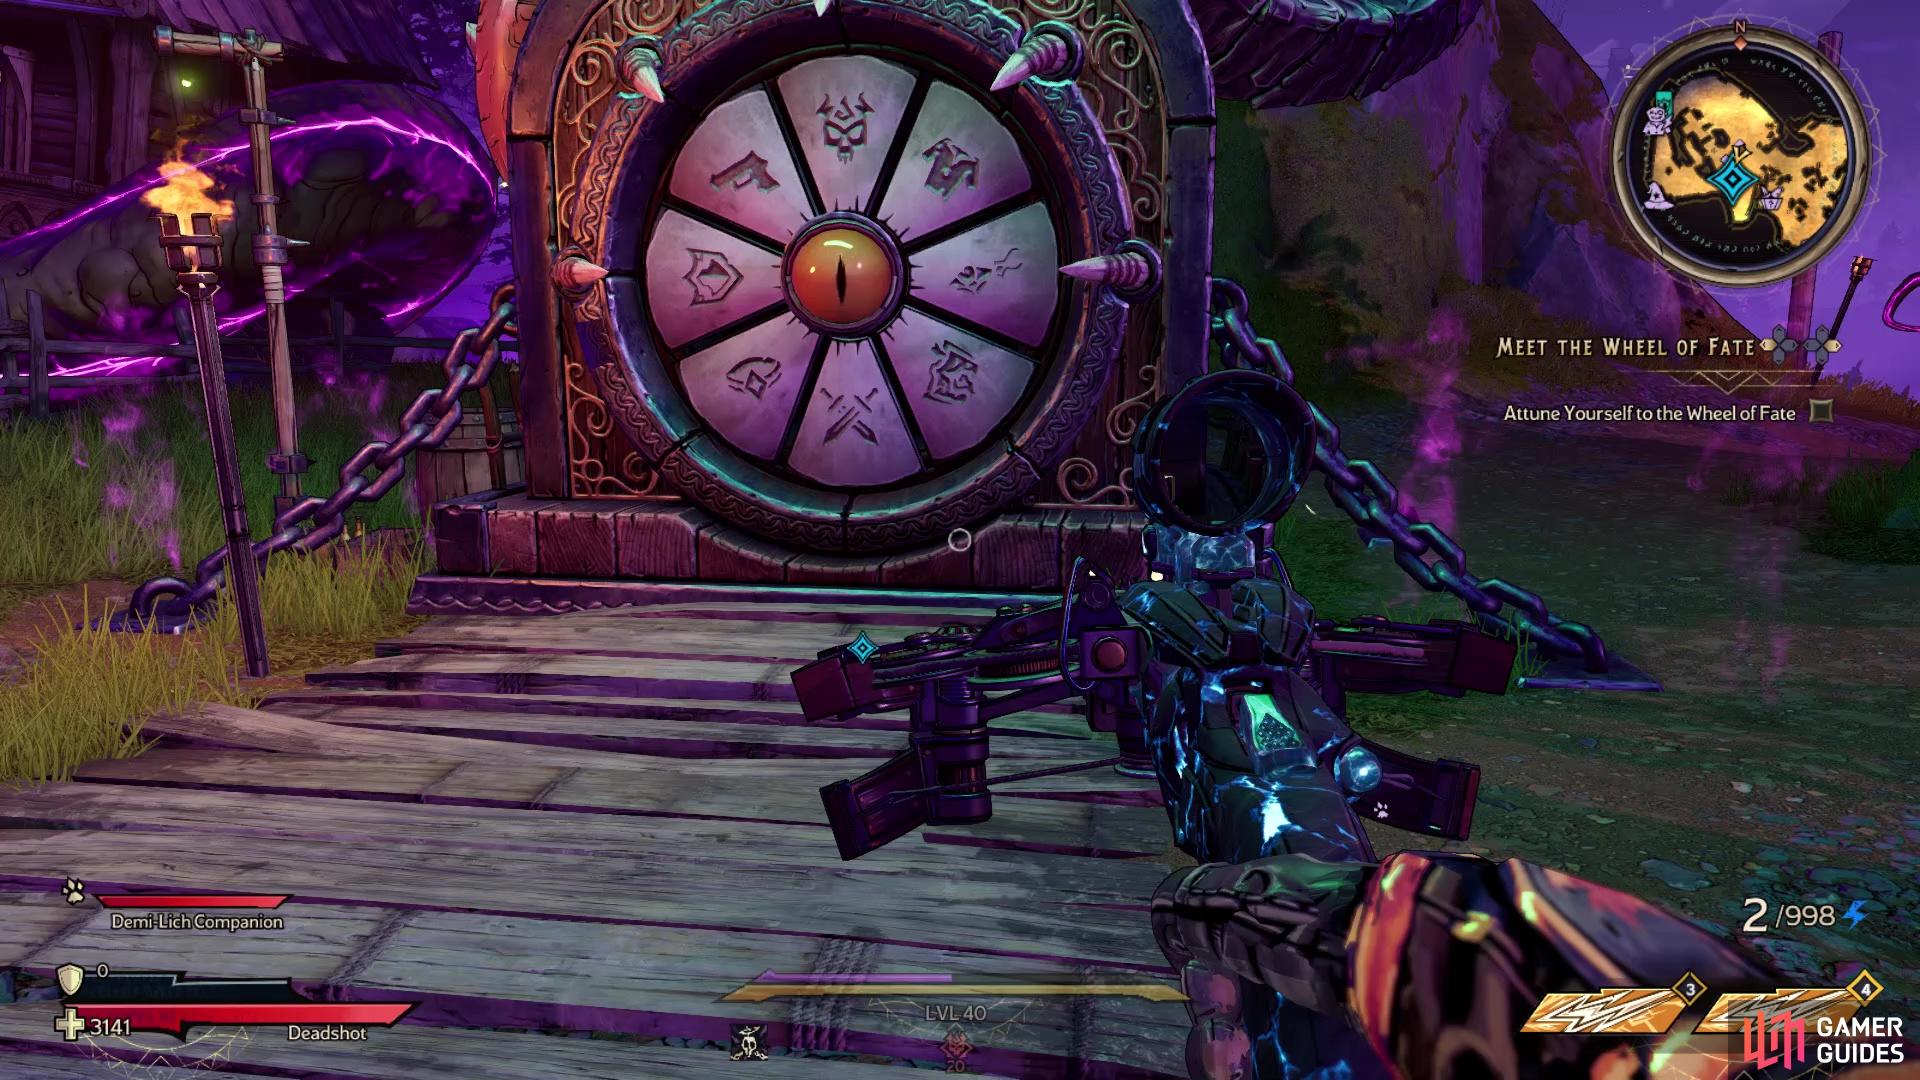
The Wheel of Fate is the highlight of the DLC
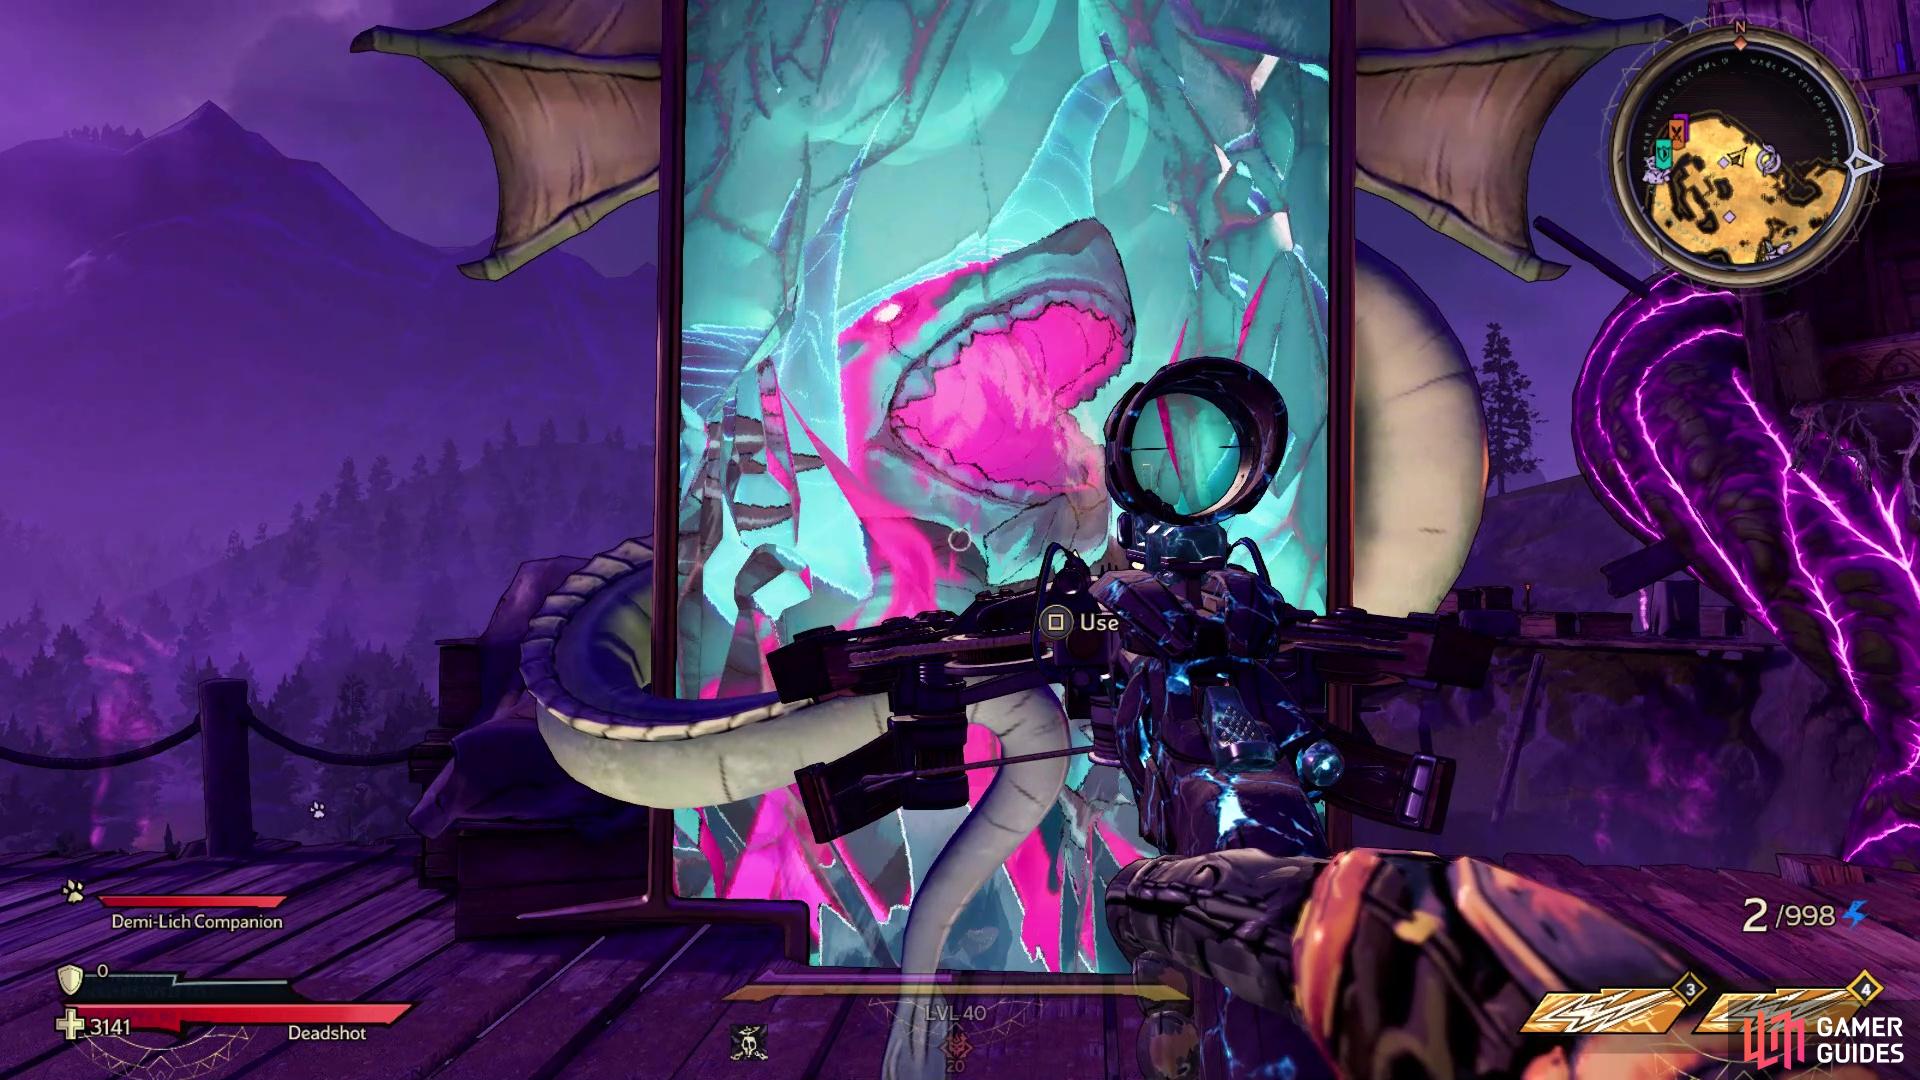
Use this mirror to start the journey to Chums
The first area will be a snowy one and your first objective is to kill the temple guards. Move forward into the first section to find some Coiled enemies, so kill them all and then enter the temple. You will be presented with a puzzle here, with you needing to move the little turnstiles on the pillars (highlighted in red). Although you won’t have any idea on what to do with them, you can just shoot them to move the little statues on them. Specifically, you need to make sure the three shark heads are showing, which will open the door to a small room. Jump down into the pit and use the valve to begin having water filled up the pit.
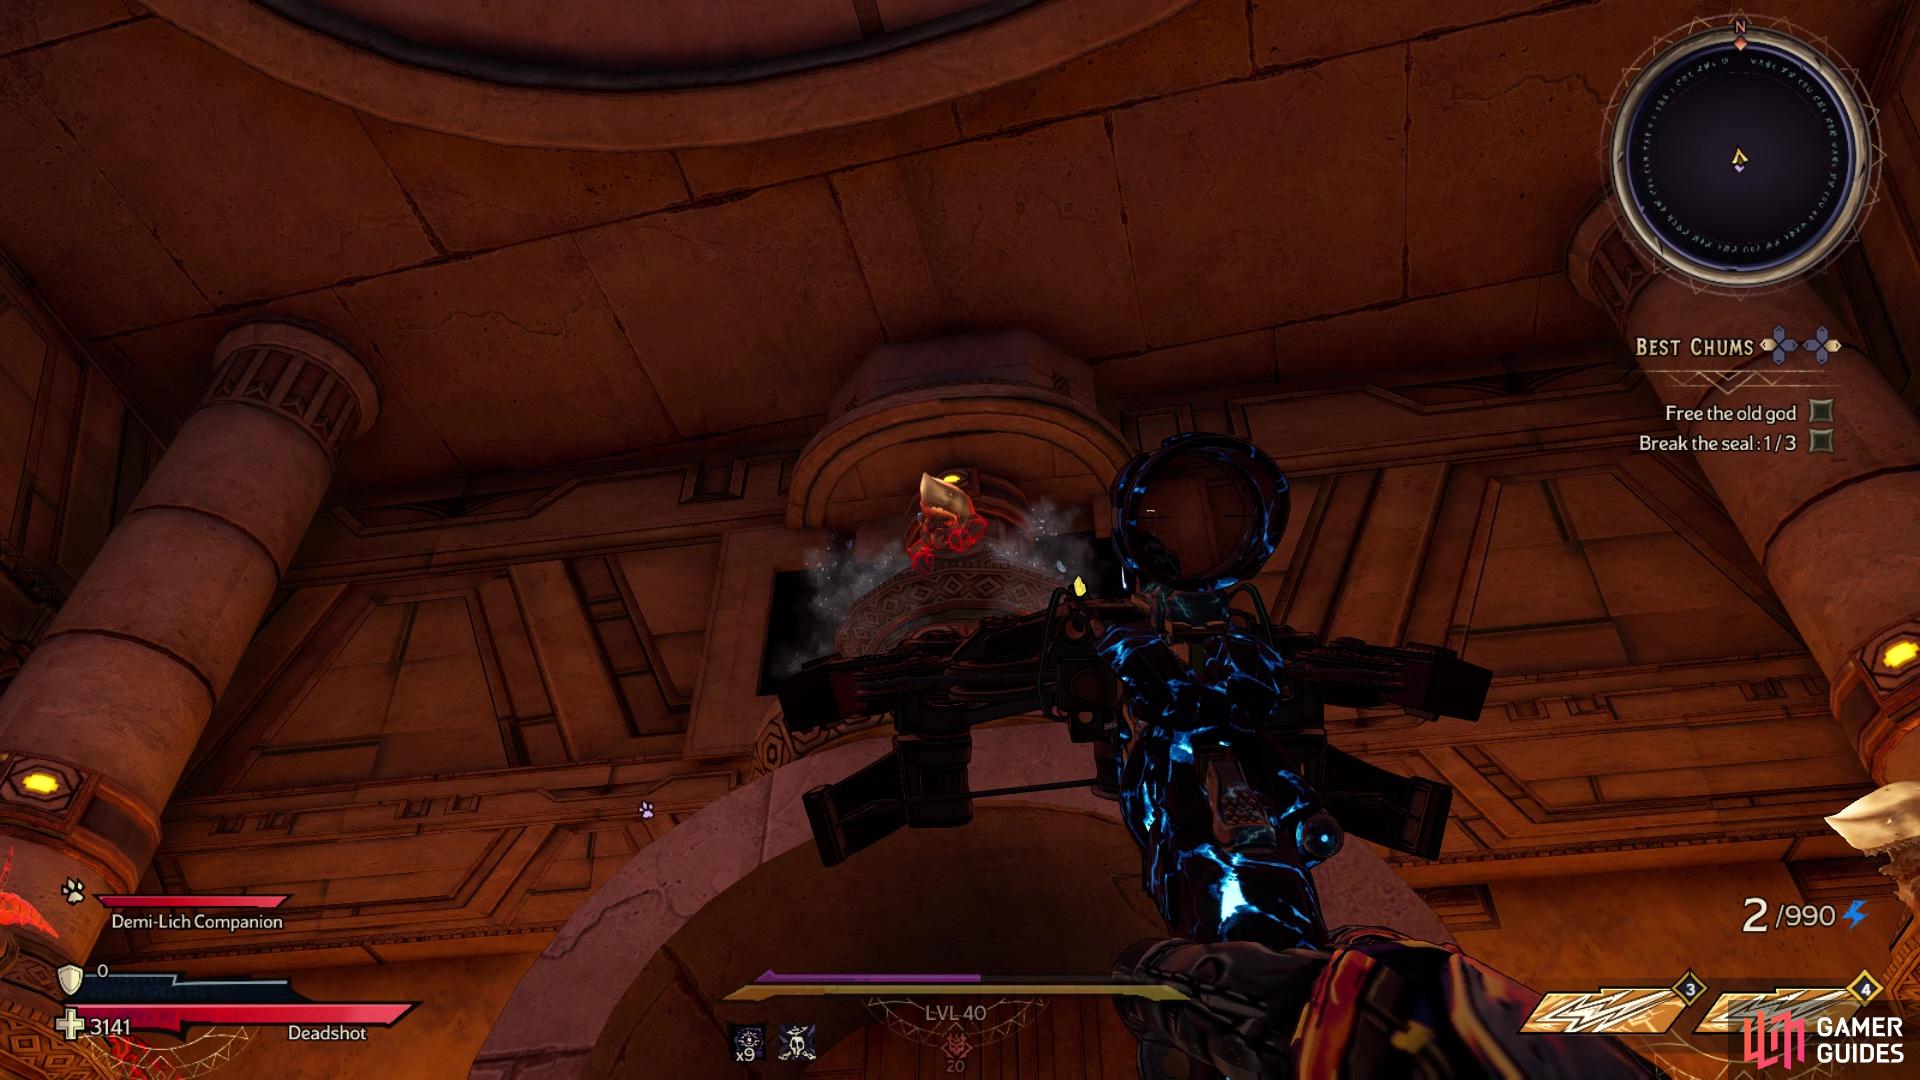
Shoot each statue until the shark’s head is showing
Get on top of the crate (the water doesn’t get too high that you’ll die in it), waiting for the water to get high enough so you can grab the ledge. The second room will be a little more tropic, but just has you killing more enemies here, which will include more Coiled and some Crabs. Note that the contraption in the middle of the map has a skull on the one side, so interact with it to spawn some more Crabs and one of the two hidden soul chests. If you happen to find the other hidden soul chest, then a crystal die will be waiting for you by the portal that leads to the next section.
Best Chums - 2nd Room
The second area is a town-like section, where you will need to align the three columns found around the map. You will face off against more Coiled here, but you should see some Seawargs here. They don’t initially move and you cannot really harm them, but they will come alive after aligning the nearby column. Similar to the puzzle in the first section, just shoot each statue on it until you can’t move them anymore. There’s nothing fancy about it, but you will be aligning the three shark heads, although it’s not always in the same spot. As already mentioned, once you do this, the column will retreat into the ground and the Seawargs will come to life.
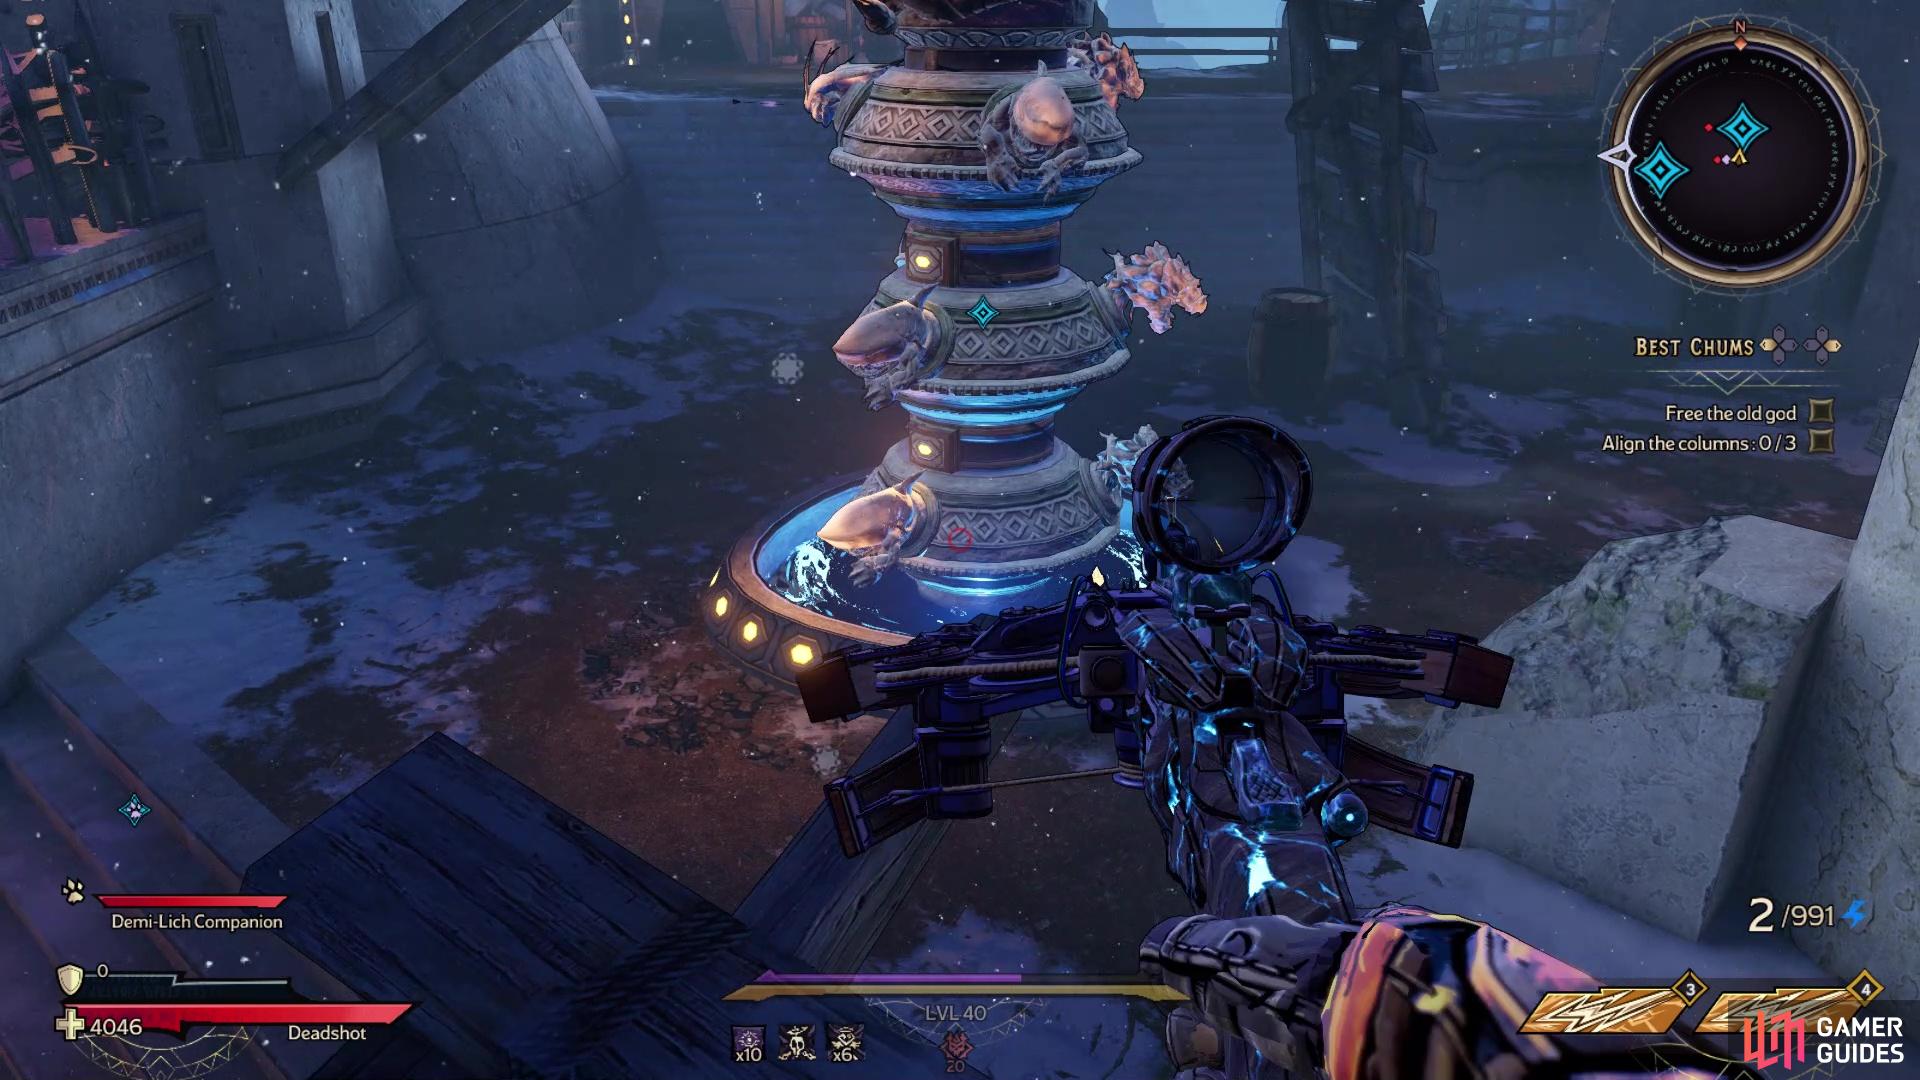
You will have to take down the two columns on the sides first, before the way to the third column in the middle will be open. Once you’ve aligned the three columns, you will be able to enter the portal and finish this area.
Best Chums - 3rd Room
The goal of this area will be to go around and turn the valves marked on your minimap. This will cause some water to come out of the nearby holes and feed into the narrative that the prisoner you are trying to free needs some water. Of course, you will have to fight some more Coiled and Crabs here, so always keep a lookout for enemies. Once you have turned all four valves, a Hammerhead enemy will appear and you will need to kill it. It’s nothing more than a normal Hammerhead, so bring it down and enter the next portal.
Best Chums - 4th Room
The fourth area will require you to simply survive, while the water rises. You will be facing mostly Coiled here, although there might be a few Seawargs around. One think you will definitely need to be careful about is the lava on the edges of the map, as you might not notice it while fighting and happen to fall into it. The best thing to do is just stay in a certain spot and let the enemies come to you, since that will make sure you don’t get overwhelmed or accidentally run into the lava. At some point, you will be told the water is too high and you need to stop it, so locate the two valves and use them to shut it off. Head towards the portal and take it to the final room.
Best Chums - 5th Room
The lava will start rising, very slowly mind you, in this room, so you should stick to the upper tiers and avoid the ground altogether. As you make your way into the central portion of the room, the objective will change to aligning three columns once more. You already know what to do here, but if you forgot, simply shoot each tier of the column until it doesn’t move anymore. Doing all three columns will open the portal to the chamber with the boss.
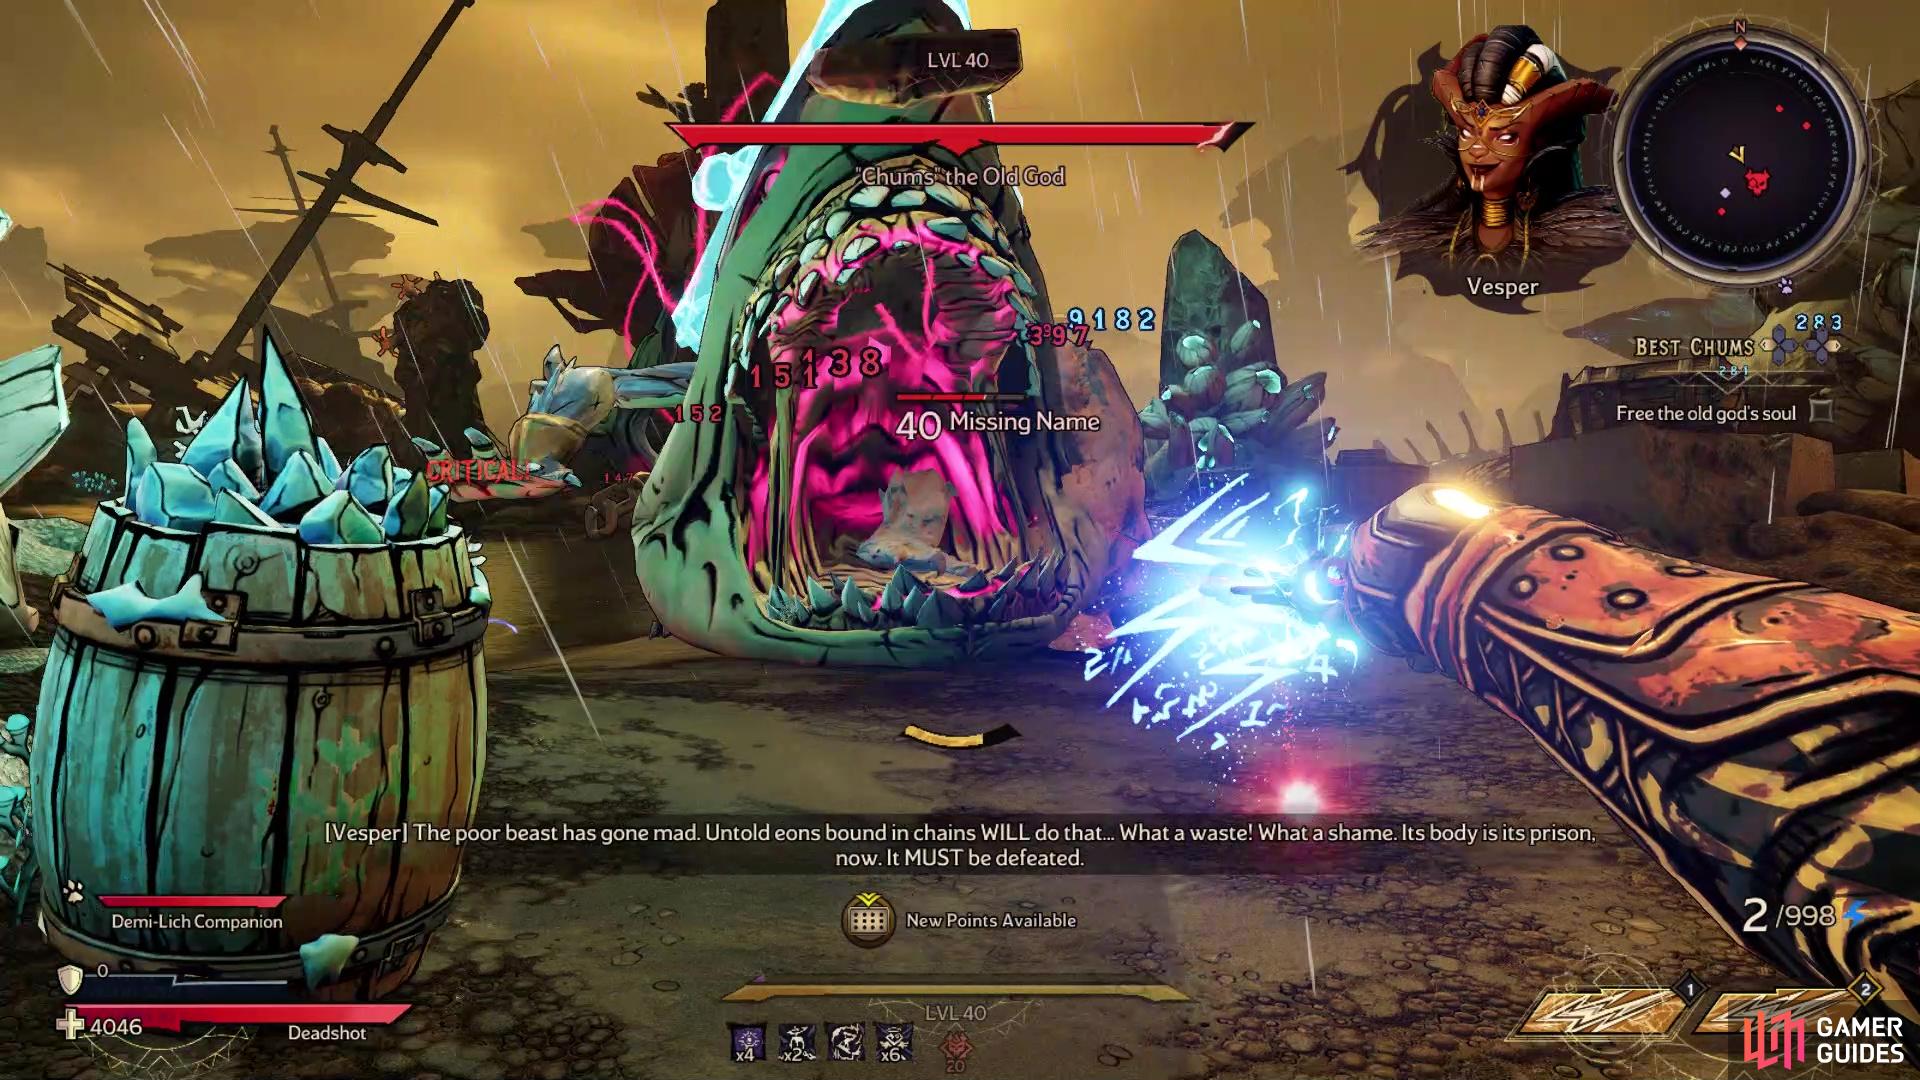
How to Defeat Chums, the Old God
Chums will basically be a giant Seawarg and do some usual things, but he has some extra moves in his arsenal a normal Seawarg doesn’t. One of his main attacks is chasing after you while trying to bite, which you probably figured out hurts a lot. The best thing to do here is to keep moving to avoid it, otherwise, you’re going to take a lot of damage. Chums can also send out a quick electric pulse shockwave, although there doesn’t seem to be any tell for this and it is released very quickly, so it’s hard to avoid if you’re sticking close to the boss.
You can also see a wave being sent in your direction, kind of similar to the one Dry’l can do during his one phase, except you have more room to move here and it doesn’t seem to be as big as Dry’l’s wave. One last thing that Chums can do is try to suck you in, so you get real close to him, then try to bite you. One of the bigger problems with this battle is that it’s easy to get overwhelmed a little bit, since there will be quite a lot of regular Seawargs around, acting as fodder in case you get downed. Moving all the time can help remedy this a little bit, though. Overall, Chums is not a difficult boss, or at least the first difficulty version isn’t.
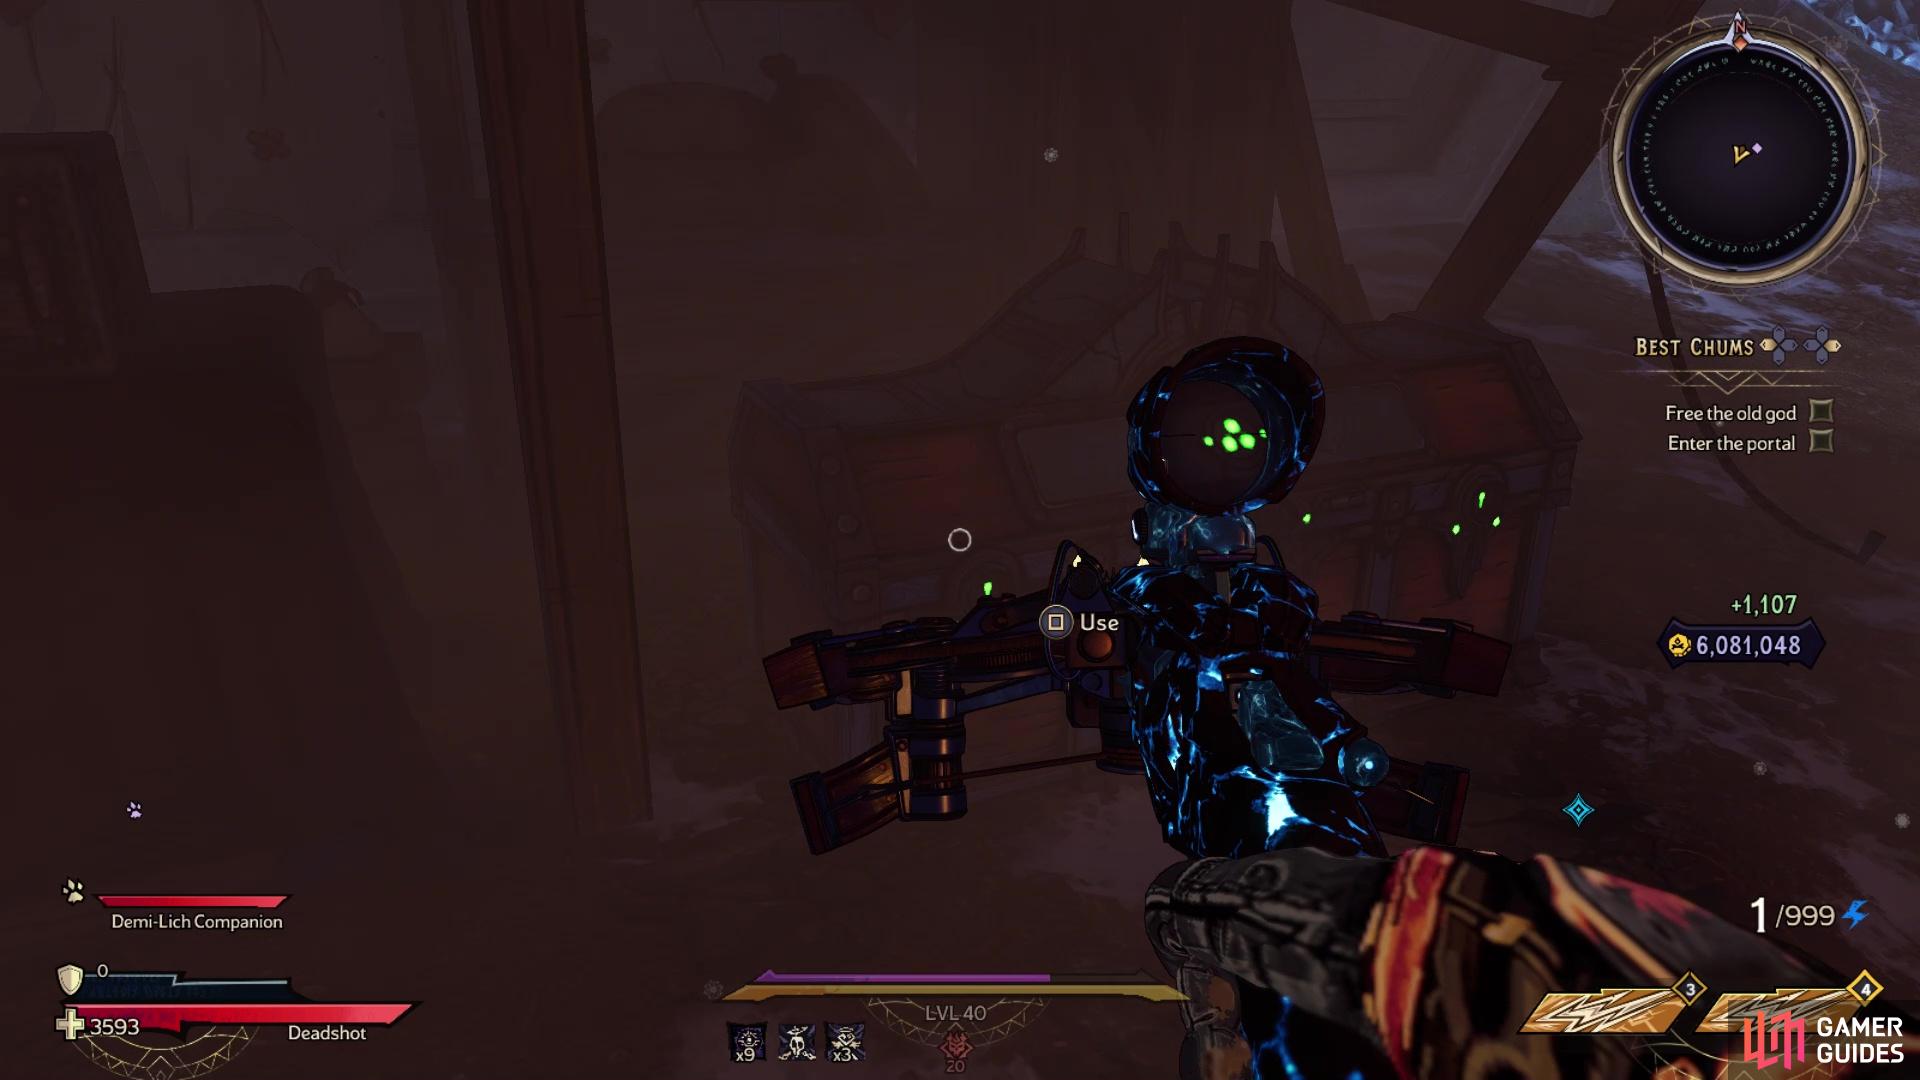
Upon defeating Chums, look over any loot you get, then take the portal to head back to Dreamveil Overlook. Use all of the Lost Souls you’ve accrued in your time in the area to take spins on the Wheel of Fate to get more loot. Note that the rooms you went through, as well as Chums himself, will be added to the Chaos Chamber pool of rooms and bosses.
When Will the Next Chum Difficulties Unlock?
For right now, as of April 21, 2022, only the first difficulty is unlocked for the fight with Chums. The higher difficulties will become unlocked each following week, until all four are unlocked. You will be required to go through each difficulty to unlock the next one, similar to the Chaos Levels in the Chaos Chamber.
- Difficulty 1 - April 21
- Difficulty 2 - April 28
- Difficulty 3 - May 5
- Difficulty 4 - May 12
No Comments