
Lucky Dice is one of the collectibles that can be found in Tiny Tina’s Wonderlands. They are golden models of D20s used in tabletop gaming and upon finding them, randomly roll a number from 1 to 20, determining the kind of loot you get from them. Finding Lucky Dice will also increase your Loot Luck stat. This page will detail the locations of all the Lucky Dice in Tangledrift.
Lucky Dice Location #1
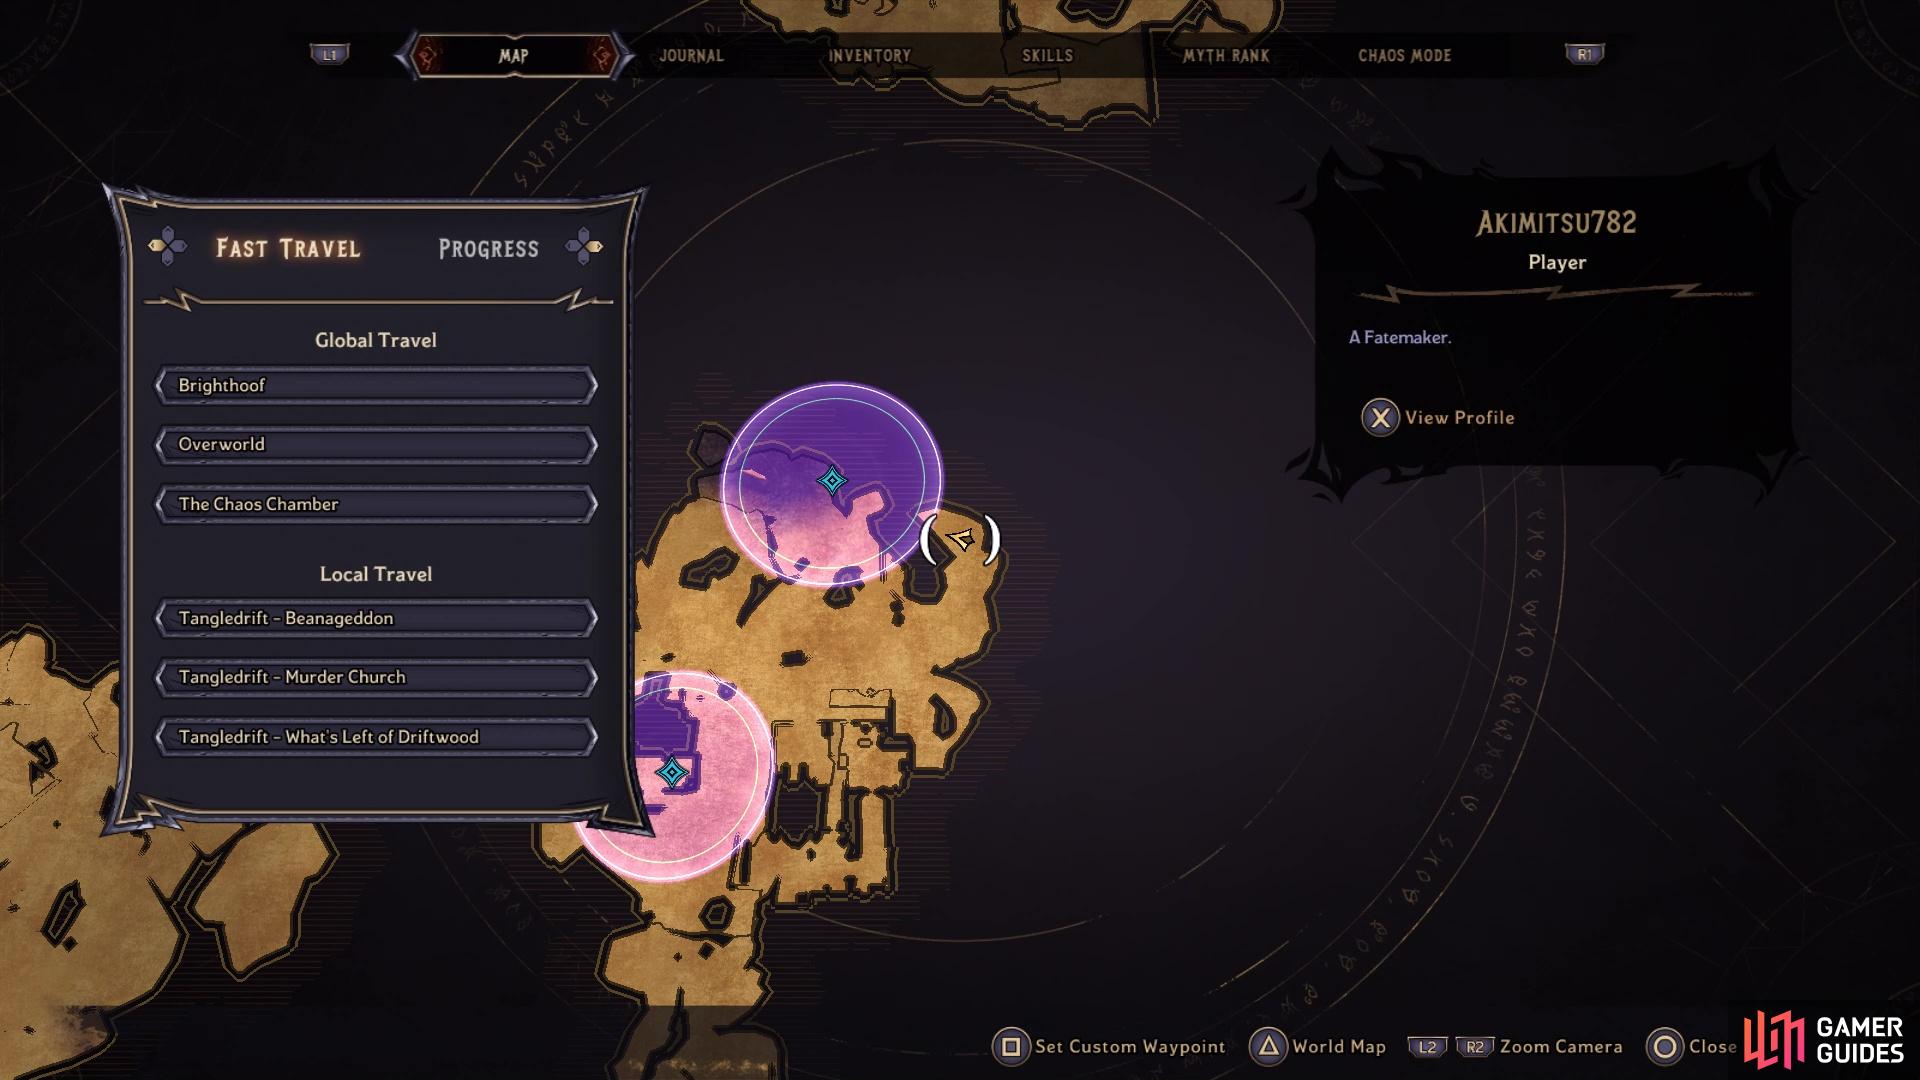
Go to the location on the map to find Lucky Dice #1
You will need to climb these flowers to reach the first Die
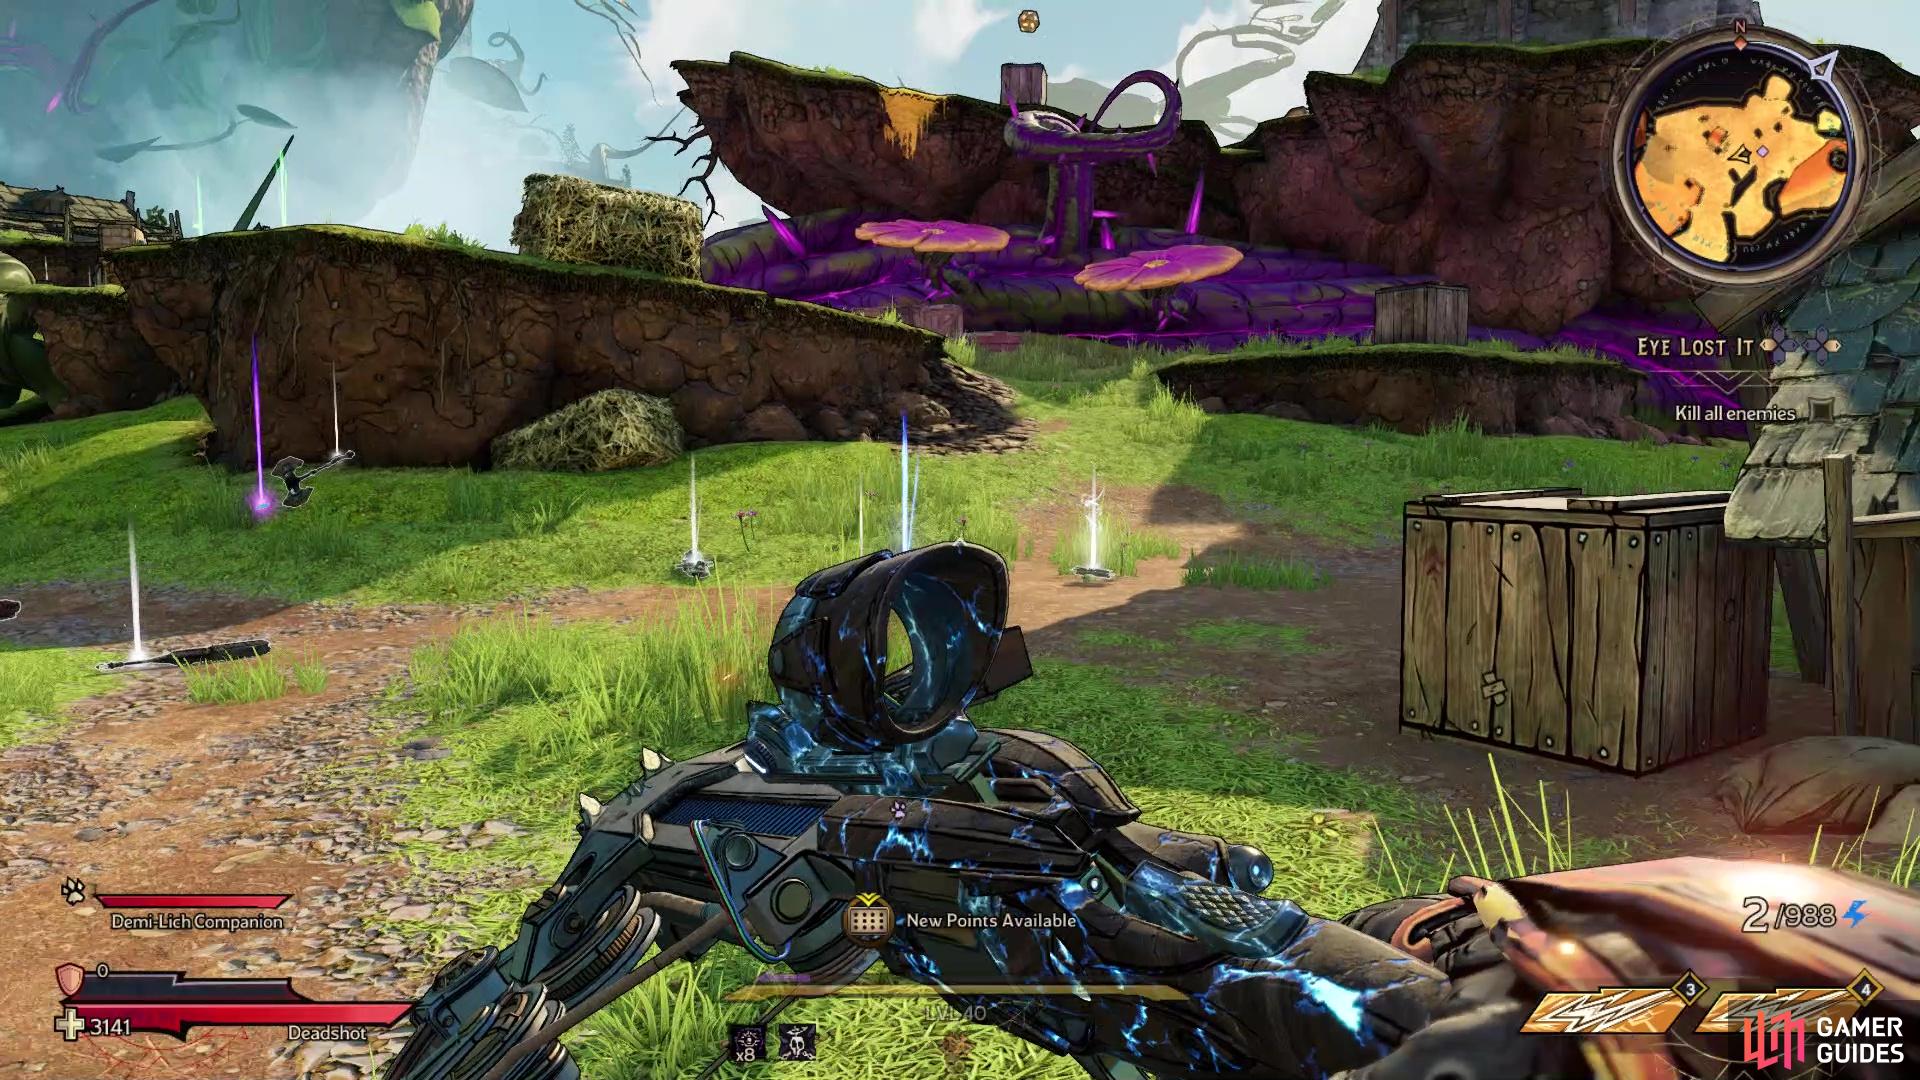
After going down the first slide from the Beanageddon fast travel station, you will land in an area with some enemies. Take them out and look for a higher ledge on the western side of the area. Climb up there to find a loot chest, as well as the Lucky Die sitting on top of a crate.
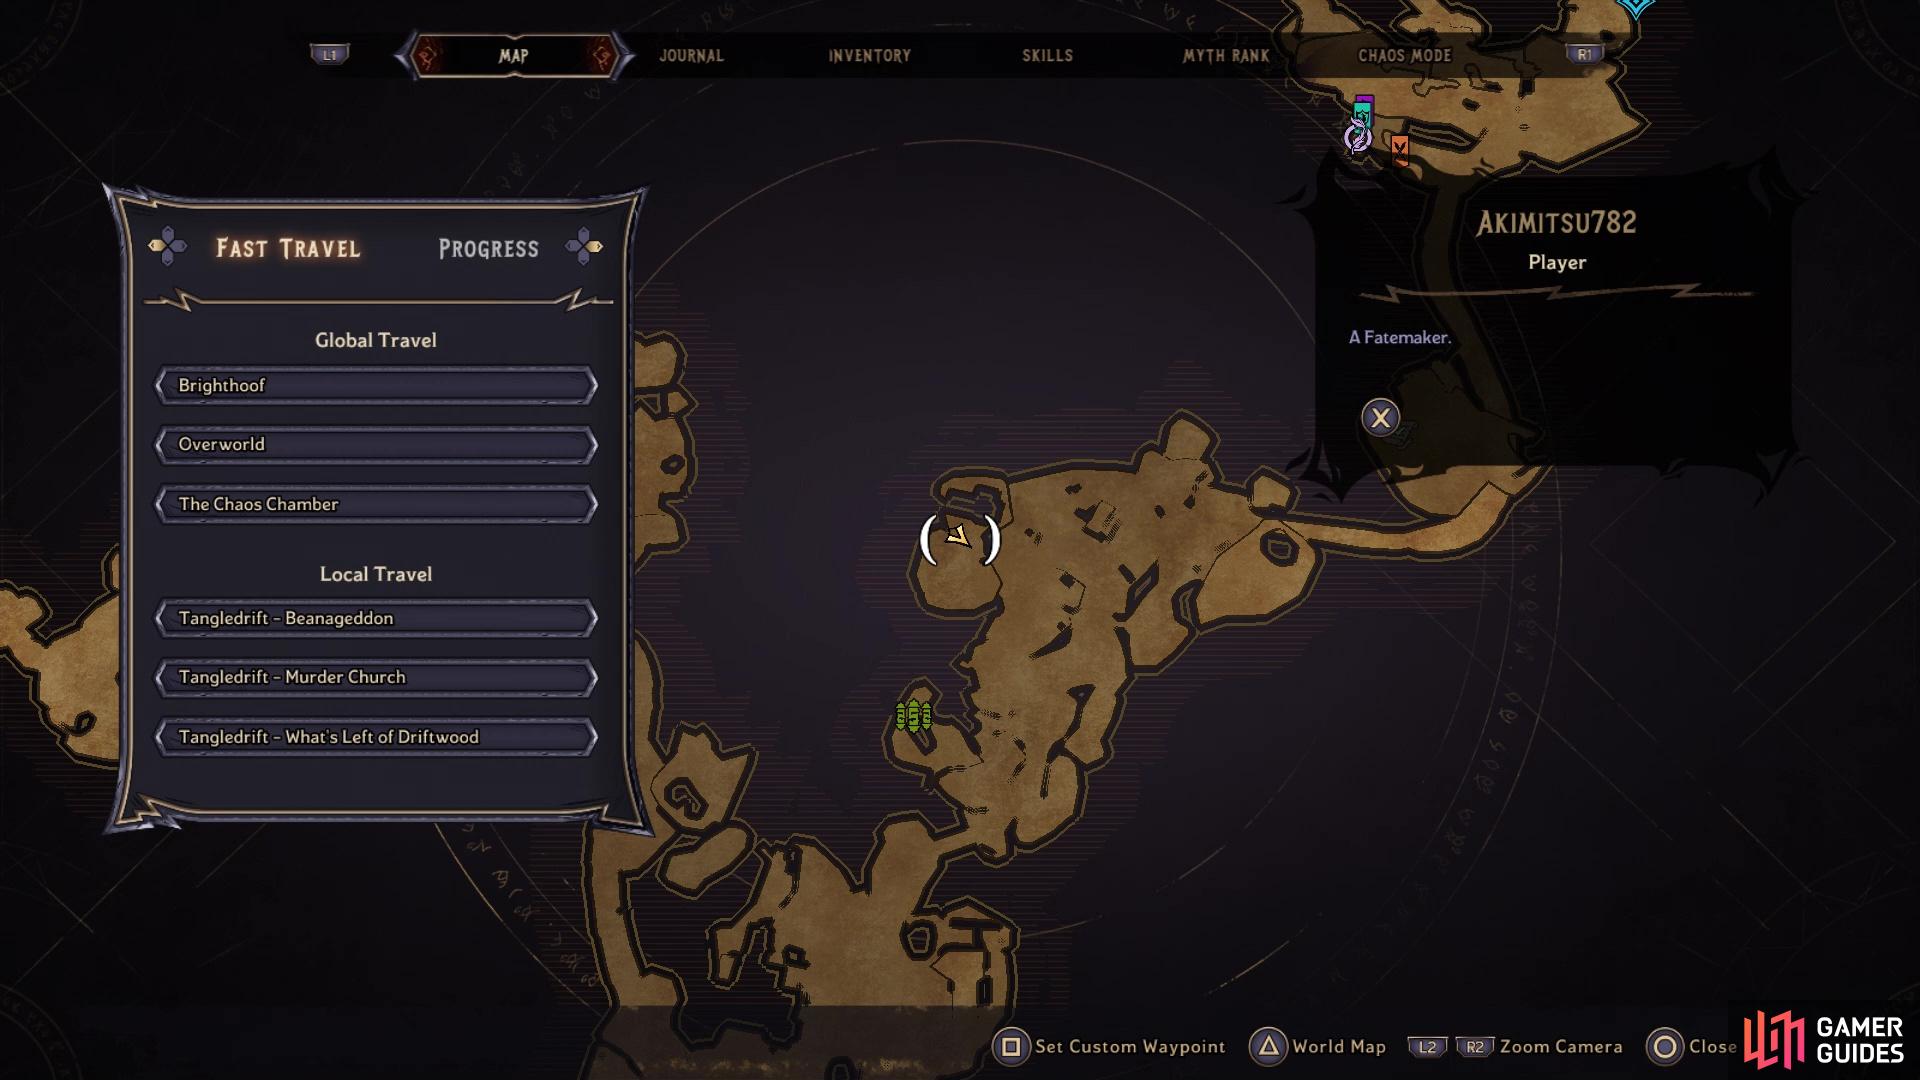
Lucky Dice Location #2
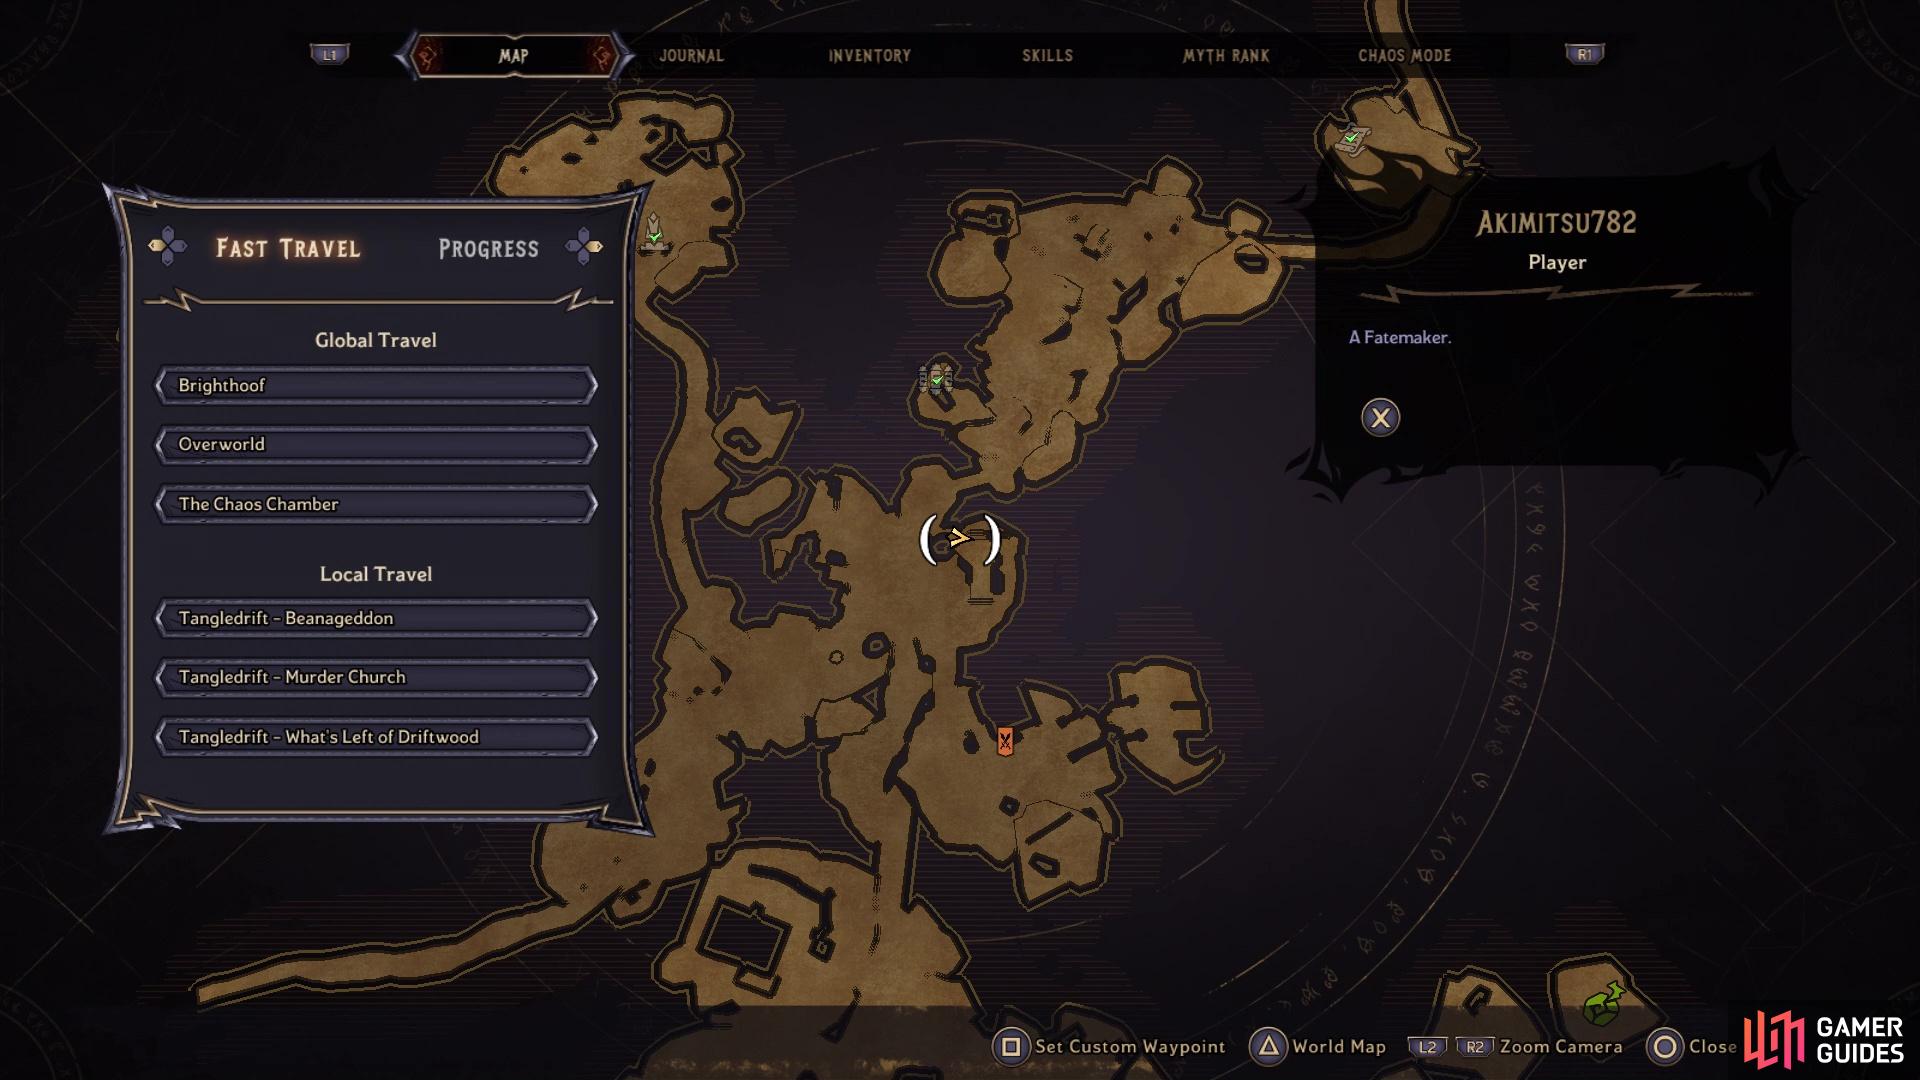
Go to this location on the map to find Lucky Dice #2
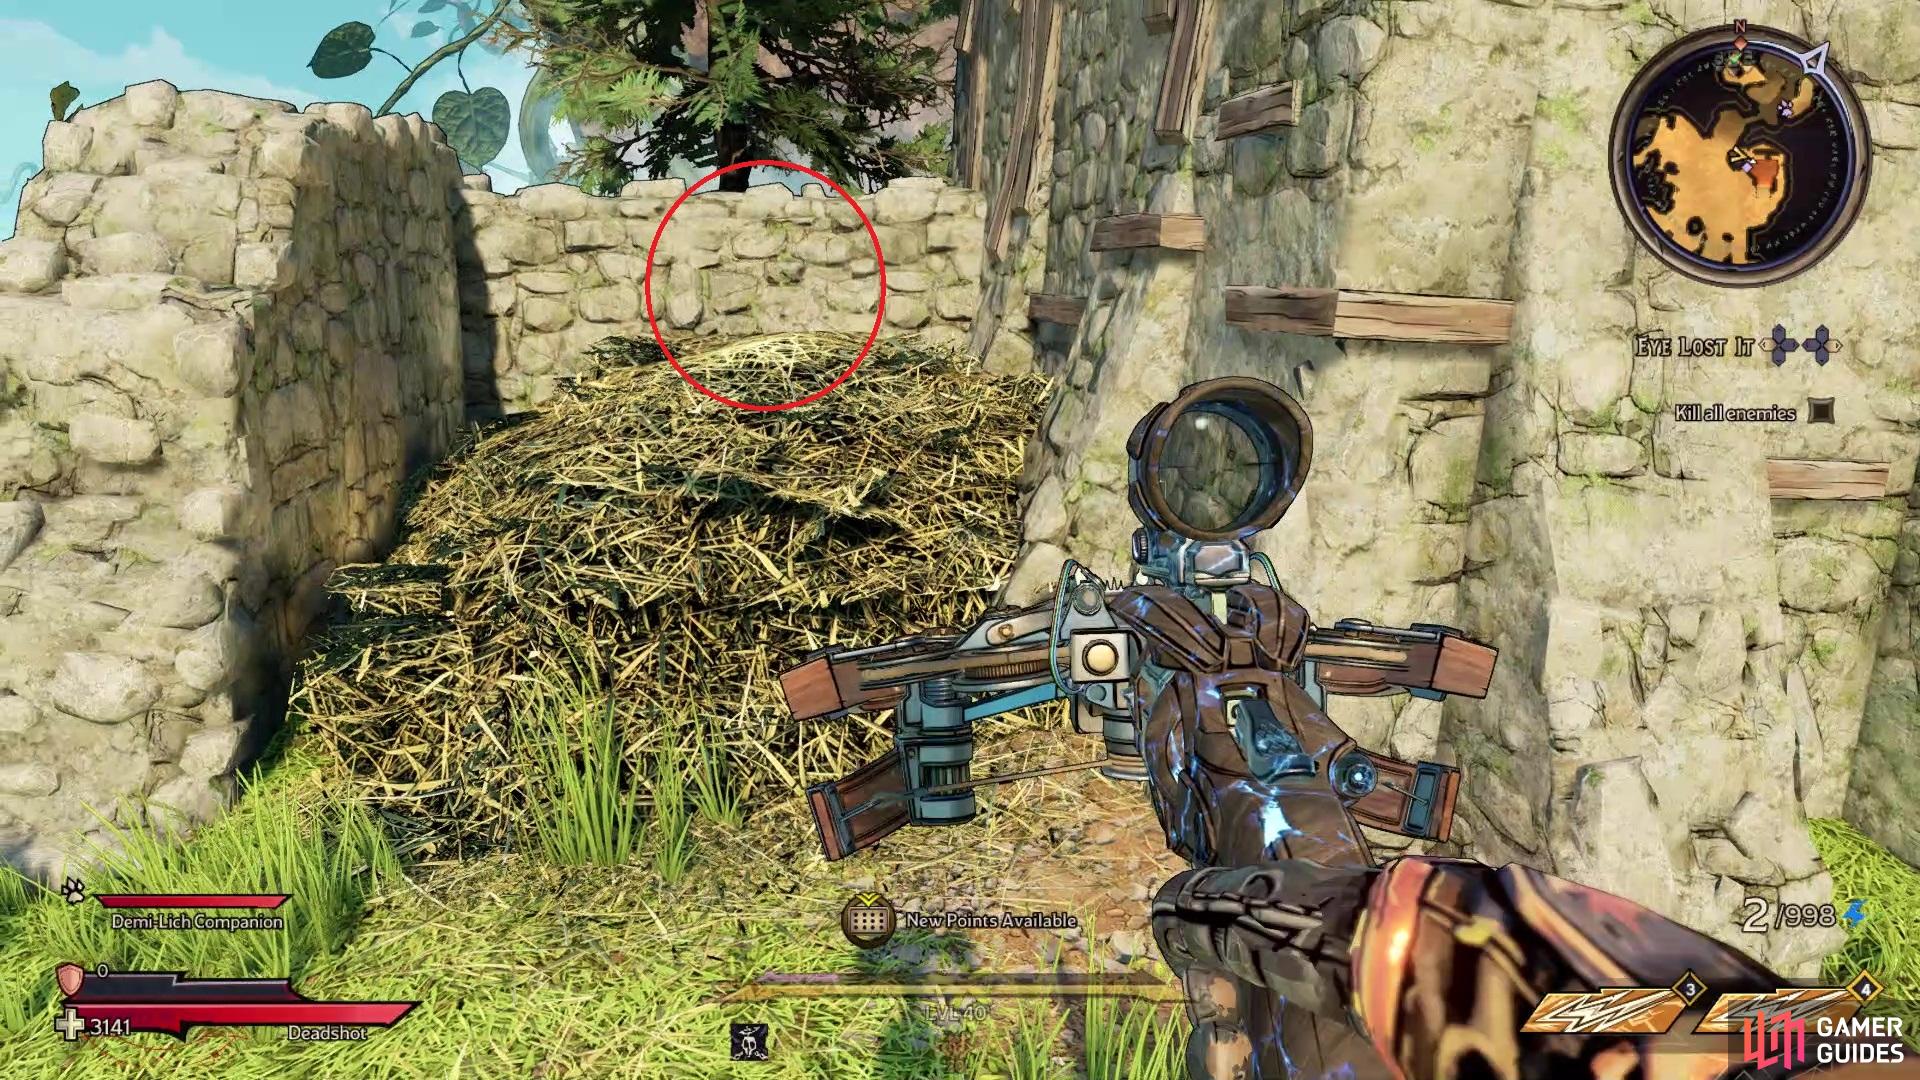
The Die will be sitting on top of this hay next to the house
Once you slide down into the area with the first set of enemies, move forward and cross the first wooden bridge. As soon as you do, you will pass by a respawn station, which is next to a house. On the northern side of this house is a pile of hay and that is where the Lucky Die will be located.
Lucky Dice Location #3
Go to this location on the map to find Lucky Dice #3
It will be on the back porch of this house
From the previous Die, head southwest and down a short slope, to a house with some stairs on the side. This build has the “Ye Old Gift Shop” sign on it. Climb those stairs and go around the corner for the Lucky die.
Lucky Dice Location #4
Go to this location on the map to find Lucky Dice #4
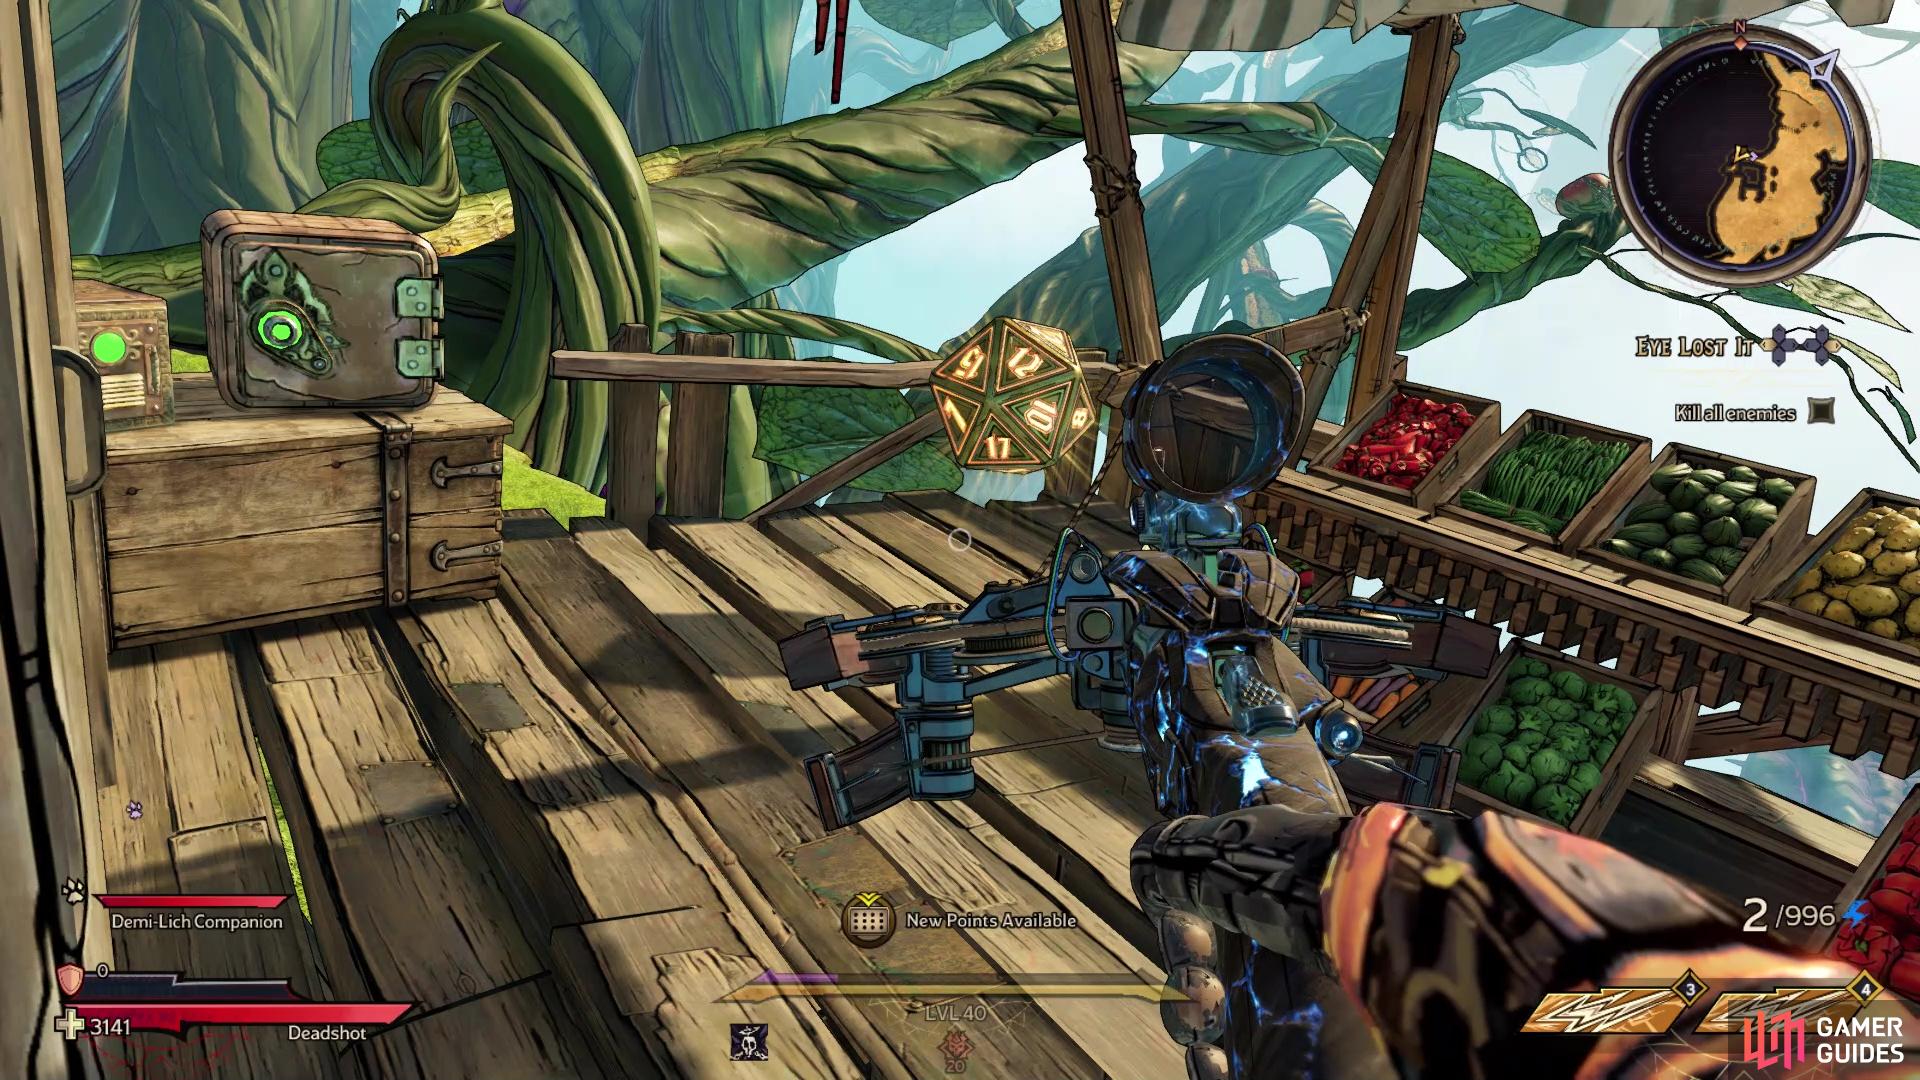
It will be hidden amongst some crates by the broken tower
Head to the What’s Left of Driftwood fast travel station and go west. You should see a broken tower not too far from there, with some crates blocking the entrance. Don’t worry about the inside right now, but look next to the crates right outside of the entrance to find the Lucky Die.
Lucky Dice Location #5
Go to this location on the map to find Lucky Dice #5
It will be out in the open by this little camping spot
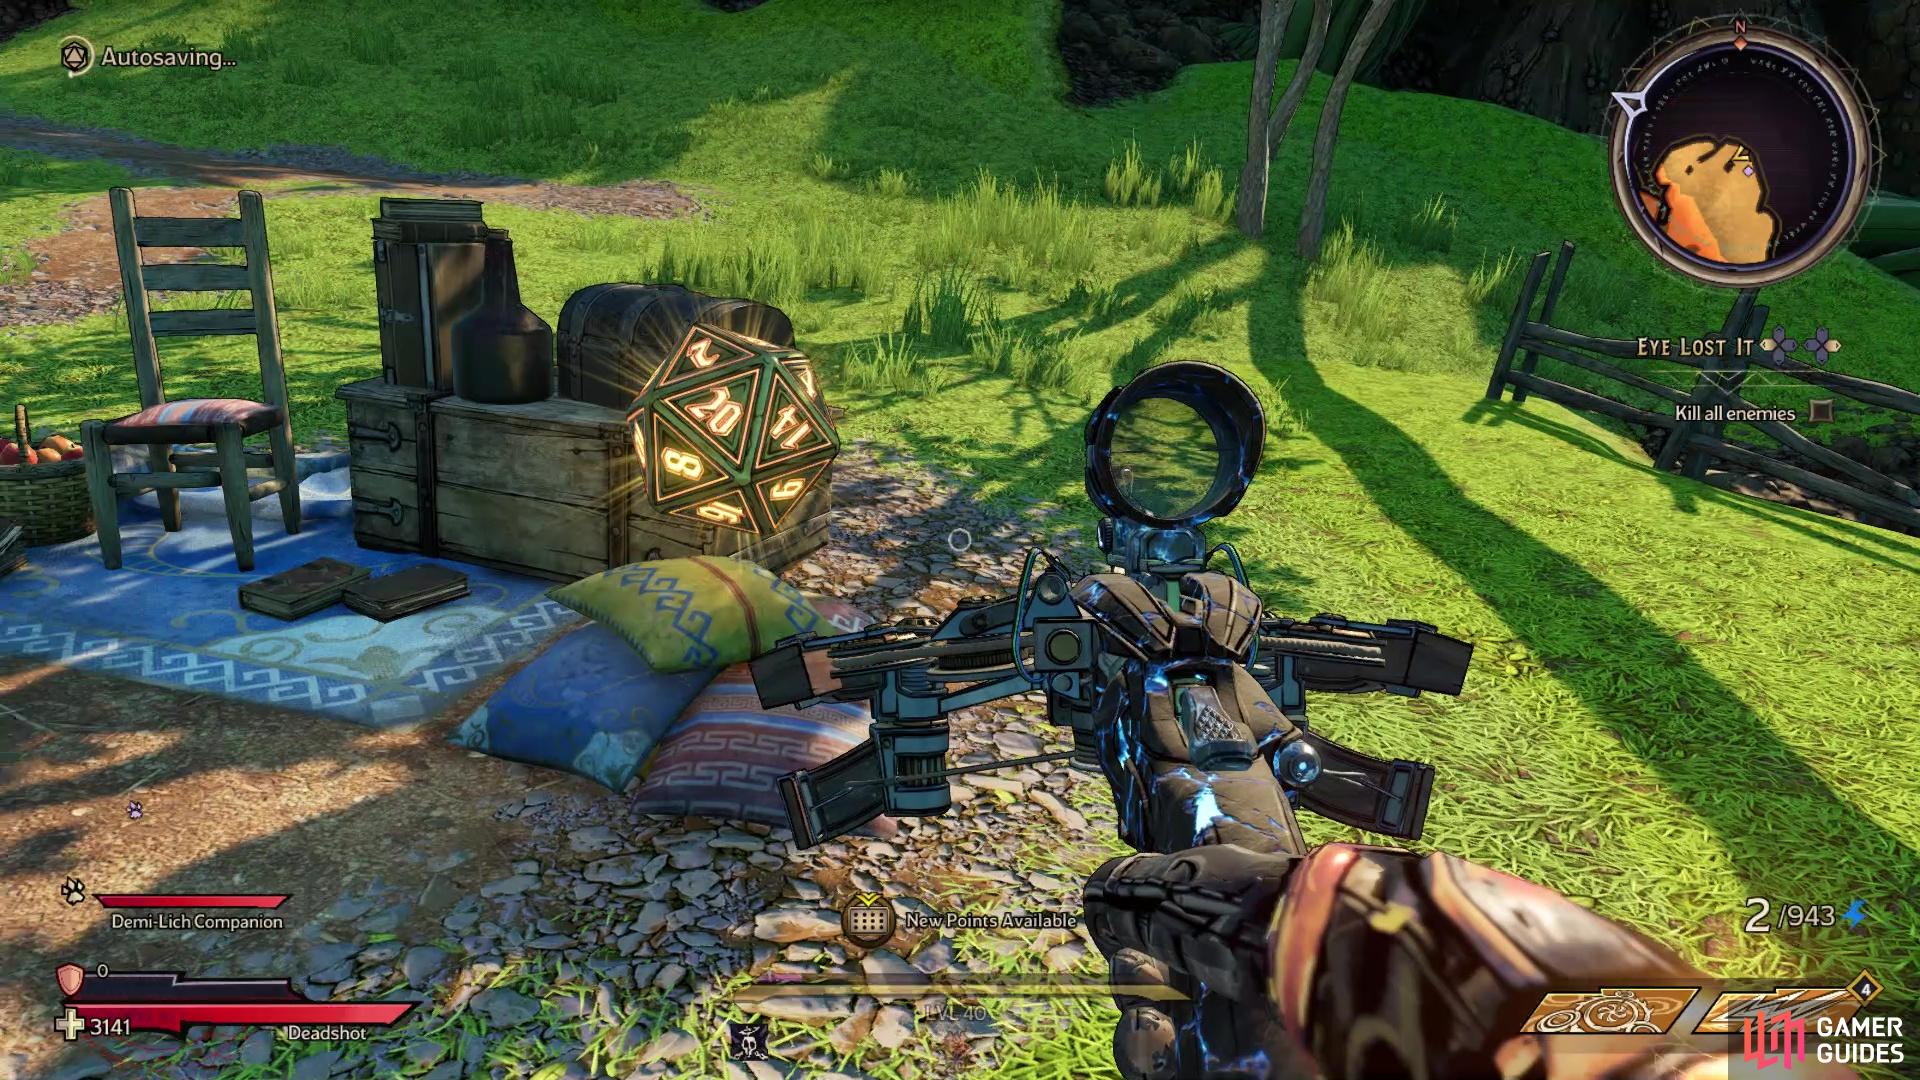
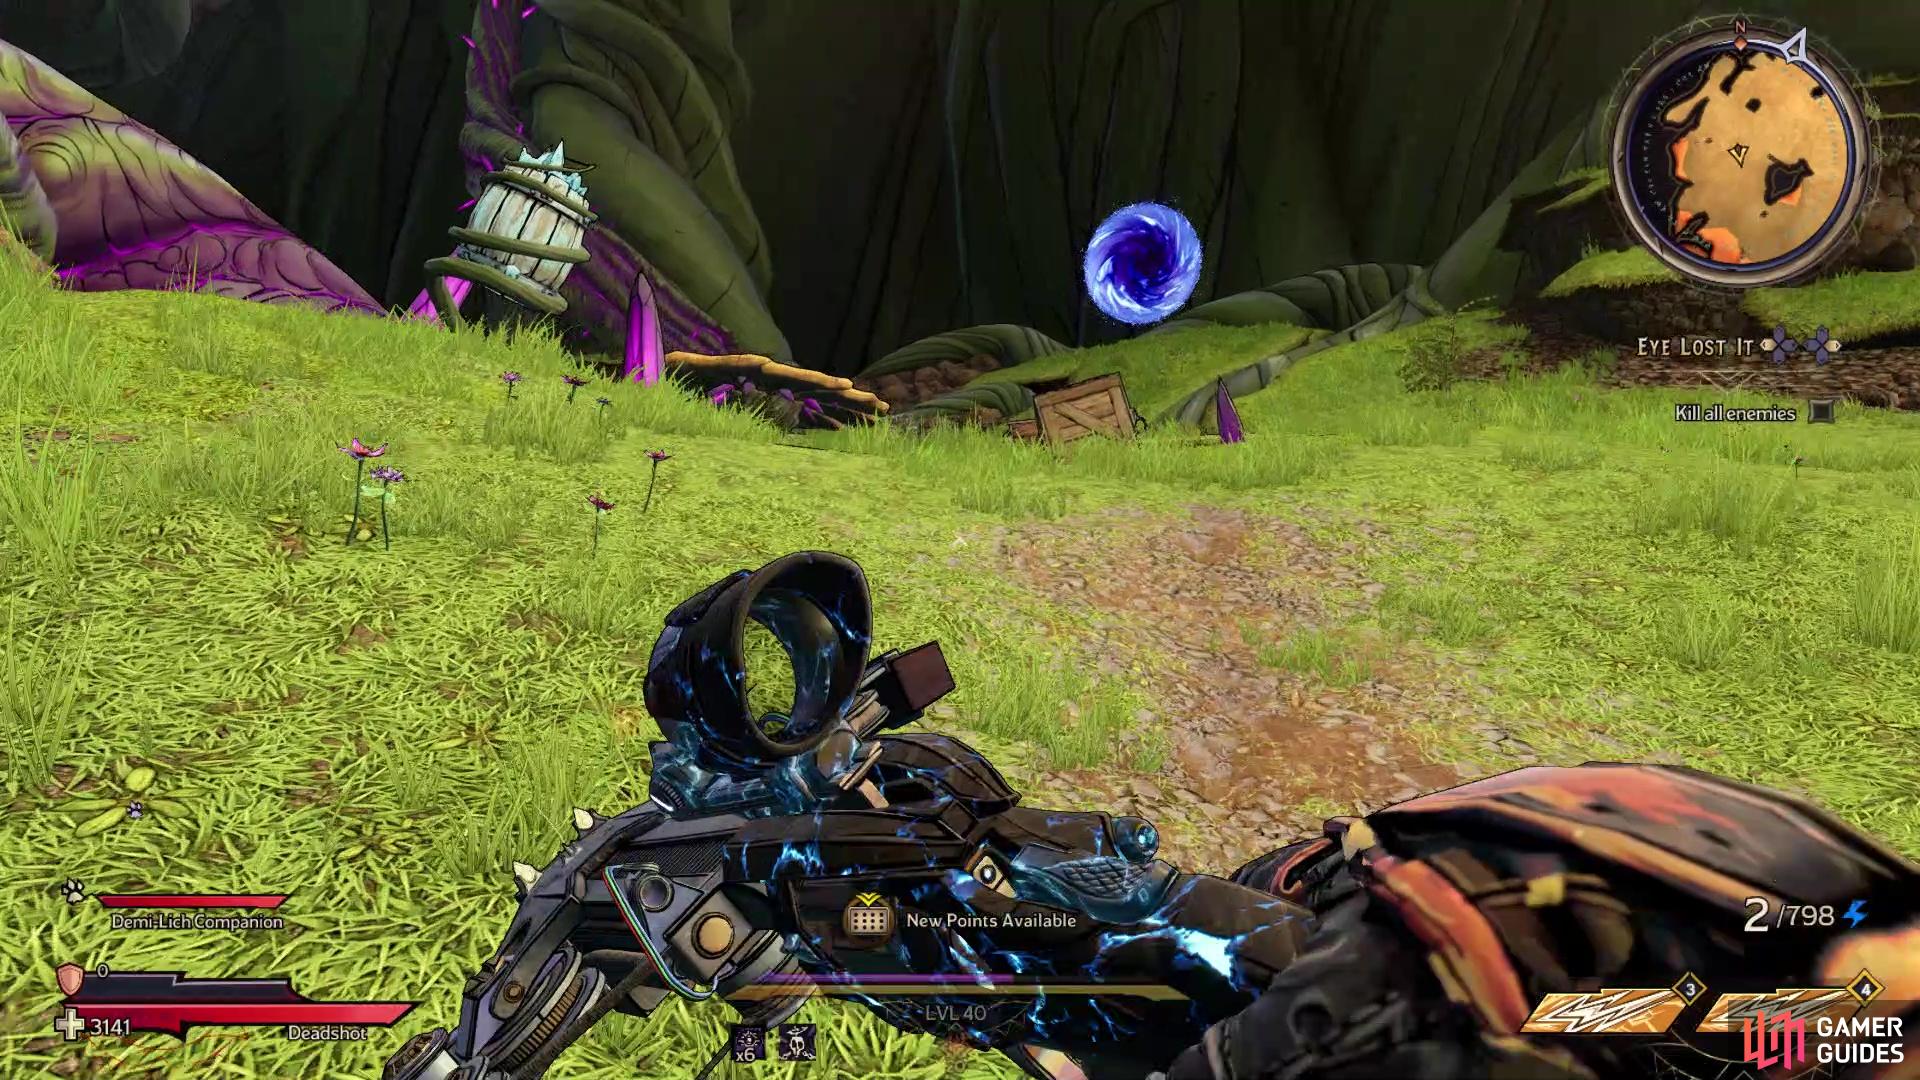
In the little town area north of the What’s Left of Driftwood fast travel station, you will see a portal on the eastern side, sitting in a stone archway. You will be teleported to the Ratty Shack area, which is the large island to the east. Once on the island, go to the northeastern corner to find a little campfire and a chair. The area is called Avie’s Idyll and the Lucky Die will be right there.
Lucky Dice Location #6
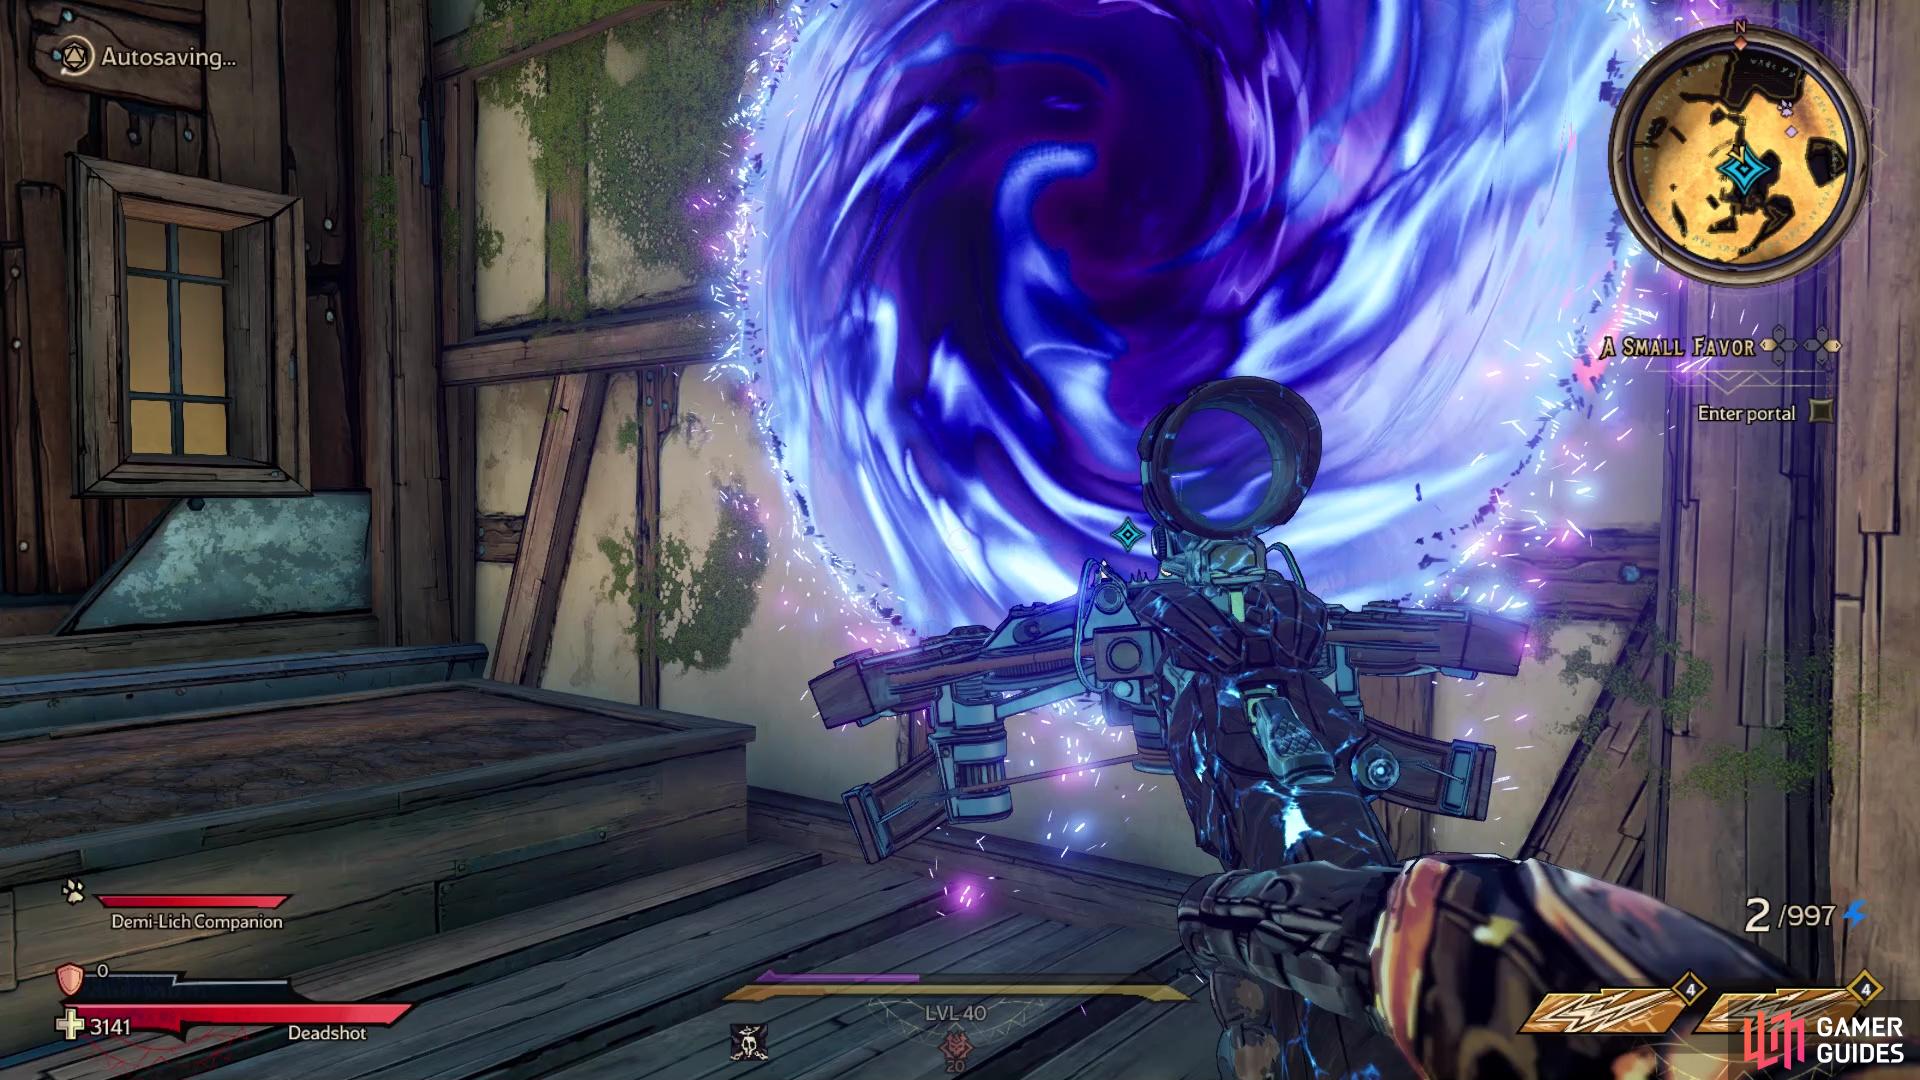
In order to get this Lucky Die, you will need to have logged the side quest called, A Small Favor, which can be started at the house on the island mentioned in #5. Once you begin, you will go through a portal and enter the home there. When you regain control inside the home, jump across to the table near your initial position to find the Lucky Die.
Lucky Dice Location #7
From the What’s Left of Driftwood fast travel station, head to the area to the east and at the end, you will find some mushrooms that bounce you to the island to the southeast. On the northern side of that island, there is a yellow marker, indicating you can jump up and mantle to that spot. Climb up there, then get a running start and leap to the roof of the nearby building. Once on the rooftop, look over the northwestern edge of the roof to find a balcony with the Lucky Die.
Lucky Dice Location #8
You will need to start Burning Hunger in order to access this area
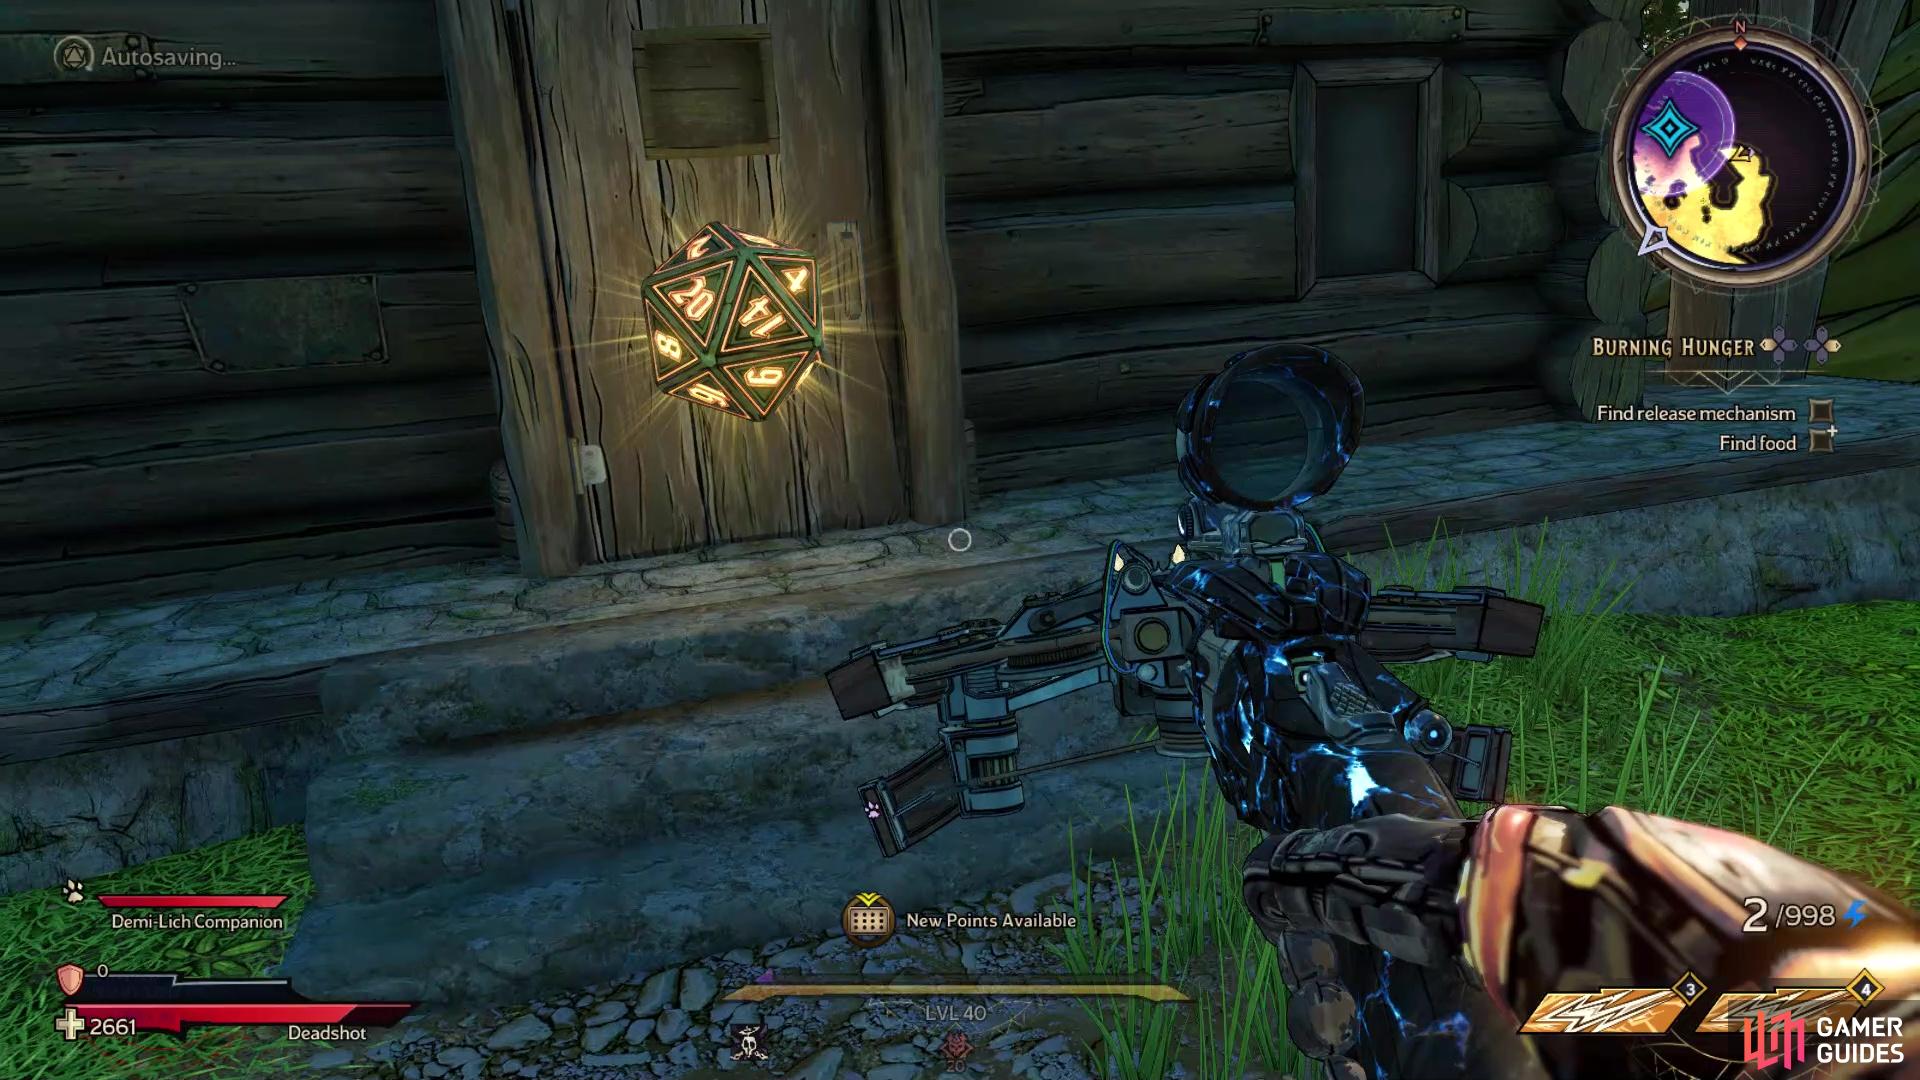
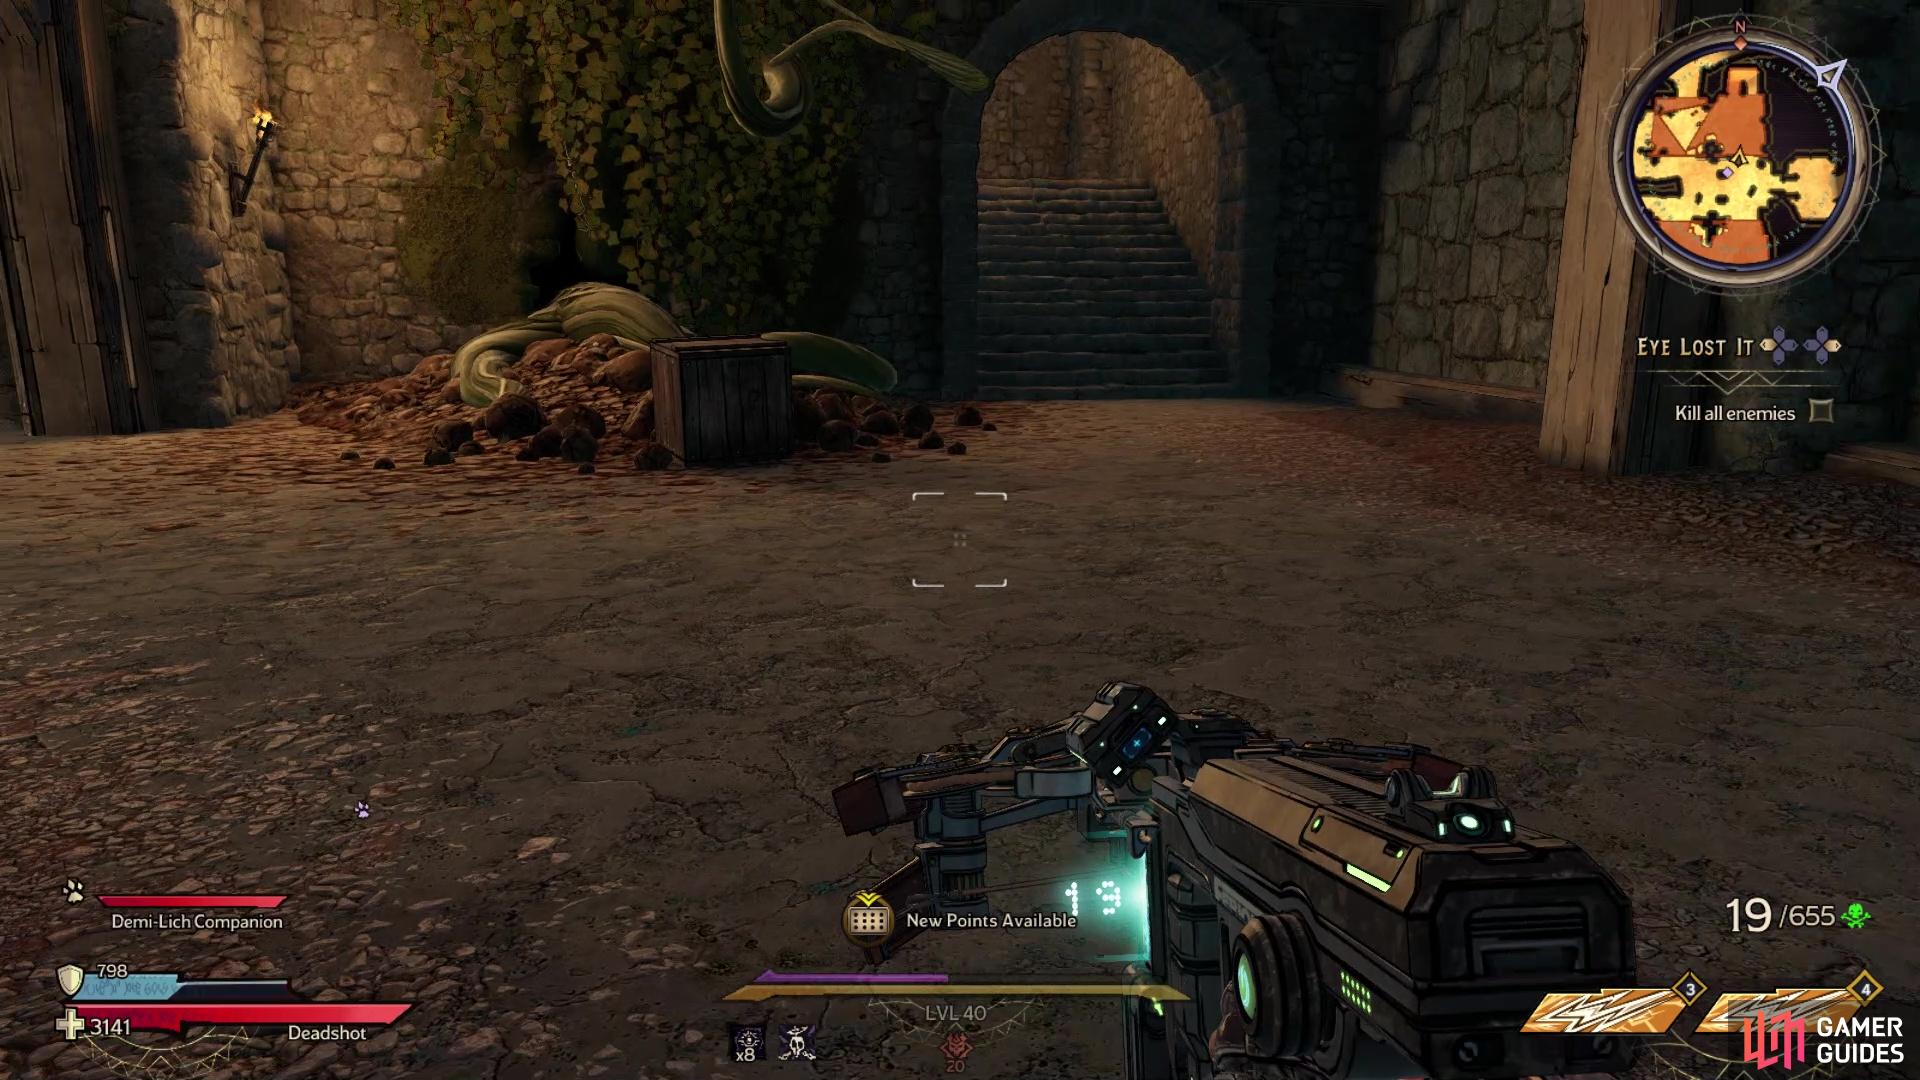
The Die is behind the house in the northeast corner
On the same island as #7, there is a mushroom on the eastern end that will put you on the next island to the east (area is called Chains of the Elder). Here, you can find the NPC who gives you the Burning Hunger sidequest. Begin the sidequest to be granted access to the rest of the island, as you will need it to find the Lucky Die. Go to the northeast corner of the island, behind the building, to find the Lucky Die.
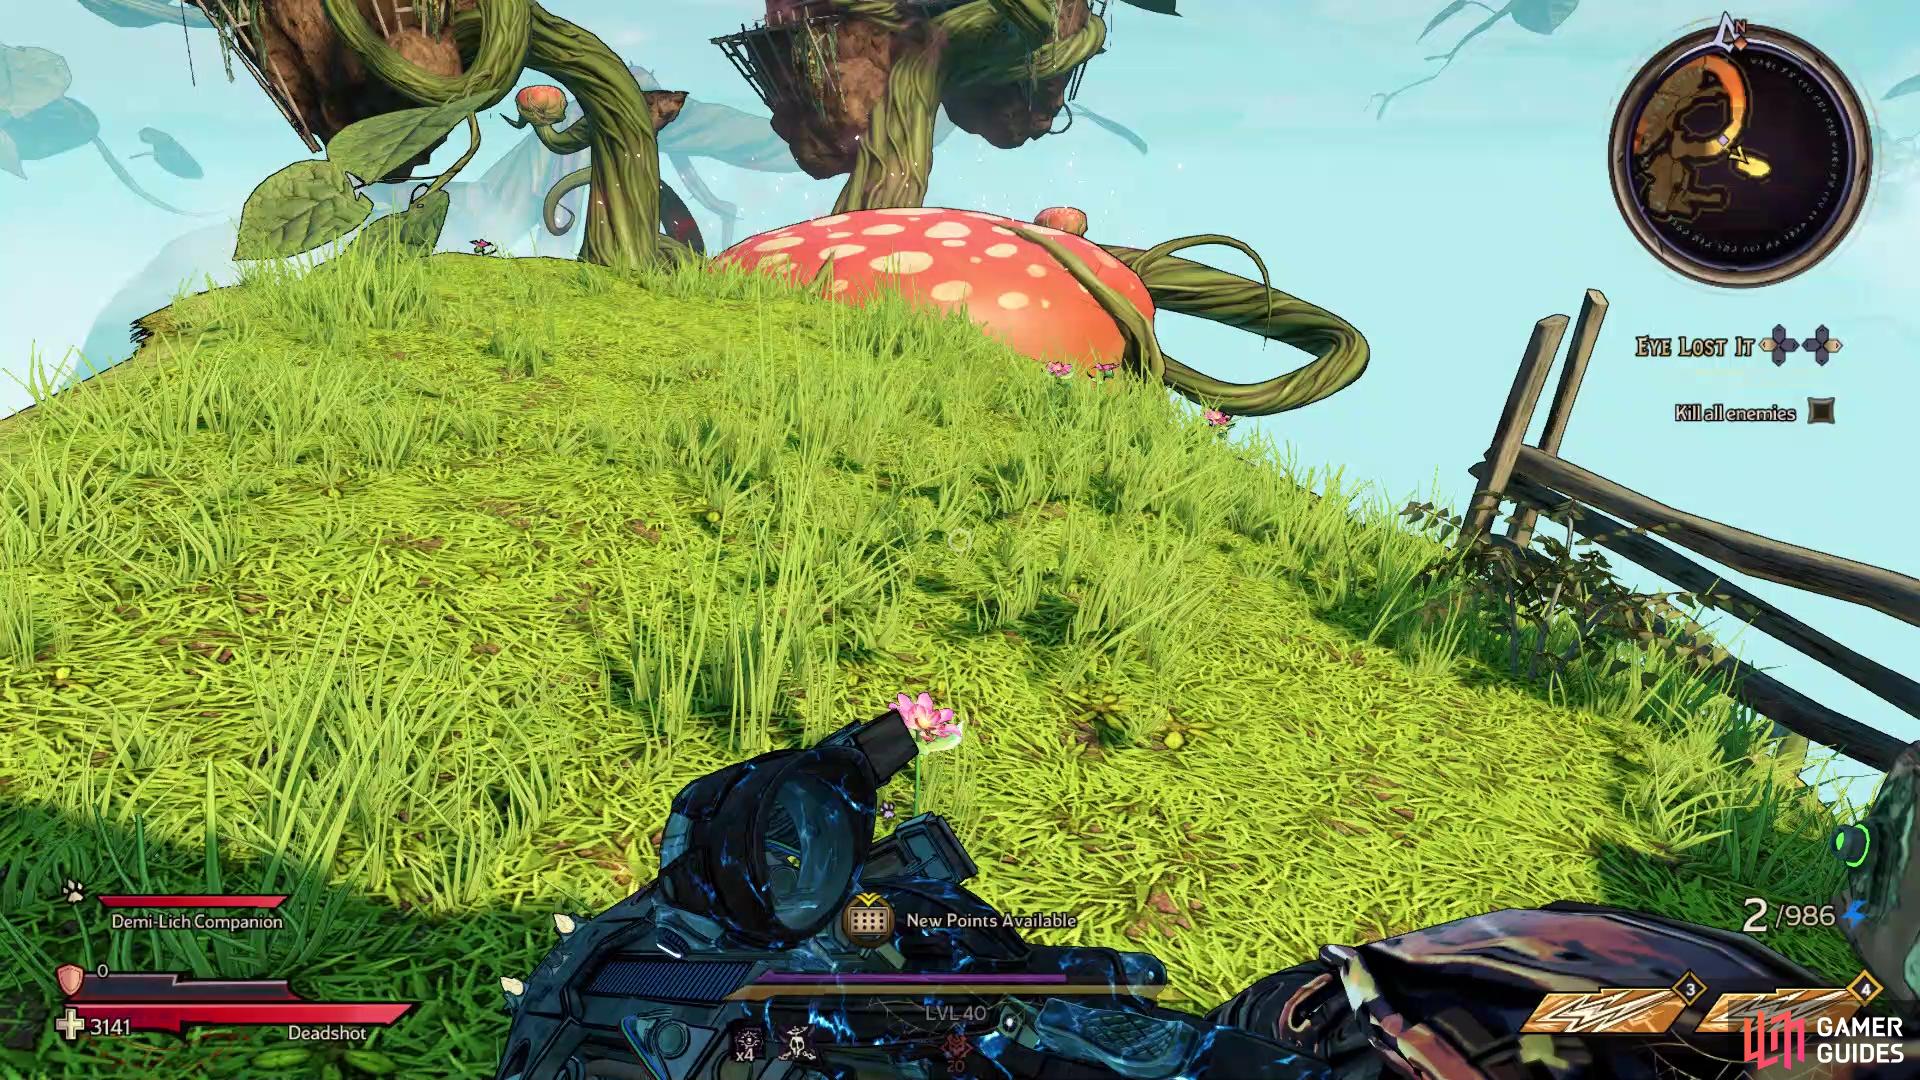
Lucky Dice Location #9
Go to this location on the map to find Lucky Dice #9
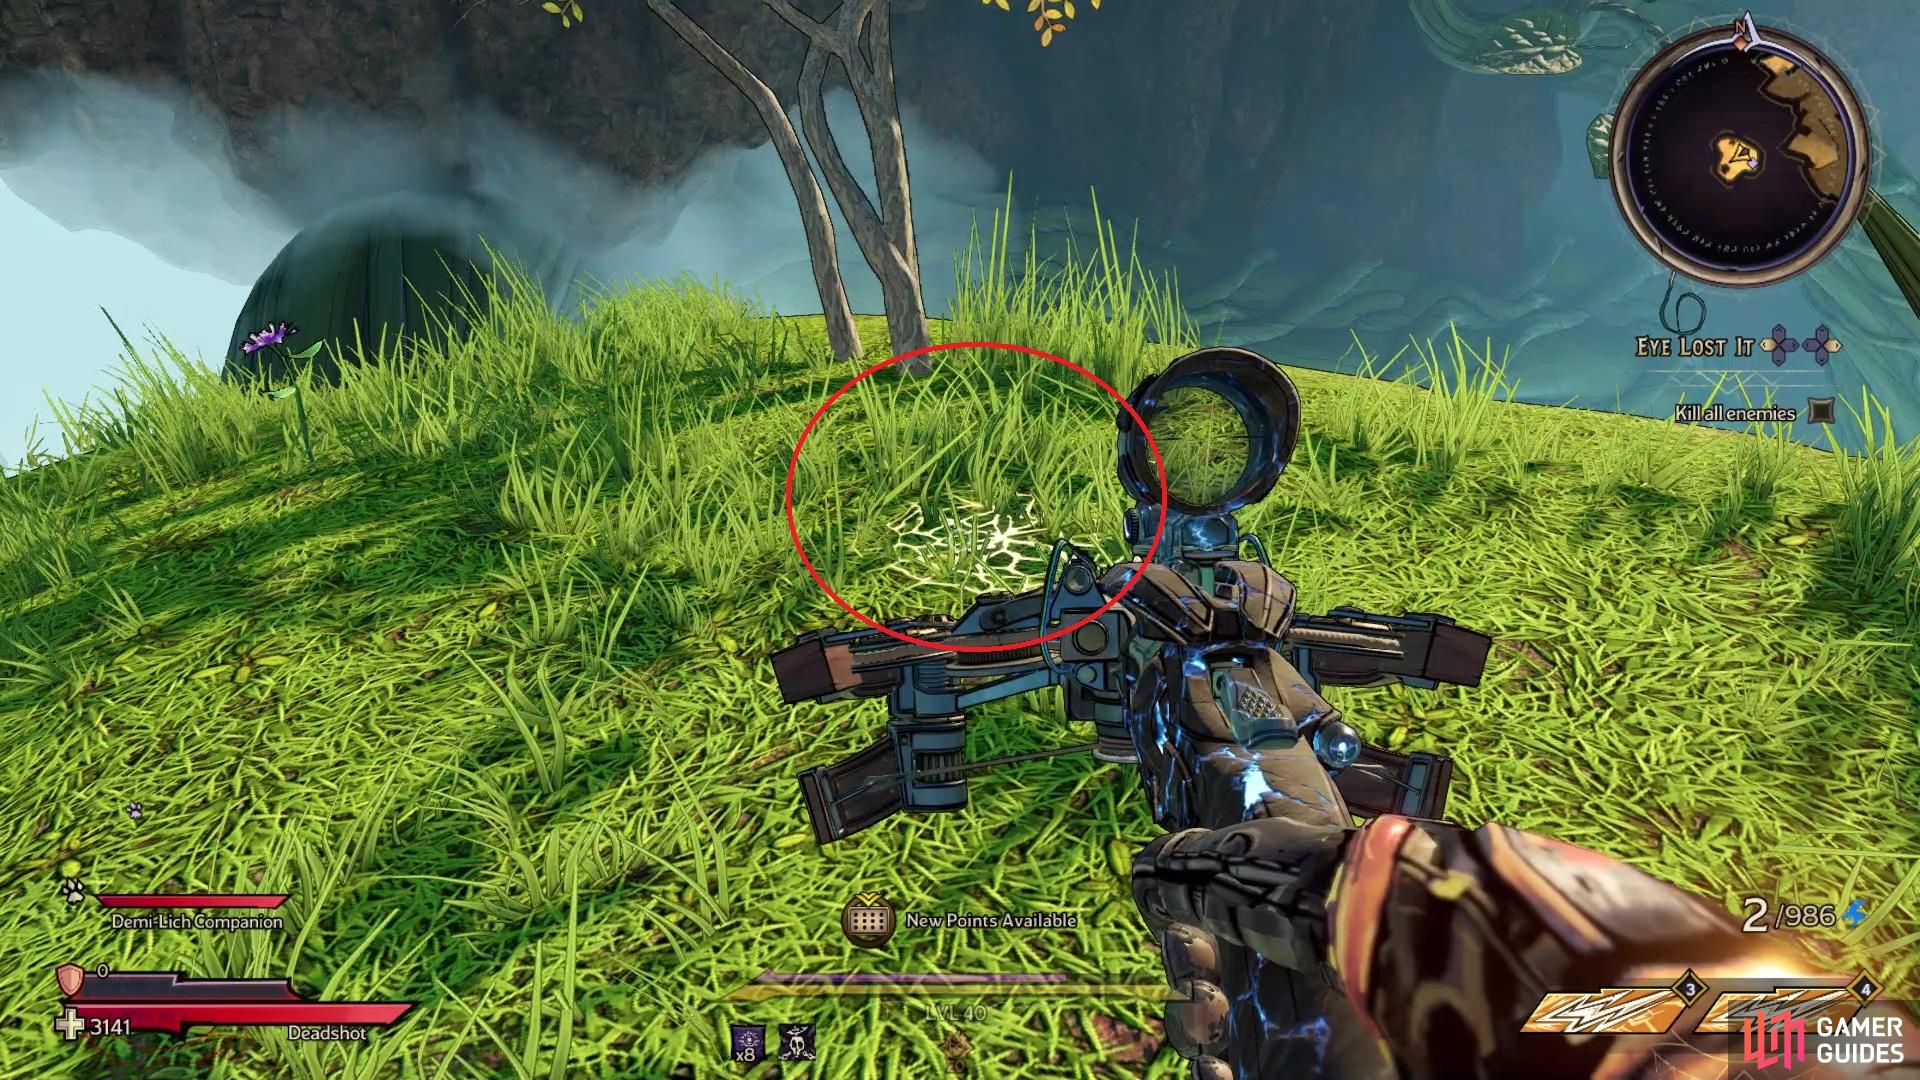
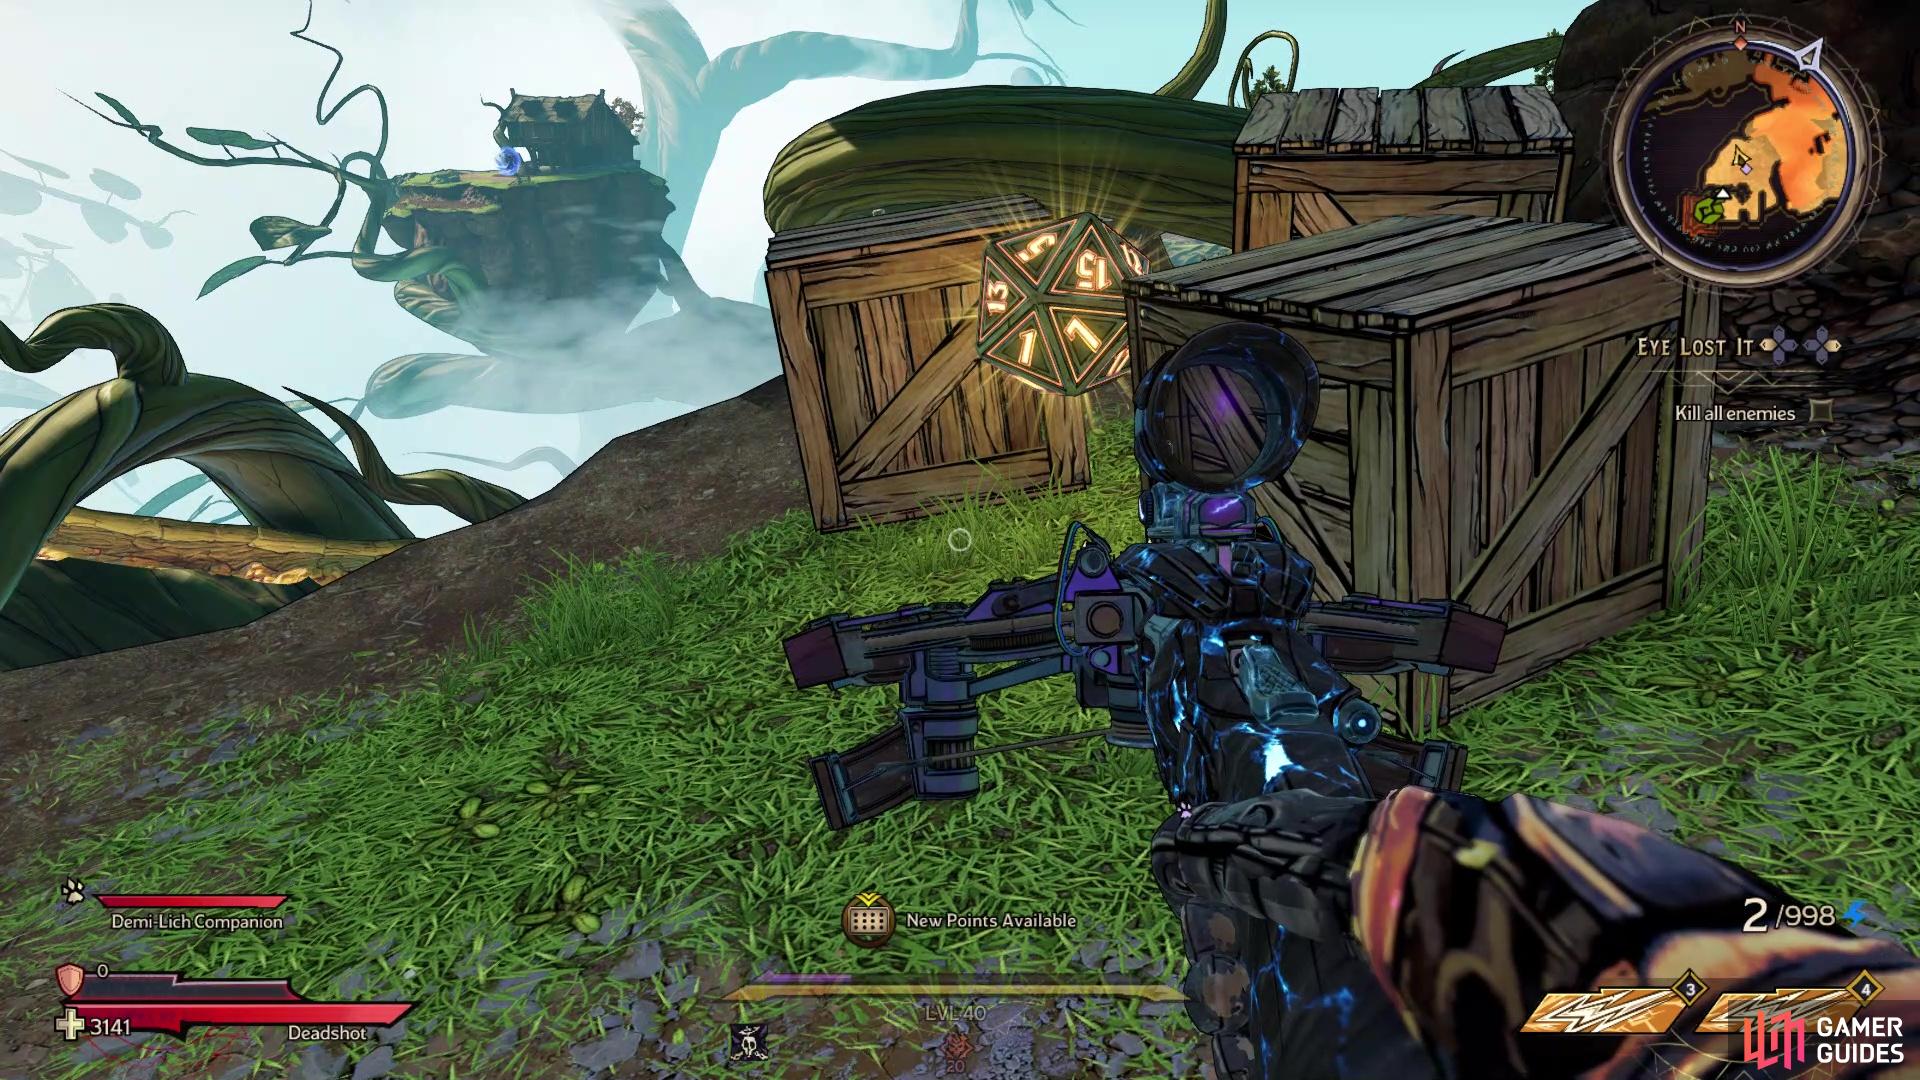
You will have to jump across some flowers to reach the island with the Die
After finishing up on the previous island in the above two Die spots, find the mushroom that will bounce you to the island just south of there. While here, journey towards that small, isolated island in the southwest portion. Jump across the flowers and on that tiny island will be the Lucky Die.
Lucky Dice Location #10
Upon finishing up with the previous Die, head to the southern end of the island and climb the flowers to reach a building. There will be another flower to climb here, with a slanted vine to walk up. Not far from beginning the ascent, there is a wooden plank leading to a small piece of land and another bouncy mushroom. This will bring you over to the small area to the southeast and the Lucky Die will be right in front of you as soon as you land.
Lucky Dice Location #11
You cannot access the inside of this house unless you are doing the Ron Rivote sidequest

The Lucky Die will be inside, behind the counter
During the previous Die location, you will want to climb the rest of the way up the vine, then jump down to the next spots that take your southwest, eventually taking the mushroom at the end that brings you large landmass to the west. Here, venture south and find the NPC that gives you the Ron Rivote sidequest, starting it. Go through the quest until you have to run to the “castle,” which will open up a door to the inside of a house. Inside that house, you will find the Lucky Die behind the counter.
Lucky Dice Location #12
Return to the northern section of the large landmass and venture west, where you should fight some skeleton enemies. If you look at your map, you should see a decently-sized island that you can’t explore on the ground, on the southern side. There are some ledges on the side that you can use to climb up to this piece of land. At the top, you will see the Lucky Die waiting in plain sight.
Lucky Dice Location #13
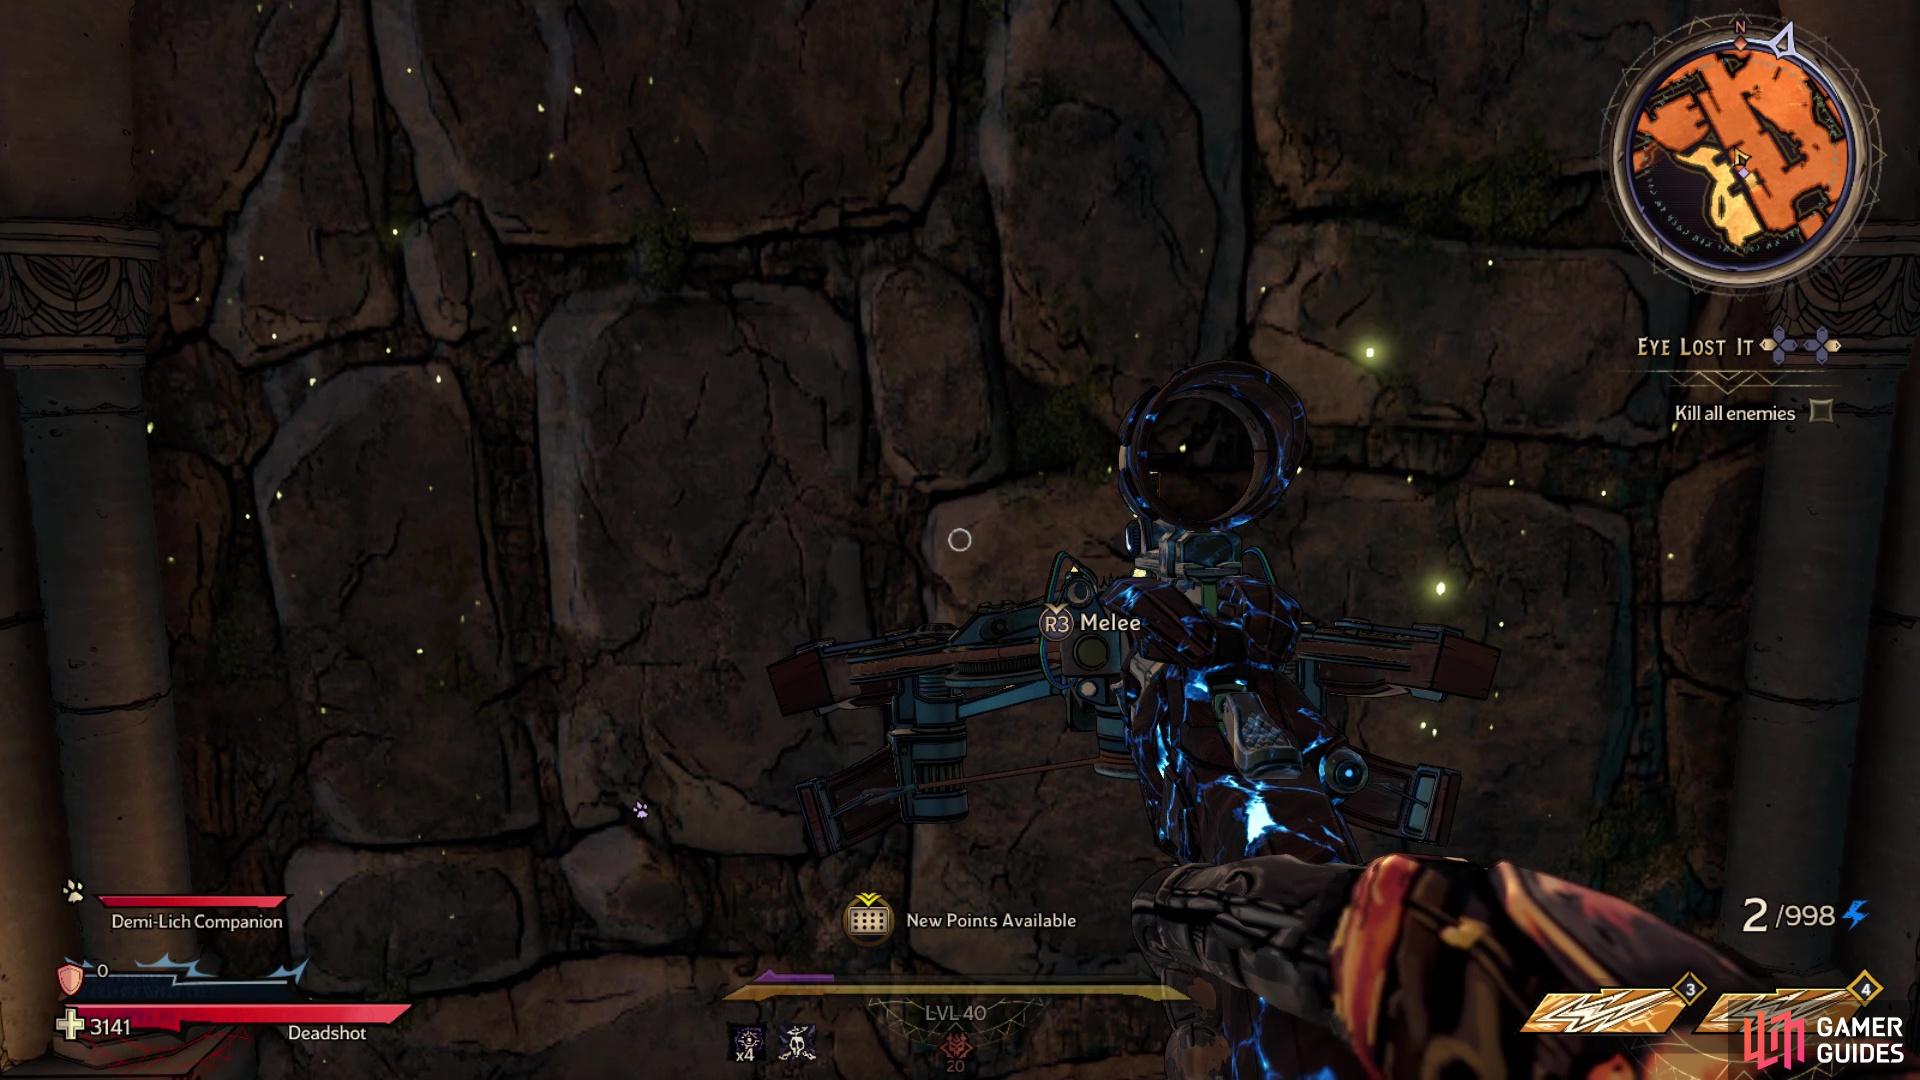
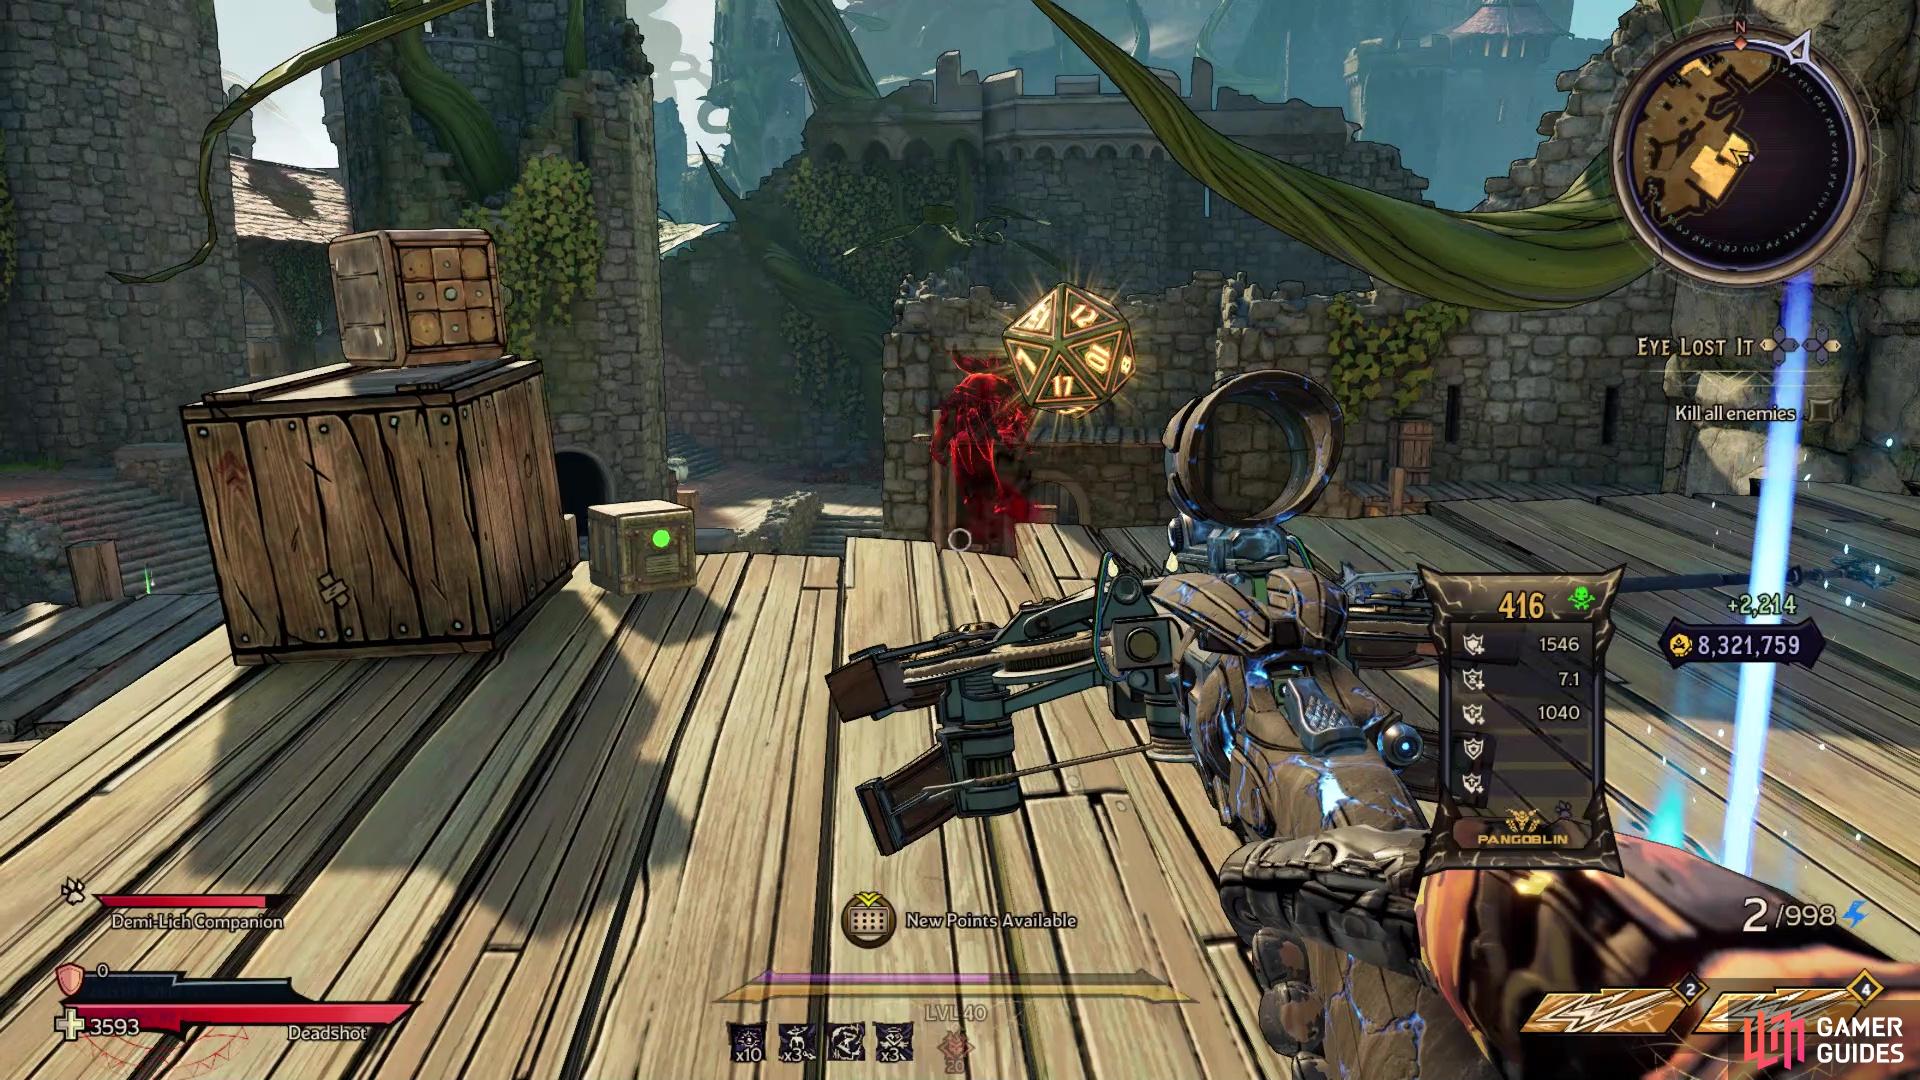
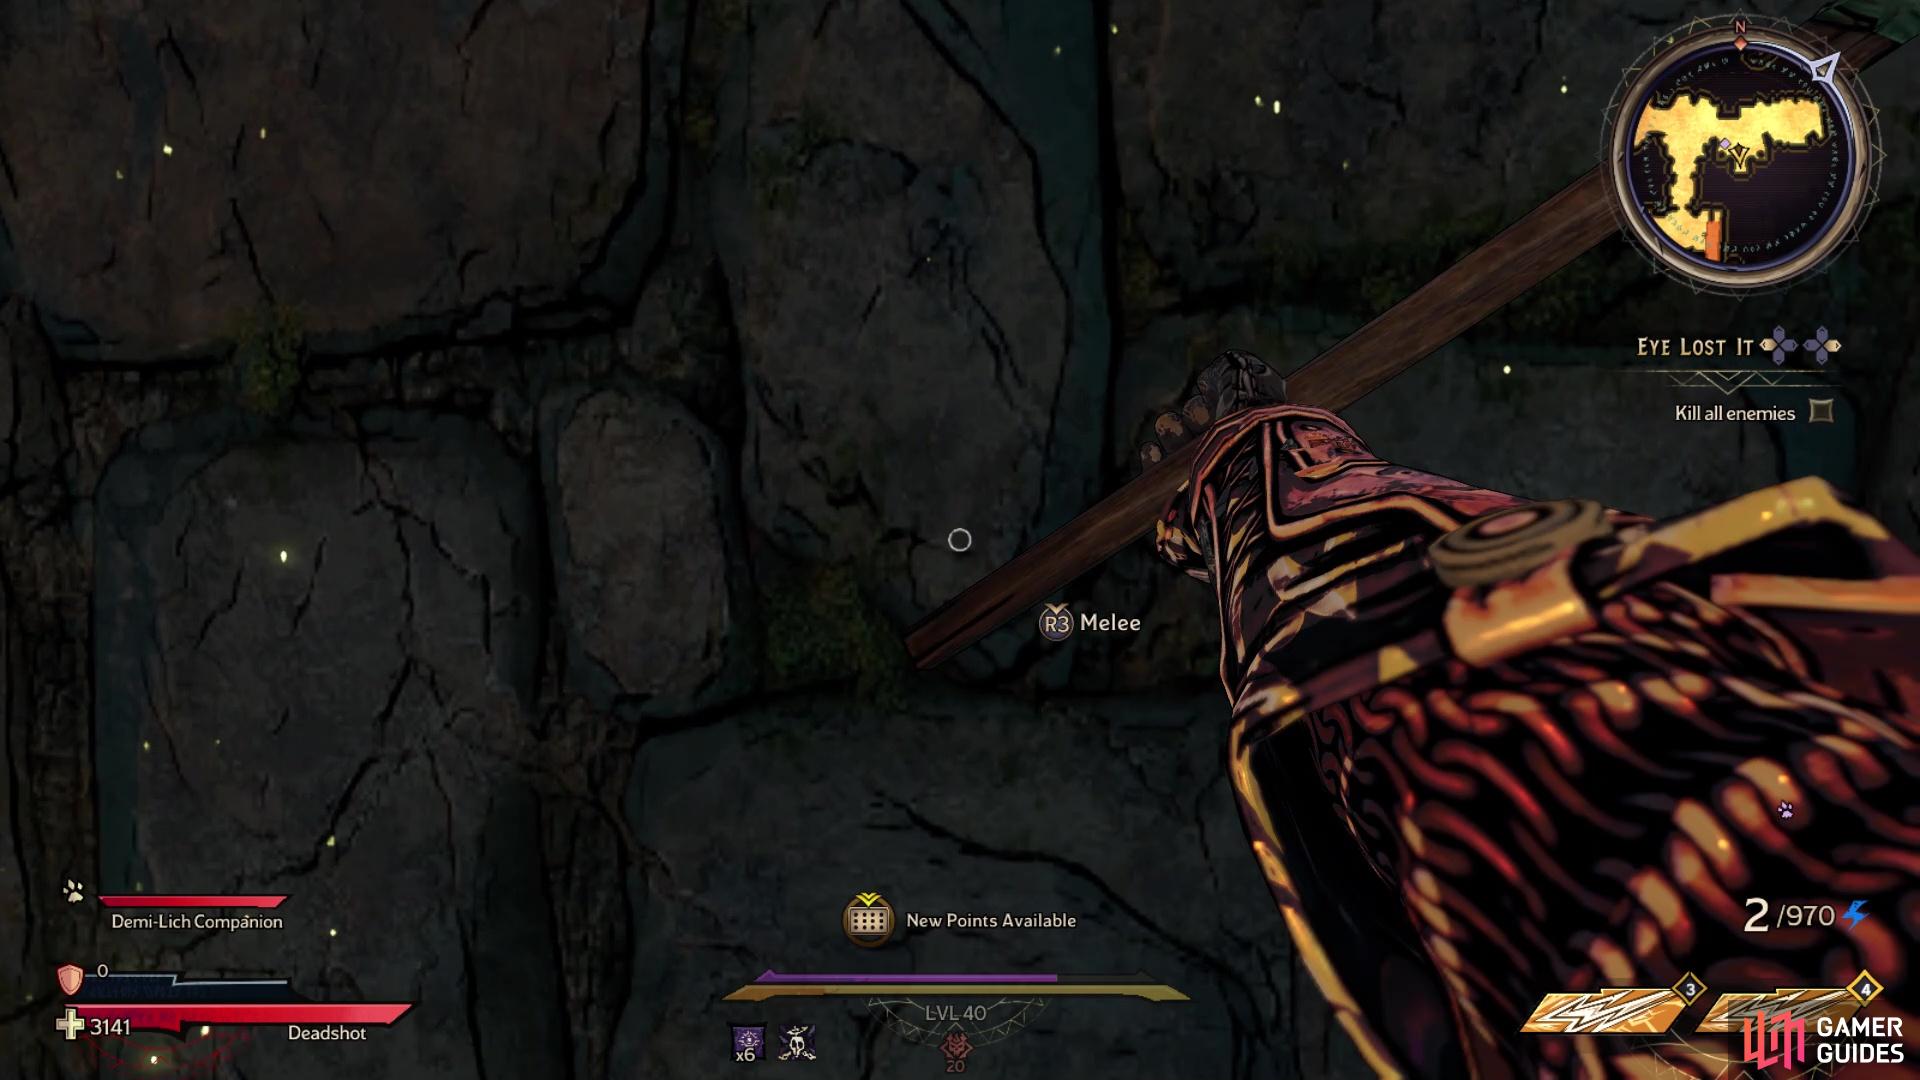
Continue west from the previous Die until you reach the front of the large building. Clear the area, then enter through the main door in the front. As soon as you enter the main portion, turn west and look for the stairs leading down. At the bottom of the stairs, you should see that the one wall here is sparkling. Melee it to reveal a hidden compartment, and the Lucky Die.
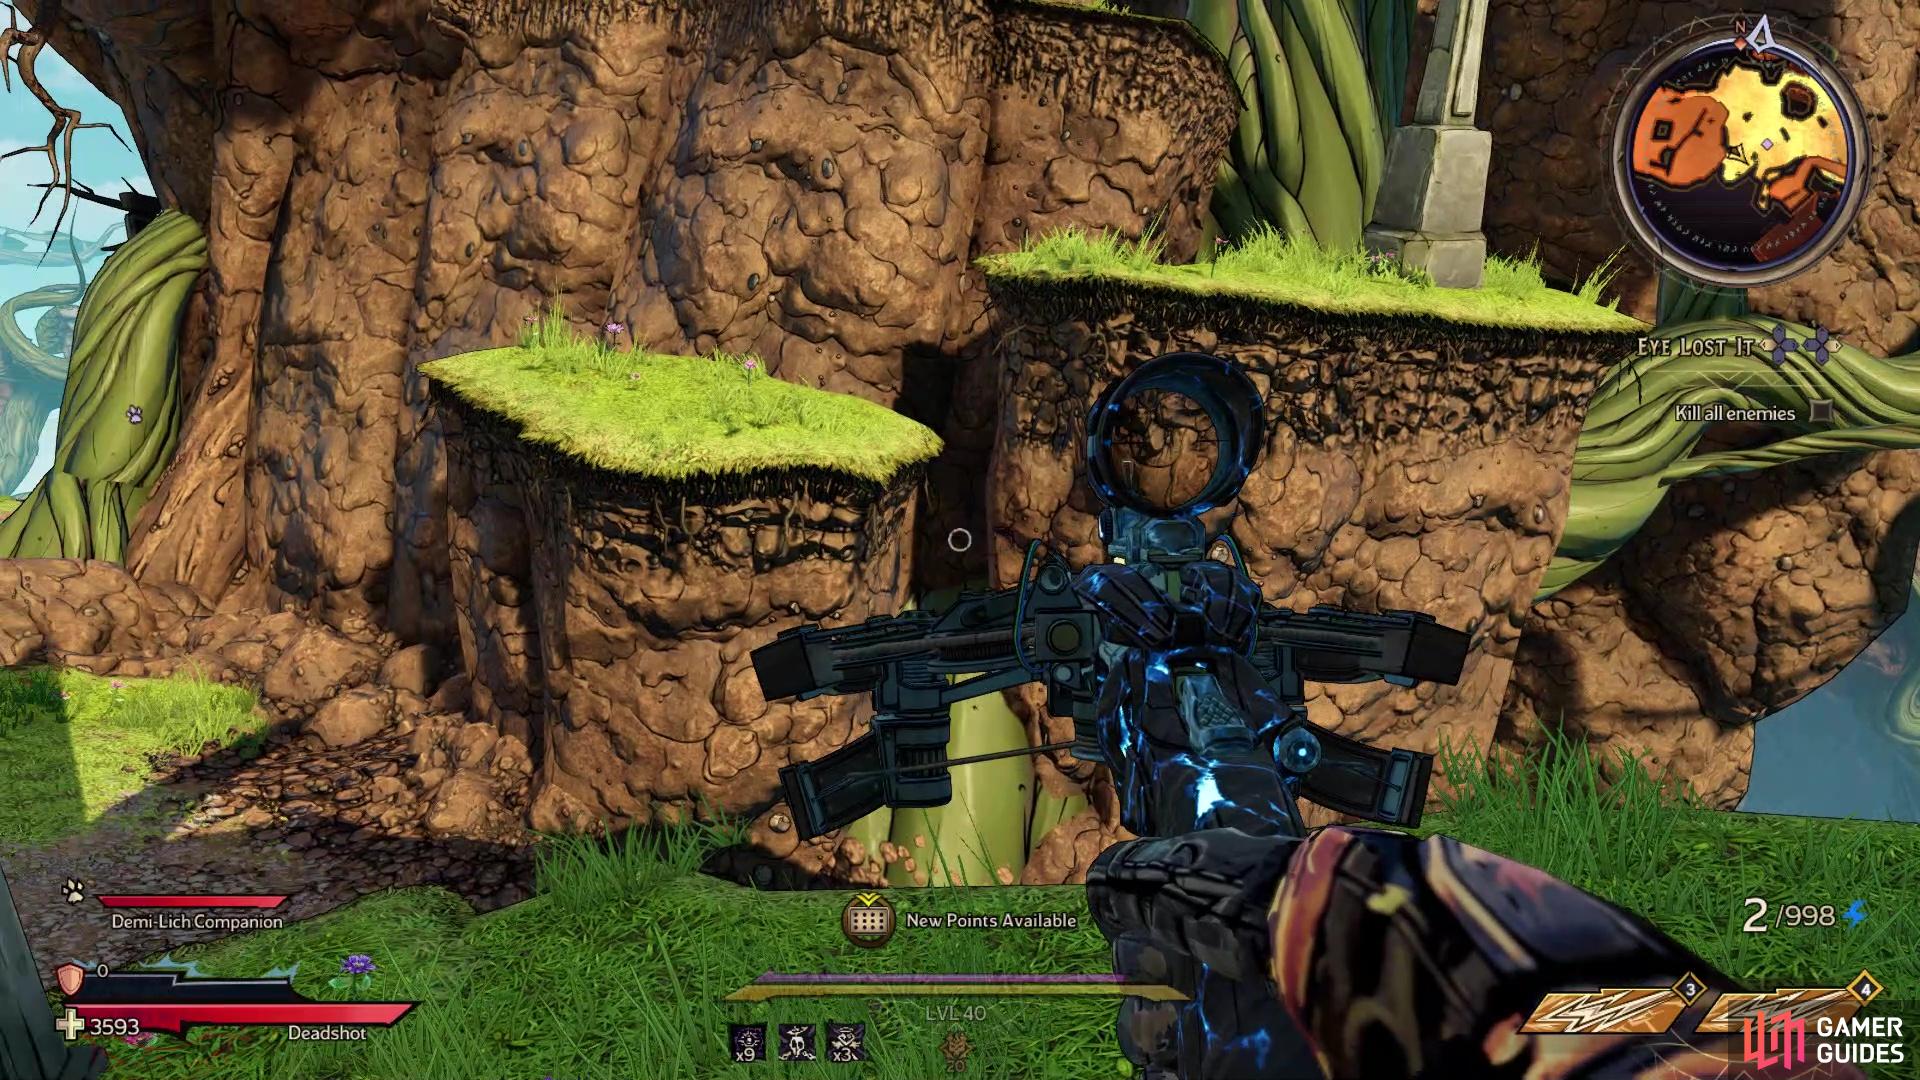
Lucky Dice Location #14
On the western side of the large building, inside, there will be some small flowers you can use as platforms. They lead to a ladder you can climbing, allowing you to access one of the balconies. While on that balcony, hop over to the next balcony via the flower, where you should see the Lucky Die in the small room.
Lucky Dice Location #15
Go to the top of the cathedral (the large building), by the vending machines, where you should have a fast travel station (Murder Church). From that spot, go outside and over to the slide. As you are going down that slide, you should see some wooden planks off to the side, not far from where you start. You will need to jump on that platform, so if you miss, wait until you can open your map and go back to the Murder Church fast travel. Once you make it, follow this path around the side of the building, until you can jump back inside via a broken window. Inside that room will be the Lucky Die in the fireplace.
Lucky Dice Location #16
Go to this location on the map to find Lucky Dice #16
Climb up to this ledge in the first area of Upkeep Keep
Return to the Murder Church fast travel and take the slide down this time, to the next area (Upkeep Keep). In the first area of the keep, there is an area to the southeast, so head on over there. On the southern side are some stairs, leading to a ledge you can climb, and the Lucky Die.
Lucky Dice Location #17
Go to this location on the map to find Lucky Dice #17

Jump to this spot on the vine bridge to reach this Die
After collecting the previous Die, proceed through the keep like normal, until you are on a long vine bridge outside and see some Wyverns. There is a spot on this vine bridge, where you can drop/jump down to a lower portion. Do that and carefully wait for the wind gust to dissipate before grabbing the Lucky Die at the end.
Lucky Dice Location #18
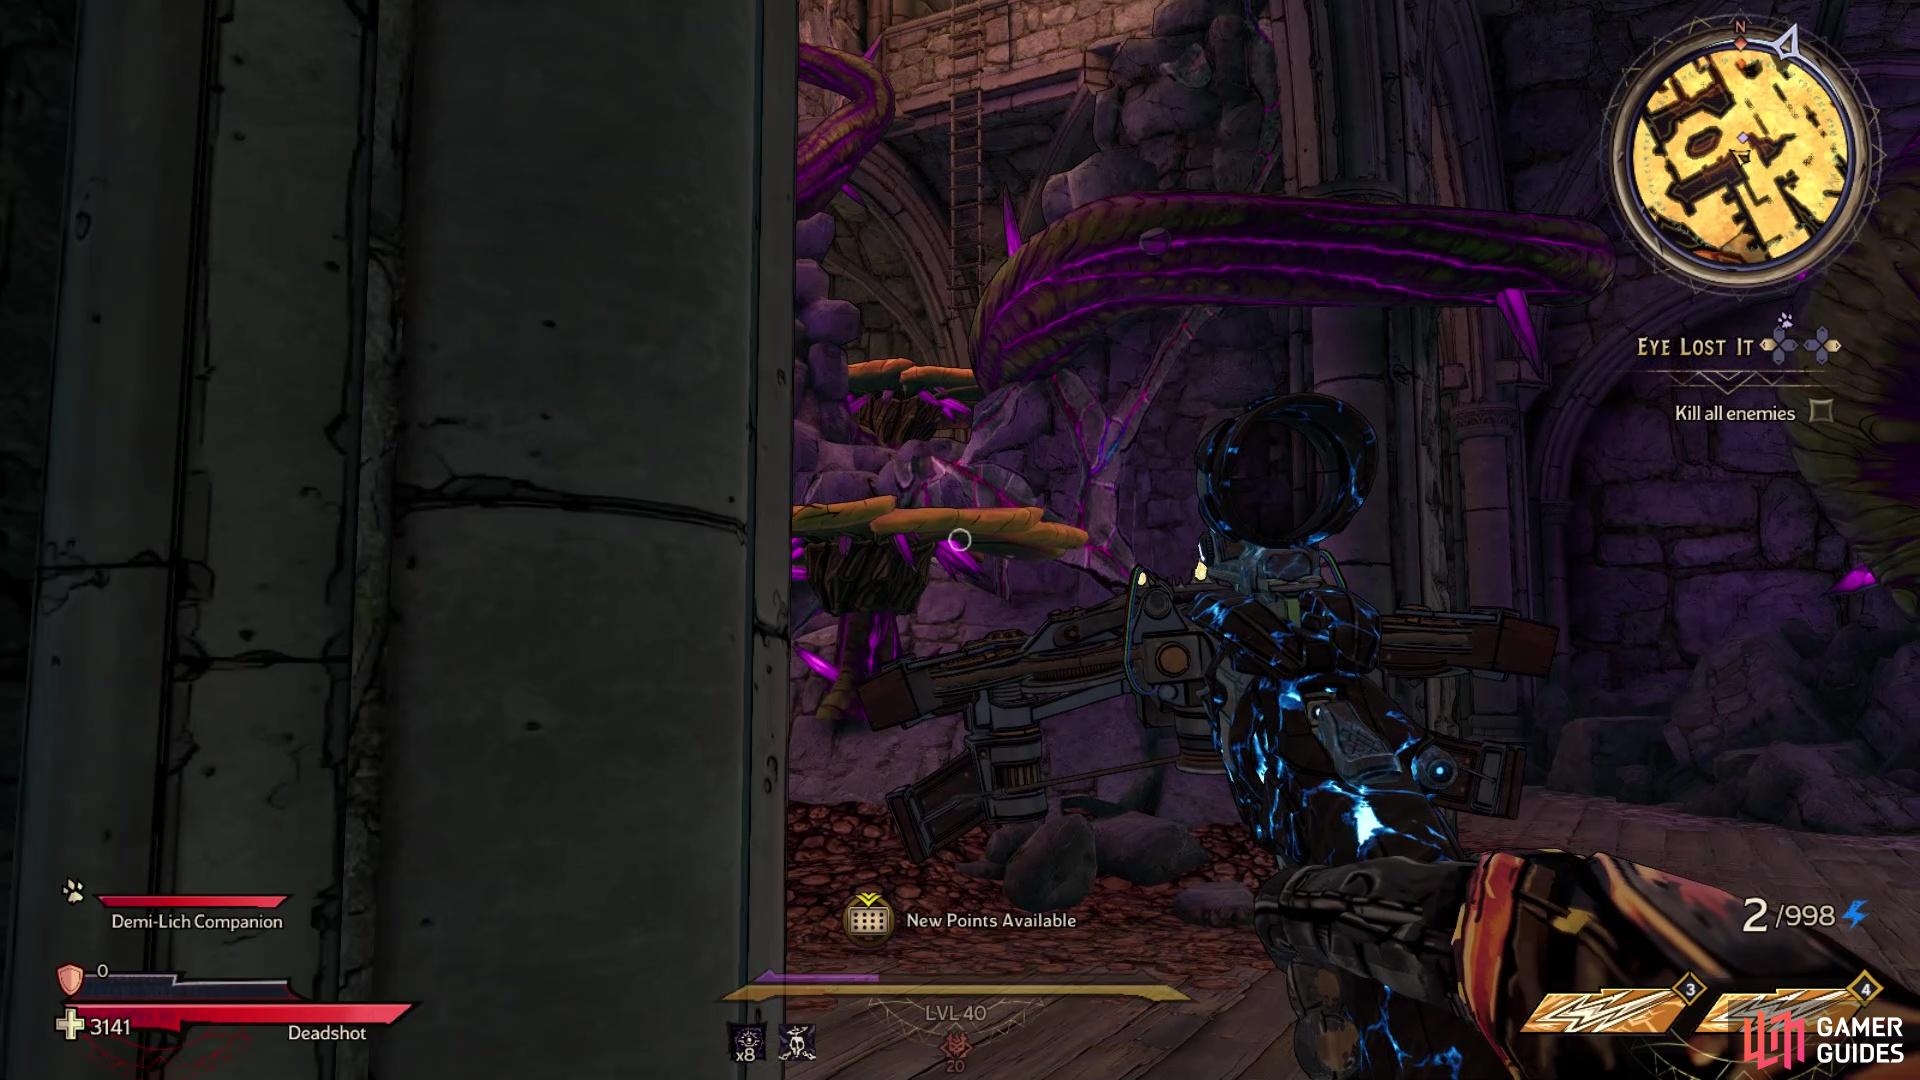
Continue through the keep until you reach the respawn station, which is at a fork in the road, where you can either go east or west. Head east (should be wind blowing here) and check the southern wall, which should be sparkling. Melee it to reveal a hidden compartment with the Lucky die.
Lucky Dice Location #19
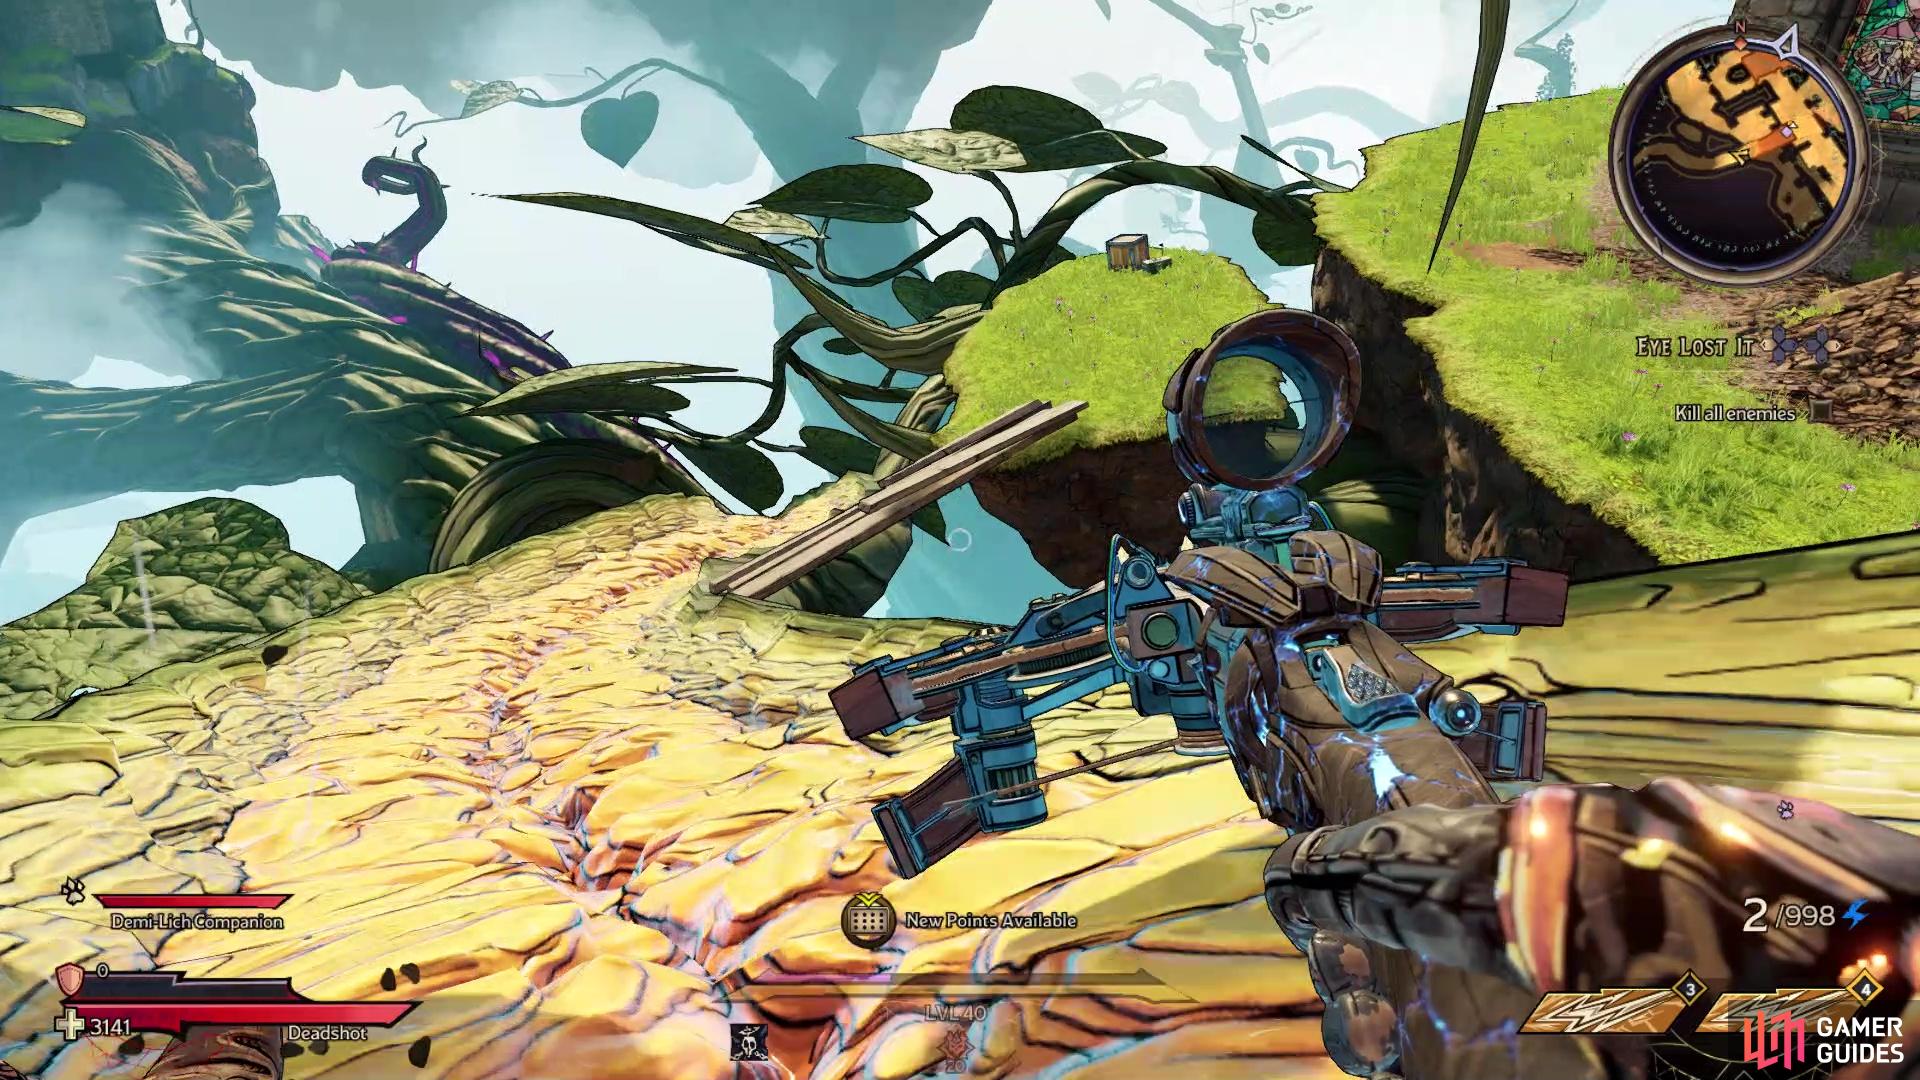
Return to the fork in the path described in the previous Die’s location and head west this time. As soon as you enter the last area here (there will be a big fight), look north to see some stairs. Go up them, then use the flowers to cross to the upper area on the southern side, where you will find the Lucky Die.
Lucky Dice Location #20
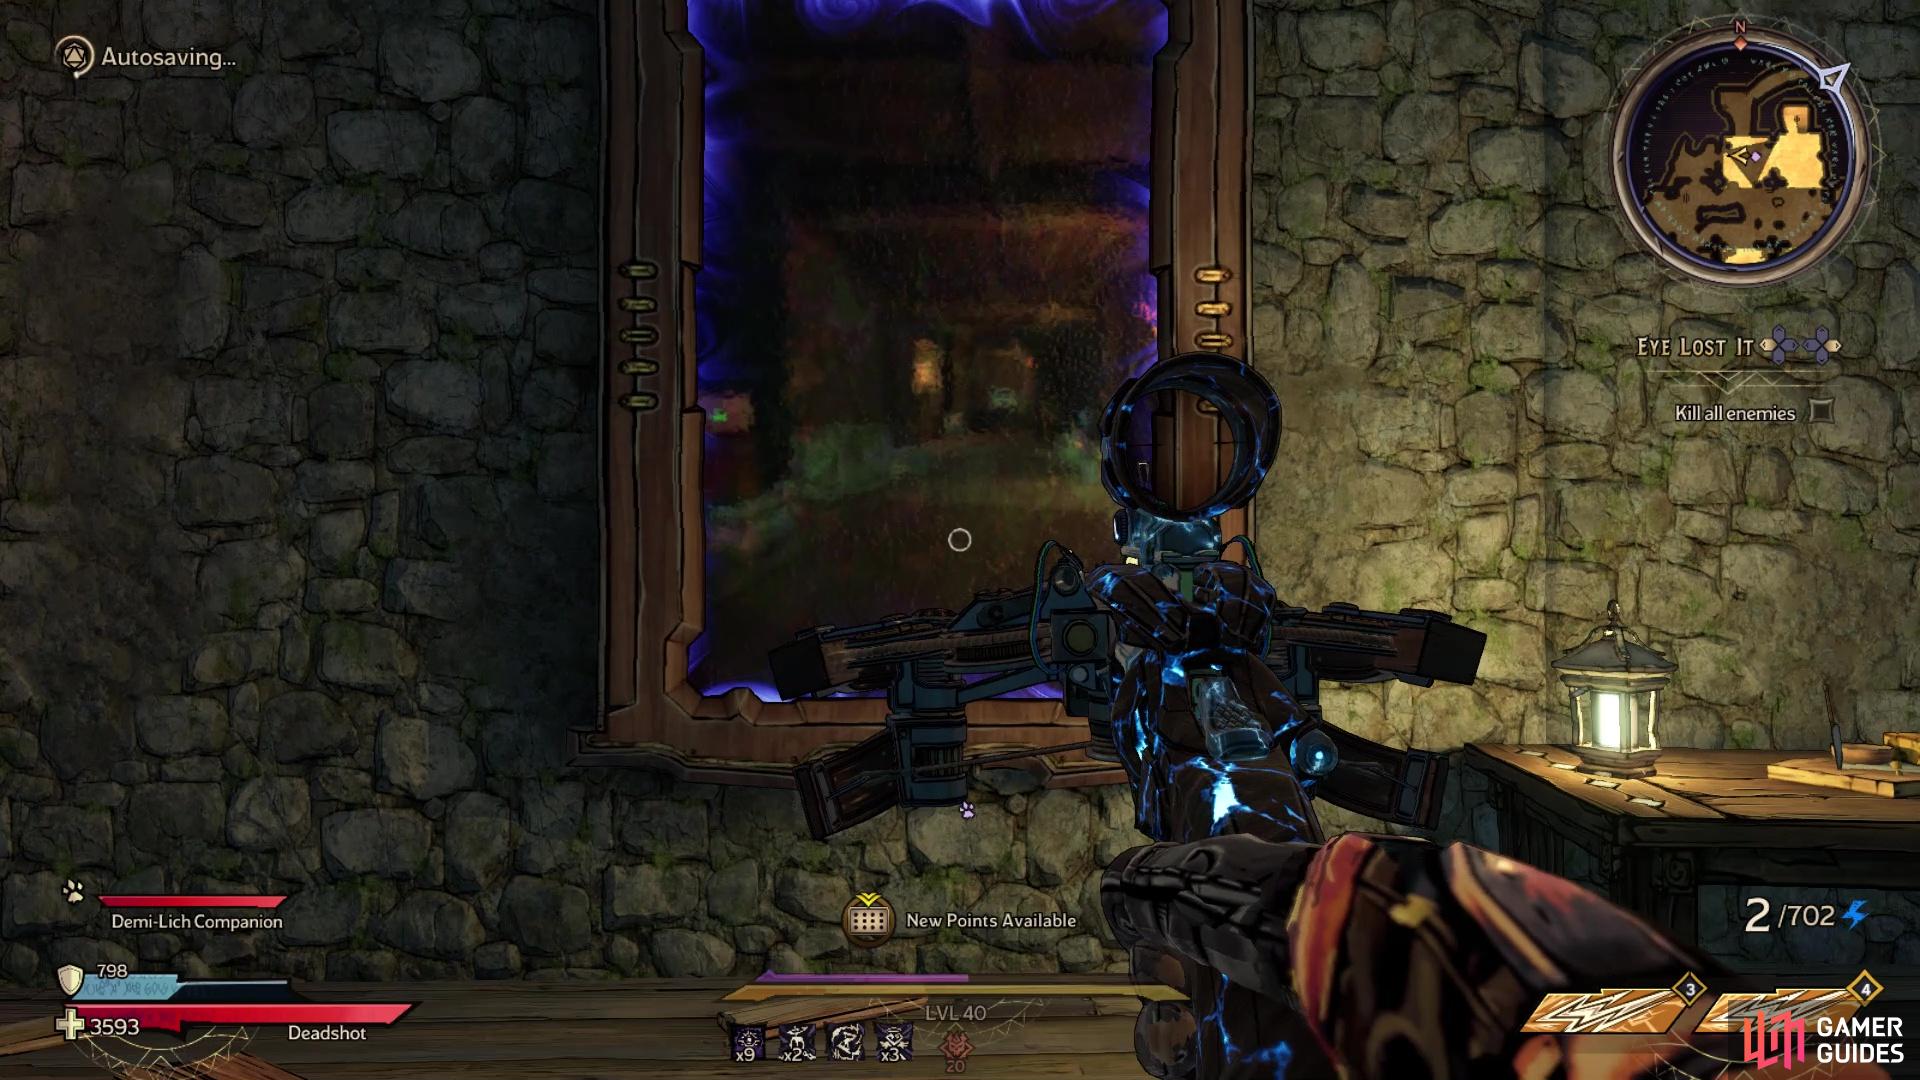
Double back to the other side of the upper area mentioned above, which you can get to by using the same stairs. On the western end, you should see a special mirror, that if you approach, will teleport you to some hidden area. The Lucky Die will be in this small, hidden area.
Lucky Dice Location #21
In order to get this Scroll, you will need to have progressed the Walk the Stalk sidequest to the point you fight the Parasite boss. After defeating it, you will see a portal in the arena, so take it. You will appear on a small island that is inaccessible otherwise, with some loot chests and another portal. Ignore that portal and look on the side of the house here to find the Lucky Die.
No Comments