
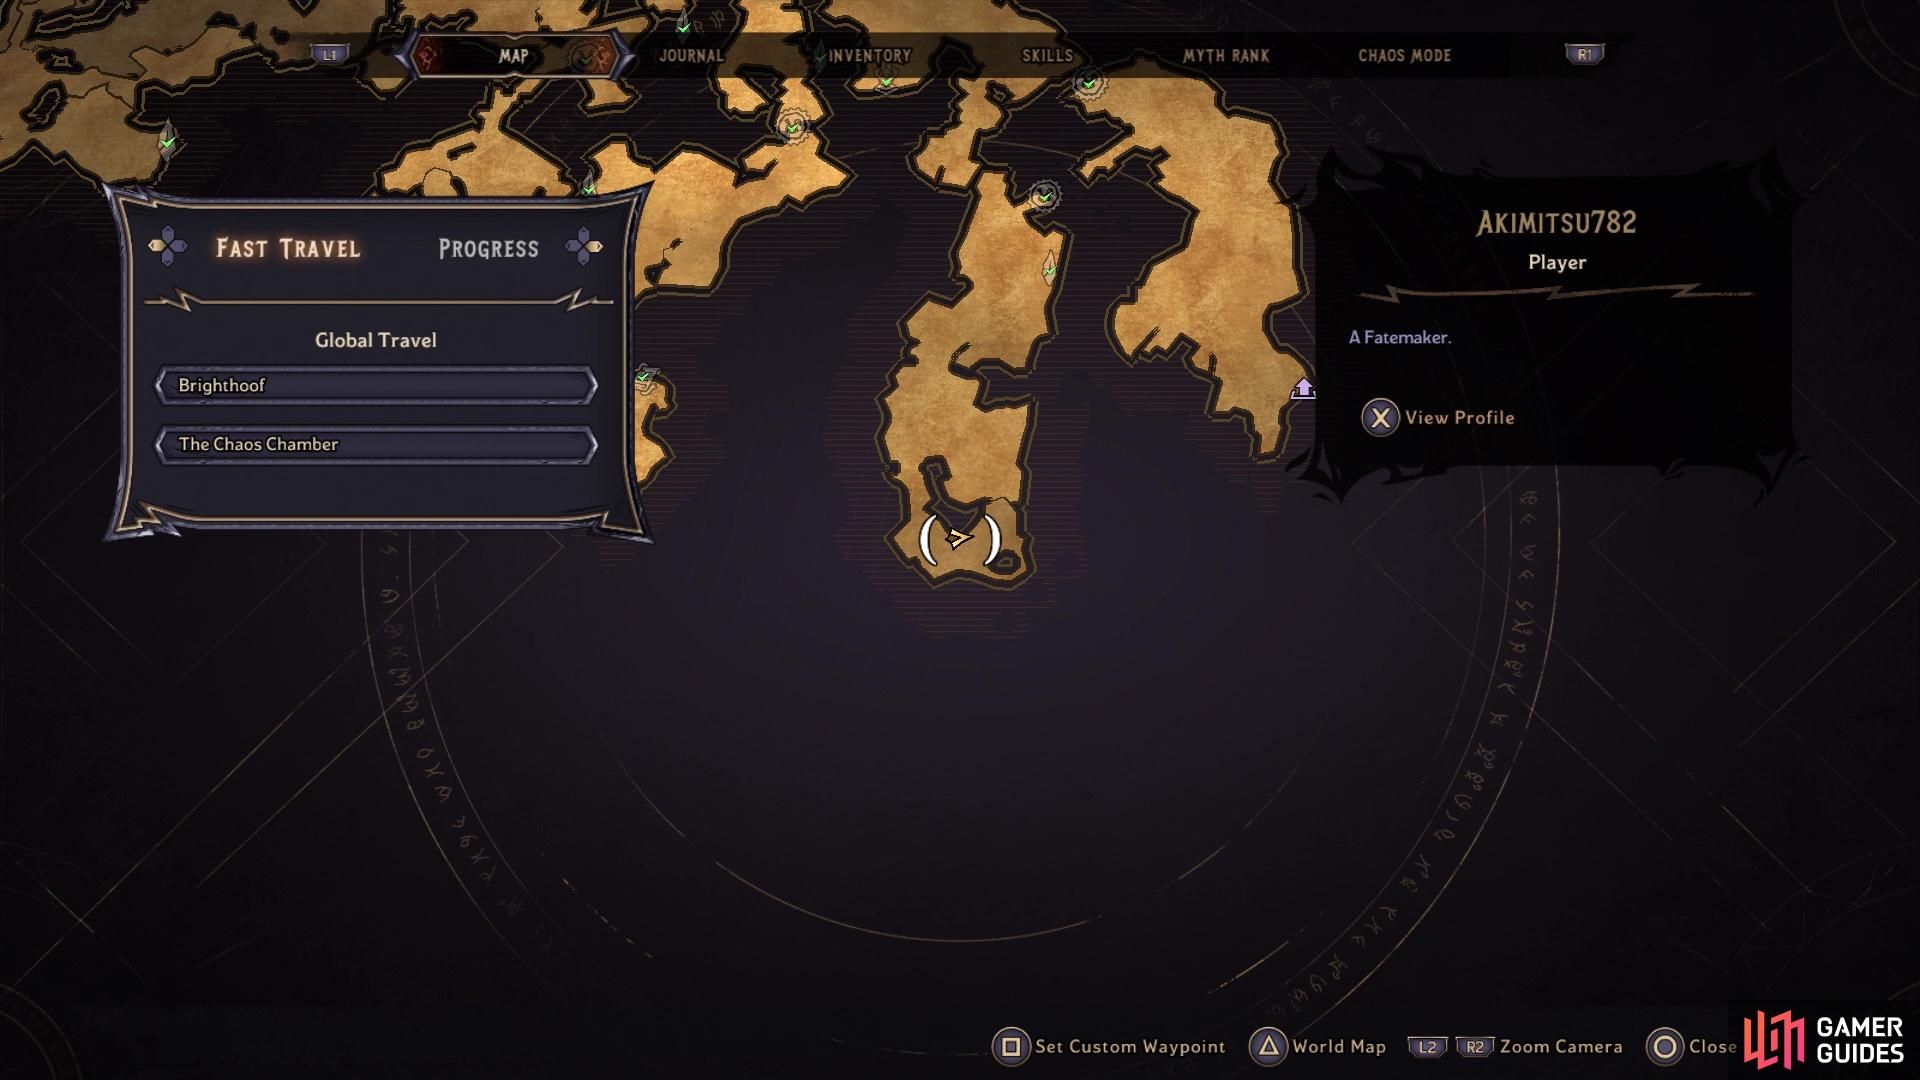
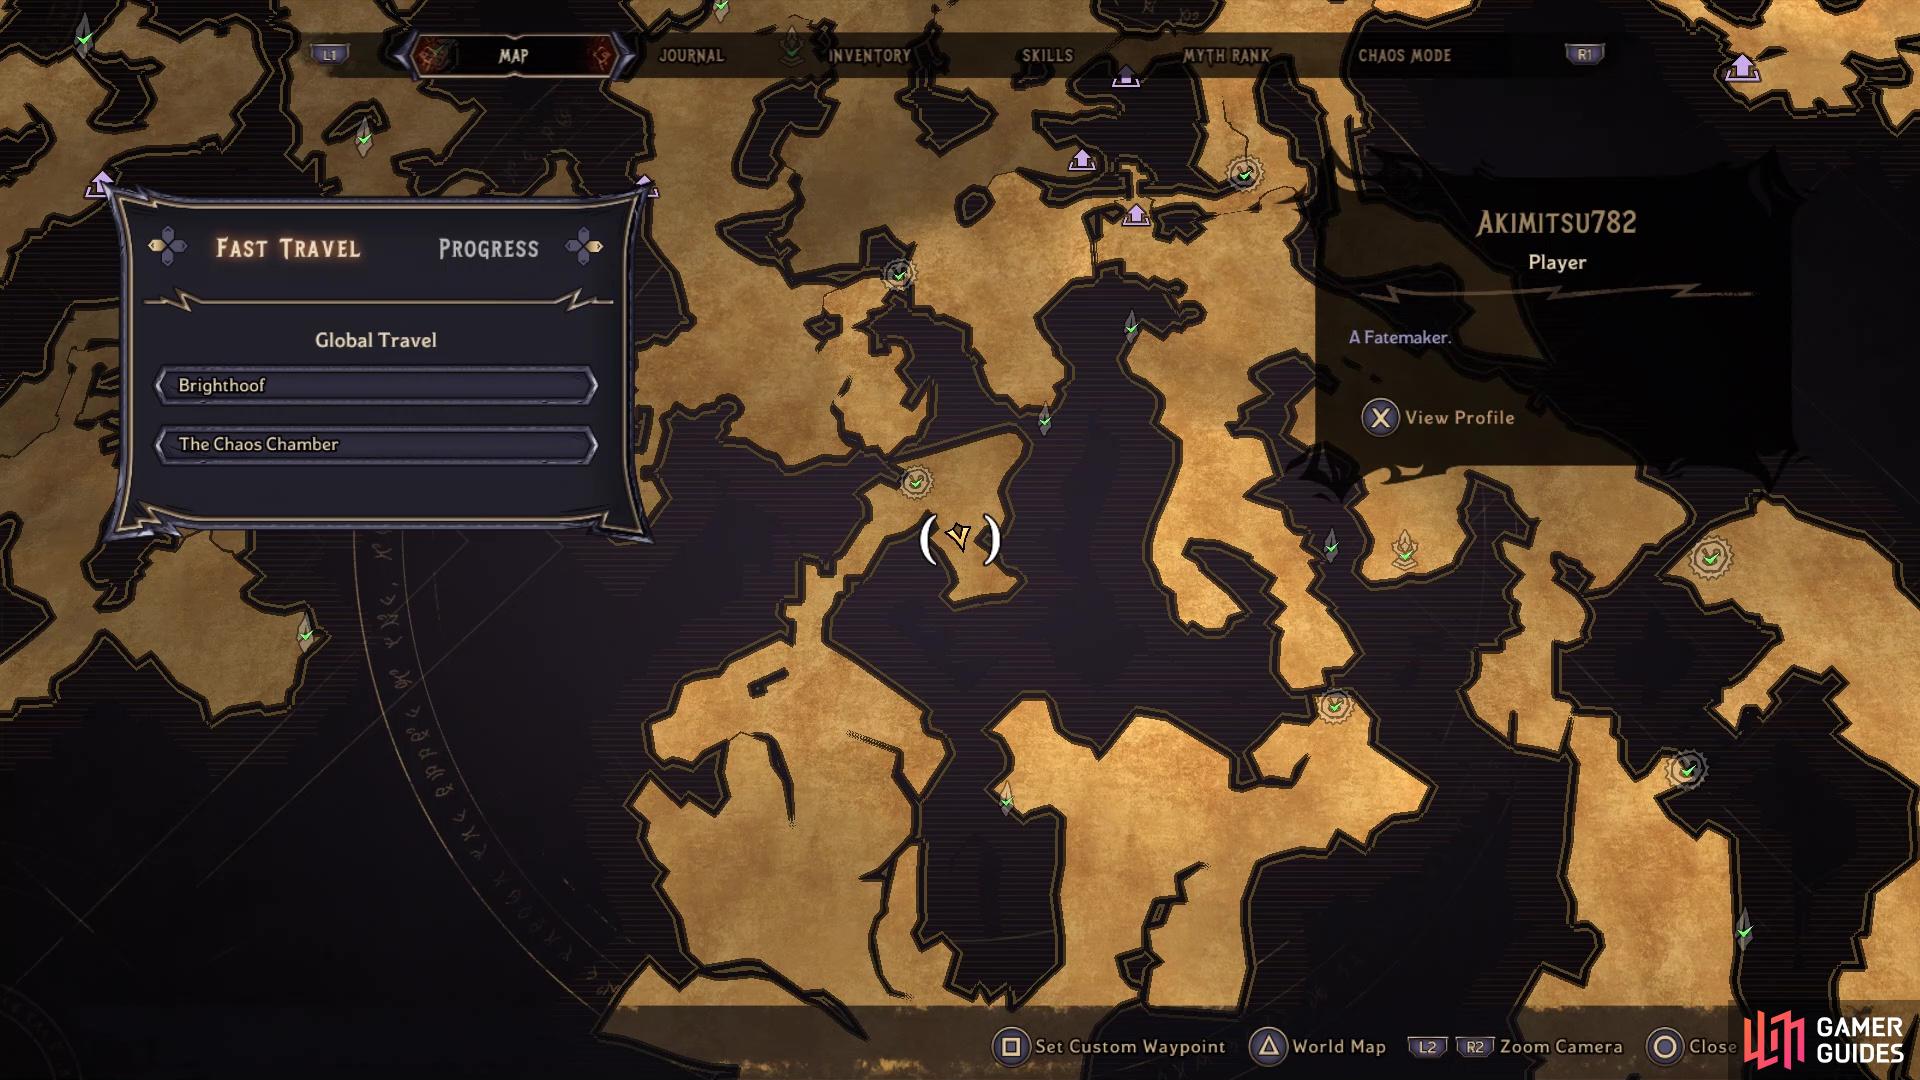
Lucky Dice is one of the collectibles that can be found in Tiny Tina’s Wonderlands. They are golden models of D20s used in tabletop gaming and upon finding them, randomly roll a number from 1 to 20, determining the kind of loot you get from them. Finding Lucky Dice will also increase your Loot Luck stat. This page will detail the locations of all the Lucky Dice on the Overworld.
Lucky Dice Location #1
Lucky Dice #1 on the map
Lucky Dice #1 in the game
You will see the first Lucky Dice behind some logs as soon as you arrive on the Overworld for the first time. However, you won’t be able to get it straight away. Progress the tutorial on the Overworld a little bit farther, then backtrack once you learn how to use your melee attack on the Overworld.
Lucky Dice Location #2
In order to get this one, you will need to have completed the Working Blueprint side quest. You will gain access to this after finishing up the events at Brighthoof, and have to venture to the Weepwild Dankness area. Finishing the side quest will repair a bridge that was once there, allowing you to access a new area of the Overworld. Cross the bridge, go up the hill, then look for a wooden sign that points you towards Mount Craw. Pass through the tall grass nearby, bust through the logs with a melee attack, then enter the little dungeon behind it. Upon completing the dungeon, you will be on the other side and the Lucky Dice will be right in front of you.
Lucky Dice Location #3
Lucky Dice #3 on the map
Lucky Dice #3 in the game
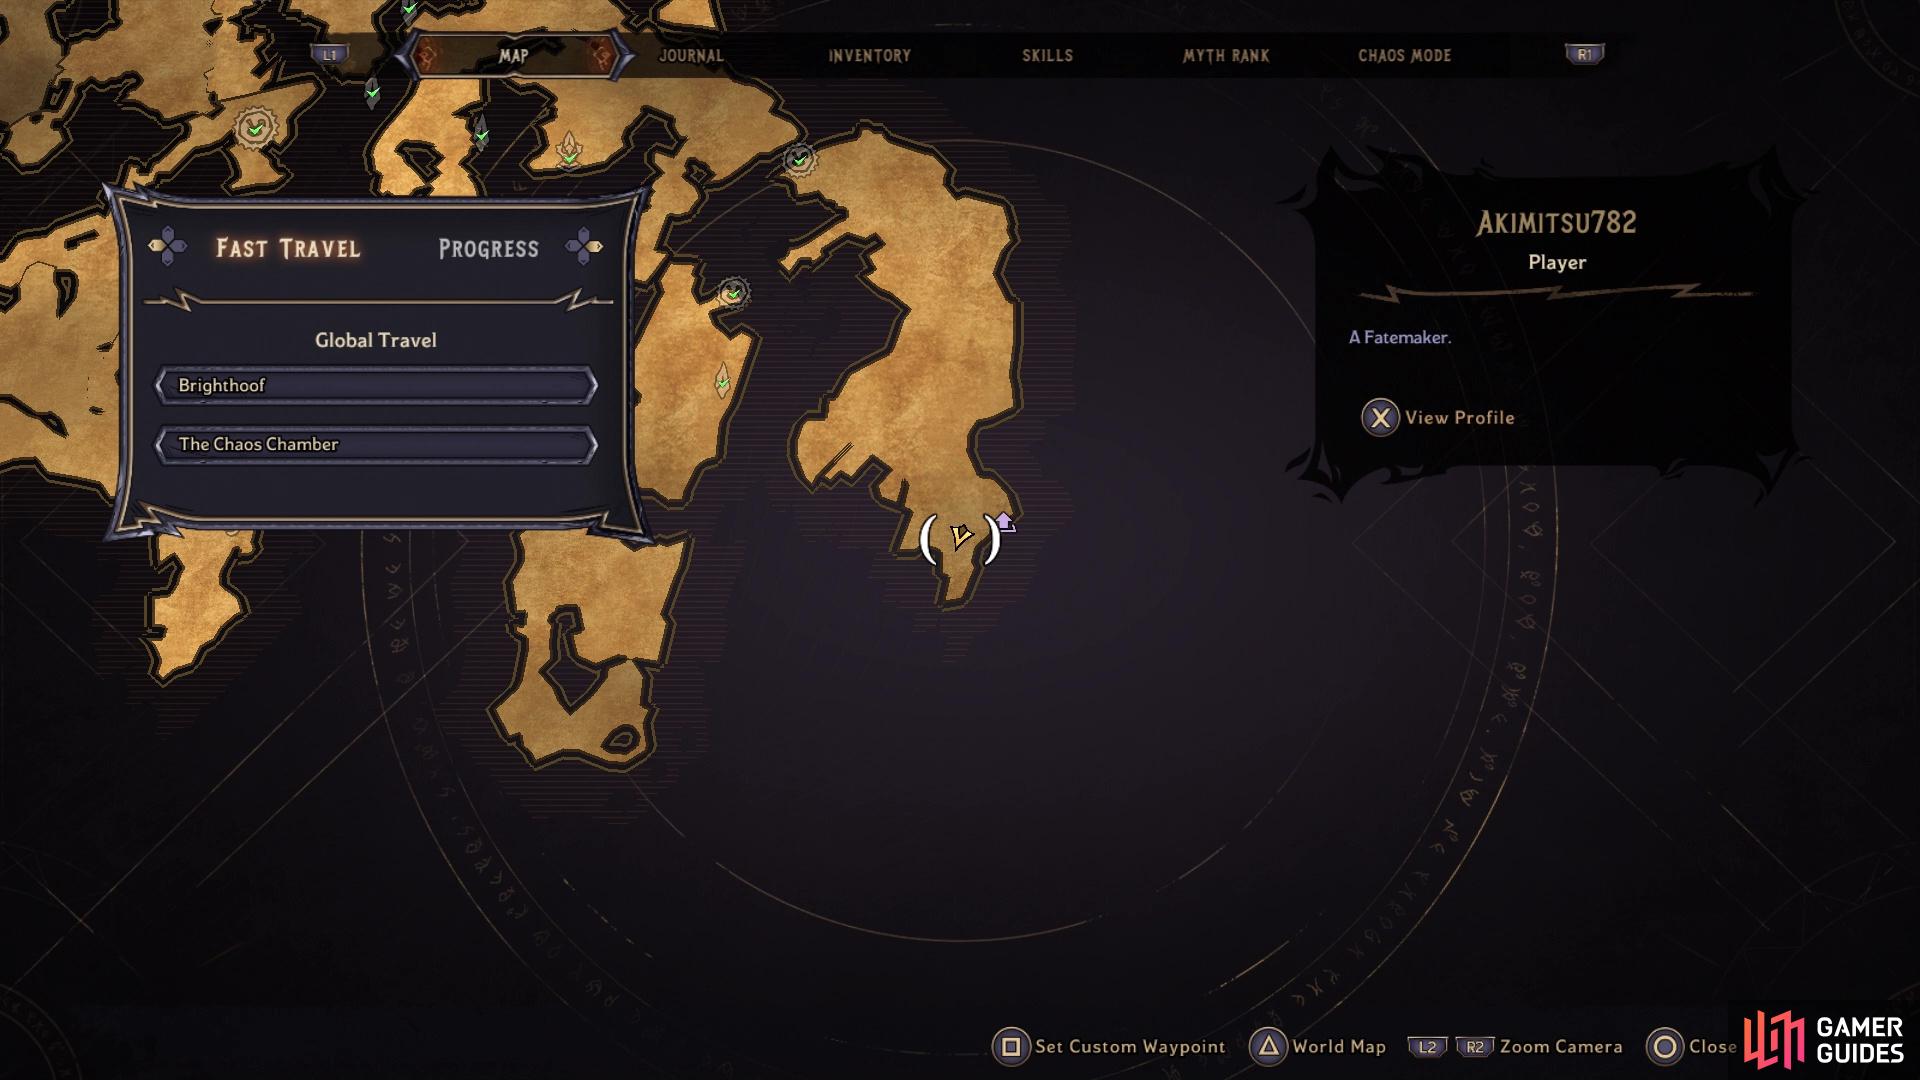
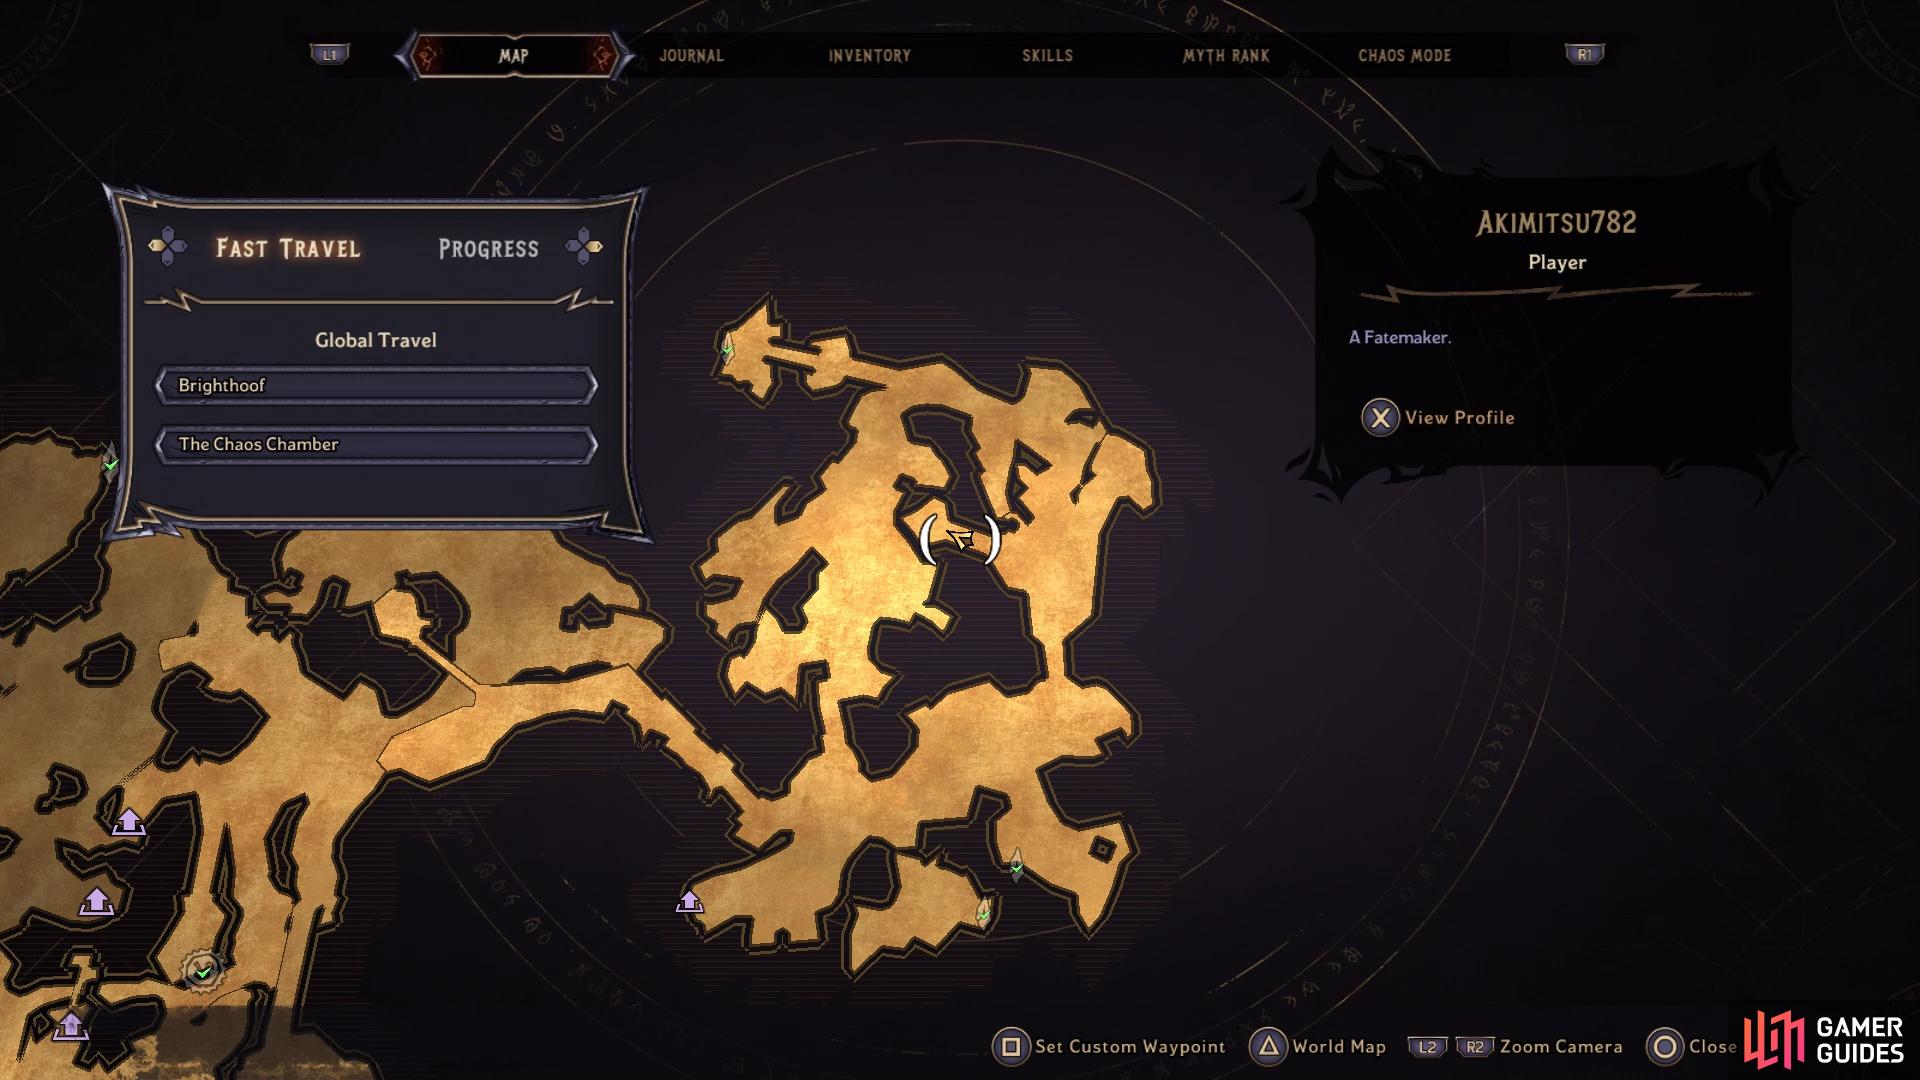
You will be required to finish a side quest called Lens of the Deceiver before being able to obtain this Lucky Dice. Despite being called a side quest, you will actually be required to complete it to be able to continue the main quest; you’ll gain access to it after completing Ballad of Bones. There are a number of invisible bridges in the game, that only appear once you have finished the above side quest. Go to the dungeon required in the previous spot, and locate the wooden bridge right next to it. Head in that direction and you should see the Lucky Dice across a gap. Approach the gap to make the invisible bridge appear and grab the Lucky Dice.
Lucky Dice Location #4
Lucky Dice #4 on the map
Lucky Dice #4 in the game
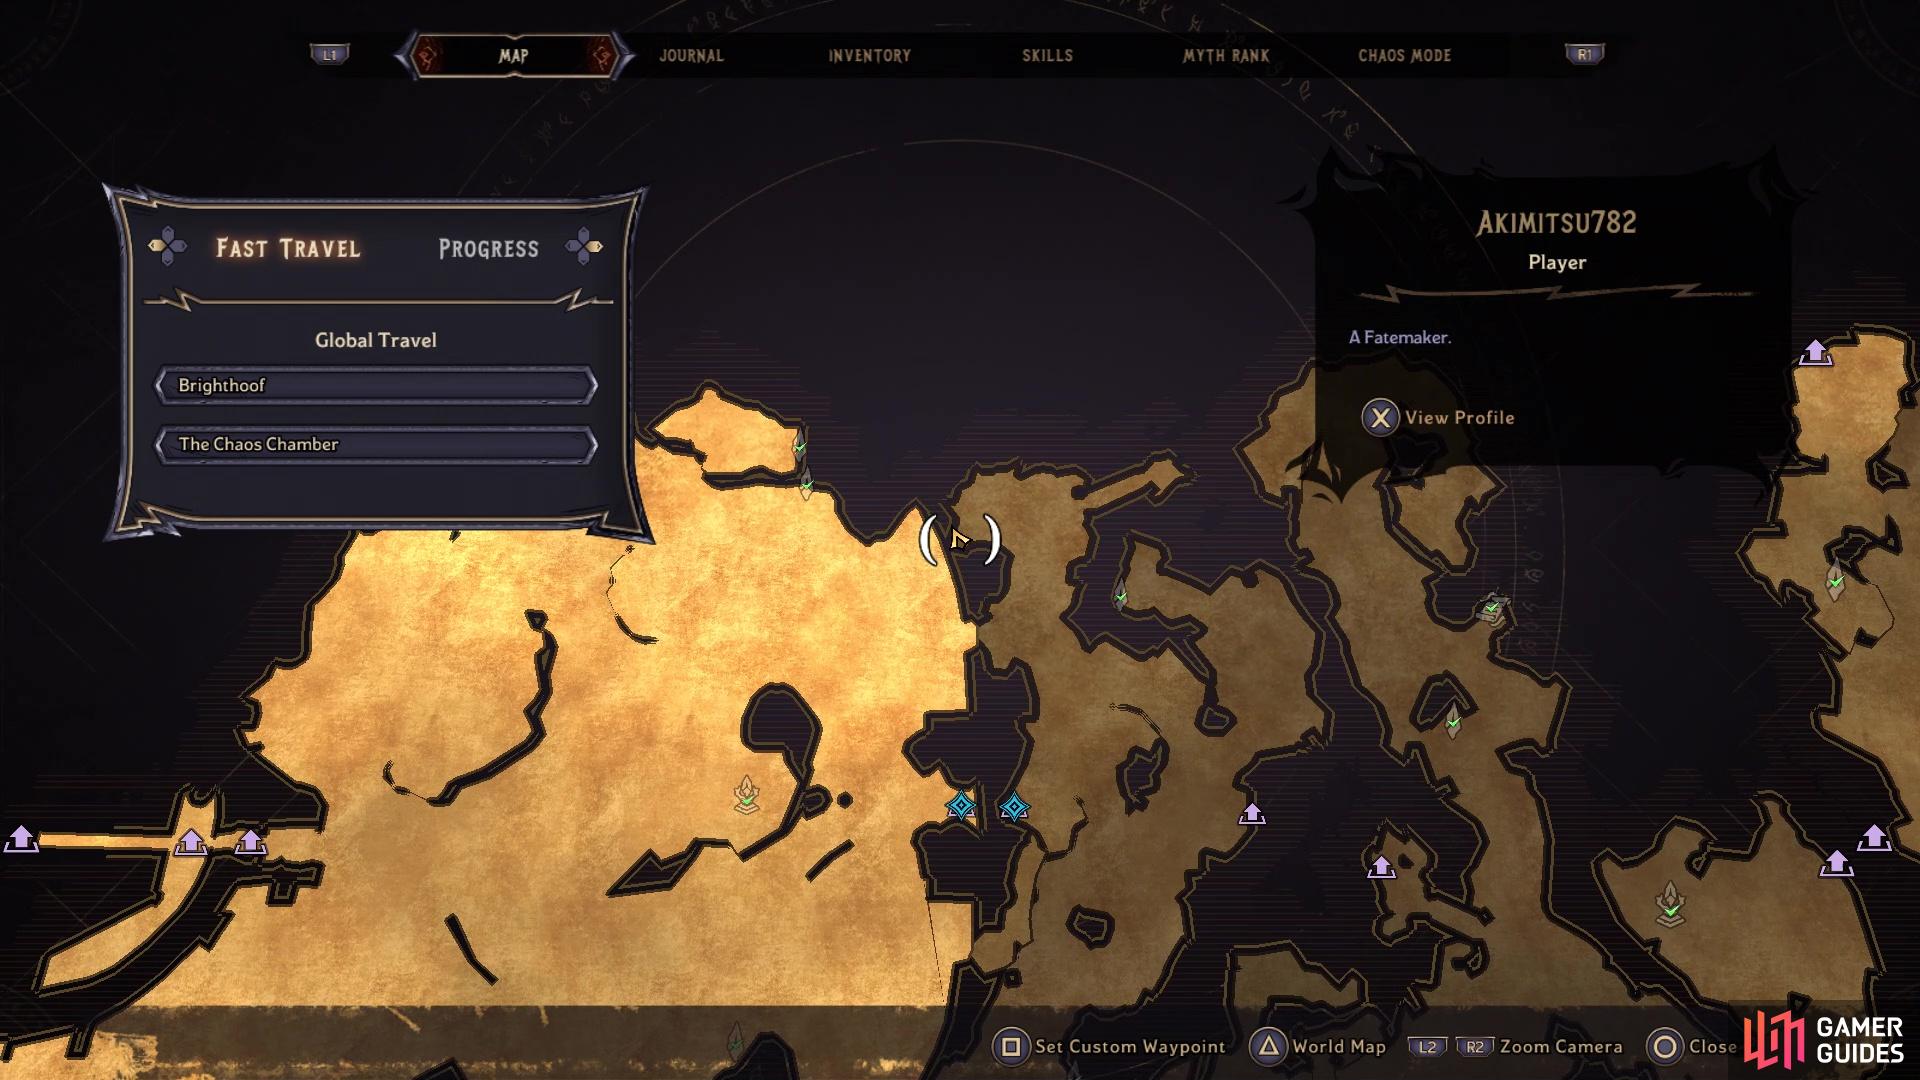
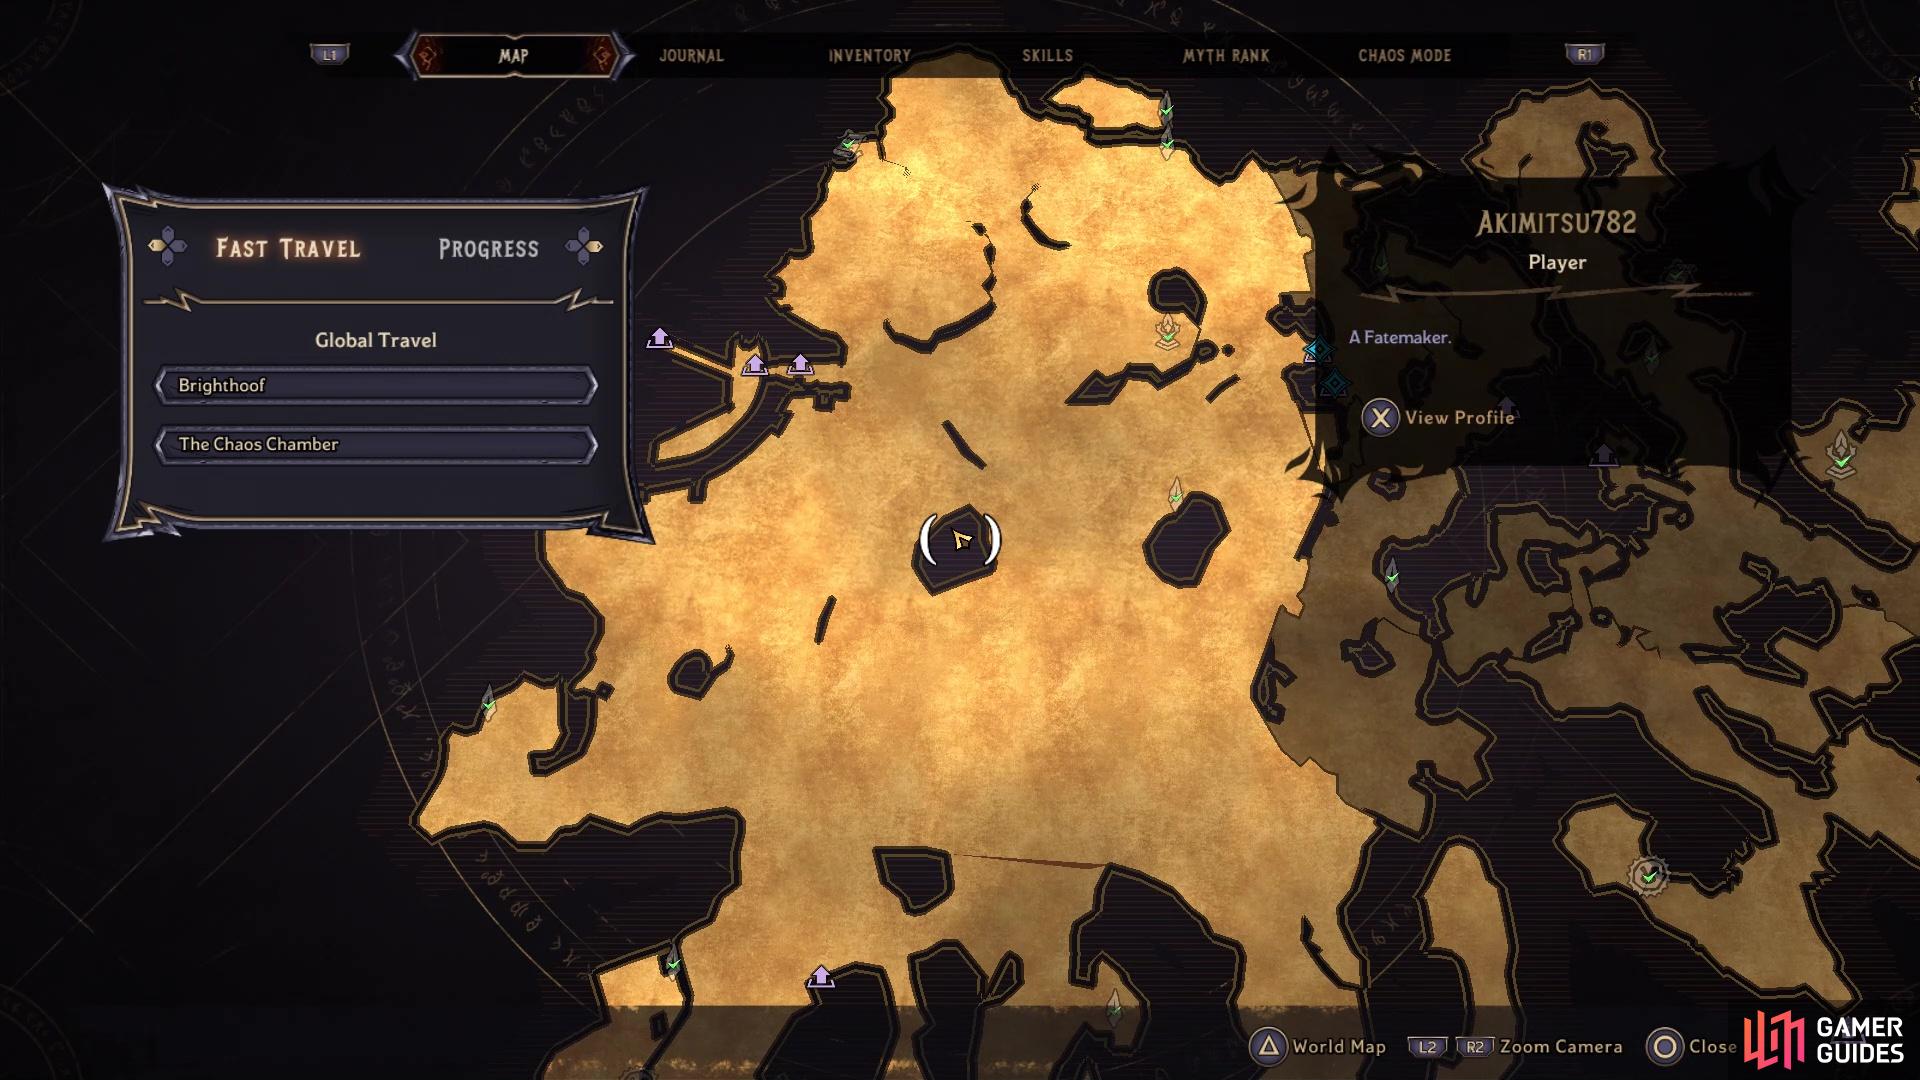
In order to get this one, you will need to have completed the Son of a Witch main story mission, which will net you the ability to disable barriers via a rune. Once you have done that, go to the Mool Ah Shrine near the beginning section of the Overworld and pass through the little dungeon area near it. This will place you on the other side, where you see a bunch of tall grass. Run through the tall grass and you will see the barrier on the other side. Interact with the pedestal to dispel the barrier, then go up the little hill to find the Lucky Dice.
Lucky Dice Location #5
Lucky Dice #5 on the map
Lucky Dice #5 in the game
You will need to have finished the Emotion of the Ocean main story mission before you can get this one. After doing that, go down into the now drained waters of the ocean in Brighthoof and look for the exit that brings you to the Nocean section of the Overworld. Once you do that, head west a little bit, then south until you reach a dungeon. Go through it and you will pass out on the other side, right next to a Bottlecap and the Lucky Dice.
Lucky Dice Location #6
Lucky Dice #6 on the map
Lucky Dice #6 in the game
This one is very close to #5, but does require you to have finished a side quest called Lens of the Deceiver before being able to obtain this Lucky Dice. Despite being called a side quest, you will actually be required to complete it to be able to continue the main quest; you’ll gain access to it after completing Ballad of Bones. Right next to the previous Die, there is a hidden bridge that appears when you get close enough, allowing access to a grassy area. The Lucky Dice will be on a cliff, in plain sight, in this section and is pretty difficult to miss.
Lucky Dice Location #7
Lucky Dice #7 on the map
Lucky Dice #7 in the game
You will find this one close to #6, but it will require a late game sidequest first, called Destruction Rains from the Heavens. This one will appear in the final section of the Overworld, right outside of the entrance to Ossu-Gol Necropolis, until you have completed the main story. Simply starting the sidequest will allow you to punch your way through the barriers with gargoyles, so you don’t need to complete it. Once you have this powerup to your melee attack, head back to where you found Lucky Dice #6 and head southeast from it on the map to find the gargoyle barrier. Destroy it and right behind it will be the Lucky Dice.
Lucky Dice Location #8
Lucky Dice #8 on the map
Lucky Dice #8 in the game
You will be required to finish a side quest called Lens of the Deceiver before being able to obtain this Lucky Dice. Despite being called a side quest, you will actually be required to complete it to be able to continue the main quest; you’ll gain access to it after completing Ballad of Bones. From the entrance to Wargtooth Swallows, head south on the Overworld until you see a small island with two chests on it. This is where the invisible bridge is located, so cross it to see the Lucky Dice right there.
Lucky Dice Location #9
Lucky Dice #9 on the map
Lucky Dice #9 in the game
In order to get this one, you will need to have completed the Son of a Witch main story mission, which will net you the ability to disable barriers via a rune. Go to the entrance to Tangledrift and head south a bit, passing through the tall grass and seeing the barrier right past it. Interact with the barrier to dispel it, then loot the Lucky dice behind it.
Lucky Dice Location #10
Lucky Dice #10 on the map
Lucky Dice #10 in the game
Head to the Unfathomable Depths section of the Overworld, which is the area after passing through Wargtooth Swallows (the lighting is a darker shade). Find the entrance to the Drowned Abyss area, then go north of there, to an eraser that is forming a bridge. Cross it and the Lucky Dice will be on a ledge right past it. Note that you might need to have done the Drowned Abyss area and approach from the other side for this one.
Lucky Dice Location #11
Lucky Dice #11 on the map
Lucky Dice #11 in the game
You will find this one in the same area as the previous Dice (#10), but you will need to have completed the Son of a Witch main story mission, which will net you the ability to disable barriers via a rune. Continue straight north from Drowned Abyss, to the end of the northern portion. There will be a barrier you can dispel with the rune up here, so do that and loot the Lucky Dice behind it.
Lucky Dice Location #12
Lucky Dice #12 on the map
Lucky Dice #12 in the game
This one will require a late game sidequest first, called Destruction Rains from the Heavens. It will appear in the final section of the Overworld, right outside of the entrance to Ossu-Gol Necropolis, until you have completed the main story. Simply starting the sidequest will allow you to punch your way through the barriers with gargoyles, so you don’t need to complete it. Head south from the entrance to the Drowned Abyss, up a small hill, and stop when you see tall grass on the side. Opposite of that is a small area with the gargoyle barrier, so punch it to get rid of it and loot the Lucky Dice.
Lucky Dice Location #13

Lucky Dice #13 on the map
Lucky Dice #13 in the game
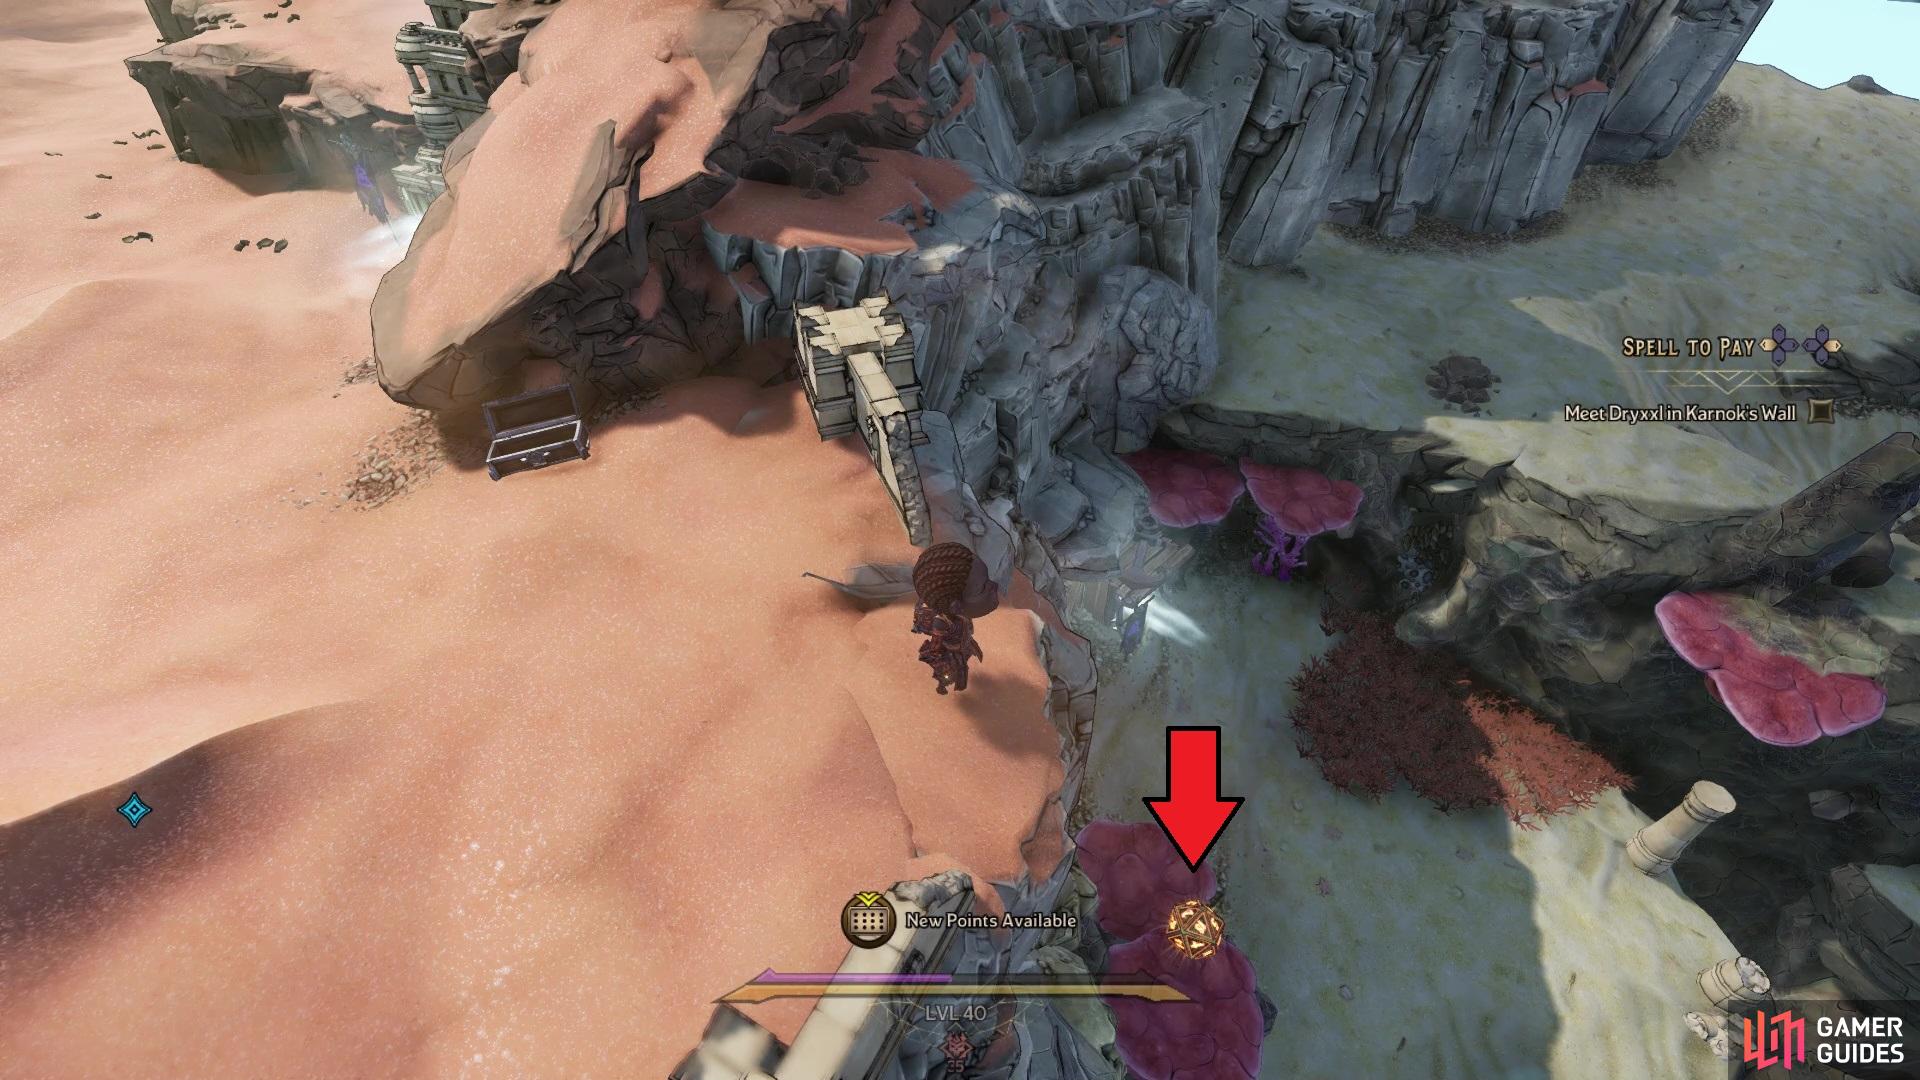
You will be required to finish a side quest called Lens of the Deceiver before being able to obtain this Lucky Dice. Despite being called a side quest, you will actually be required to complete it to be able to continue the main quest; you’ll gain access to it after completing Ballad of Bones. This is in the same area as #12, directly across from where you grabbed that Lucky Dice. Go to the tall grass mentioned above and pass through it, then look for the pillars and a gap. As you approach, an invisible bridge will appear and the Lucky Dice will be right on the other side.
Lucky Dice Location #14
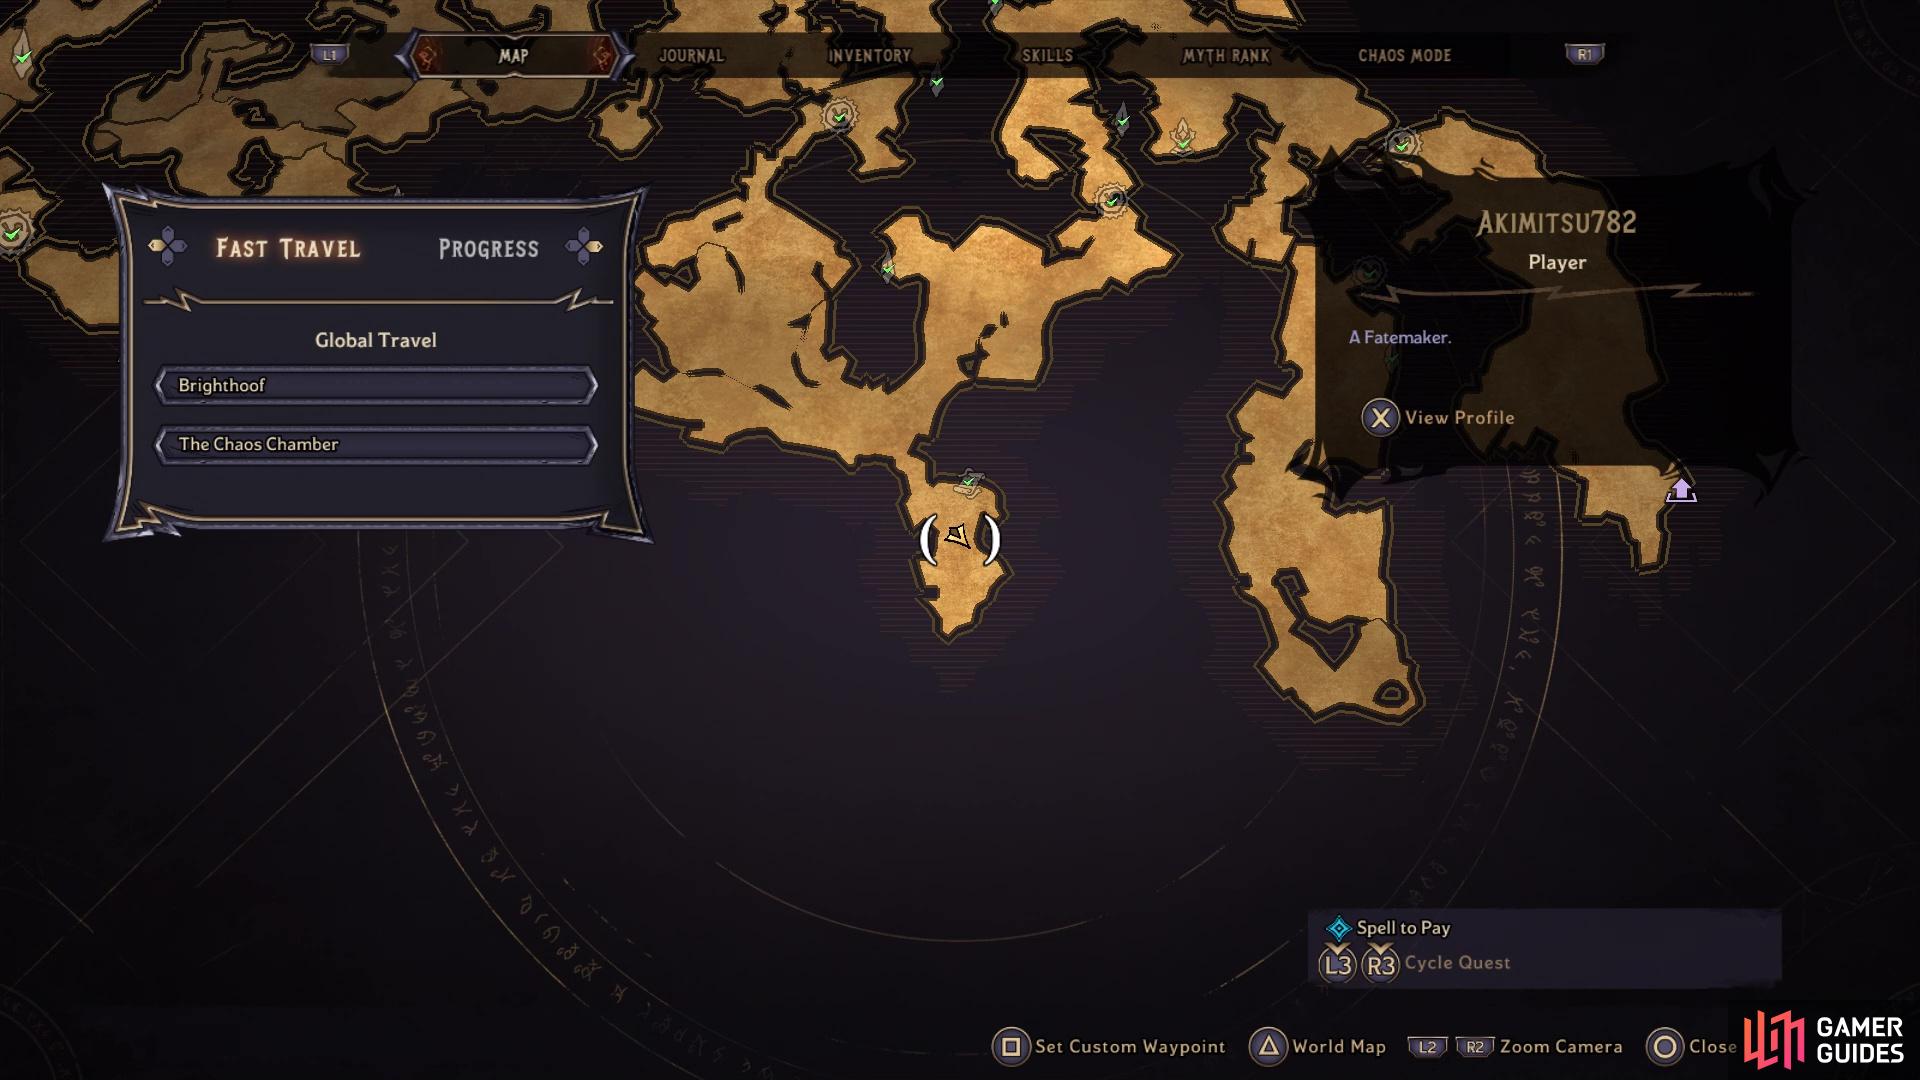
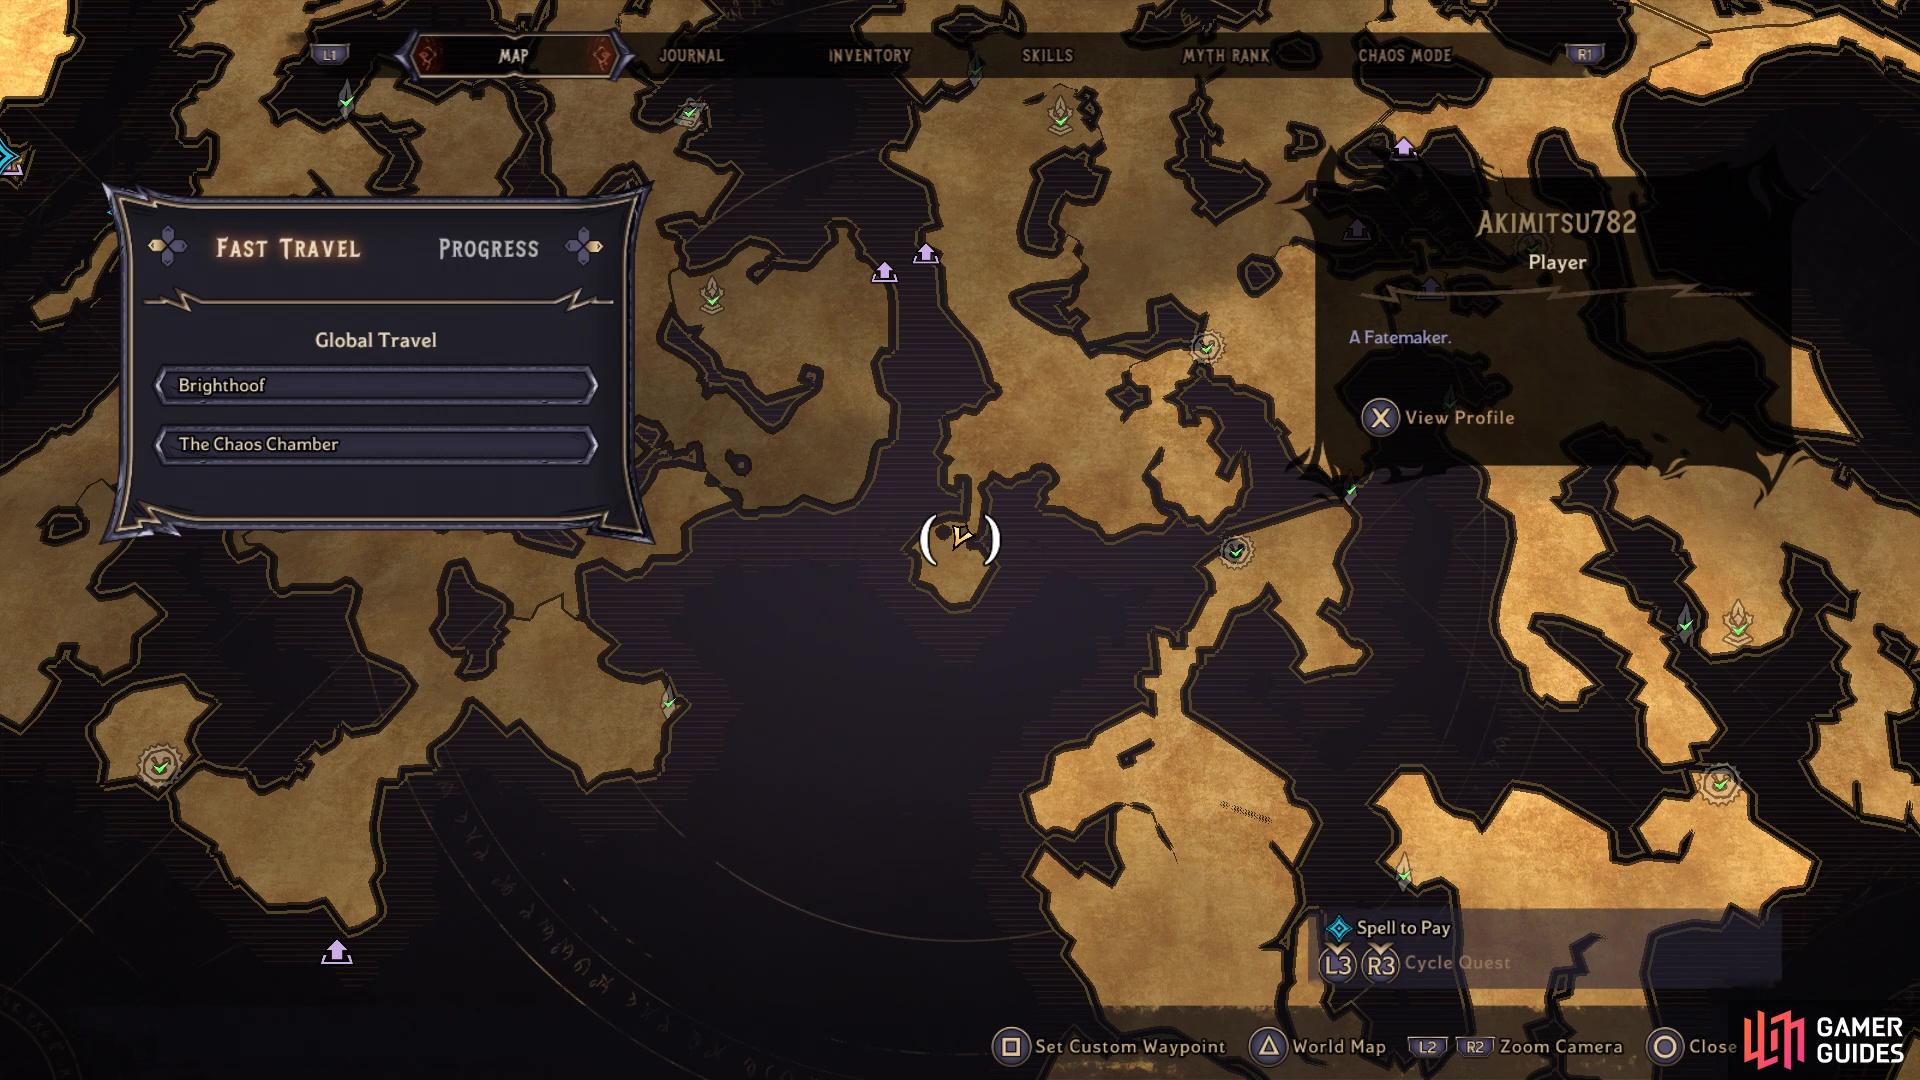
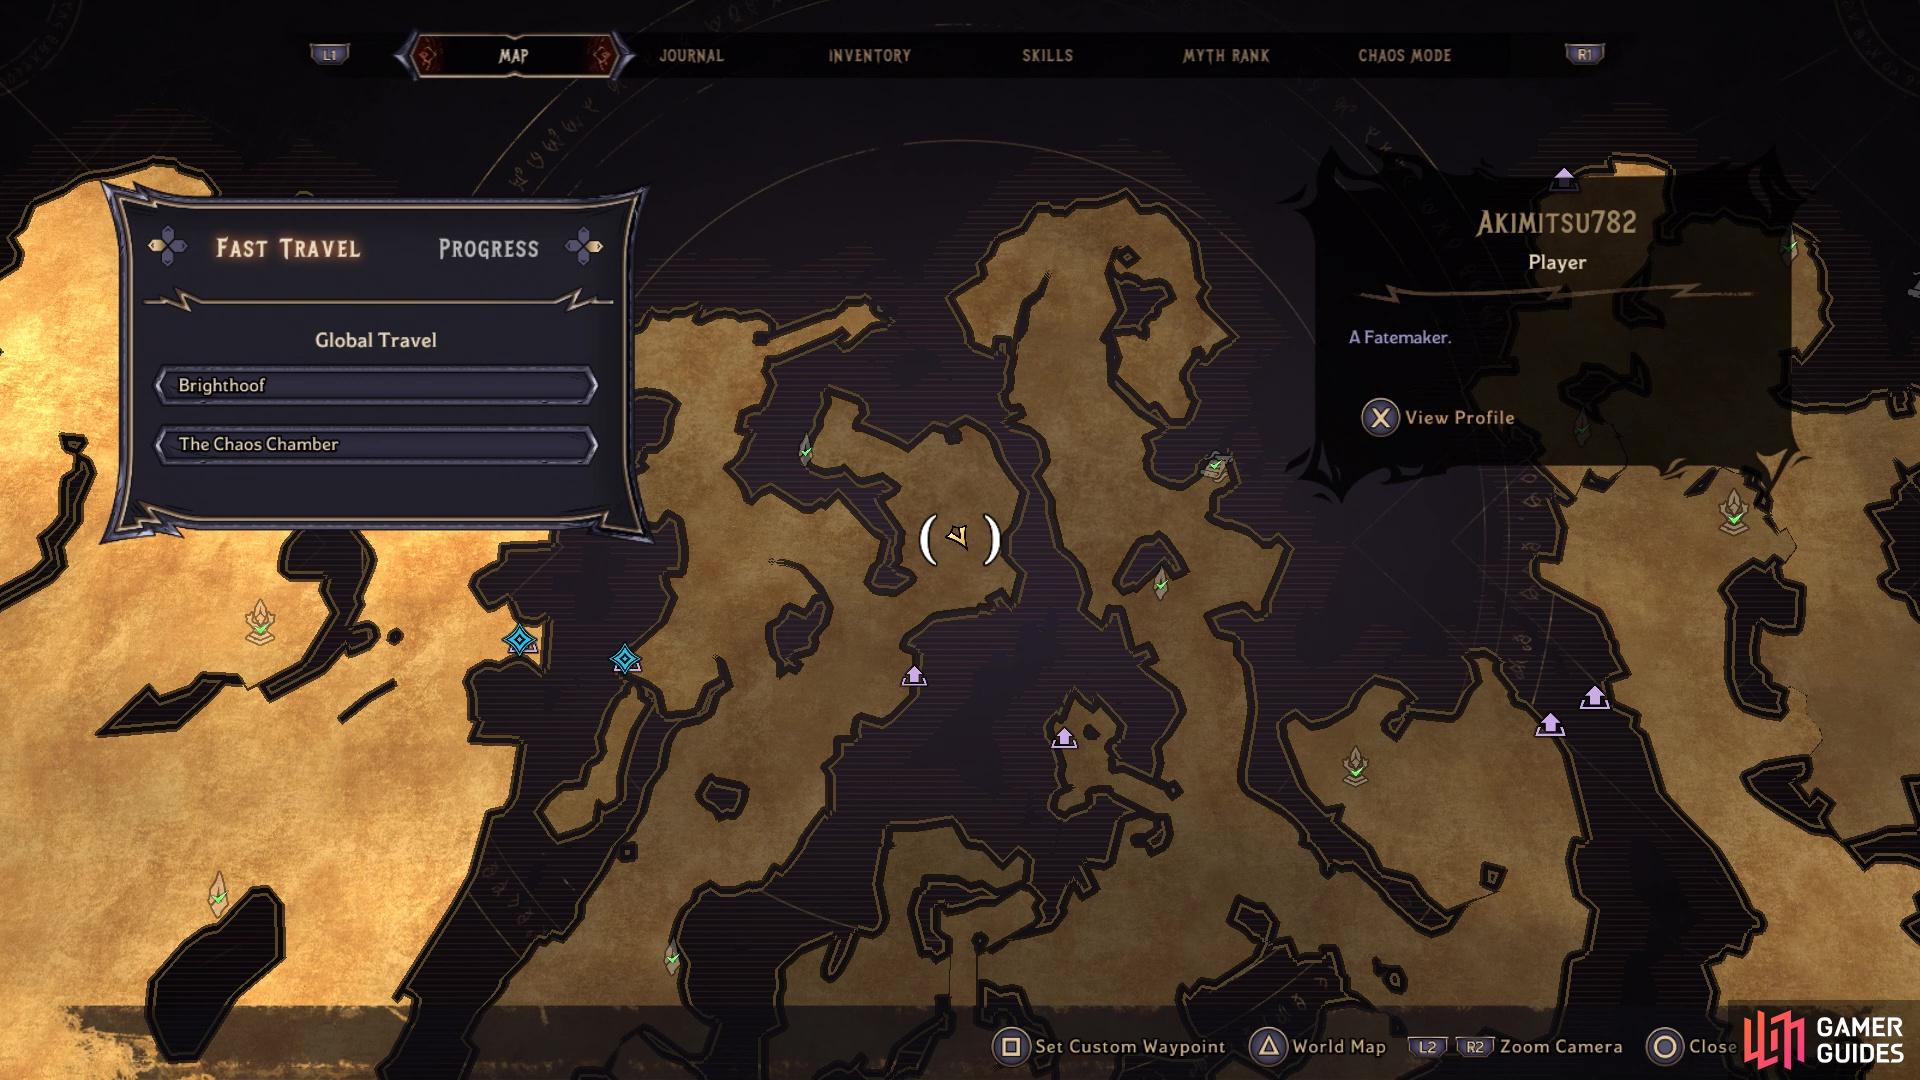
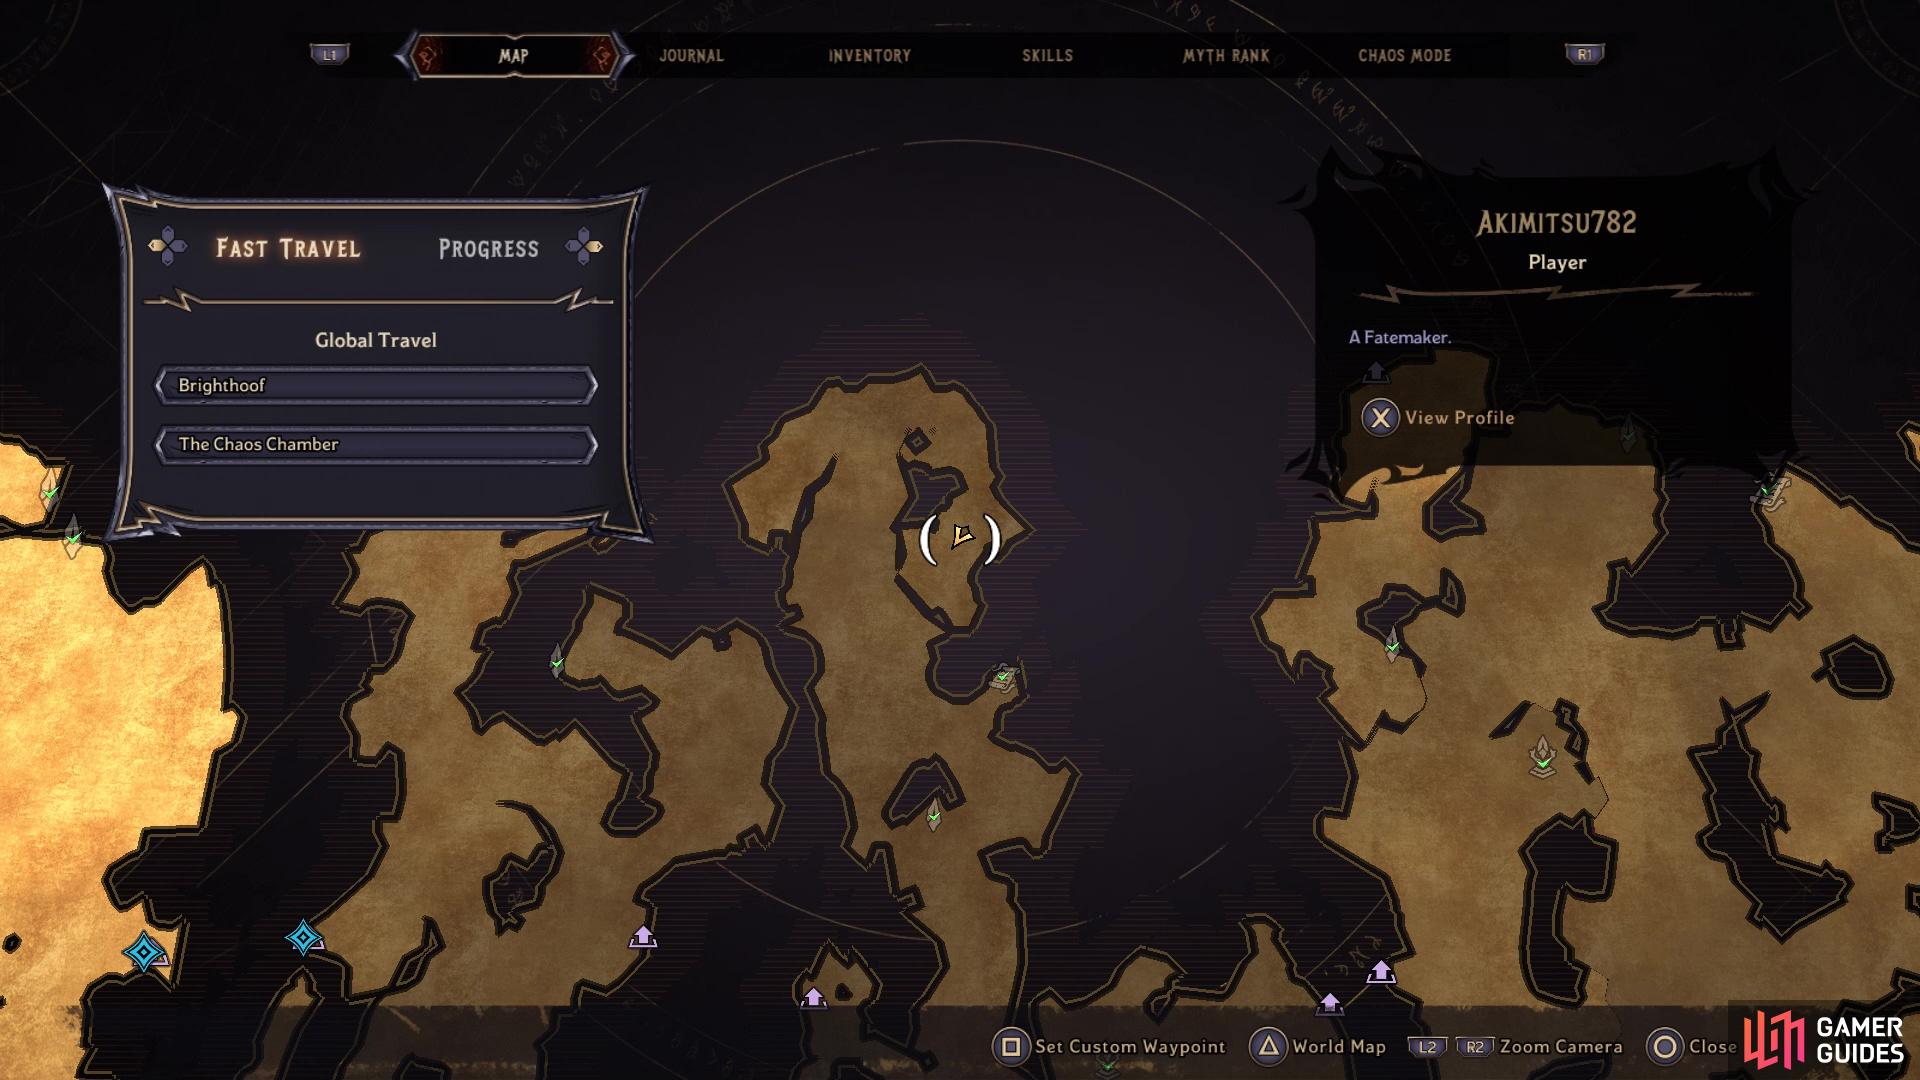
Lucky Dice #14 on the map
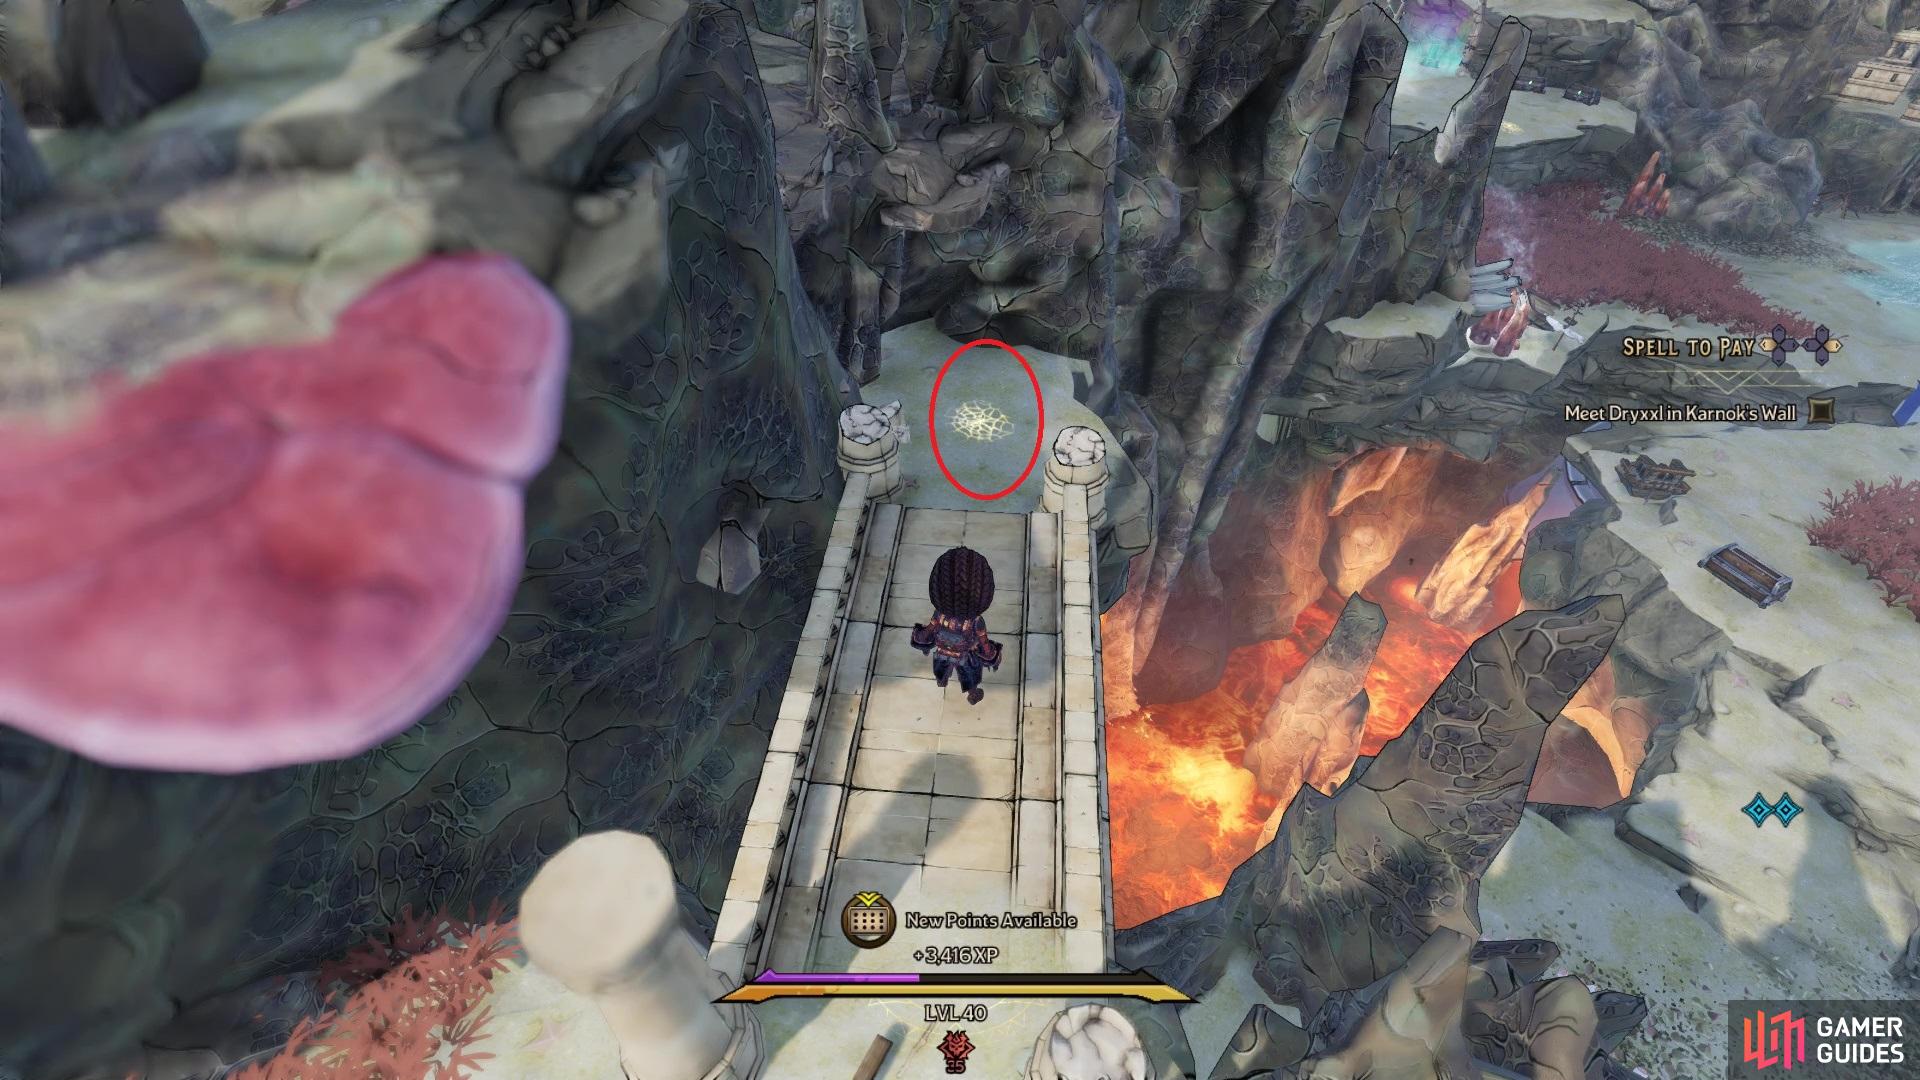
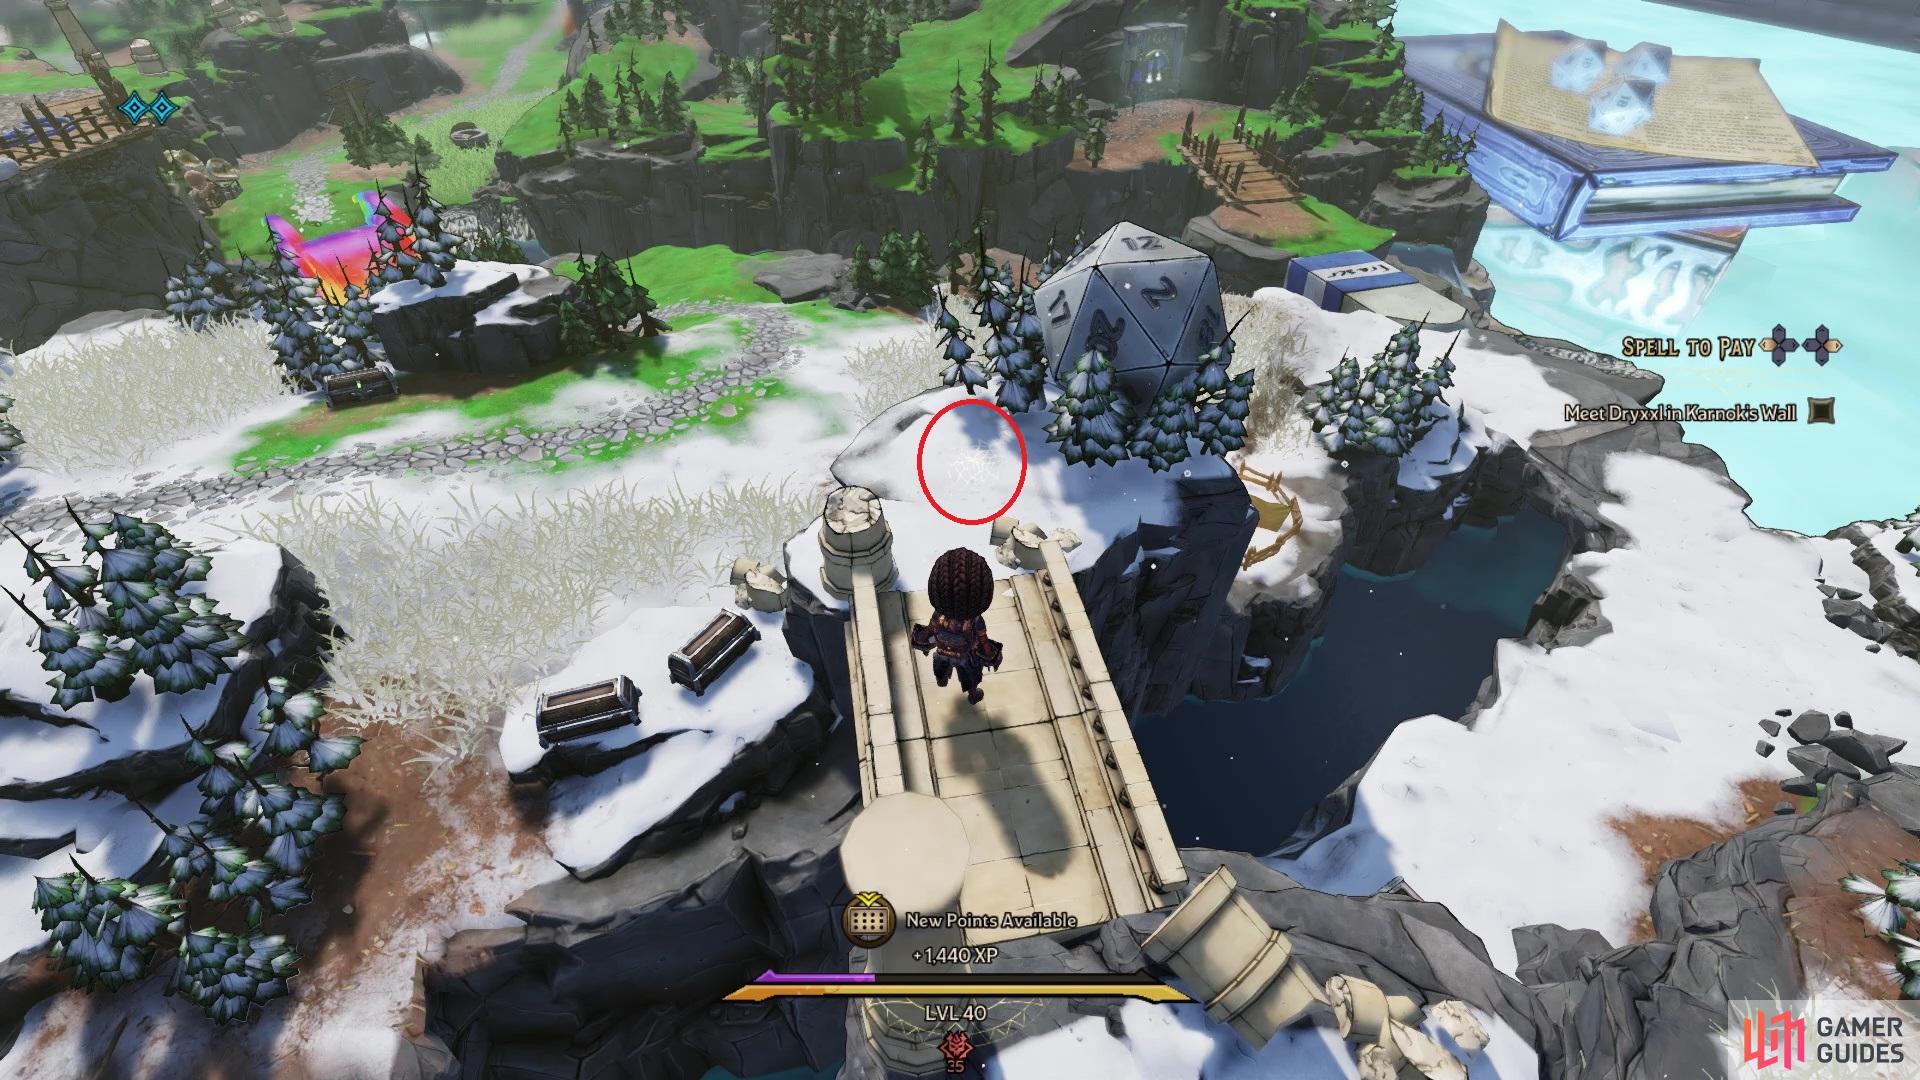
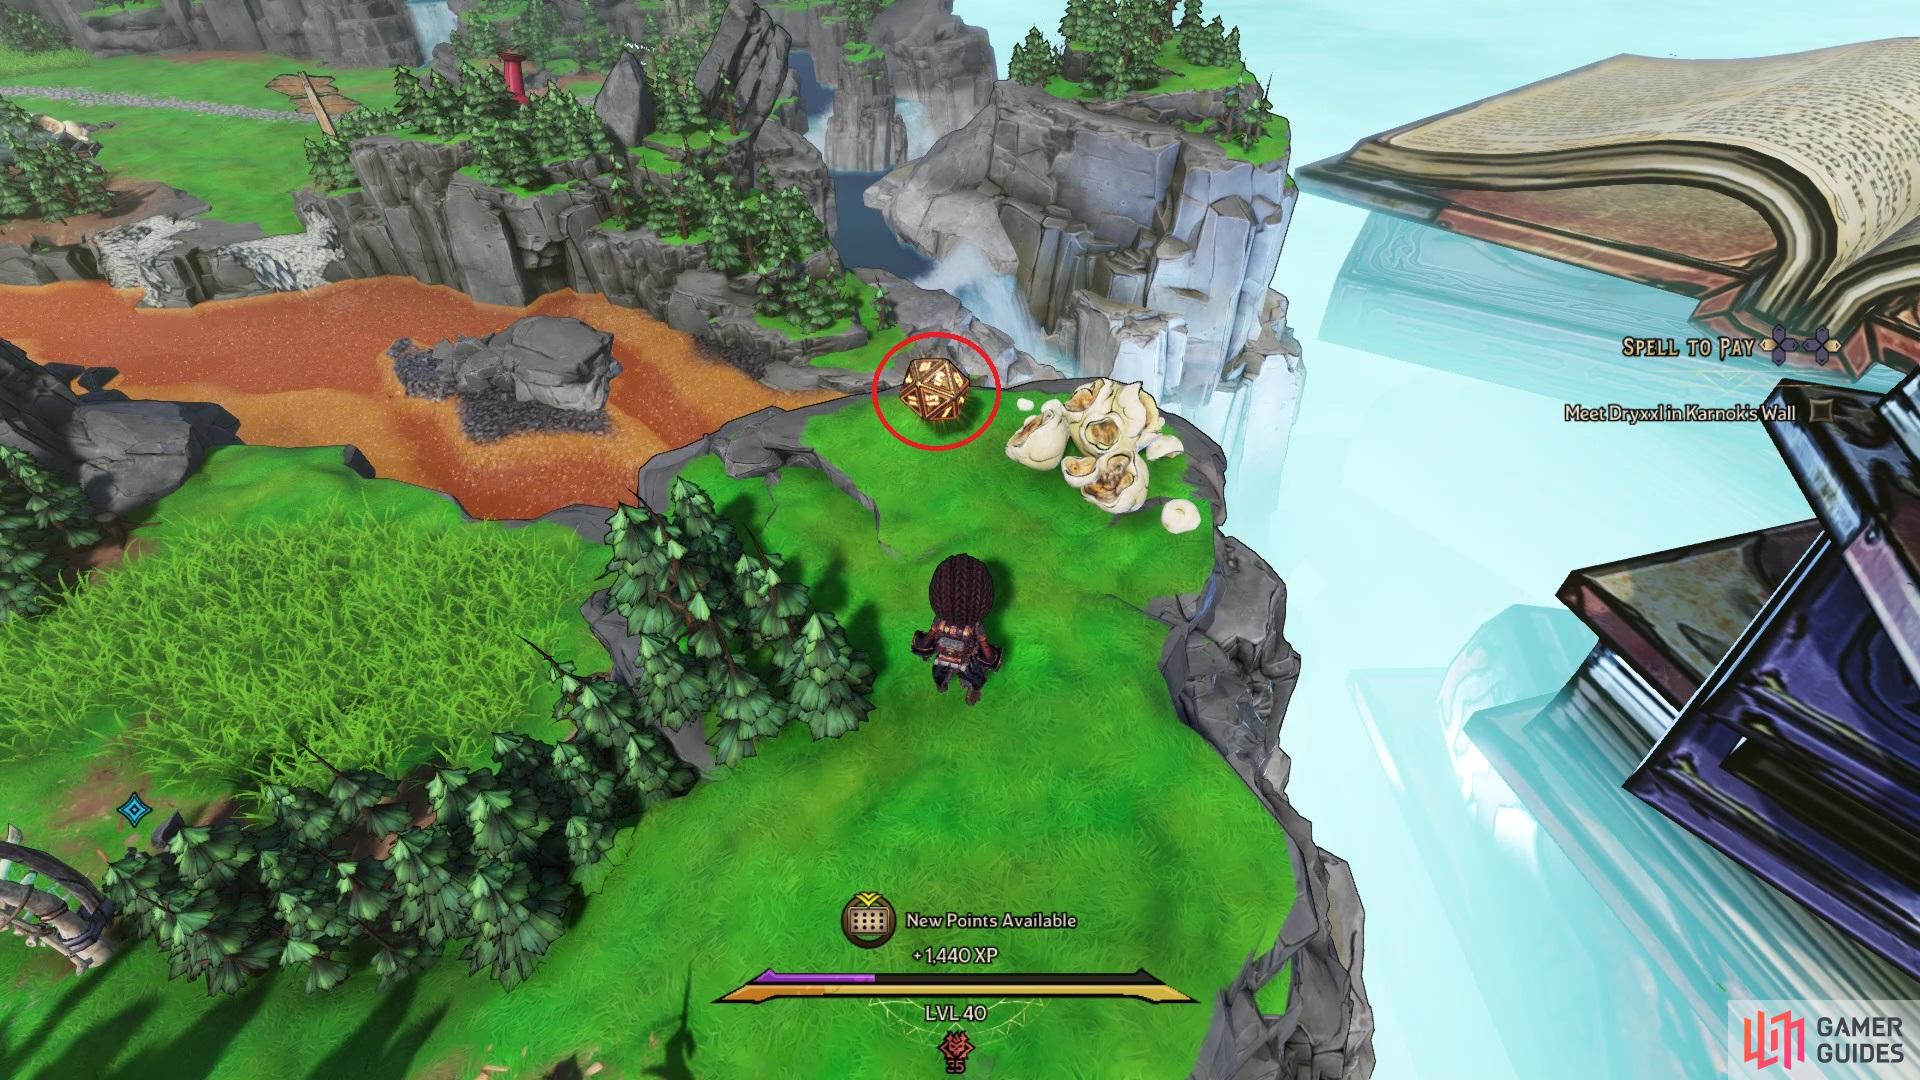
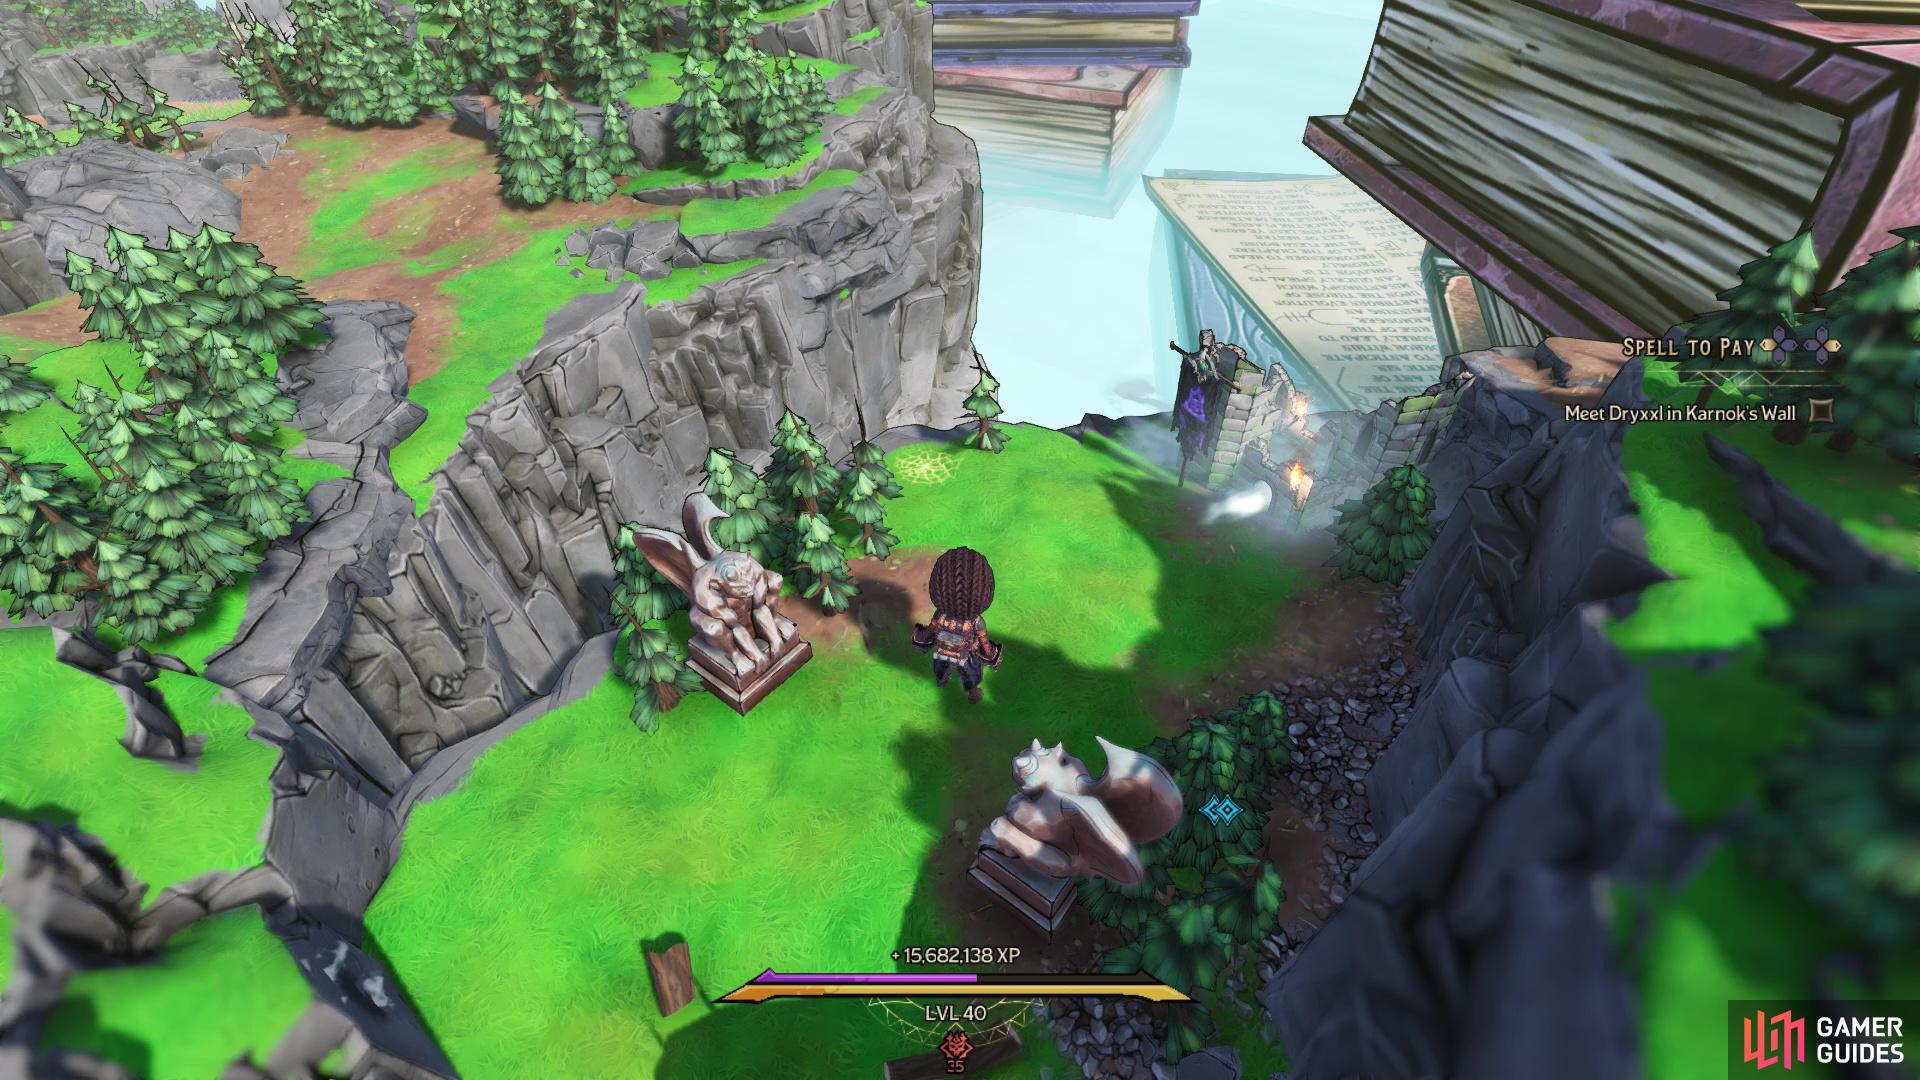
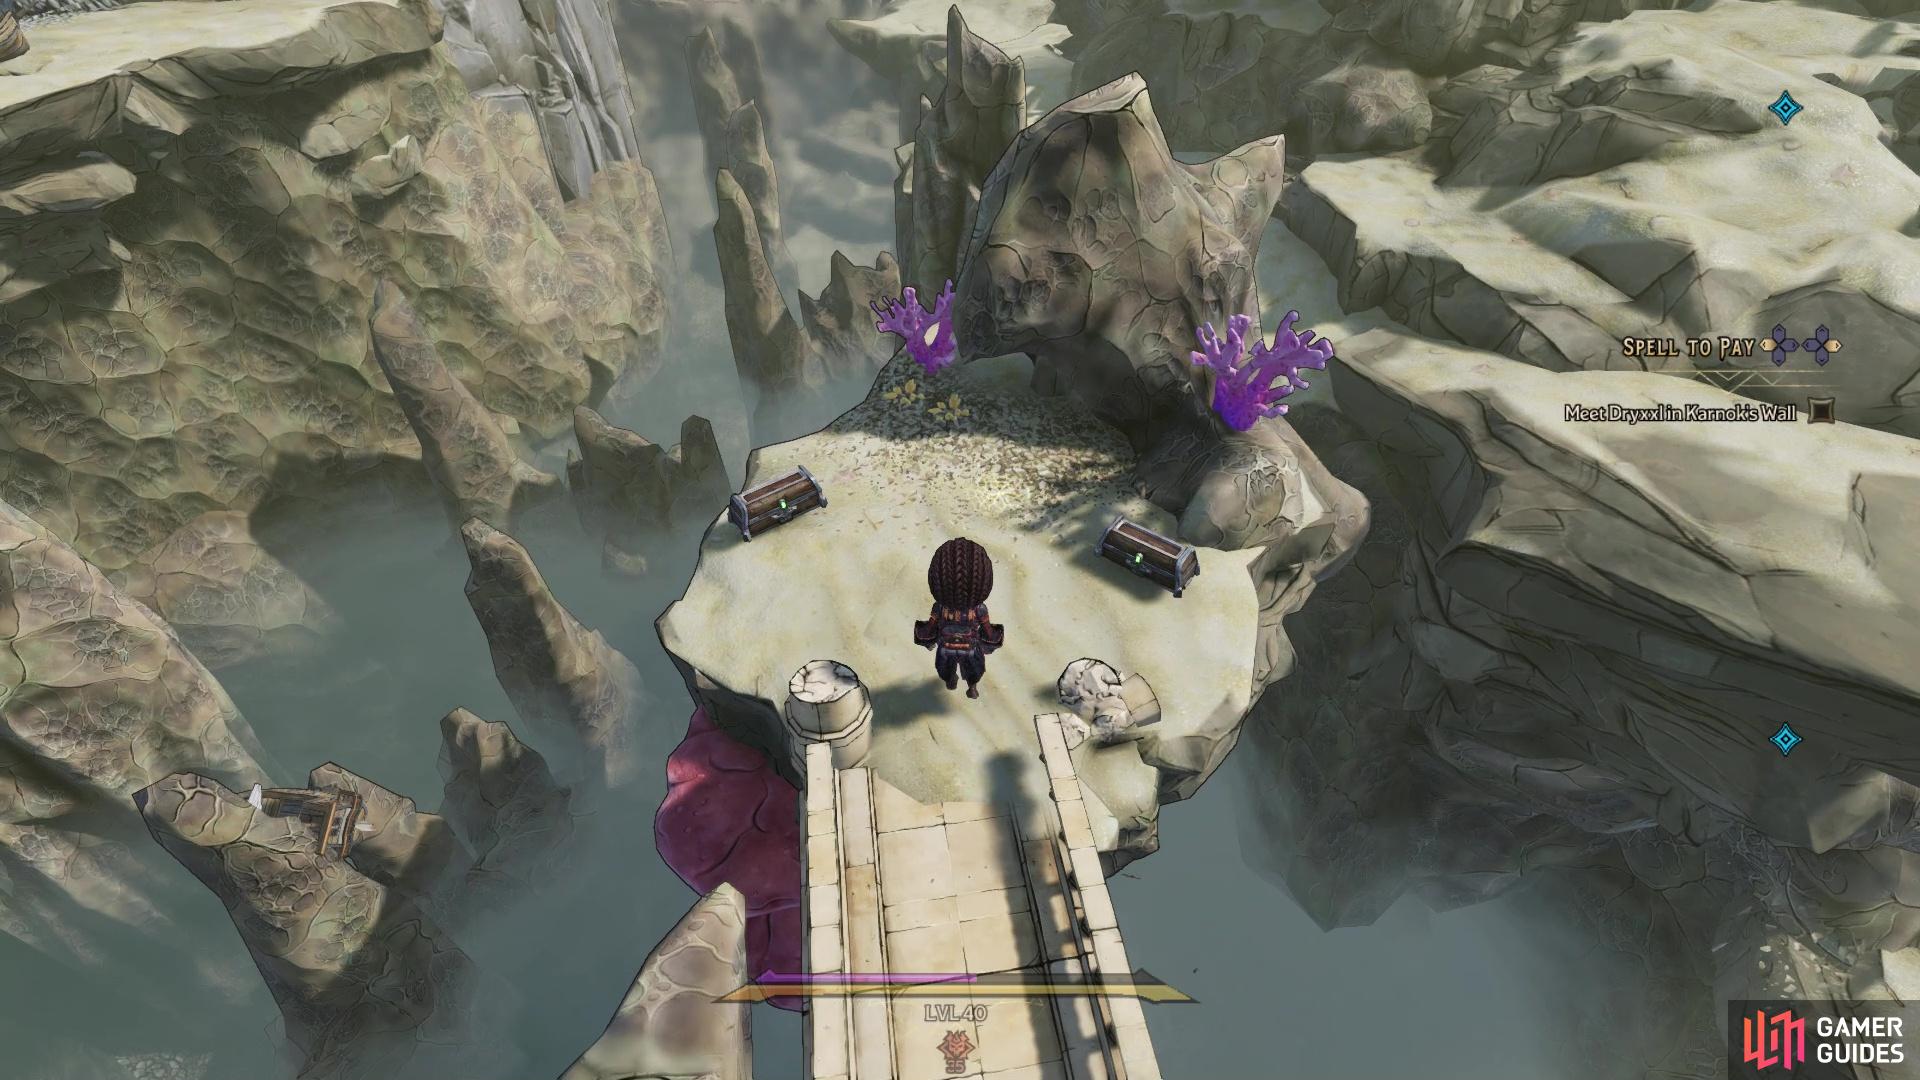
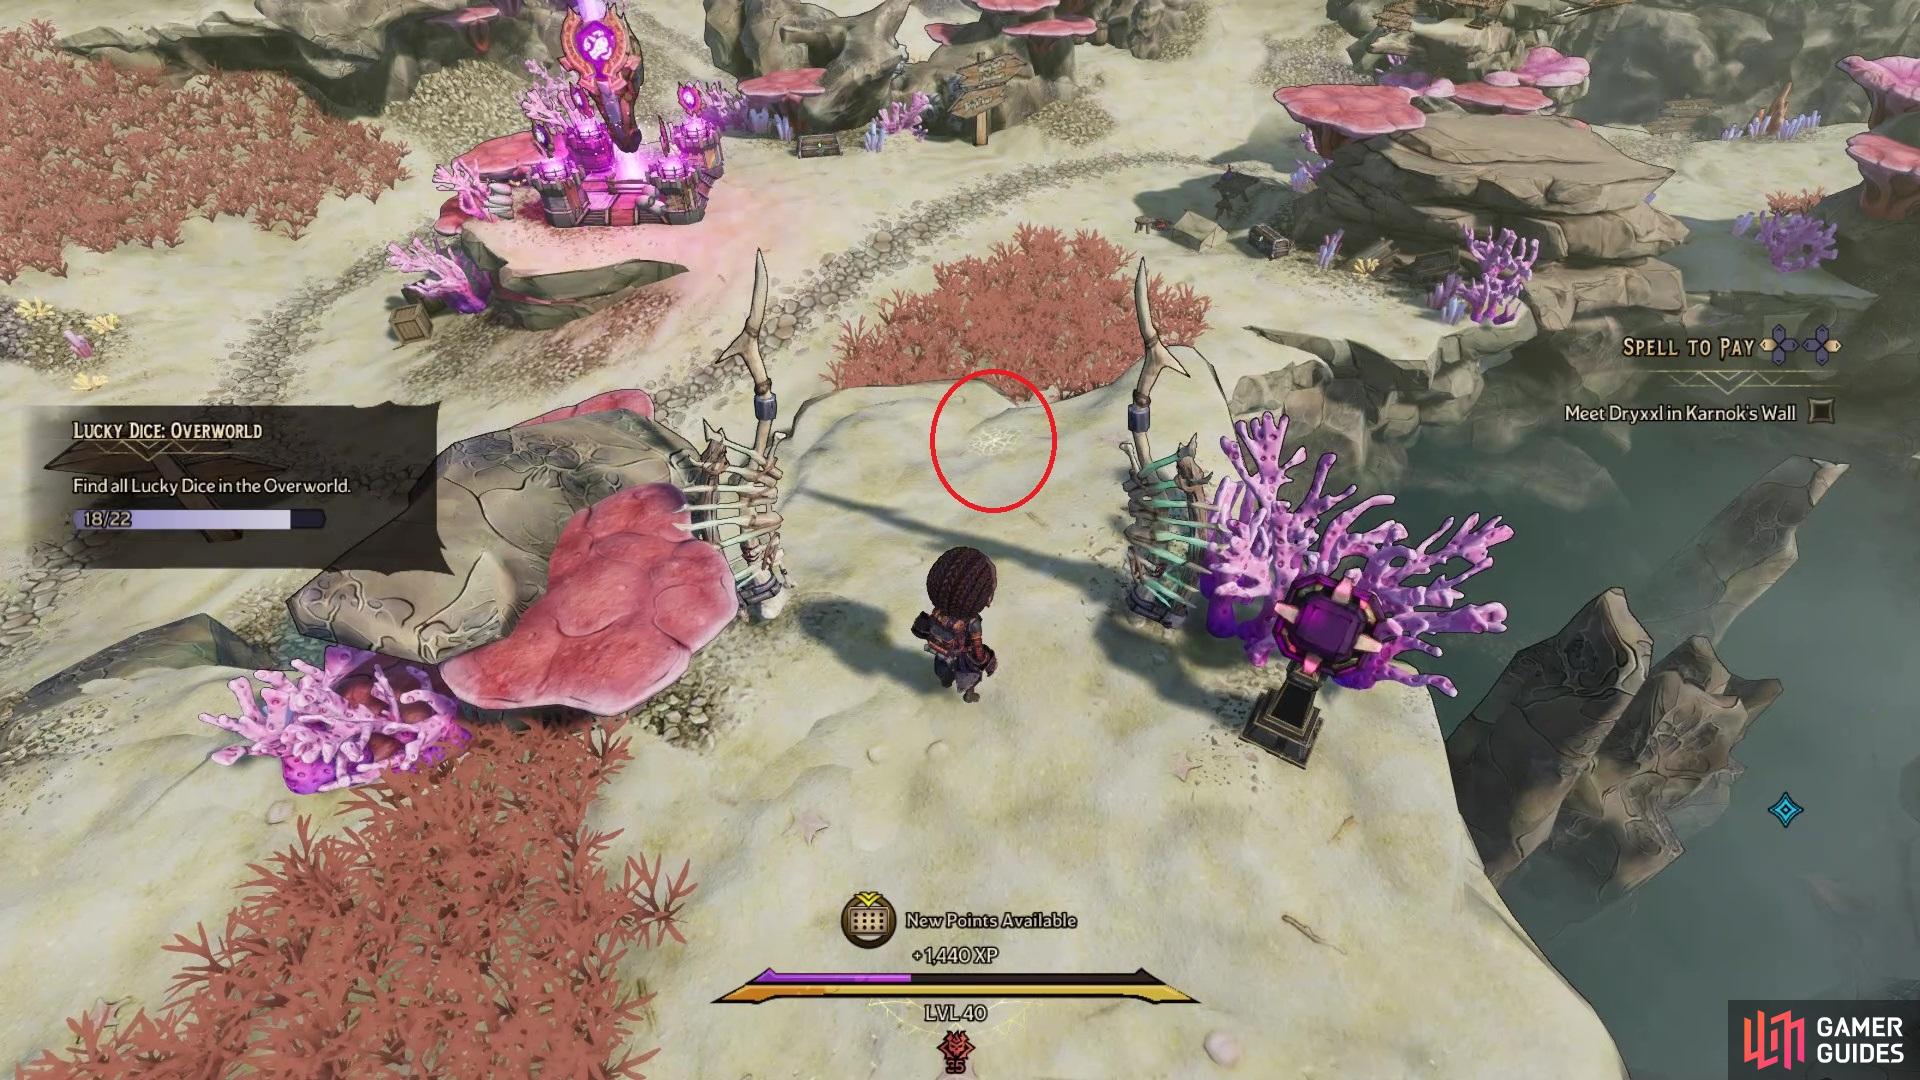
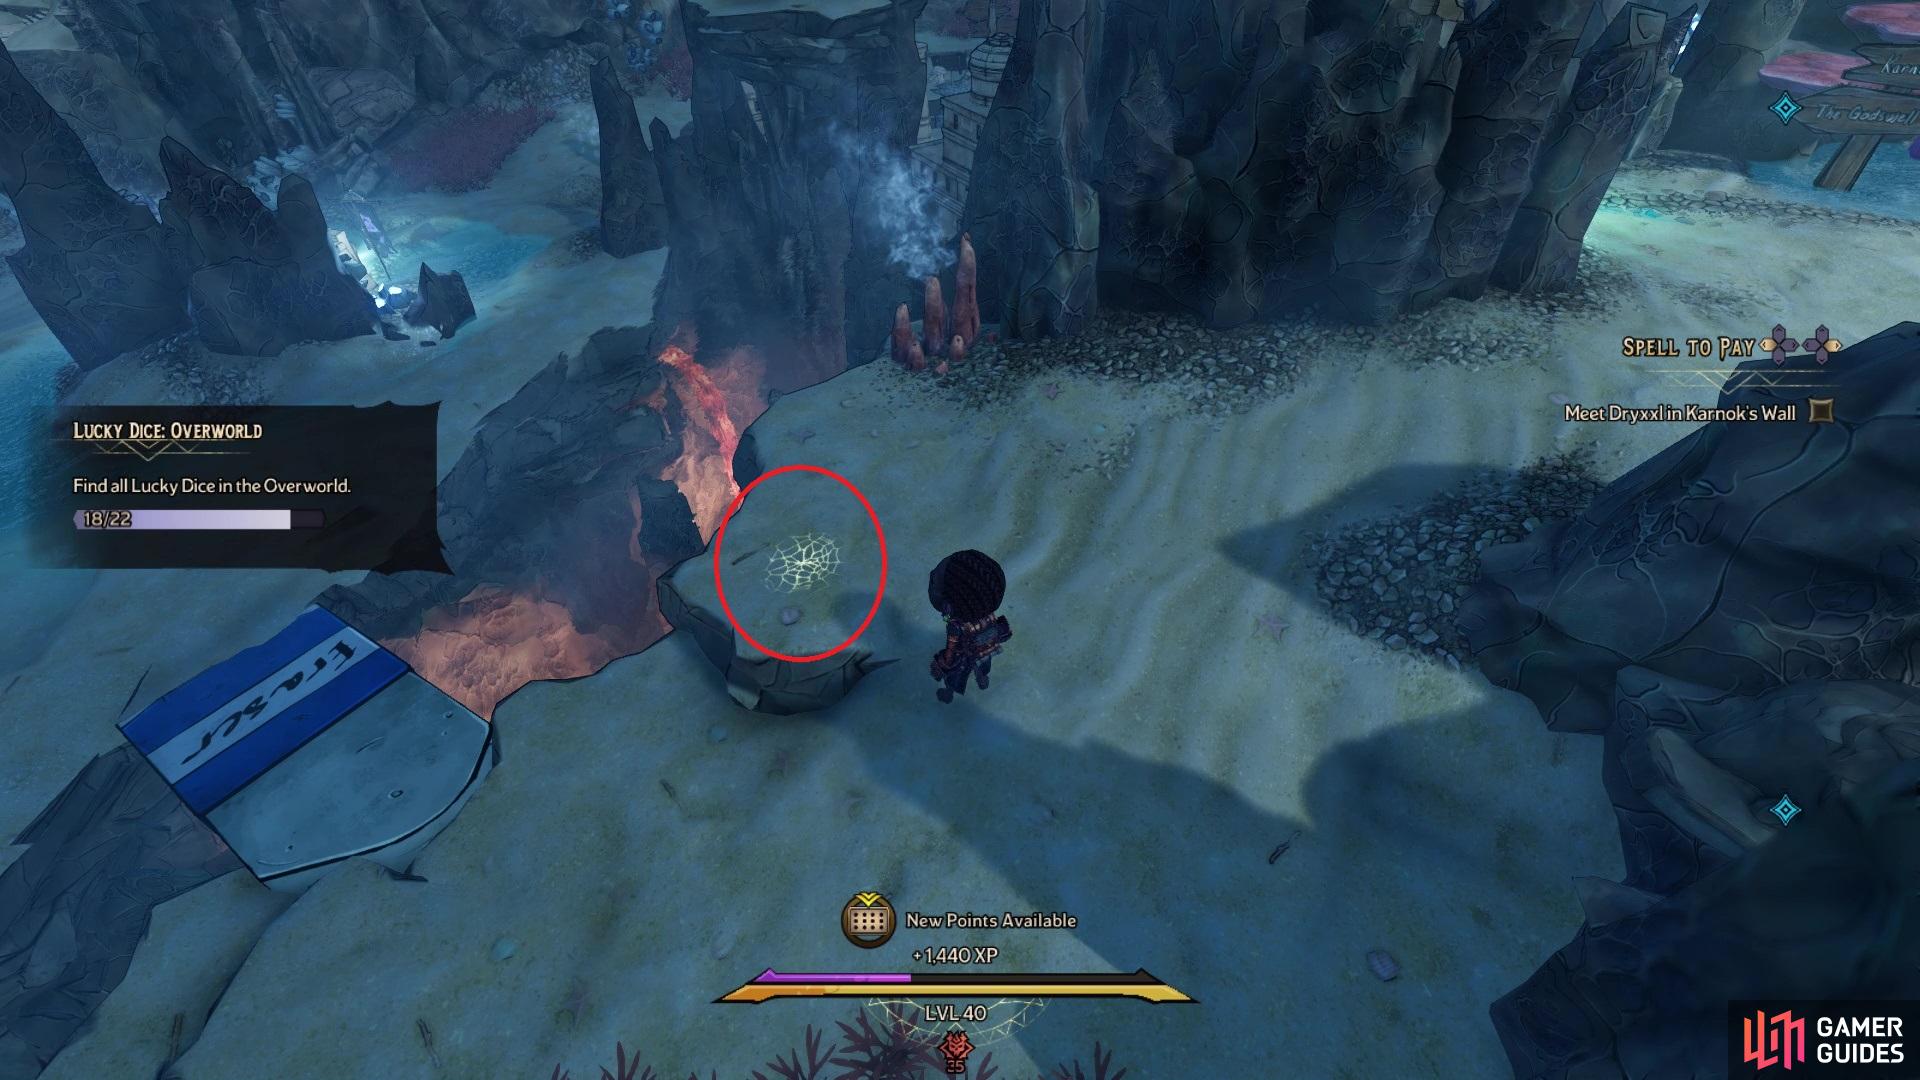
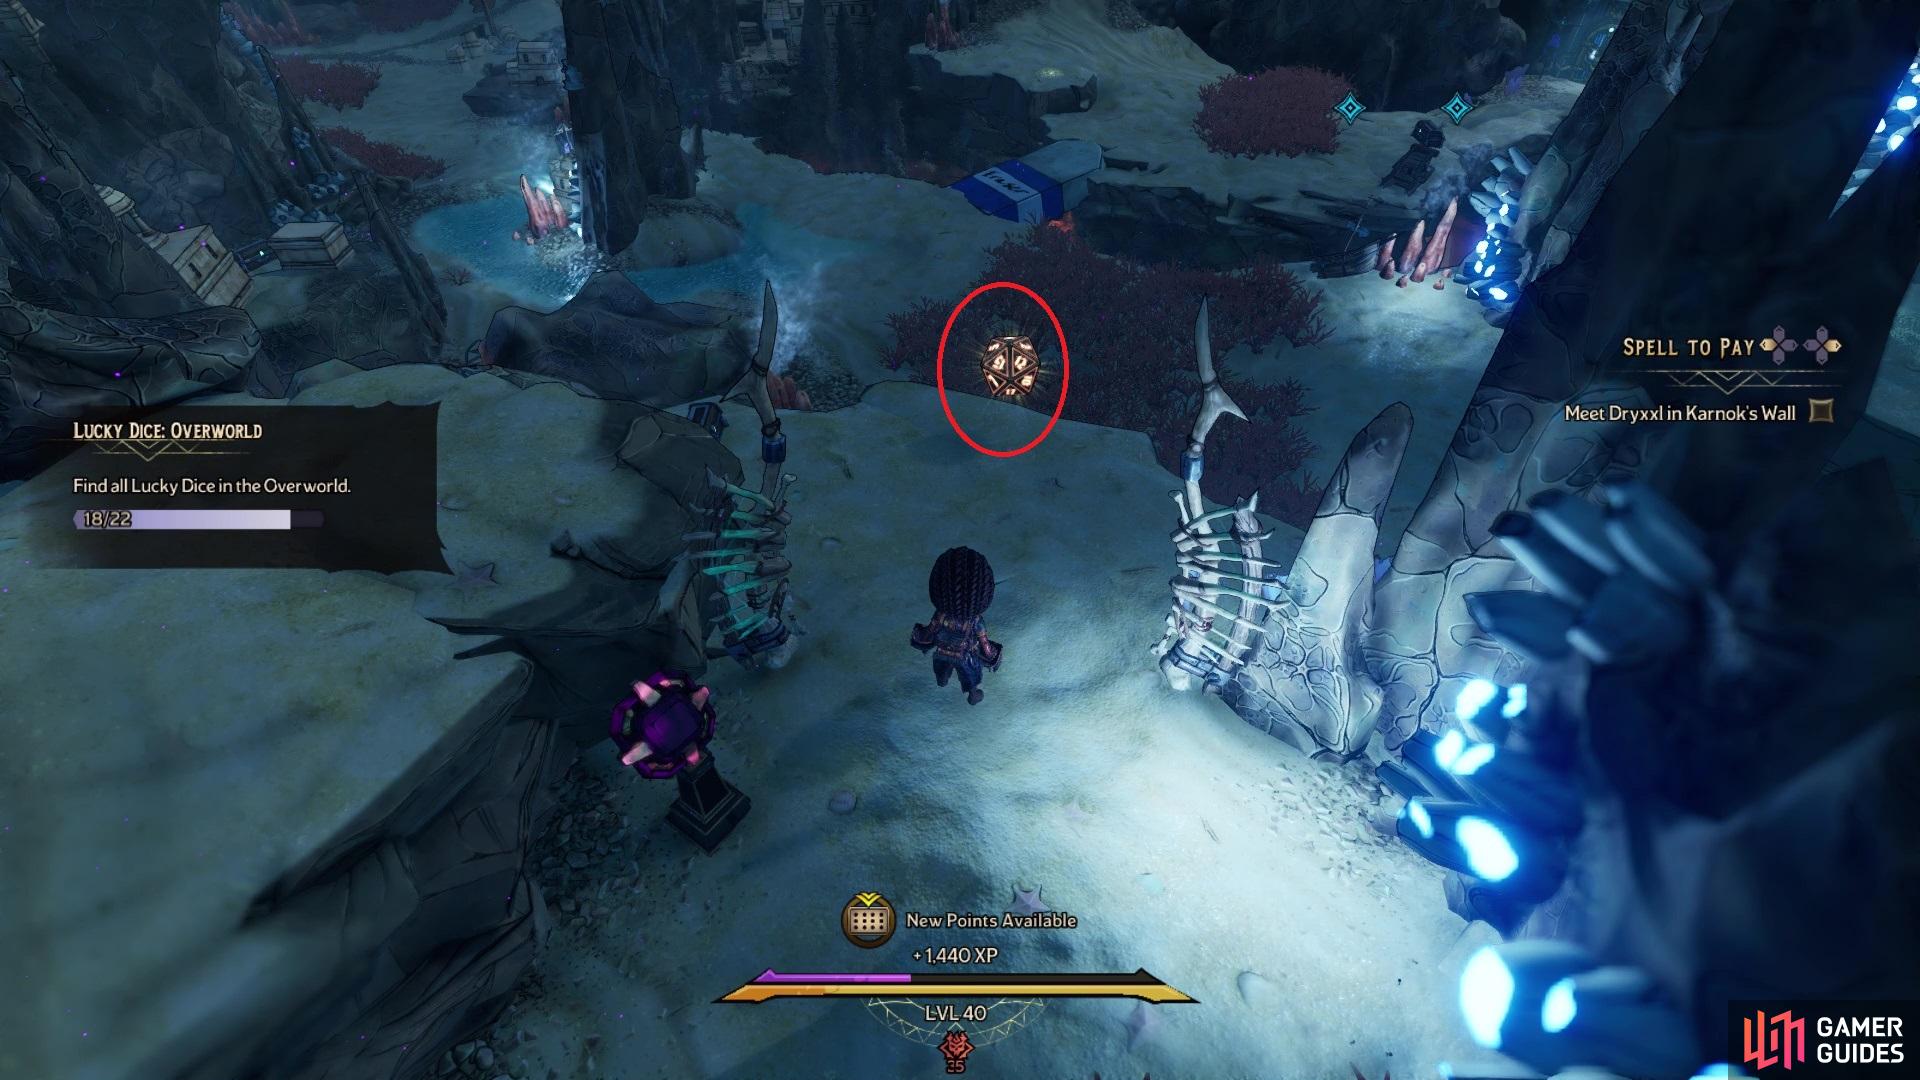
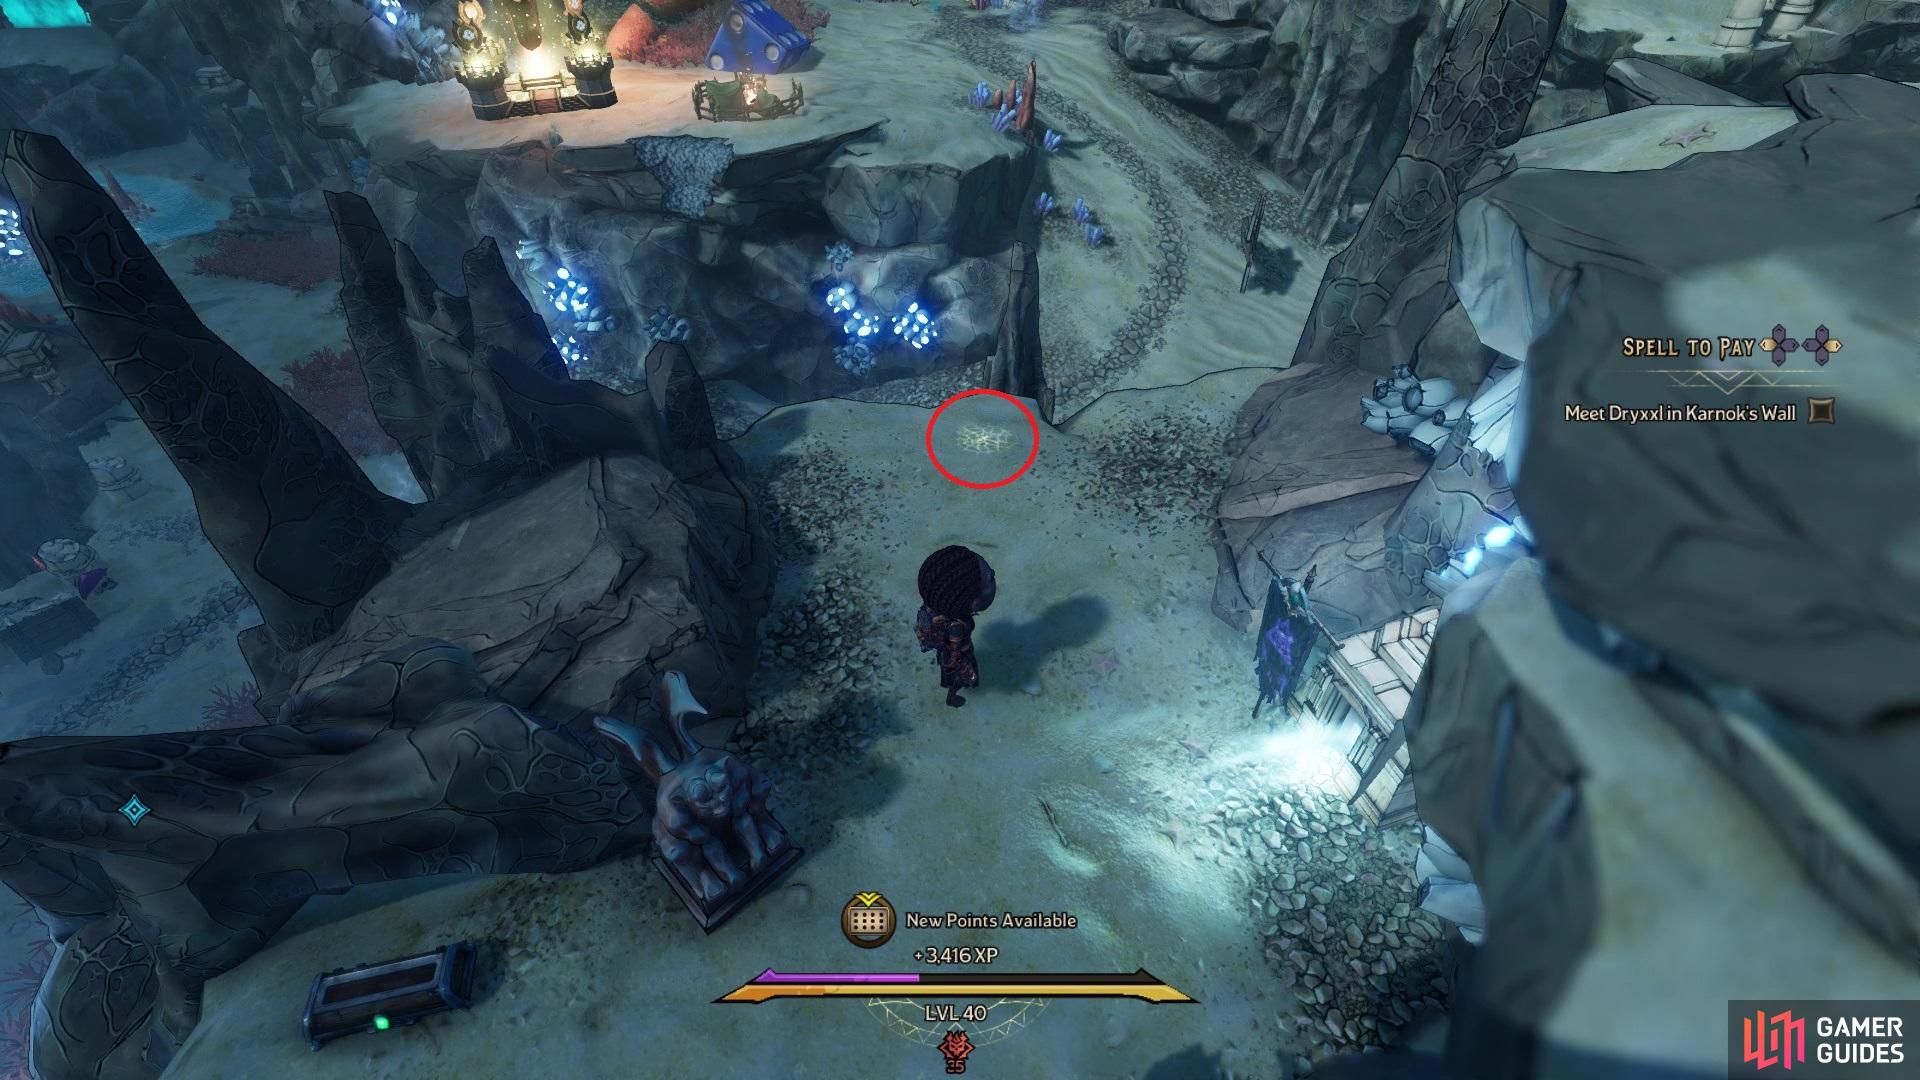
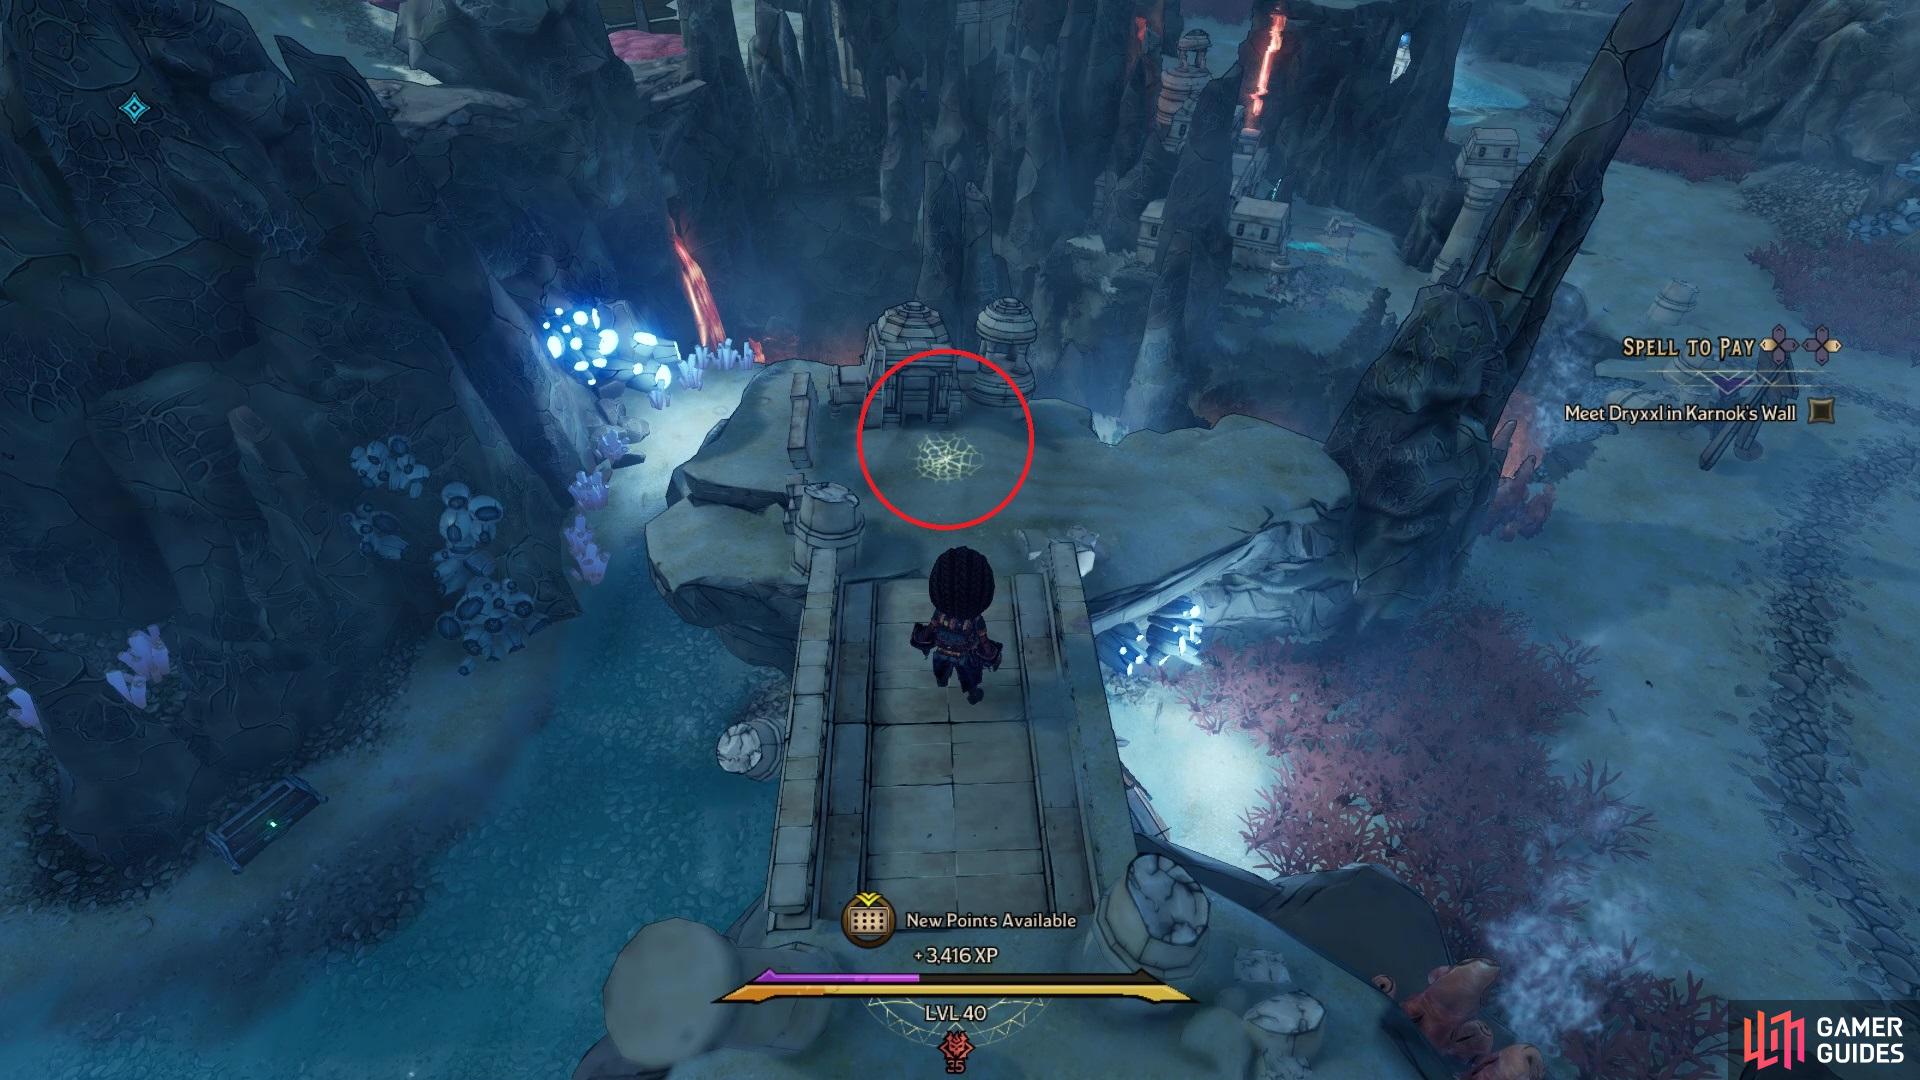
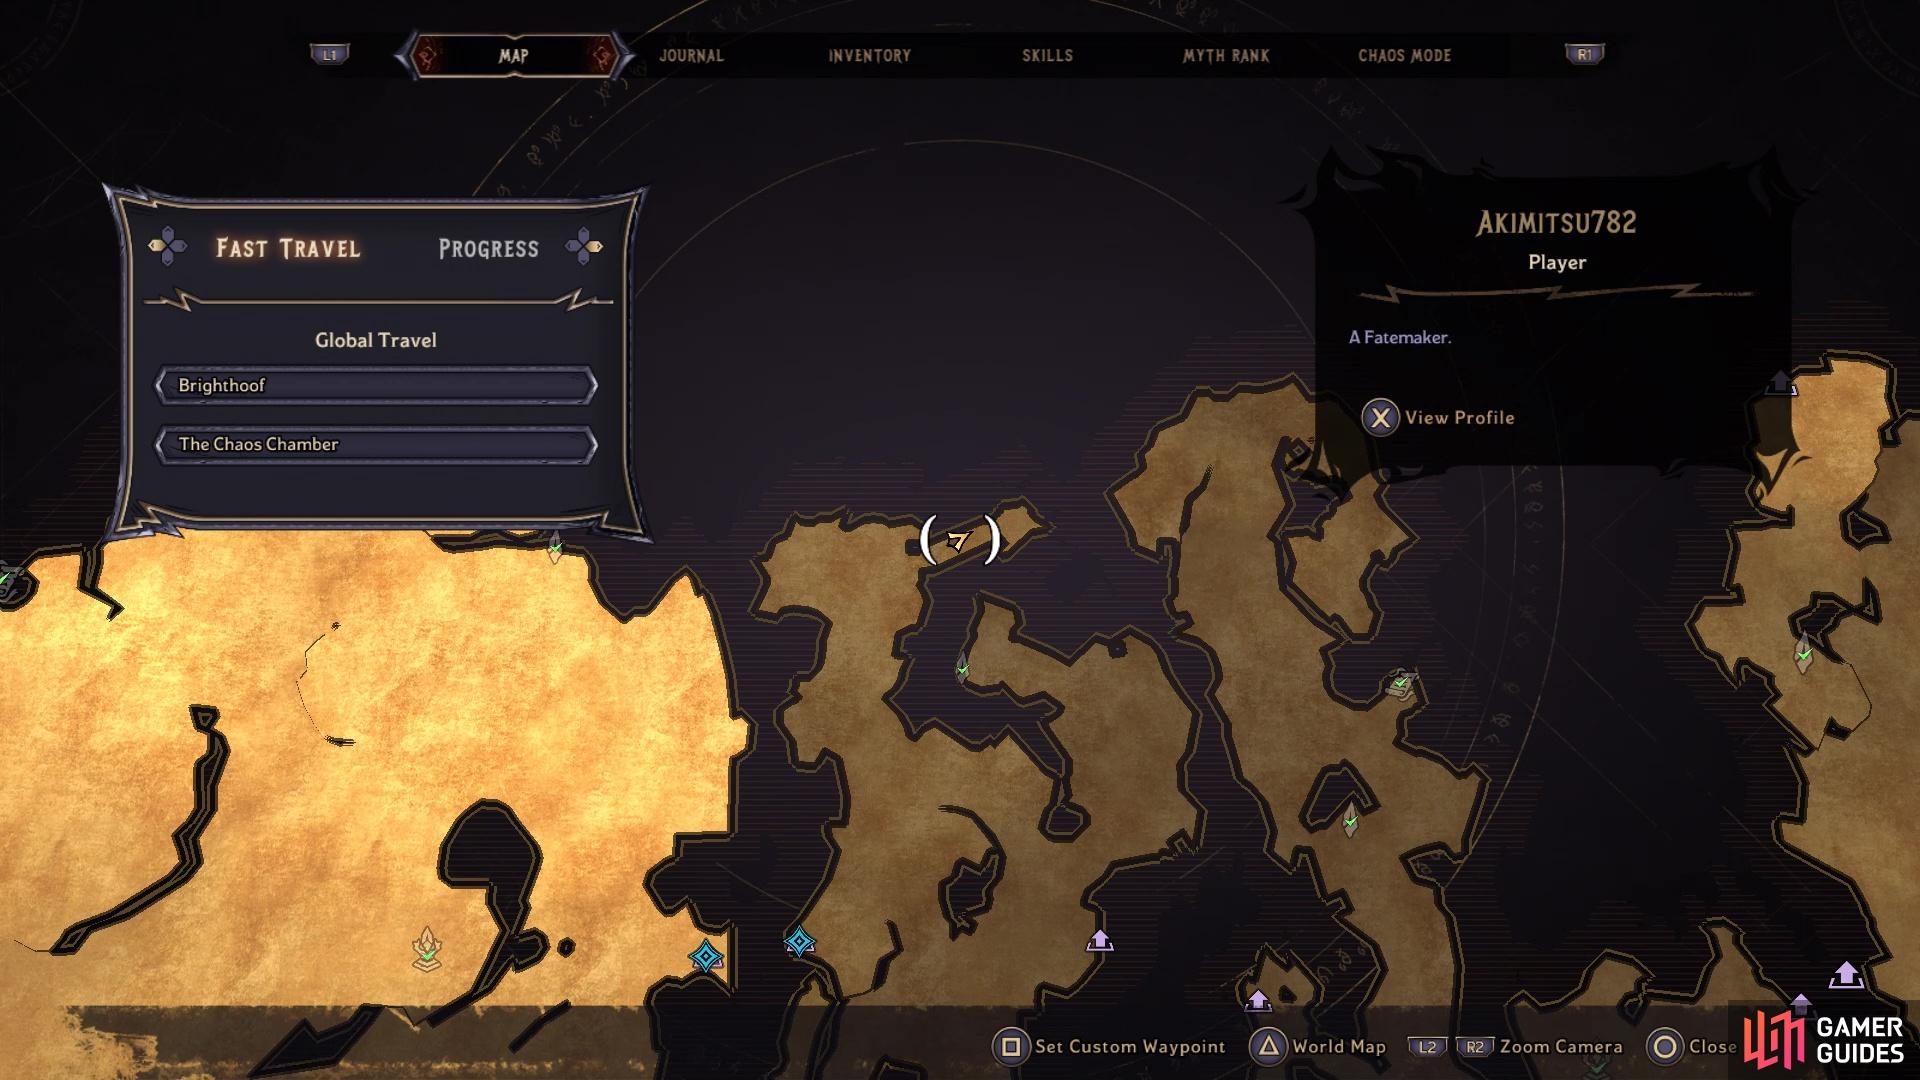
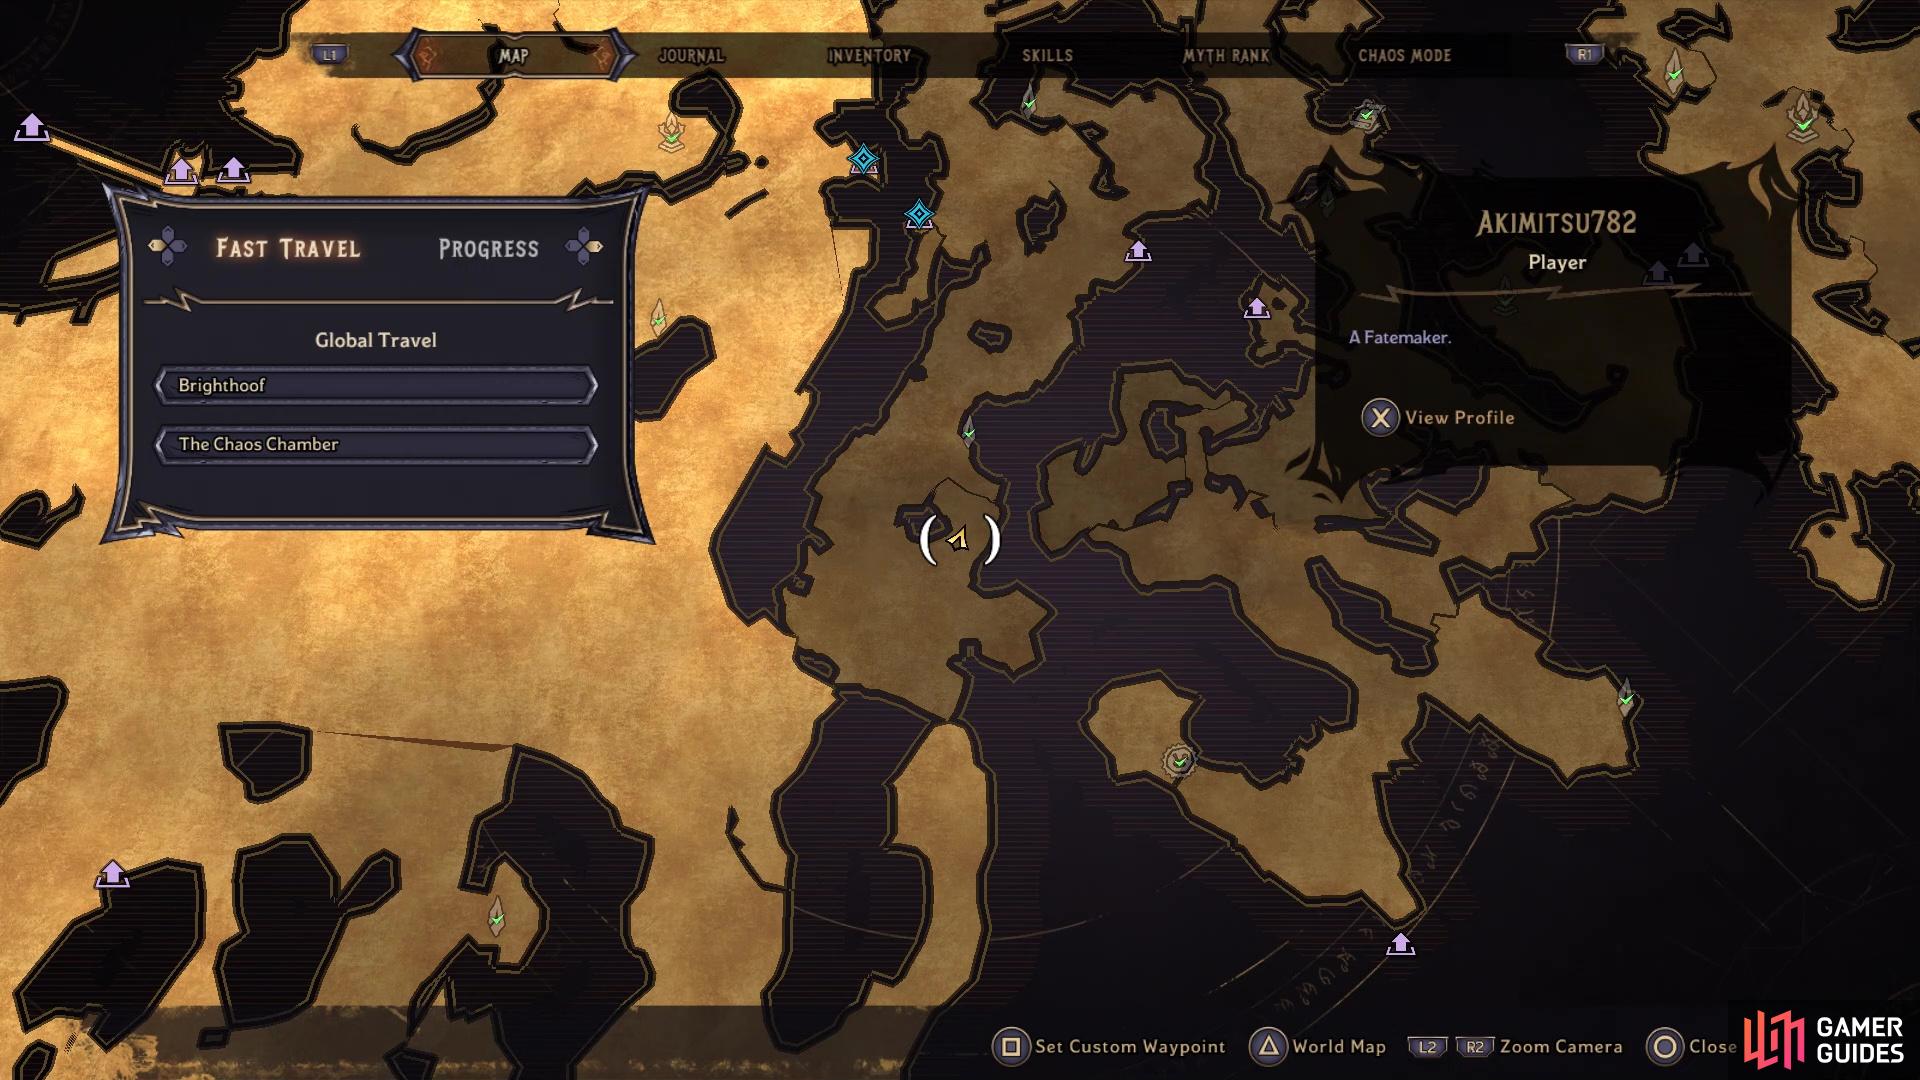
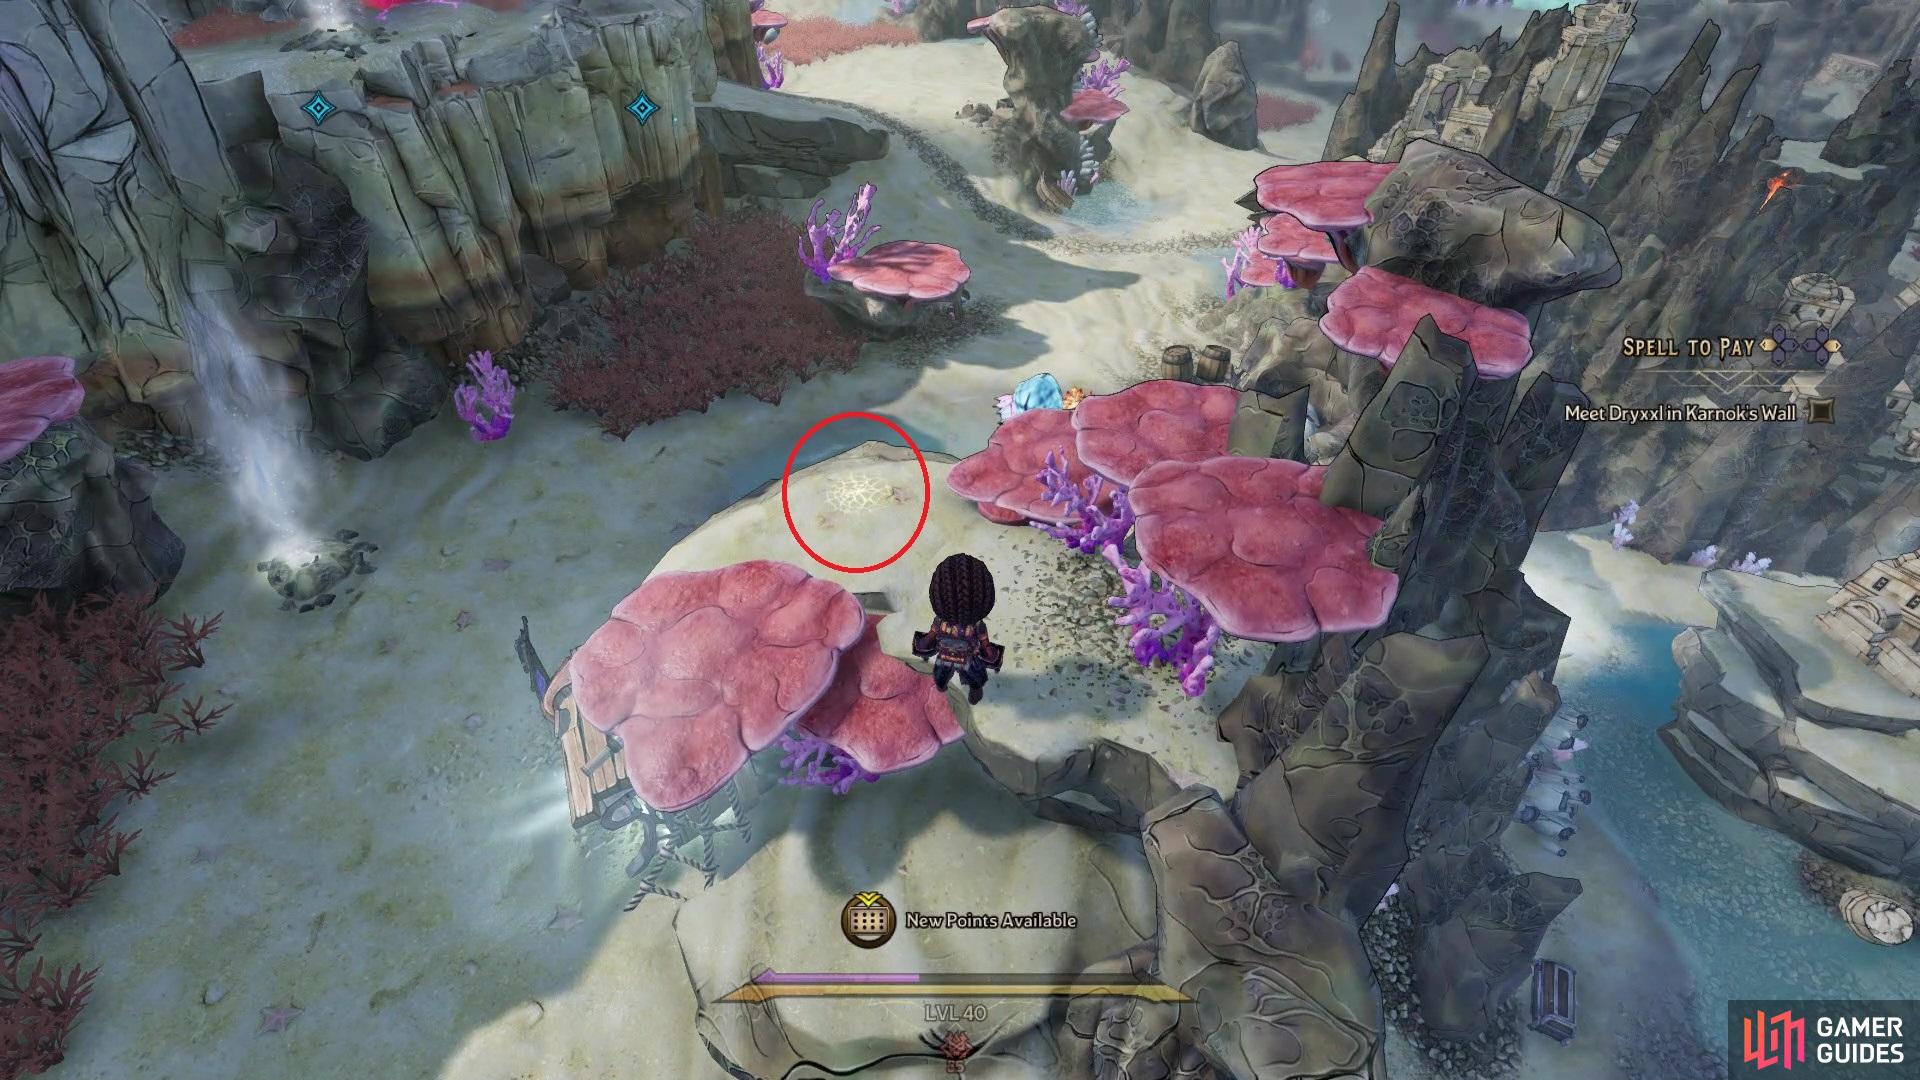
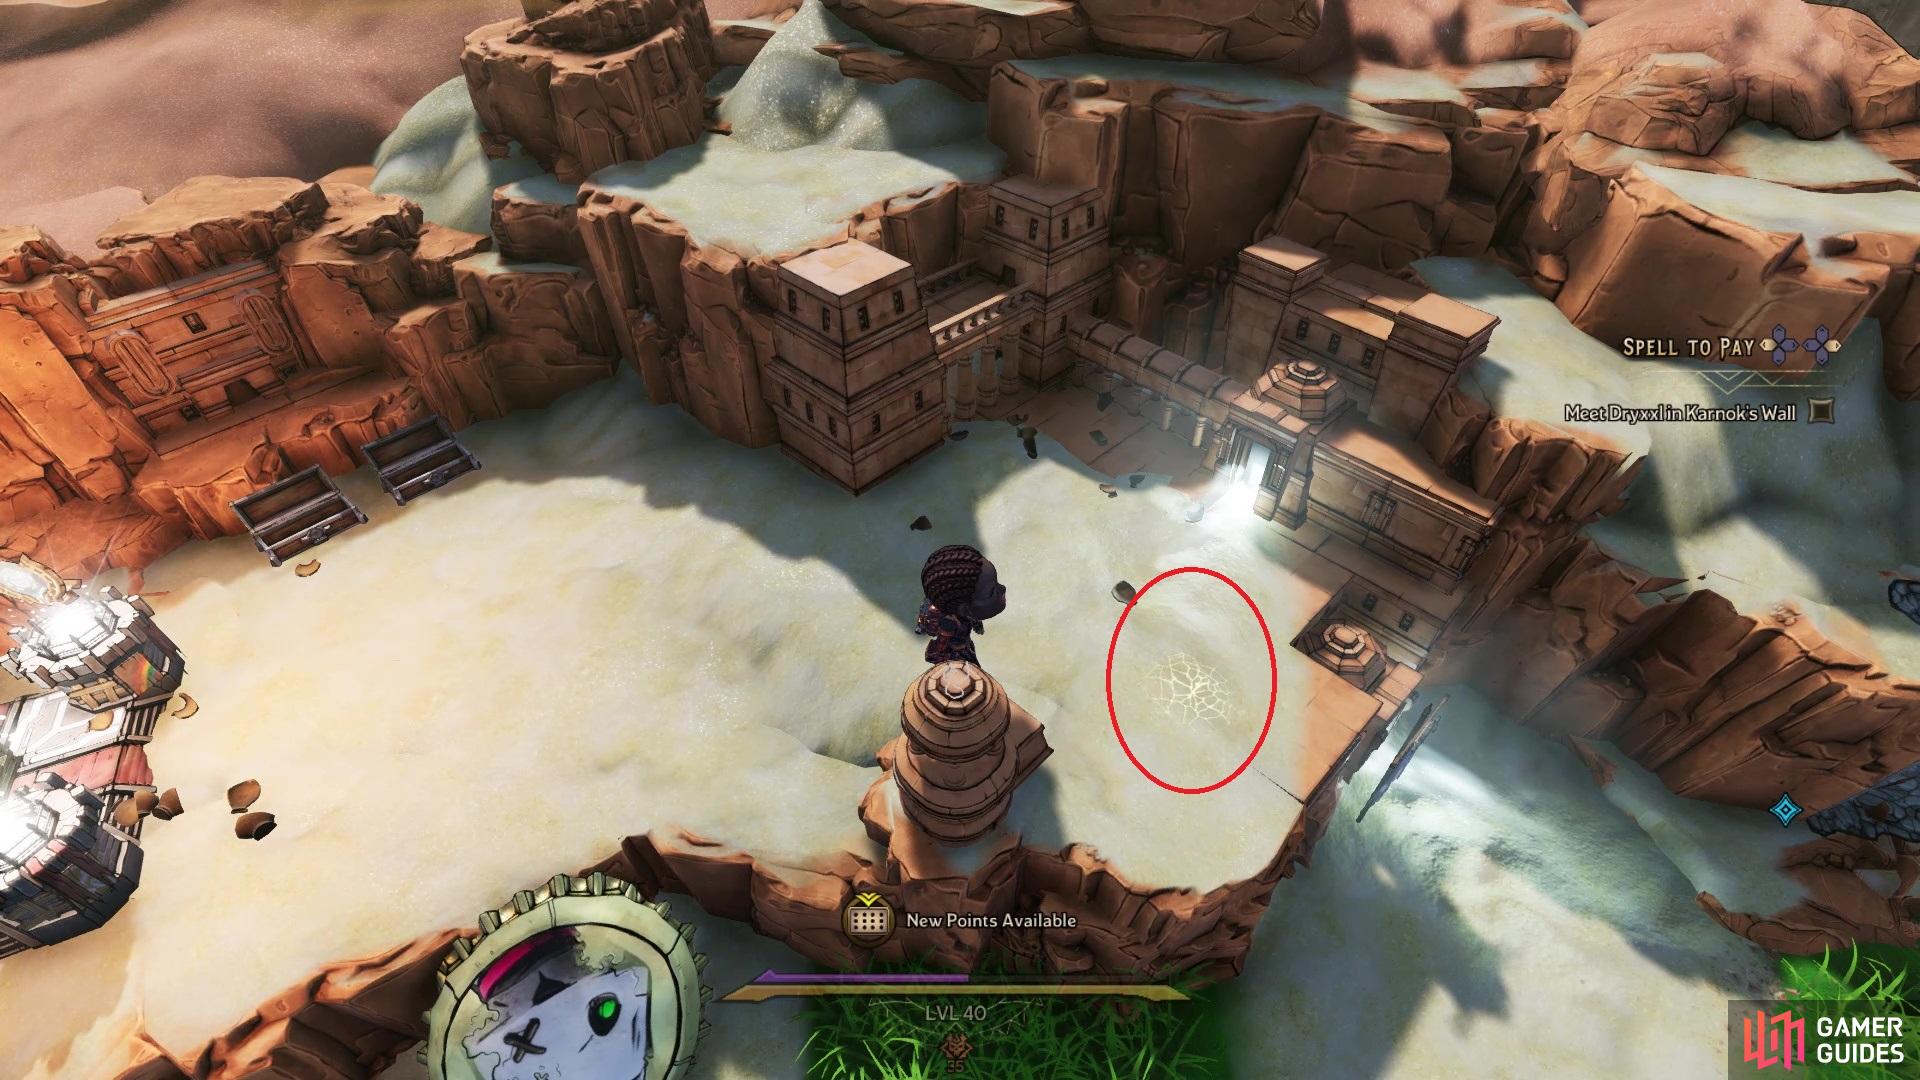
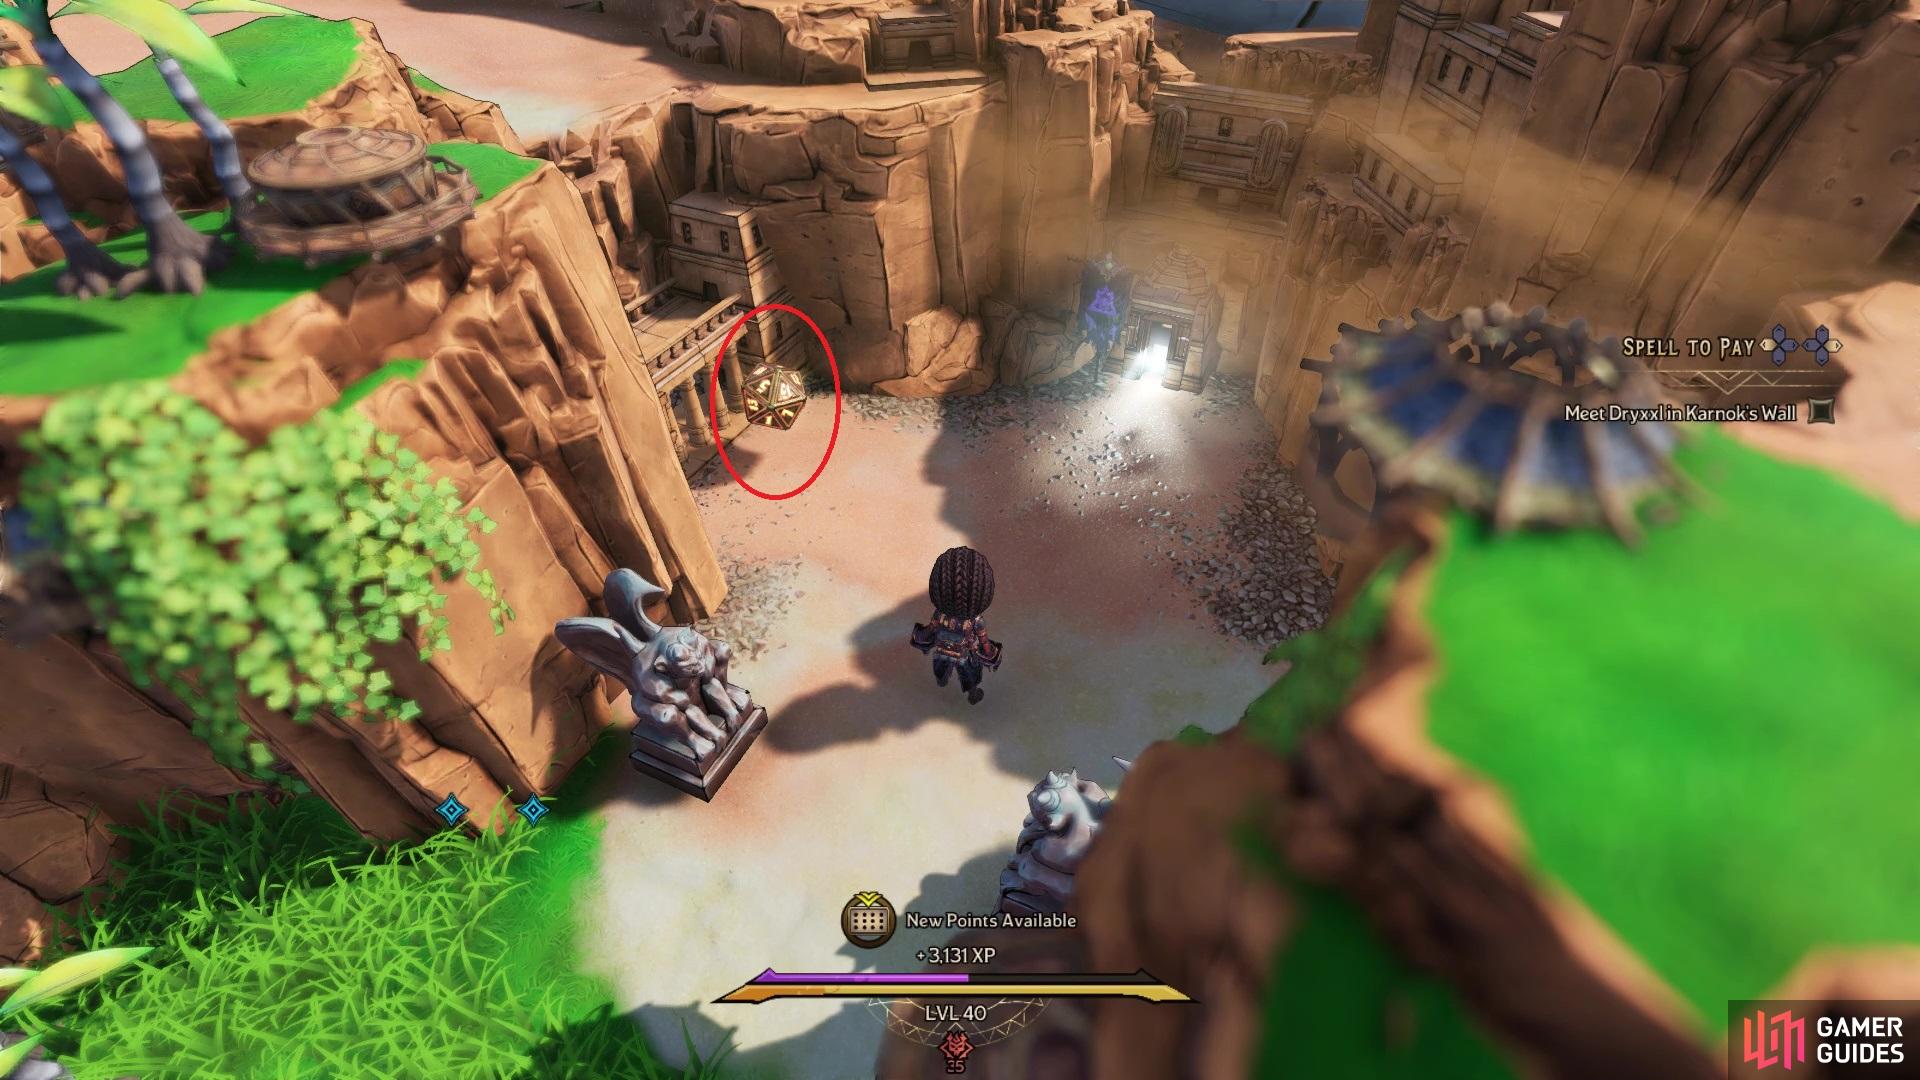
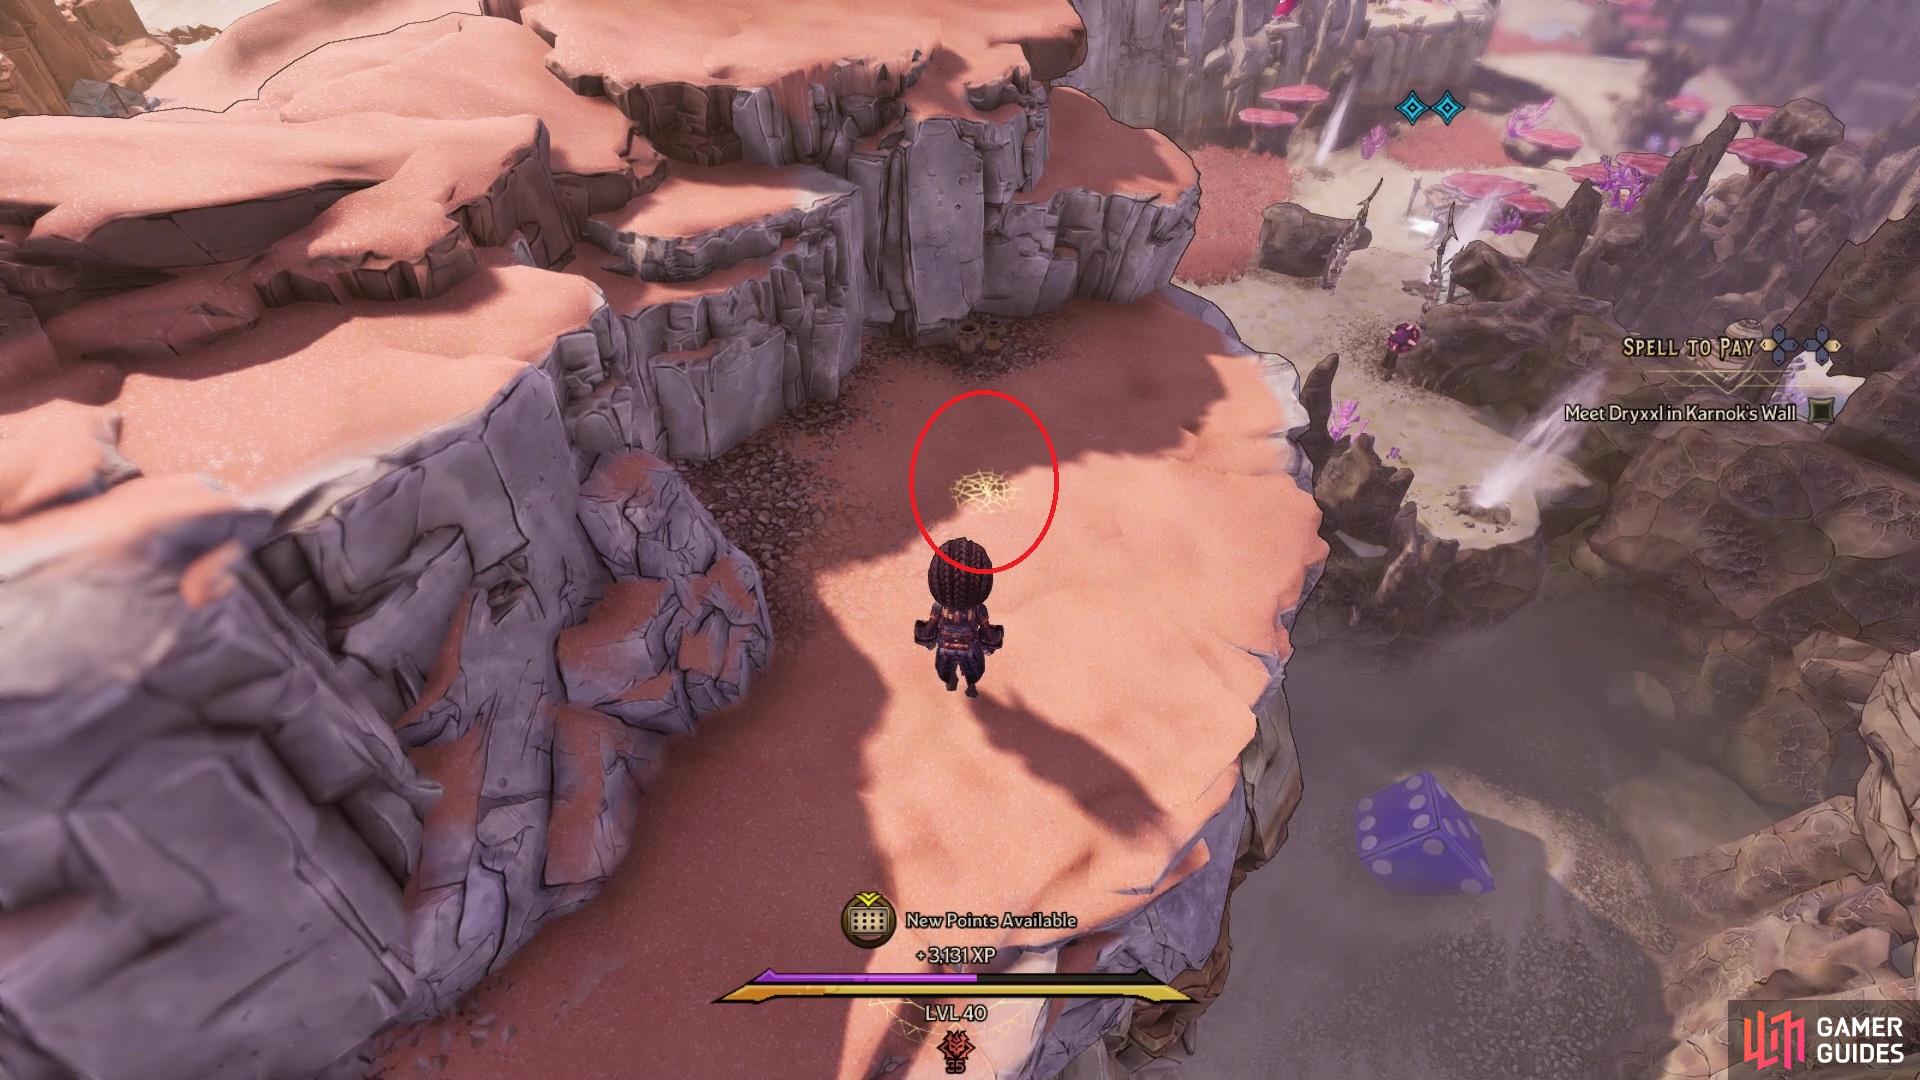
Lucky Dice #14 in the game
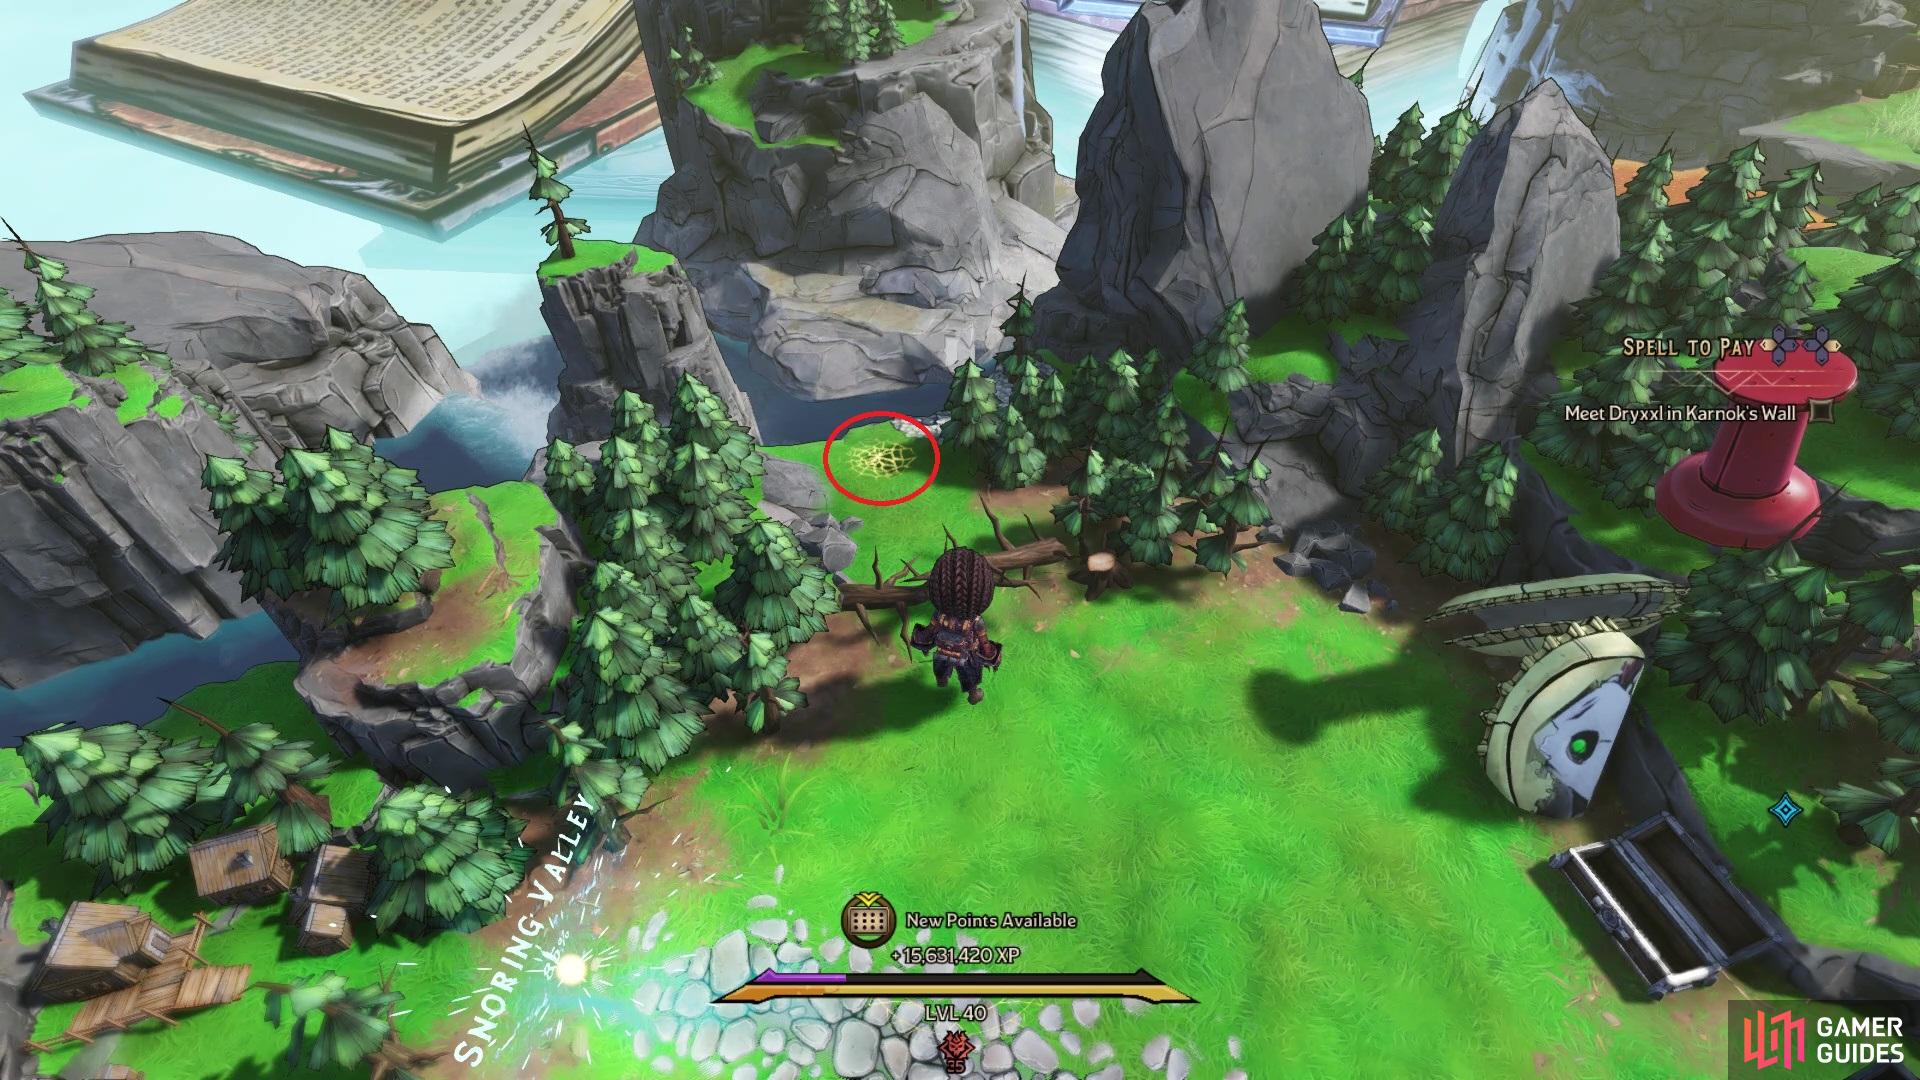
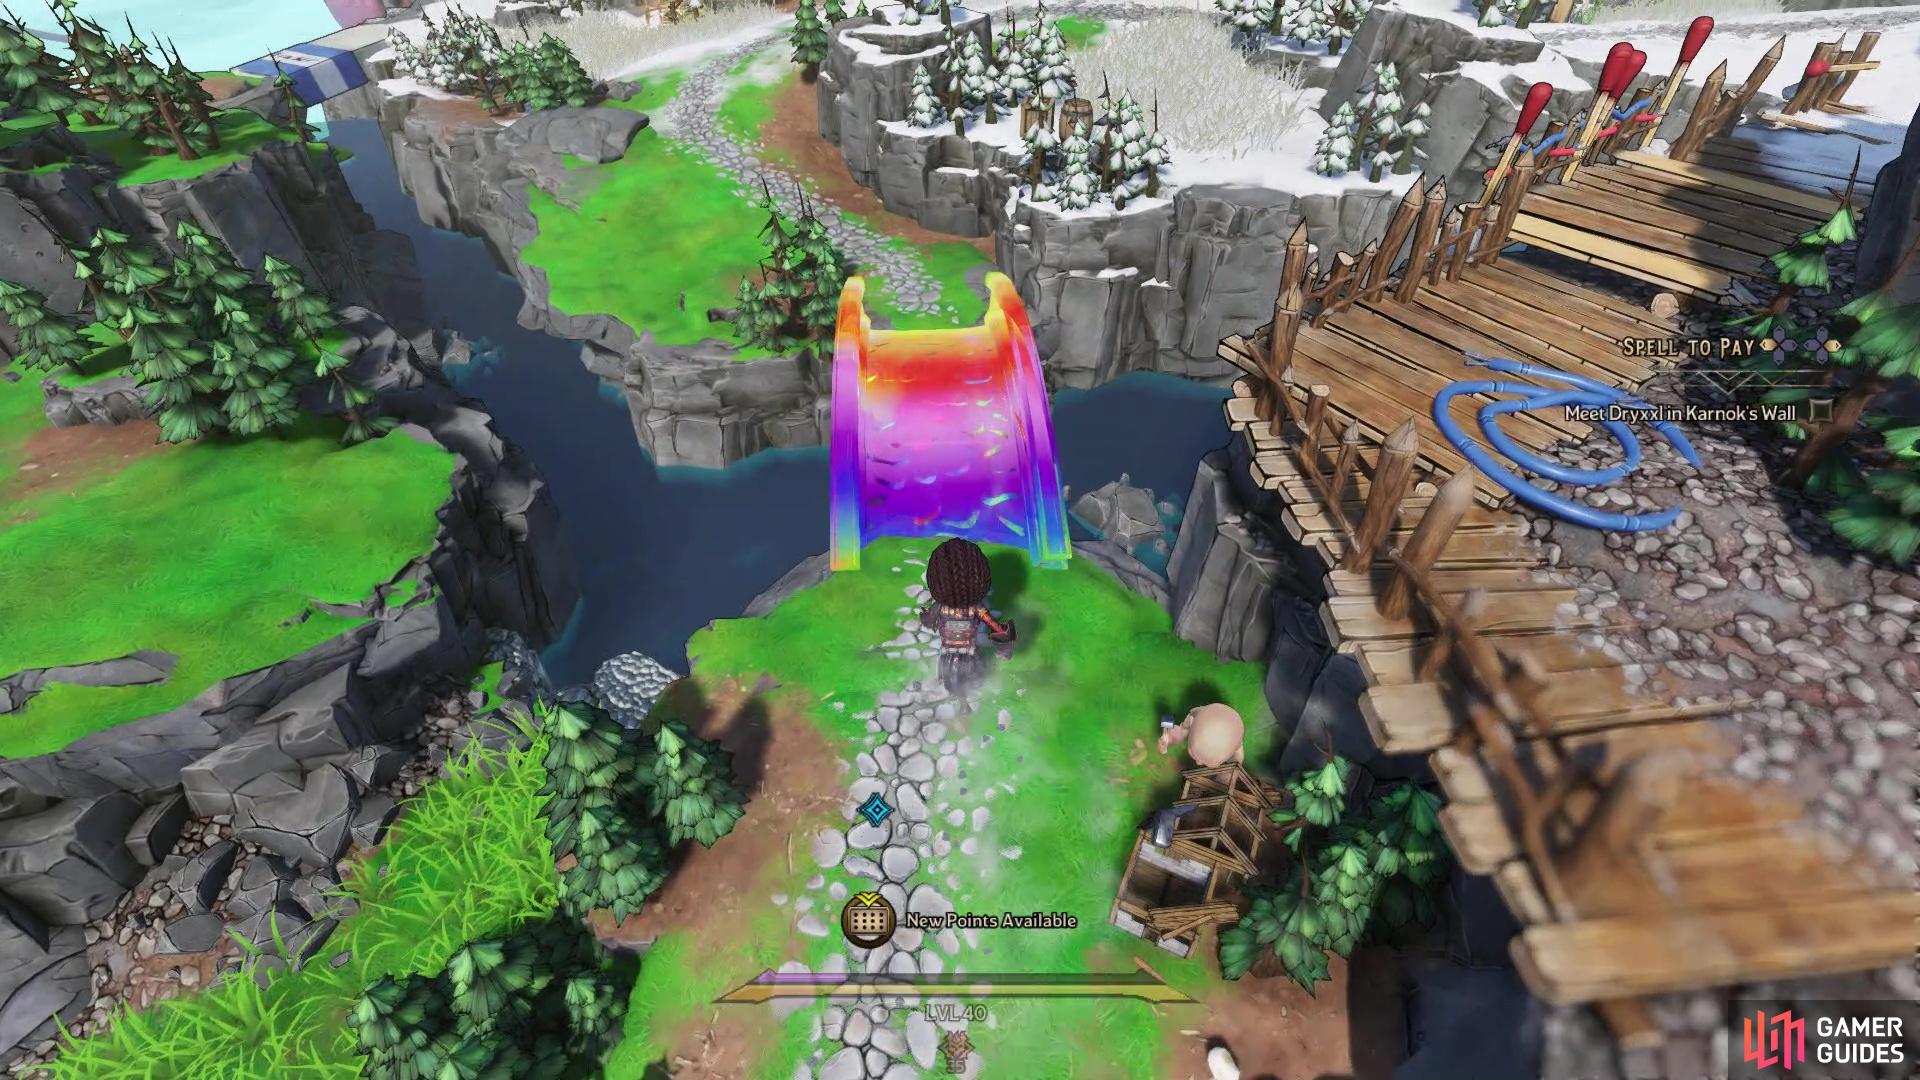
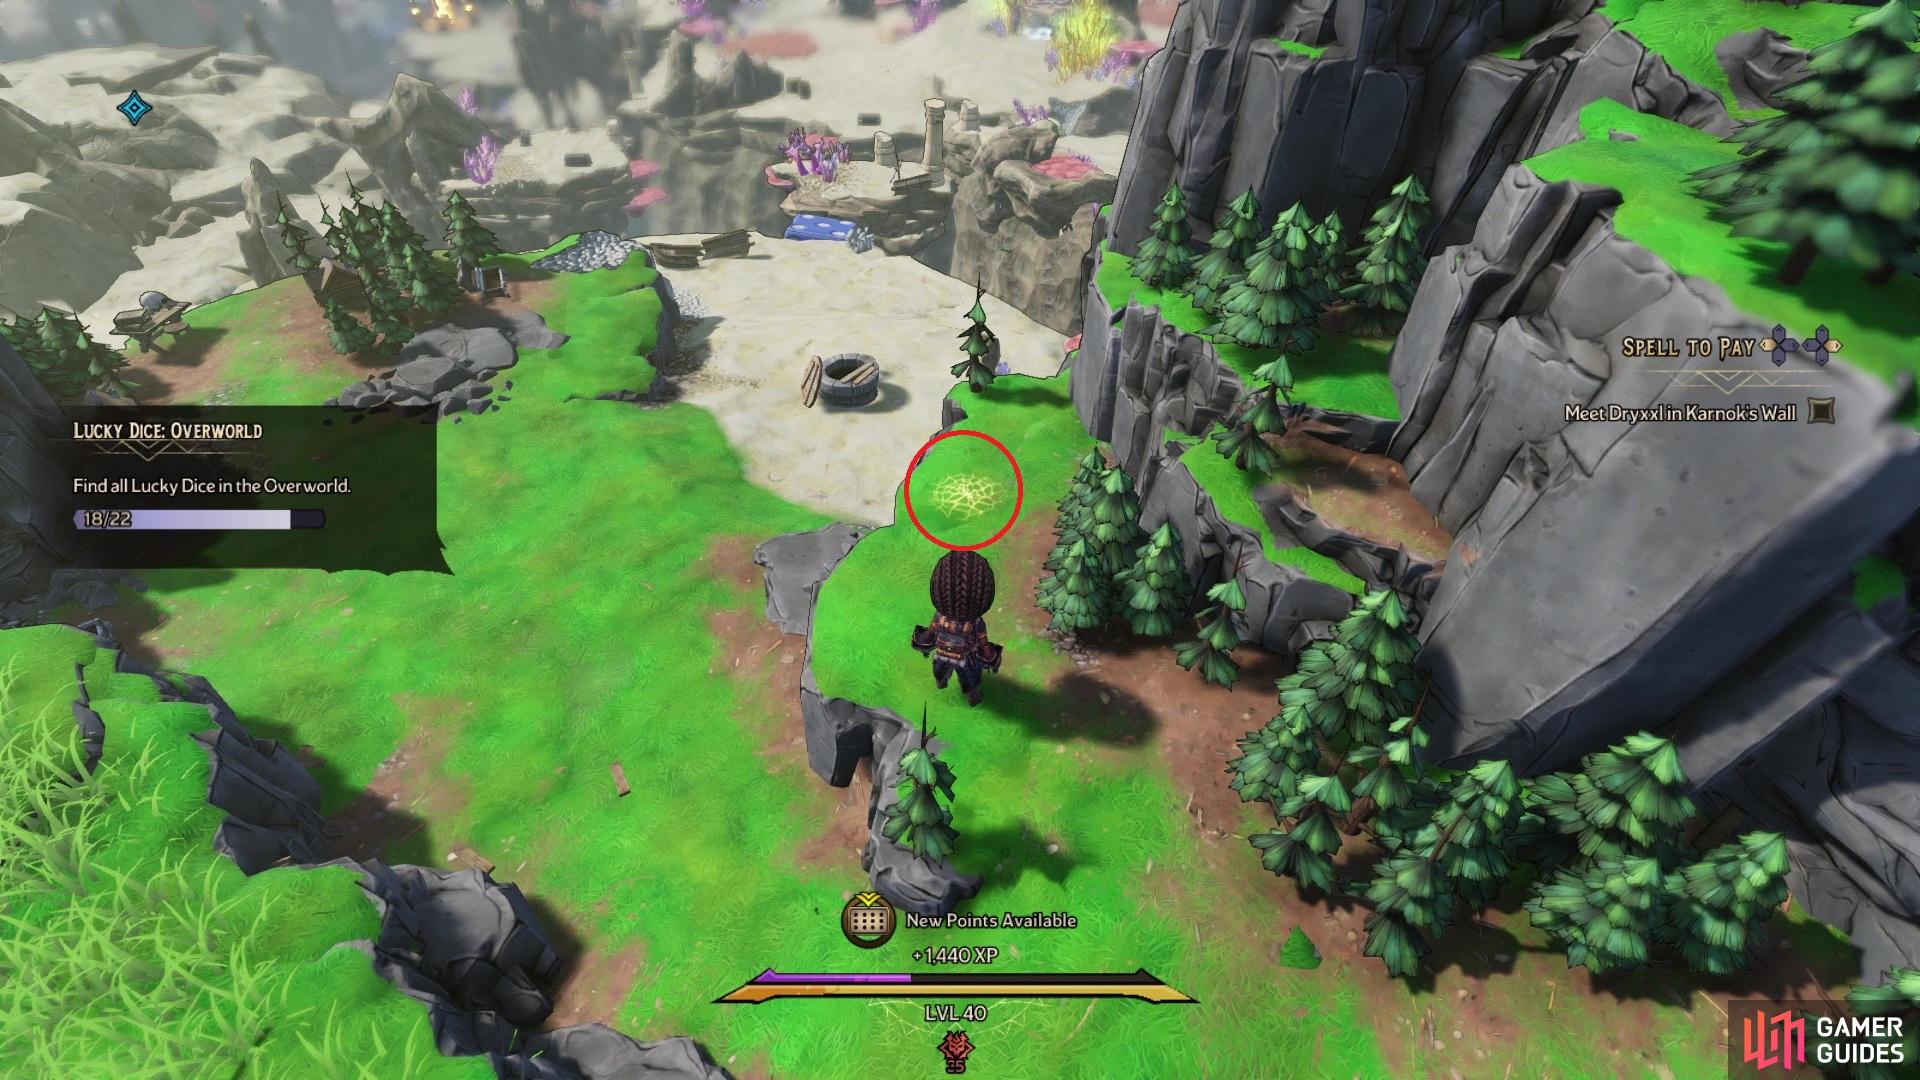
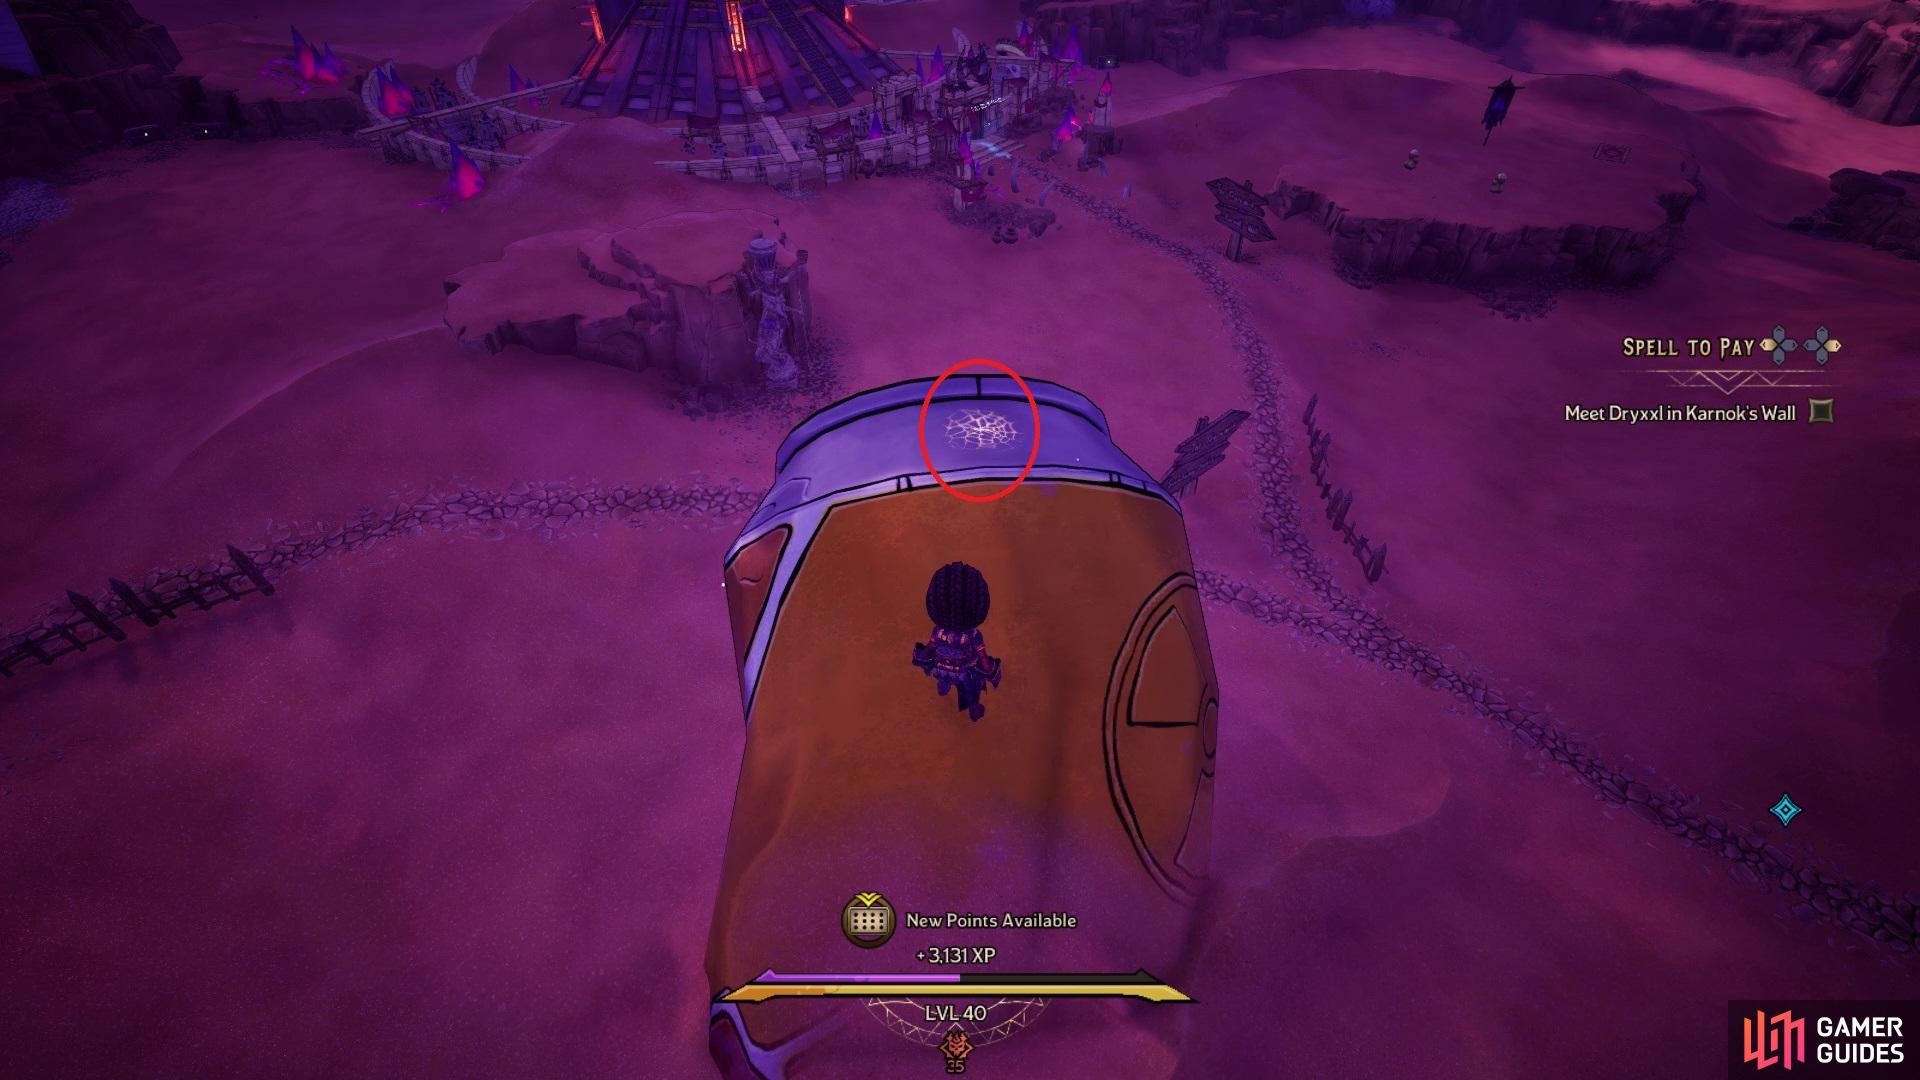
After passing through the Drowned Abyss area, your next main story mission will take you to Karnok’s Wall. Go north from the entrance and look for the spot with the invisible bridge. Approach it to make the bridge appear, then cross it to find the Lucky Dice.
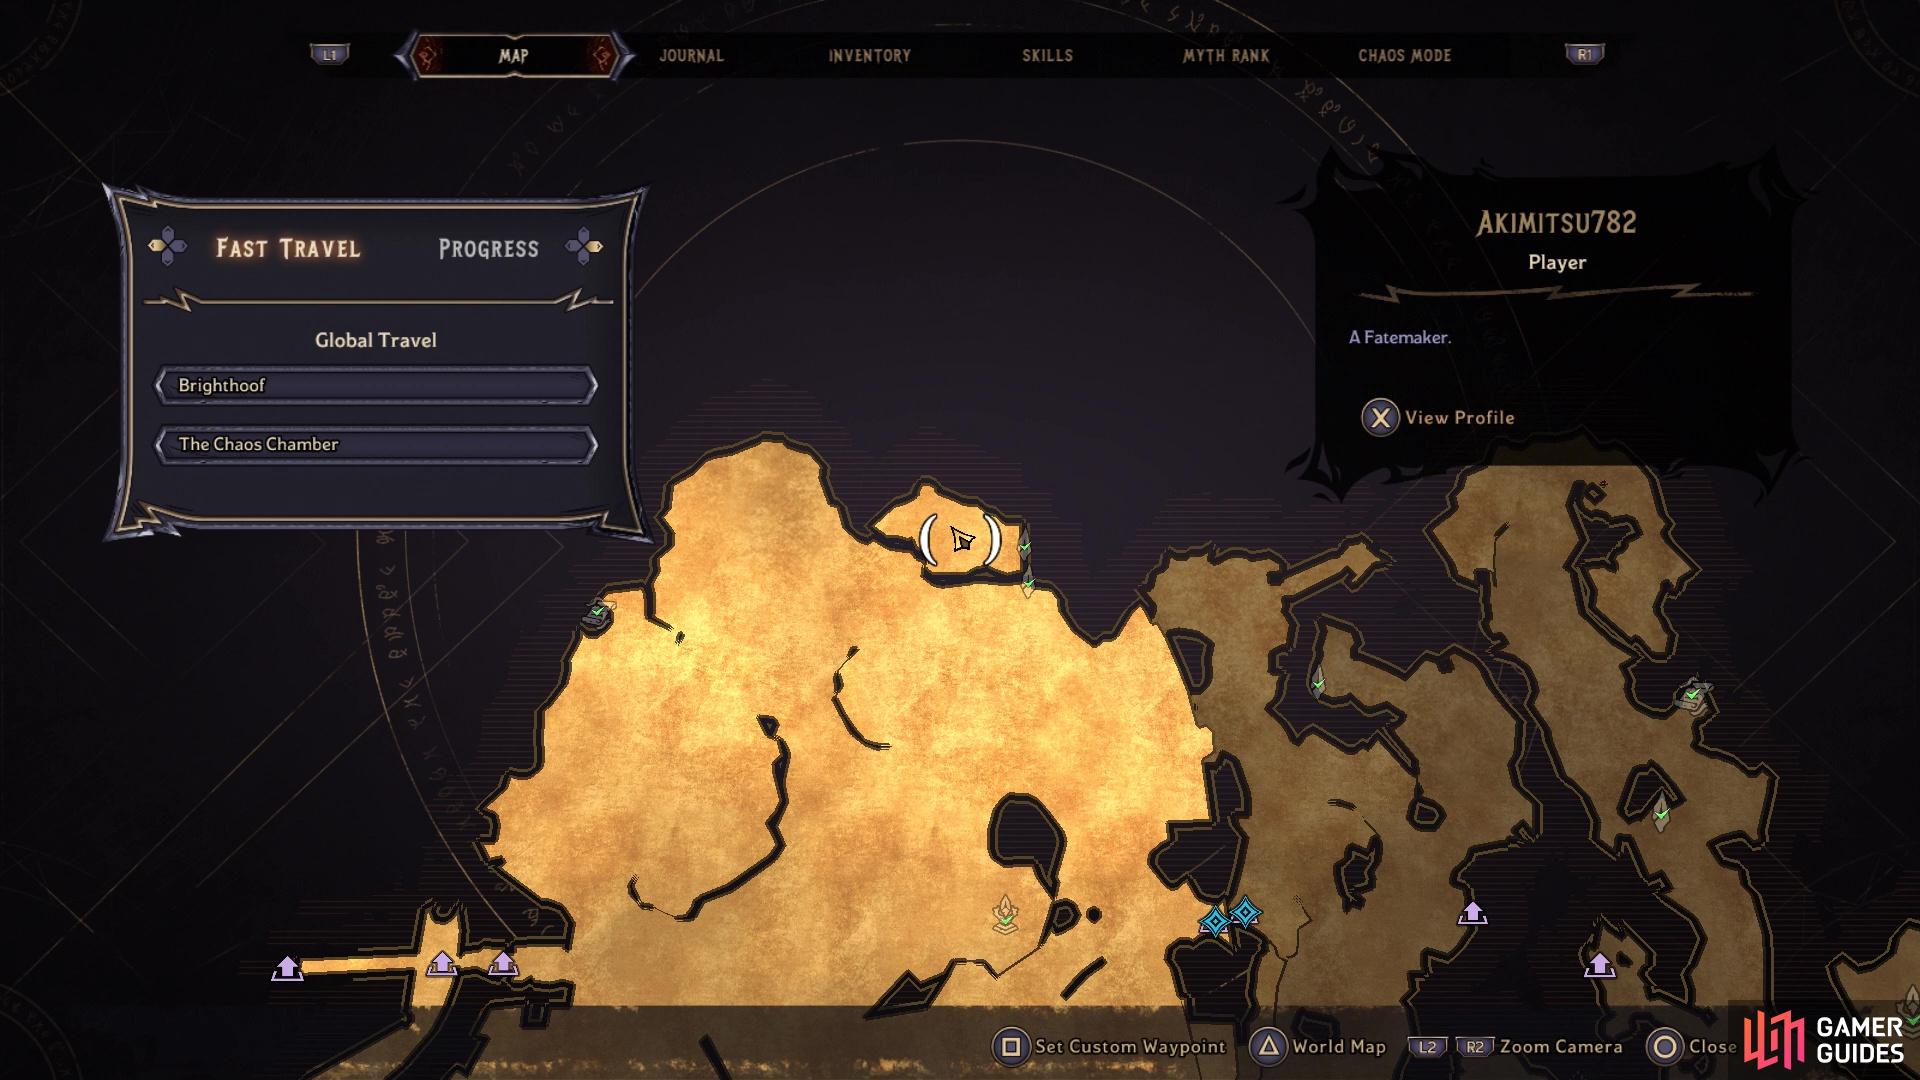
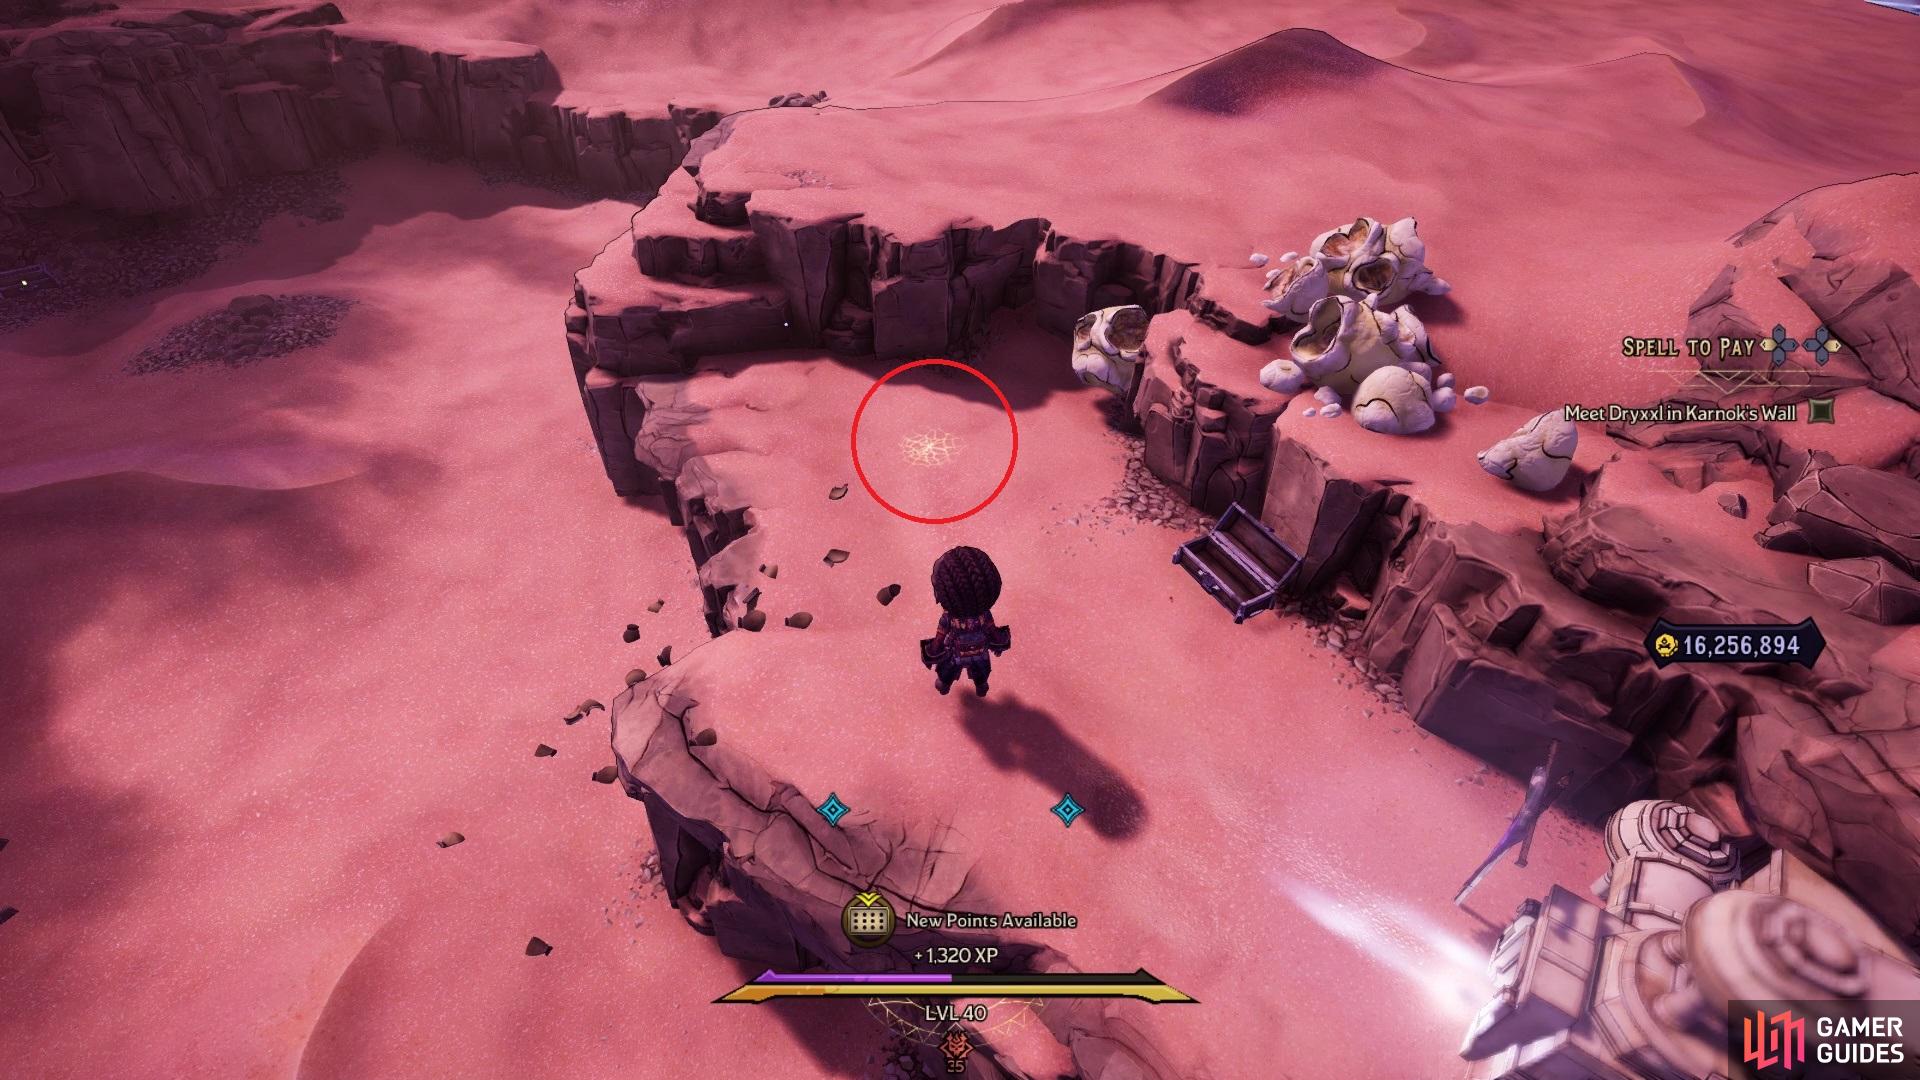
Lucky Dice Location #15
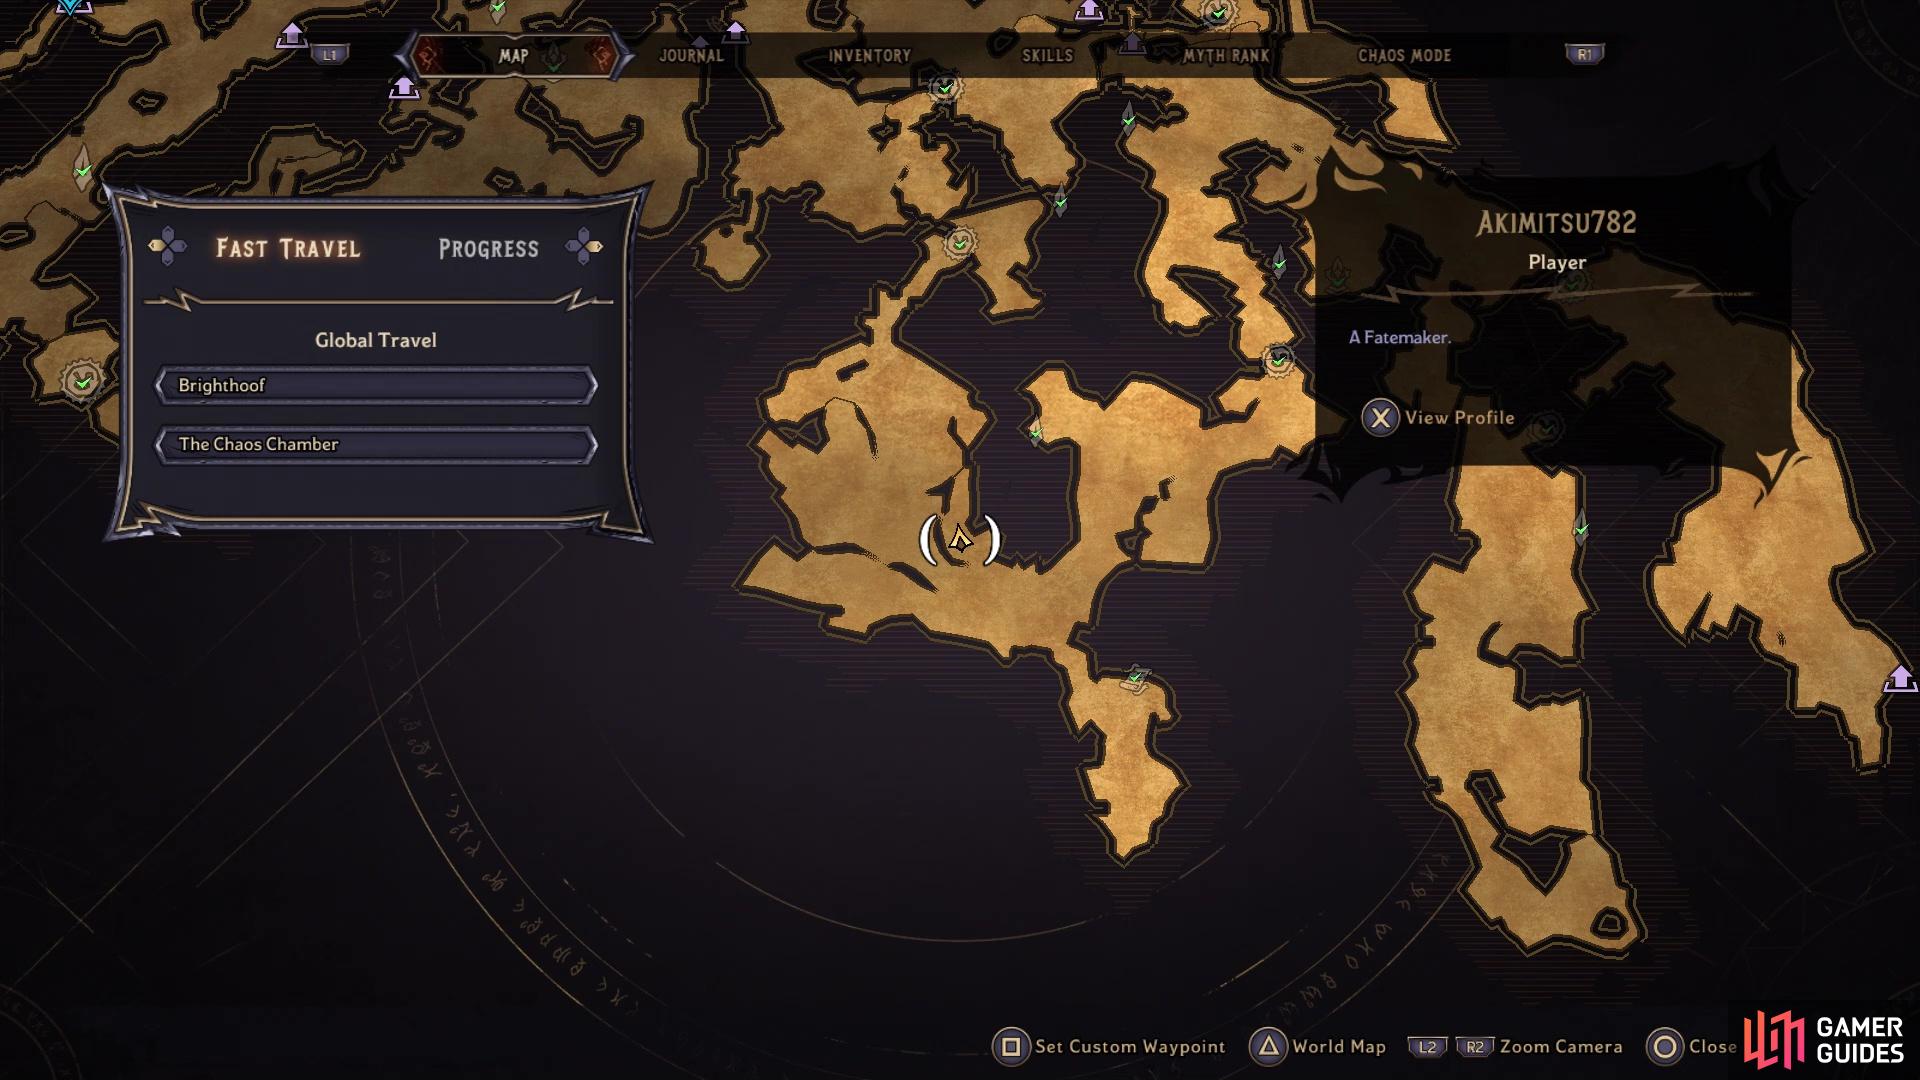
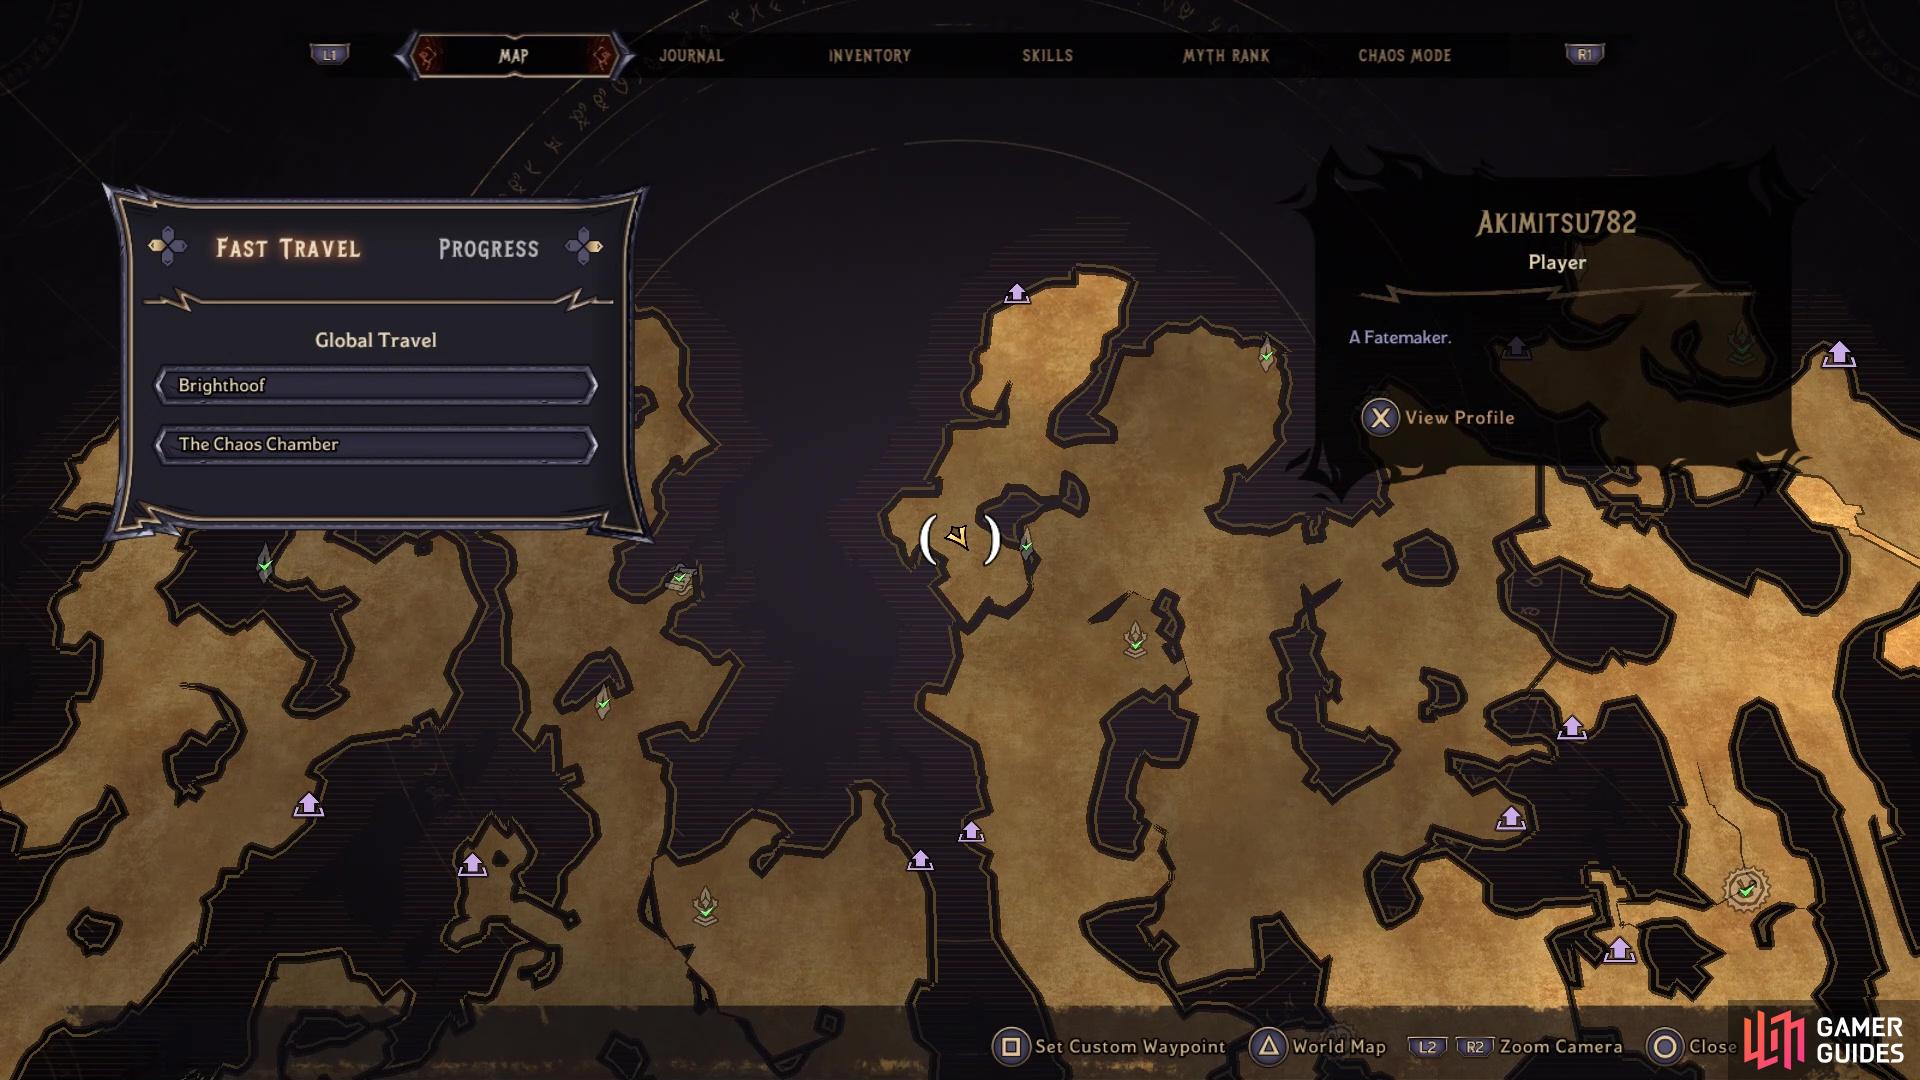
Lucky Dice #15 on the map
Lucky Dice #15 in the game
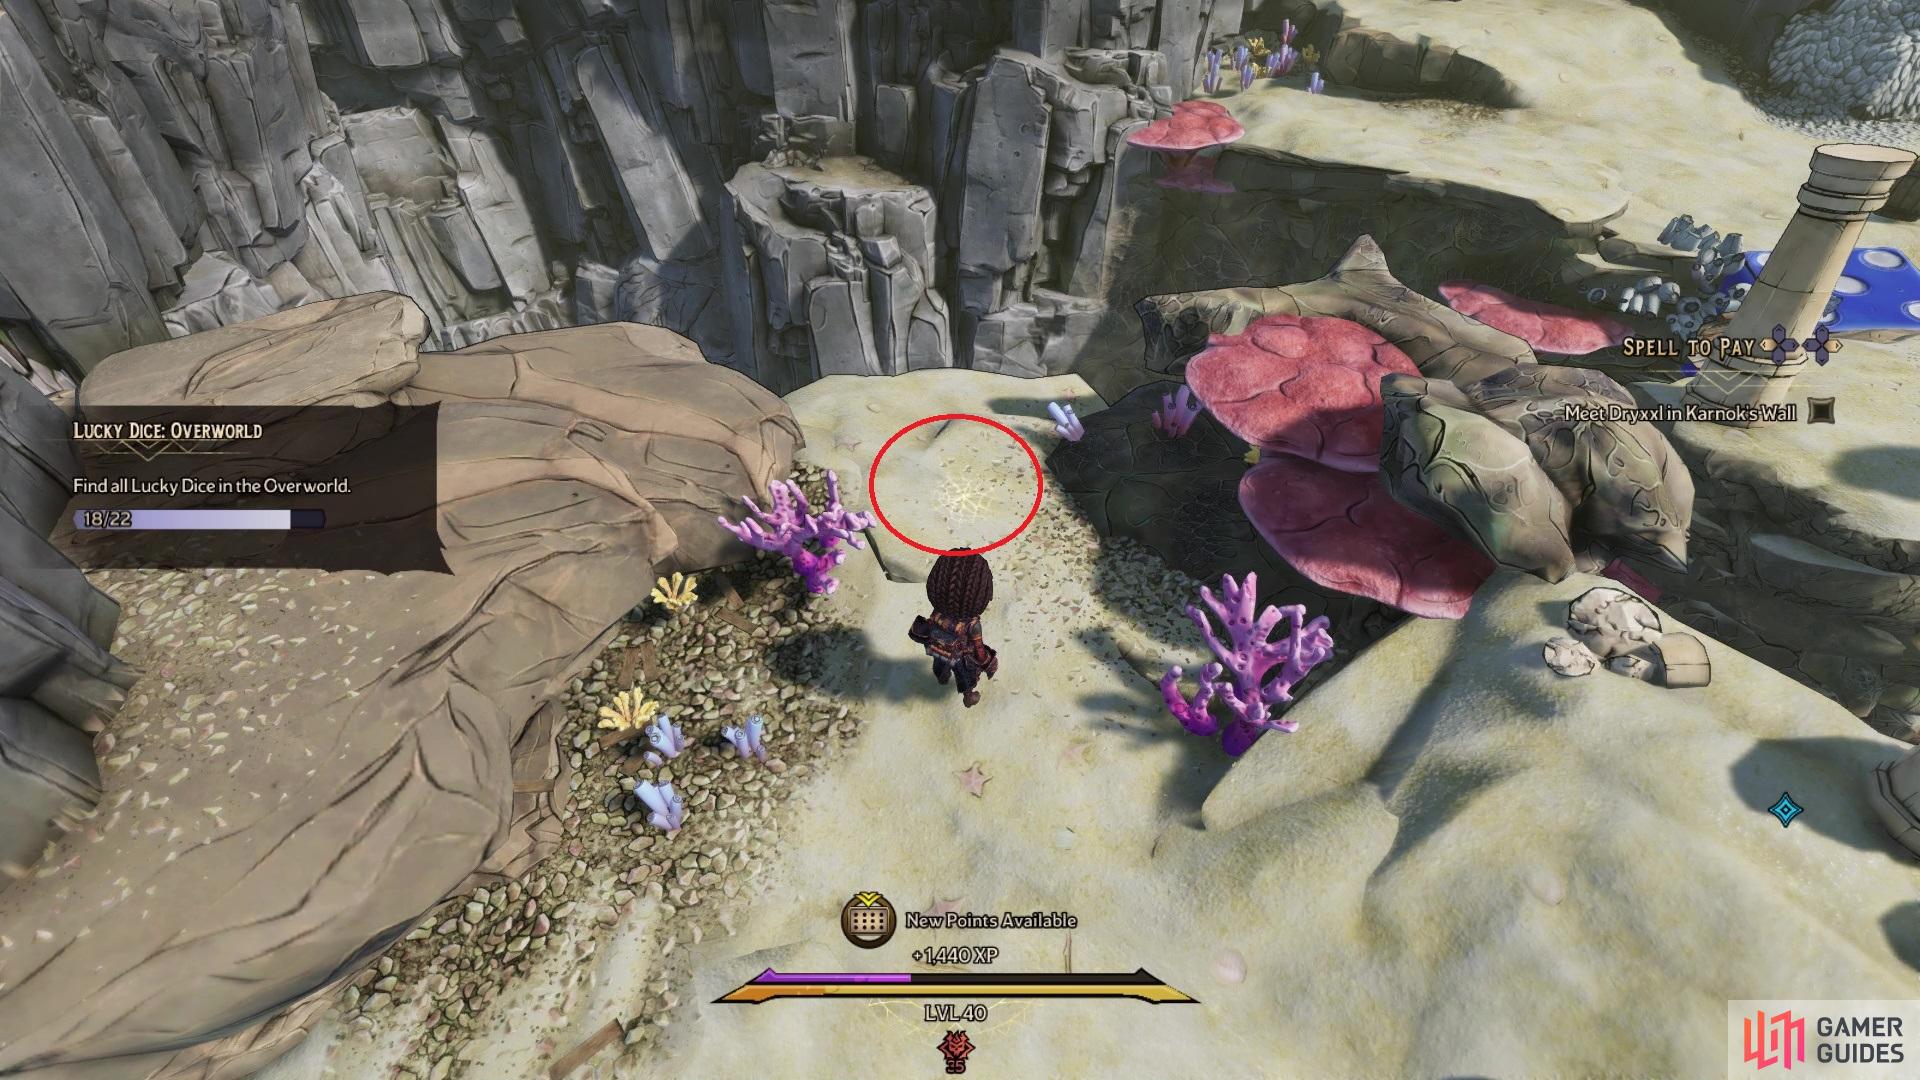
You will need to have completed the Son of a Witch main story mission before going for this Lucky Dice, which will net you the ability to disable barriers via a rune. From the entrance to Karnok’s Wall, head south until you see the barrier you need to dispel. Interact with the device to get rid of it, then take the air geyser to launch yourself to the platform with the Lucky Dice.
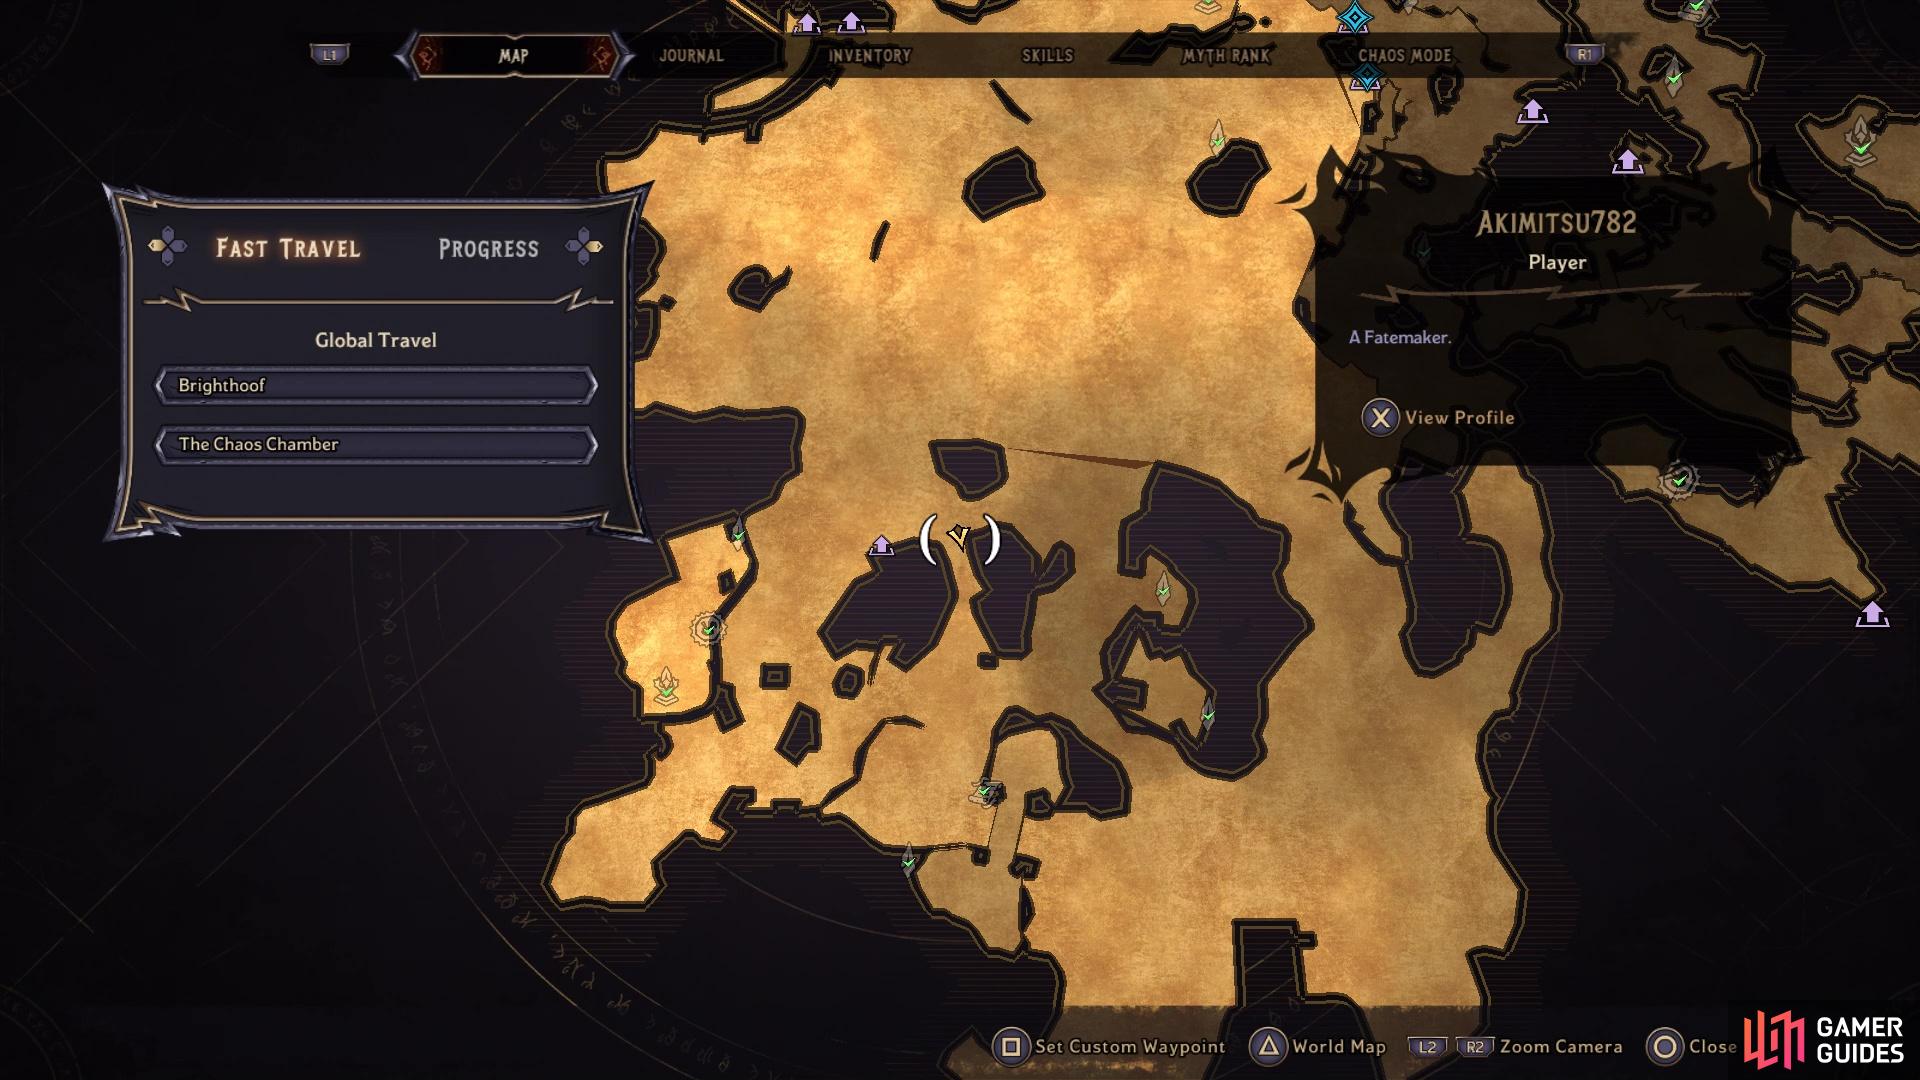
Lucky Dice Location #16
Lucky Dice #16 on the map
Lucky Dice #16 in the game
Finish passing through the Karnok’s Wall area in the main story to get to the large desert area up top. North of where you exited, past the one Lore Scroll, there is a ledge you can drop down to land on some ledge below, which is where the Lucky Dice will be located.
Lucky Dice Location #17
Lucky Dice #17 on the map
Lucky Dice #17 in the game
Head to the entrance of Ossu-Gol Necropolis and look southeast of there on the map, where you should notice a large soda can. On top of this soda can will be the Lucky Dice, and you can climb it from the one side.
Lucky Dice Location #18
Lucky Dice #18 on the map
Lucky Dice #18 in the game
Northeast of the entrance to Ossu-Gol Necropolis, you will find a mini dungeon to go through. After completing it, you will be on a higher ledge and that is where you will find the Lucky Dice.
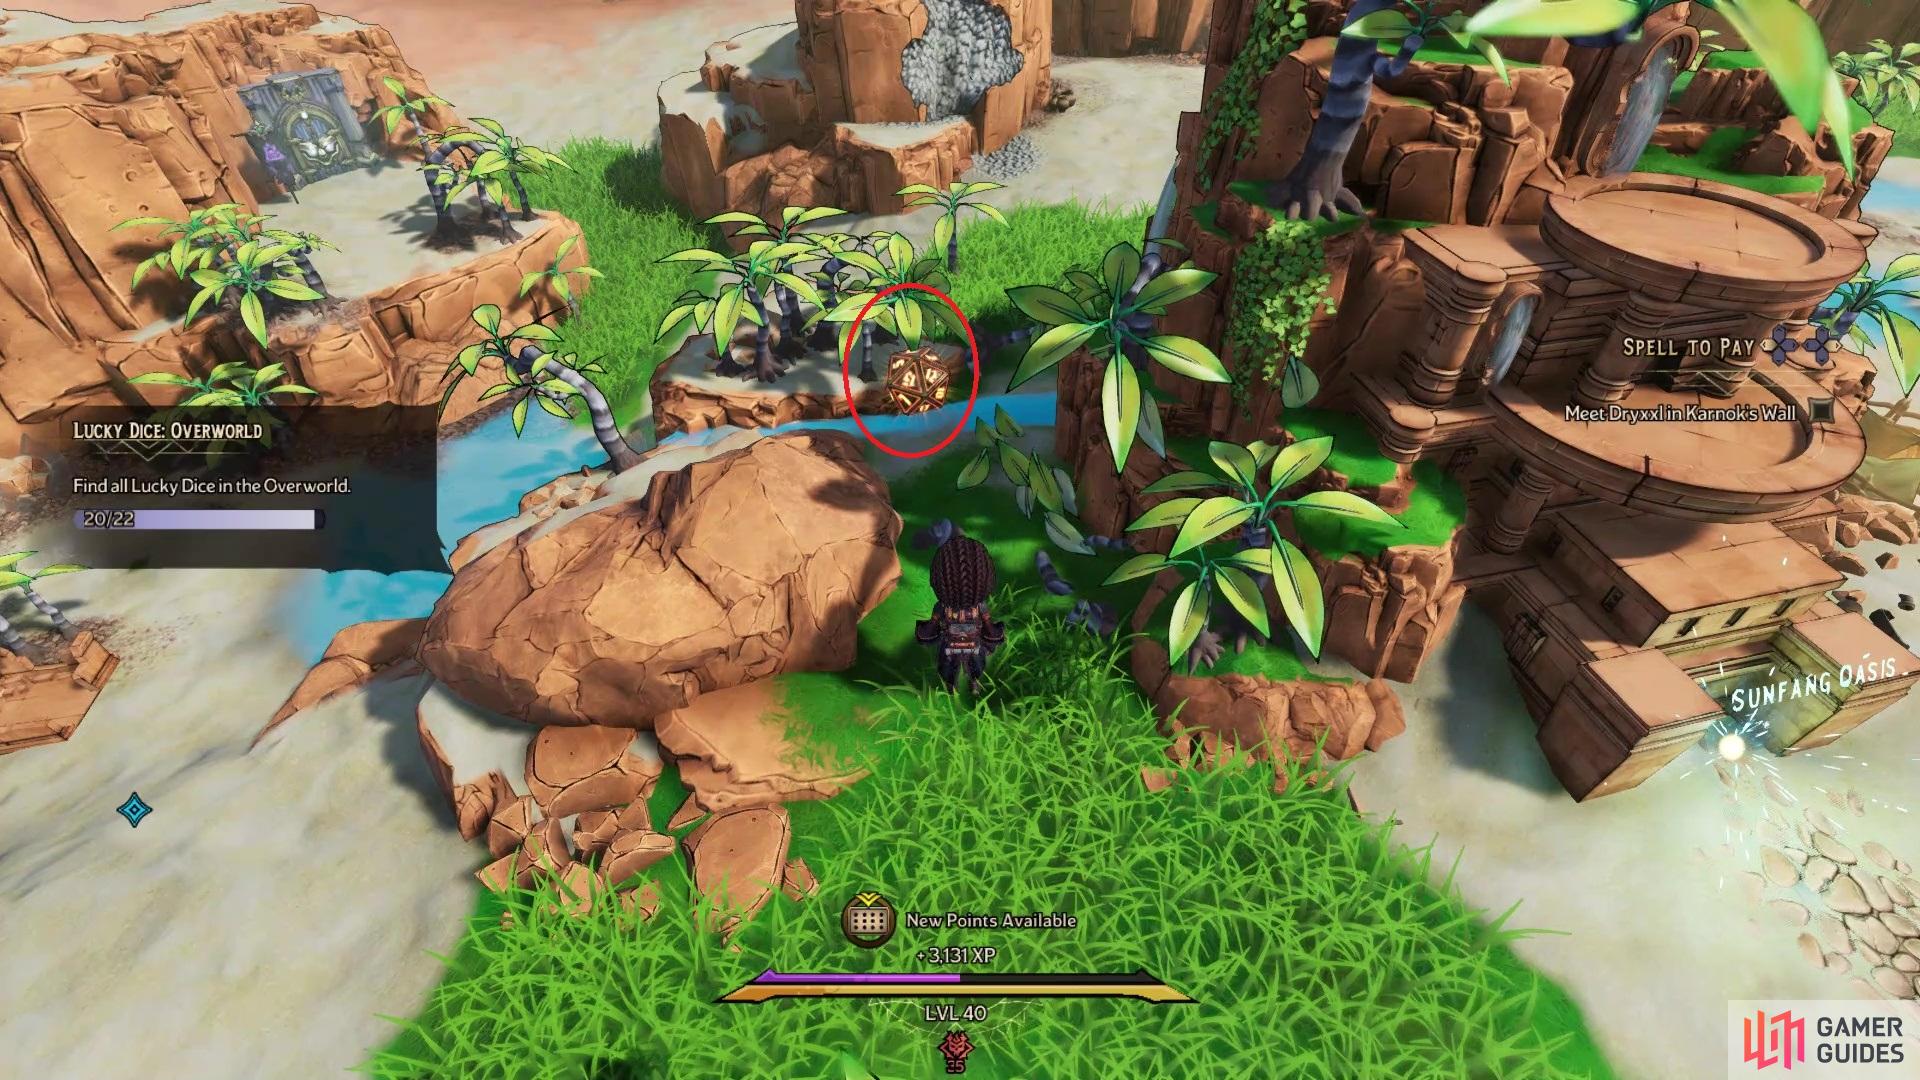
Lucky Dice Location #19
Lucky Dice #19 on the map
Lucky Dice #19 in the game
If you head straight south from the entrance to Ossu-Gol Necropolis, you will eventually run into the entrance to Sunfang Oasis. Right next to Sunfang Oasis, on the eastern side, are some blockades you can destroy with your melee, which is where the Lucky Dice will be hiding.
Lucky Dice Location #20

Lucky Dice #20 on the map
Lucky Dice #20 in the game
Just west of the entrance to Sunfang Oasis, you should see a higher ledge with the Lucky Dice. In order to get to it, you need to go through the mini-dungeon there, which will pop you out on that higher ledge once you complete it.
Lucky Dice Location #21
Lucky Dice #21 on the map
Lucky Dice #21 in the game
This one will require a late game sidequest first, called Destruction Rains from the Heavens. It will appear in the final section of the Overworld, right outside of the entrance to Ossu-Gol Necropolis, until you have completed the main story. Simply starting the sidequest will allow you to punch your way through the barriers with gargoyles, so you don’t need to complete it. Head southwest from Sunfang Oasis and you should see the gargoyle barrier in the corner. Punch it to disable the barrier, then grab the Lucky Dice that will be behind it.
Lucky Dice Location #22
Lucky Dice #22 on the map
Lucky Dice #22 in the game
From where you exited Karnok’s Wall, to the large area of the Overworld, head straight south and follow the cliff’s edge. When you see the campsite, look at your map and you should be right by an arm extending out from the area. Go to the end of the arm sticking out on the map to find the Lucky Dice.
No Comments