
Lucky Dice is something you can find in the different zones you’ll visit during your adventure through Tiny Tina’s Wonderland. Here you’ll be navigated to the 12 Lucky Dice which are scattered around Shattergrave Barrow.
Lucky Dice Location #1 - The Barrow Gates
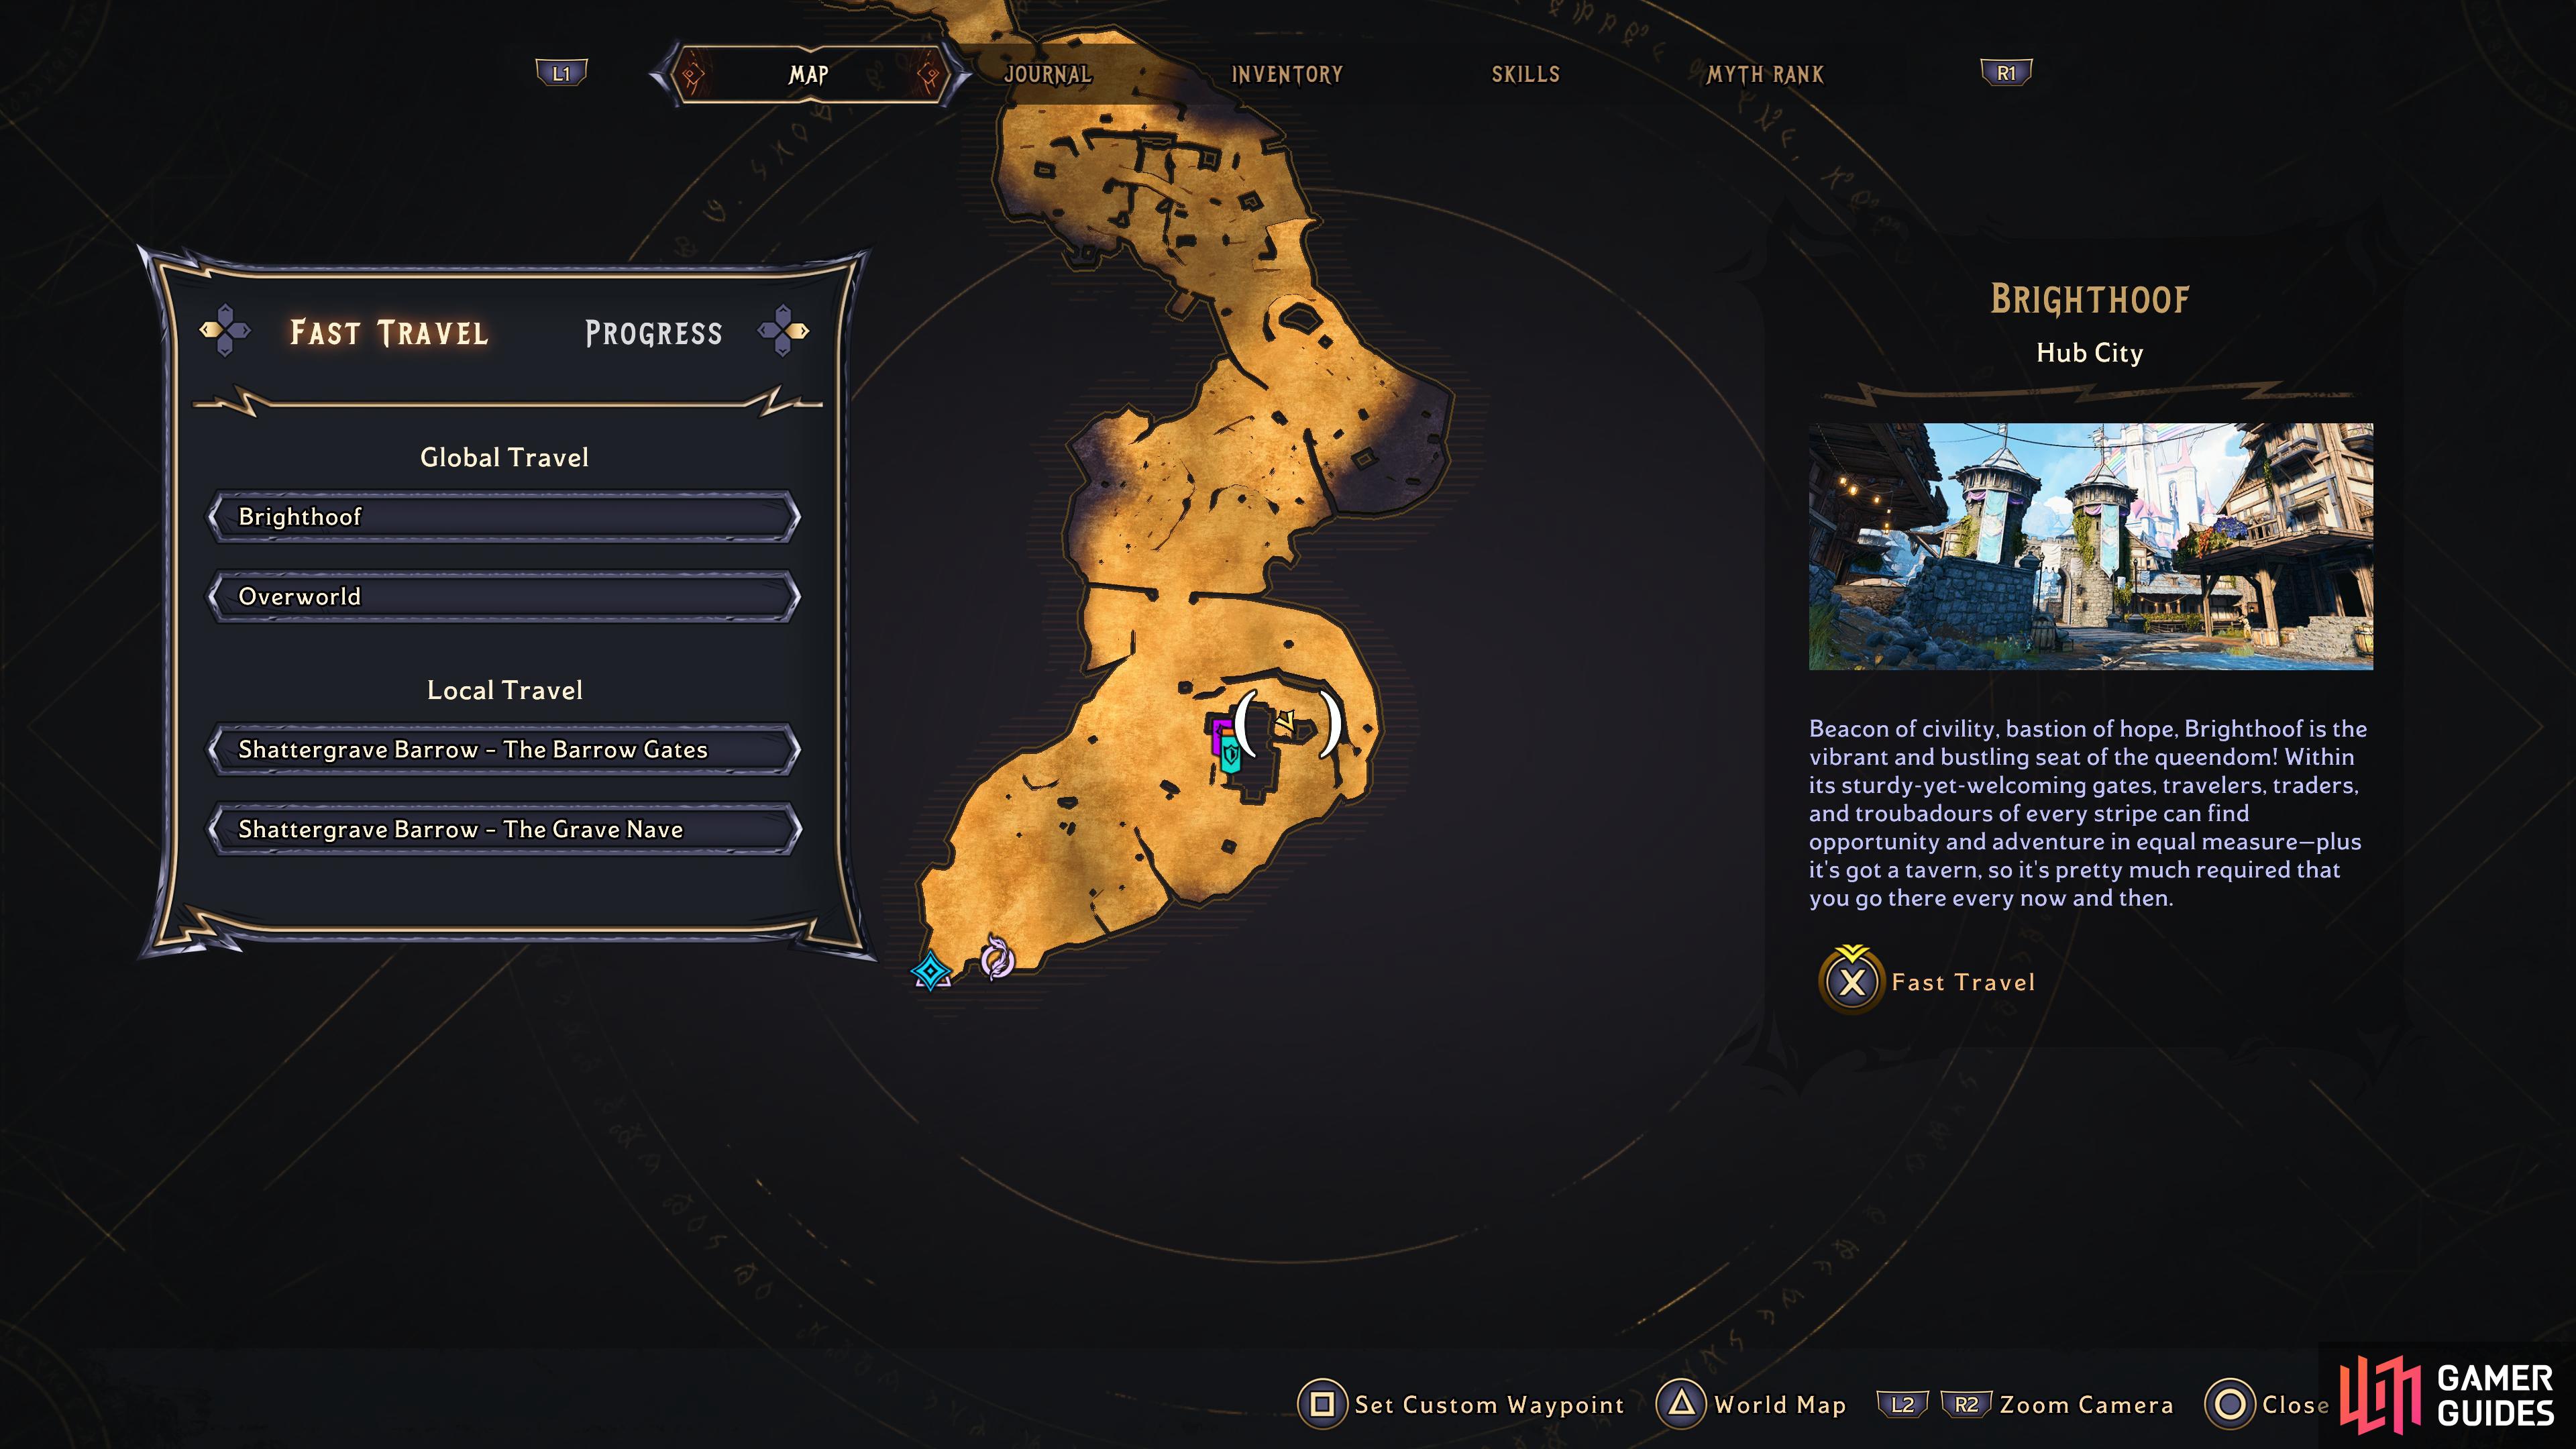
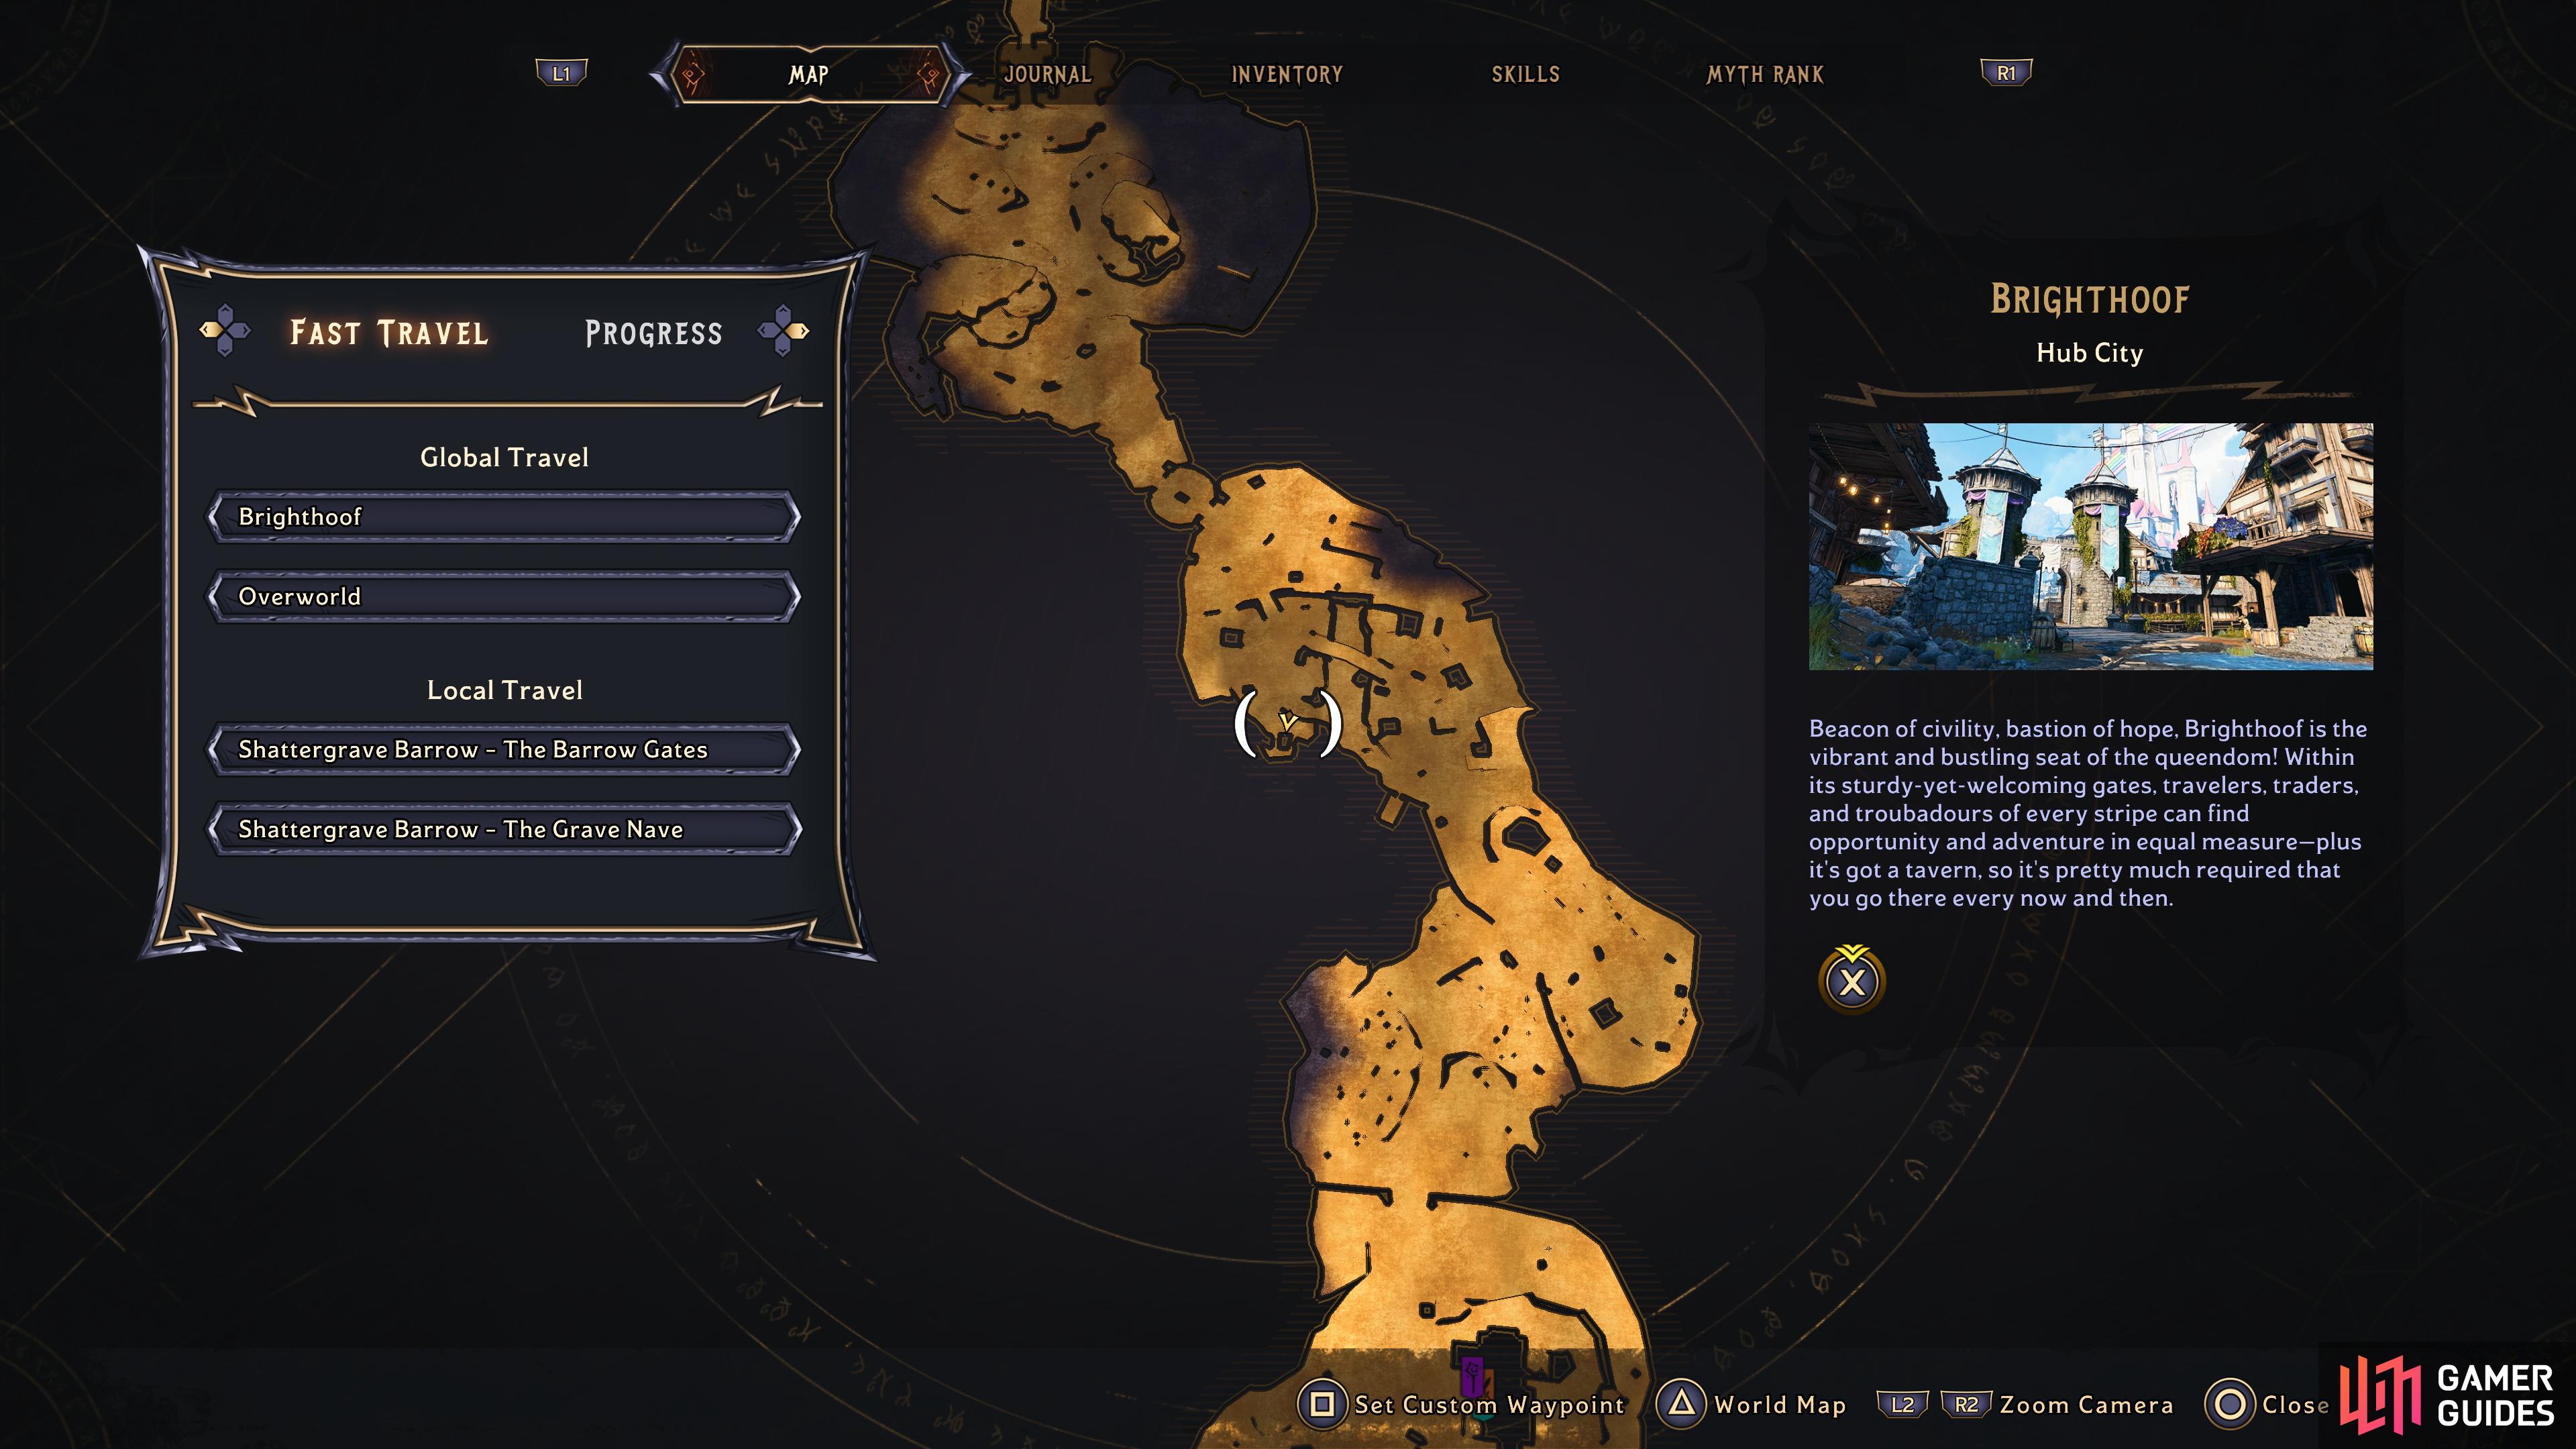
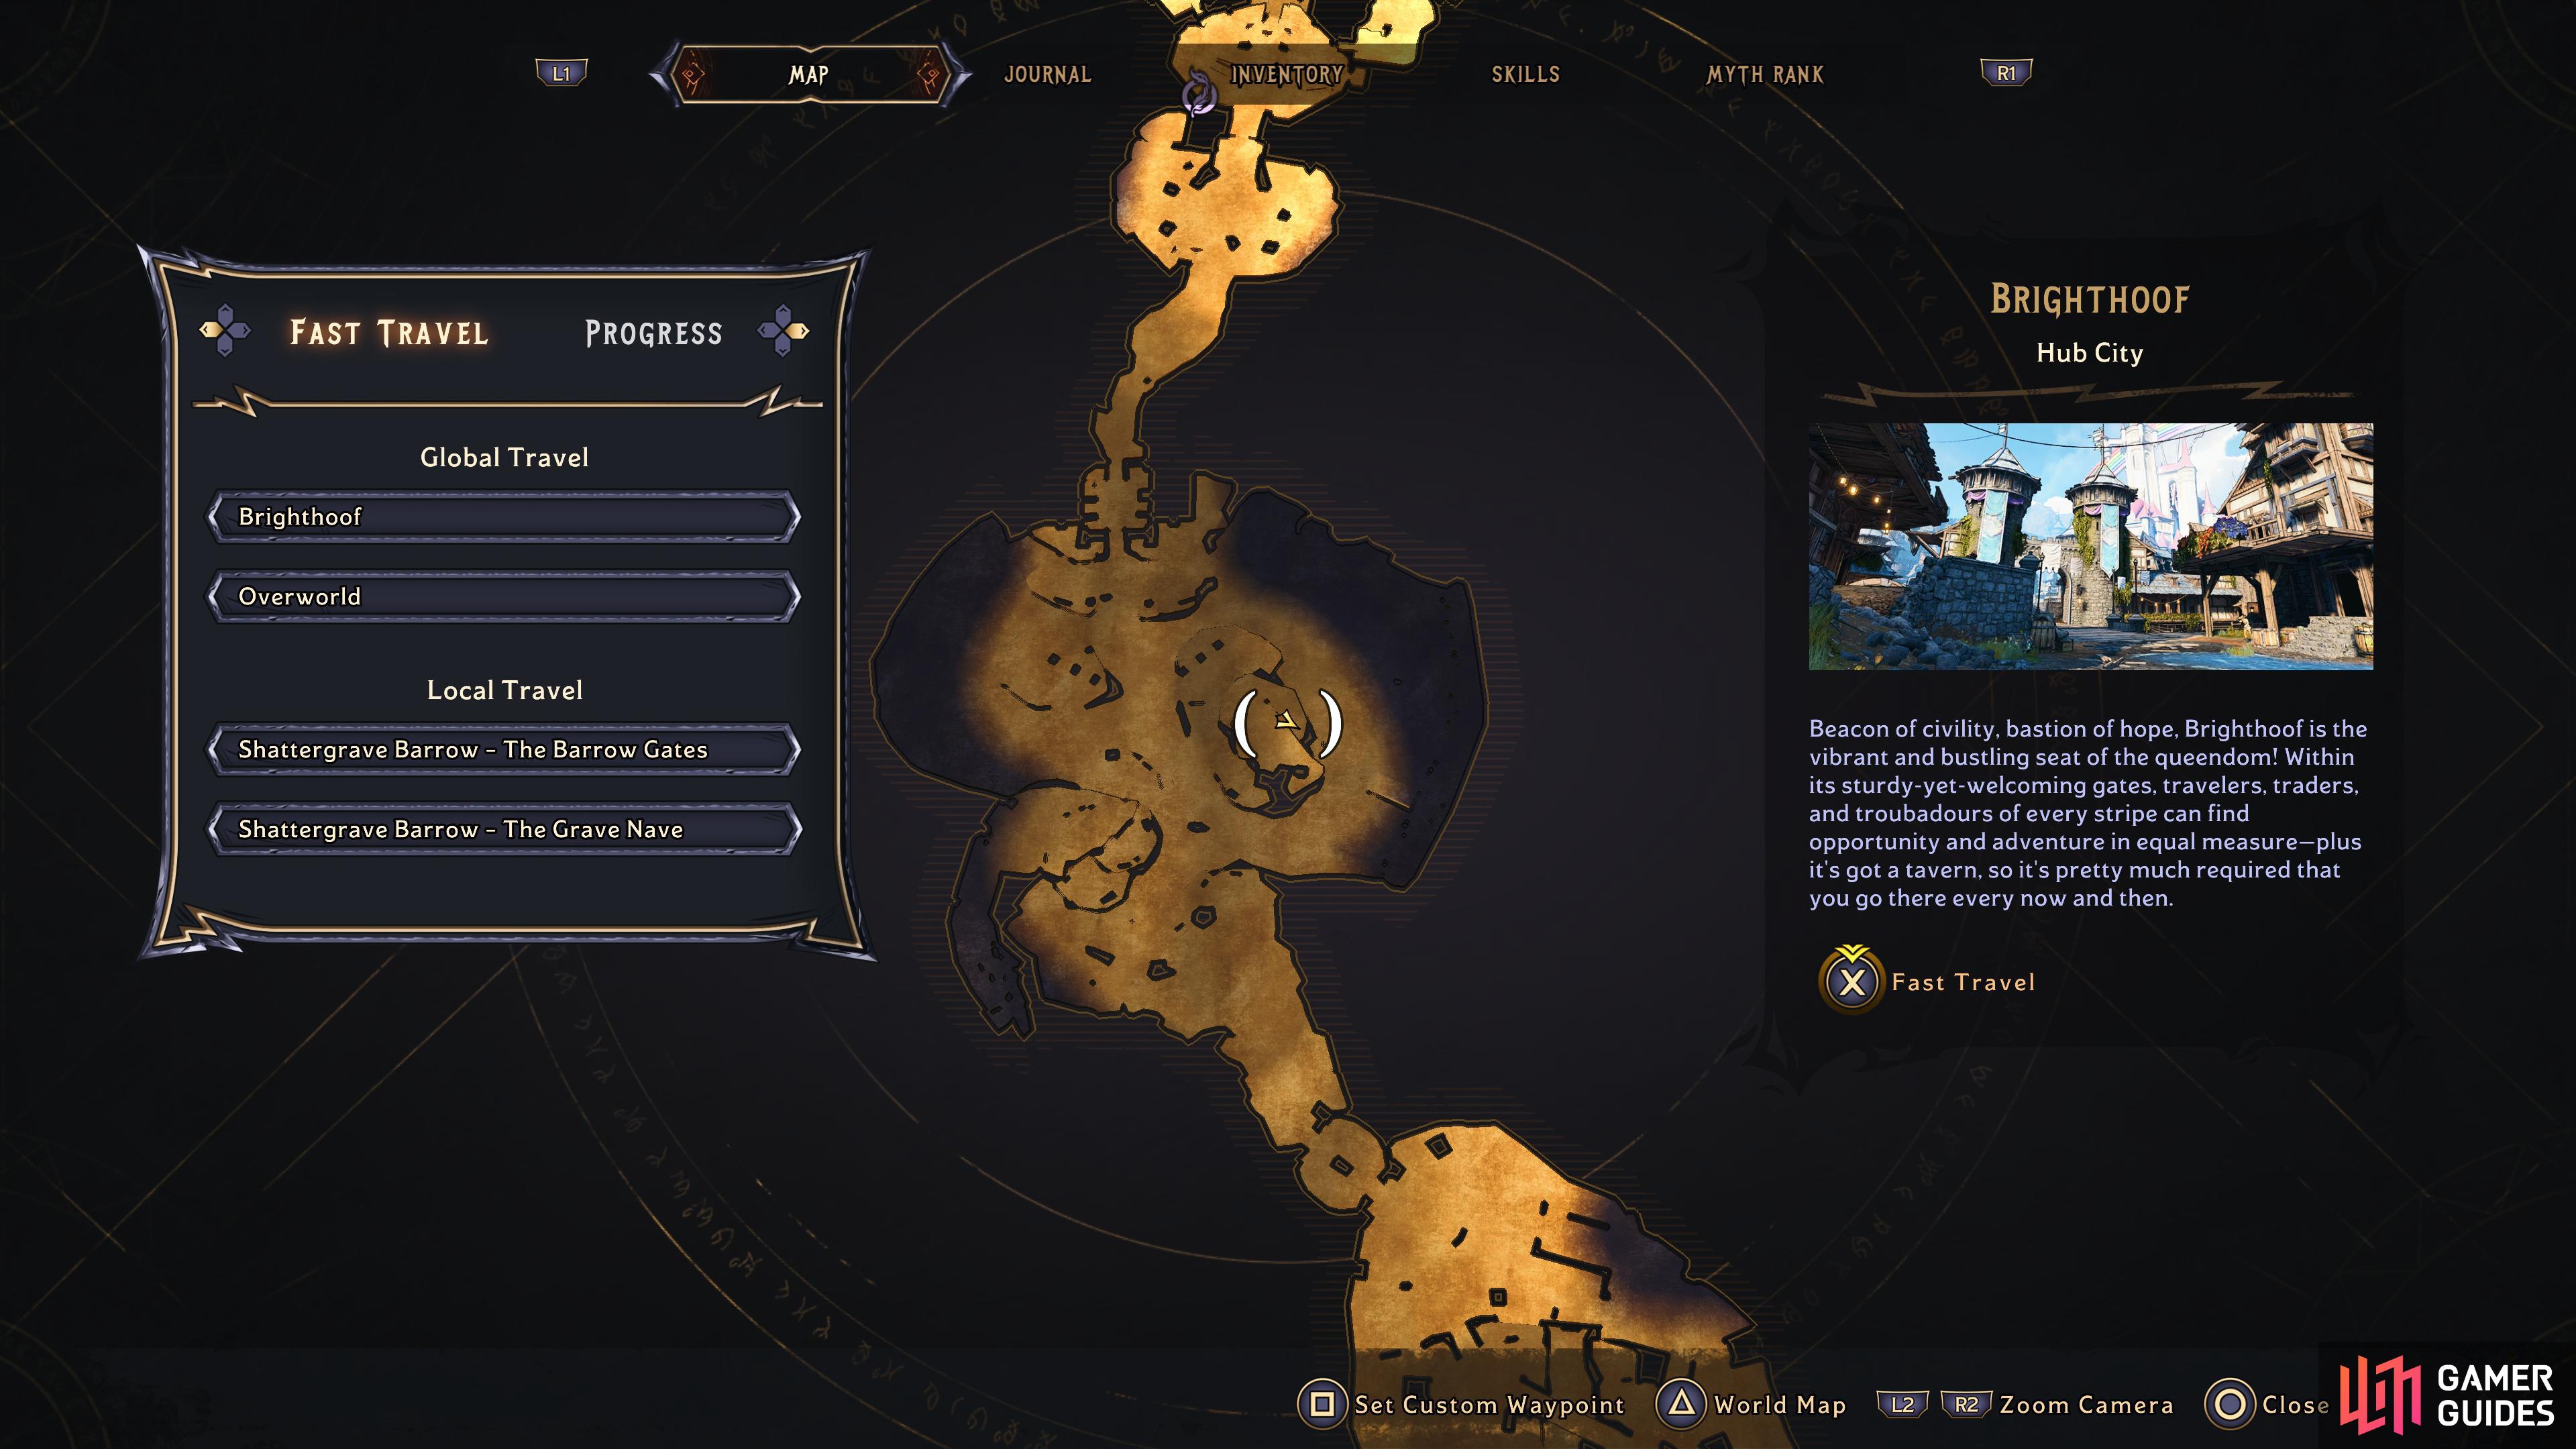
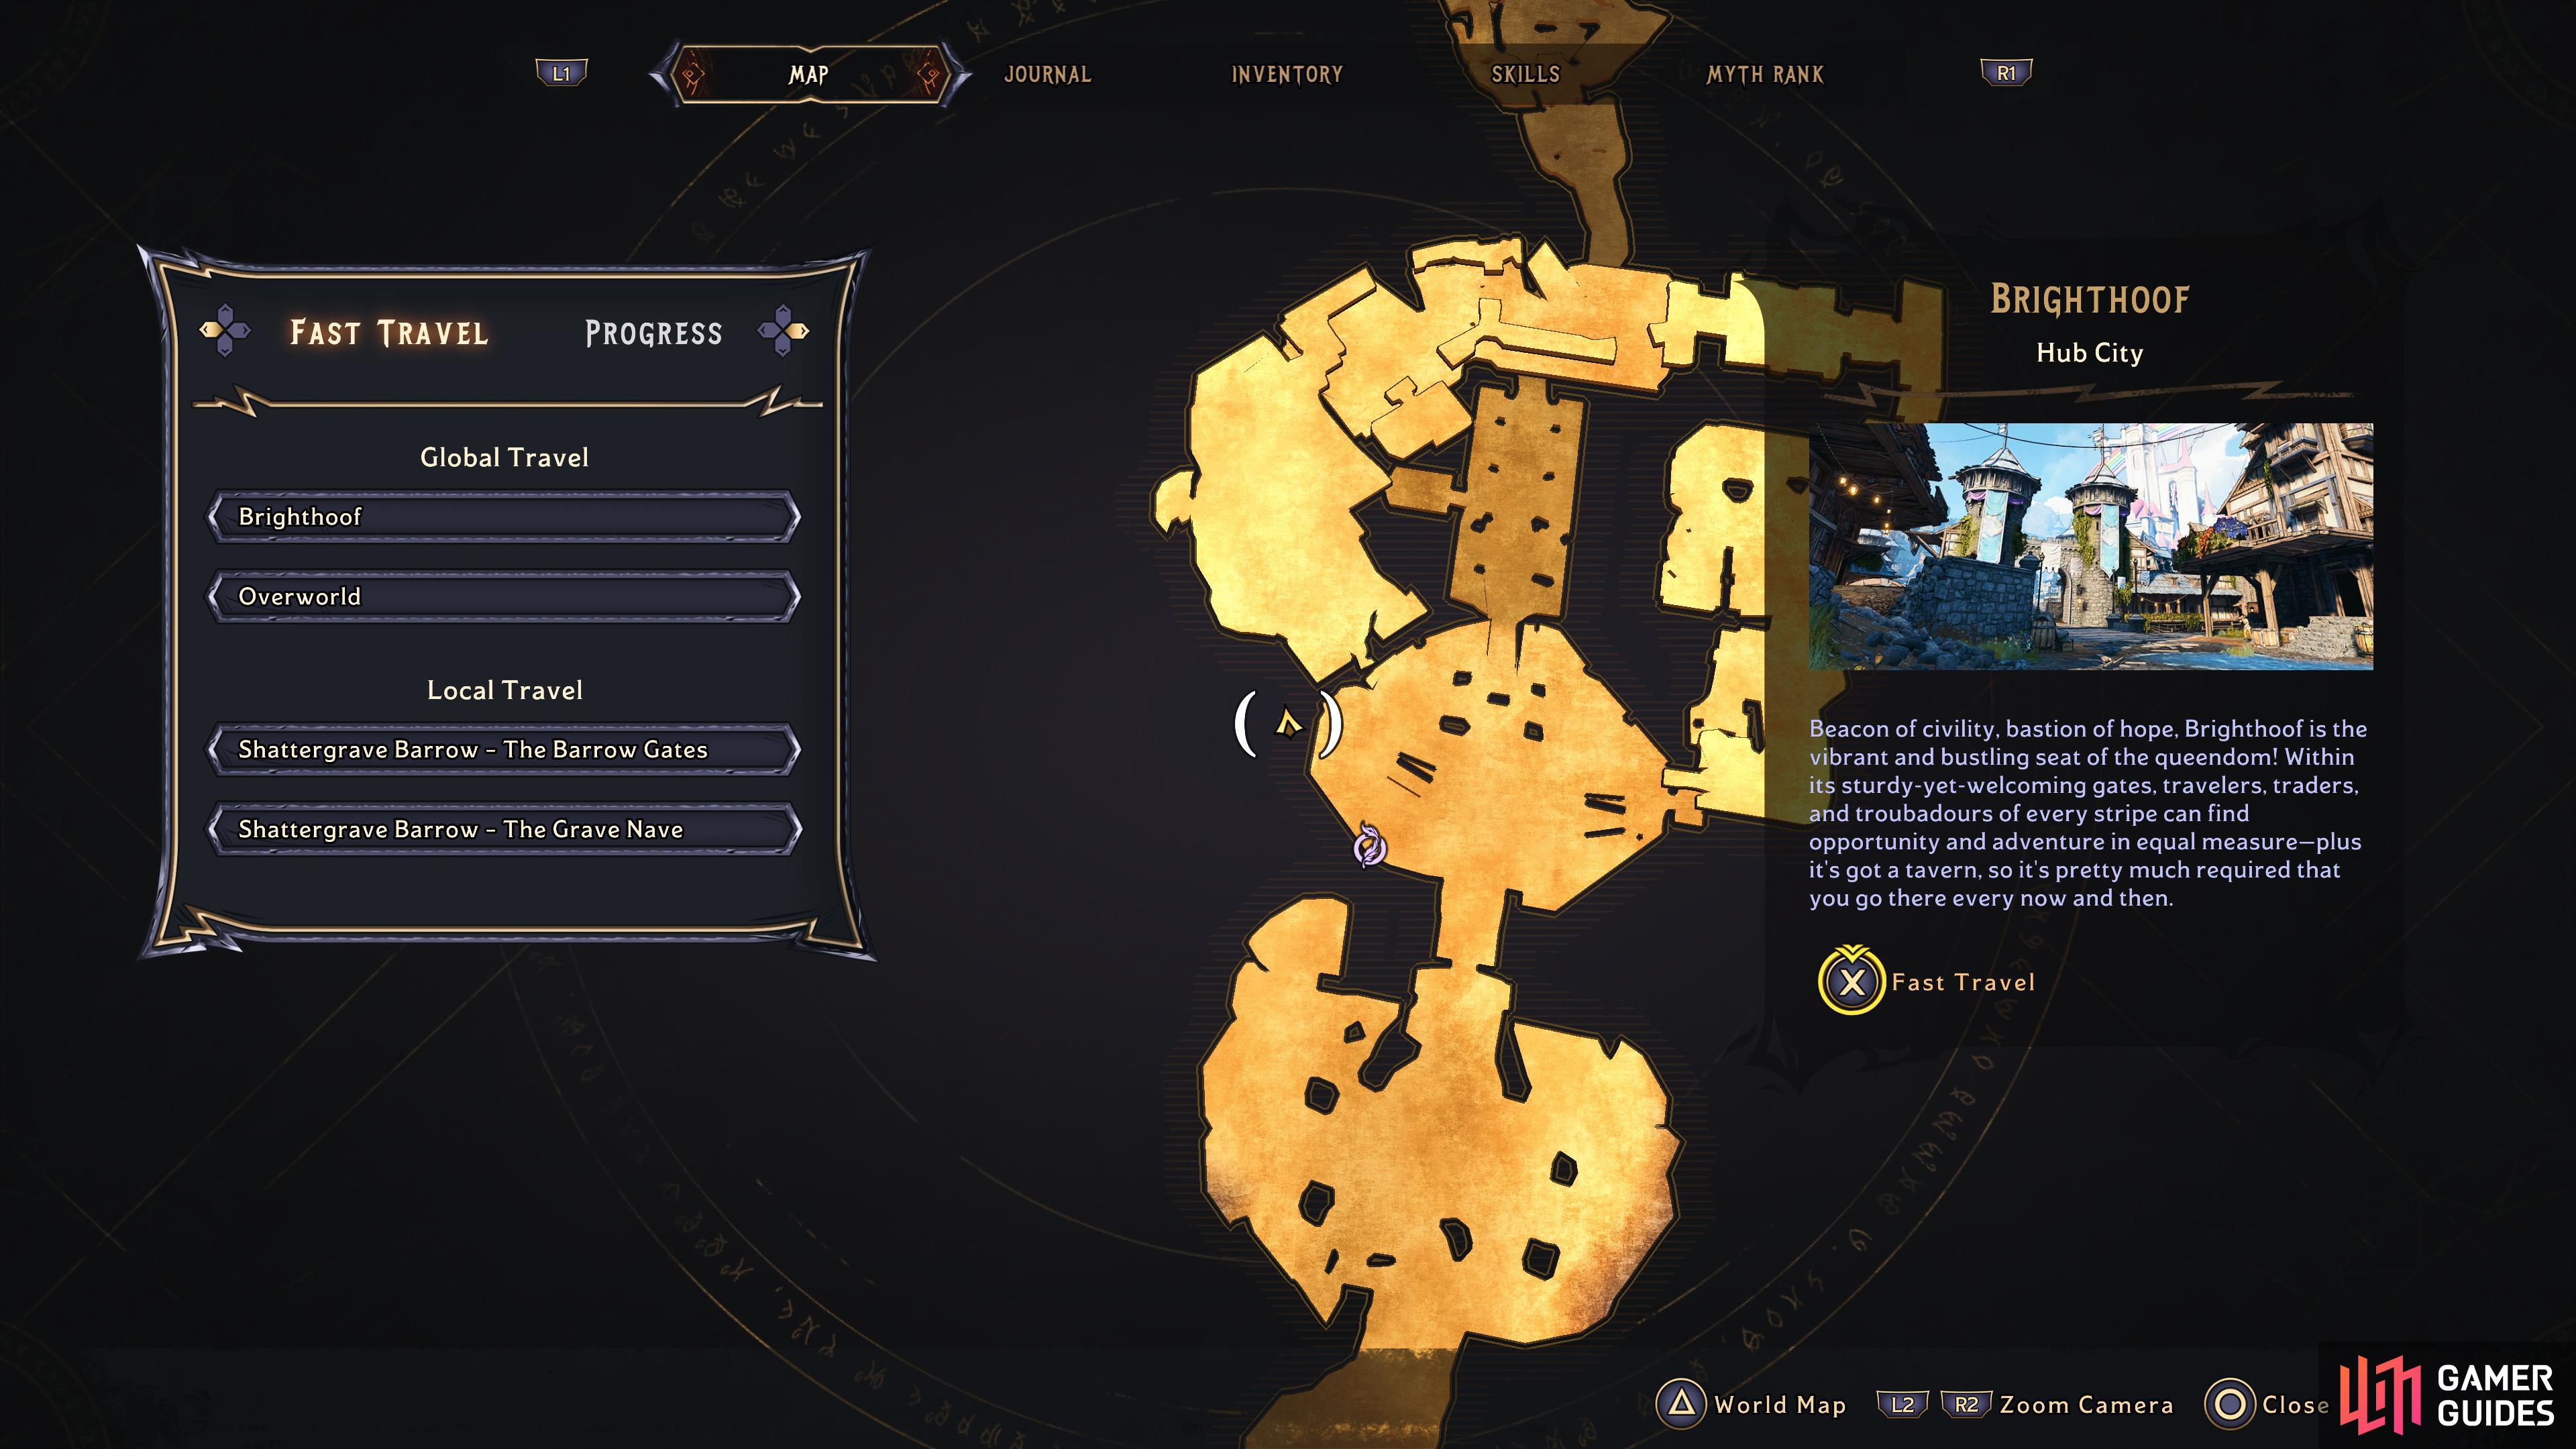
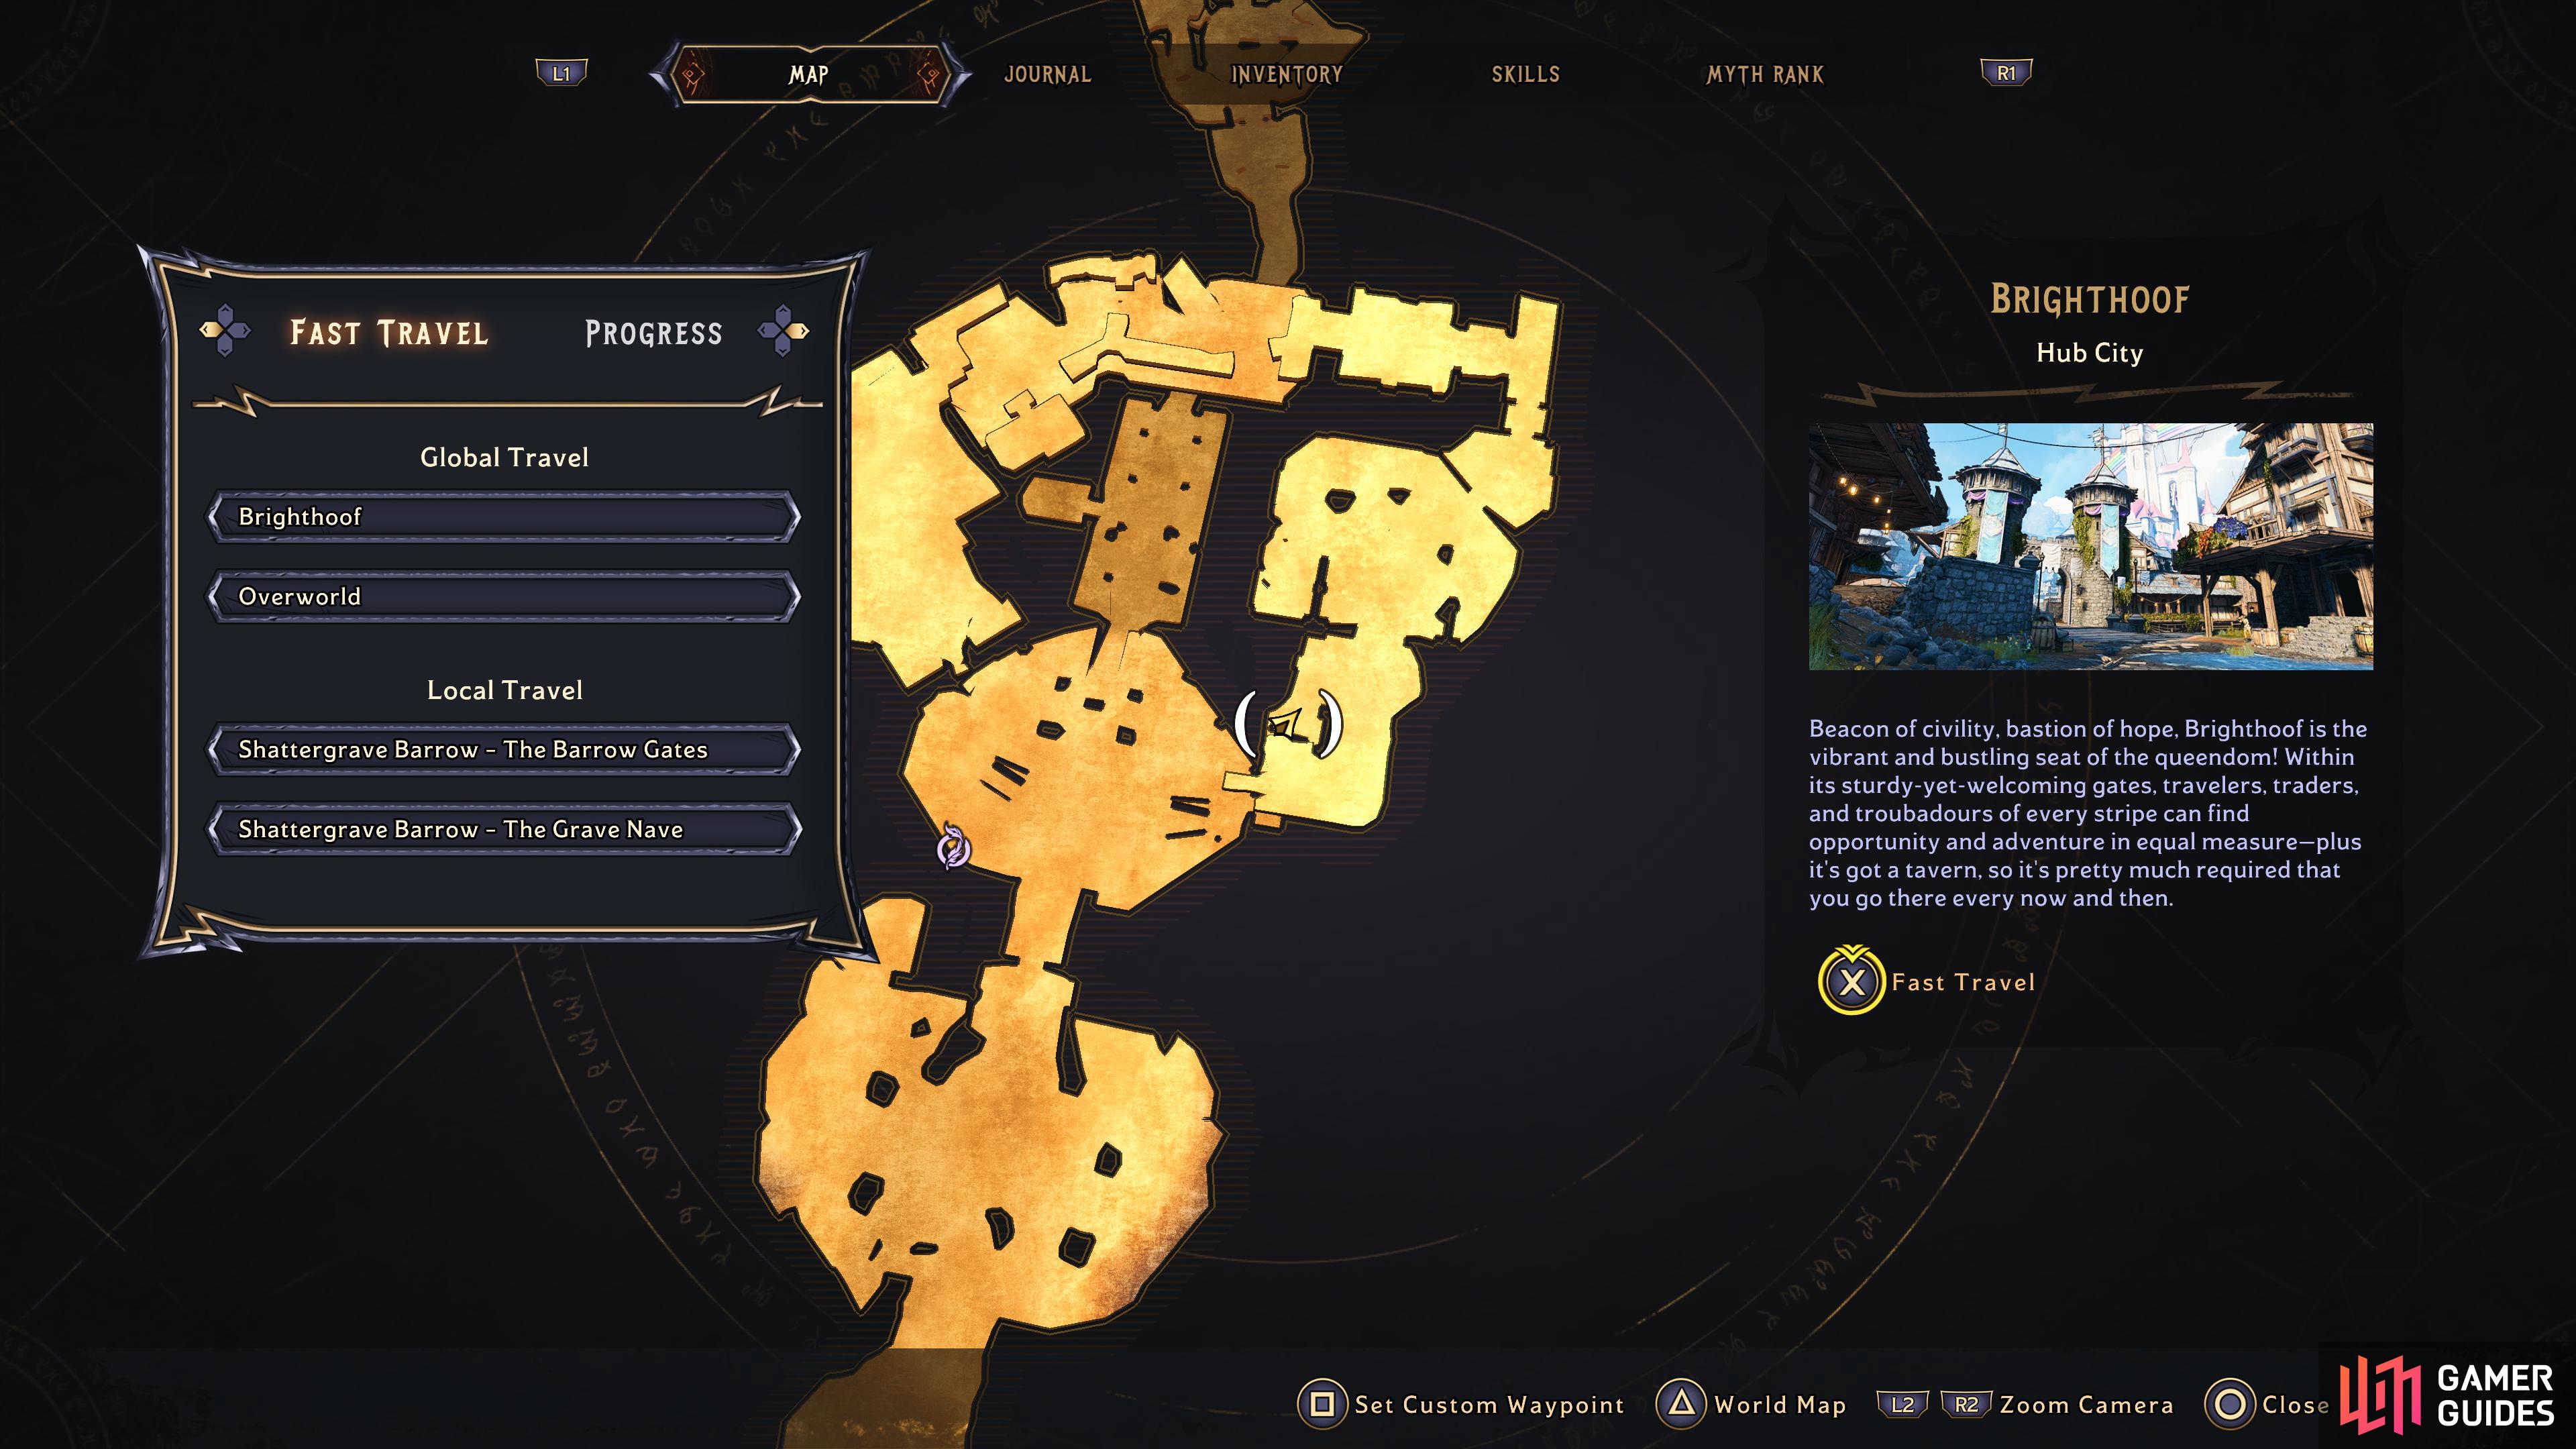
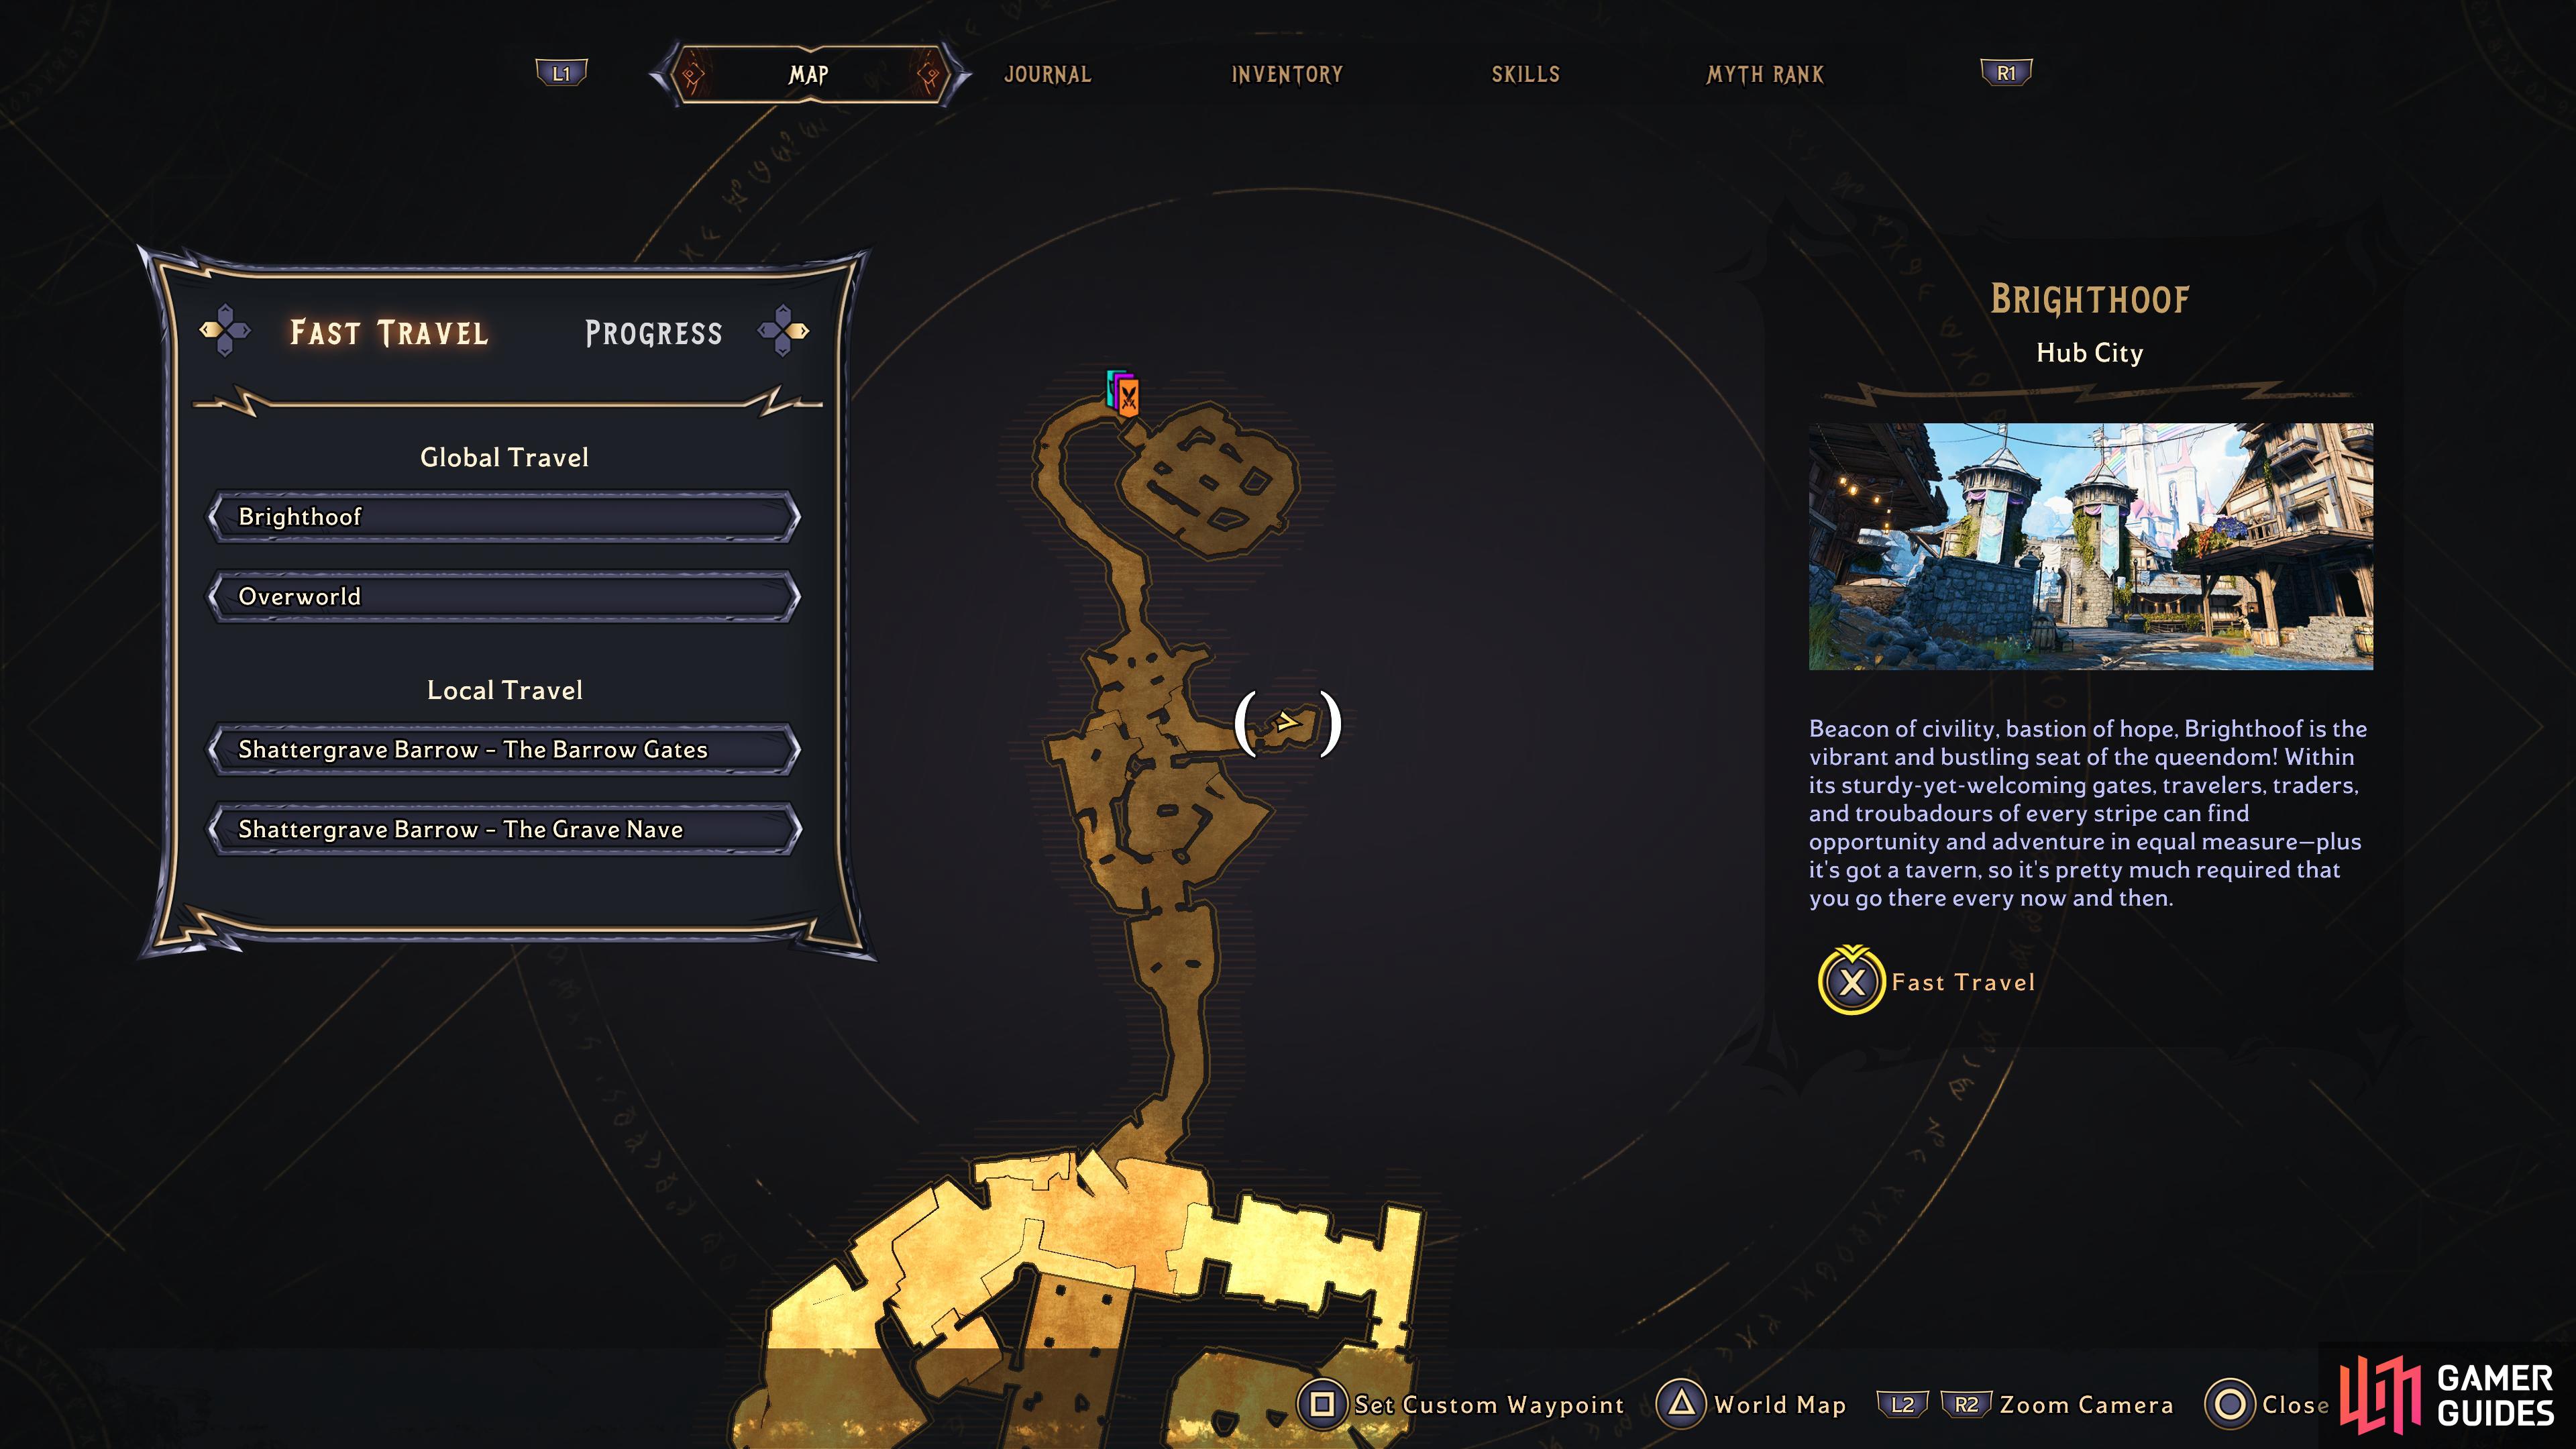
Head to this location in Shattergrave Barrow
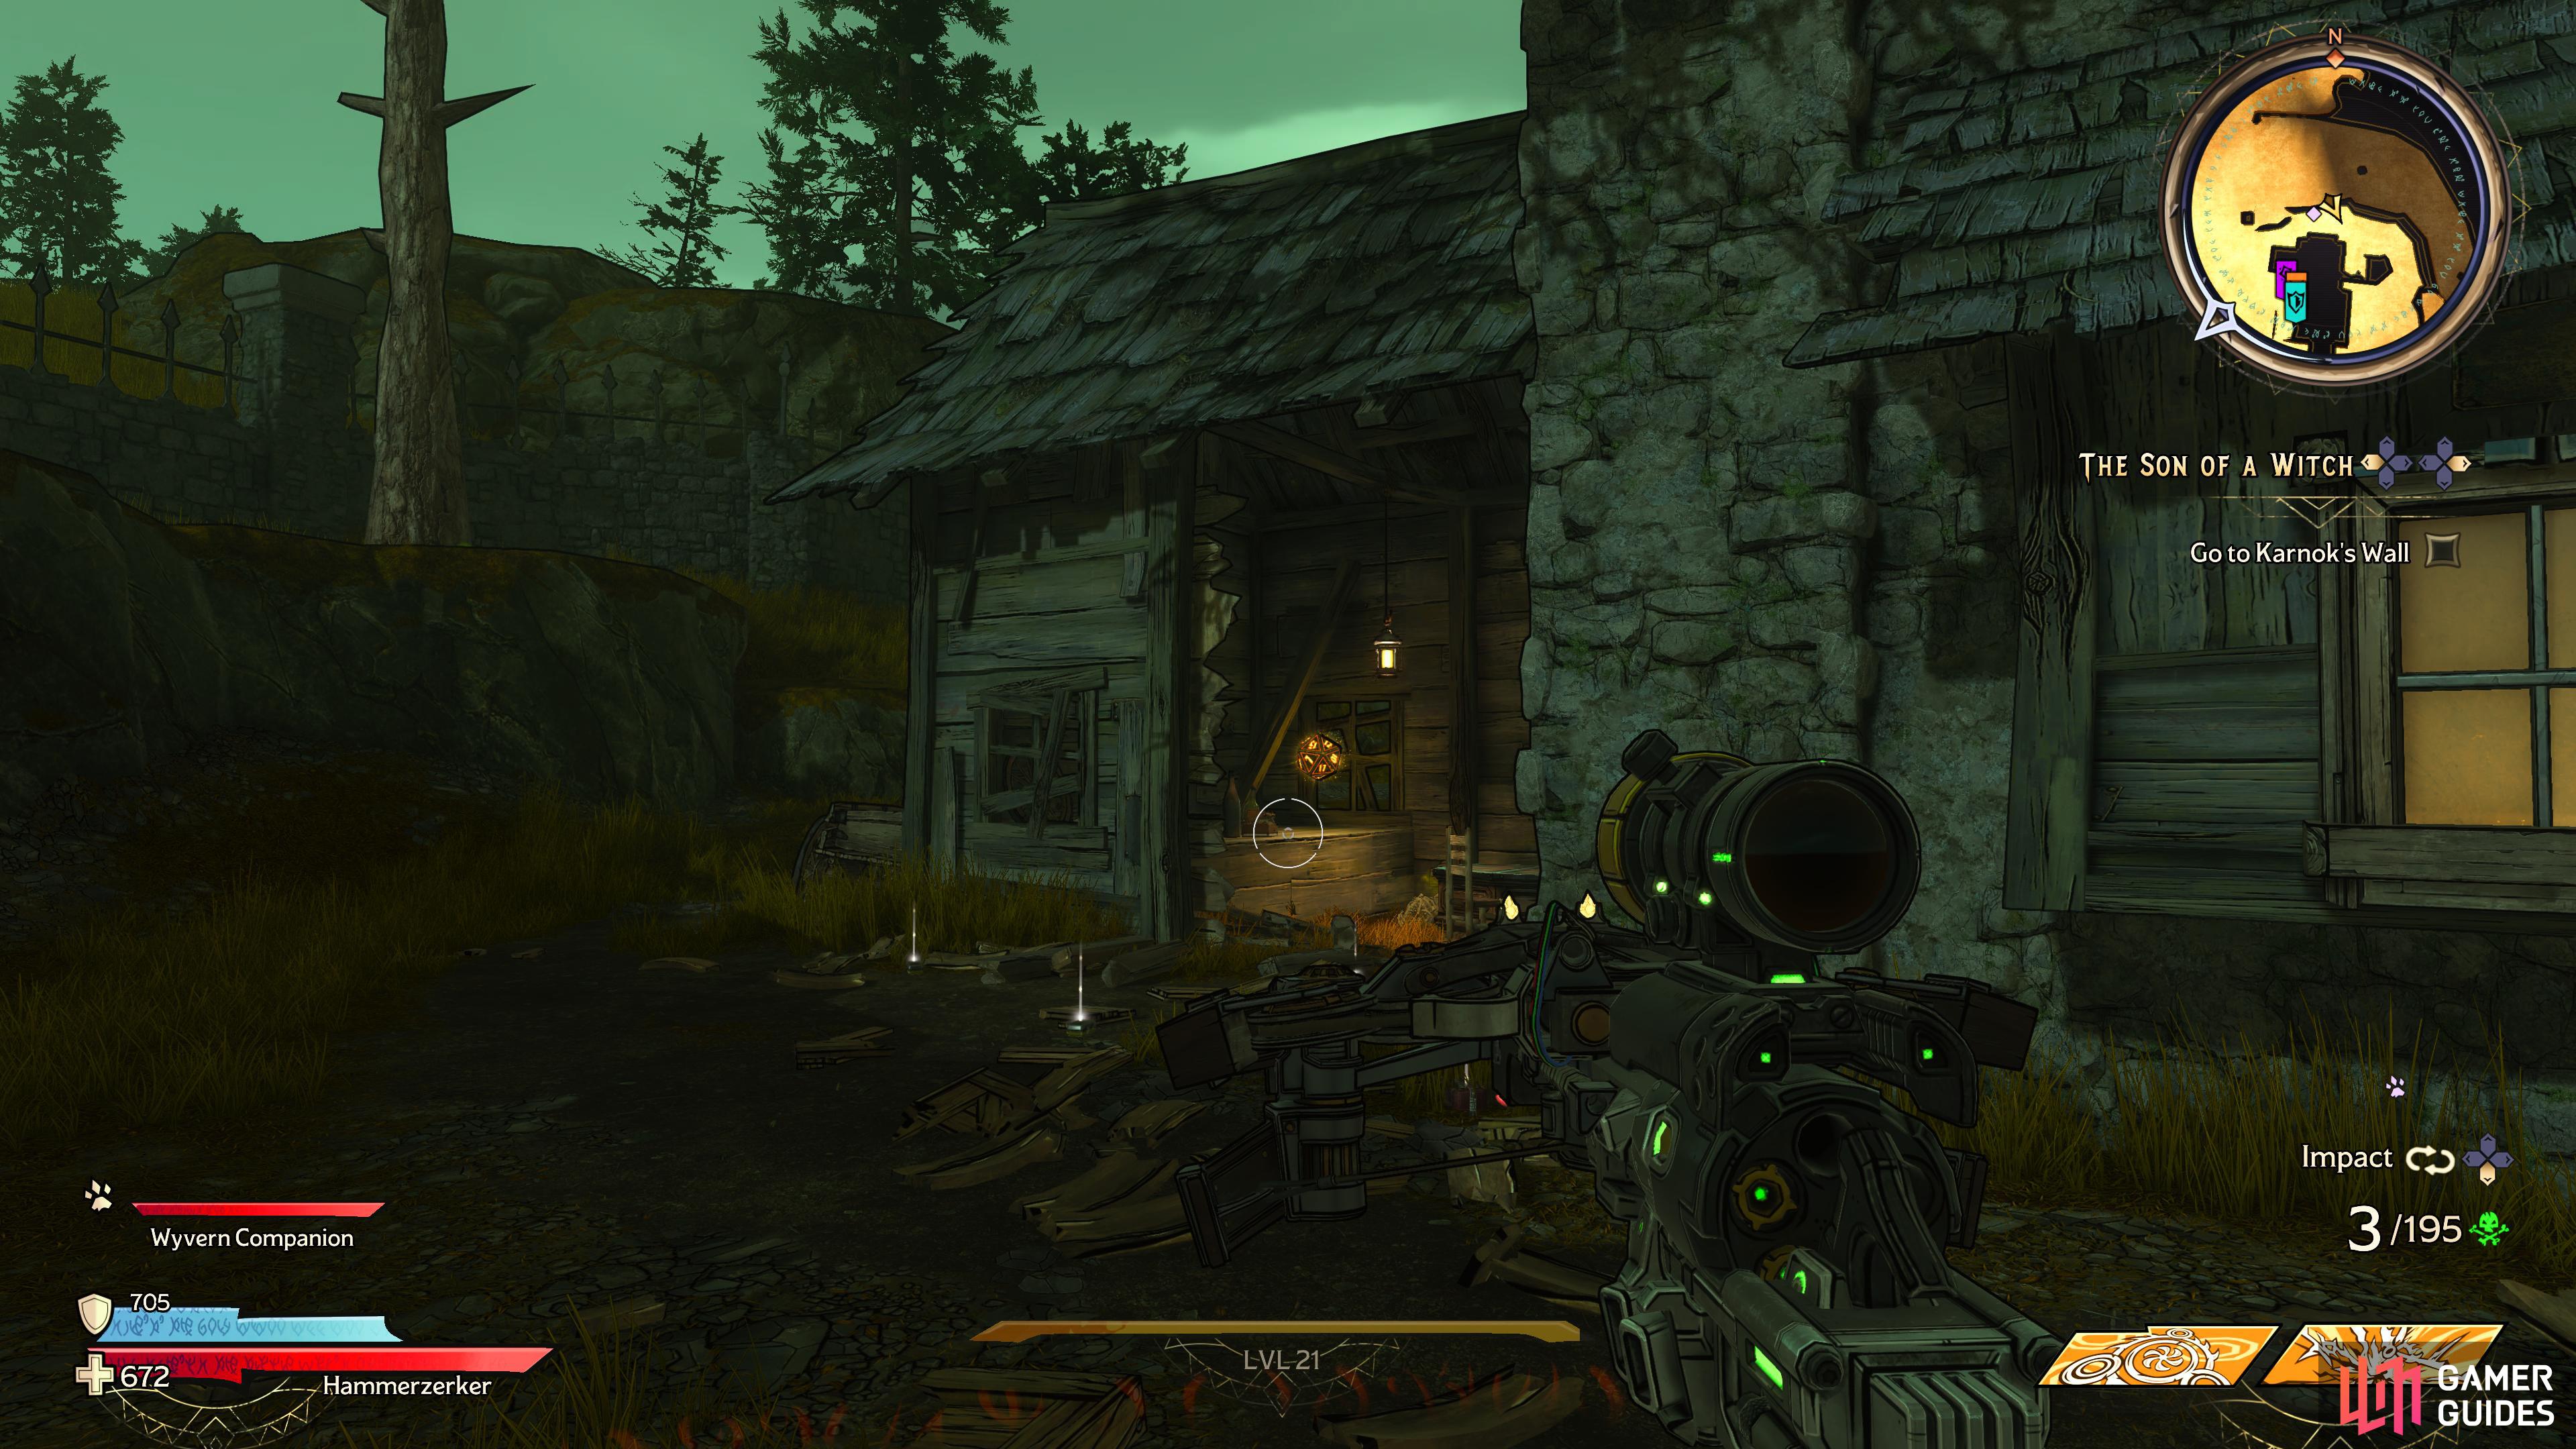
to find the first Lucky Dice sitting inside a small room to the back of the building.
Head to the building with the vending machines in The Barrow Gates, then go to the back of the building to find the Lucky Dice sitting inside a small room. You’ll need to shoot or the wooden planks to gain access.
Lucky Dice Location #2 - Morhaim’s Crop
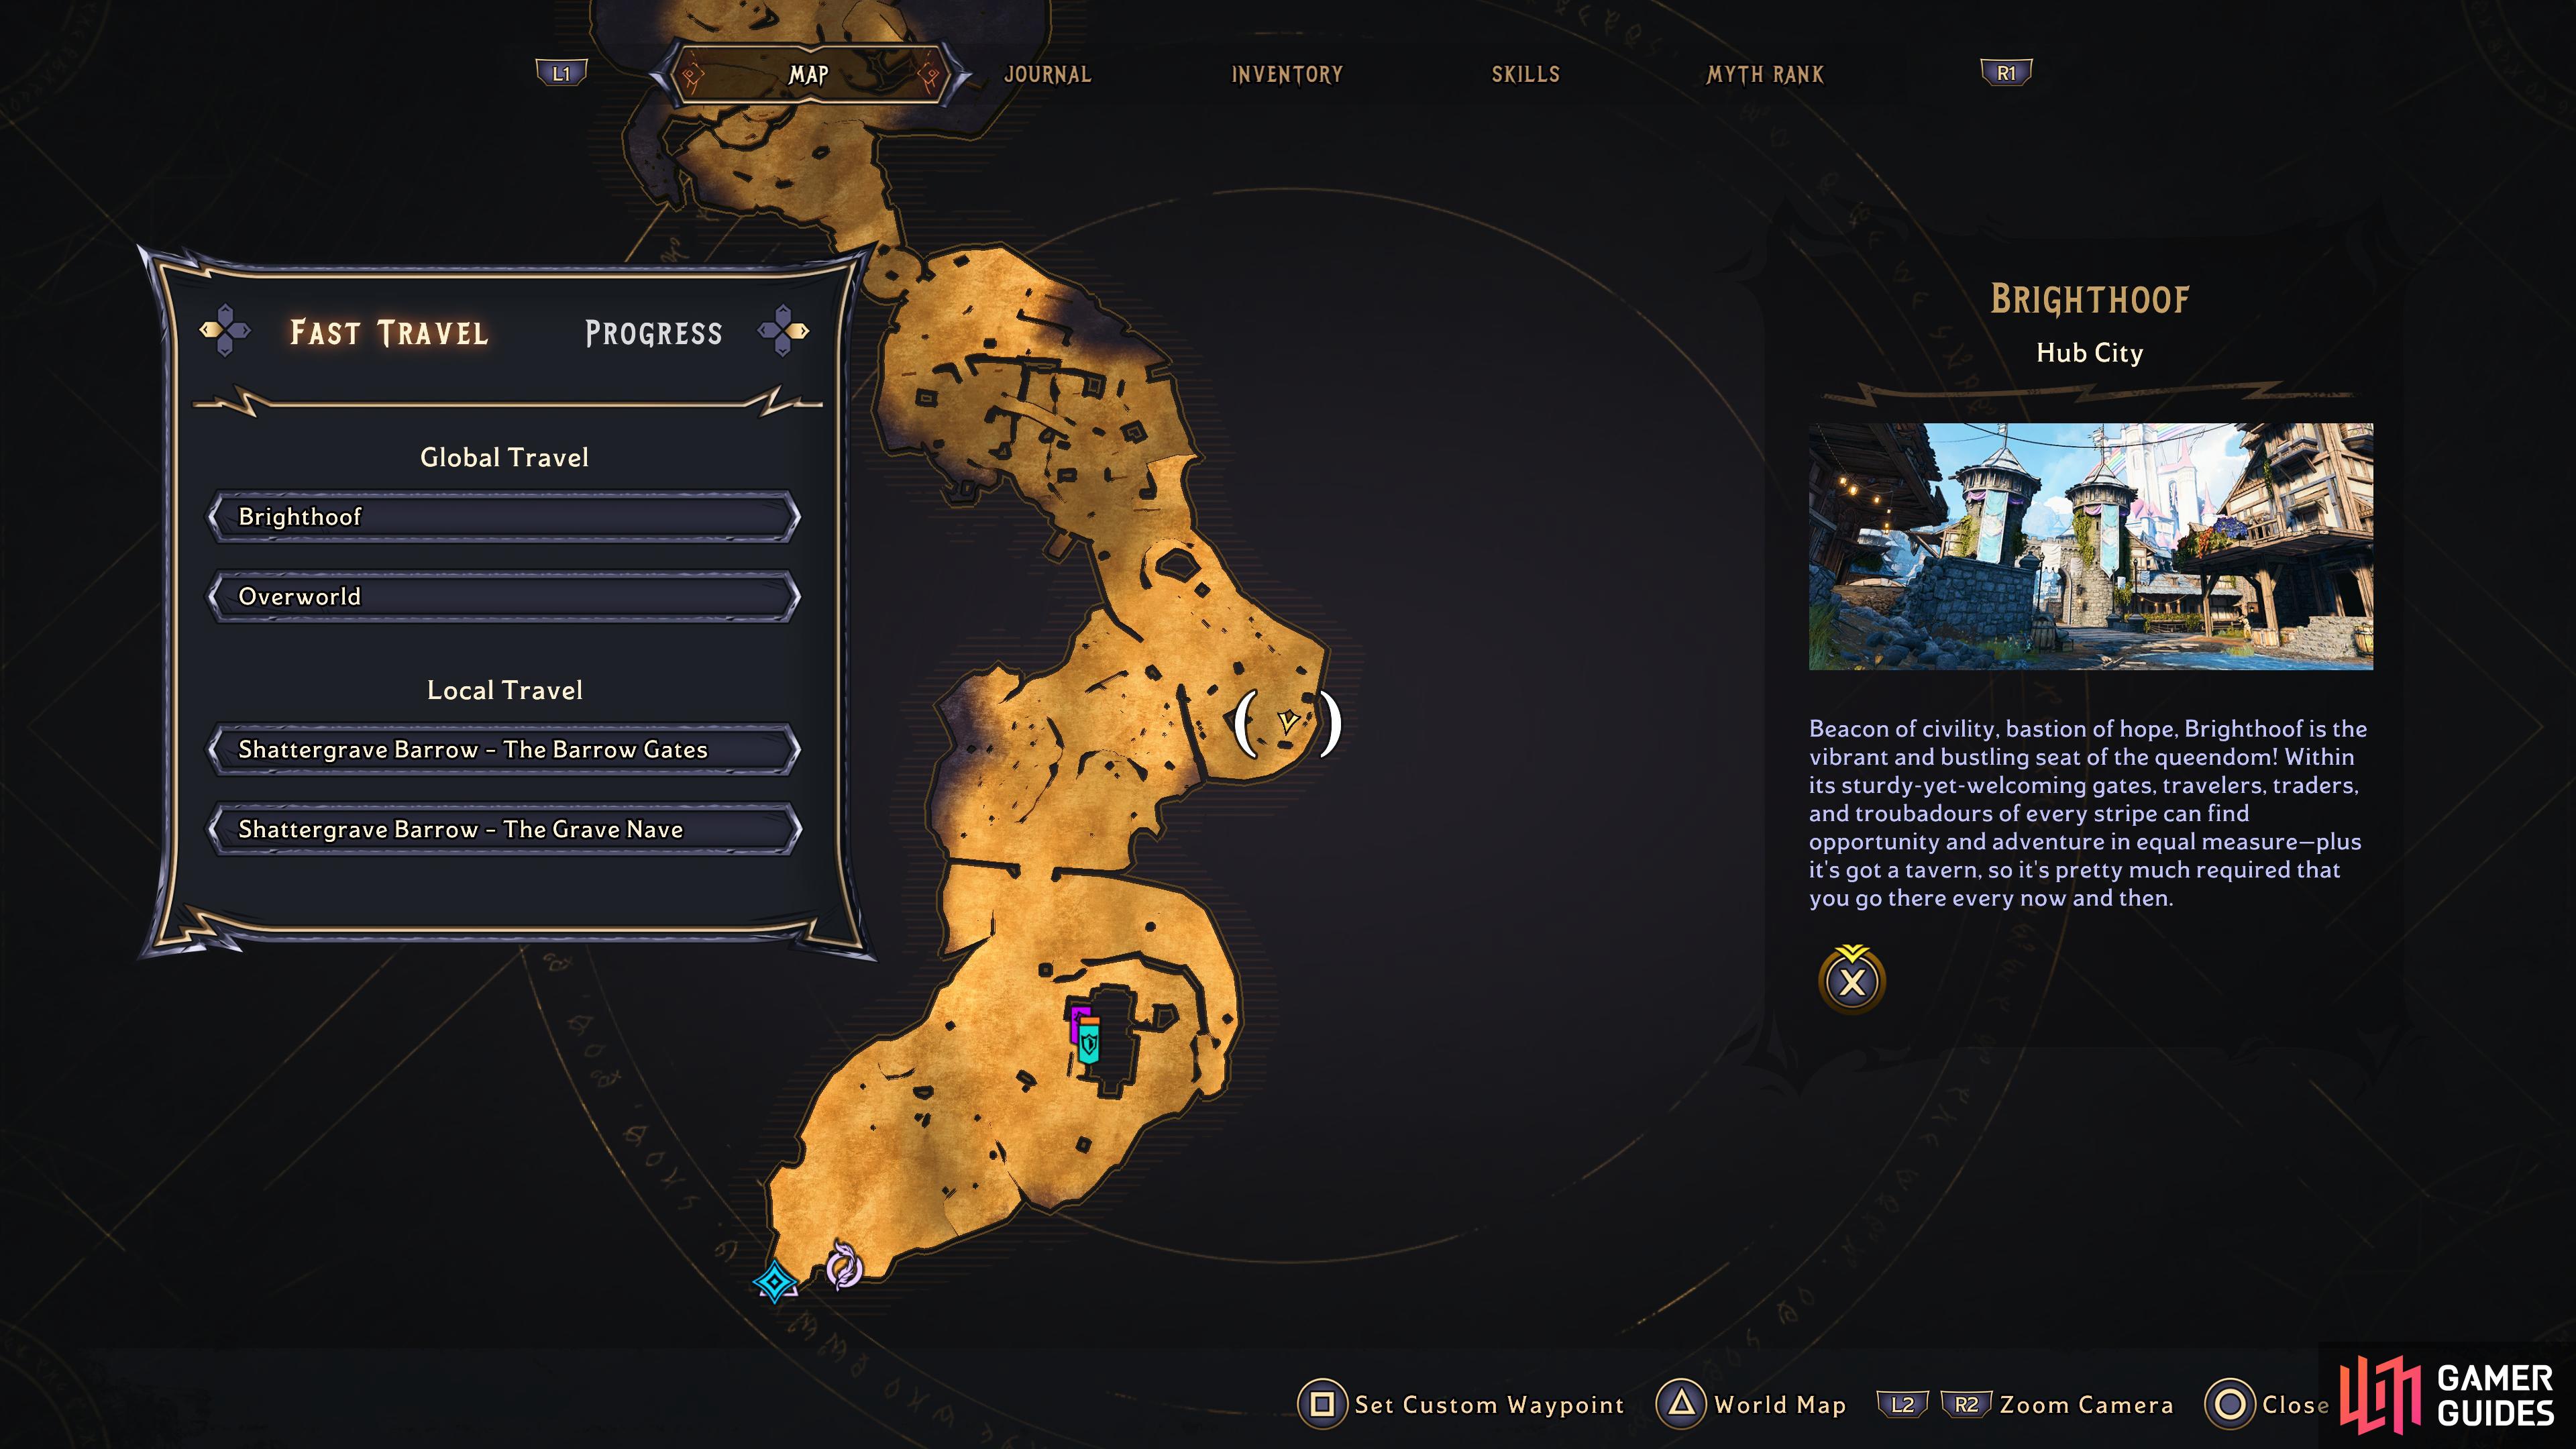
Head to this location in Shattergrave Barrow
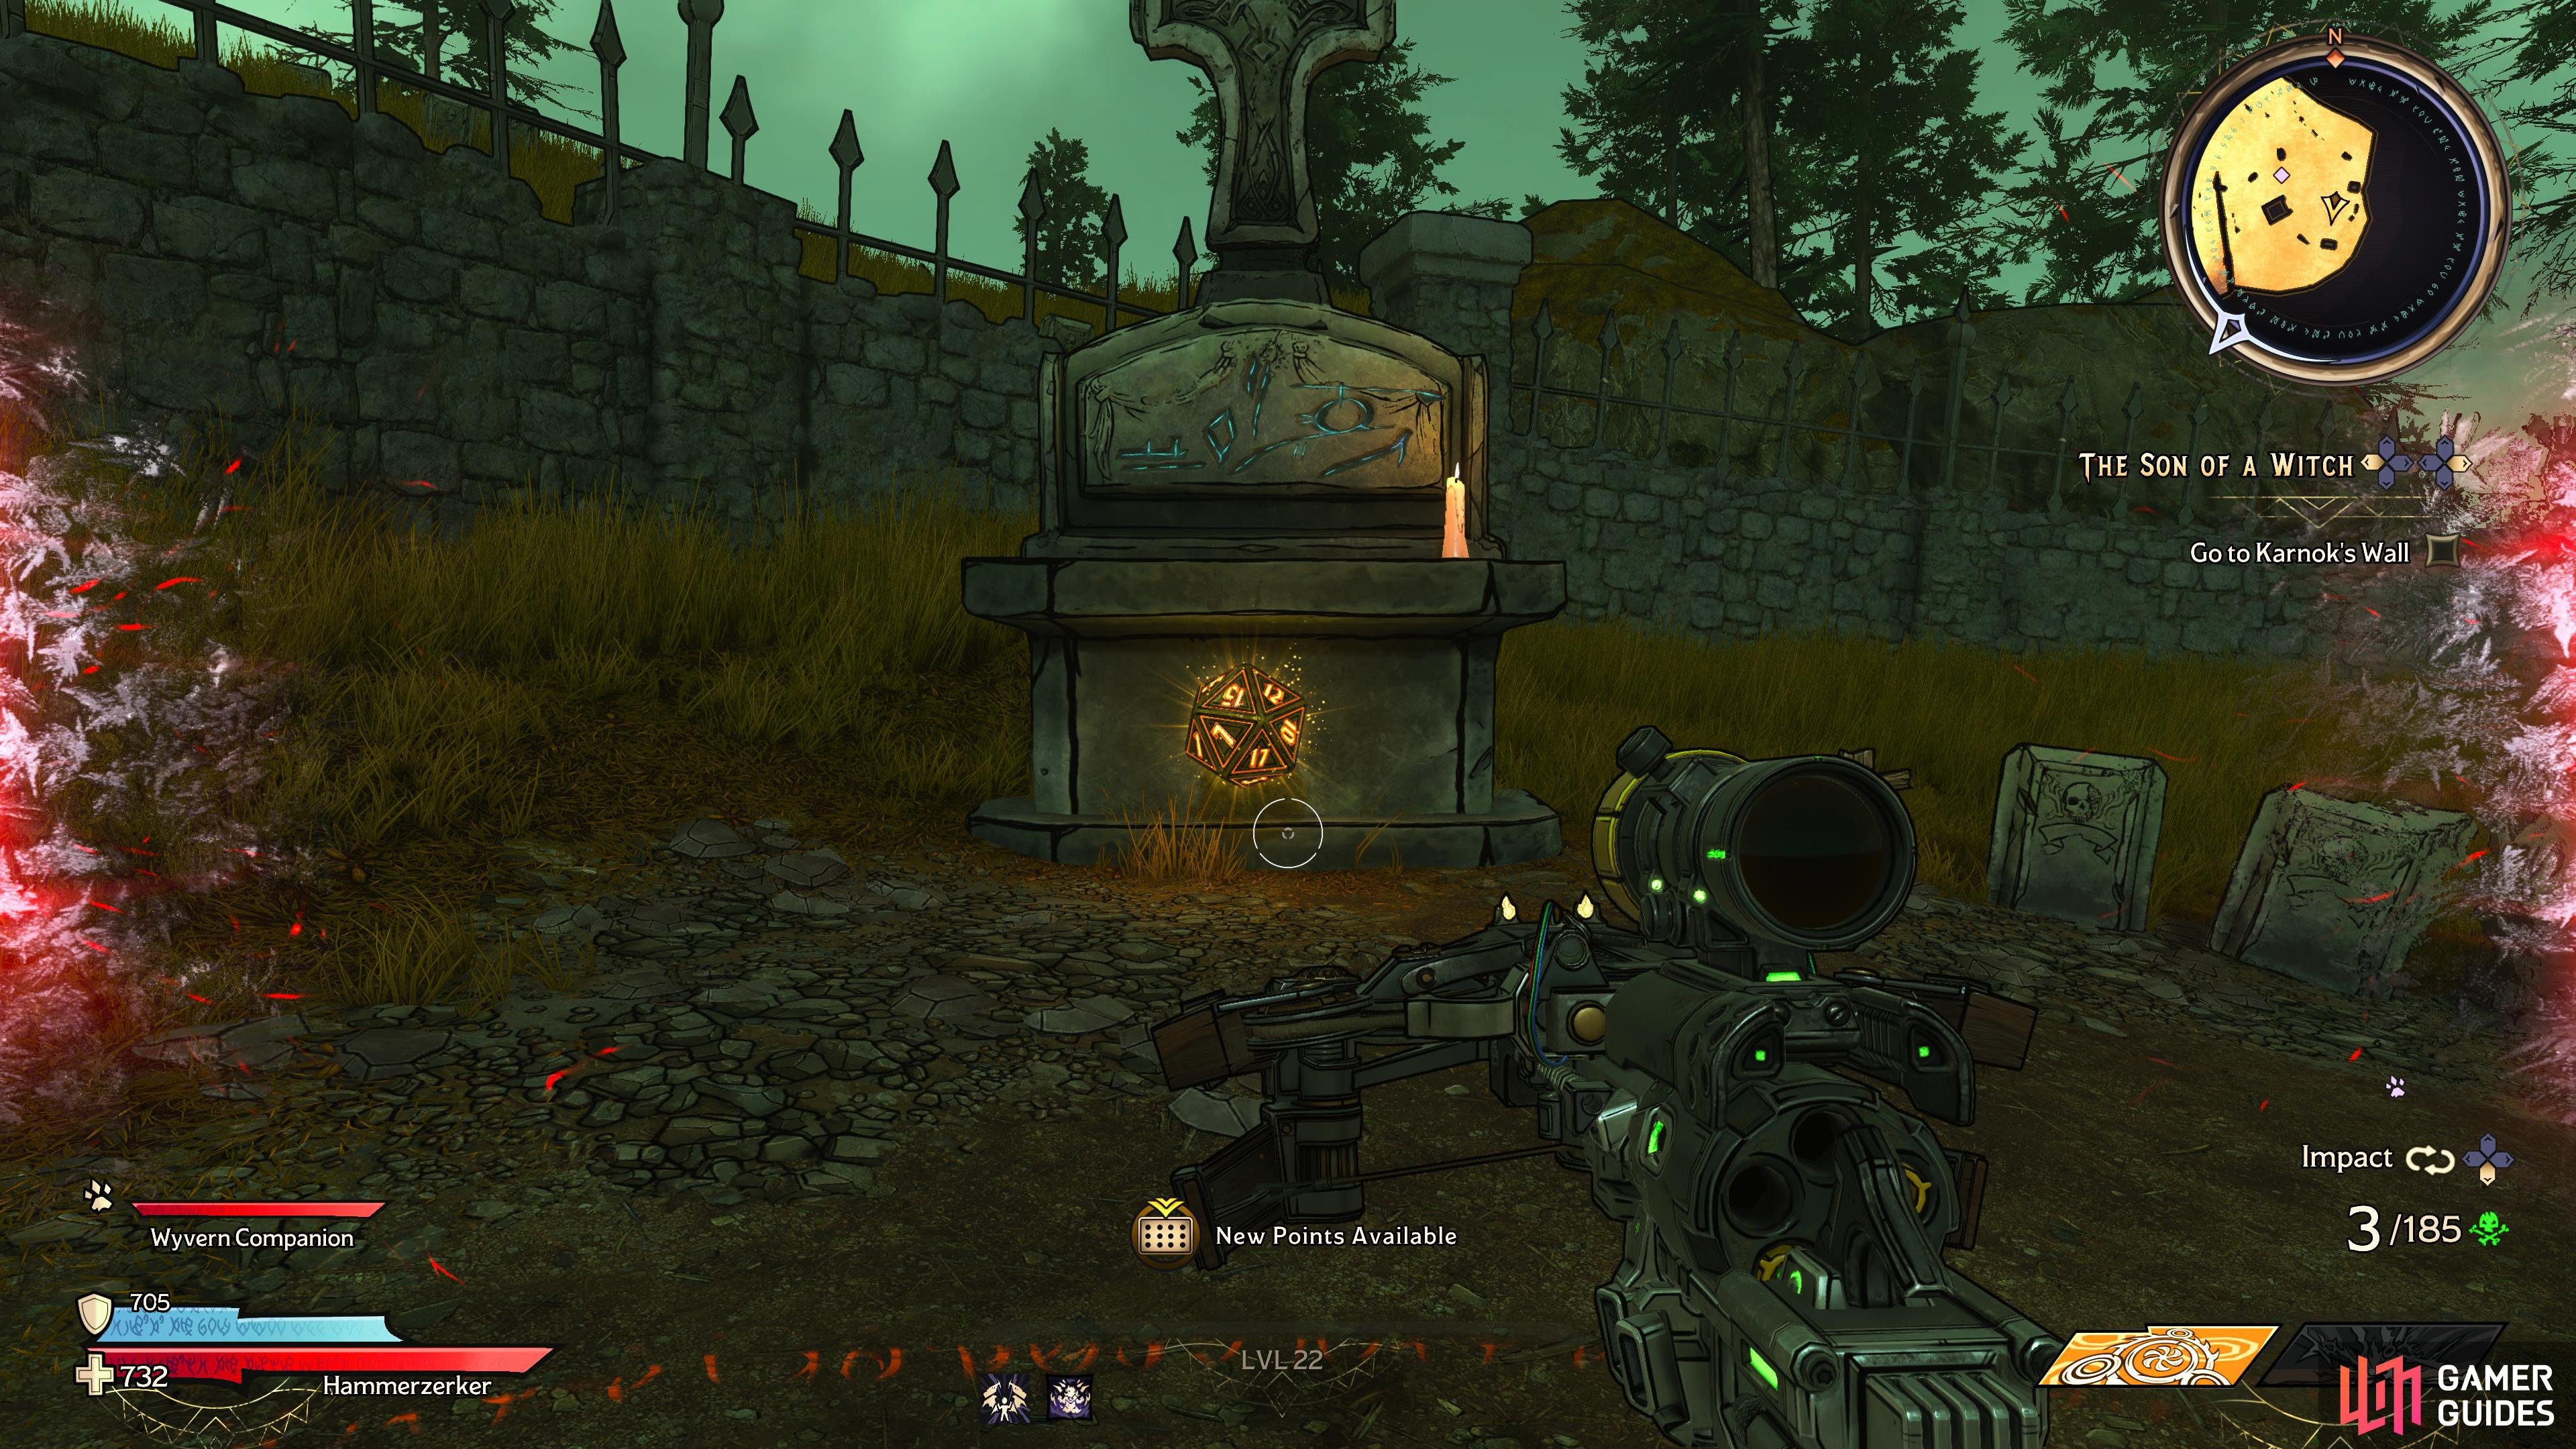
to find the second Lucky Dice sitting in front of a gravestone.
Progress through the zone until you reach Morhaim’s Crop, then head over to the second half of the graveyard and take a right to find it sitting in front of a gravestone.
Lucky Dice Location #3 - Morhaim’s Crop
Head to this location in Shattergrave Barrow
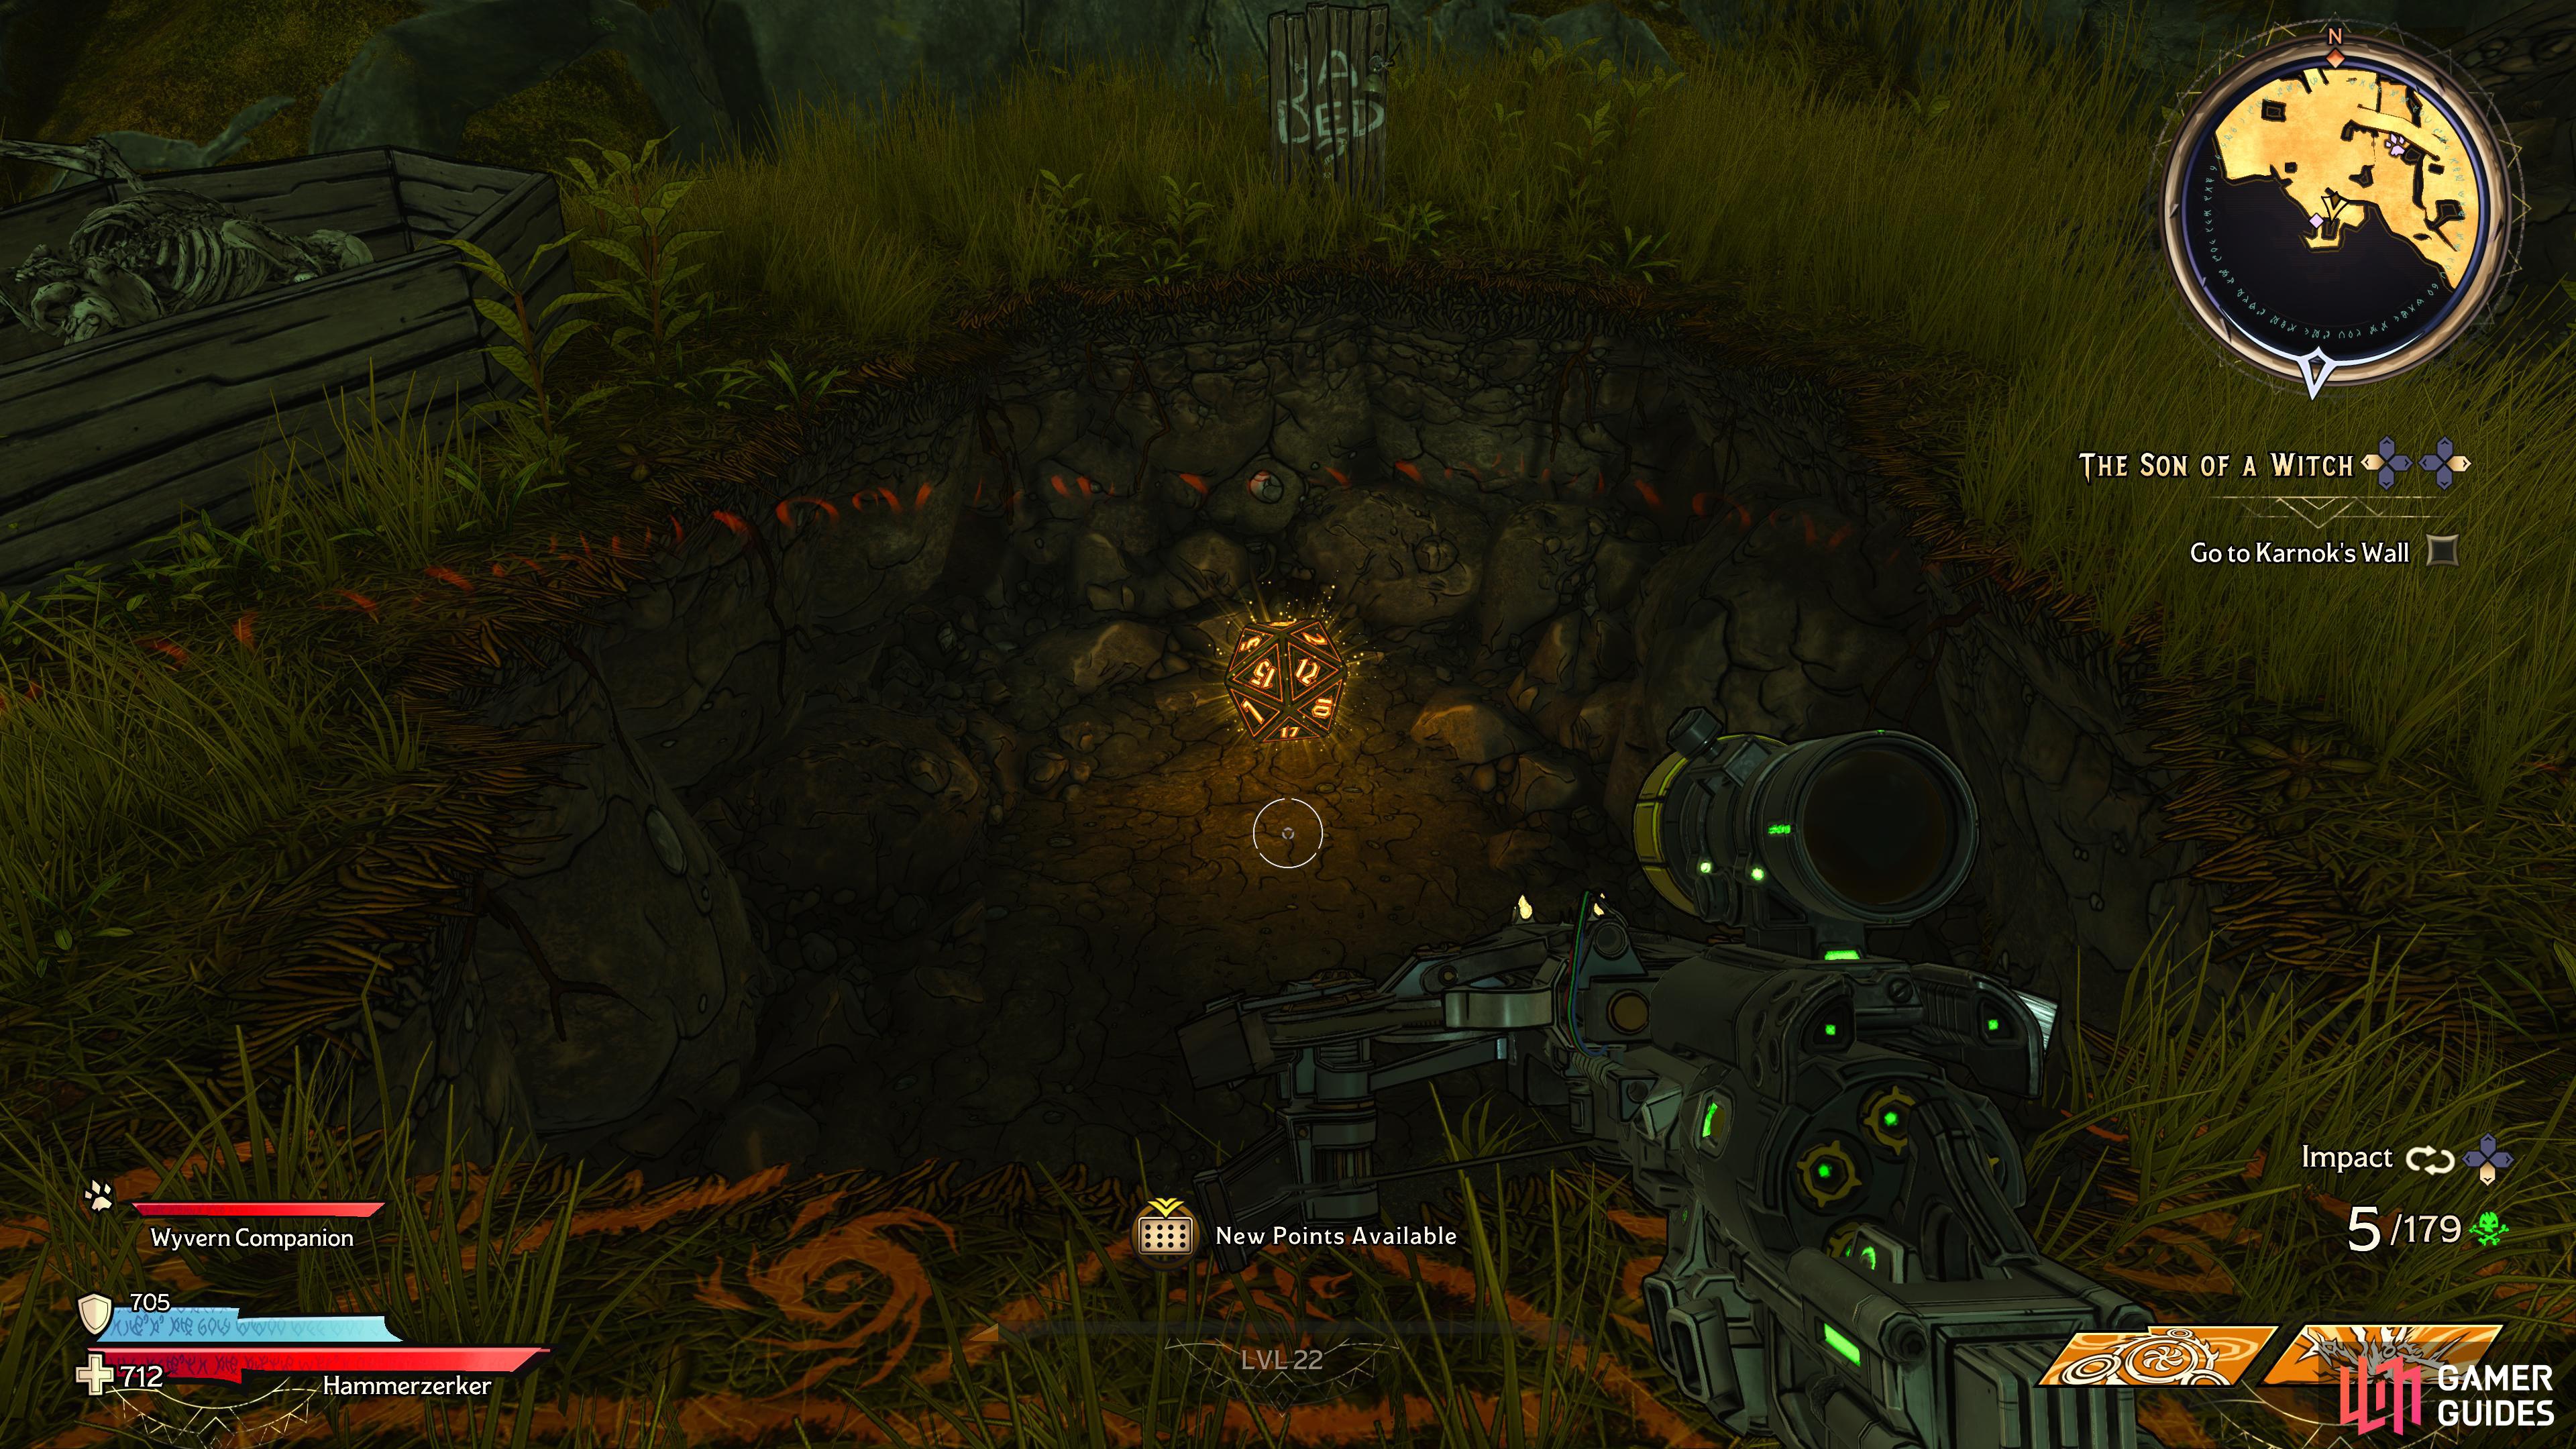
to find the third Lucky Dice sitting inside a hole in the ground.
Head further north until you cross a bridge, then immediately take a left to find the Lucky Dice sitting in a hole in the ground.
Lucky Dice Location #4 - The Bone Grove
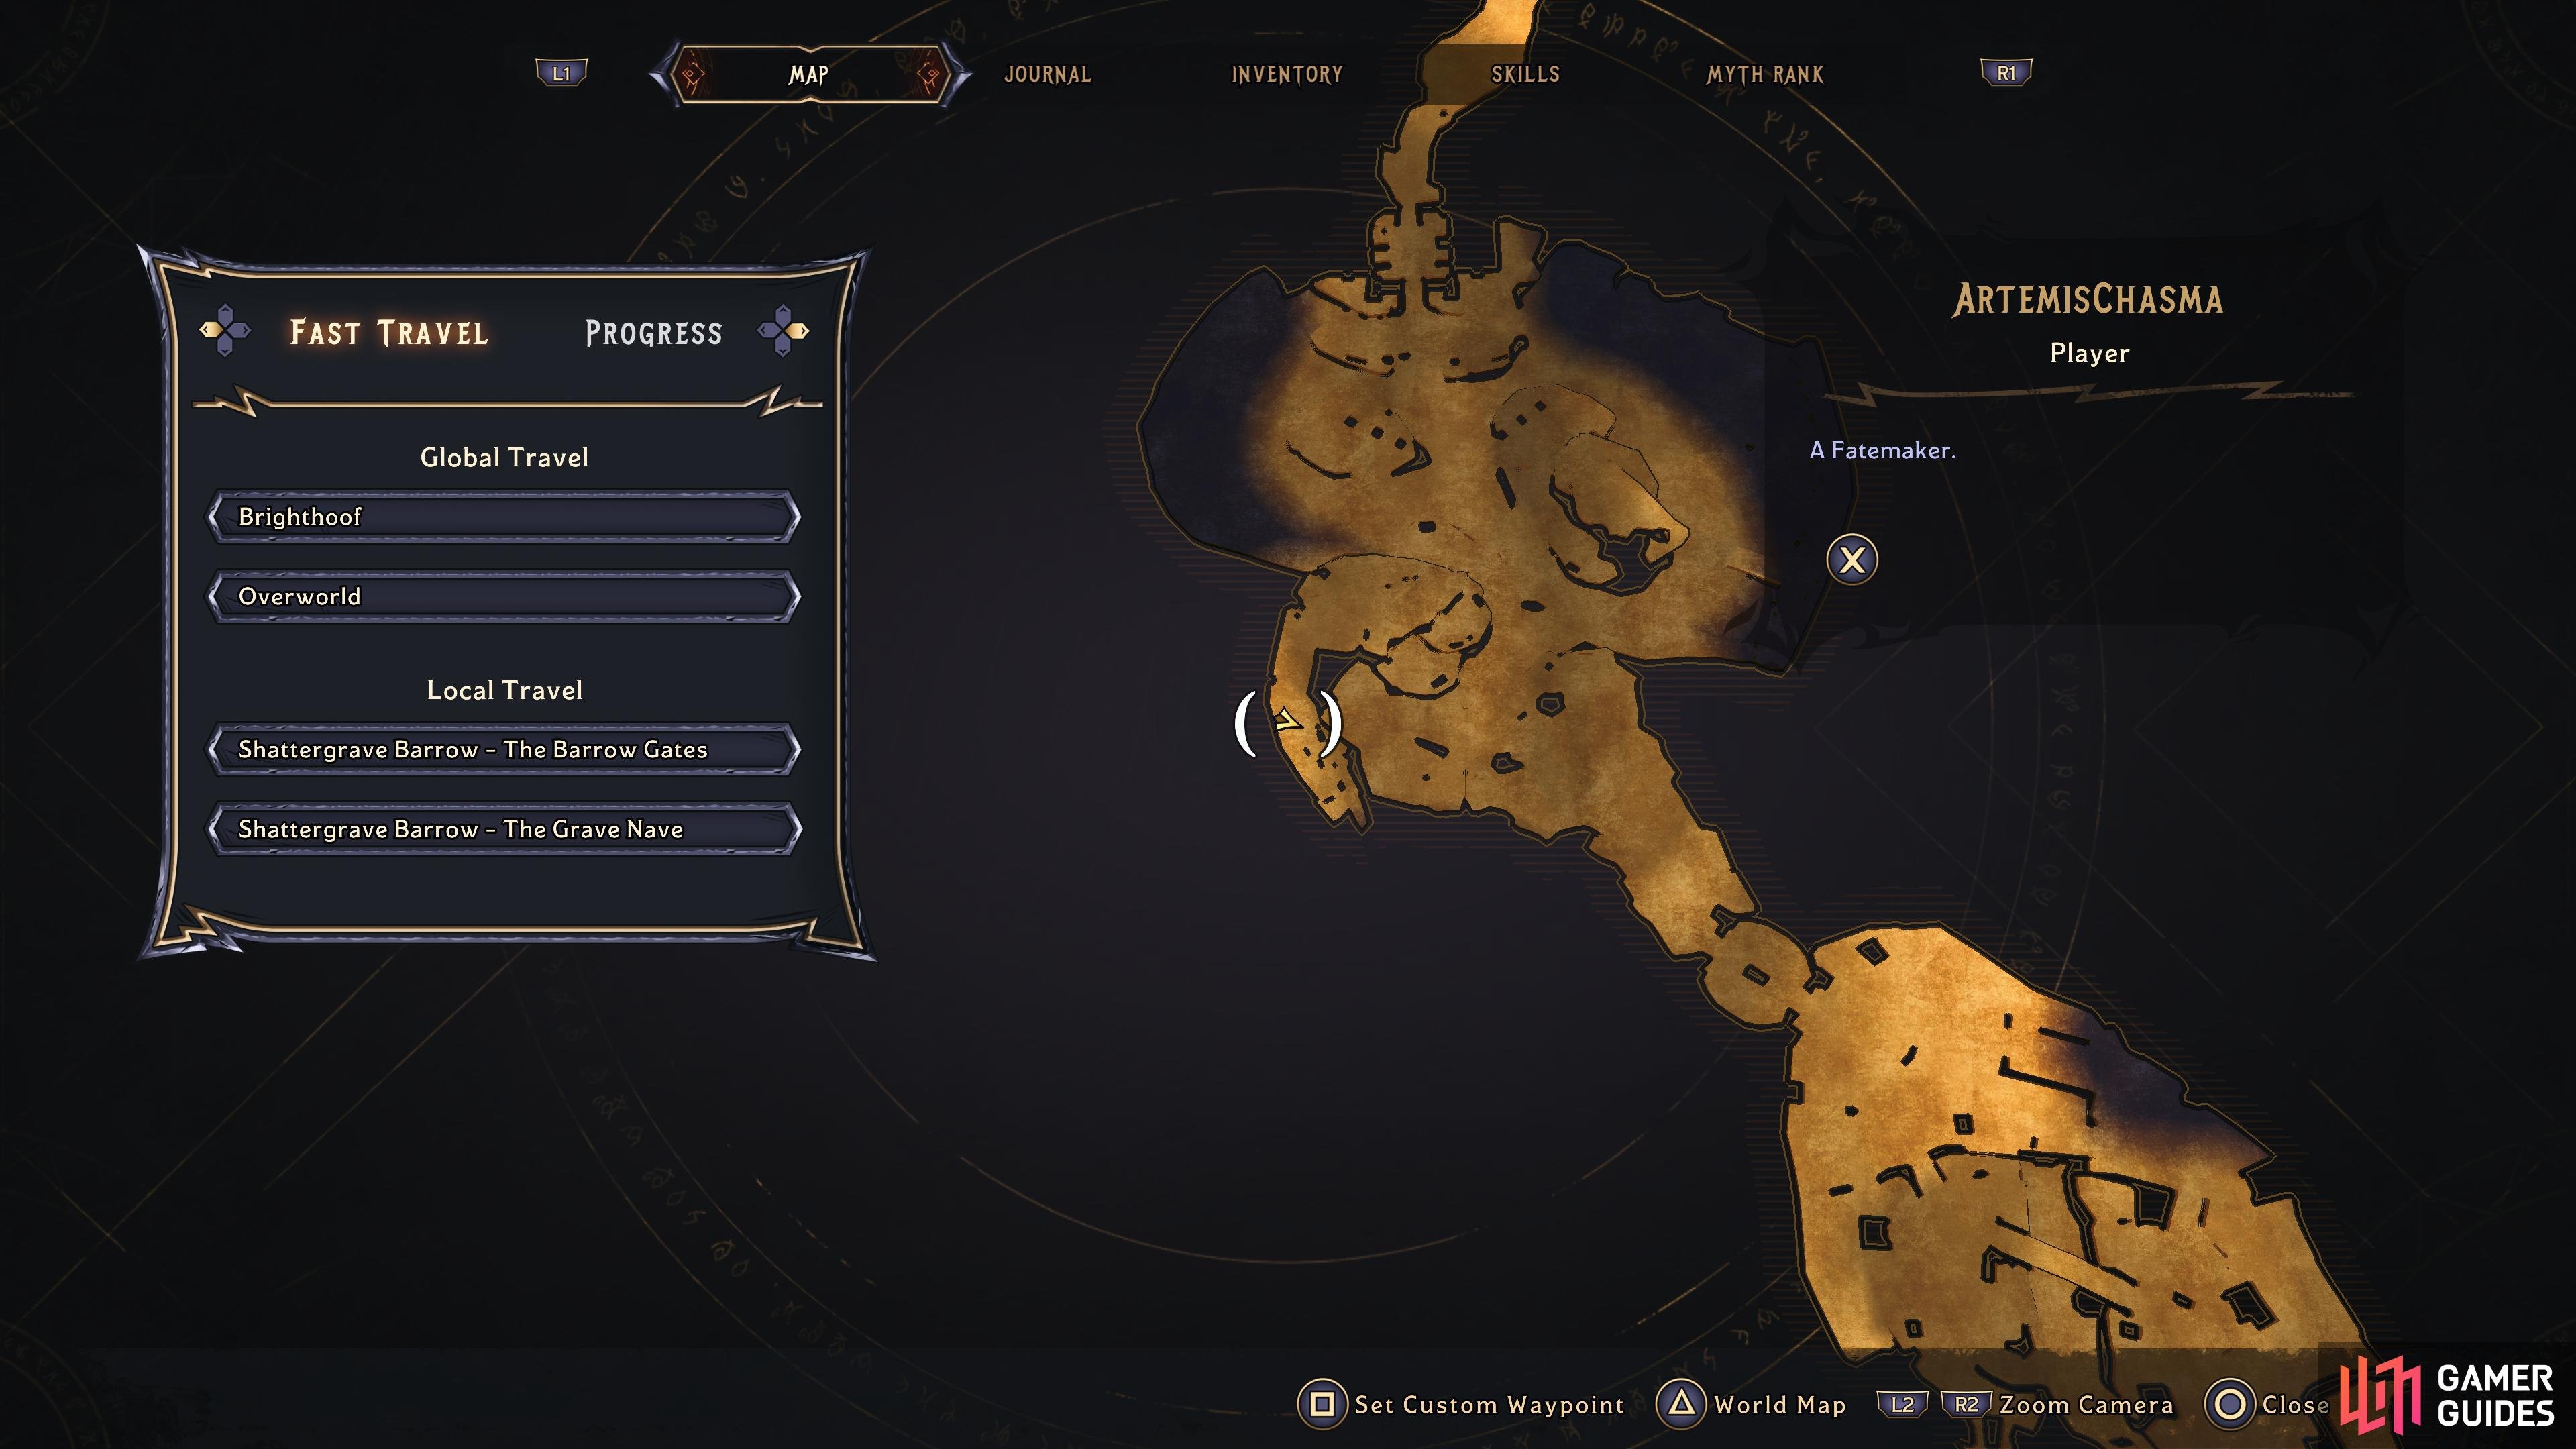
Head to this location in Shattergrave Barrow
to find the fourth Lucky Dice sitting behind a gravestone.
Head on over to The Bone Grove and head up the cliff on the left side to find the Lucky Dice hiding behind a gravestone.
Lucky Dice Location #5 - The Bone Grove
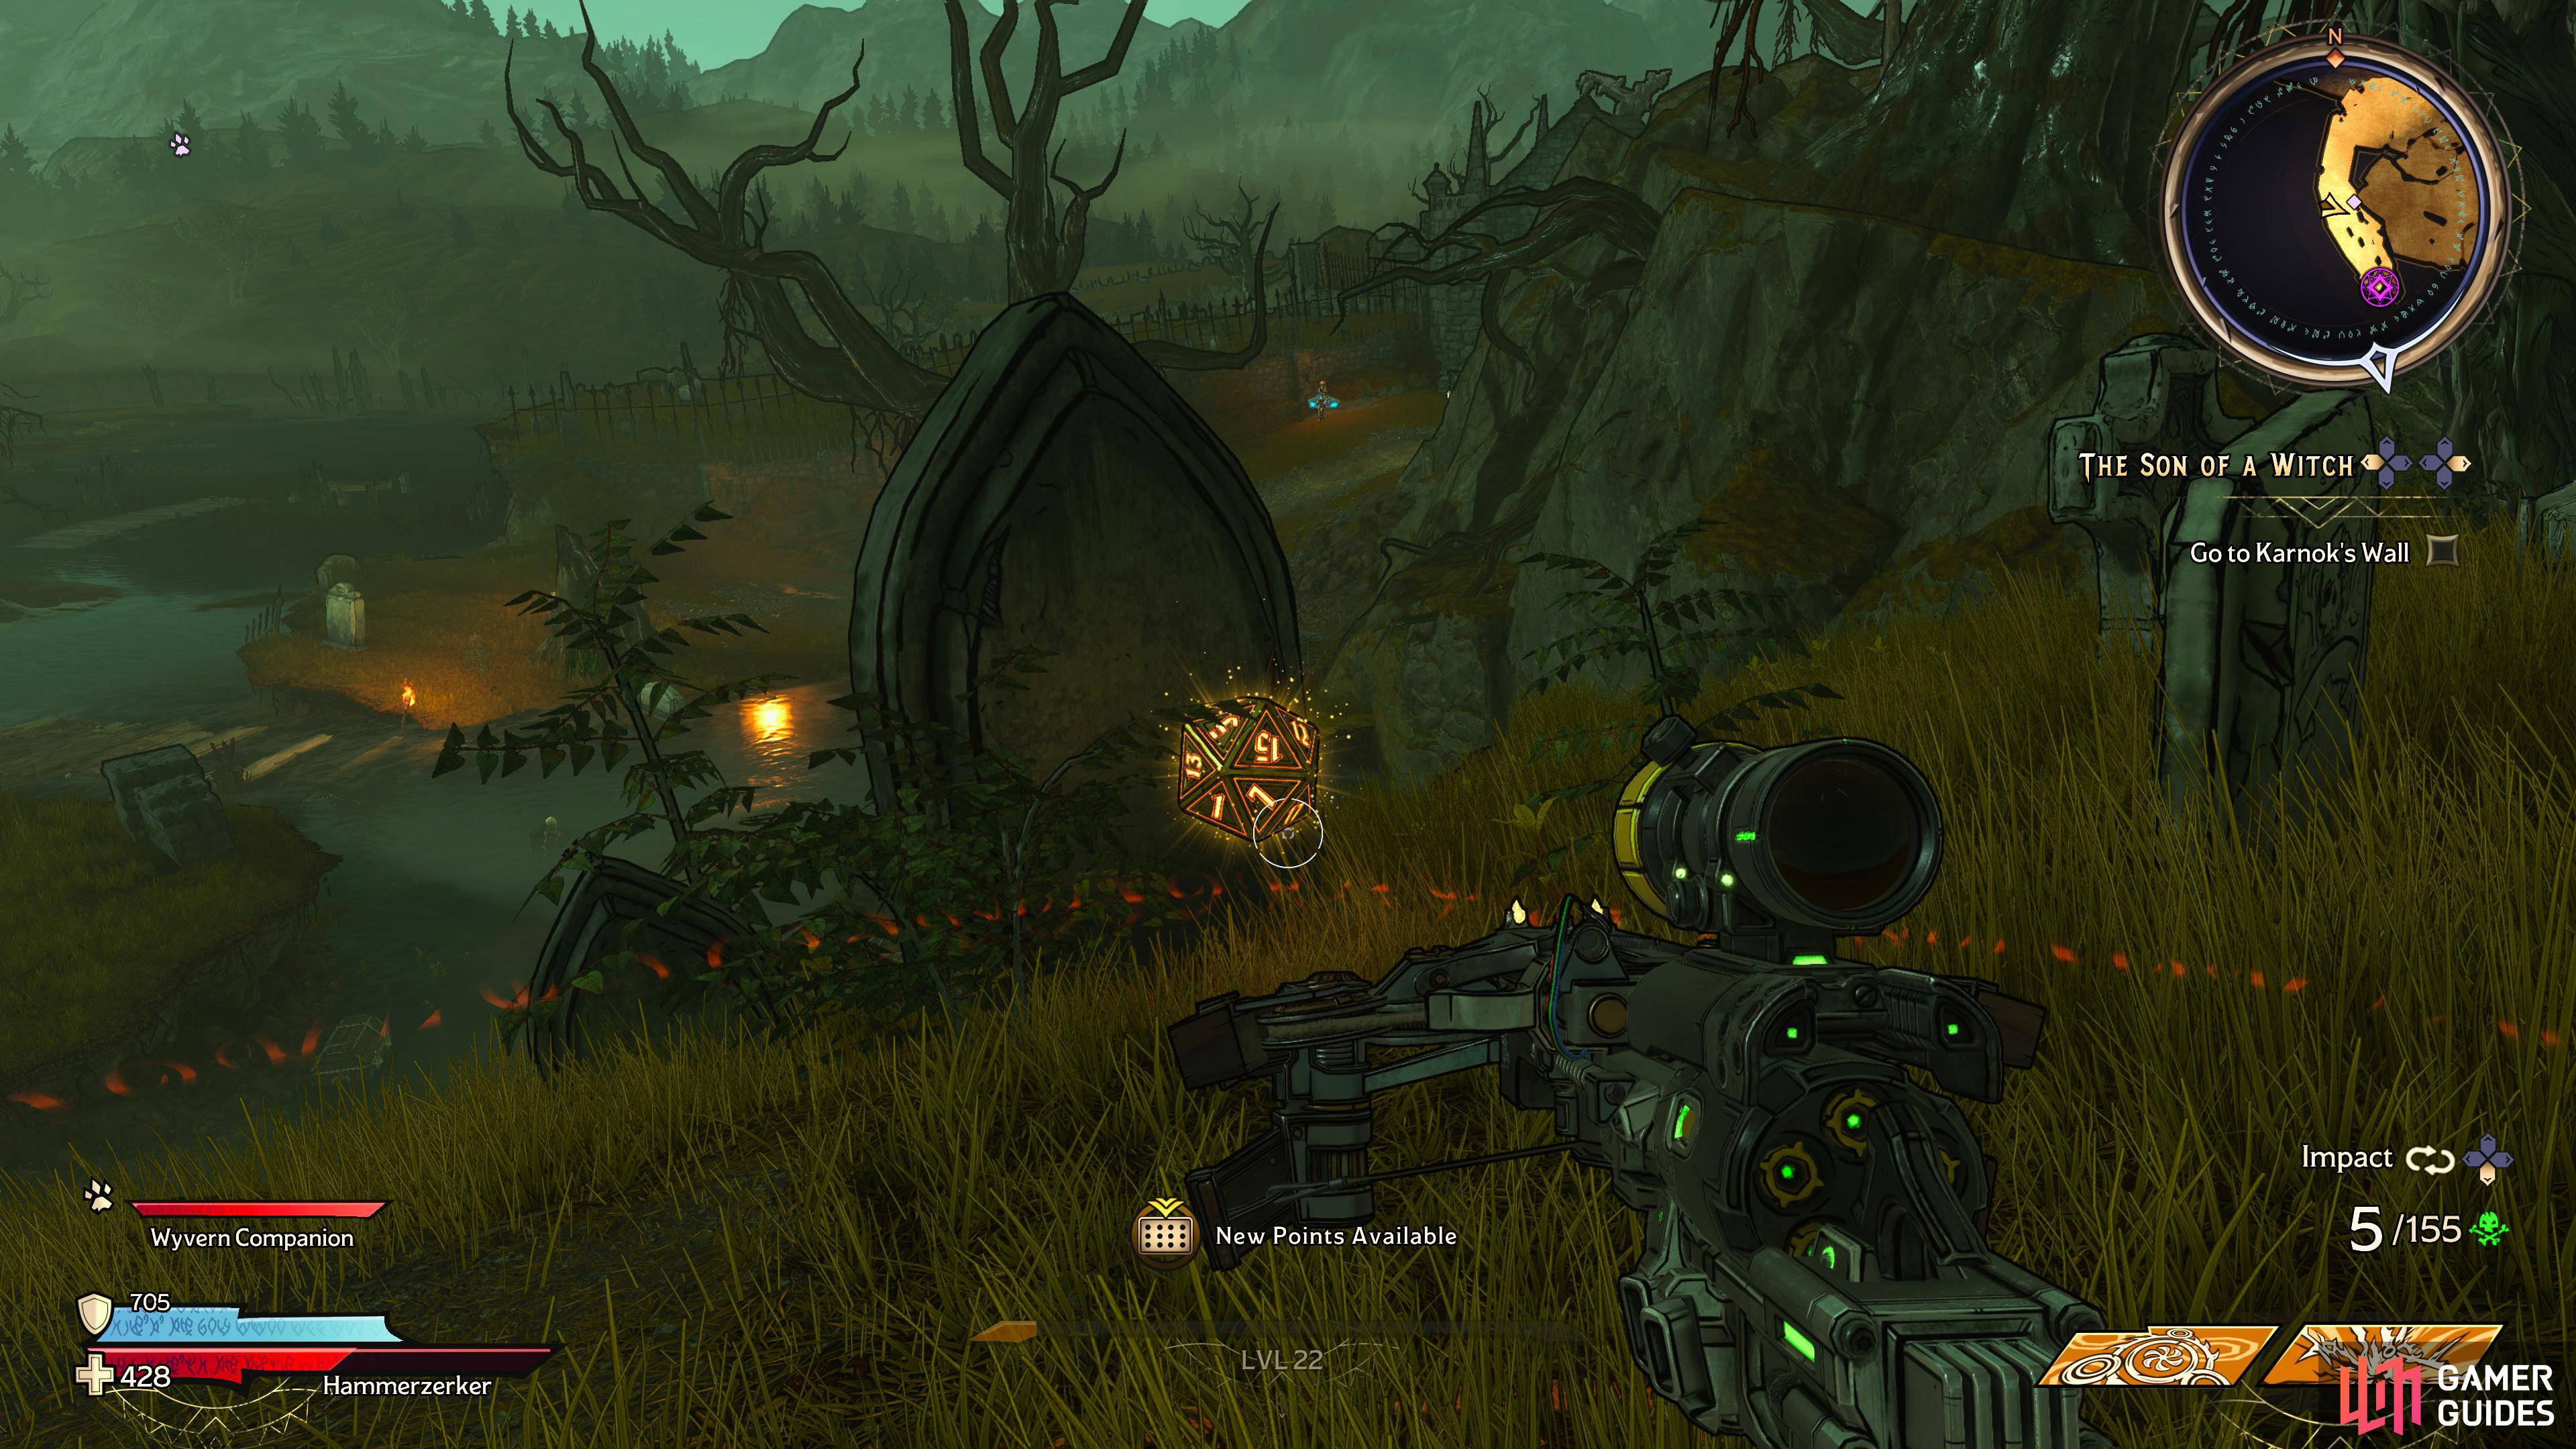
From the previous Lucky Dice locations, look east to find a cliff with a large tree on top. Climb up to the tree and drop down to the left to find the Lucky Dice Overlooking the lake.
Lucky Dice Location #6 - The Grave Nave
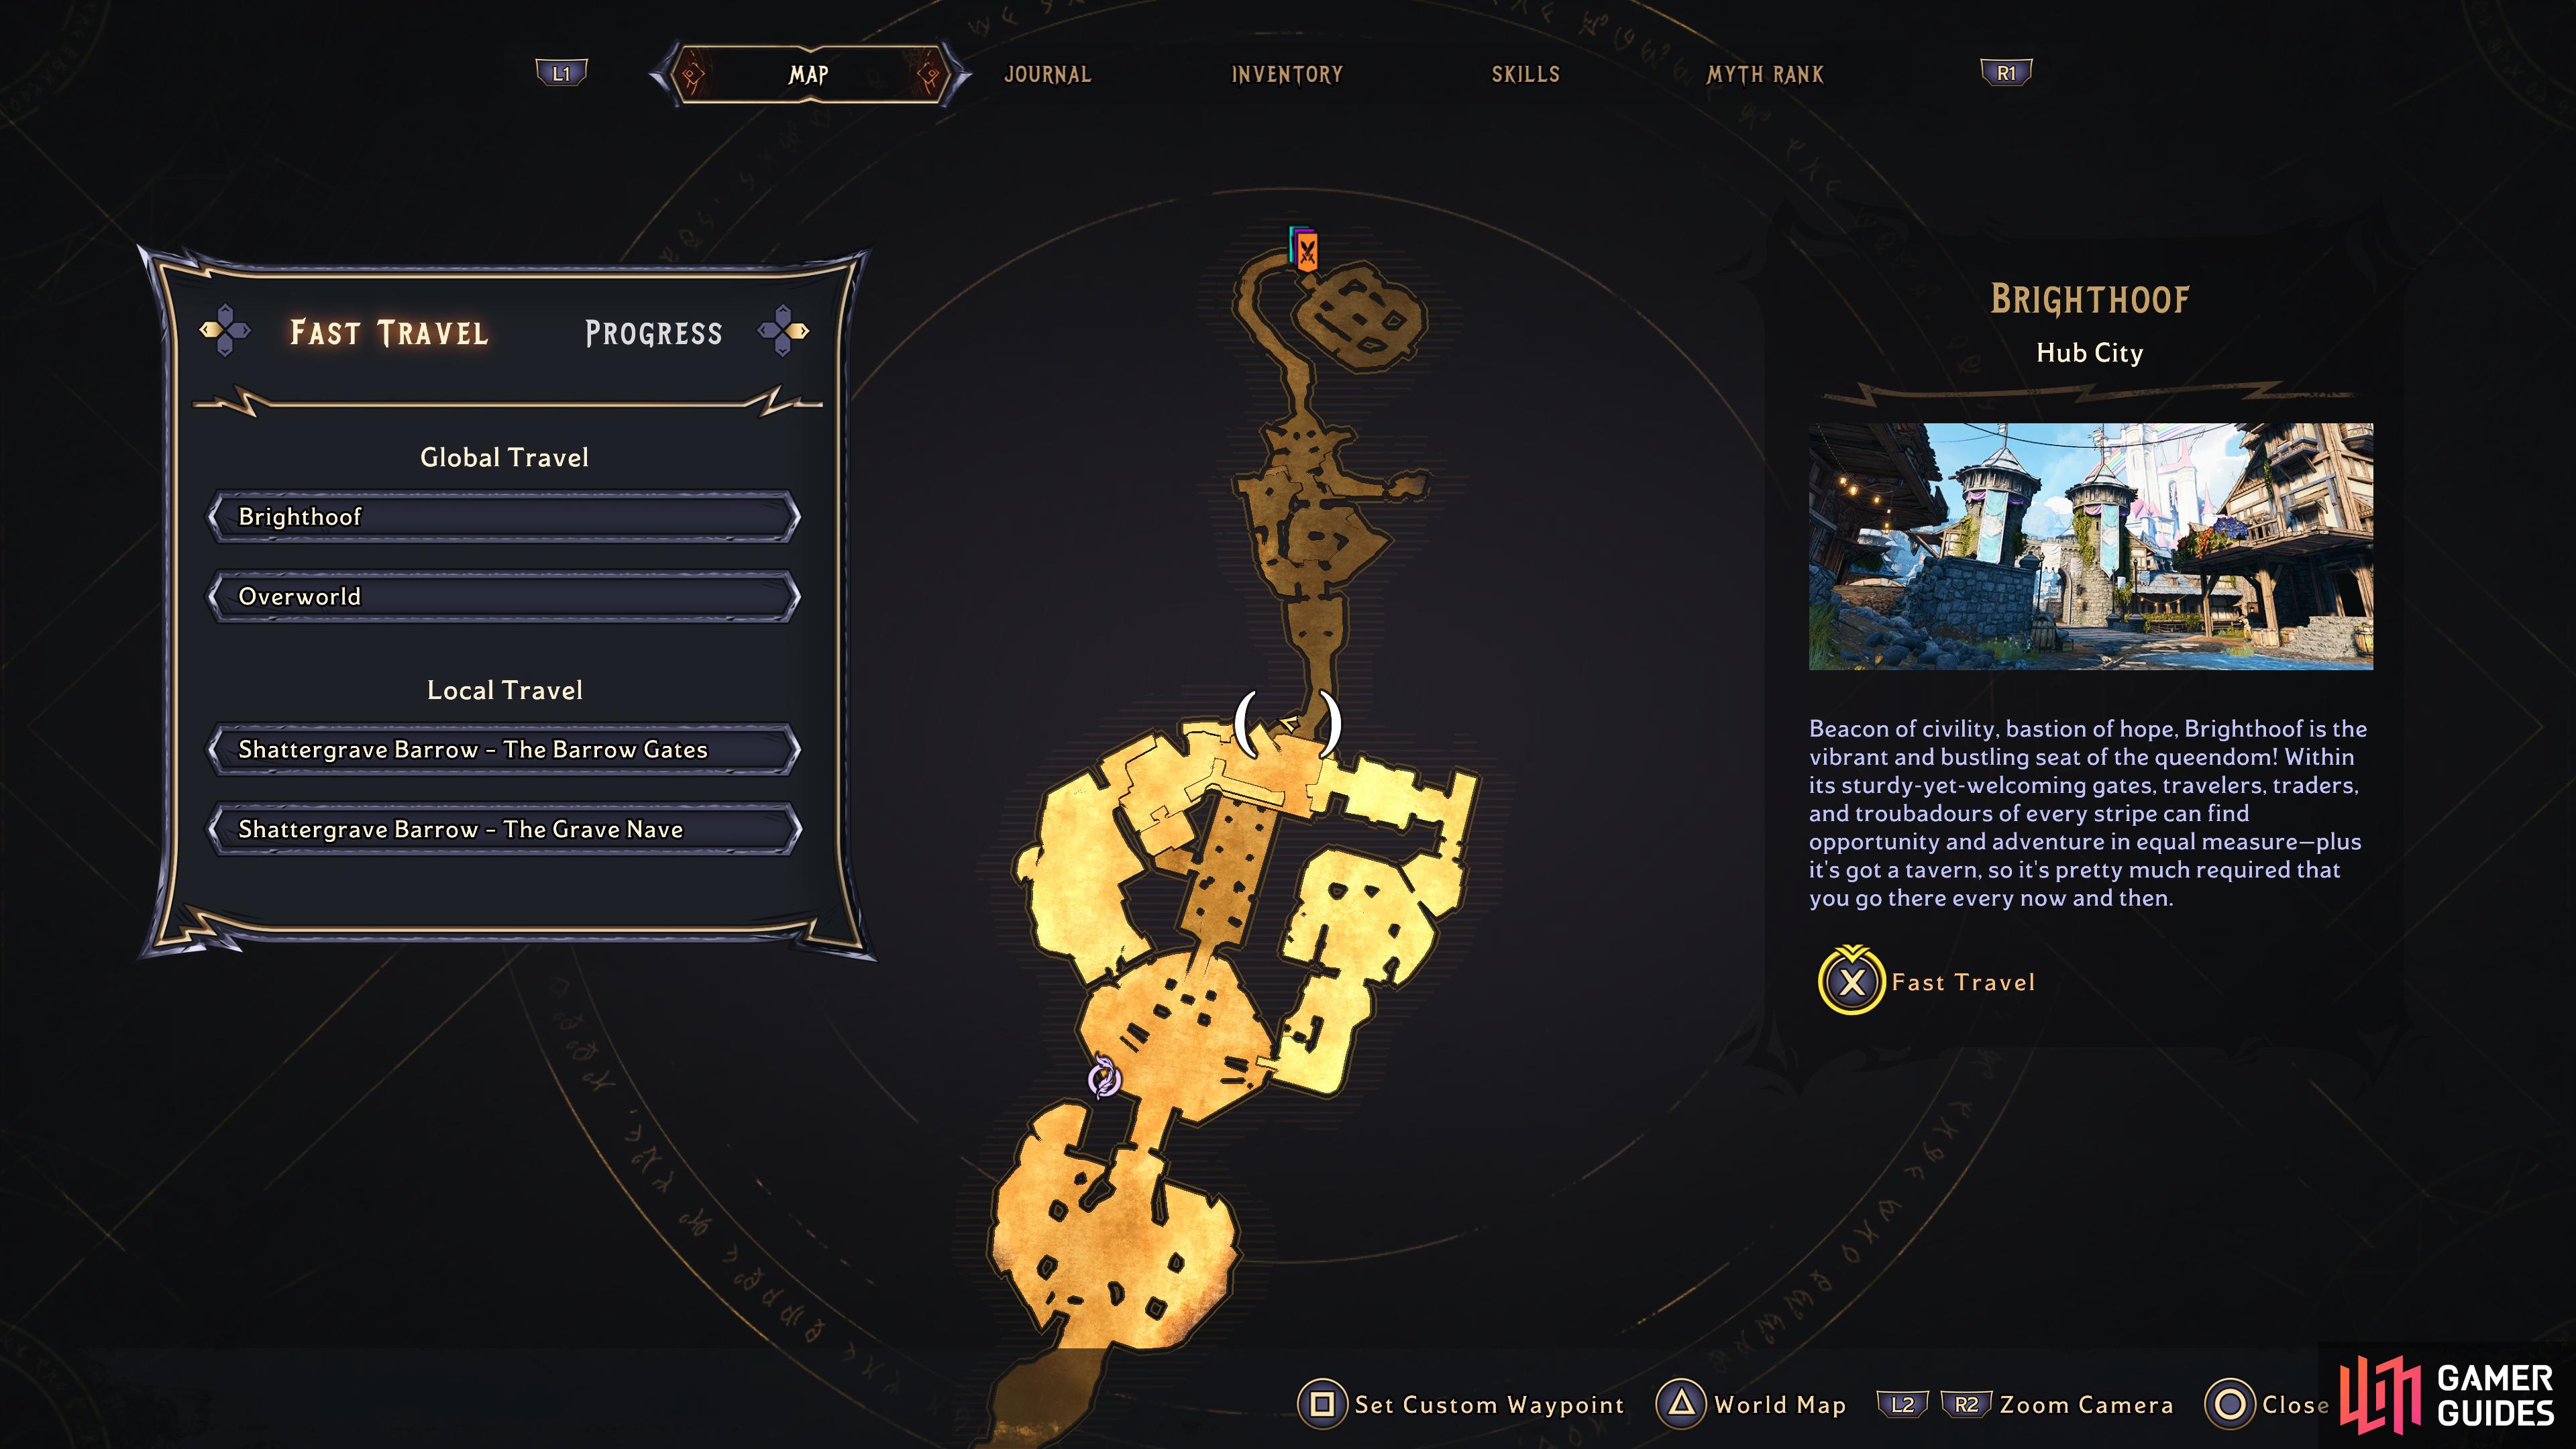
Head to this location in Shattergrave Barrow
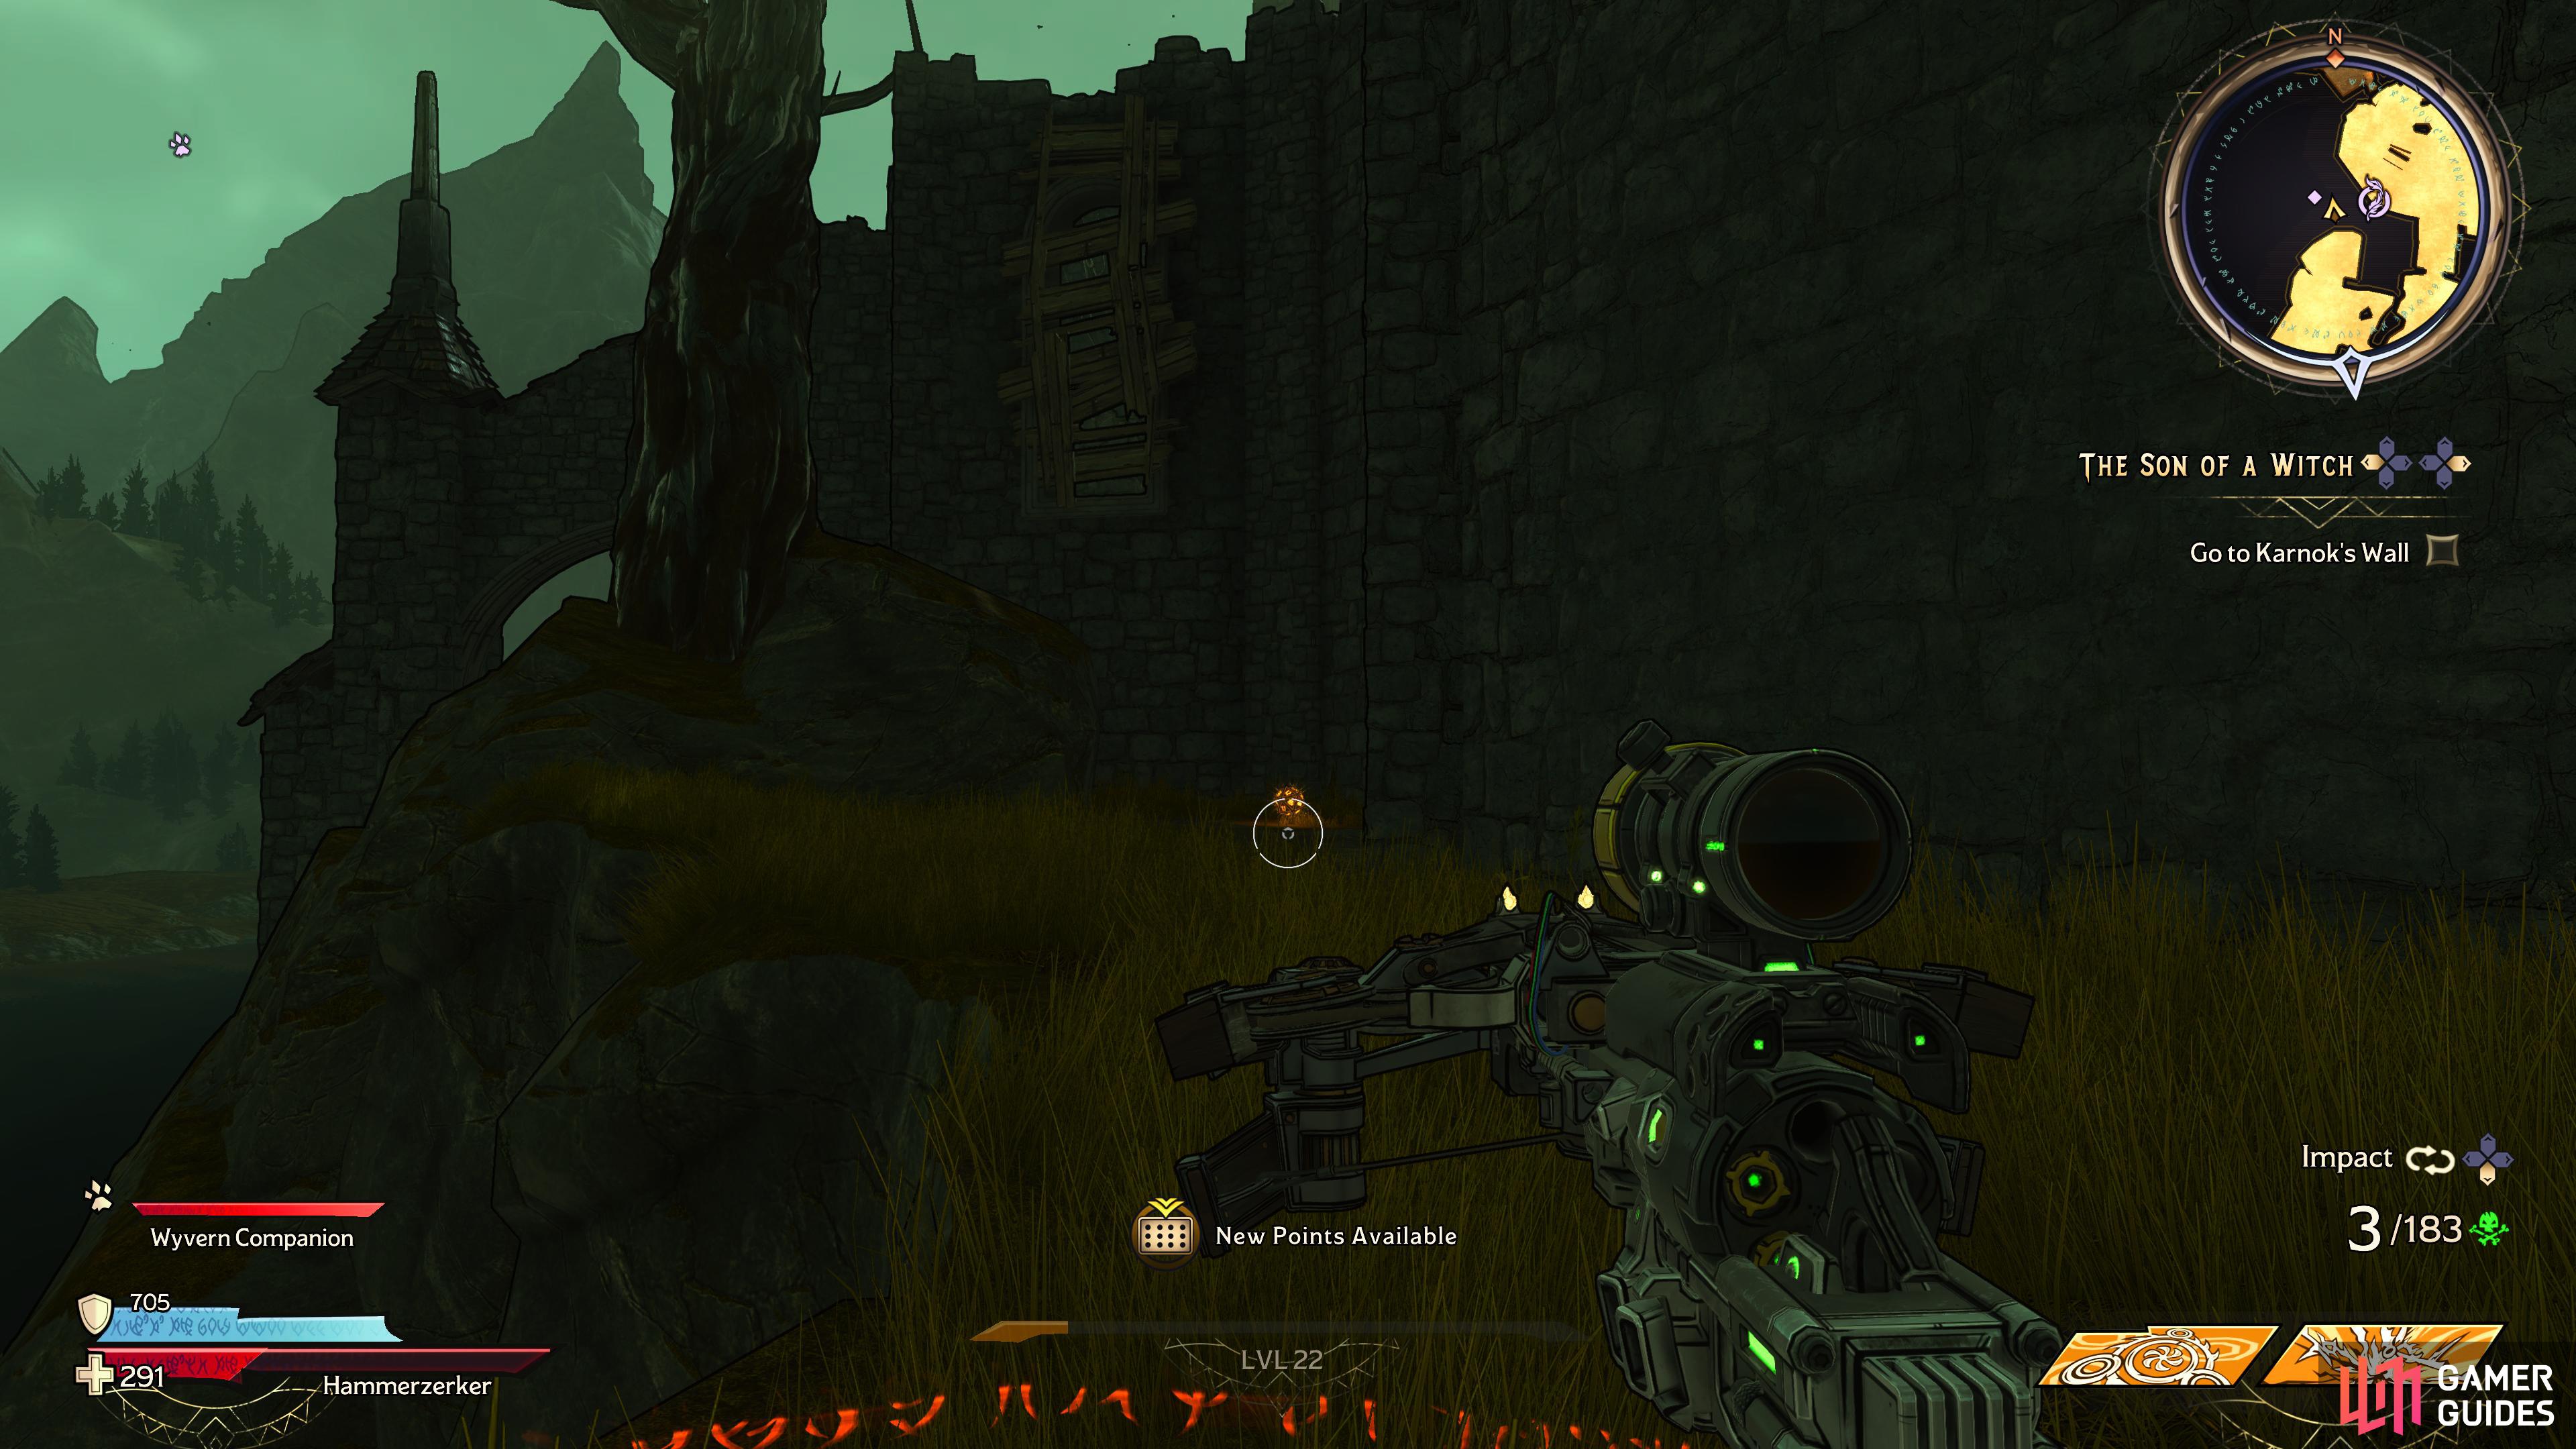
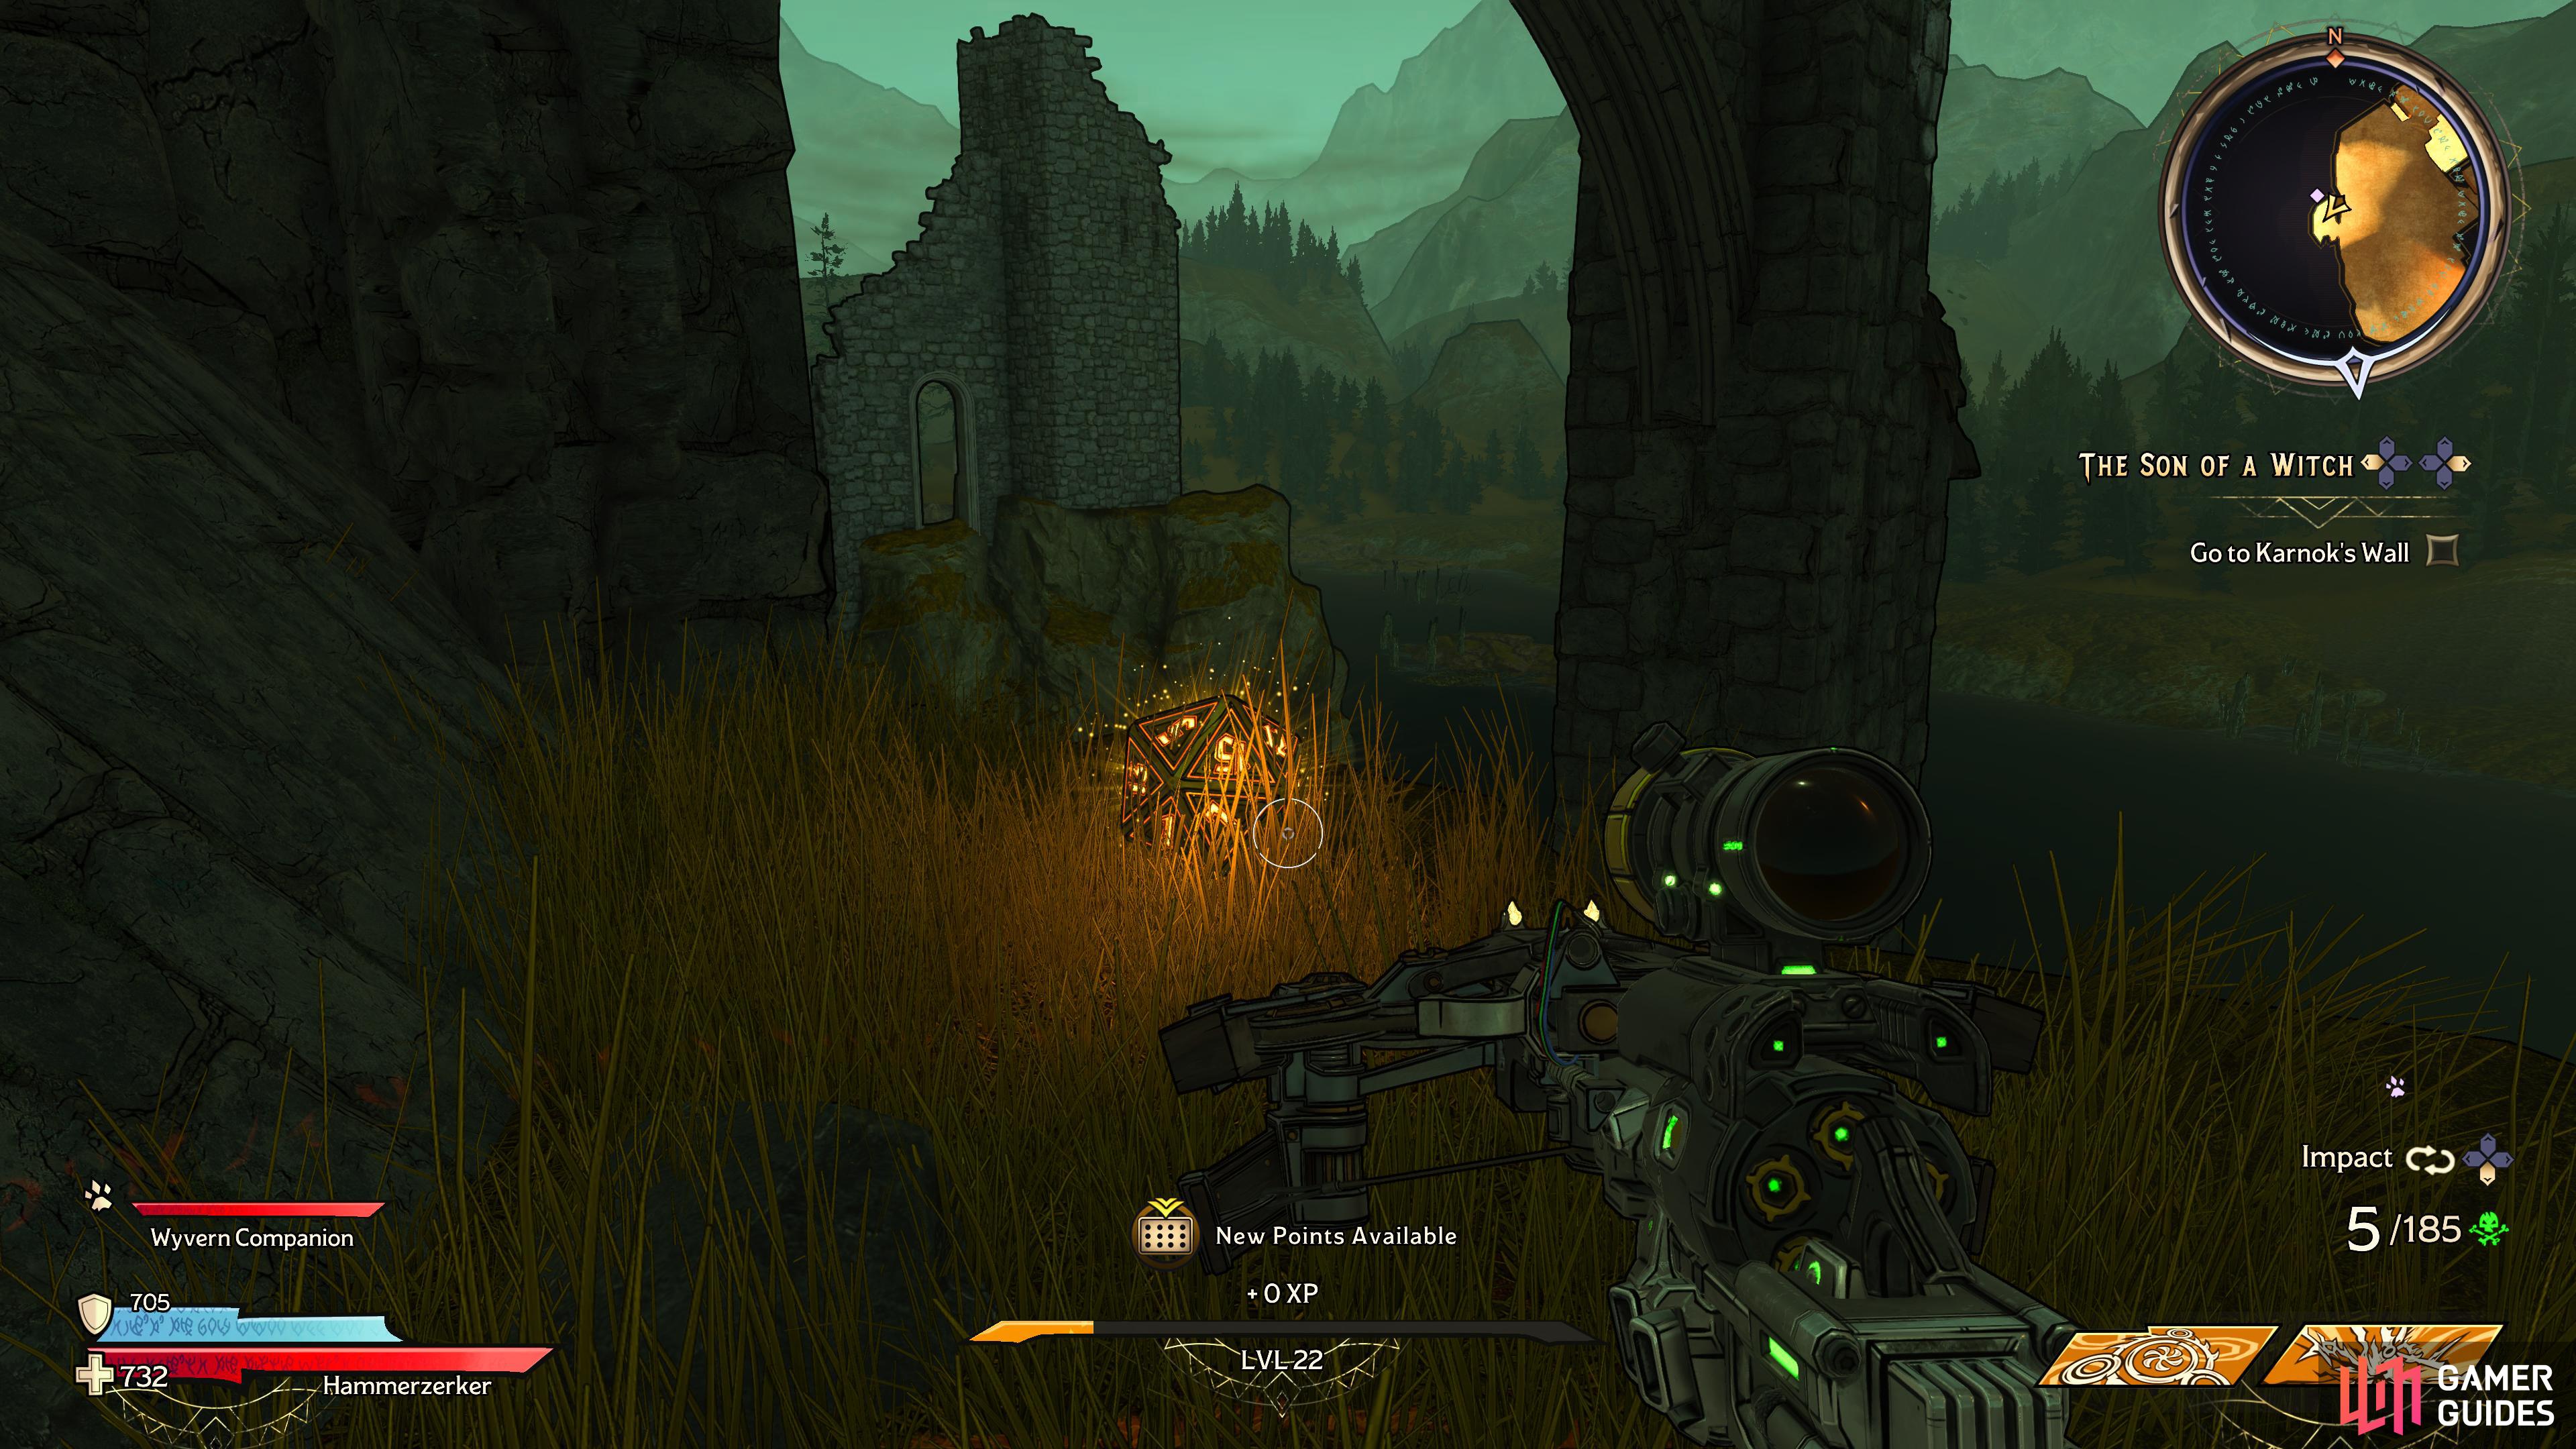
to find the sixth Lucky Dice sitting beside a tree to the left of the castle entrance.
Head towards the castle entrance, then follow the path along to the left and you’ll find the Lucky Dice sitting to the right of a tree.
Lucky Dice Location #7 - The Grave Nave
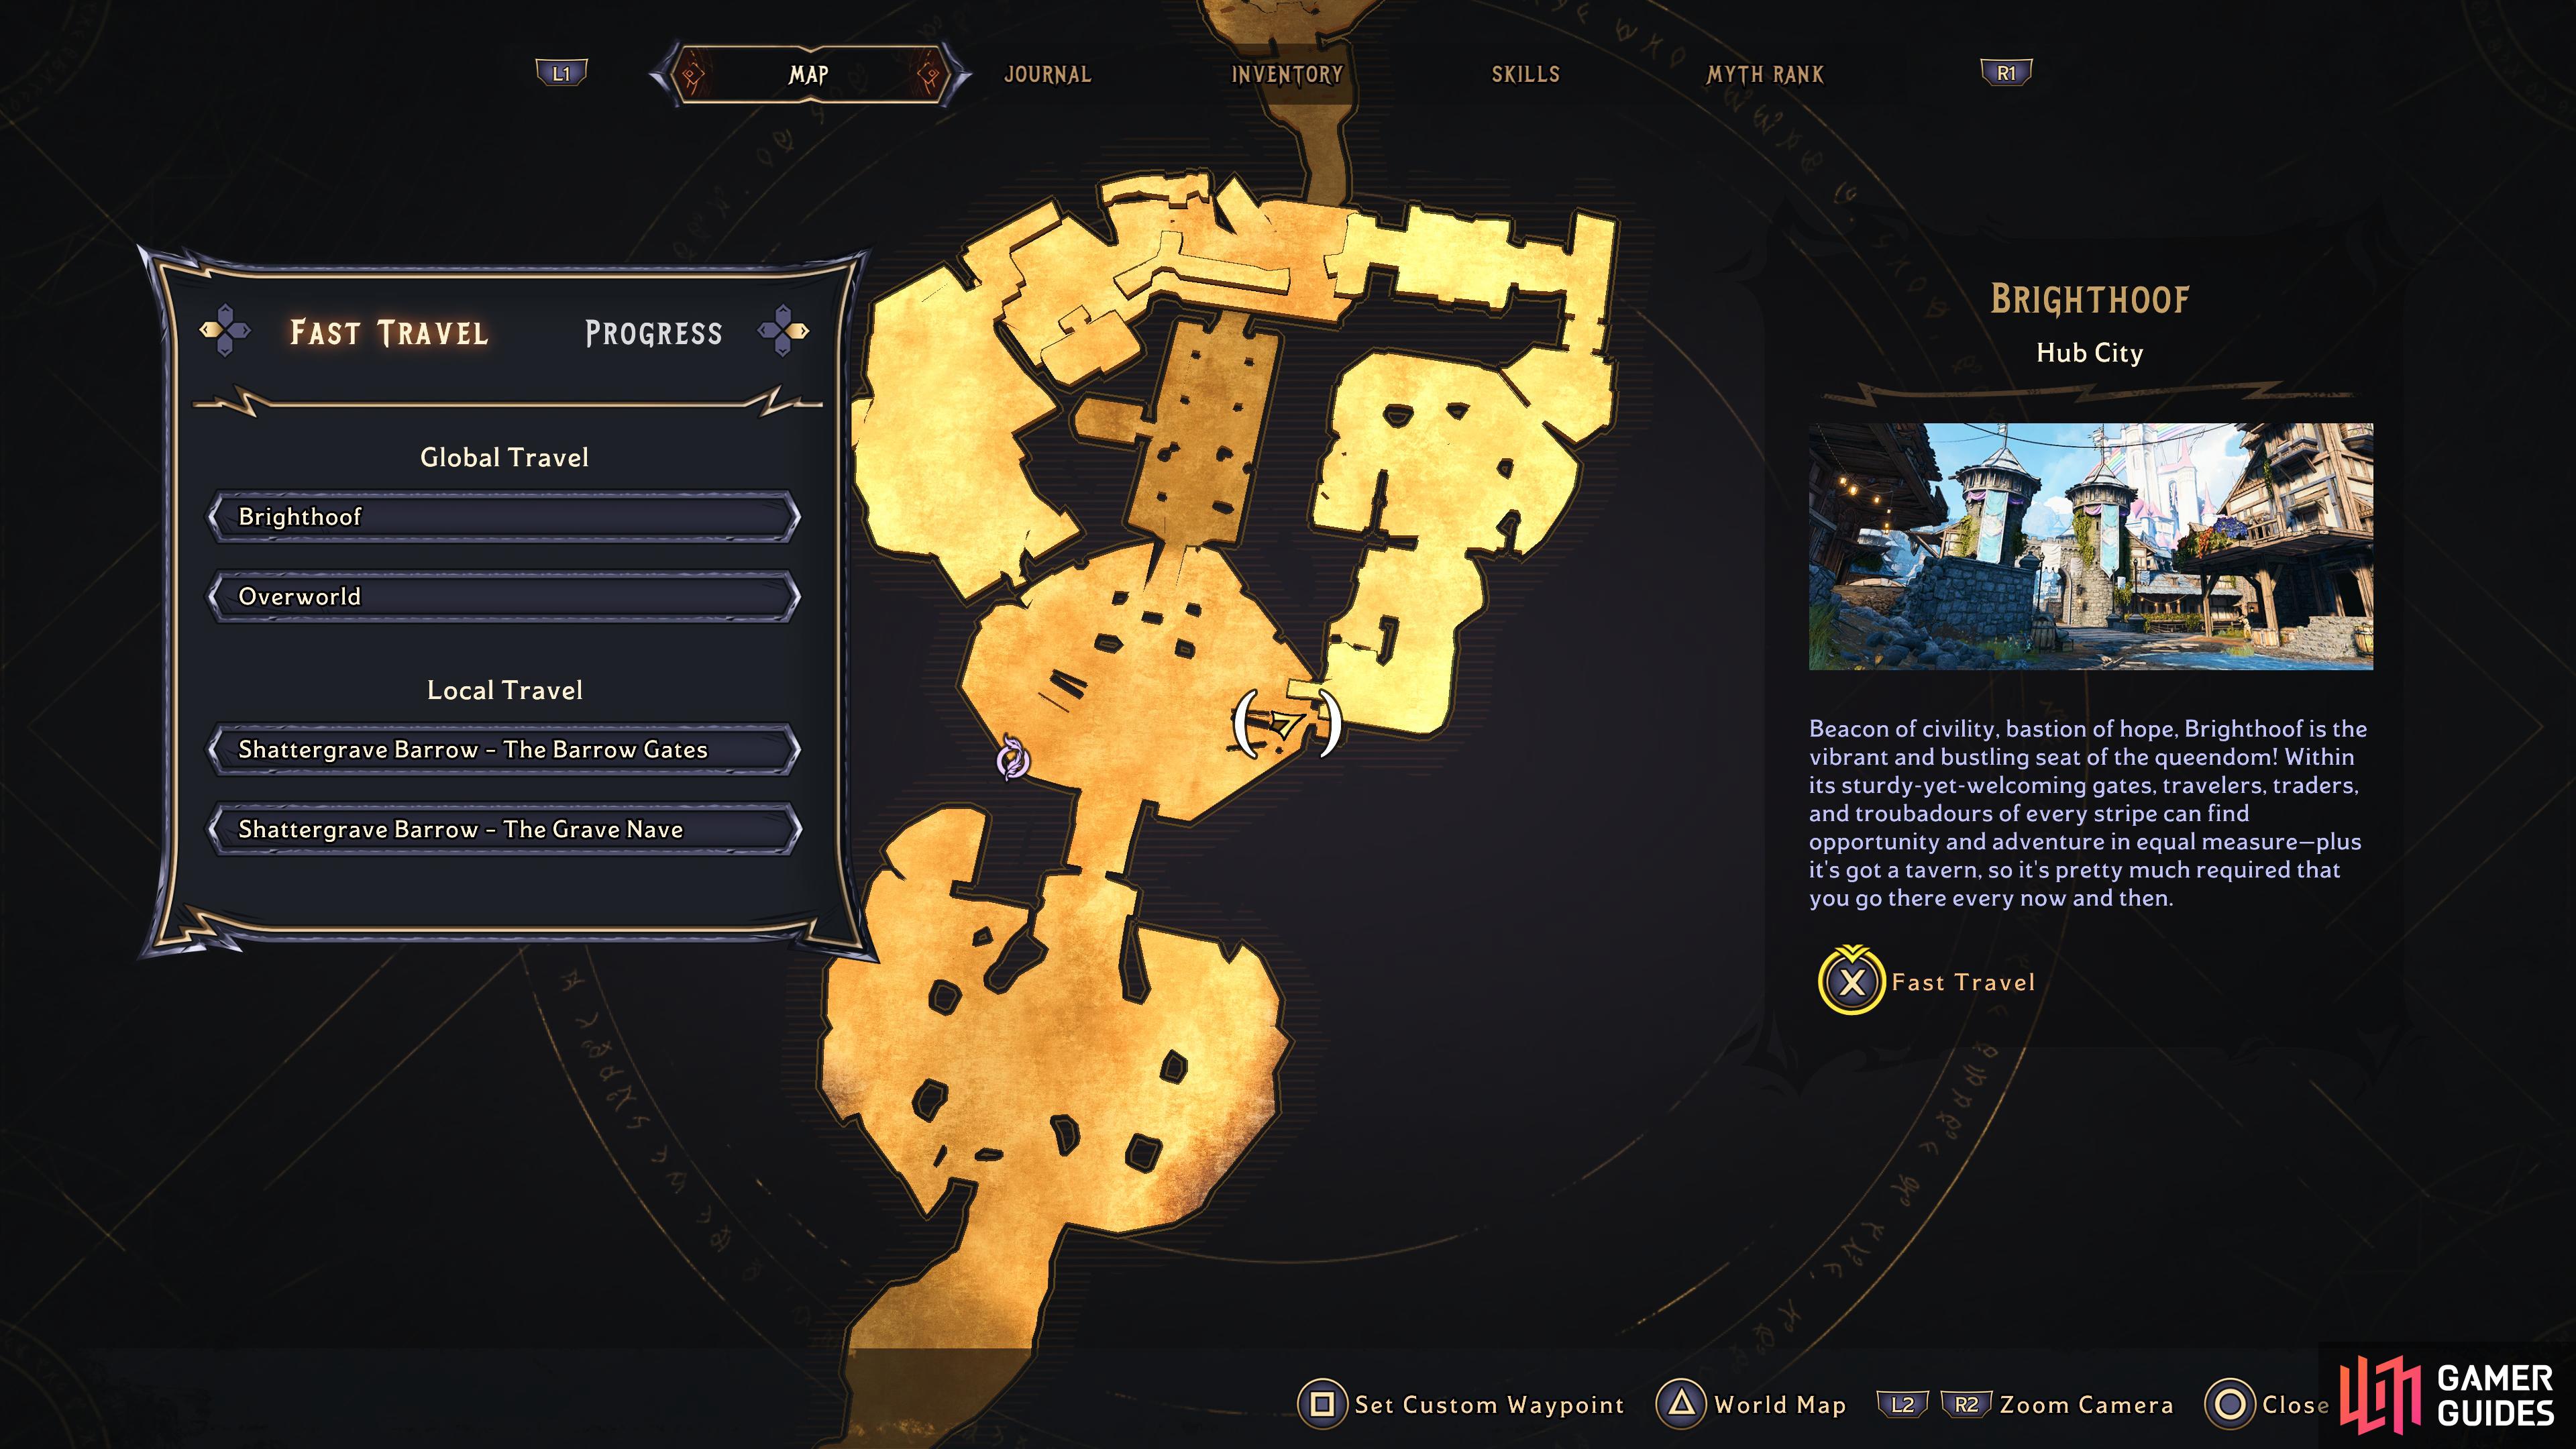
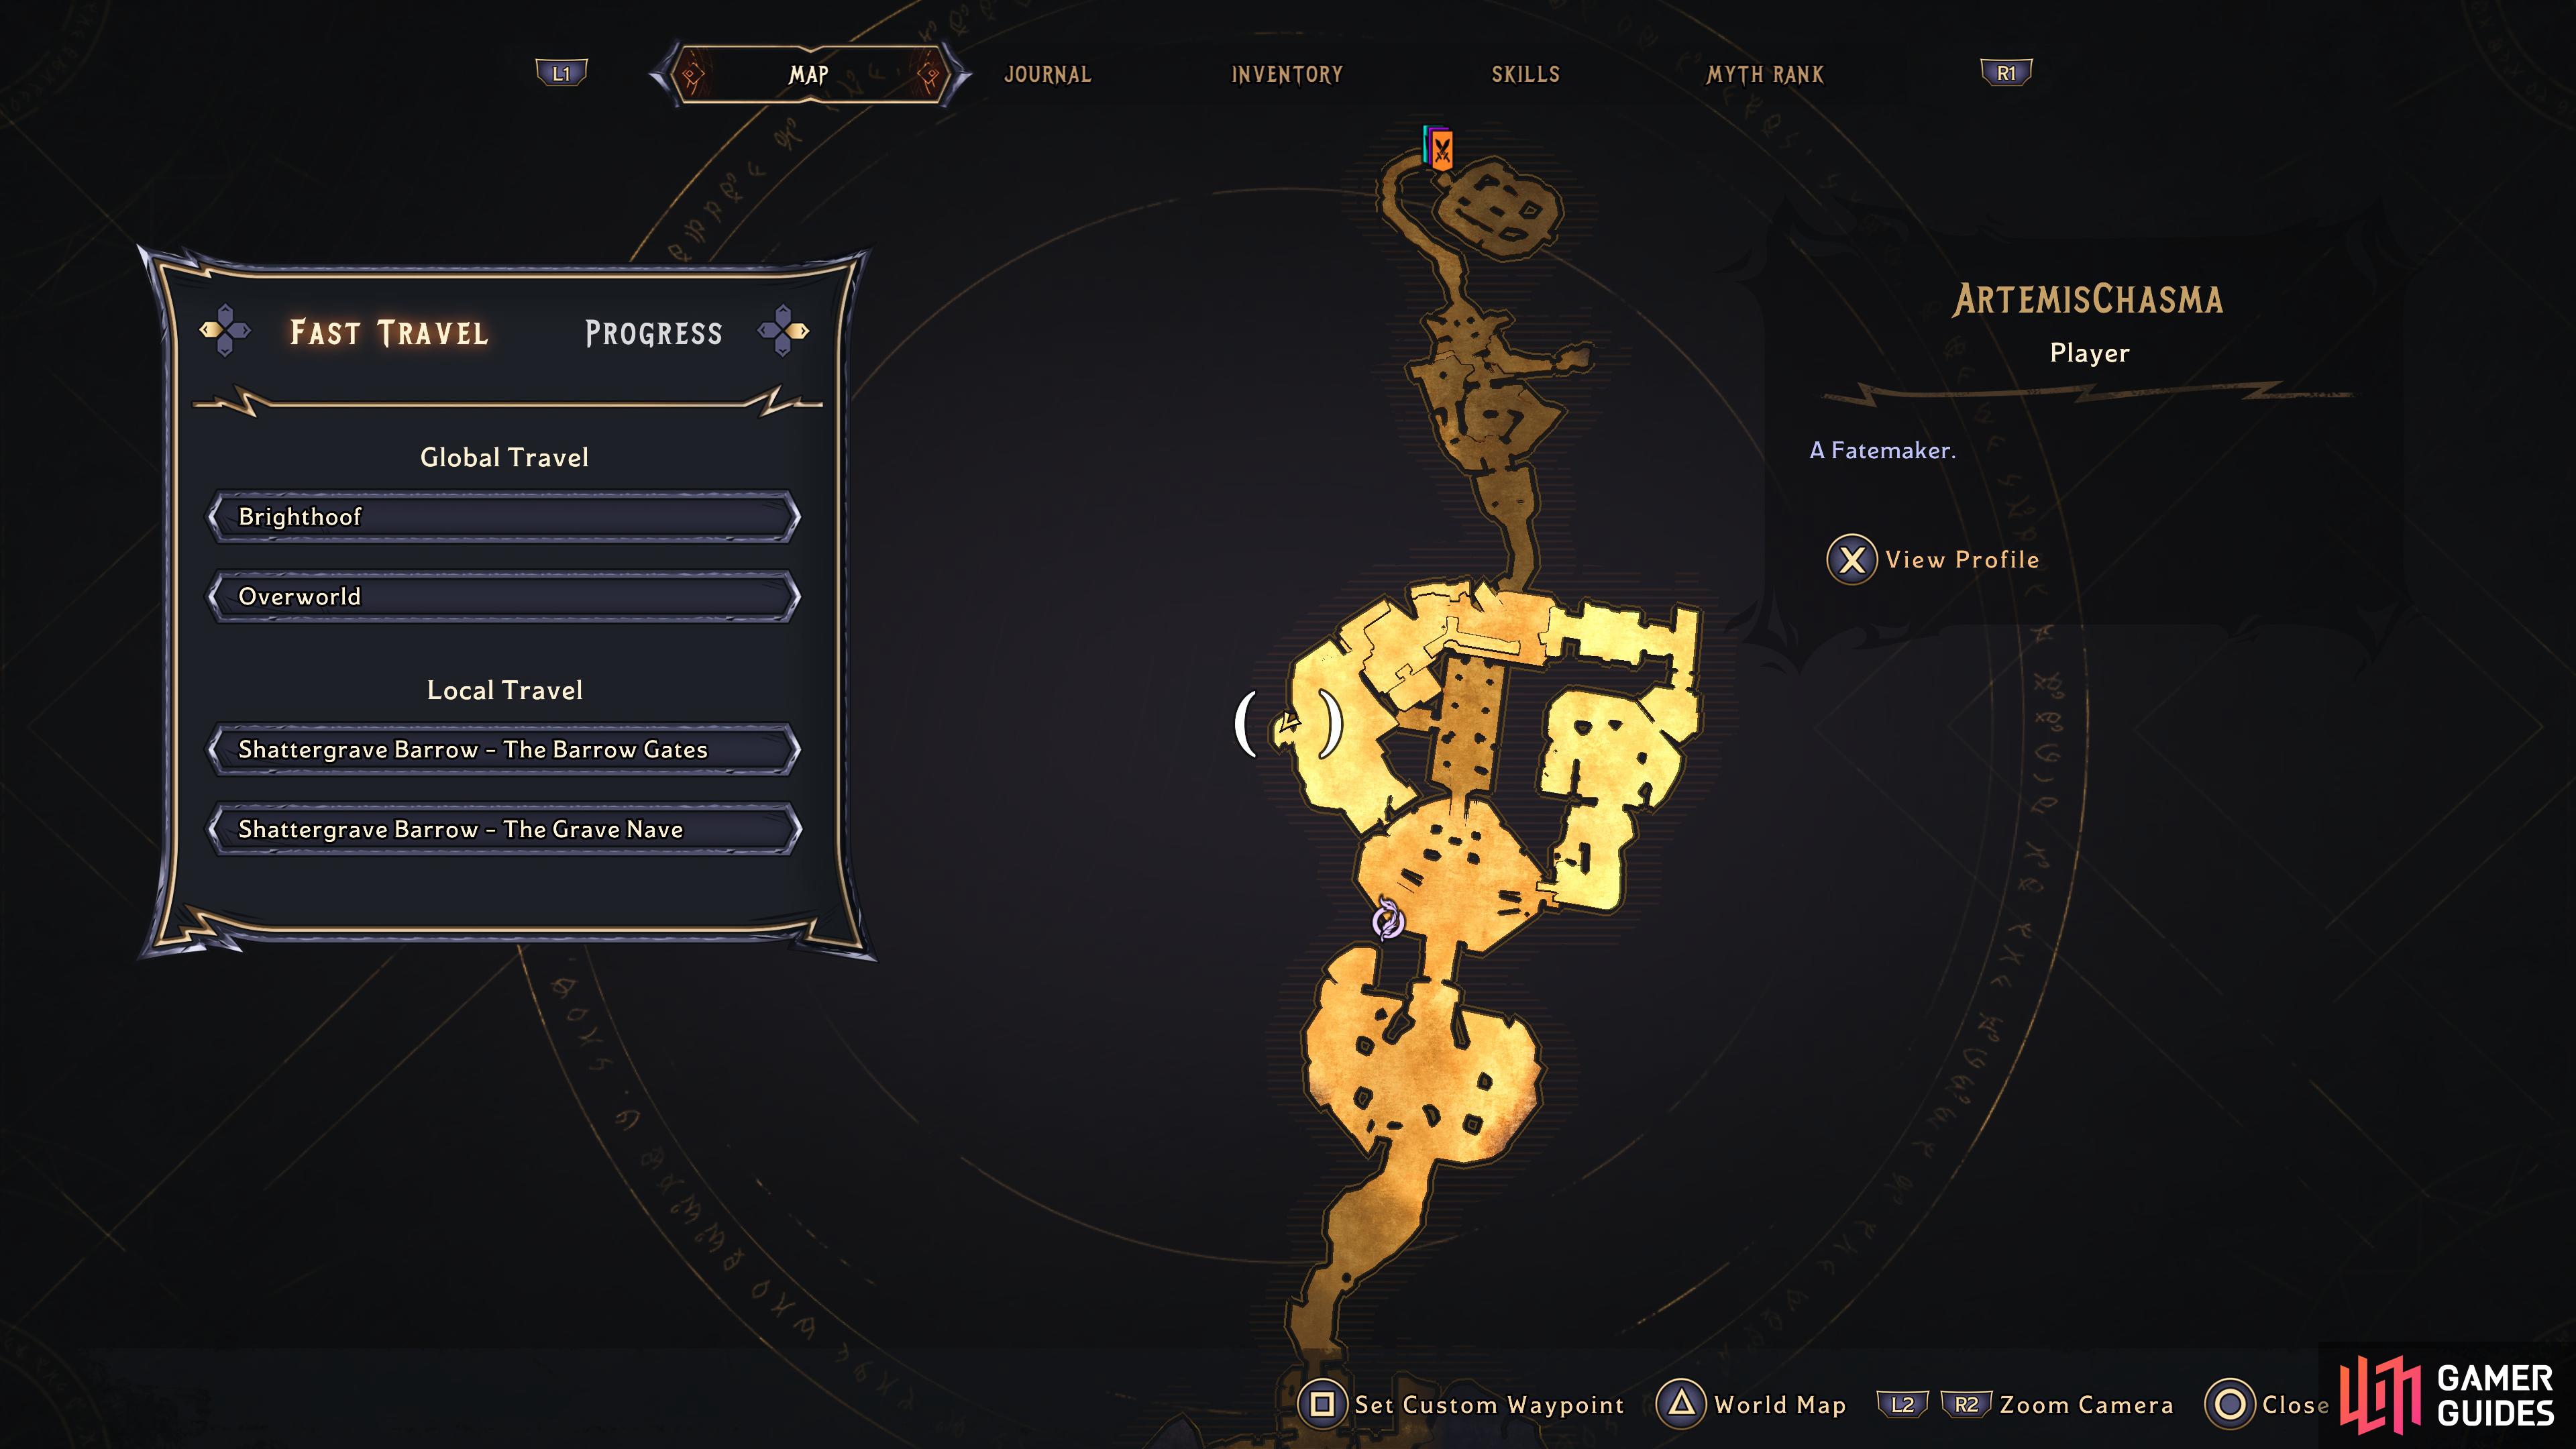
Head to this location in Shattergrave Barrow
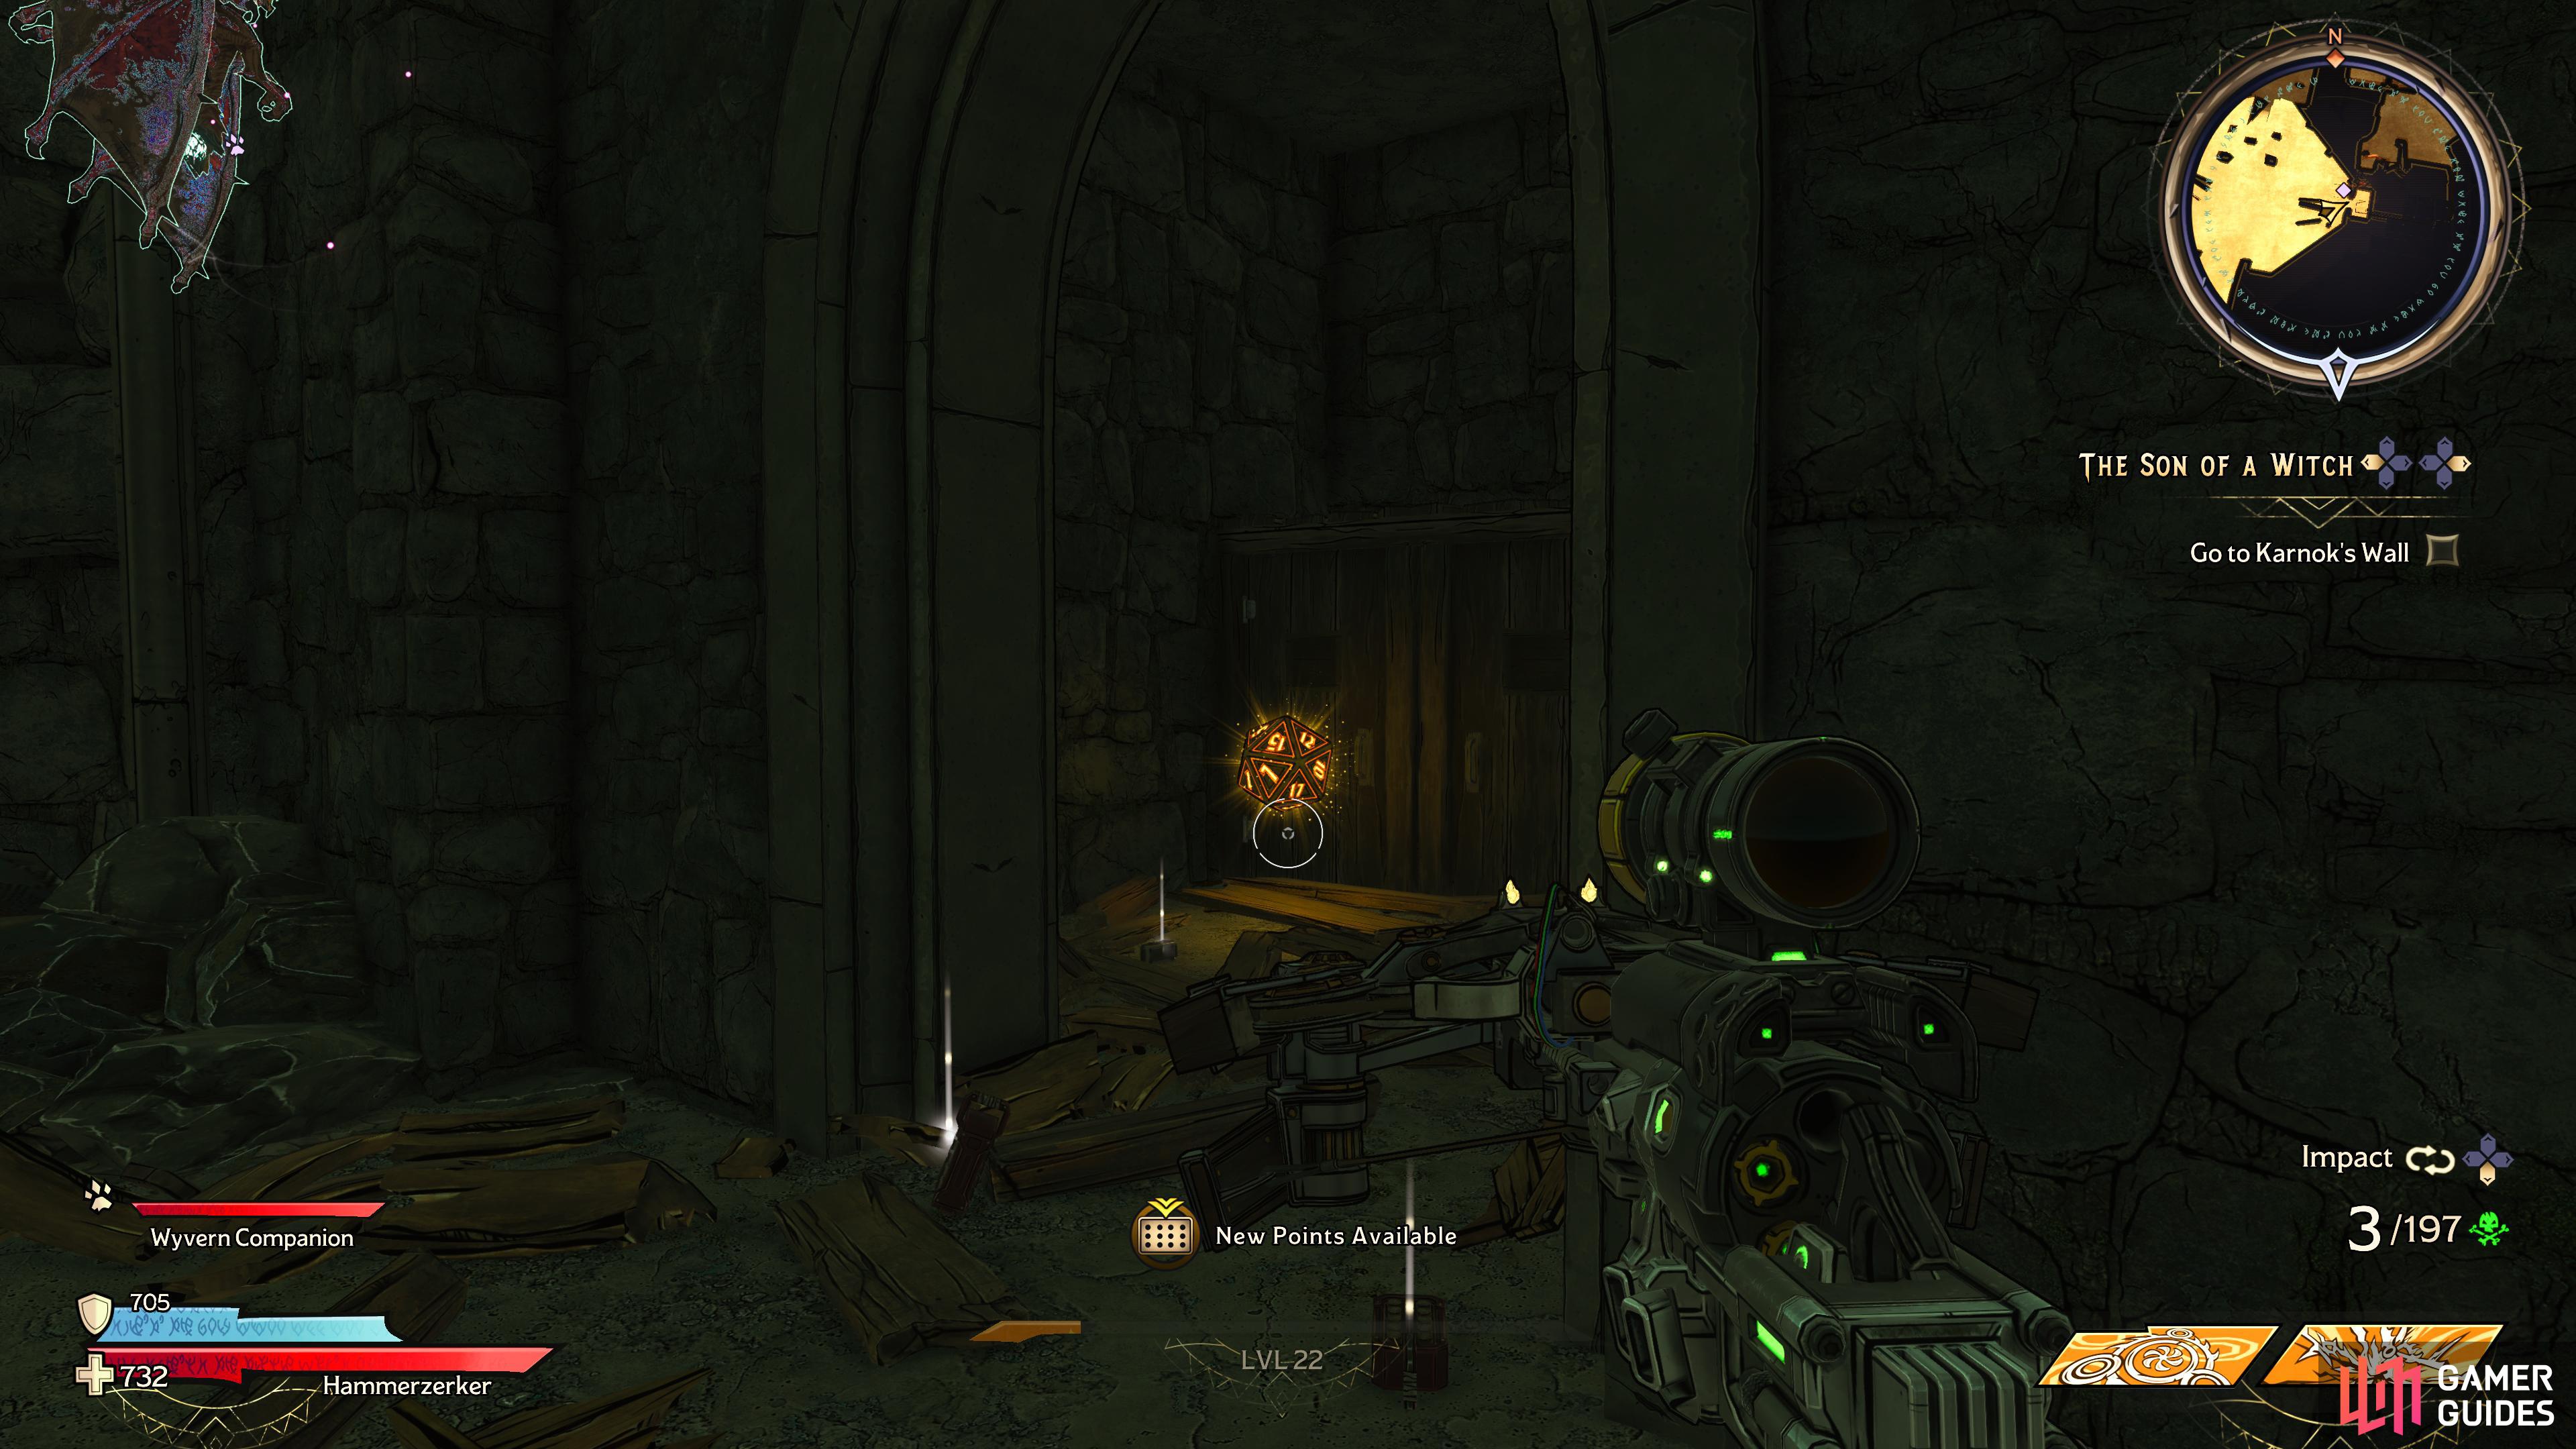
then look the right and shoot the boarded up door to reveal the seventh Lucky Dice.
Enter the castle and look to your right to find a boarded up door that you’ll want to shoot to reach the Lucky Dice.
Lucky Dice Location #8 - The Grave Nave
Head to this location in Shattergrave Barrow
to find the eighth Lucky Dice sitting on the cliff edge.
Climb through the gap in the wall and follow the path along until you reach a chest, then look to the left of it to find the Lucky Dice sitting on the cliff edge.
Lucky Dice Location #9 - The Grave Nave
Head to this location in Shattergrave Barrow
to find the ninth Lucky Dice sitting on a wooden ledge.
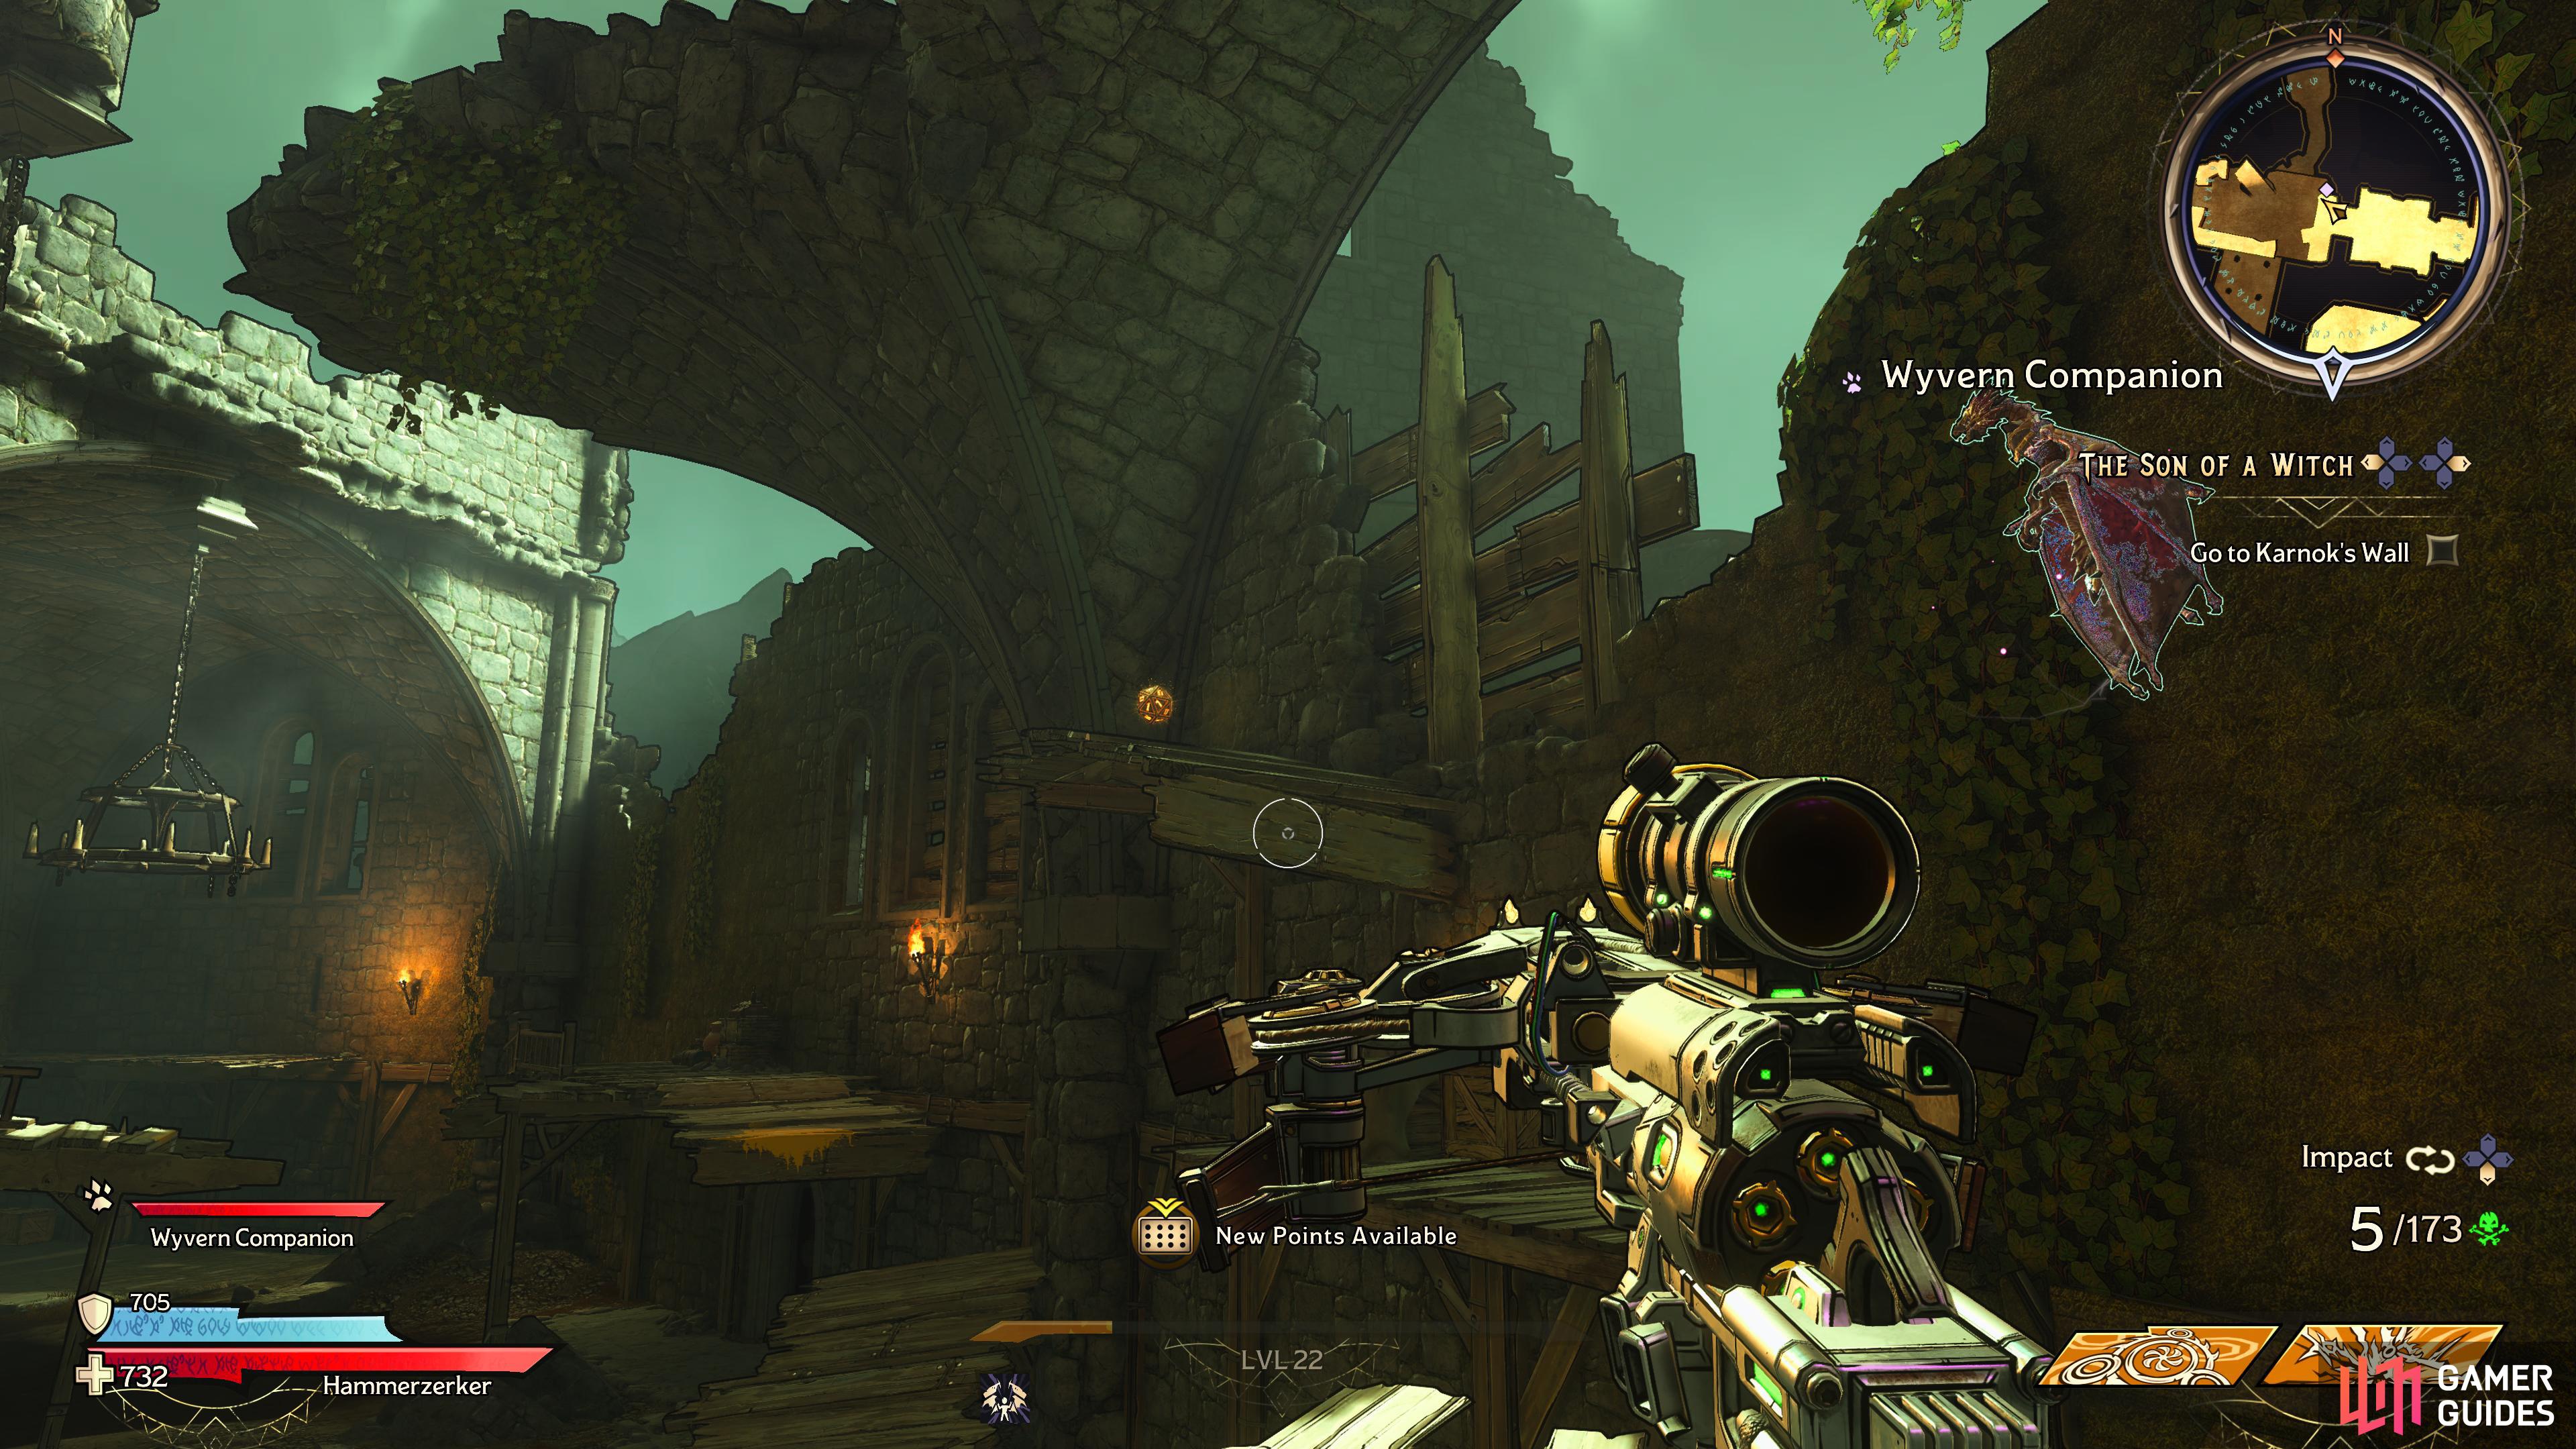
Continue onwards until you reach the archway just before the Respawn Point, then look to the left and climb up onto the wooden ledge to reach this Lucky Dice.
Lucky Dice Location #10 - The Grave Nave
Head to this location in Shattergrave Barrow
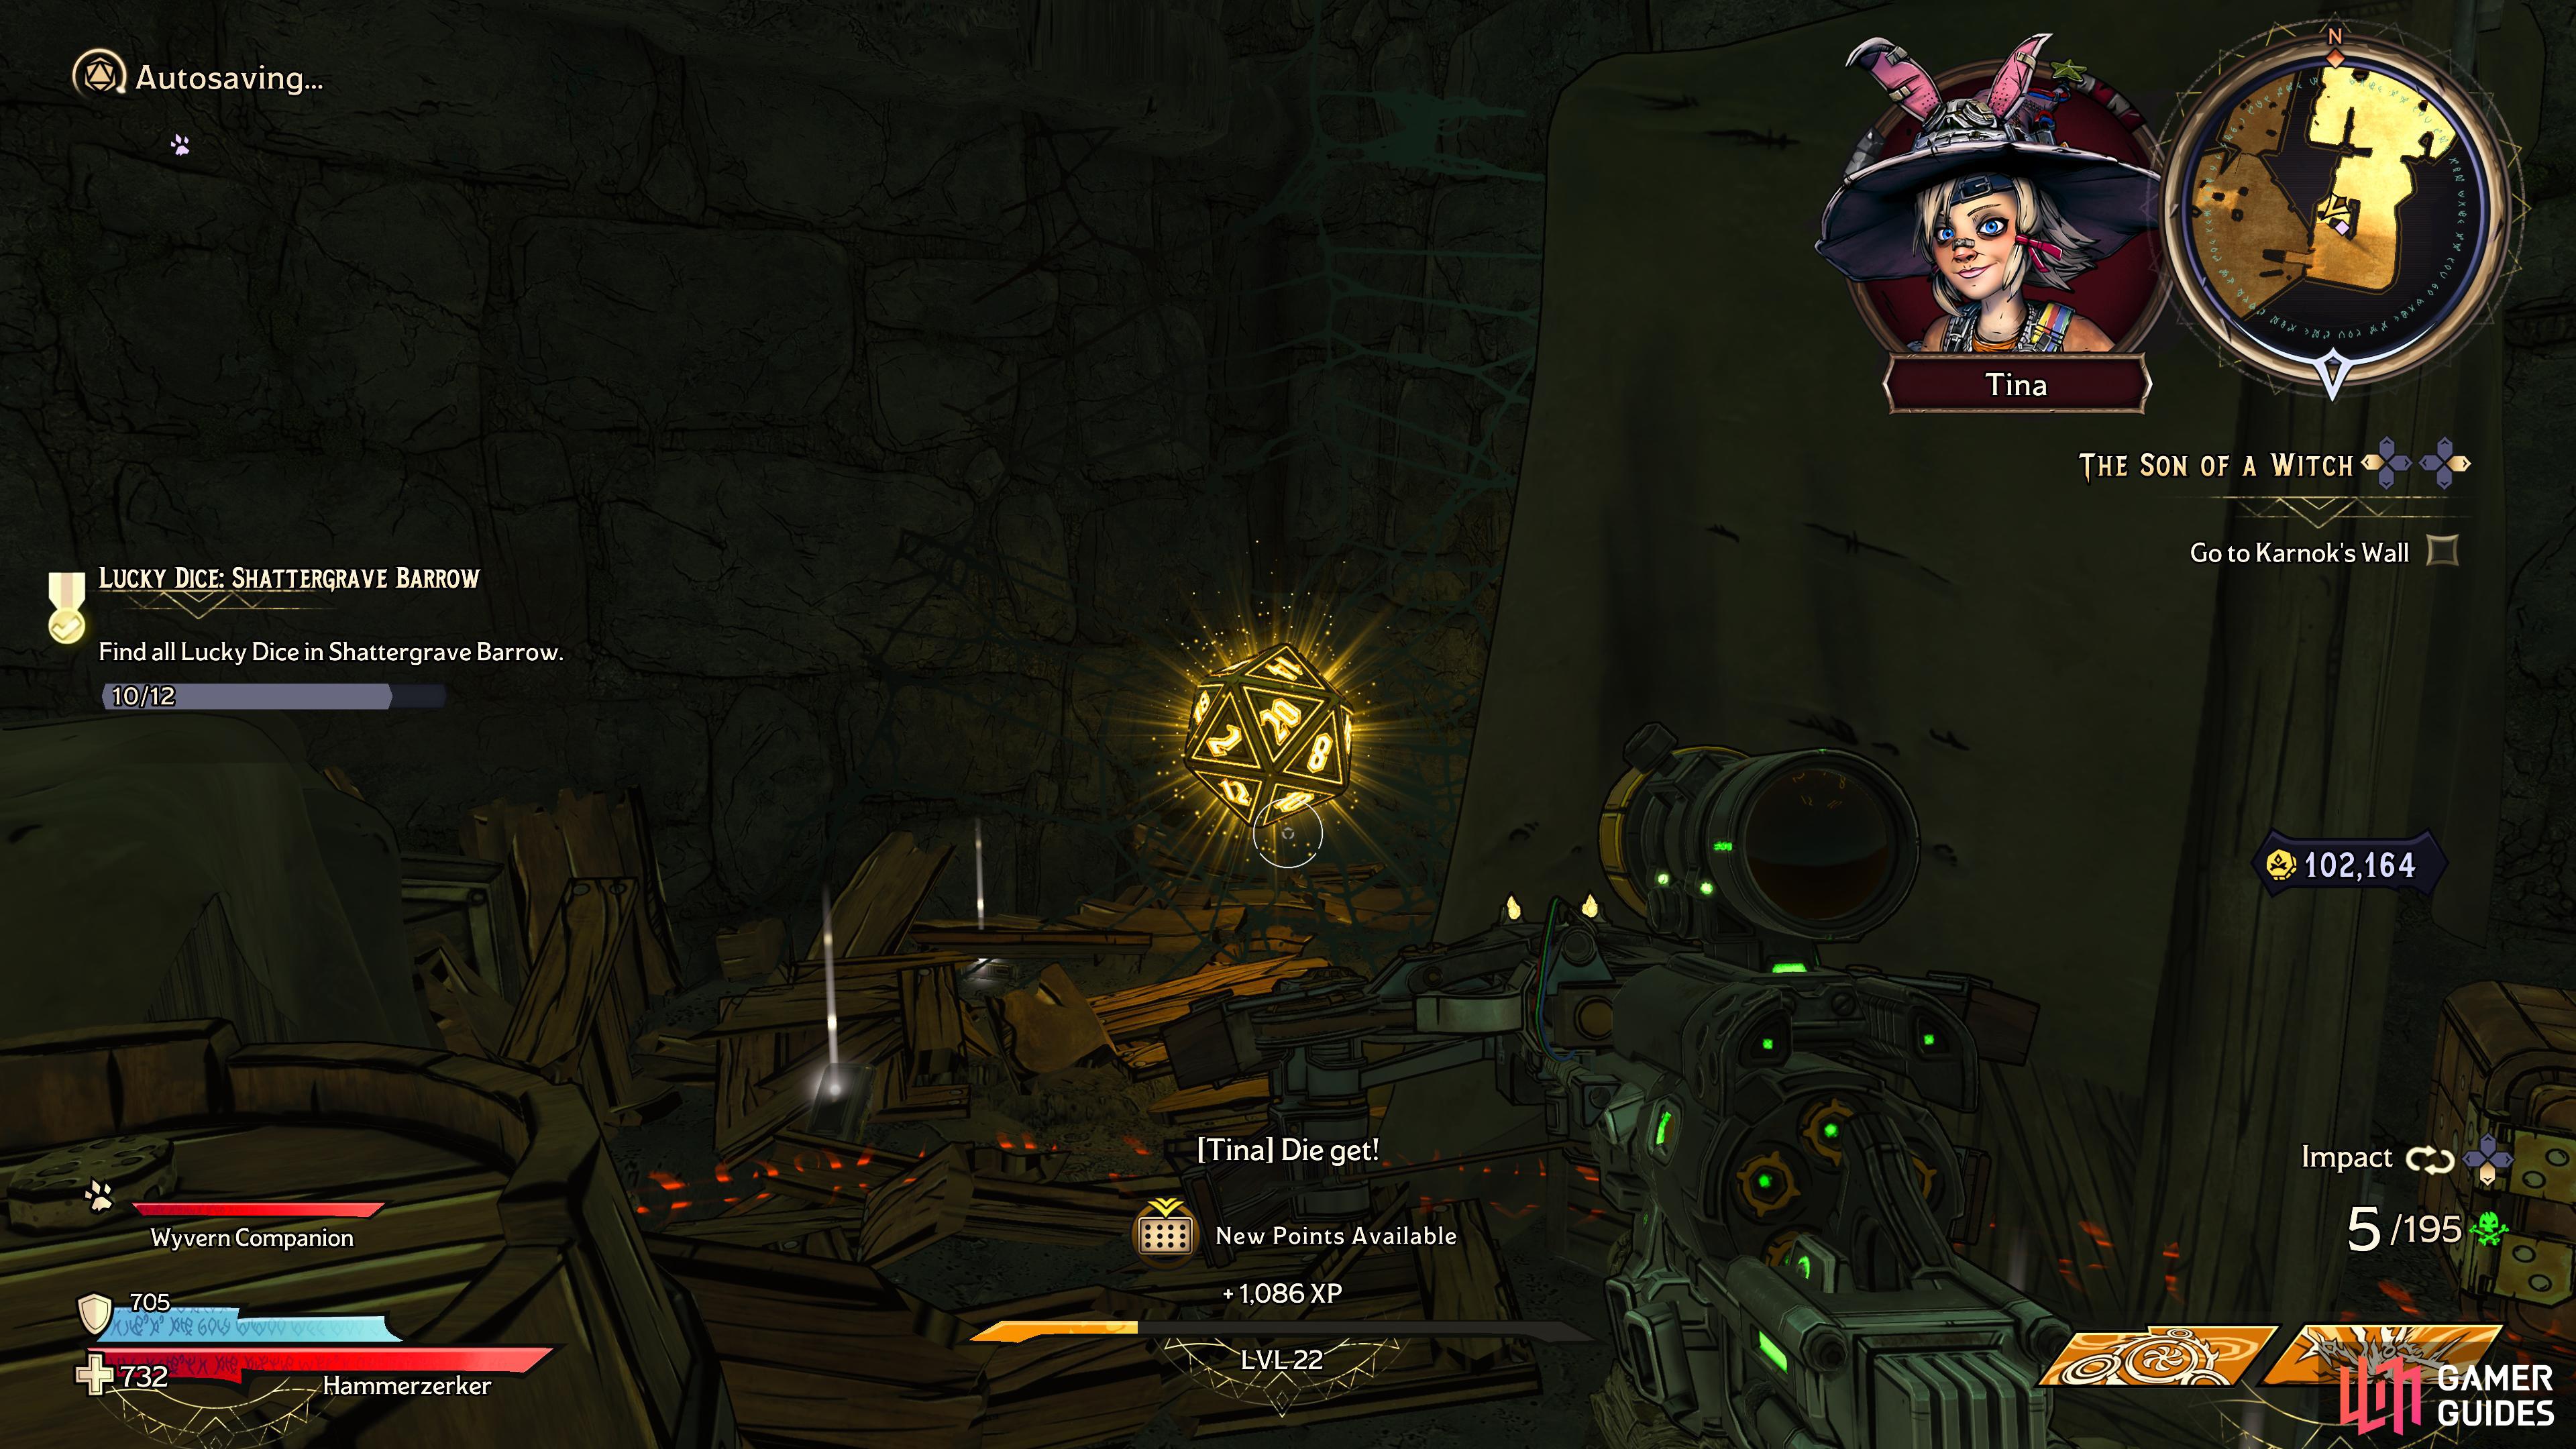
to find the tenth Lucky Dice hitting behind some crates to the right of the stairs.
Head further through the castle, then as soon as you pass the gate, look to the right of the stairs and melee some crates to reveal the next Lucky Dice.
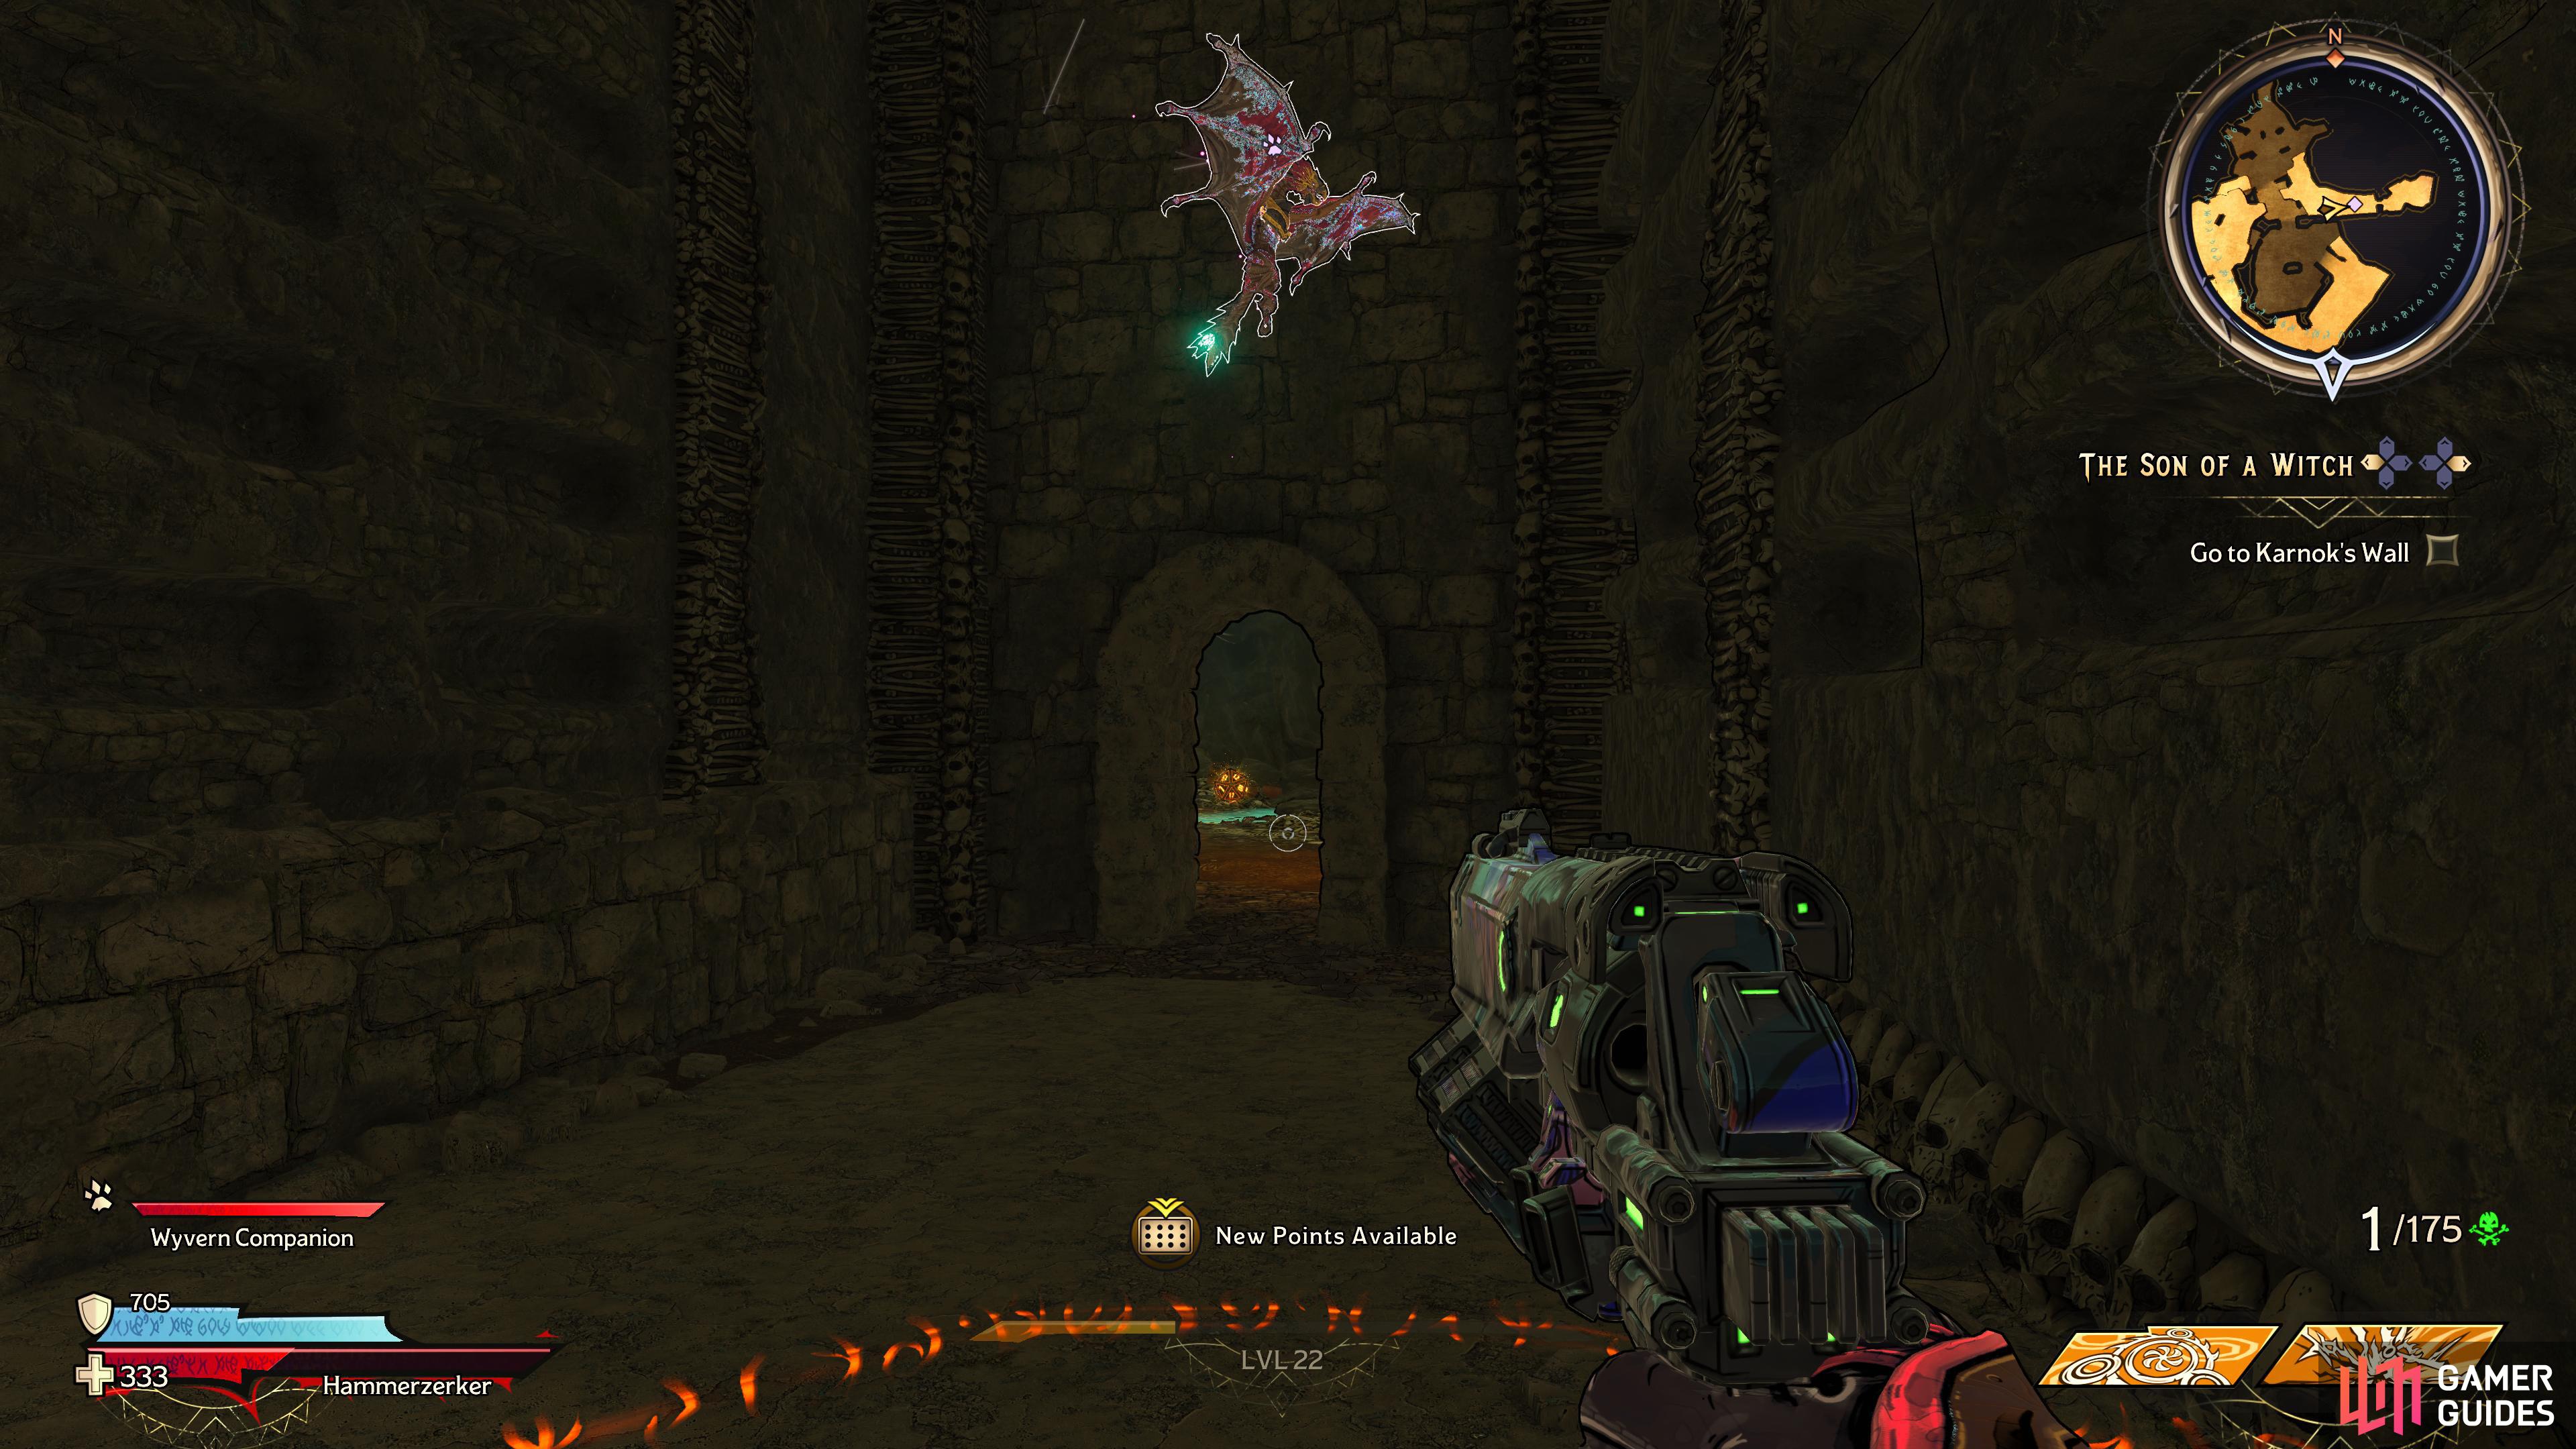
Lucky Dice Location #11 - The Sundercroft
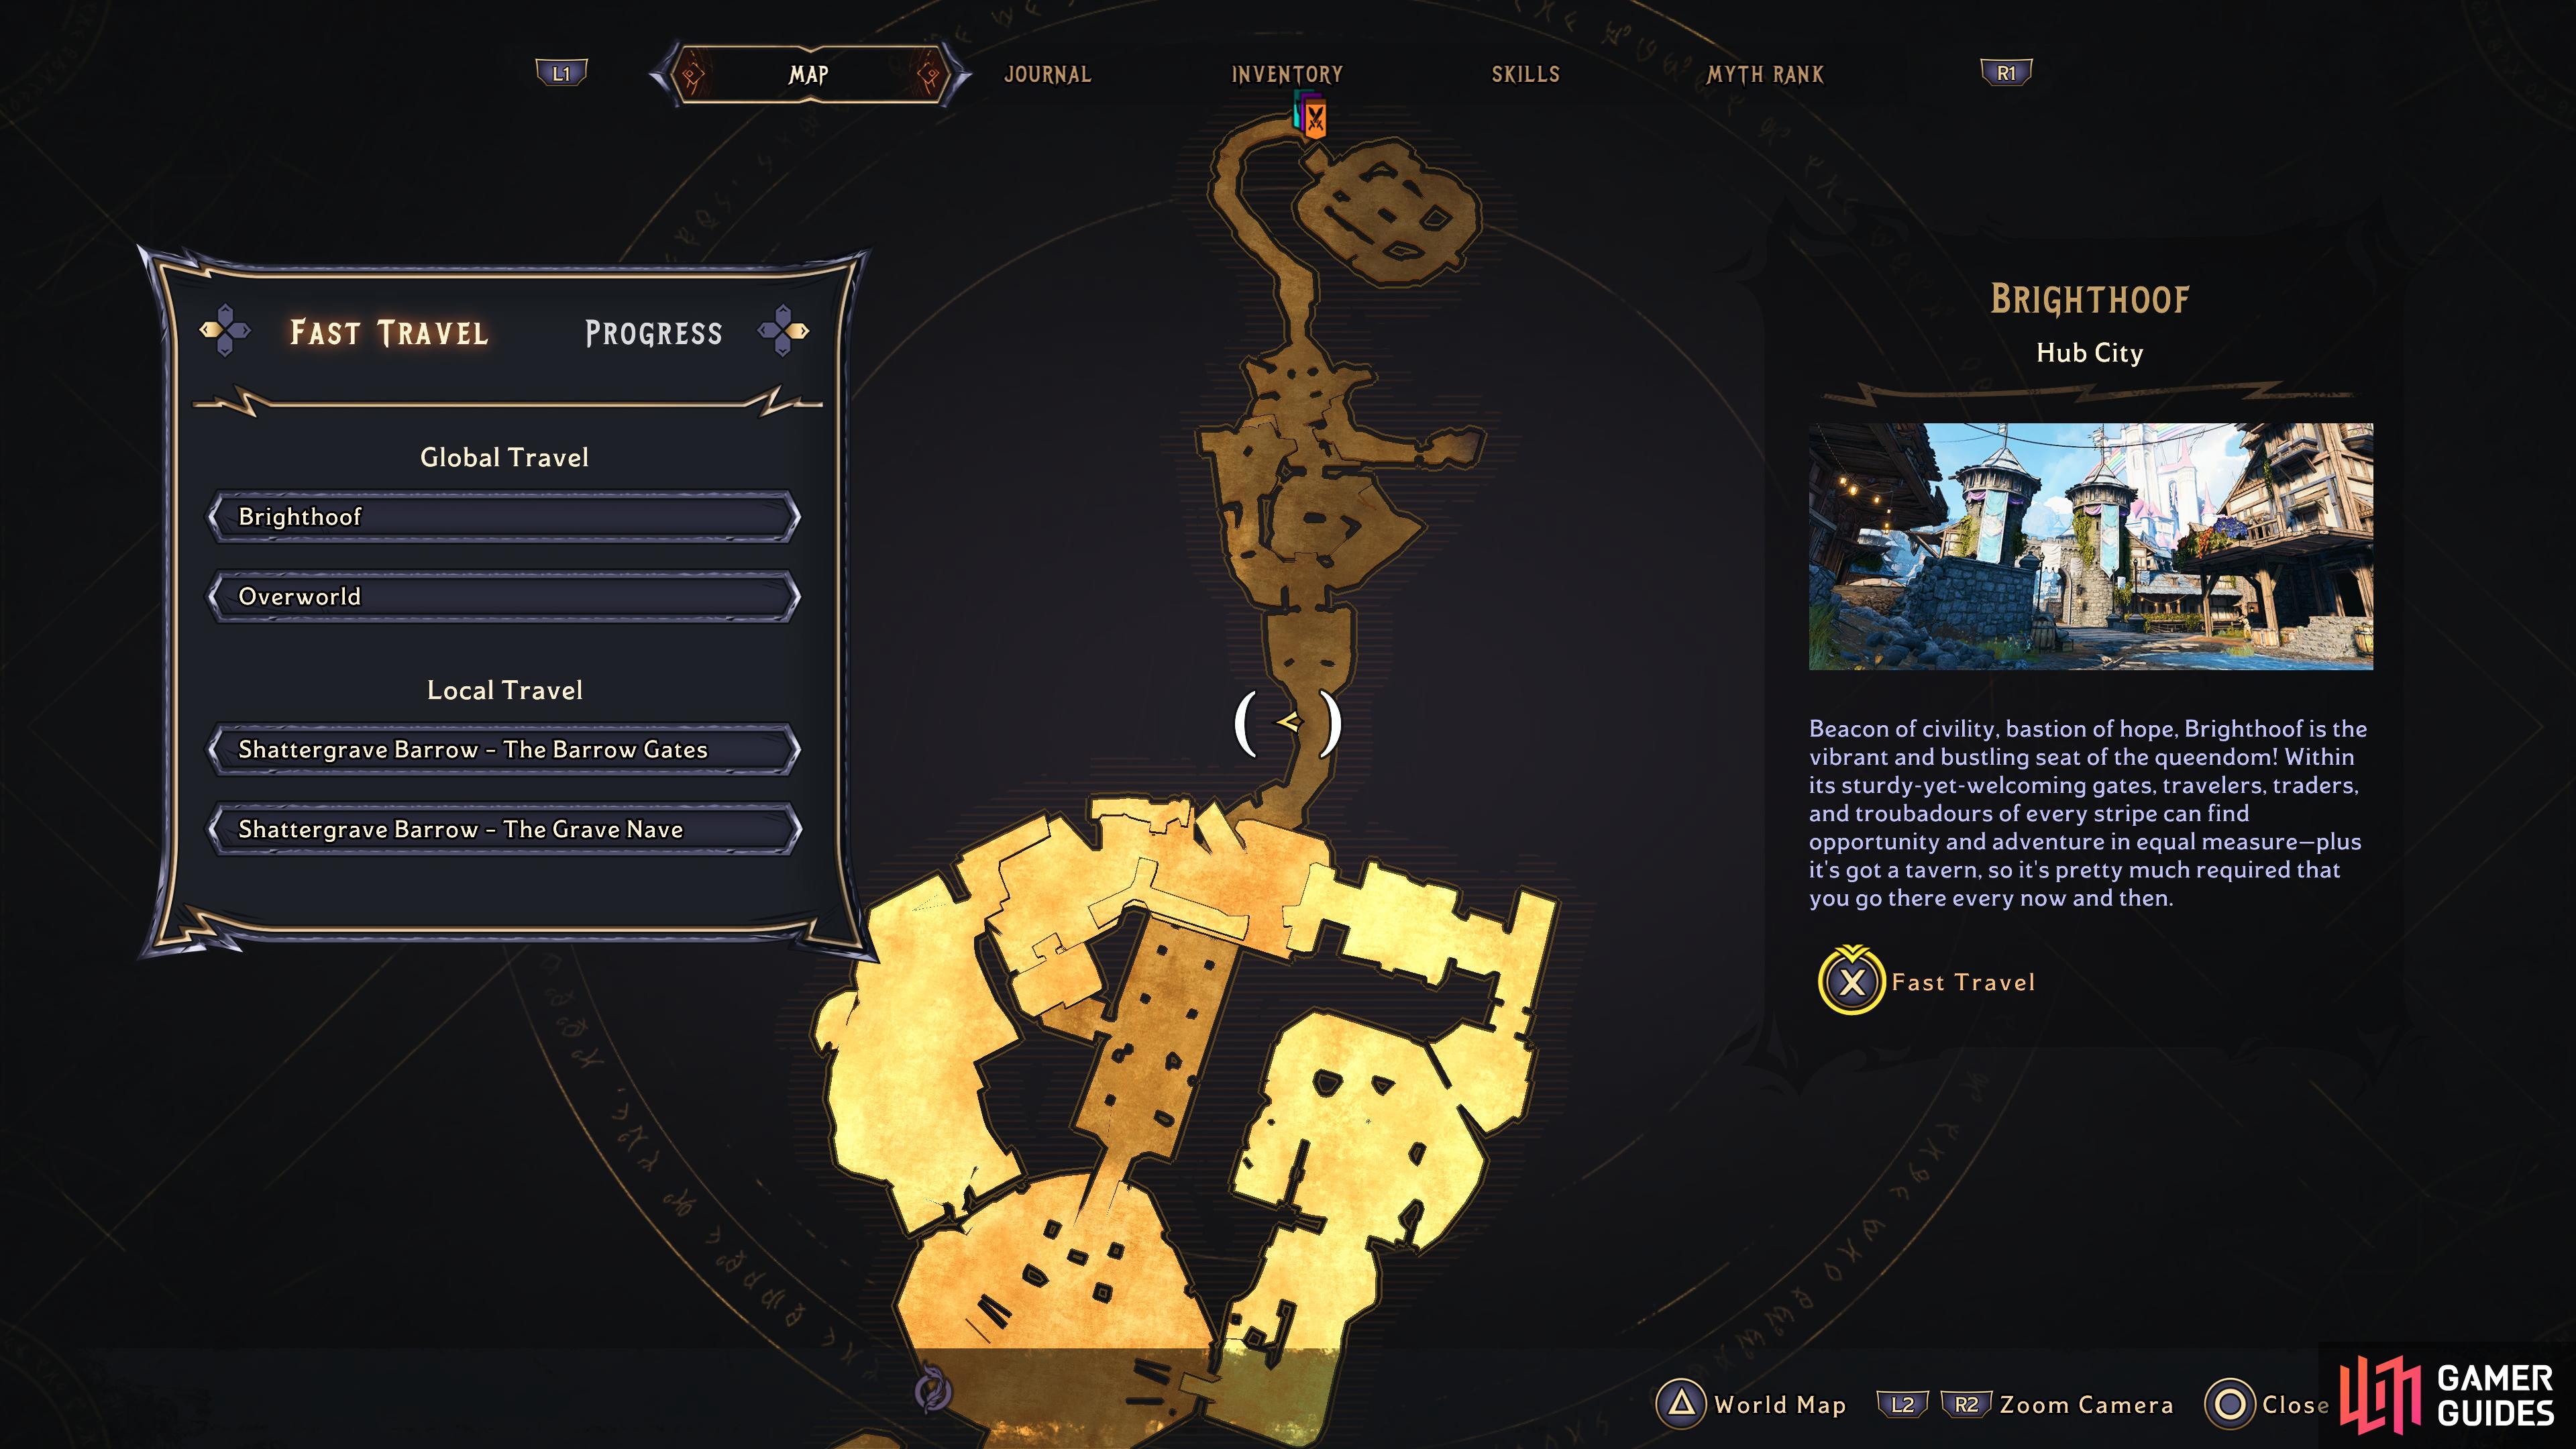
Head to this location in Shattergrave Barrow
to find the eleventh Lucky Dice hiding in gap in the wall to the left of the swinging hammer.
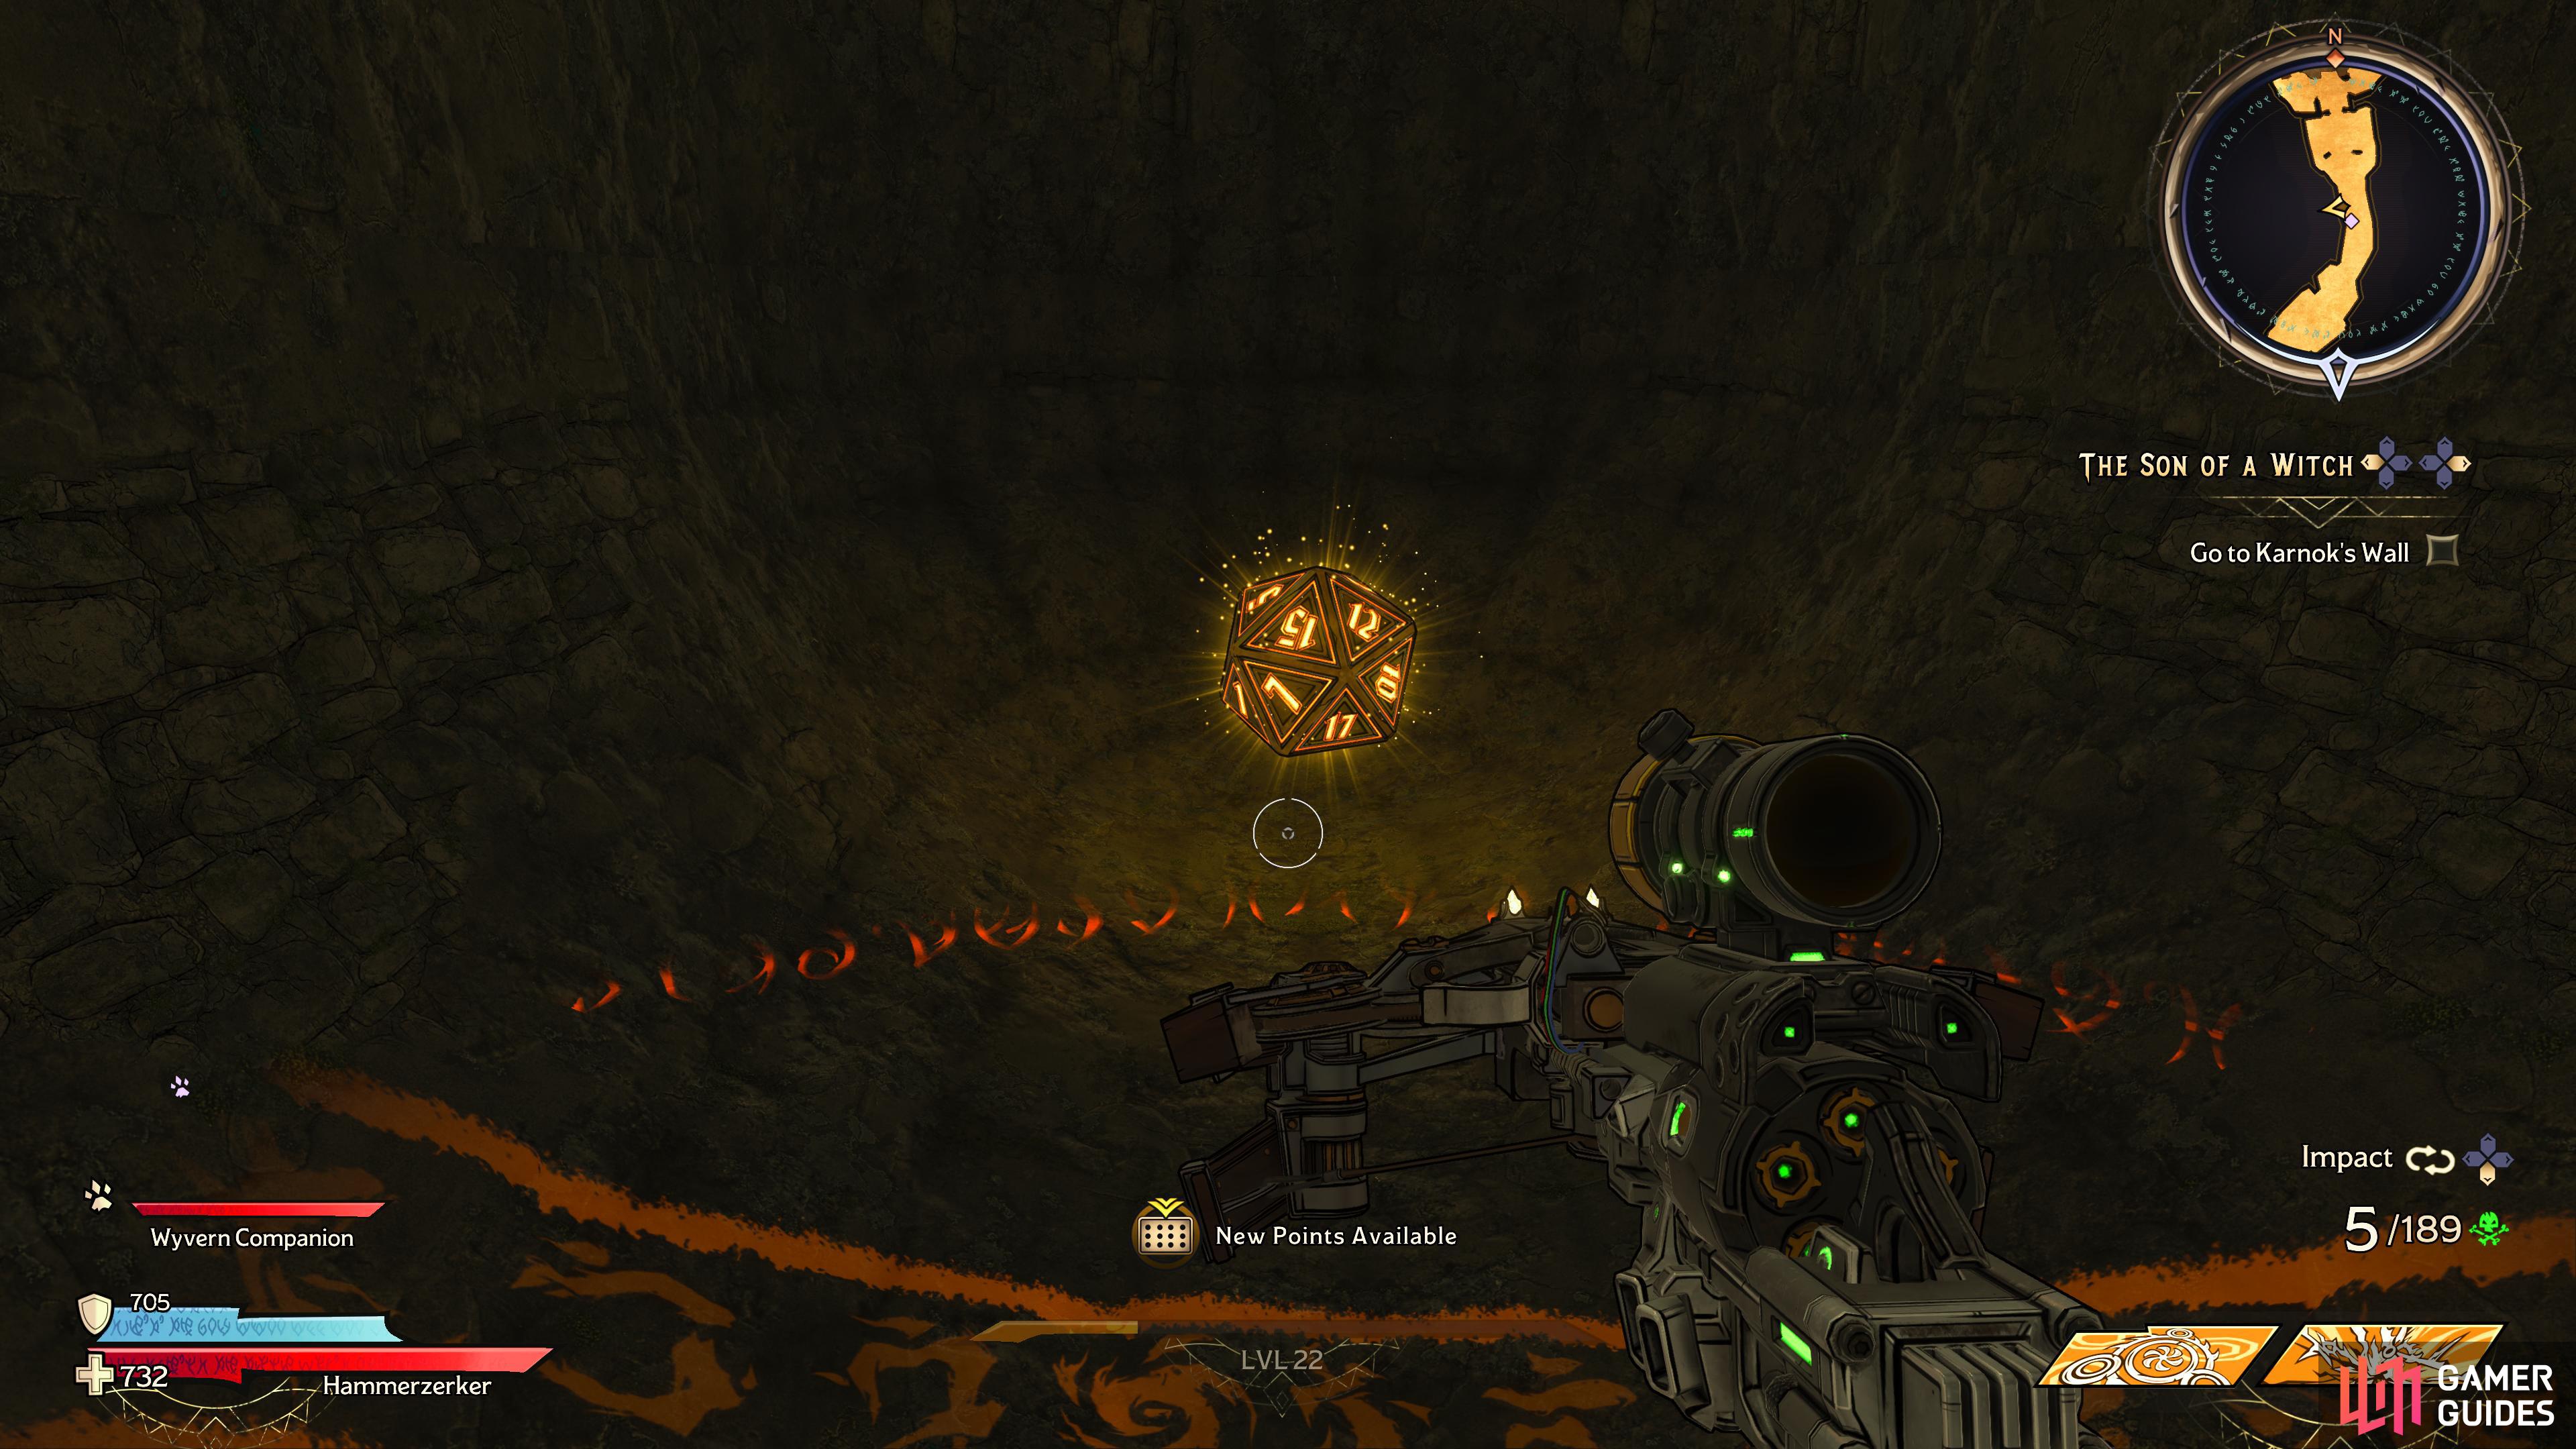
Head on down to The Sundecroft and once you reach the swinging hammer, look through the gap in the wall to find the Lucky Dice.
Lucky Dice Location #12 - The Sundercroft
Head to this location in Shattergrave Barrow
to find the final Lucky Dice sitting in a room to the right of the stairs.
Head into the next room and follow the stairs on the left along and jump across the gap to the right side of the room, then enter the small room to find the final Lucky Dice.
No Comments