Hootique
| Gilders | Item |
|---|---|
| 20 G | White Bread |
| 100 G | Sandwich |
| 200 G | Iced Coffee |
| 500 G | Pheonix Feather |
| 20 G | Poison-Be-Gone |
| 40 G | Blindness-Be-Gone |
| 40 G | Sleep-Be-Gone |
| 40 G | Curse-Be-Gone |
| 40 G | Confusion-Be-Gone |
| 20 G | Chocolate |
| 20 G | Flan |
| 20 G | Cake |
| 20 G | Sundae |
| 20 G | Pie |
| 20 G | Ice Cream |
| 50 G | Dumty Egg |
| 50 G | Crispy Lettuce |
| 50 G | Crunchy Carrot |
| 60 G | Tender Beef |
| 50 G | Yogurt |
| 150 G | Fluffy Rice |
Cawtermaster’s Store
| Gilders | Item |
|---|---|
| 780 G | Roc Feather |
| 1200 G | Gale Spear |
| 1300 G | Massive Mallet |
| 1500 G | Whalefish Tusk |
| 1100 G | Scale Armor |
| 1050 G | Gale Robes |
| 420 G | Sea Breeze Cloak |
| 700 G | Iron Shield |

Fairies! Fairies everywhere! A group of them will grab Drippy and run off with him, so let’s plod along so we can get him back. Head all the way north for a scene with… well, let’s just say a rather large Fairy Godmother. After some hilarious dialogue, she’ll give you a [SUNDROP] , [STARDROP] , [MOONDROP] , and a [PLANETDROP] to aid you with raising your familiars. However, you’ll now have to help her with a rather… unique task, so it’s off to find some comedians.
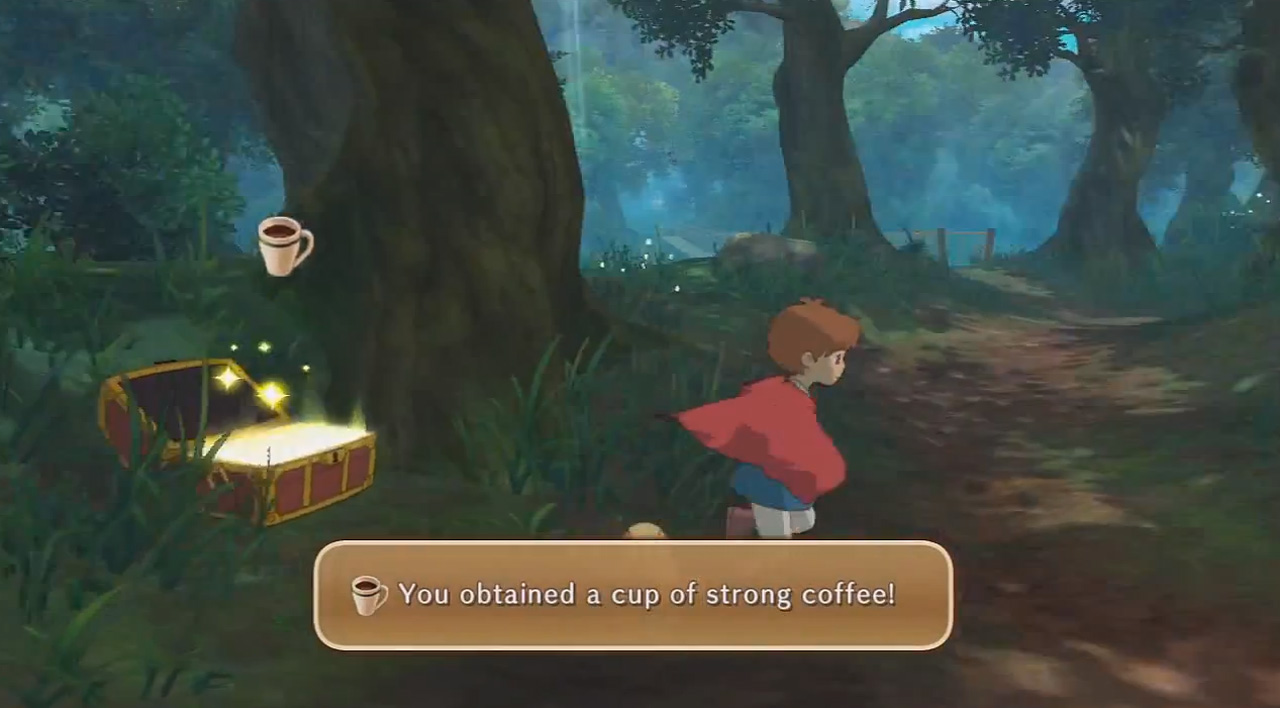
When you’re done talking to the Fairy Godmother, head down the ladder and move to the right/west; there’s a hidden green chest up the tree beyond the large rock that contains a [POISON PINCH] . Also look for a regular chest next to a tree in this area for a [STRONG COFFEE] .
Horace the ghost can also be found here, provided you’ve spoken with him and performed all tasks he gave you in previous towns. He wants to know what ingredient no burger can do without. Looking at pages 92 and 132 of the Wizard’s Companion should give a you clue: the answer is of course ‘Crispy Lettuce’. Horace will give you the [SAGE’S SECRET FORMULA (010)] instead of the Levitate spell (which you must seek out yourself).
Head back to town and look for Drippy’s brothers Surly and Smiley at the Cavity Club. After a hilarious dialogue (they ARE funny, but just don’t know it), you set off to find eight pieces of art.
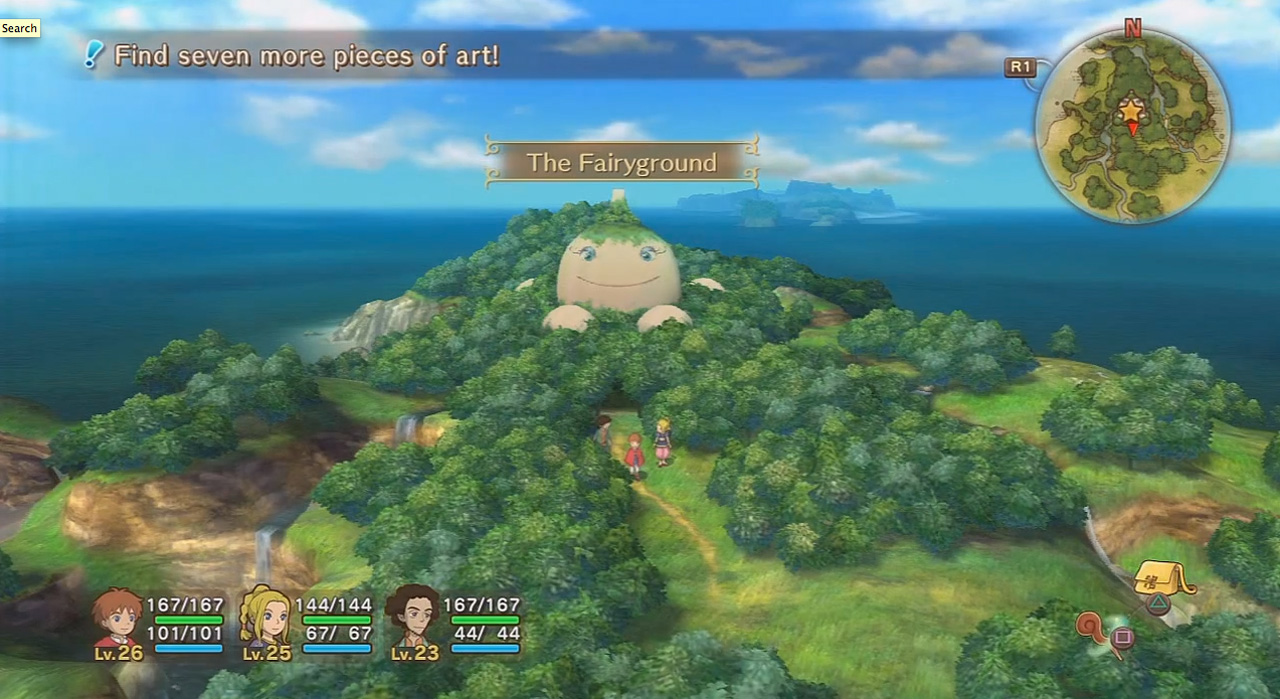
Before doing any of that, head back to the entrance of the village and speak to the seagull using ‘Nature’s Tongue’ to receive the [LEVITATE] spell. As for the pieces of art, the relevant fairies show up as light blue on your map, so they’re easy to spot.
-
The long yellow fairy near the entrance is complaining about his large horns, so cast the Levitate spell and relieve him from this burden.
-
Parry the Purrprietor (owner of the inn near the entrance). Set her ass on fire (with a proper Fireball) so she stops complaining about being so cold.
-
The shop on to the right, just a little north from #2, has a green rabbit-like fairy who’d like to eat a nice dish; nothing the Secret Ingredient spell can’t fix!
-
Huw the Hootenanny from the Hootique further north has broken a jar; cast the Rejuvenate spell to fix it.
-
Just a little northeast from the Hootique is a fairy that can’t get the lid of a jar off. Casting the Spring Lock spell solves this.
-
Head to the Cawtermaster and help him make his stuff heavier by casting the Burden spell.
-
Look for a tiny fairy walking around town (check your map for a moving light blue dot) who needs his seeds grown; casting Quicken Growth helps him.
-
Head to the shop in the southeast corner of town. Looks like the owner could use some brooming help; casting the Broom Broom spell solves this.
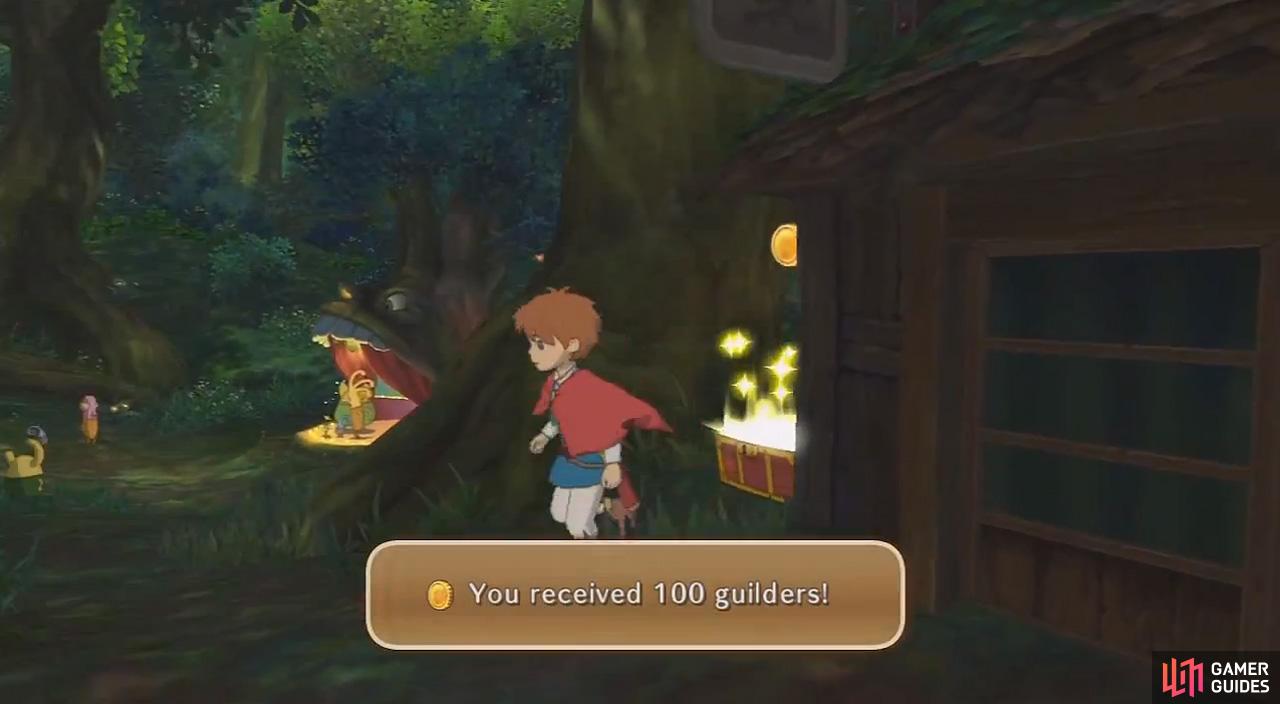
The [PIECES OF ART x8] that you received are enough to continue, but explore the rest of town first. There’s a chest nearby the shop where you got the 8th piece of art, which contains [100 G] .
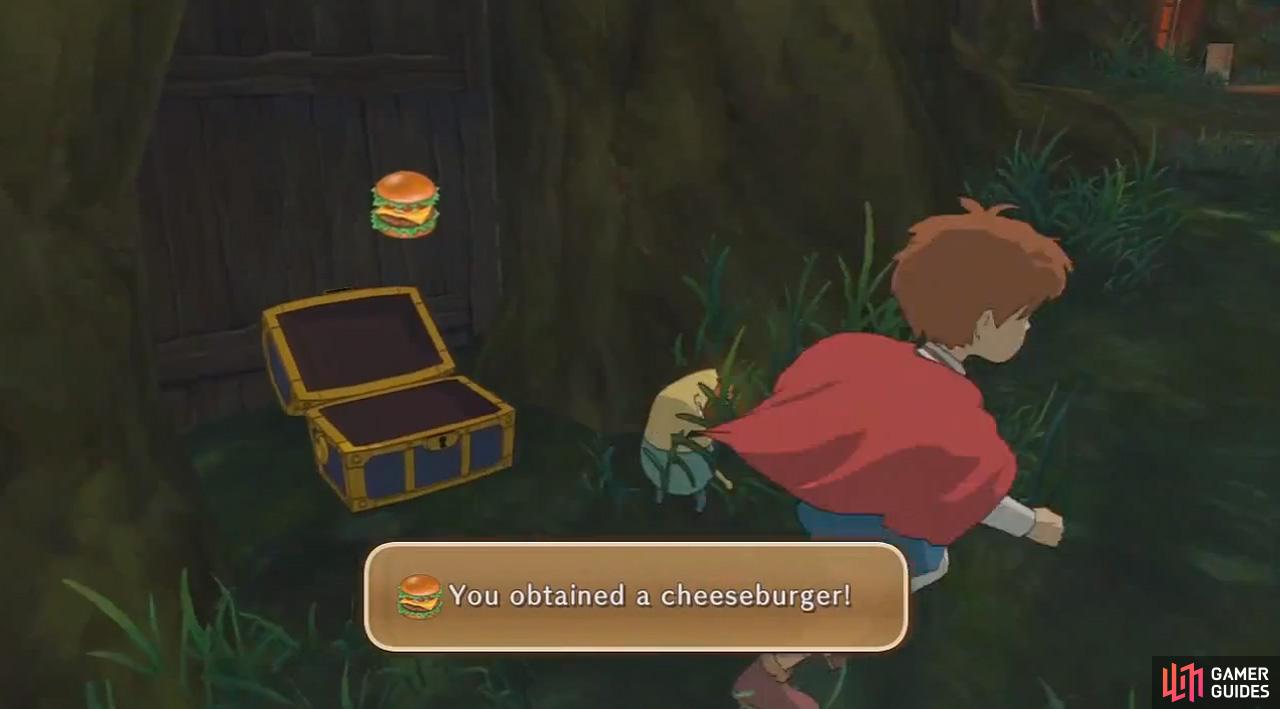
Directly opposite of it - behind a tree - is a blue chest with a [CHEESEBURGER] inside. There’s a last chest to the far west side opposite of the Cavity Club, at the start of the path leading to the northern bridge; it contains a [FISHBURGER].
There are also two pieces of heart you can now collect. South of the Hootique lies the shop with a giant squid on top of it. One of its customers has some courage to spare, so stock up. Then there’s the fairy in the southeast corner of town (at a shop, near the small light blue neon stand) who has plenty of restraint, so be sure to grab some of that as well.
As always, getting a night of rest at the Cat’s Cradle nets you two more pages in your Wizard’s Companion, [TEEHEETI] and [THE FAIRYGROUND]. The Cawtermaster also sells decent wares, most notably the Gale Spear, Massive Mallet and Gale Robes.
If you hadn’t already, now’s an excellent time to create one or two Breezy Cloaks (Sea Breeze Cloak + Angula x2). When you’re all set, talk to Surly and Smiley twice to enter Mummy’s Tummy.
Mummy’s Tummy - The Faycare Center
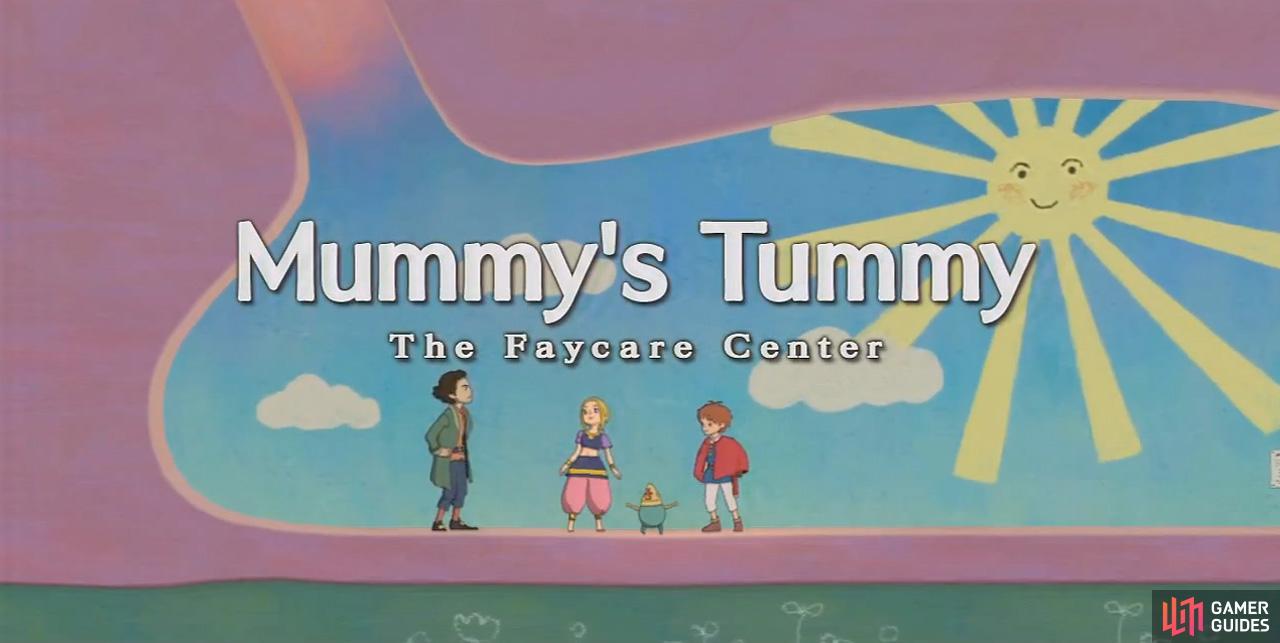
This is a straightforward area with several rooms in which you’ll have to fight creatures that have invaded the tummy and bullied the little fairies. It’s good to know that the fourth room from the left (the room without a picture on the door) contains a Waystone, so heal up after each fight and save your game before heading all the way to the right after the last battle.
It’s also a good idea to equip any Burning Blades you have, while unequipping any water-inflicting weapons. Breezy Cloaks are also an excellent piece of defensive equipment for the upcoming boss battle. When you’re ready, proceed to the right for an unexpected battle.
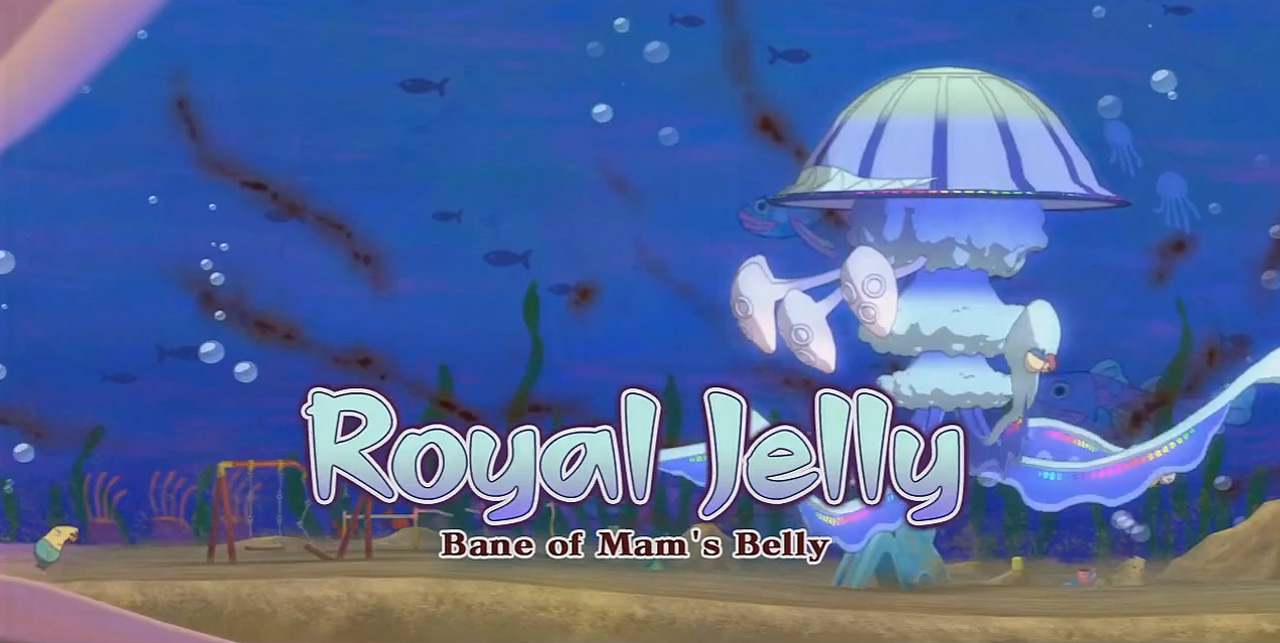
Boss Fight: Royal Jelly - Bane of Mam's Belly
| Detail | Notes |
|---|---|
| Stats: | 3180 HP |
| Weak against | Fire |
| Resists: | Water |
| Attacks: | 1. Physical Attack [Single Target, Minor Damage] 2. See Stars [Single Target, Minor Damage, Confusion Ailment] 3. Bolt from the Blue [All Target, Medium to Major Damage, Storm Element, Use All-Out Defense!] 4. Baby Shower [Creates 8 Jelly Baby enemies, Use All-Out Attack!] |
| Rewards: | 1020 EXP, 1030 G, Spirit of the Storm |
After the battle you receive the Royal Jelly Page for your Wizard’s Companion and exit the Fairy Godmother’s tummy.
In any case you’ll also be given an enormous stock of spells by the Fairy Godmother: [SHIFT SHAPE], [SECOND SELF], [MIMIC], [VANISH], [WERECAT], [WEREFISH], [SHRINK], [OPEN MIND], [LOAF OF LIFE] and [POISON APPLE].
When you regain control, follow the star on your map to check on Drippy. Other than that, there’s not much to do in the village, so head back out to the world map, then head back to your ship.
Speak to Sindbah, who is pleased to inform you that the Sea Cow has been repaired and is ready to set sail once again. After getting aboard, several scenes play and Drippy learns the Tidy Tears trick, sometimes performed in battles. You also receive [THE THIRD TALE] of Wonder for your Wizard’s Companion. Better yet, a lot of errands can now be done by going back to The Fairyground.

No Comments