
This is a walkthrough for Da’at: Shinagawa of Shin Megami Tensei V, taking place in the Konan 3rd and 4th Block areas. How to complete every objective, find every chest and locate every Miman.
You’re still chasing after Lahmu
Demons
| Icon | Name | Lv | Weakness |
|---|---|---|---|
| Jack-o’-Lantern | 20 | ||
| Oni | 23 | ||
| Inugami | 24 | ||
| Koppa Tengu | 24 | ||
| Poltergeist | 25 | ||
 |
Jack Frost | 25 | |
| Manananggal | 25 | ||
| Koropokkur | 26 | ||
| Naga | 27 | ||
 |
Cironnup | 27 | |
| Shiki-Ouji | 29 | ||
| Mothman | 29 | ||
| Kelpie | 30 | ||
| Hua Po | 31 | ||
| Girimehkala (Punishing Foe) | 46 | ||
Items
| Name |
|---|
| Aogami Type-4 Essence |
| Poltergeist’s Essence |
| Elec Gem x2 |
| Bugs’s Essence |
| Cironnup’s Essence |
| Kelpie’s Essence |
| Manananggal’s Essence |
| Revival Bead x2 |
| Grimoire x2 |
| Hua Po’s Essence |
Quests
| Subquest | Location | Reward |
|---|---|---|
| Can I Keep Them? | Southeast of Punishing Foe, Girimehkala; In dead end | Lilim’s Essence |
| Iced Out | On rock next to Mitatebashi Leyline | Muscle Drink |
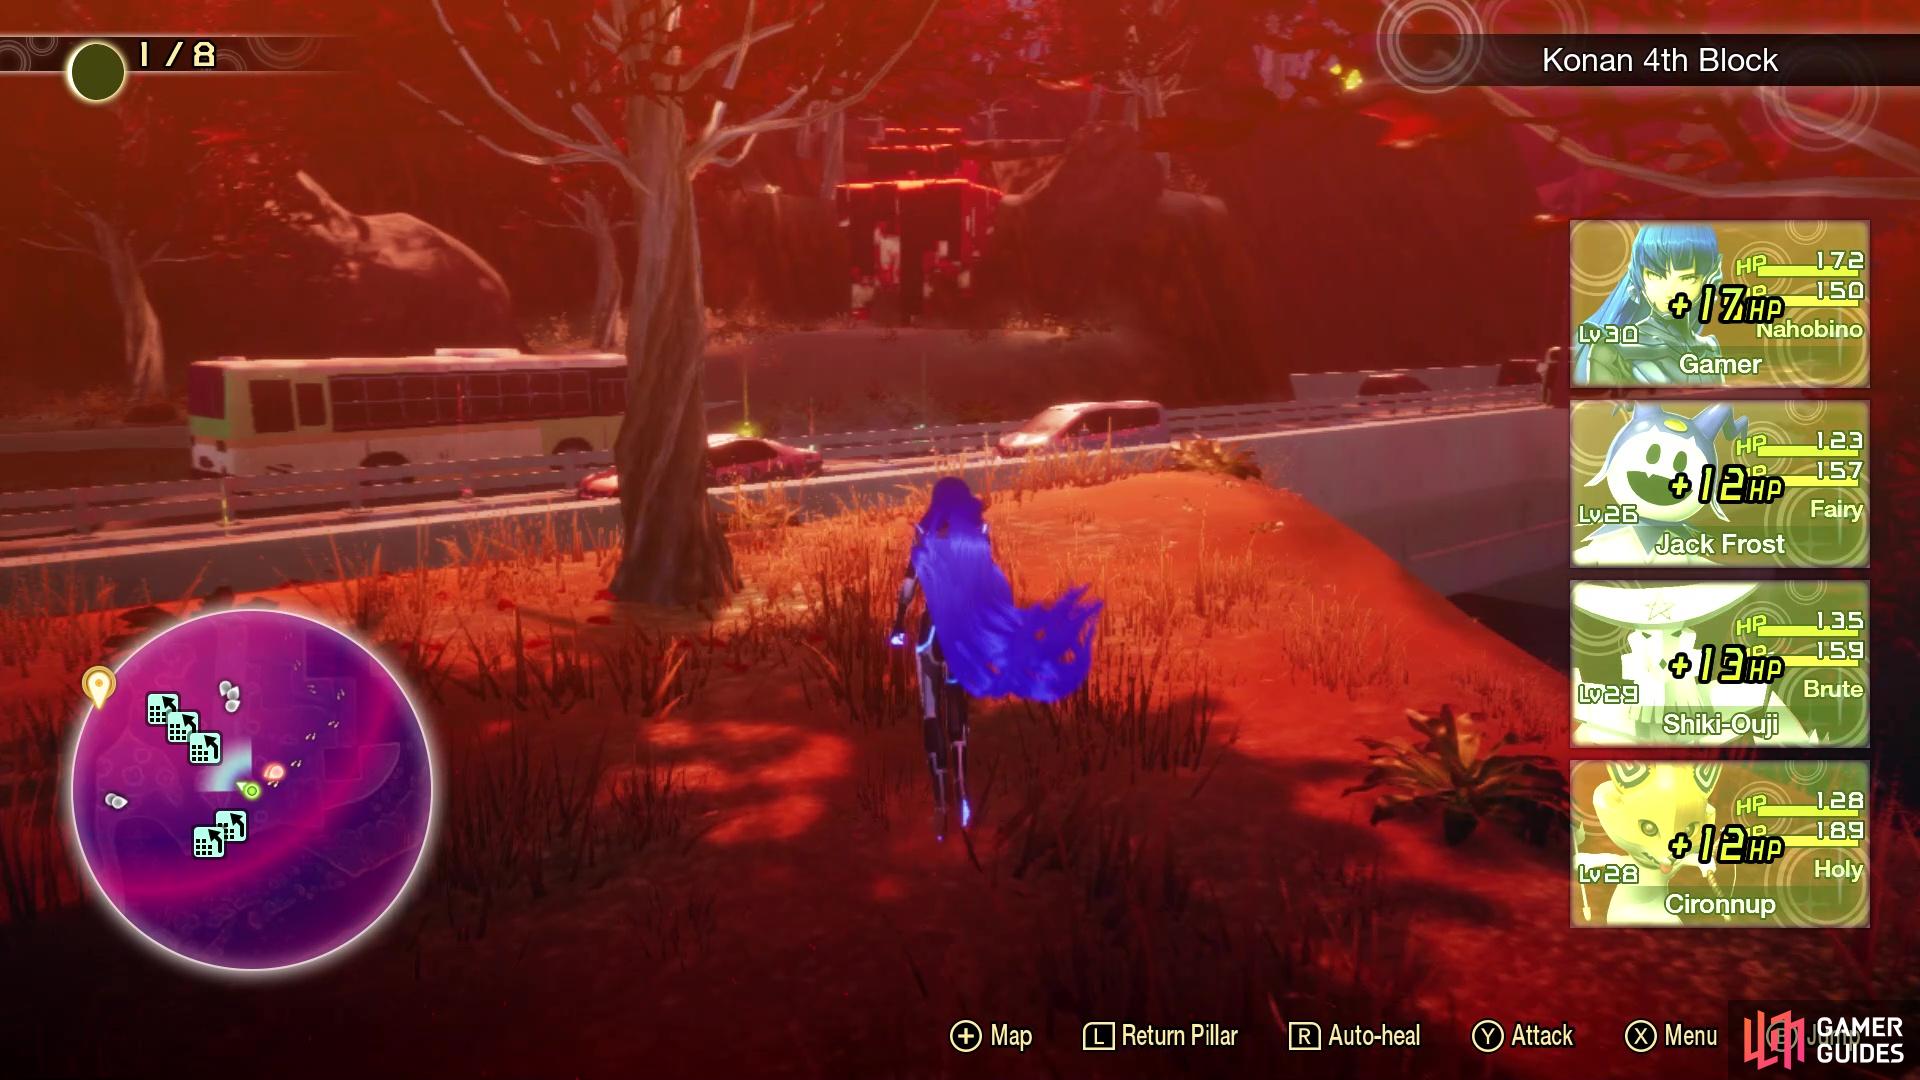
Upon first arriving to Konan 3rd Block, which is across the long road with not much on it, you should notice a small hill that has the Leyline on it. There will also Goko here, although he doesn’t really say anything important. Touch the Leyline to register it, then ignore any treasures or collectibles for now, as you won’t be able to see much of the map due to the Abscess.
Konan 4th Block Abscess

Follow the trail of orbs here to get to another section of the map
Climb these platforms to reach the Abscess
A good portion of both the 3rd Block and 4th Block’s map is covered by an Abscess, which will be located in the 4th Block. So, let’s go and take care of that first, before looking for any treasure or collectibles. Find the main road just north of the 3rd Block Leyline, then follow it west. When you reach the pedestrian walkway, you can find a trail of Magatsuhi orbs heading south, which is where you need to go. You will pass by a NPC Oni, and then the area will change over to the 4th Block now. Travel south-southeast and you should see the Punishing Foe, Girimehkala, in a ditch.
South of him will be more orbs leading to a path in between two buildings. Follow these to an upper section, where you find another trail of orbs going up a hill. You should now see two sets of climbable platforms to your north and south on the map. Climb the set to your north and you will be right in front of the Abscess.
| Icon | Name | Lv | Weakness |
|---|---|---|---|
| Basilisk | 32 |
You are up against a single enemy here, a Basilisk, which is level 32. It is weak to Electric, so hopefully you have some demons with Zio/Zionga. You shouldn’t be using Fire and Ice attacks, since it resists them. The Basilisk only has two skills in its arsenal, the first of which is Crusher Onslaught. This is a medium Physical attack that hits your party, but it has a low accuracy. If you have Sukunda, then this attack should never really hit you. The other skill is Toxic Cloud, which doesn’t deal damage, but can poison your party. If you managed to get an Amrita Shower item, then you can use that to heal your party. Mothman also has access to Me Patra at level 30, if you managed to catch one. The battle will take a while, since the Basilisk has a lot of HP and a good Vitality stat.
You only have a single Basilisk to take care of for this Abscess
| Miracle | Category | Effect | Glory |
|---|---|---|---|
| Demon Proficiency II | Awakening | Increases demon ally’s skill slots by 1. | 100 |
| Divine Proficiency II | Awakening | Increases the Nahobino’s skill slots by 1. | 60 |
| Recover Mastery II | Cosmos | Increases the Nahobino’s Healing skill potential by 2. | 120 |
| Support Mastery II | Cosmos | Increases the Nahobino’s Support skill potential by 2. | 120 |
| Ailment Mastery II | Cosmos | Increases the Nahobino’s Ailment skill potential by 2. | 55 |
Konan 3rd Block Exploration
Teleport back to the 3rd Block Leyline and start off by going south. You should see a Treasure Box to your south, which is in a little area off of the railroad tracks, so you will need to jump down to grab it (Aogami Type-4 Essence). This one will grant the Ruinous Thunder skill to the Nahobino, which will be extremely useful for an upcoming boss after this area. You will need to go south to get back on the tracks, so do that. While crossing the long path, get on top of the train and follow it north, stopping once you pass the rock. As soon as you do, look down on the path just east to find Miman #71.
Continue north and when you see a spot where you can drop down next to the tracks, on the western side, do so. There will be some vending machines next to the building, but a little south of you, underneath the bridge, will be Miman #72 (mind the Koropokkurs nearby). Return to the Leyline and you should see a road extending to the east. Just north of the Leyline, along the road, will be Miman #73. Unfortunately, you will be unable to explore the area to the east, as there is an Angel who won’t let you pass. More vending machines can be found to the north of the Leyline, but there’s nothing else in the area, so venture to the west.

When you reach the pedestrian walkway, you should see Miman #74 on top of a bus, so hop up there and get it. Note that the Treasure Box on top of the ruined building by the Miman will have to wait, as you can’t get it right now; the same holds true for the Amalgam to the northeast. Loot the vending machine outside of the building to the north with the Poltergeist, then enter it. Before taking the northern exit, look in the alcove to the west for more vending machines, as well as the alcove to the east, where you’ll find Miman #75. There is a Treasure Box outside to the north, which contains a Poltergeist’s Essence. Return to where the Miman on the bus was found and continue west.
There will be a path to the north and another to the south. The southern leads to nothing important, other than some vending machines. The northern path, however, leads to two Treasure Boxes, which are holding Elec Gem x2 and a Bugs’s Essence. Since that’s all you can do here, find the path south of the pedestrian walkway, with the NPC Oni, to start exploring Konan 4th Block.
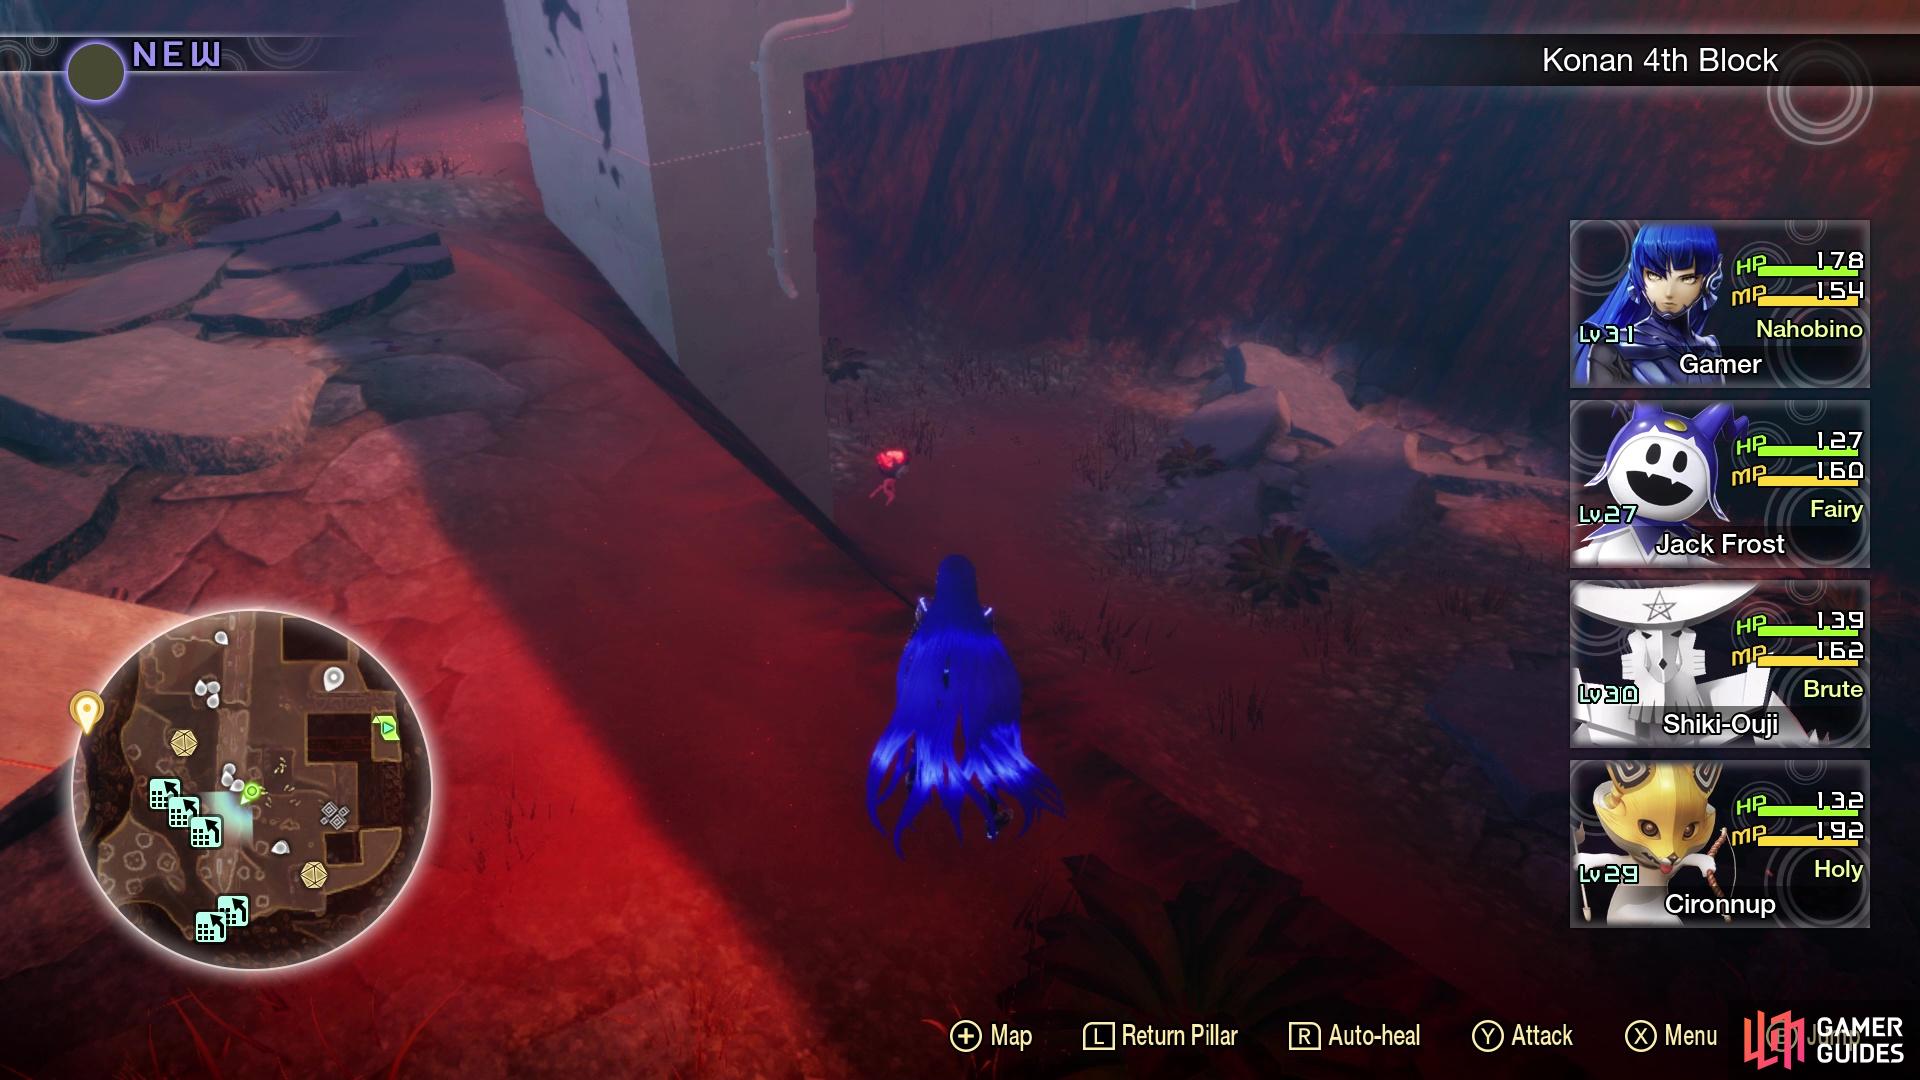
Konan 4th Block Exploration
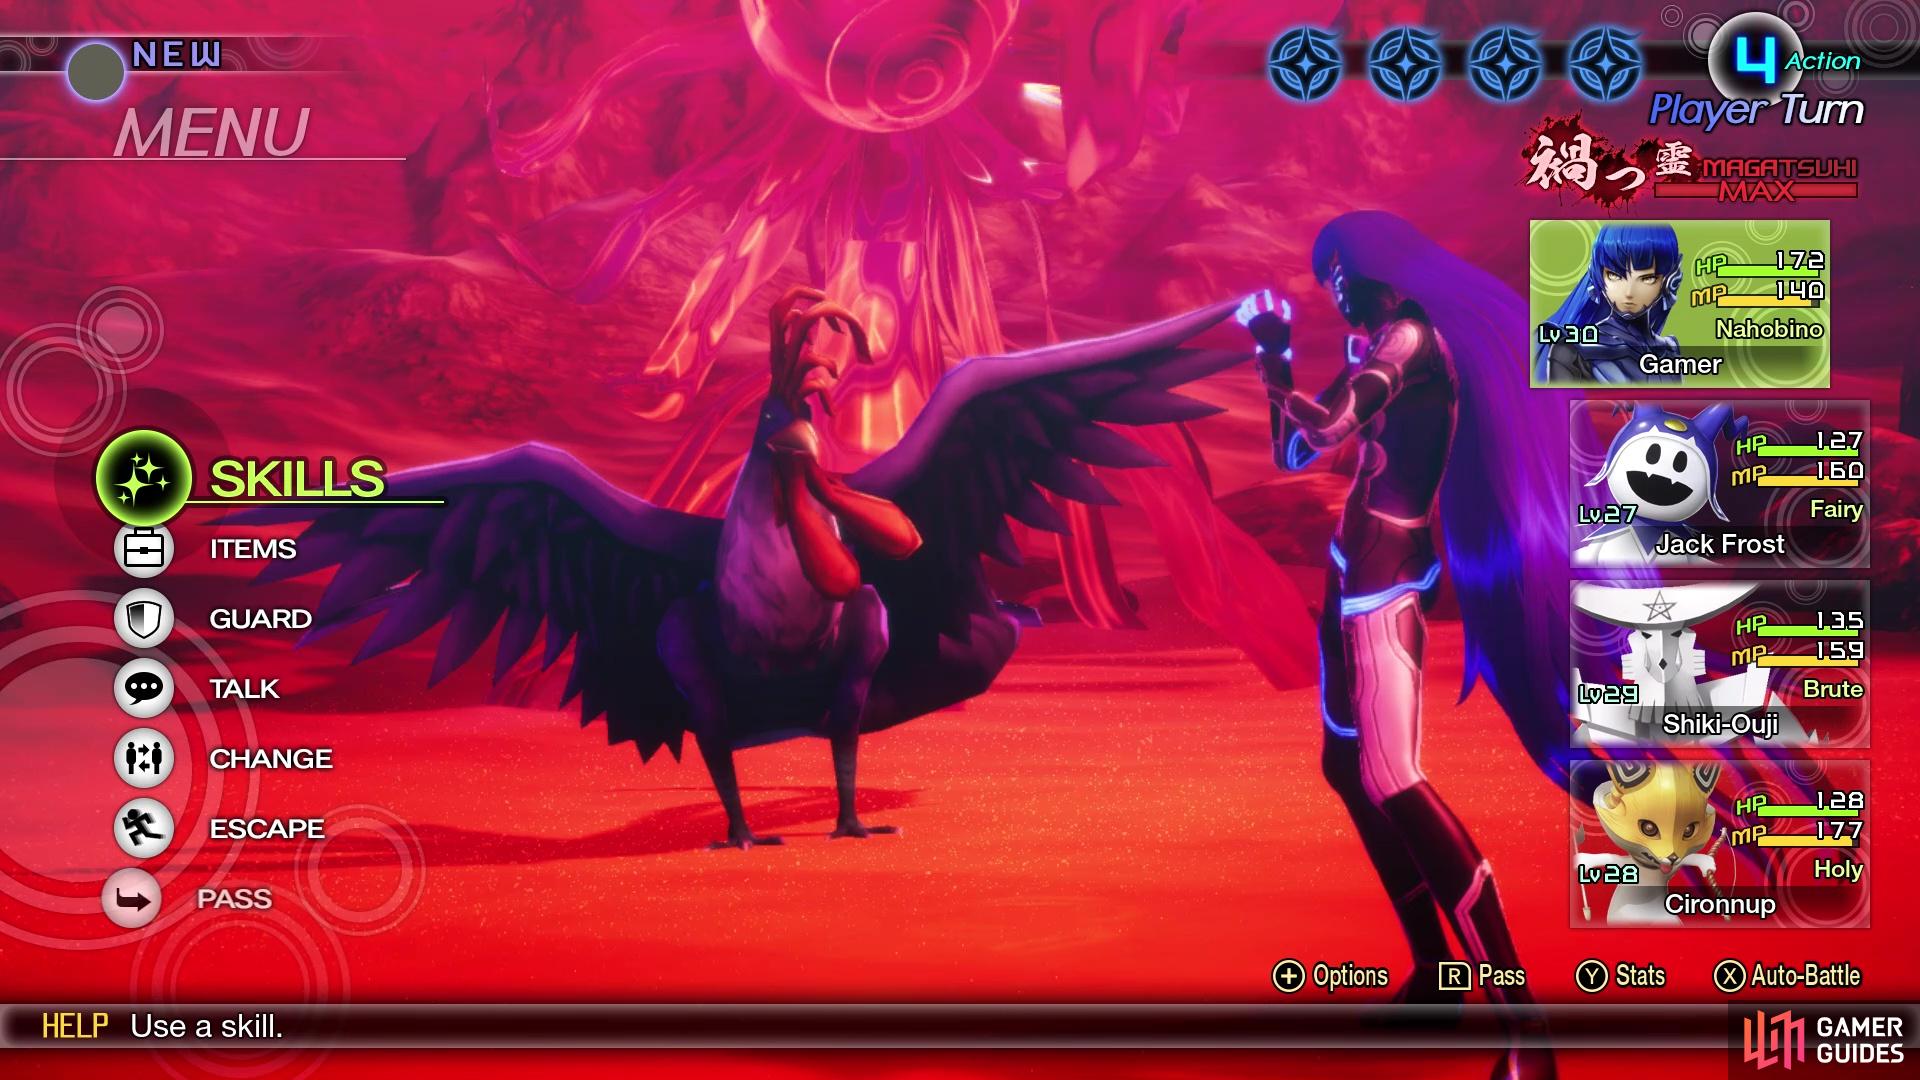
As soon as you arrive in the 4th Block, you should see a highway to your east. Go underneath it and on the northern end, you will find Miman #76. Get on the collapsed highway now and follow it north, until you see a hill facing south. At the top of that hill will be Miman #77. A little north of there, you should be able go a bit east to get on another piece of highway. Do that, being mindful of the Cironnup here, as they can trigger a battle with their arrows, and go to the northern end to find Amalgam #14 (this is the one you couldn’t reach from below). Double back to the hill where you found the last Miman and a little south from it will be a large rock. This rock will allow you to jump onto the ruined building that had the Treasure Box in the 3rd Block (Cironnup’s Essence).
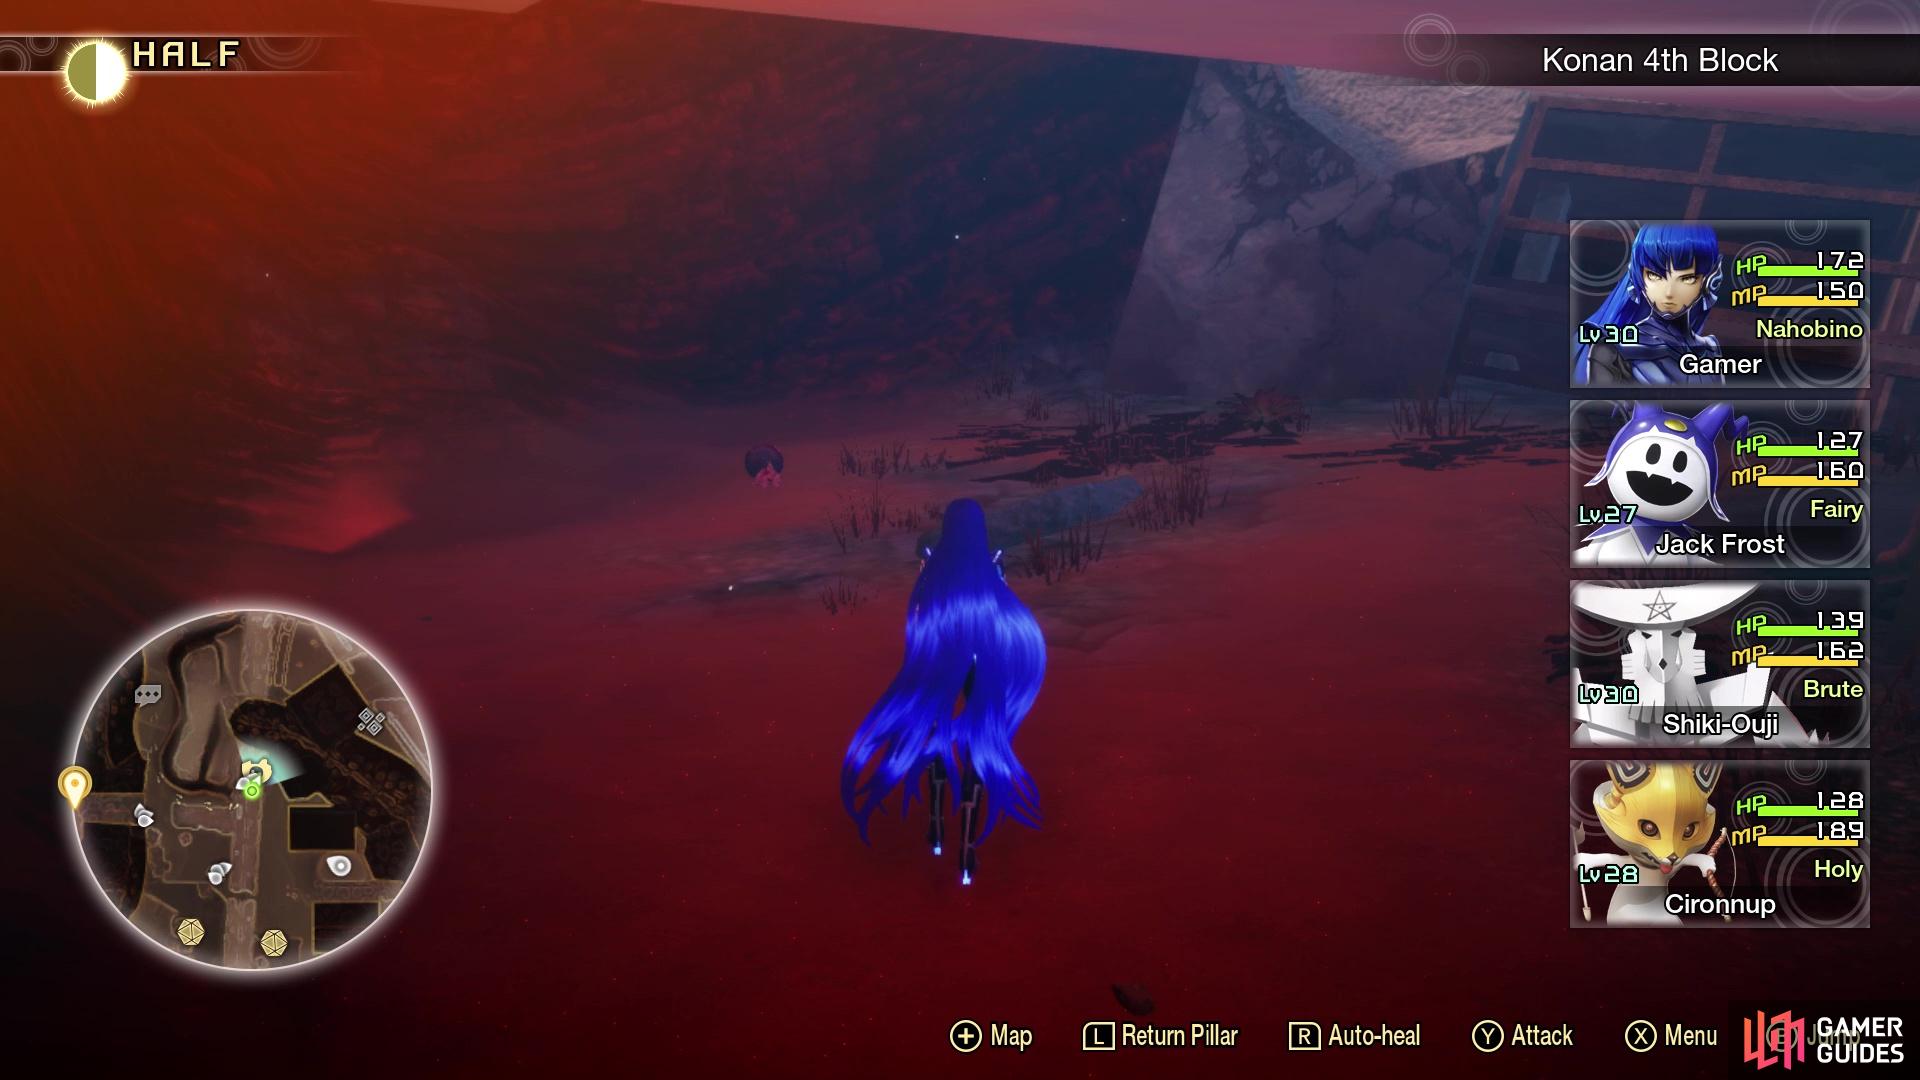
Return to the entrance of the 4th Block and look on your map to see a little dead end just to the east. There will be some vending machines here and just south of those, will be a Punishing Foe named Girimehkala. Avoid getting too close, as it’s in a ditch and you might accidentally slide down and trigger a battle. However, if you hug the wall of the building to the south, you will be able to get to the little alcove just southeast of the Punishing Foe to find a Lilim who will give you the Can I Keep Them? subquest. She asks you to defeat 10 Mothman demons, which is easily done by just going to 3rd Block. South of Girimehkala is a path in between the buildings, leading to a hill that takes you to an upper area.
Head in that direction and as soon as you climb the hill (vending machines right in front of you at the top of the hill), go west and look for an entrance to the building right there. Jump to the second level and navigate your way to the Treasure Box, which contains a Kelpie’s Essence. On the eastern side of that building, there is a little ditch underneath the highway, so drop down there to find Miman #78. You can climb out of the ditch on the northern side, so do that and return to the vending machines you could loot at the top of the hill. To the south, you should see another dead end, so head there and you will discover Demon Statue #6 - Andras.
Exit that dead end and climb up the next hill, which is where you found the climbable platforms, one of which lead to the Abscess earlier. Ignore all of those and enter the building just to the east at the top of the hill, where you will find a Treasure Box that contains a Manananggal’s Essence. At the climbable platforms, go to where you encountered the Abscess (northern set of platforms) and look for the rock you can use to reach the Treasure Box there (Revival Bead x2). Double back to the other set of climbable platforms, which will lead to another hill. At the top of this hill, ignore the narrow path going south and make a U-turn to the east to find Miman #79 on the cliff overlooking the platforms below.
(1 of 4) Look in the ditch under the highway before the climbable platforms to find Miman #78
Take the narrow path mentioned previously to a small area with a lot of Hua Pos. There is a hill to the northeast that leads to Amalgam #15, so grab that before sliding down the hill heading north. About halfway down the hill, you can find a Treasure Box, so break it open for Grimoire x2. Slide down the rest of the hill and drop down, then go straight north to find another dead end with a Treasure Box (Hua Po’s Essence). You can run up the slanted building in the normal area nearby, which will lead to a ruined building that has a vending machine. You should see a Leyline nearby, which is actually an area called Mitatebashi, but the area is very small and doesn’t contain anything of importance. Nearby, sitting on a rock, is a Jack Frost that will give you the Iced Out subquest. He simply wants 3 Ice Gems, which you might have at this point.
That wraps up the exploration for these two areas and you are about to face a challenging boss. If you haven’t fused the Aogami Type-4 Essence to Nahobino yet, you will want the Ruinous Thunder skill on him for the upcoming battle. You will also probably want resistance to physical for him, so if you have Oni’s Essence, that will do greatly. You also don’t want anyone weak to Ice or Fire, since the boss does have those. If you have access to Tarunda and Sukunda, that’ll be another great help. When you’re ready, cross the bridge beyond the Mitatebashi Leyline for a scene, and the next boss.
Boss: Fionn mac Cumhaill
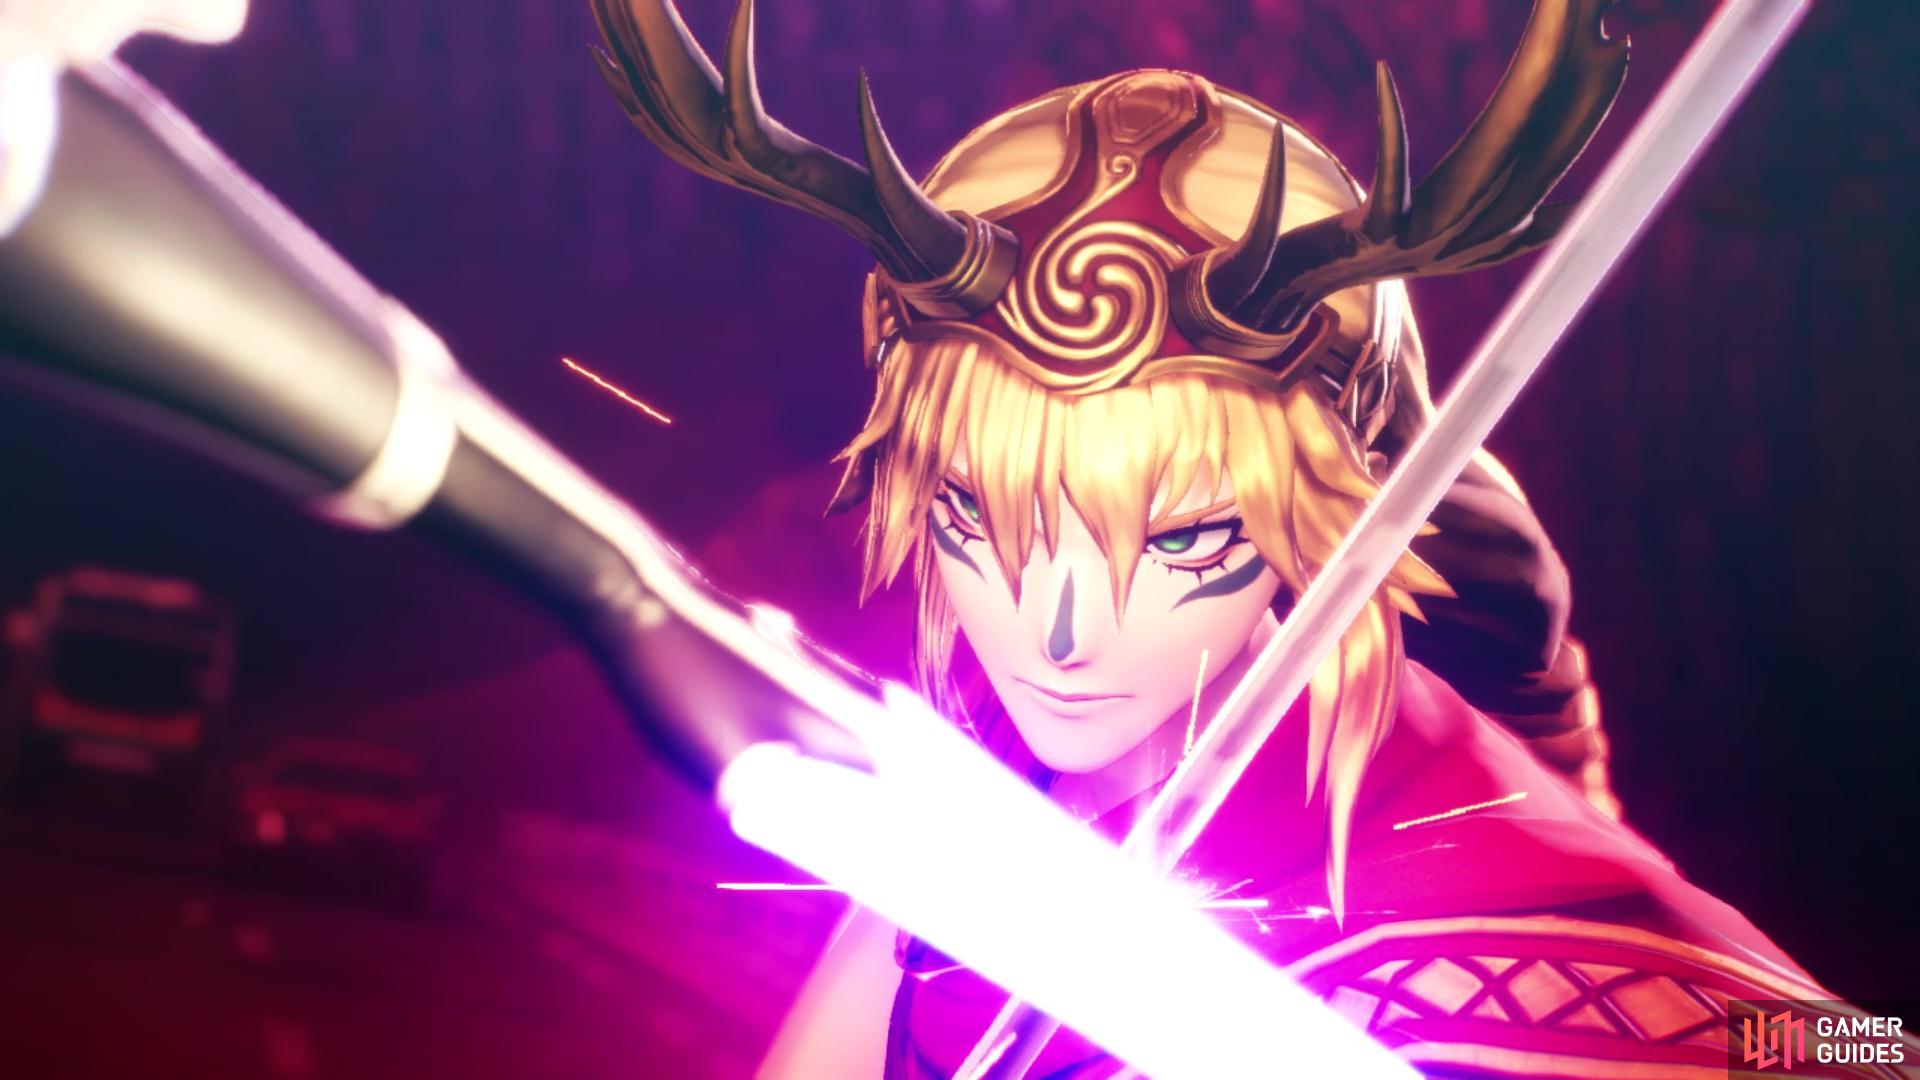
Fionn will be quite a challenging boss
| Icon | Name | Lv | Weakness |
|---|---|---|---|
| Fionn mac Cumhaill | 32 |
| Type | Skill | Effect |
|---|---|---|
| Mac an Luin +5 | Severe Physical attack to 1 foe. Greater effect if a Critical hit. | |
| Dark Sword +5 | 2 medium attacks to 1 foe. Chance of inflicting Seal. | |
| Pierce Armor +5 | Weak Physical attack to 1 foe. Lowers target’s Defense by 1 rank for 3 turns. | |
| Bufula +3 | Medium Ice attack to 1 foe. | |
| Maragion +4 | Medium Fire attack to all foes. | |
| Tarukaja | Raises Attack of 1 ally by 1 rank for 3 turns. |
If you thought the previous boss was challenging, then you are going to be surprised here, as Fionn can be quite brutal. He is mainly physical and with his potential for that, his skills can hit pretty hard. Couple this with the fact he can use Tarukaja to buff his attack, you will want Tarunda in this battle. Pierce Armor is annoying, not because of the damage, but because it will debuff a character’s Defense. Likewise, Dark Sword will do a good bit of damage, but the more annoying aspect is that it has a chance of inflicting Seal, an ailment that prevents you from using skills. By far, the most devasting skill in his arsenal is Mac an Luin, a severe Physical attack to one character.
If you don’t debuff his attack and he uses Tarukaja once or twice, Mac an Luin will likely one-hit kill some characters. This is why it’s imperative to have Physical resistance on the Nahobino. You should see that there is both Bufula and Maragion listed in Fionn’s skills. Bufula doesn’t seem to be used too often, and Maragion is reserved for whenever he gathers Magatsuhi. That means you can easily know when the latter is coming, so it’s possible to just toss up a Fire Dampener to block the attack and waste his turns. The battle can be long and grueling, depending on some factors, so it’s important to have a means of healing, either through the Nahobino’s Miracle Water, or with Media/Diarama.
As seen, Fionn is weak to Electric, and blocks both Fire and Light. You should be prepared with Zionga on most characters and Ruinous Thunder on the Nahobino. the Type-4 Essence also has Spirit Drain on it, which is useful to get back some MP, if running low. Cironnup is a great demon to have in the party for this battle, since it resists both Fire and Ice (you don’t need to worry about Fire too much). Also, it has Blinding Strike, a Physical skill that does a little bit of damage, but more importantly, can debuff the target’s accuracy/evasion. Get it to level 30 and you will also have Cautious Cheer, a skill that raises the defense/accuracy/evasion of the entire party for three turns.
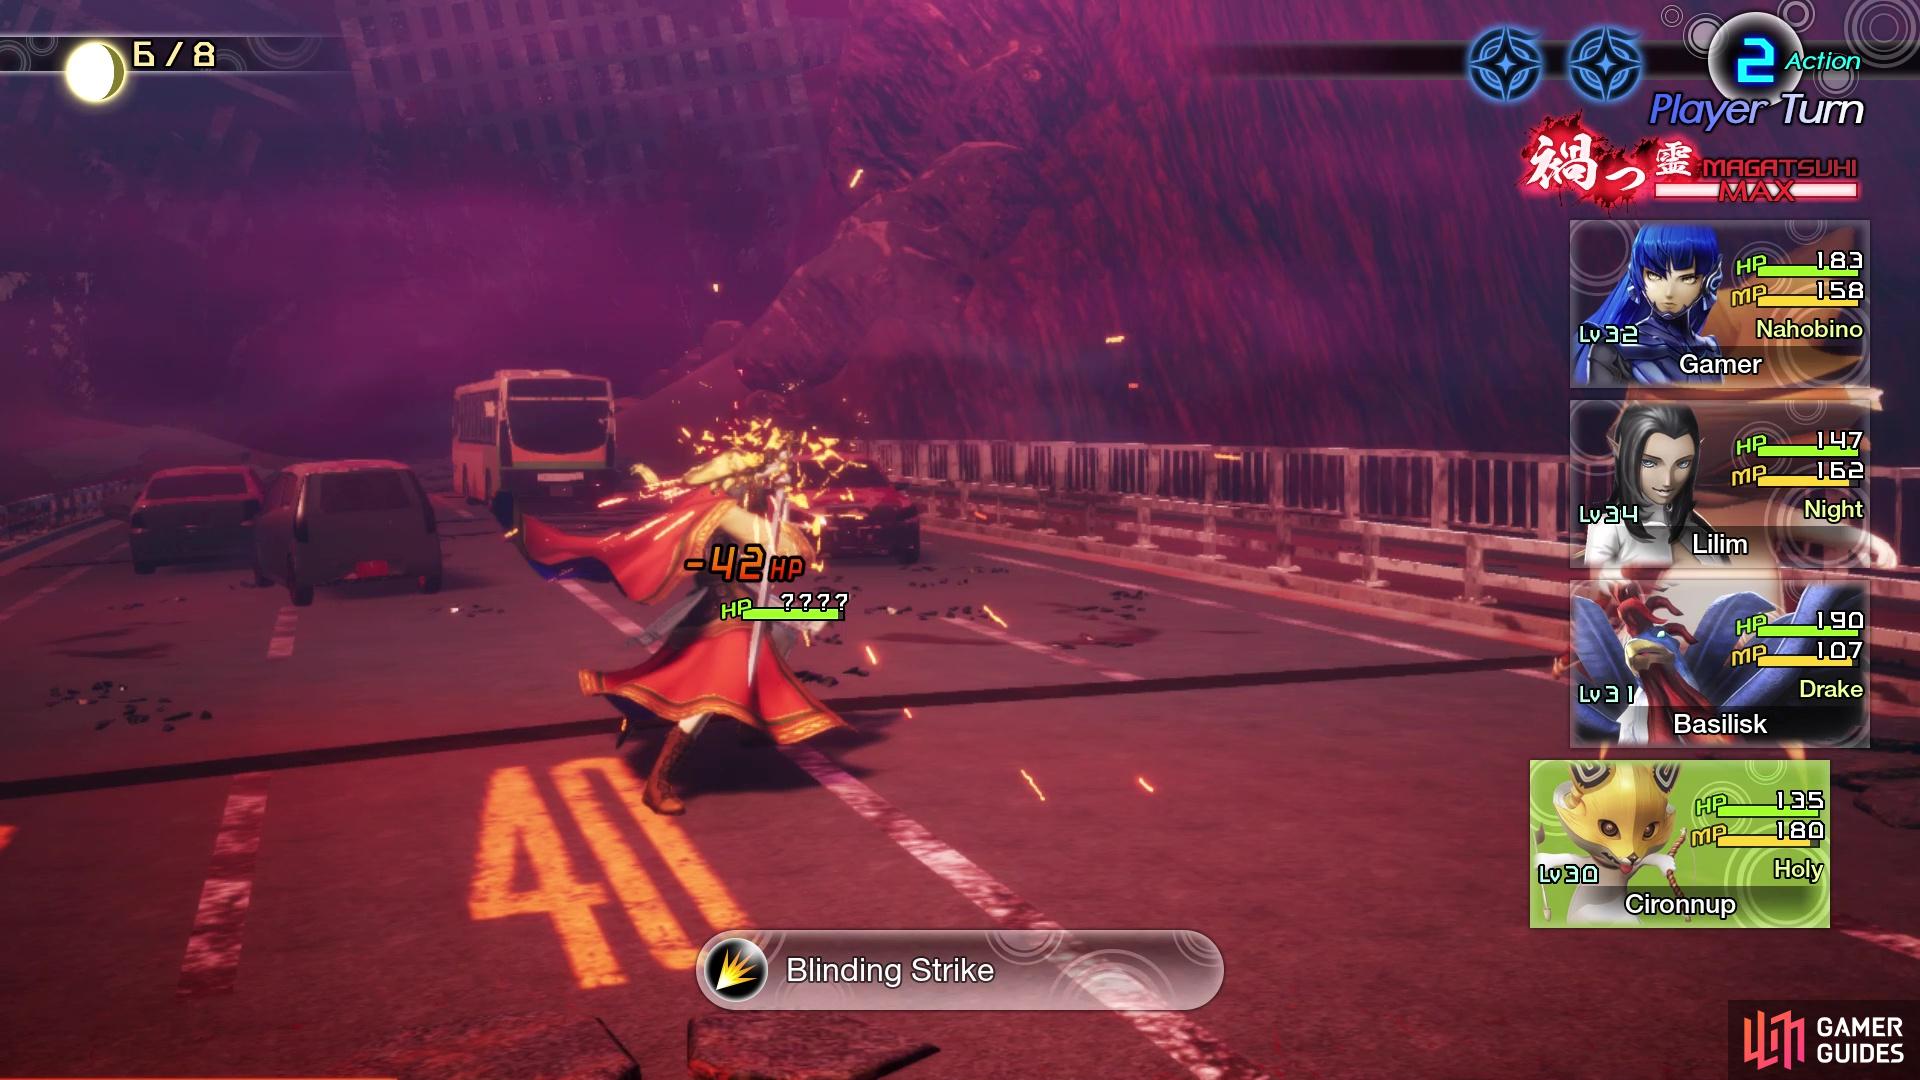
(1 of 3) Blinding Strike is a great attack skill, since it also debuffs accuracy/evasion
Hua Po isn’t a bad choice, despite the obvious weakness to Ice, since she has access to Media and a good Magic stat, so you can put Zionga on her. Basilisk can be another good choice, since it is resistant to both Fire and Ice, has good defense and higher than normal Strength for its physical attacks. However, Shiki-Ouji would be ideal, as he resists Physical and can be given Zionga through essences. If you get to level 32, then you can fuse Lilim, who learns Zionga at 33. Of course, if you have Elec Gems, then those will also work. It will definitely be a long and arduous battle, but keeping Tarukaja in check will be a key part. Rationing your MP is another key factor, so hopefully you’ve been saving Chakra Drops.
Upon winning the battle, Fionn will be on his merry way and you will be able to continue to Konan 2nd Block.
No Comments