
This is a walkthrough for Da’at: Shinagawa of Shin Megami Tensei V, taking place in the North and South Shinagawa areas. How to complete every objective, find every chest and locate every Miman.
You’ll need to find some golden apples to help heal the students
Demons
| Icon | Name | Lv | Weakness |
|---|---|---|---|
| Andras | 18 | ||
| Incubus | 22 | ||
| Bugs | 24 | ||
| Berith | 24 | ||
| Inugami | 24 | ||
| Koppa Tengu | 24 | ||
| Koropokkur | 26 | ||
 |
Cironnup | 27 | |
| Mothman | 29 | ||
| Yakshini | 30 | ||
| Hua Po | 31 | ||
| Basilisk | 31 | ||
| Forneus | 31 | ||
| Lilim | 32 | ||
| Black Ooze | 33 | ||
| Baphomet | 33 | ||
| Nekomata | 34 | ||
| Setanta | 35 | ||
| Eligor | 37 | ||
Items
| Name |
|---|
| Parvati’s Essence |
| Bead |
| Thoth’s Essence |
| Charge Gem |
| Amrita Shower |
| Aogami Type-5 Essence |
| Anahita’s Essence |
| Grimoire x2 |
| Soma |
| Baphomet’s Essence |
Quests
| Subquest | Location | Reward |
|---|---|---|
| The Root of the Problem | Fairy Village (After completing A Golden Opportunity) | Fairy Talisman |
| A Goddess Stolen | South Shinagawa, near Fairy Village (After completing A Golden Opportunity) | Small Glory Crystal x2; Idun available as special fusion |
| The Tyrant of Tennozu | Konan 2nd Block (After completing A Golden Opportunity) | 15000 Macca |
| The One I Love | North Shinagawa; Northwest from North Shinagawa Leyline | Grimoire x3 |
North Shinagawa Abscess
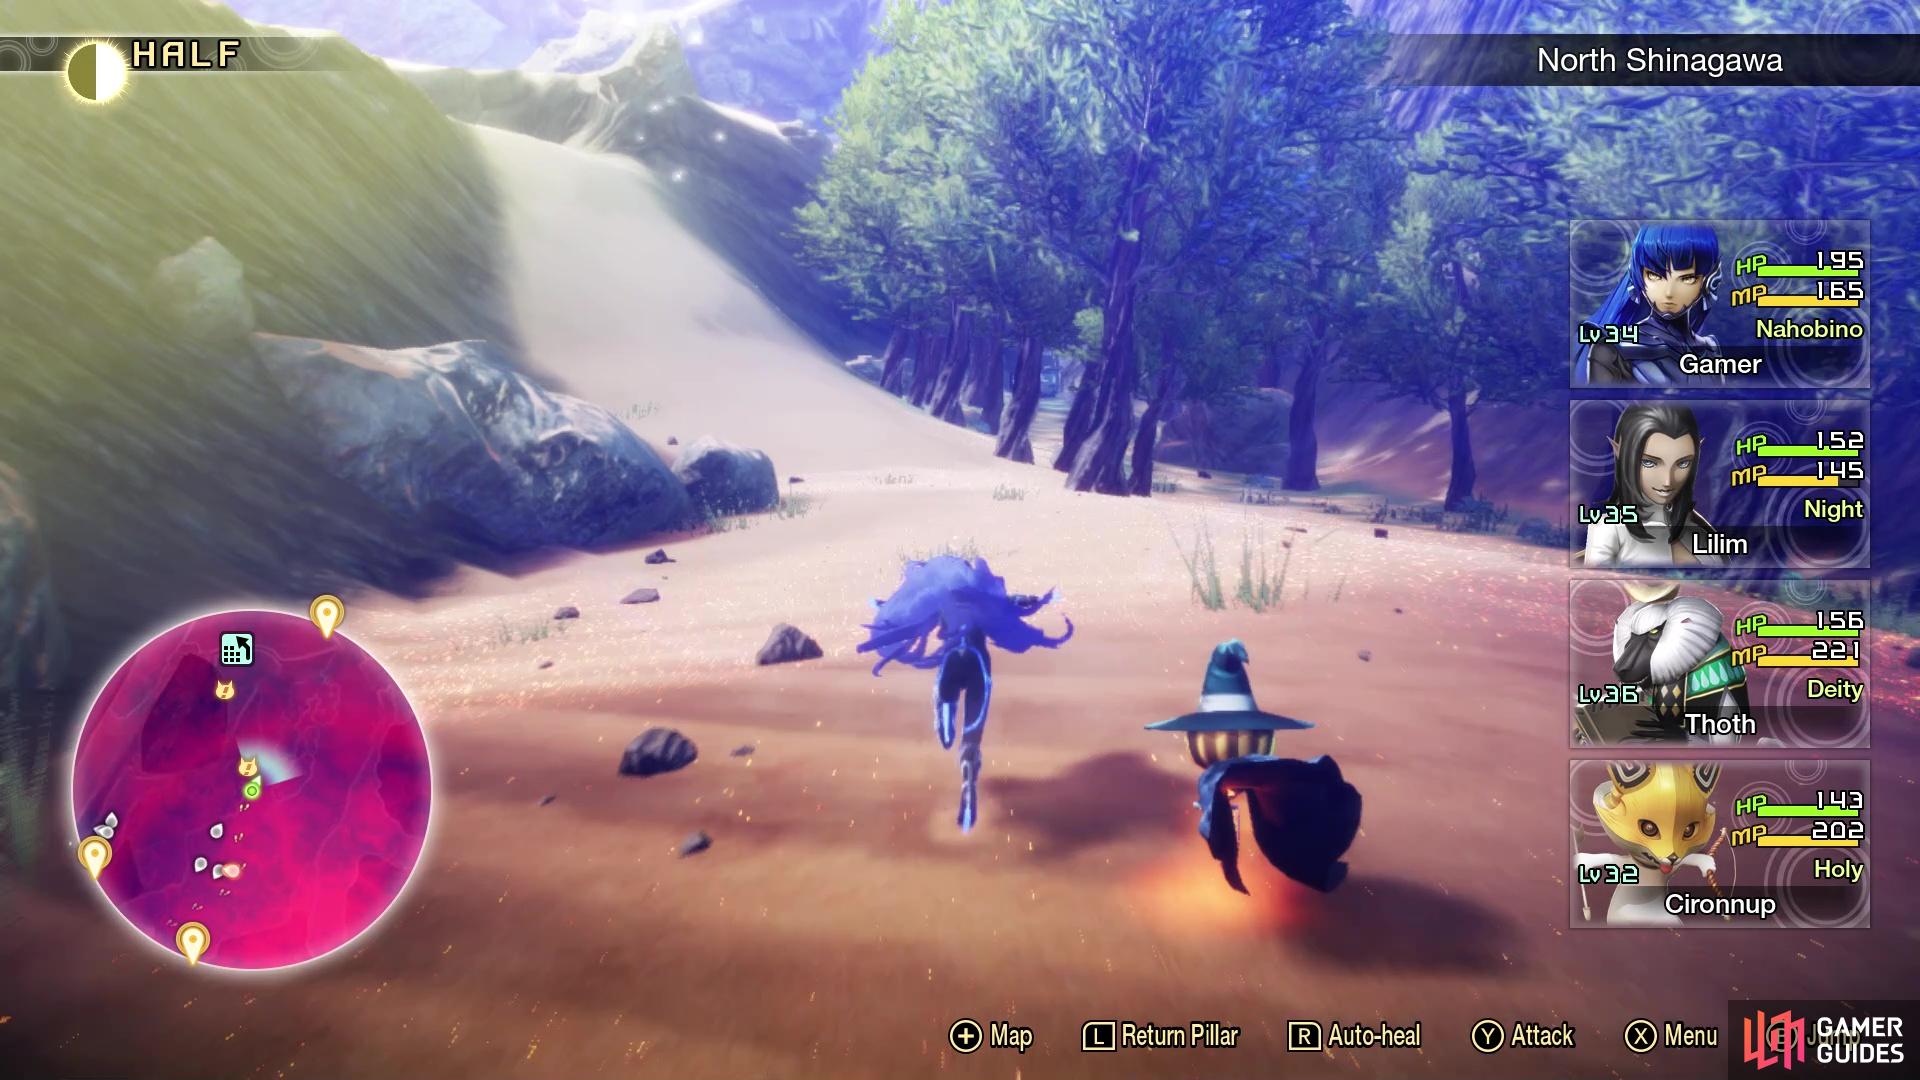
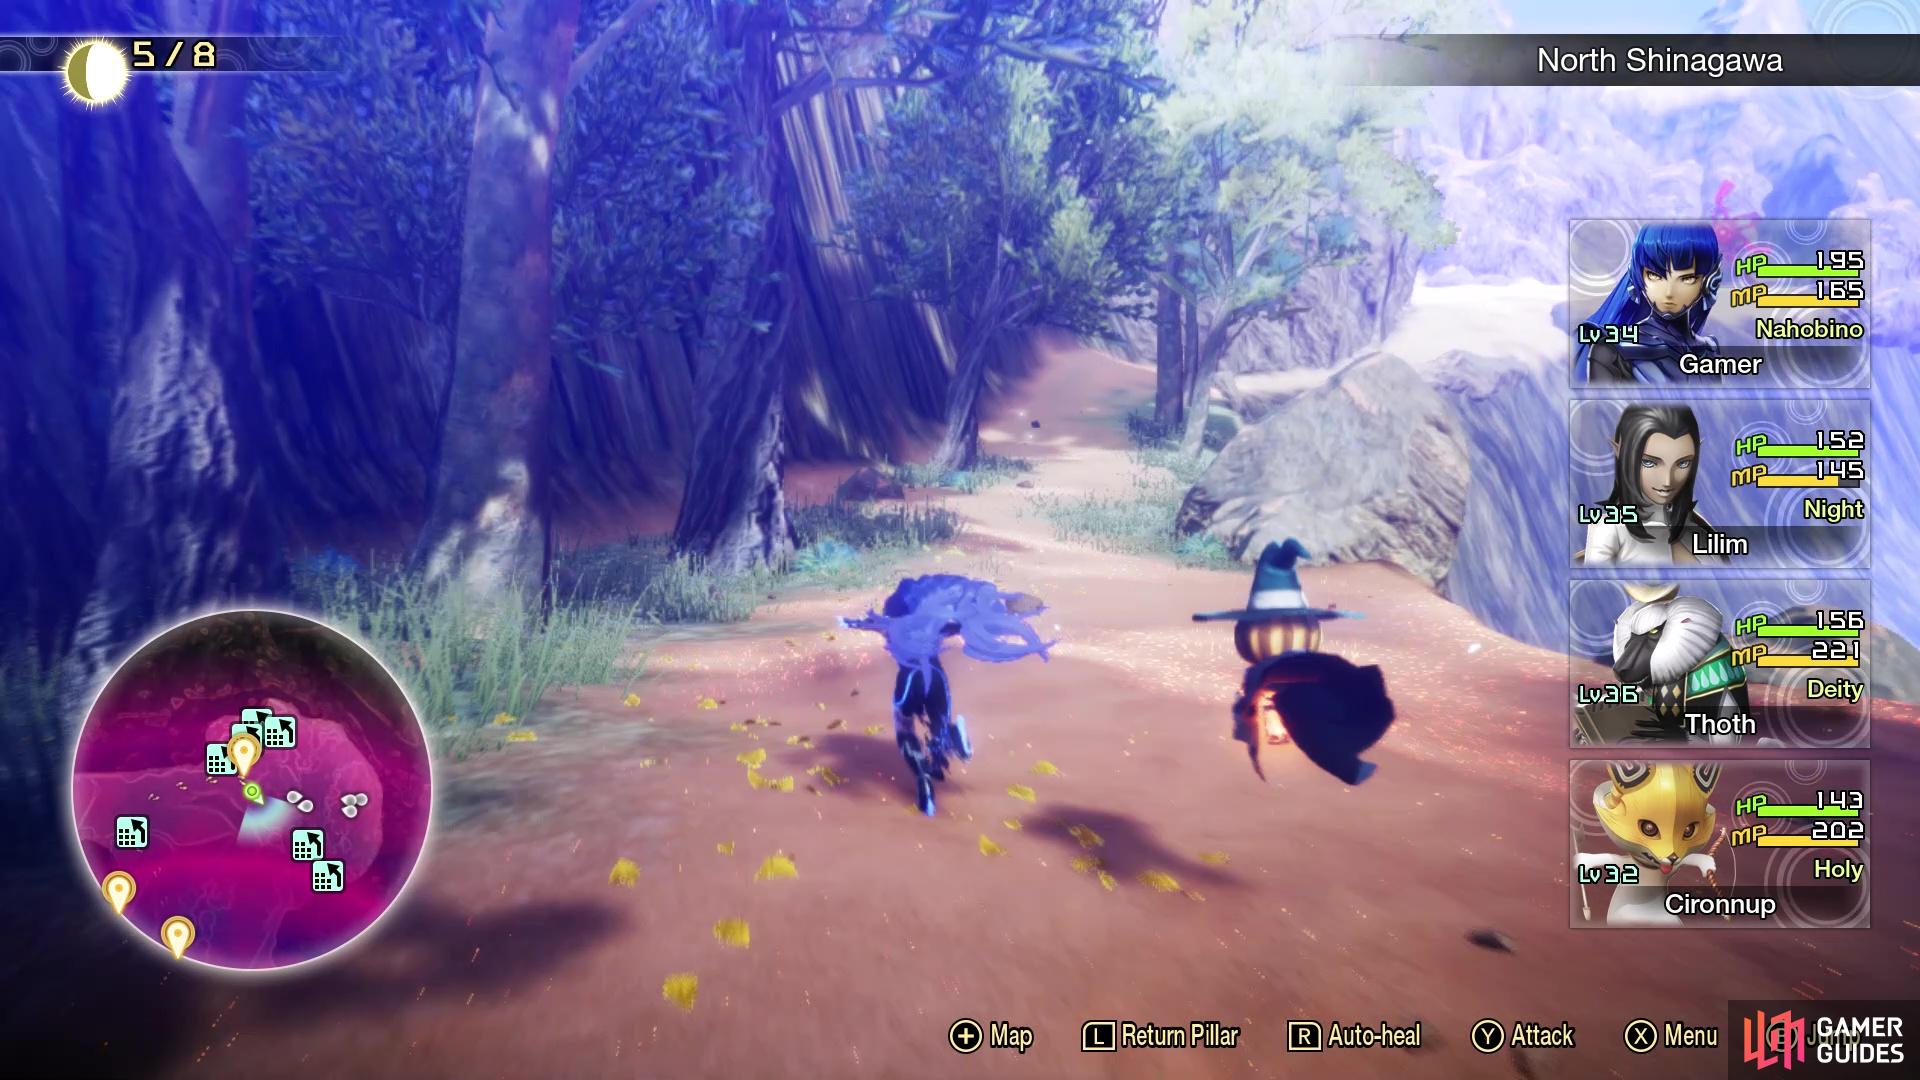
As is the case, taking care of the Abscess is what you want to do first, as it is covering the map for both North and South Shinagawa. From the Fairy Village Leyline, go south and follow the mountain to the east-southeast. You will eventually go underneath the raised train tracks (ignore the Treasure Box for now) and eventually start seeing some demons again (Nekomata in this case). That will be your cue to start heading north-northeast now, where you should find some Basilisks. Run past them and climb the ledge you see, then continue north past the group of Berith and Eligor. There will be a hill ahead, leading to another climbing block. You should now be at a crossroads, of sorts, with the highway to your west, a hill to your east and a path next to that, going straight east.
Head up this hill here to get closer to the Abscess
This path will lead you straight to the Abscess
Take the path up the hill, then going straight southeast or so will bring you to the Abscess, which will spawn a little army of Cironnup to try and slow you down. Note that Cironnup can shoot at you from a distance, meaning they don’t have to physically touch them to begin a battle.
| Icon | Name | Lv | Weakness |
|---|---|---|---|
| Thoth | 37 |
You’re only up against a single enemy here, a Thoth, which is weak to Dark and blocks Fire. You might think things will be easy, but it’s going to be a little challenging, due to the fact that Thoth can use Megido. If you haven’t encountered this spell yet, Megido is an Almighty spell, which means you have no means of mitigating its damage via resistances. If you are still using someone like Cironnup, you can use his Cautious Cheer skill to increase your defense that way, but that’s the only method (anything like Rakukaja also works). Outside of that, Thoth has Matarunda, which decreases your party’s attack power, and Diarama, the medium single-target healing skill.
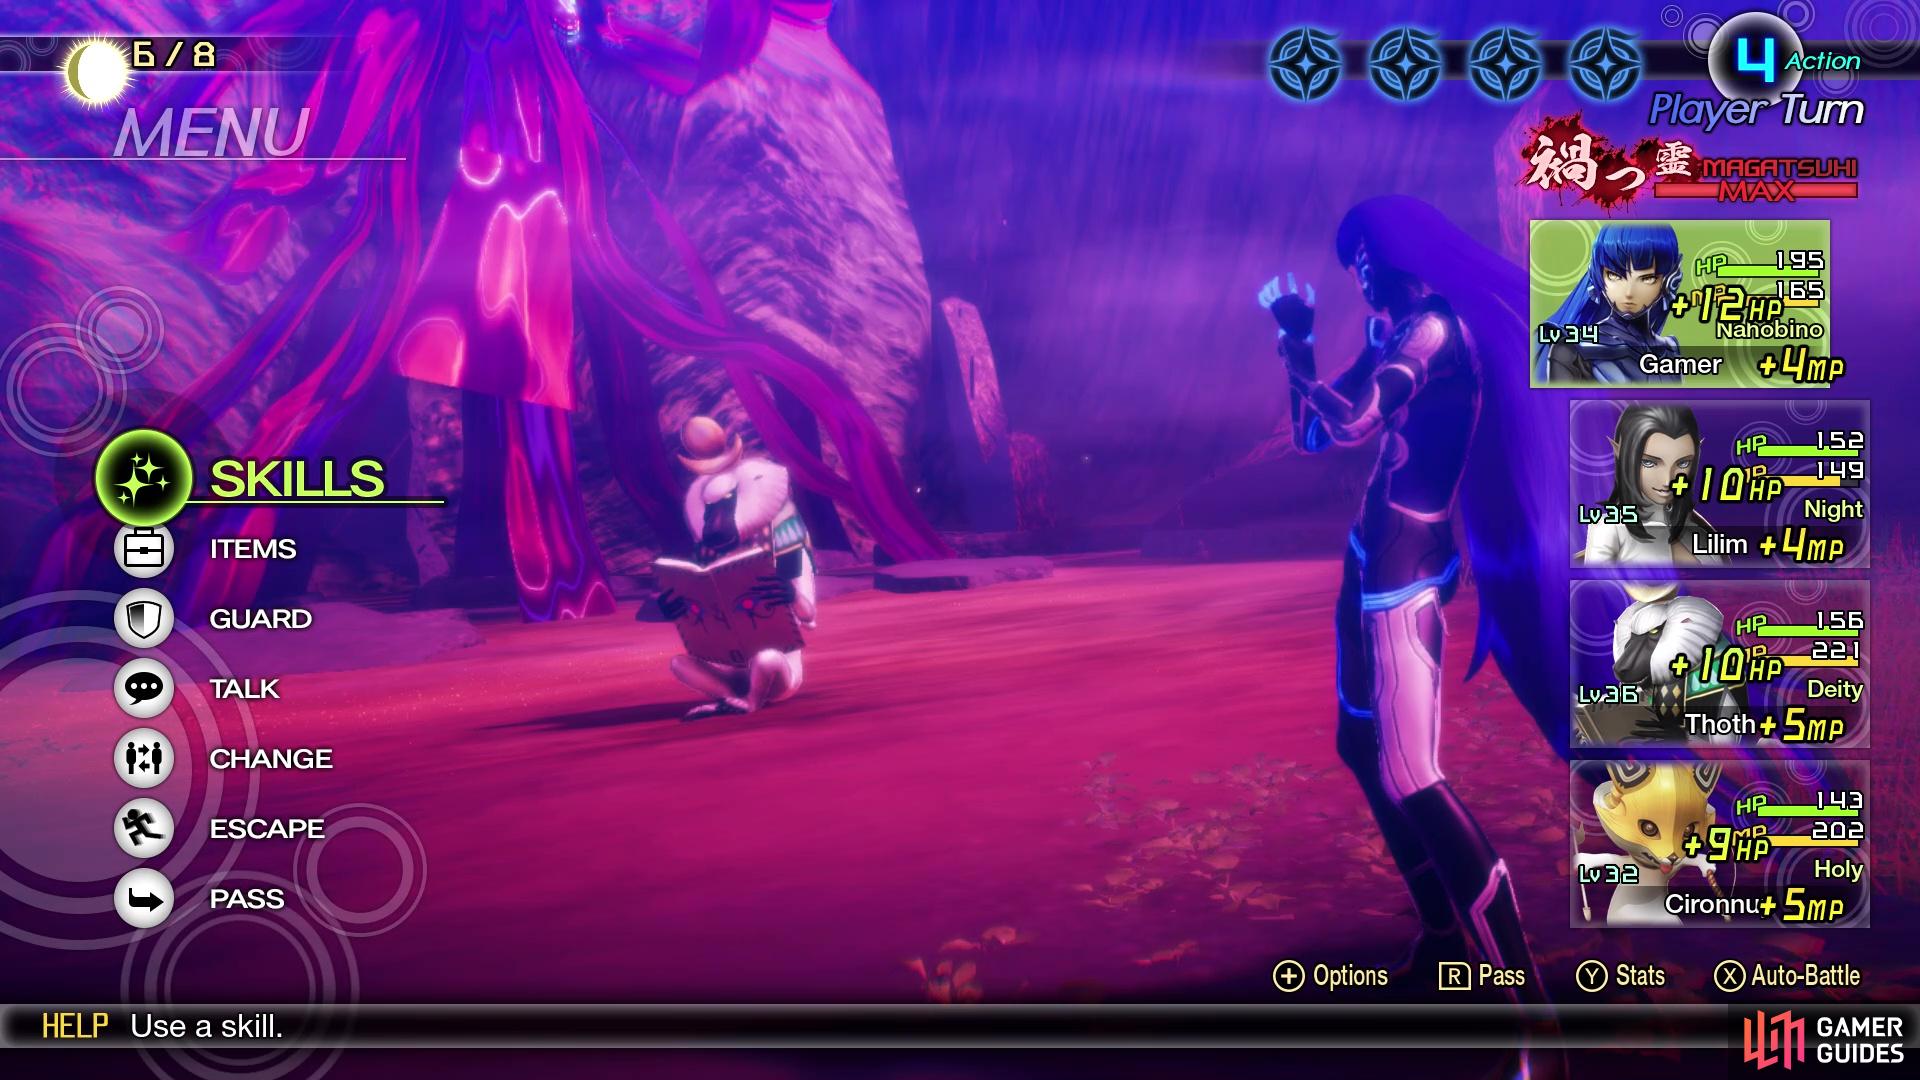
You are only fighting a single Thoth in this Abscess battle
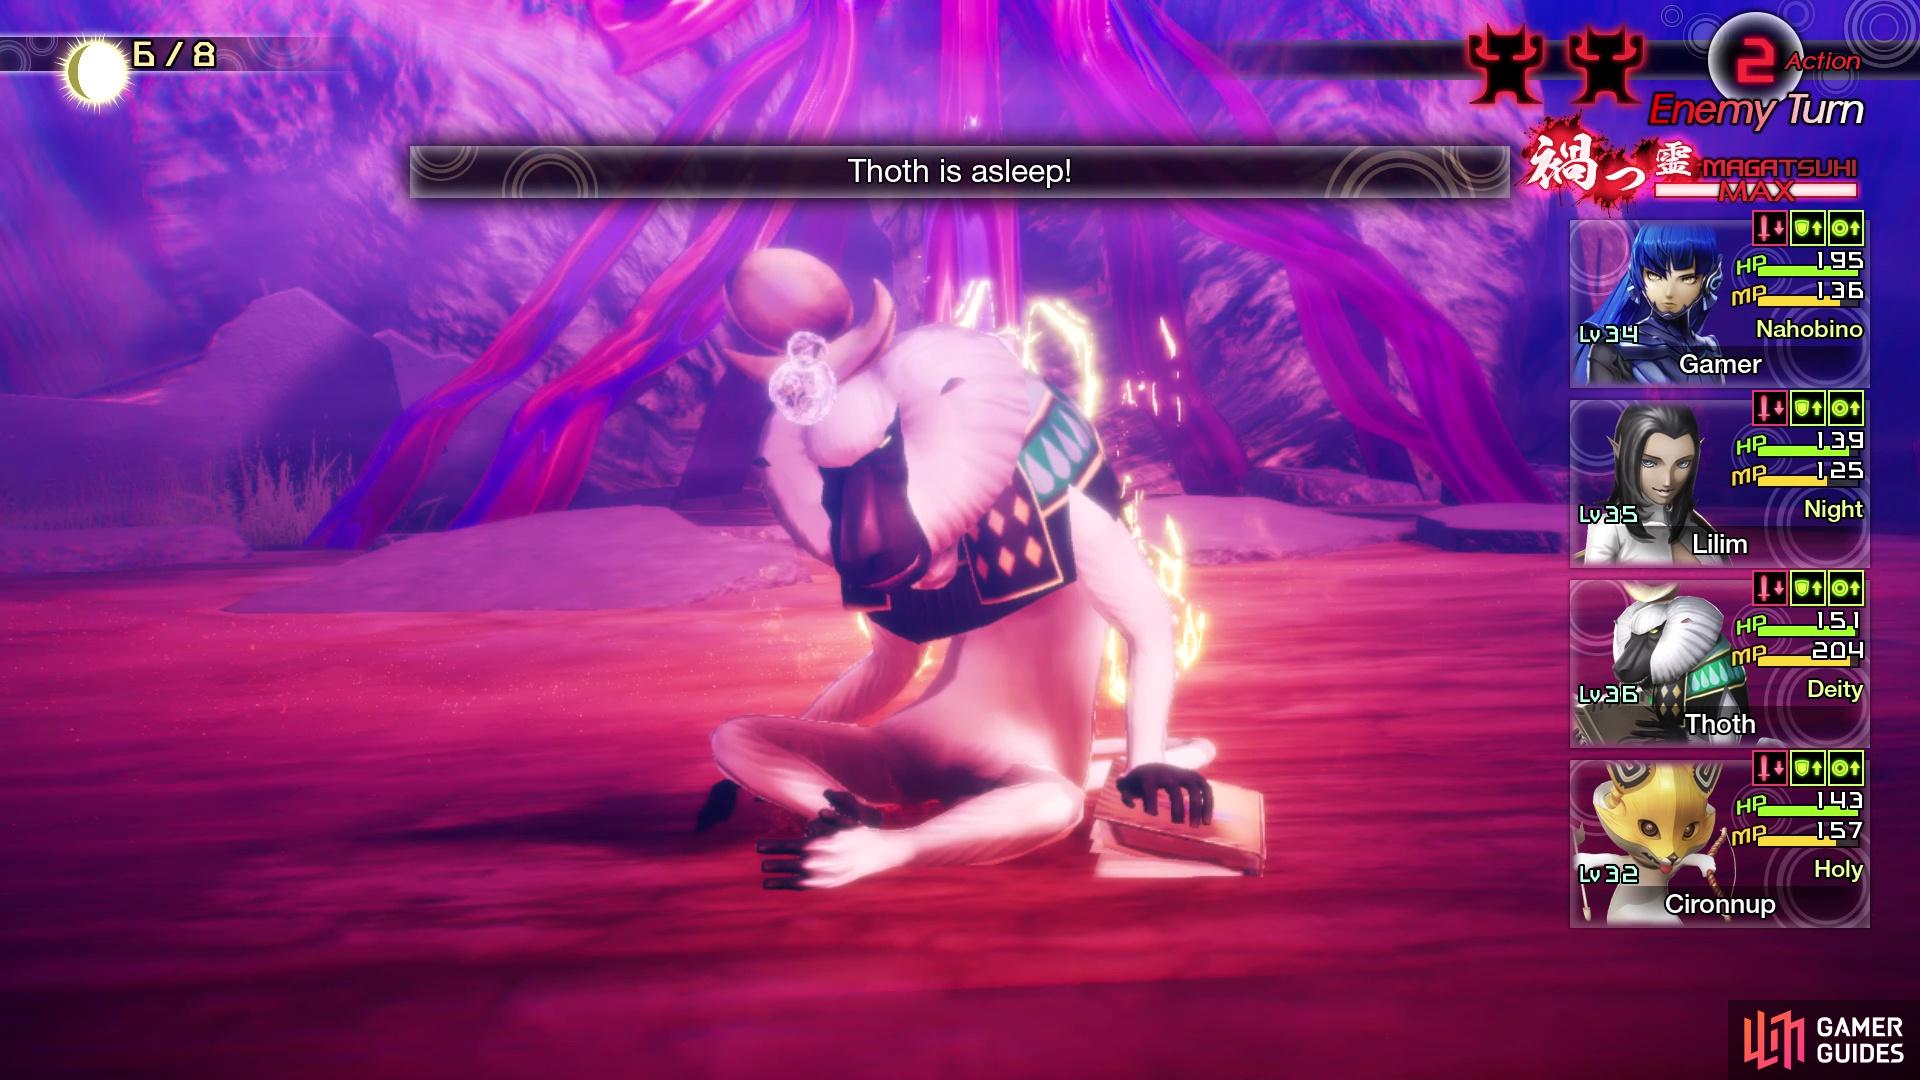
Putting him to sleep can make this battle a lot easier
Thankfully, the Thoth cannot buff itself, so you can debuff it with at least Tarunda. If you want to use Sukunda, too, then that means you might make him miss with some of his attacks, giving him fewer turns. There’s really nothing you can do about Diarama, other than try to take a chance to inflict Seal, although Thoth does have some resistance to this. He is weak to Sleep, though, so you could potentially exploit that by using it as your last action each turn to skip his. This can be a long battle, so don’t forget to keep your HP in check, since Megido can hurt.
| Miracle | Category | Effect | Glory |
|---|---|---|---|
| Race Transcendence | Supremacy | The Nahobino will become able to use race-specific Magatsuhi Skills help by other party members. | 100 |
| Constant Vigilance | Supremacy | The Magatsuhi Gauge increases a little at the start of a battle. | 100 |
| Healer’s Hospitality | Doctrine | The healing cost at leyline founts is reduced by 25%. | 40 |
| Empowering Cheer II | Awakening | HP and MP are fully recovered when leveling up. | 50 |
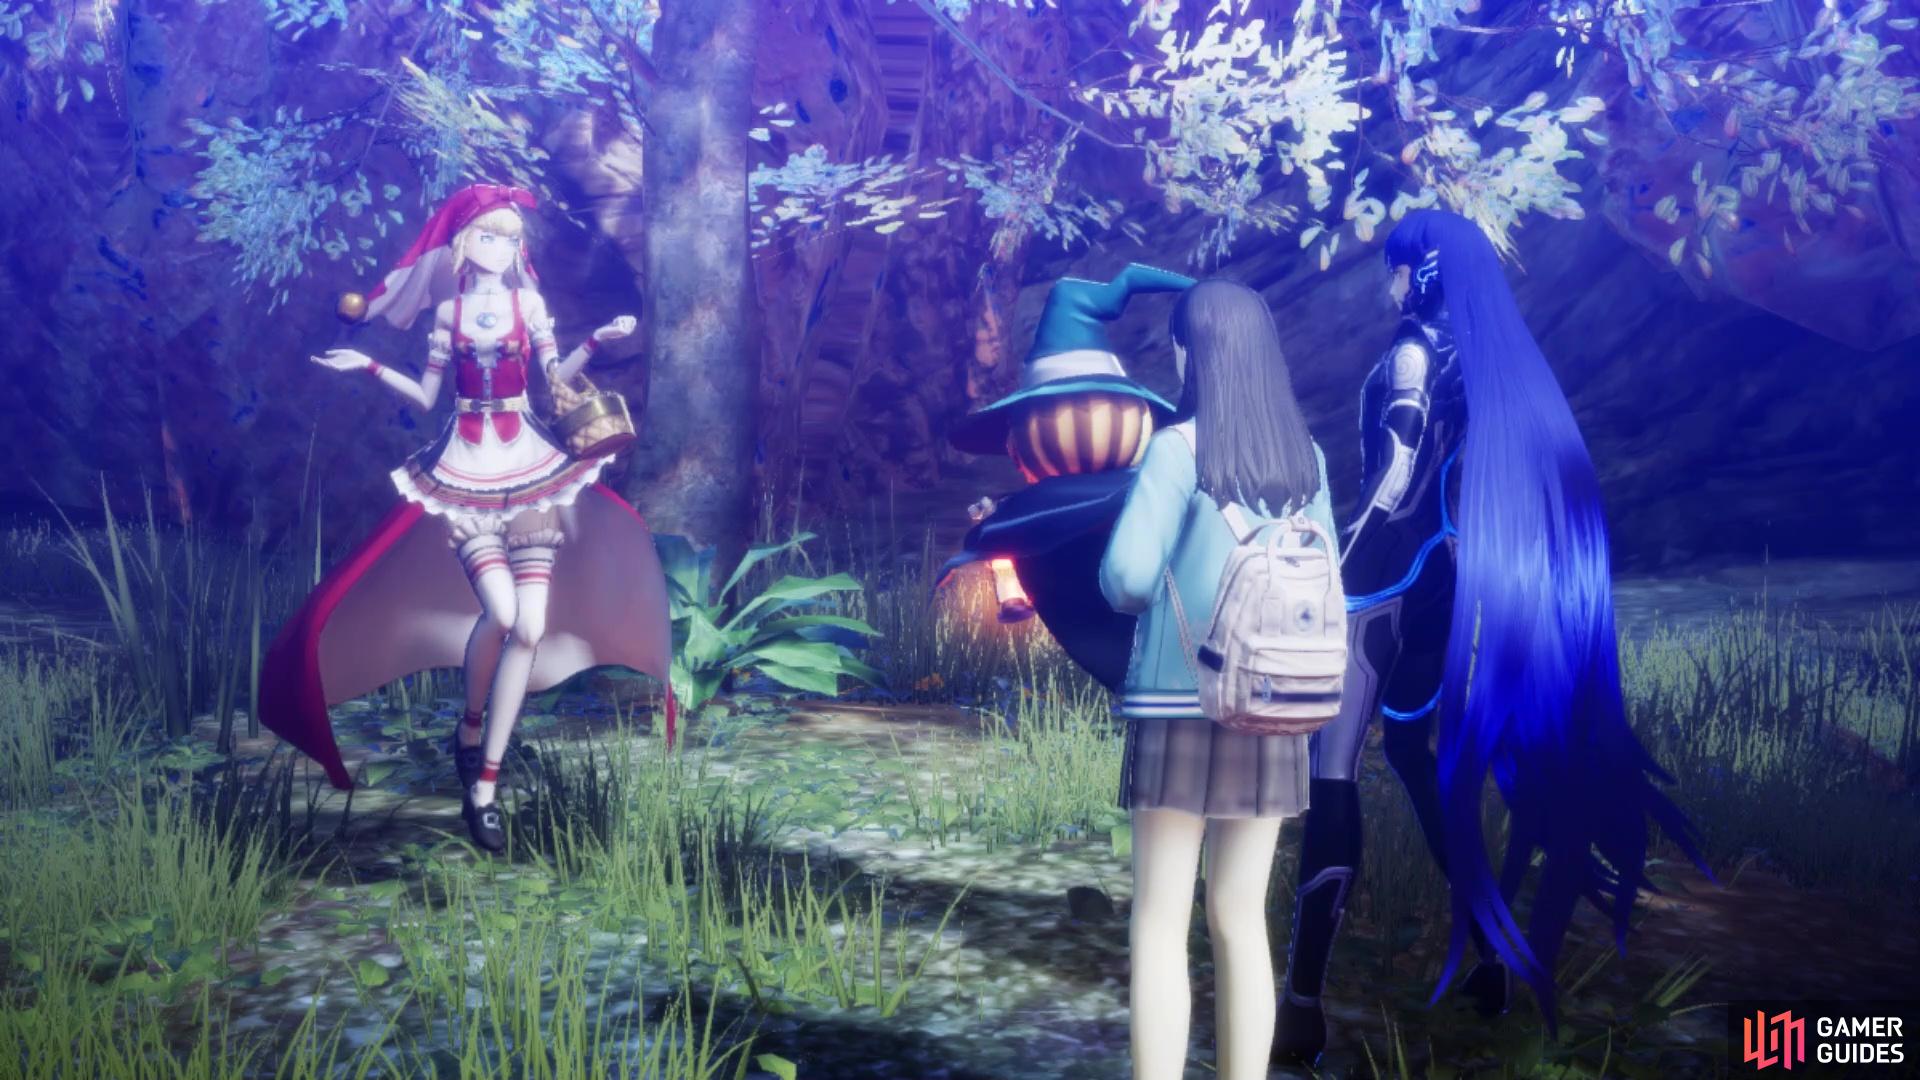
A Golden Opportunity
Teleport back to the Fairy Village Leyline and let’s begin collecting those golden apples for Oberon. Start off by taking the same path as if you were going to the Abscess above again. You will want to go up the little hill for the path leading under the train tracks, as you will find a Treasure Box there, which contains a Parvati’s Essence. Continue past the Basilisks like before, but stop at the climbing block. Look to the south of it, along the edge of the map, and you should find Miman #94 by the trees. Climb the block now and go straight southeast, as soon as you do, to find Golden Apple #1. Keep going past the Berith and Eligor, opting to find some vending machines at the end of the path to the right of the big hill.
Head to the next climbing block and check south of there to find Miman #95, along the cliff’s edge. Climb the next block and go straight east to find another Treasure Box (Bead), then double back and head onto the train tracks to the west. Follow this southwest, until you get to the second pack of Lilims. Just east of them will be a little hill, which will lead to another Treasure Box (Thoth’s Essence). Return to the other path now and go to the end of it, where you will find Golden Apple #2. Before leaving this little area, look over the edge to your west to see an Amalgam in a section below you. This isn’t on the tracks, as that leads to nowhere right now, but a little north of them. Loot the vending machines after dropping down, then grab Amalgam #17.
Drop down once more and make the trek back to where you looted the Bead earlier. Run up the hill and in the trees straight ahead, at the top, you will find Golden Apple #3. While you might want to explore a little more right now, head back to the Fairy Village and bring the apples back to Oberon. This will complete A Golden Opportunity, with your reward being 12000 Macca and a nice chunk of experience. Note that the Jack-o’-Lantern will leave you for now, and there will be a scene with Dazai, who says he found Sahori. If you head back to near the Leyline here in Fairy Village, you can speak to the Jack-o’-Lantern to ask him to join you as a Navigator once more. You will also unlock a few subquests at this point, which are as follows:
You have the option to continue with the main story now, but there’s still a good bit left to explore in the North and South Shinagawa areas.
North/South Shinagawa Exploration
The last place you left off at was where you got the third golden apple, which was at the top of the large hill, right before the multiple climbing blocks. Go ahead and climb them now, then do the same with the next set. Pass the second set of Baphomets you come across and go to the end, where you will find Demon Statue #8 - Nue. Drop down to the path right before the first set of climbing blocks and pretend you were going to the location of the Abscess. Along the way, you will find another path leading to the east, so head in that direction now. You will find two Basilisks on this path, then it will open up a little bit, with some Lilims and a Black Ooze.
Check north of those enemies to find Miman #96 in a little corner, next to a rock. A little further east from the Miman, will be a path leading north-northwest. Take this to the end, where you will find the Cironnup for this region, who asks for 10,000 Macca for showing the locations of Mimans on the map for you. Of course, if you’ve been following this guide, then you can save your money. While still up there, though, look west of the Cironnup to find an area you can drop down to, so do that now. Here, you can find a Treasure Box with a Charge Gem inside, as well as an Incubus who will give you the The One I Love subquest. He will have you delivering a letter to that one Silky in the Fairy Village.
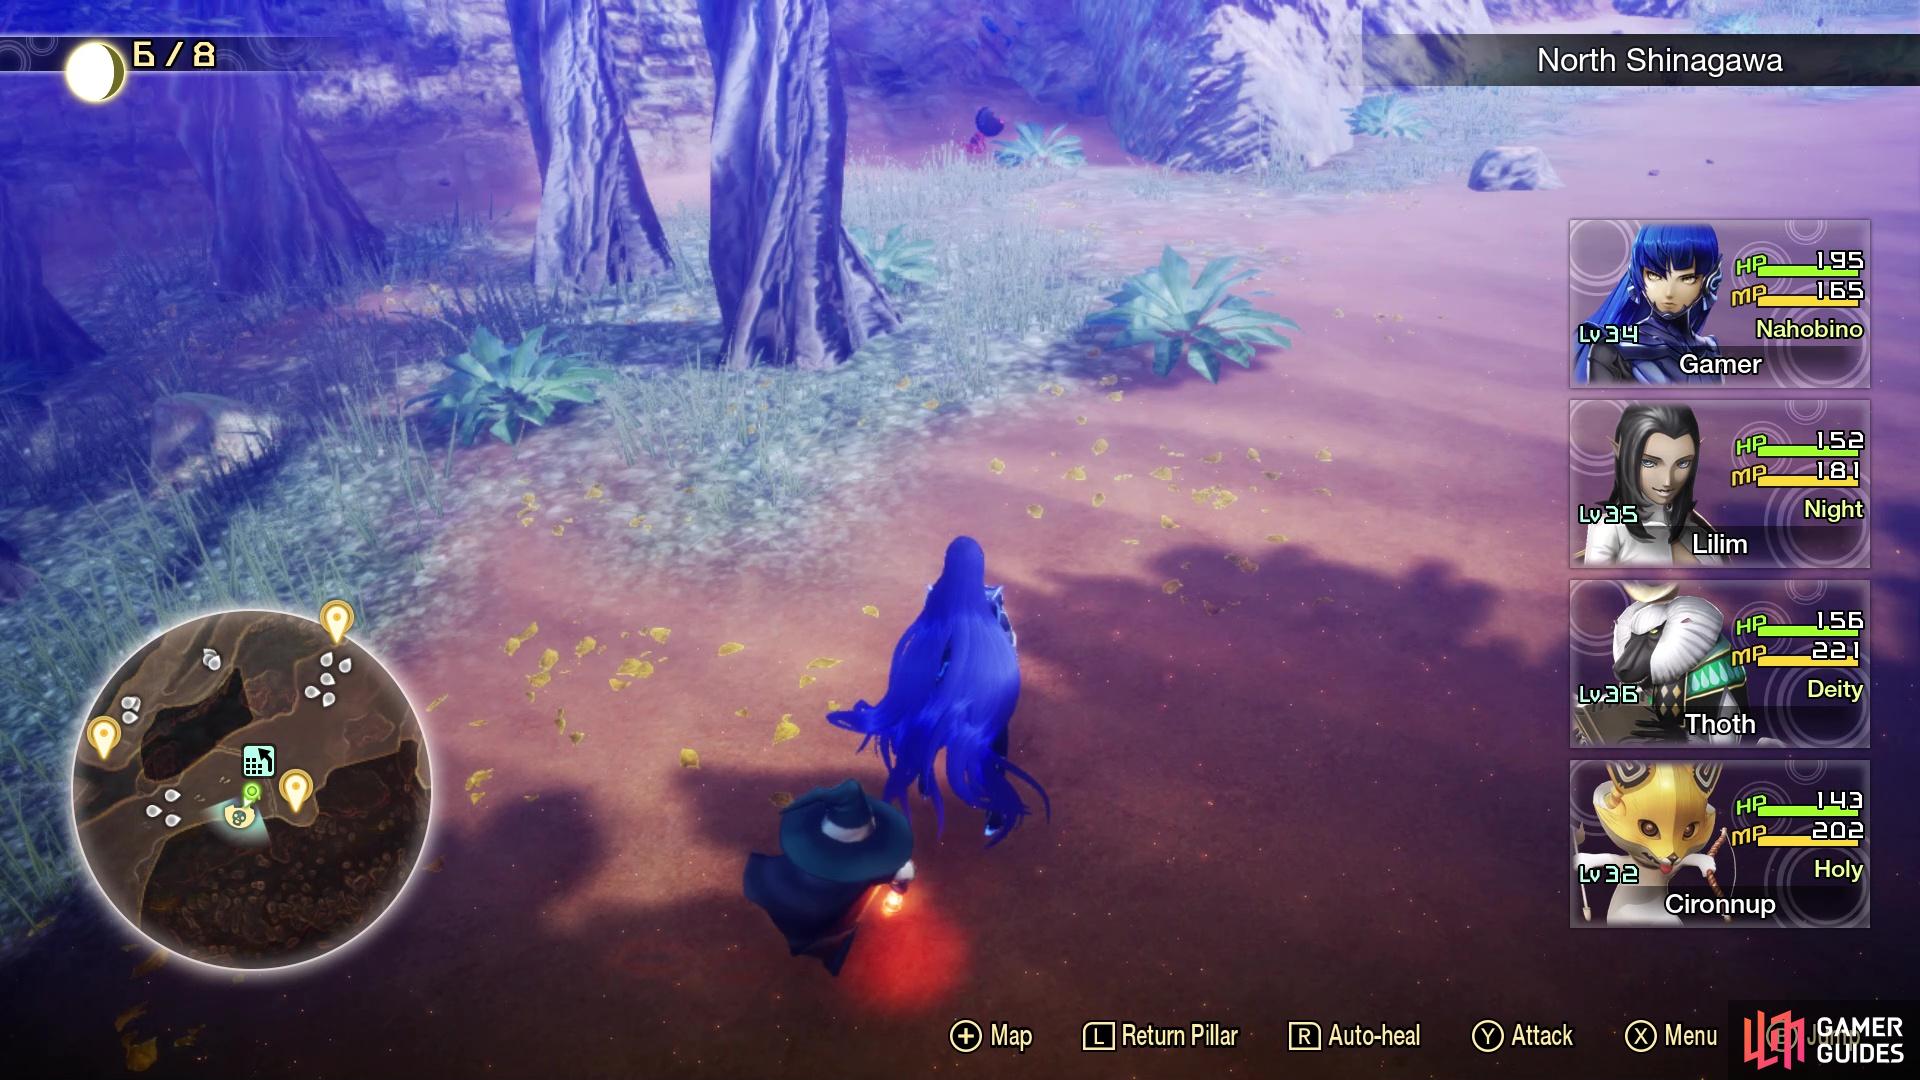
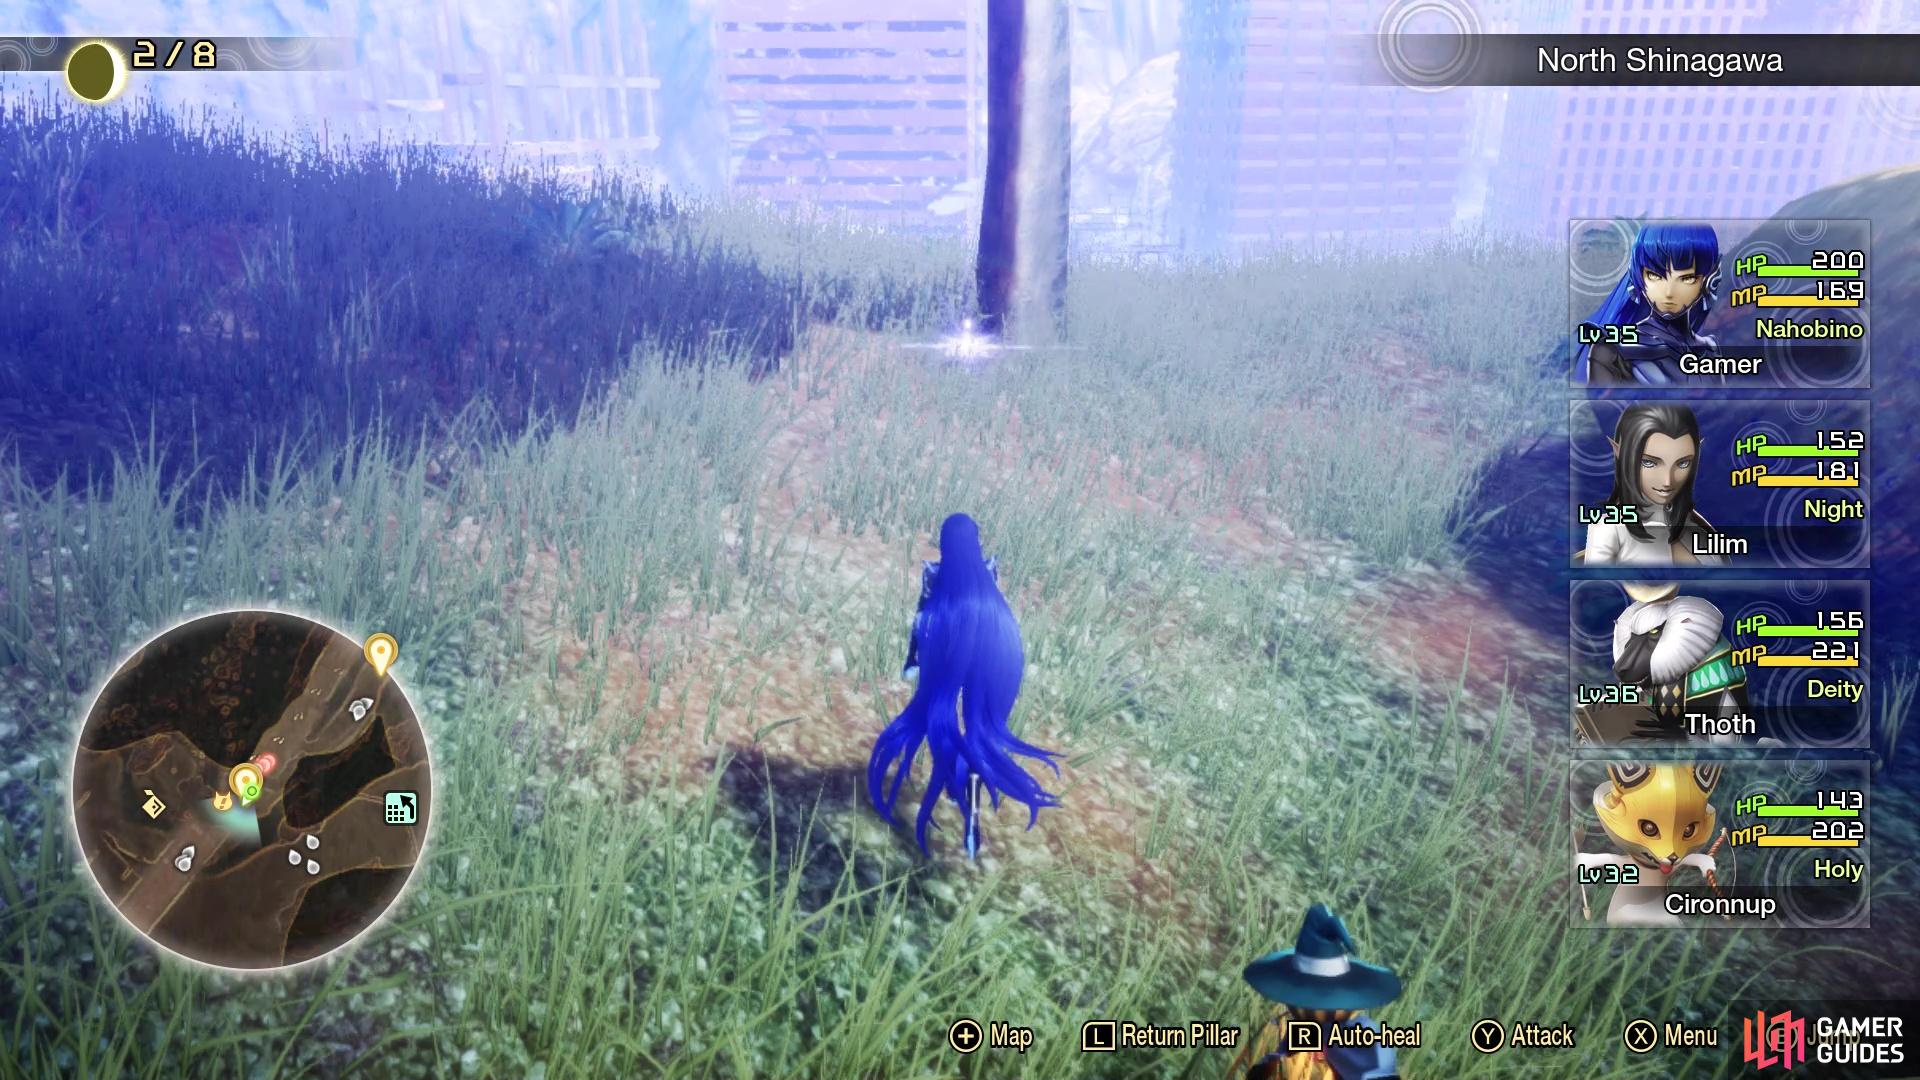
Make your way back to where you found the previous Miman and drop down the cliff just south of it, which should put you close to the North Shinagawa Leyline. Register it, then hop into the nearby river and follow it southeast, to the very end. You will find Miman #97 on a rock, as well as three Treasure Boxes on the opposite shore. These will contain an Amrita Shower, an Aogami Type-5 Essence, and an Anahita’s Essence. The Aogami Essence grants Nahobino the Kannabi Veil skill, which will decrease damage done to all allies until the next turn. Return to the North Shinagawa Leyline and you should see a Treasure Box a little bit southwest from it, on the map. Go across the river and hop onto the rocks, which is where the treasure is (Grimoire x2).
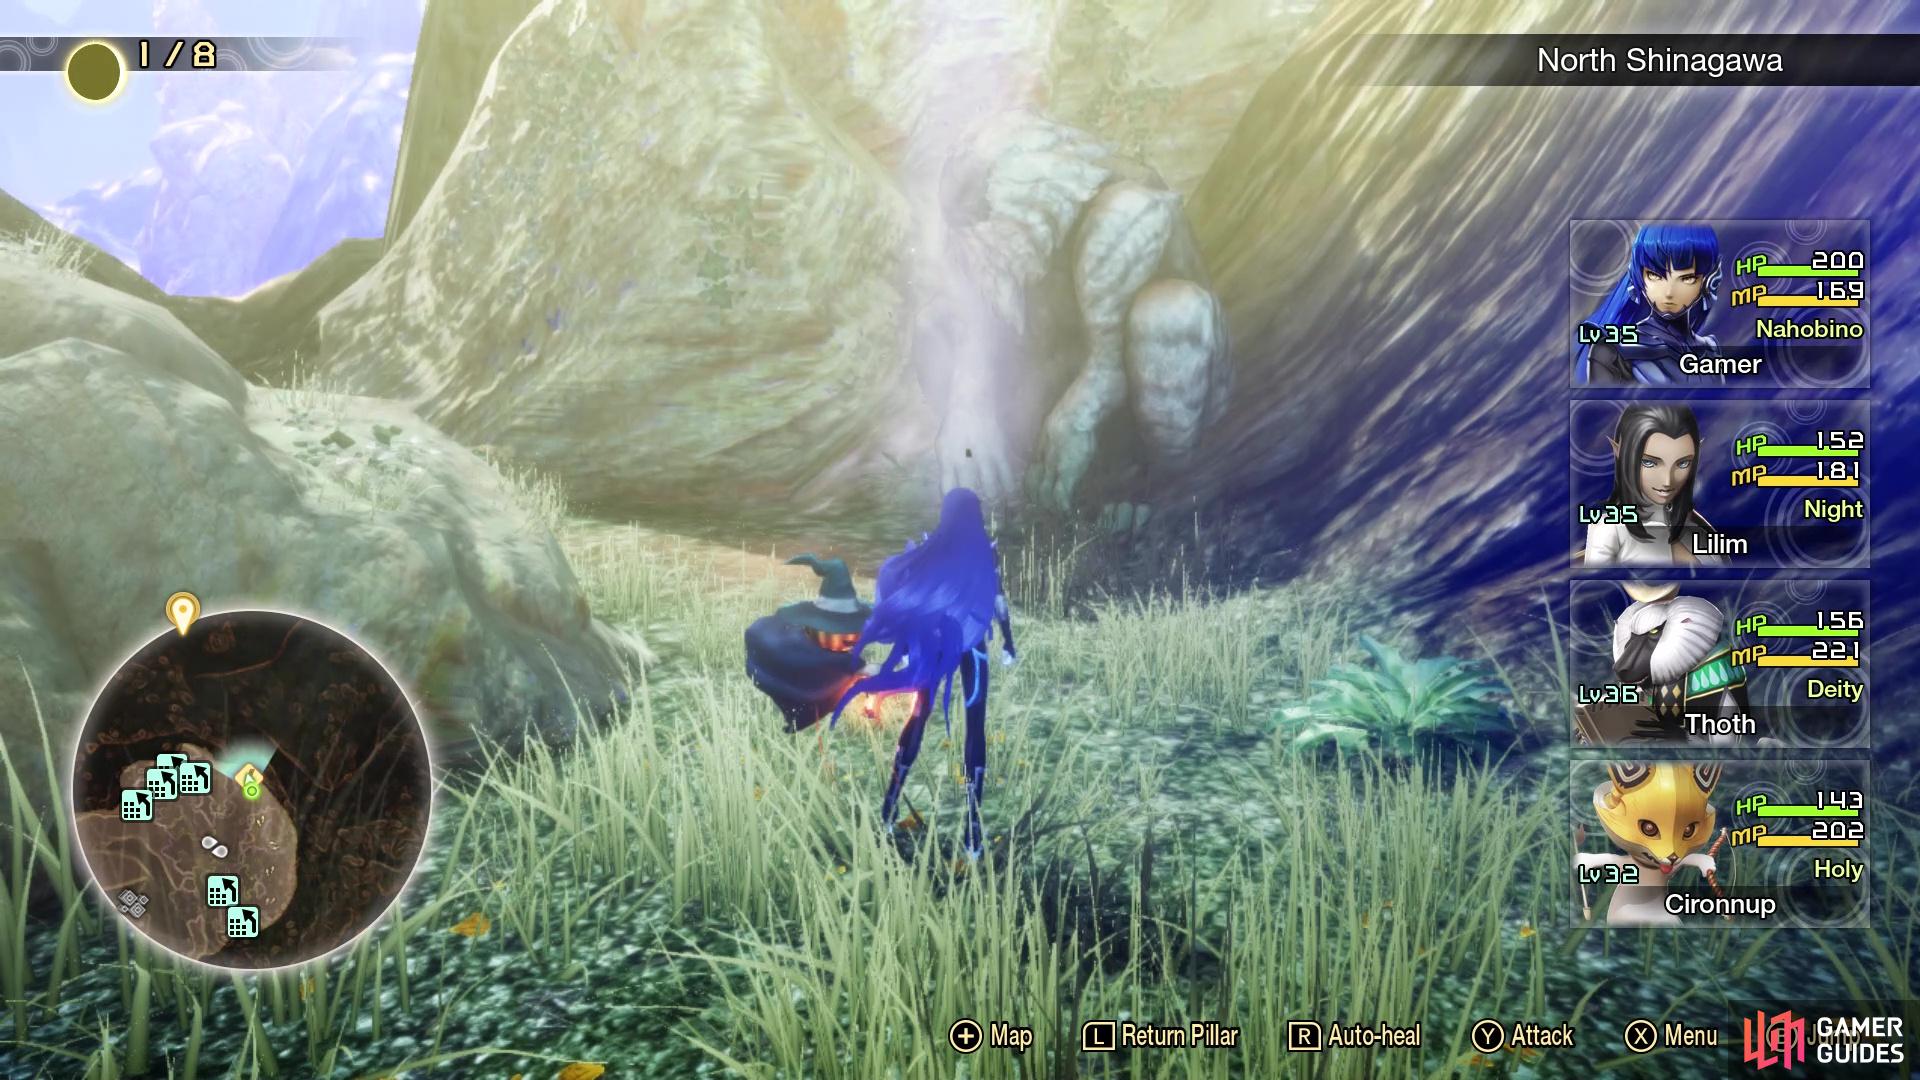
Directly south from the Leyline, you should be able to find a path that leads up into the mountains. Once you find it and reach the spot with the group of Black Ooze demons, you can head east and find Amalgam #18 behind a Setanta. If you head west of the Black Ooze demons, you can drop down to another section, where you have one of two choices to make. There’s another drop down point just east, where a Treasure Box lays (Soma). Return to the same choice as before and drop off to the west, where you will find the Zouchouten Punishing Foe. He is level 36, so it is possible to take him on now, if you wanted, but for the purposes of this walkthrough, you can come back a little more prepared. There will be some rocks to the west of Zouchouten, so head out on them.
There are two spots where you need to drop off the rocks in order to get something, meaning you will have to make the trek back to the rocks to get the other item. If you look over the edge in the southwest corner of the area, you will find Demon Statue #9 - Tsuchigumo. In the northwestern portion of the rocky area, you are looking for a small ledge below you, where you can drop down and find Miman #98. Once you collect both things, hop down to the river and look underneath, on the northern side, for a Treasure Box (Baphomet’s Essence). That wraps up the exploration for these two areas, so it’s time to continue with the story.
No Comments