
This is a walkthrough for Demon King’s Castle of Shin Megami Tensei V, taking place in the 2nd Stratum area. How to complete every objective and find every chest.

You’ll meet some angels inside the castle
Demons
Items
| Name |
|---|
| Muscle Drink x2 |
| Moloch’s Essence |
| Hydra’s Essence |
| Critical Gem x2 |
| Light Shard x5 |
| Grimoire x2 |
| Nue’s Essence |
| Chernobog’s Essence |
| Bead Chain |
| Phys Dampener x2 |
| Purge Charm |
| Chakra Pot |
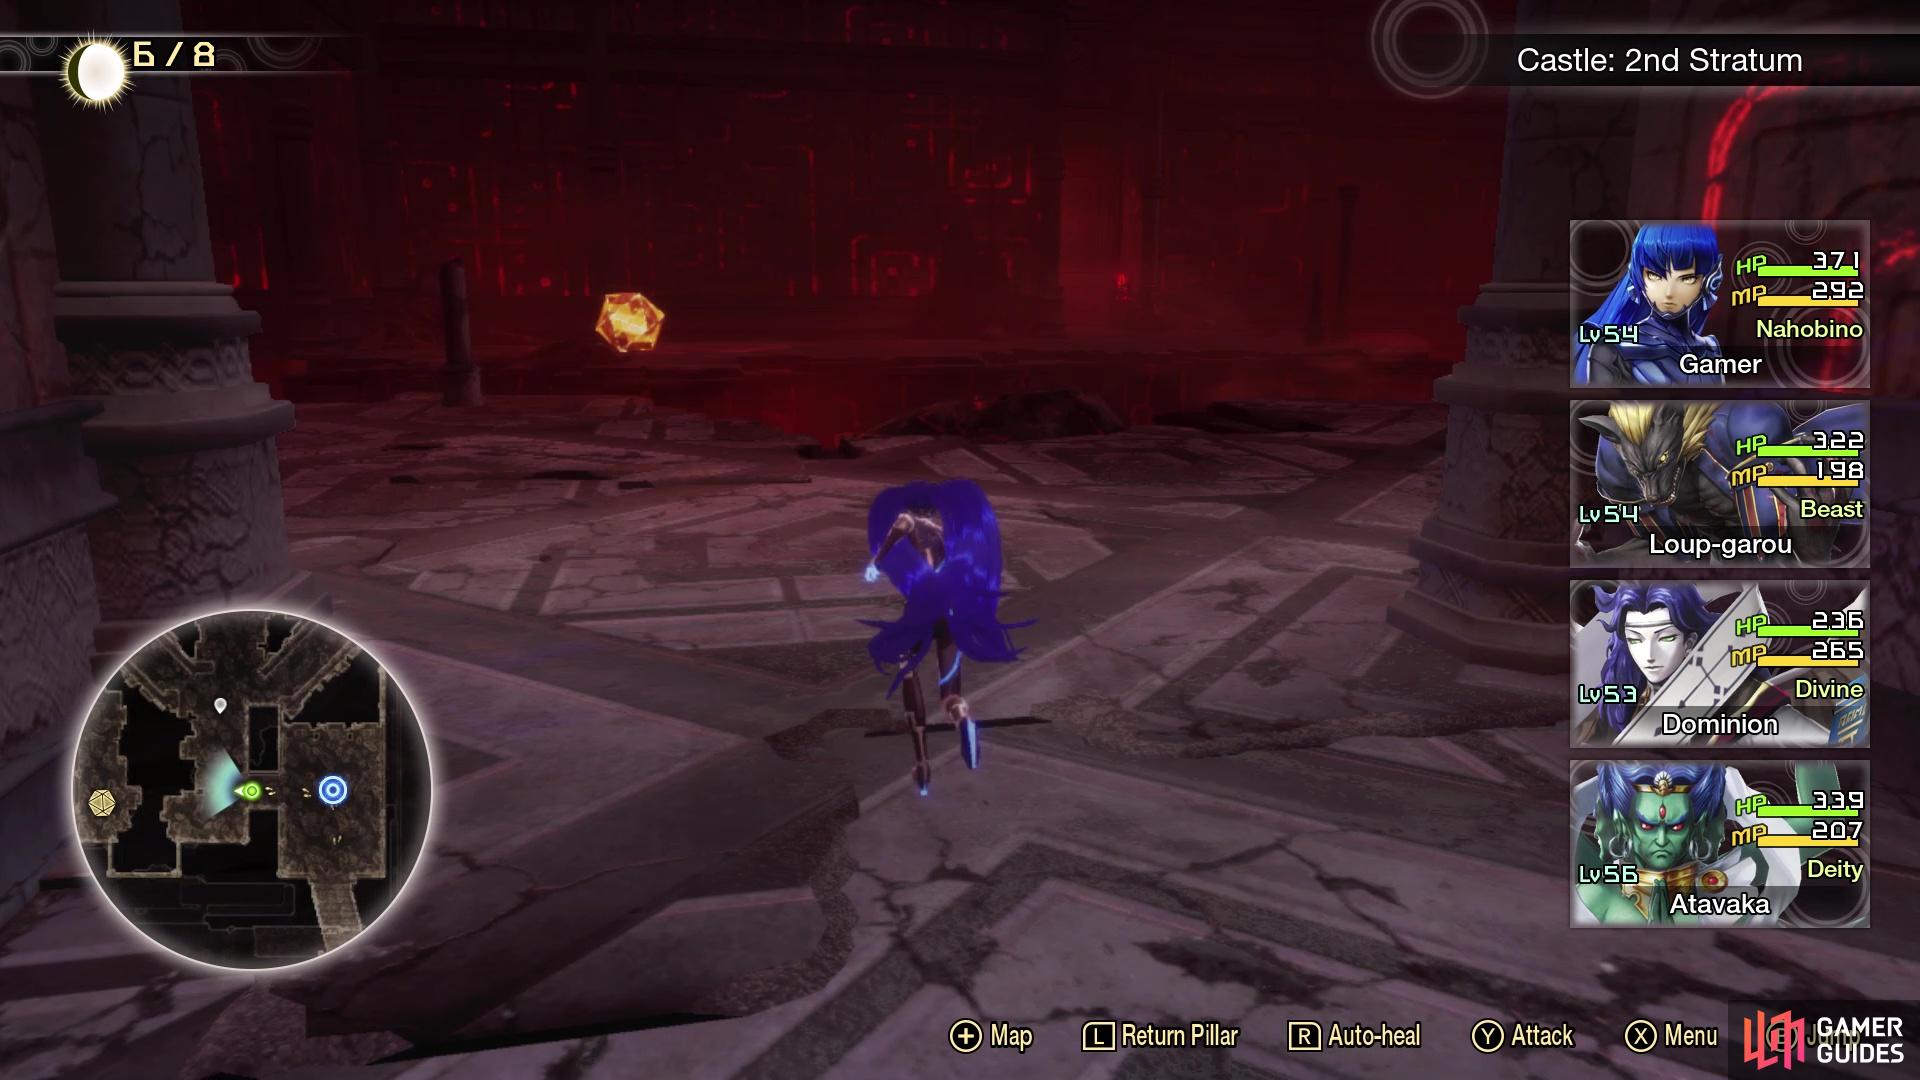
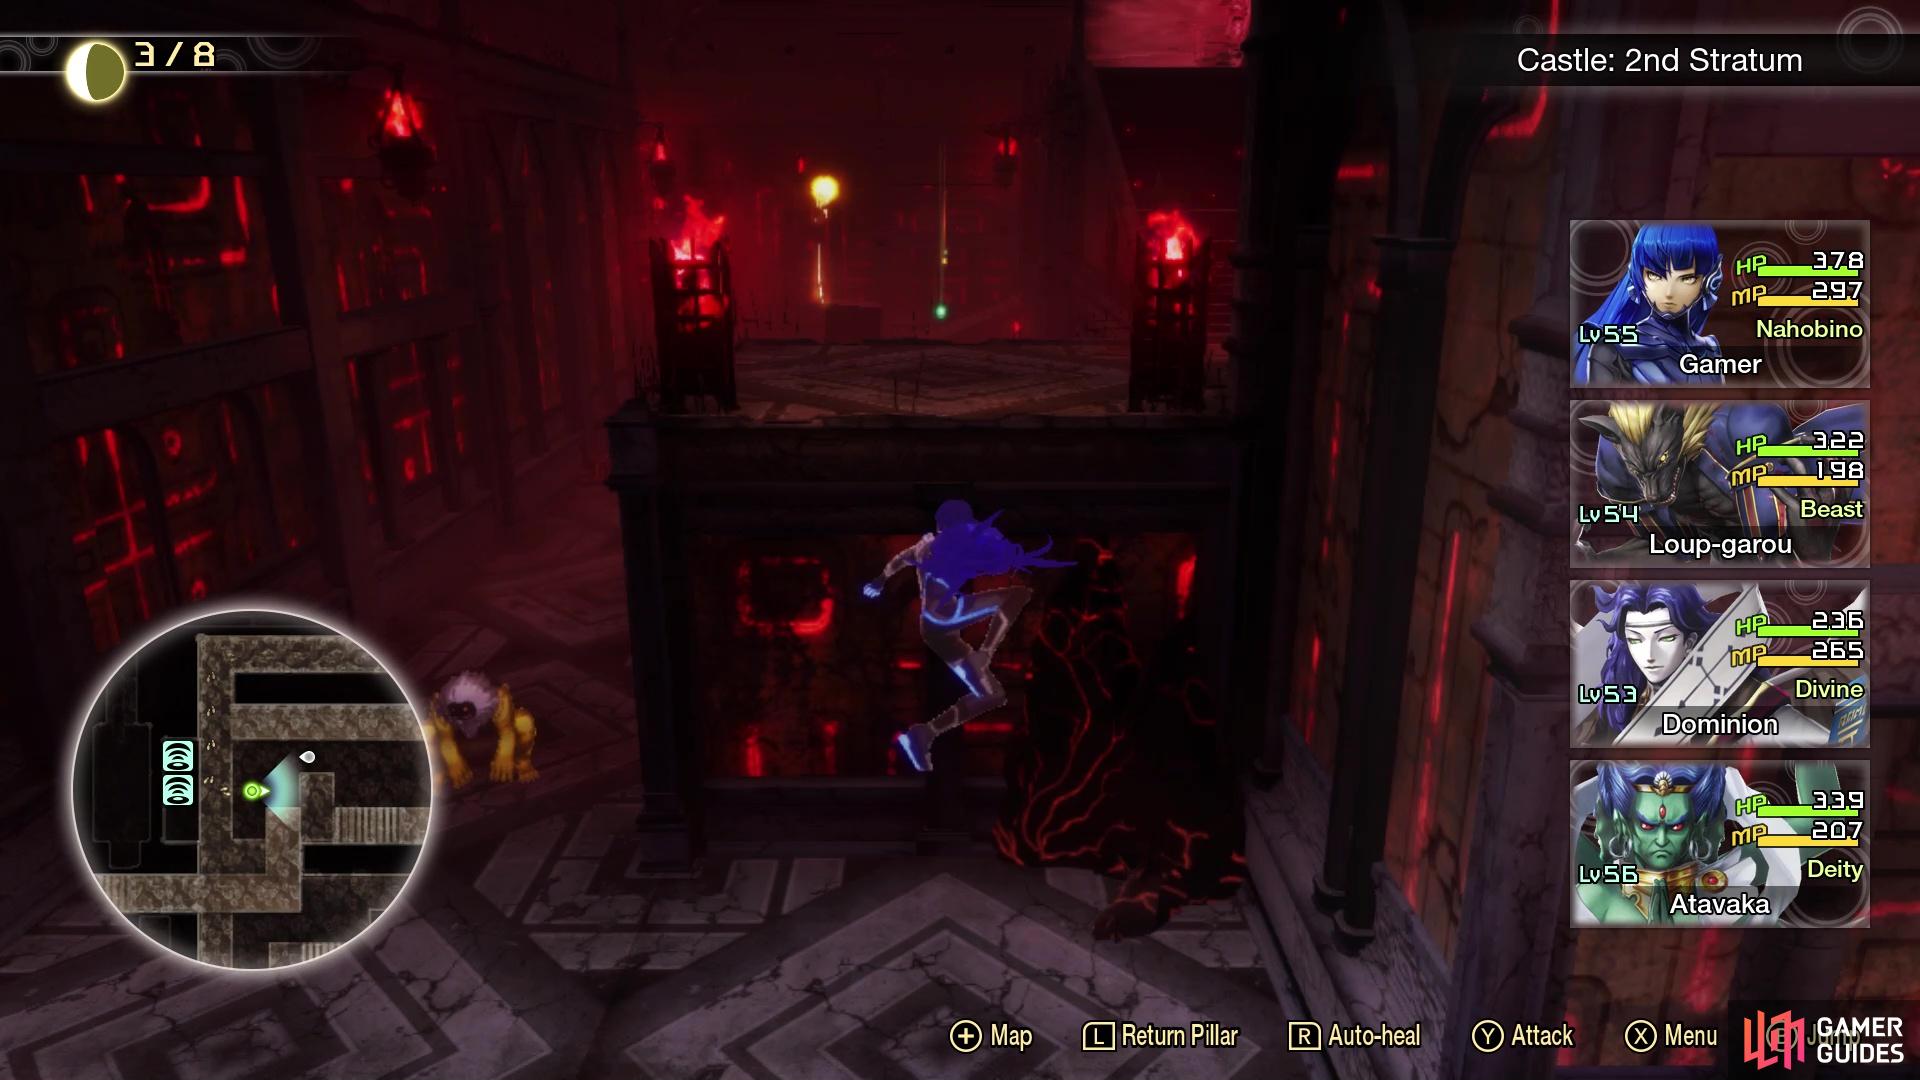
Upon first entering the 2nd Stratum, walk forward a little bit to witness a short scene with some agents of Bethel. Once they’re gone, go ahead and touch the fount to register the Castle: 2nd Stratum Hall Leyline. Head west from leyline to arrive in what looks like a main hall, of sorts. There’s nothing of note here, except for some Orobas running around. Head to the northwest corner to find a door to pass through, reaching the next room. Climb the stairs in front of you, then drop off the ledge and go up the second set of stairs. As you round the corner, you should see a small pit area with some Nue, so hop down and look behind the one for a Treasure Box (Muscle Drink x2).


(1 of 2) You’ll have to get this treasure from the other side

You’ll have to get this treasure from the other side (left), There is a treasure behind this Nue here (right)
Use the stairs down here to find a path that allows you to return to the beginning of the room. Double back to right before dropping down to the Nues and round the next corner, where you will be dropping down once more. There will be more stairs here, as well as another path that has a Nue guarding it. Go up the stairs, then do a U-turn and jump over the little gap to your south. Follow this hallway to stairs leading down, which will bring you to a door that takes you out to the first room, where you can collect the one Treasure Box you saw and couldn’t reach earlier (Moloch’s Essence).
Make the trek back to the path with the Nue previously mentioned, and fight your way past the demon. Run up the stairs behind the Nue, then drop down to another little section that has another Nue. Ignore the stairs here, as they just let you return to a previous spot, and fight your way past the second Nue. As you climb the stairs here, you will have some corpses pointed out to you. Round the corner and some more will be shown, with Aogami saying that he’s detecting a powerful demon up ahead, so get ready for a boss fight.
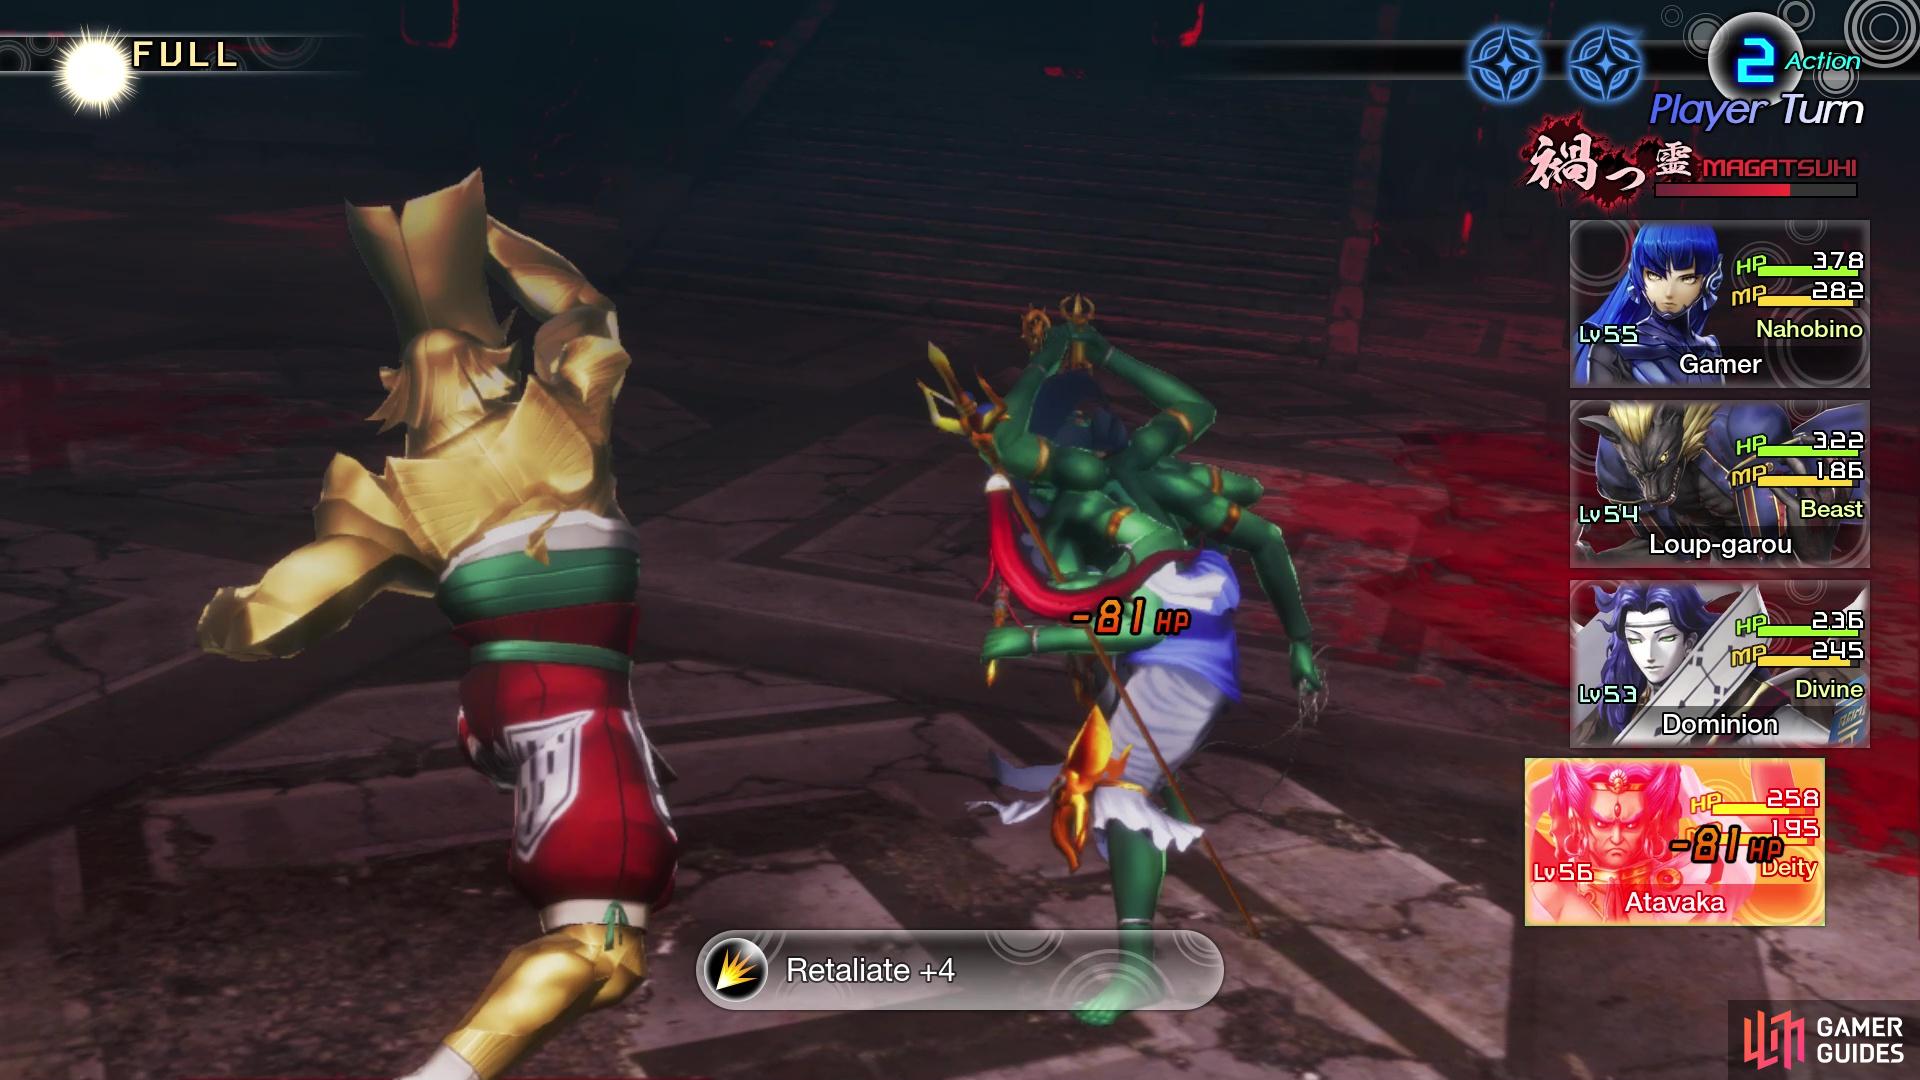
Boss: Chernobog
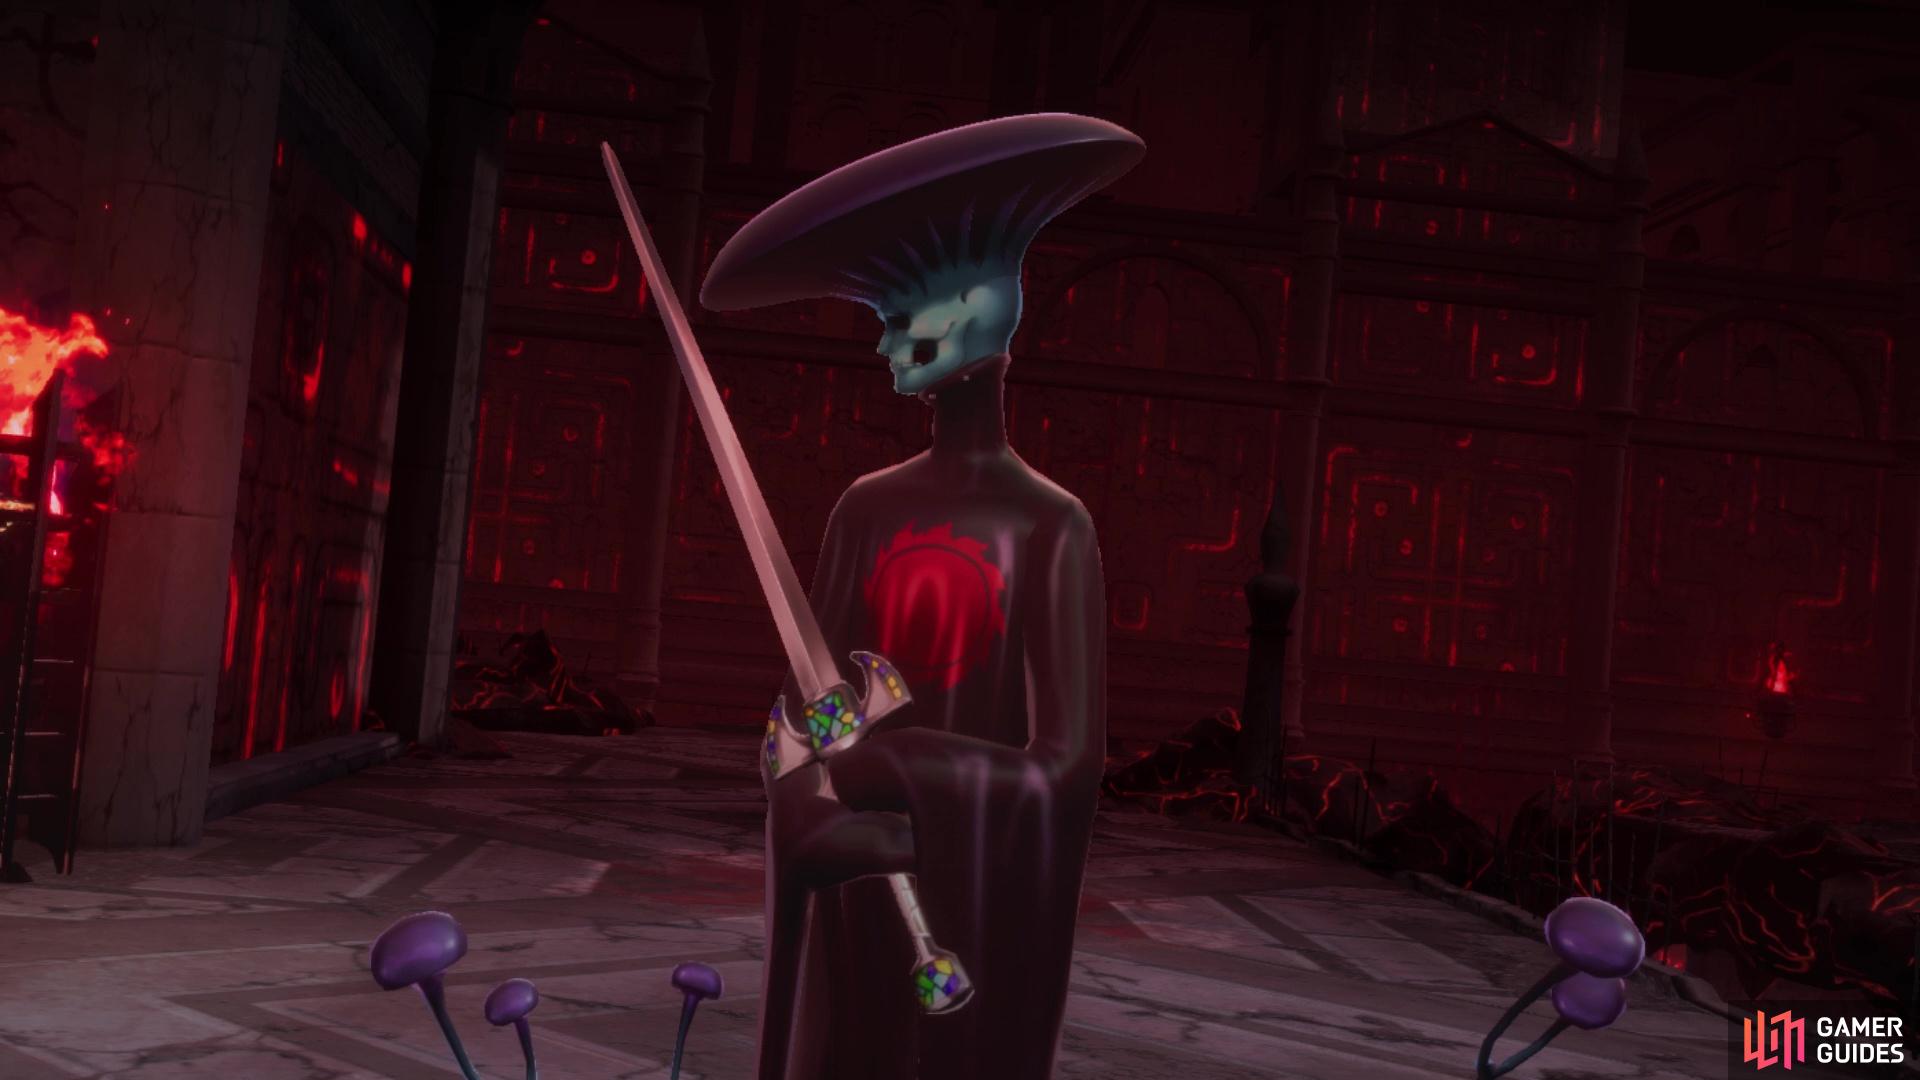
Chernobog can be quite a difficult boss
| Icon | Name | Lv | Weakness |
|---|---|---|---|
| Chernobog | 53 |
| Type | Skill | Effect |
|---|---|---|
| Dark Sword | 2 medium Physical attacks to 1 foe. Chance of inflicting Seal. | |
| Blight | 2-4 medium Physical attacks to random foes. Chance of inflicting Poison. | |
| Toxic Spray +4 | Chance of inflicting Poison to 1 foe and lowers Defense by 1 rank for 3 turns. | |
| Fang Breaker | Weak Physical attack to 1 foe. Lowers target’s Attack by 1 rank for 3 turns. | |
| Pierce Armor | Weak Physical attack to 1 foe. Lowers target’s Defense by 1 rank for 3 turns. | |
| Blinding Strike | Weak Physical attack to 1 foe. Lowers target’s Accuracy/Evasion by 1 rank for 3 turns. | |
| Mamudoon +3 | Heavy Dark attack to all foes. Chance of instakill when striking weakness. |
As you can see from the skillset above, there are a lot of debuffs and ailments in Chernobog’s arsenal. Because of that, it’s a good idea to have Dekunda here to get rid of them. Additionally, if you have your own set of debuffs, you can use those to counter the boss’ debuffs, so you are kind of playing on the same level. Chernobog is weak to Light, while being immune to Dark, so you will want to make sure you bring along some demons who can use Light skills. Of course, you also have access to Light Gems in the shop, so those are another way to go about things here, but you are only limited to 10 of Shards and Gems, which won’t be enough to defeat the boss. You will also want to bring along some Amrita Sodas, or have someone with Me Patra, for the ailments.


(1 of 2) He will be spamming the debuff Physical attacks
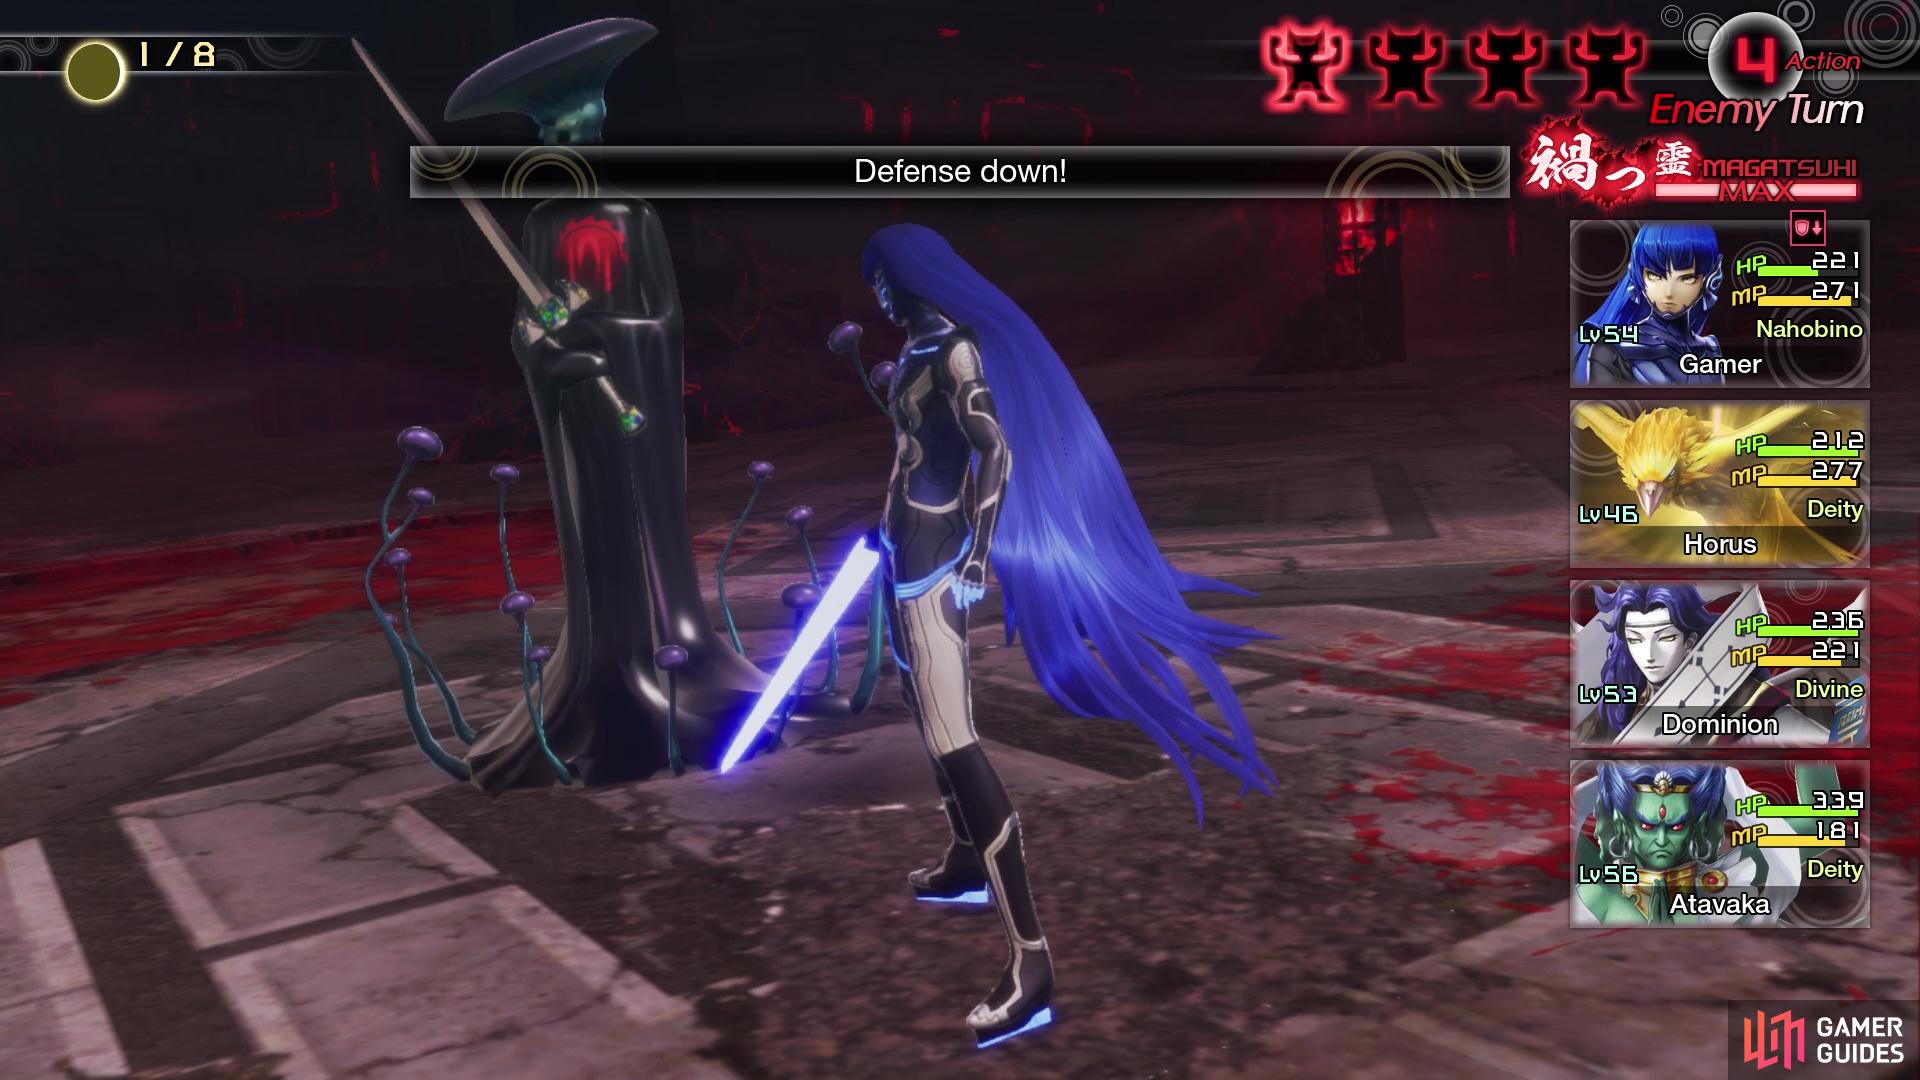

He will be spamming the debuff Physical attacks (left), His focusing of one character will become troublesome for some (right)
One of the things that Chernobog has over other bosses is that he gets four turns per round, instead of the usual two. That means that whenever he uses Mamudoon as his Magatsuhi skill and you use a Dark Dampener to block it, he will still have two turns left over after it, so you will have to brace for those extra actions. Chernobog does seem to concentrate on a single target, until he has gotten all three debuffs on them, although he will stop if it doesn’t happen in a single round. He will likely just continue using those Physical attacks with debuffs until he has gotten them on everyone, with some of the other skills sprinkled in to mix things up a little bit. Because of this tendency to focus on a single character at times, they might be killed easily, so be careful with weaker demons.
2nd Stratum Exploration Continues
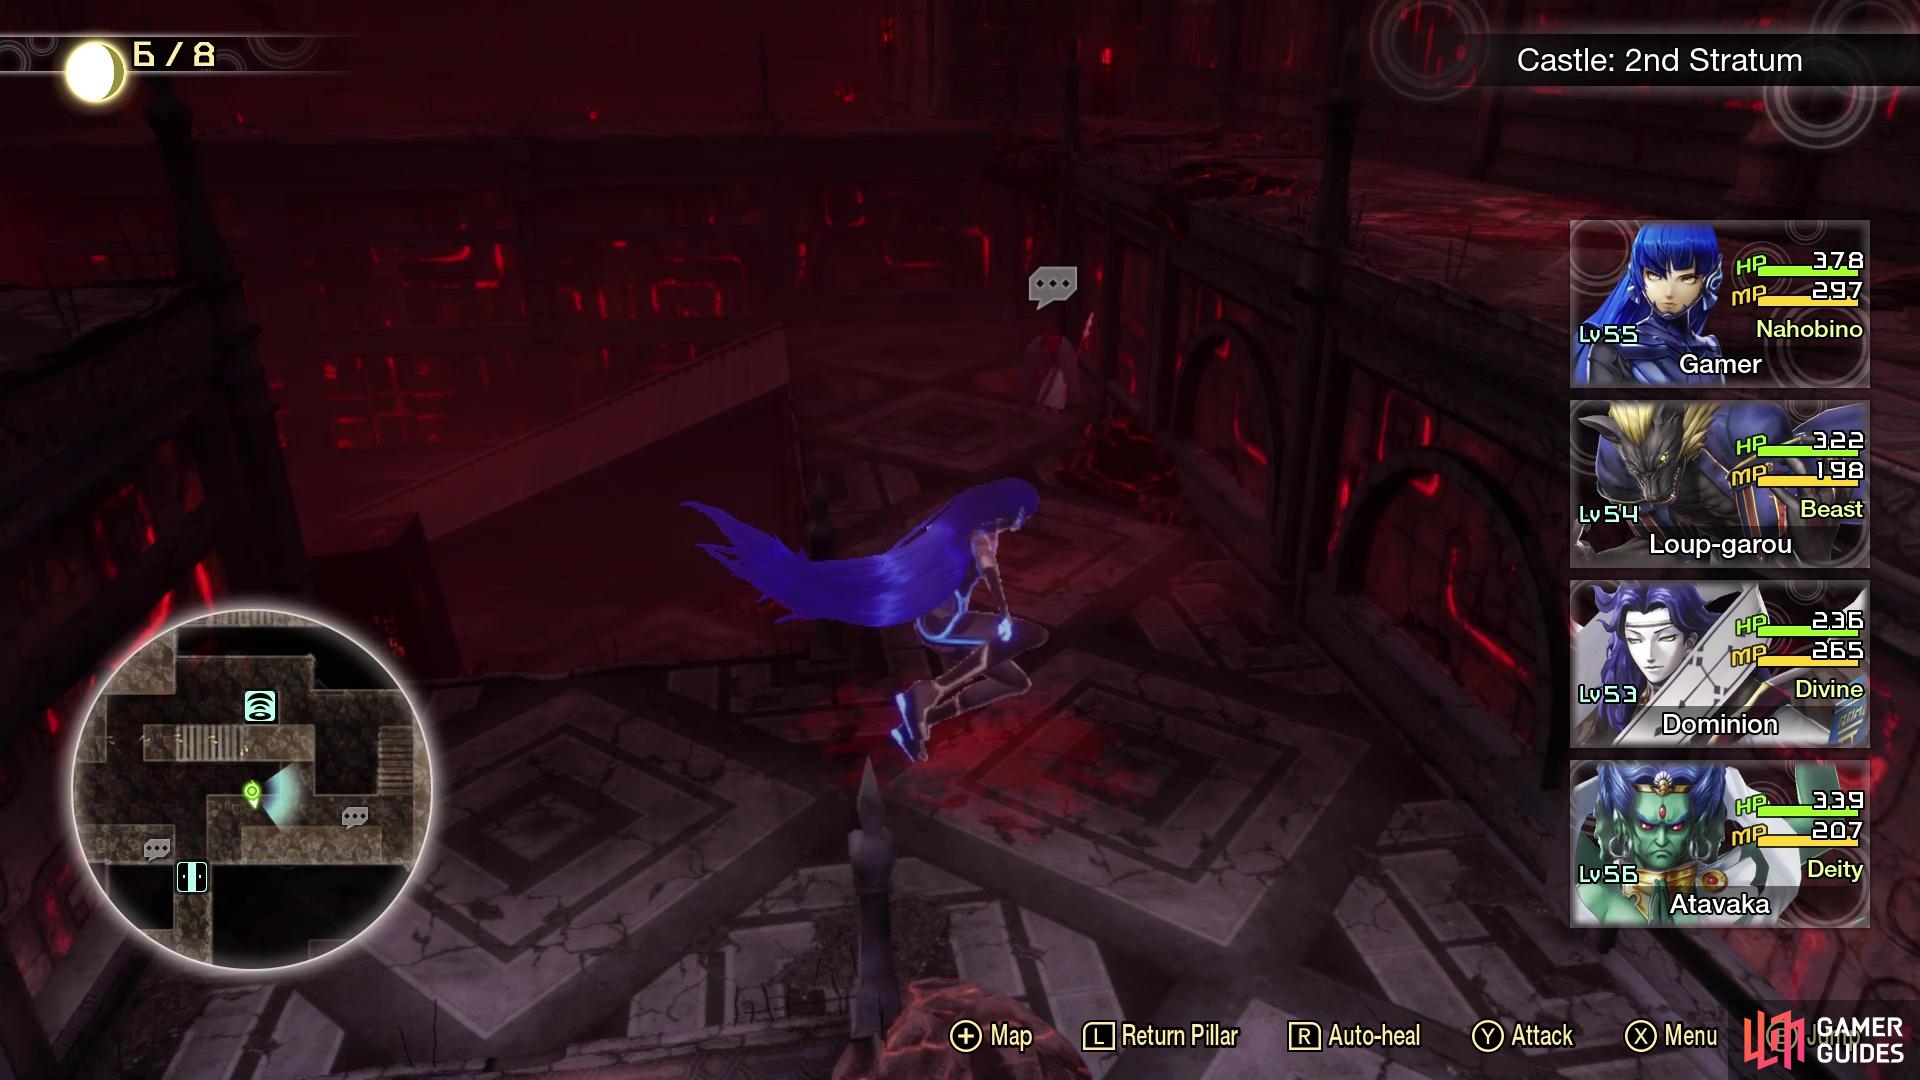
Once you’ve defeated Chernobog, you will see a little pop-up saying you can now fuse Chernobog. If you are low on health and MP after the boss battle, there will be a Nue right behind the boss’ location and it might aggro you, so be wary of that. Continue straight ahead, past the Nue, and jump across the gap to the north. From there, you want to go east, then south, to the two Treasure Boxes (Hydra’s Essence and Critical Gem x2). The exit to the next section will be in the northwest corner of the room. There will be nothing to the east, so find the path to the northwest and follow it until you reach the stairs.
Speak to the Power here, who mentions being blown elsewhere from a Wind Panel, which will come into play very shortly. Past the Power, you will eventually reach another NPC, an Orobas, who mentions being purposefully blown across gaps using the Wind Panels. Use the first one just next to Orobas to blast yourself over to the north, then hop over the gap and head up the stairs to find a second Wind Panel to use. Follow the path here, jumping over the little gap, then go down the stairs to another Wind Panel. You will see some Nues and Orobas in the area below, but there’s no reason to go down there yet. Let the wind blow you across to a platform, then keep going to the other side of the room.


(1 of 2) You will need to use the Wind Panels to cross large gaps
You will need to use the Wind Panels to cross large gaps (left), with some instances requiring a specific panel (right)
Ignore the three Wind Panels here, as you don’t want them to knock you off, so just run past them when they are not on. Past those Wind Panels, jump over the gap to the west, then follow the northern path (Magatsuhi orbs here) to yet another set of three panels. Wait until they are off, then stand on front of the middle one, which will blow you across to some stairs. Sprint past the panels at the top of the stairs, hopping over the gap and going to get the Treasure Box to the north, for Light Shard x5. Double back to the Wind Panels you ran by and stand in front of the one right at the top of the stairs to have it blow you across. There will be another set of four panels here, so stand in front of the third to get access to the door out of this area. In this hallway, you will find the Castle: 2nd Stratum Stairs Leyline.
2nd Stratum Stairs
There will be a Kin-Ki on the bottom here, patrolling, who is a new demon. Fight/run past him and go to the third set of stairs on the far end, as the other two lead to nothing. Hop over the gap, then drop down and use the next stairs, continuing south until you eventually reach a bigger, open area. Go down the stairs just north of you, then stick to the northern side as you head east. If you encounter a Kin-Ki, then you’re in the right spot. On the eastern side of the room, you will find some stairs leading to the middle level. Climb those stairs, then the next set, and jump over the gap to the north, where you see the two Kin-Ki demons. To the east of them, break open the Treasure Box for Grimoire x2.
To the northwest of the Kin-Kis, you can hop across the gap to reach the northern end of the room. Follow the platforms here to the northeast corner, where you will find two more Treasure Boxes (Nue’s Essence and Chernobog’s Essence). To the west of the Kin-Kis from before, there will be more platforms to jump across, leading you to the southwest corner and the door. However, don’t go through it yet, as you can drop down next to the door to find one more Treasure Box (Bead Chain). Make your way back to the door and head into the next area, where you will come across the Wind Panels once more.
The difference with previous areas is that the panels will be on the ground, meaning the wind will blow you upwards. Step on the first one, right in front of you, to land on the pillar right next to it, then jump down to where you see the Kin-Ki patrolling. Drop down in the next portion, watching out for the Nue on the side, then follow the path around to a second Wind Panel on the ground. Blast off to the ledge to your east, where you will find a Treasure Box at the end (Phys Dampener x2). Return to the Wind Panel and have it knock you over to the platform southwest of it.


(1 of 2) Kin-Ki will counter any Strength-based attacks
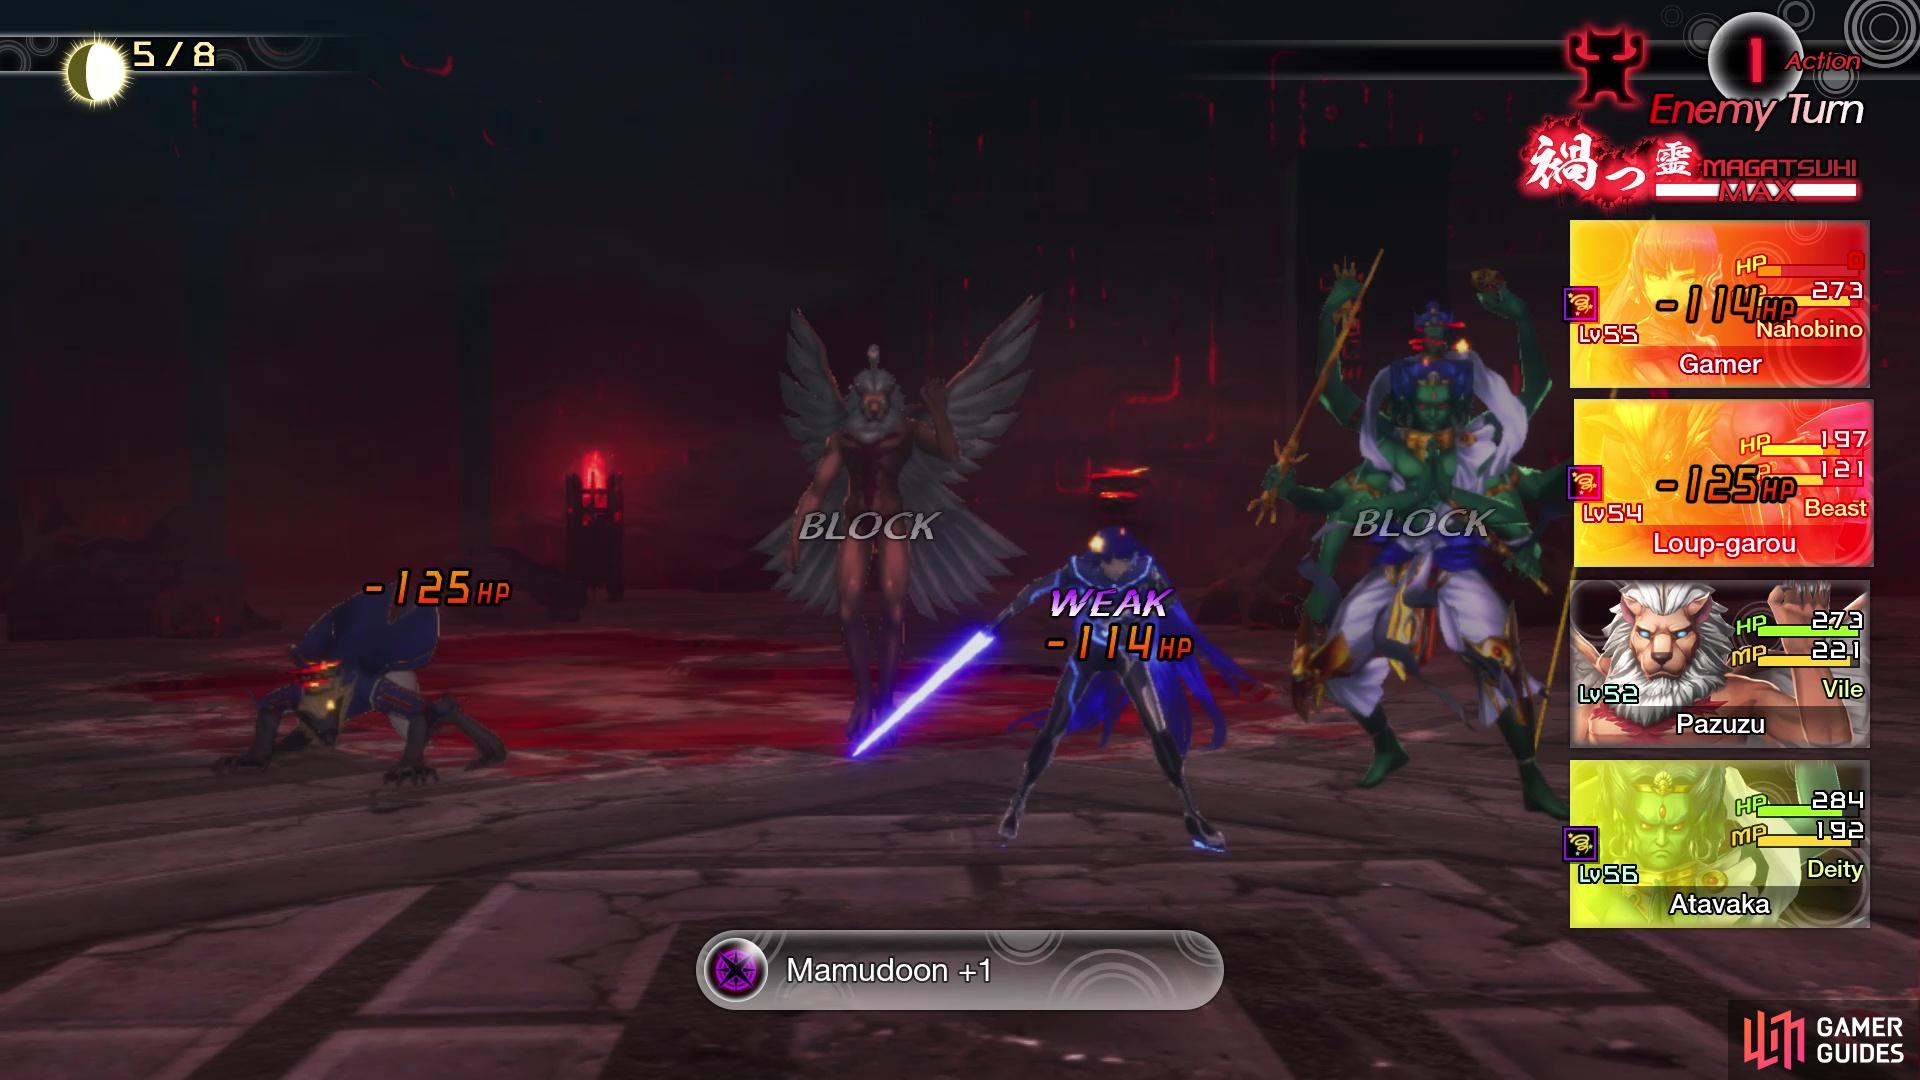
Kin-Ki will counter any Strength-based attacks (left), Be wary no one is weak to Dark, as Pazuzu can cast Mamudoon (right)
For the next part, you will see some panels on the ground, as well as some on the wall above those. The ones on the ground will go off first, immediately followed by the wall ones. The one closest to you, from where you’re coming, will do nothing but make you land on the bottom floor, while the third and fourth will have you landing in a small area with some Nues. So, the correct option is the second one, which will place you on a pillar. Hop over the gaps and follow the path up here, until you reach some stairs. Ignore those for right now and look to the north of them to spot another Treasure Box (Purge Charm). Jump down to your west and head up the stairs there.
This will put you in the final portion of the 2nd Stratum. To your west are a bunch of Wind Panels on the northern side. You will want to use the westernmost ground panel to get to the ledge right above it, then follow that around and hop over the gap to reach the Treasure Box (Chakra Pot). Hop back over to the previous ledge, but stay on the eastern side. Wait for the panel on the wall to activate, then let the wind guide you to the southwestern corner, where you will the way leading you to the 3rd Stratum.
No Comments