
This is a walkthrough for Da’at: Chiyoda of Shin Megami Tensei V, taking place in the Tokyo Station area. How to complete every objective, find every chest and locate every Miman.
Decarabia will tell you how to weaken Ishtar, for a price
Demons
| Icon | Name | Lv | Weakness |
|---|---|---|---|
| Naga Raja | 40 | ||
| Orthrus | 42 | ||
| Macabre | 43 | ||
| Ose | 44 | ||
| Hanuman | 46 | ||
| Dakini | 46 | ||
| Oberon | 47 | ||
| Anzu | 48 |
Items
| Name |
|---|
| Bead |
| Balm of Life |
Quests
| Subquest | Location | Reward |
|---|---|---|
| The Angel of Destruction | Next to Demon King’s Castle entrance (after opening Castle) | Light Sutra; Ability to fuse Camael |
| Glitter in Ginza | East of Sukiyabashi Leyline (after opening Castle) | Grimoire x3 |
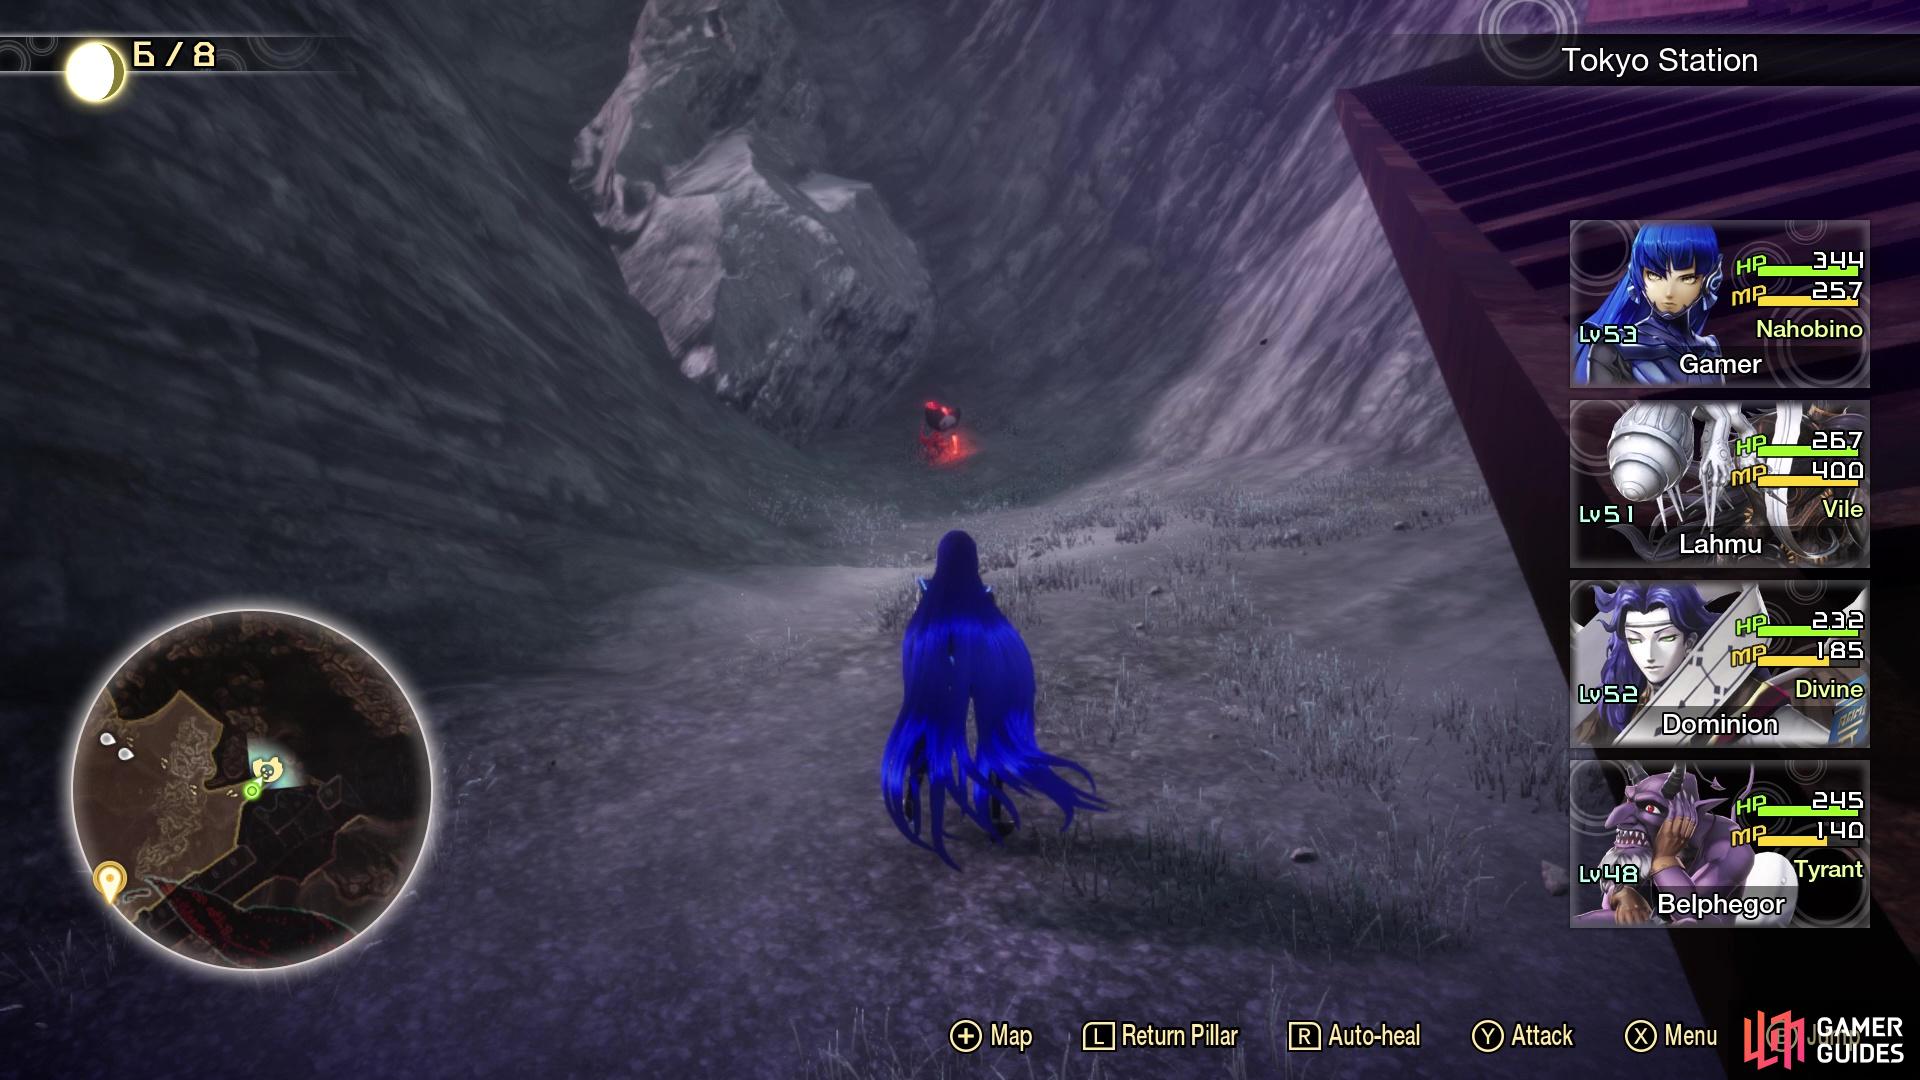
Upon first arriving in the Tokyo Station area, right in front of you will be a Decarabia. He will offer you some help, but you will need to pay some money in order to receive it. You do not have to pay him, as you can force the information out of him for free, but doing so will help you outside of the main story quest. You will have to fork over 40,000 Macca in order to receive his help outside of the story for free, so it’s just better to pay the money now. Either way, for now, Decarabia will join you as a Navigator demon and you will automatically begin The Agumented Goddess.
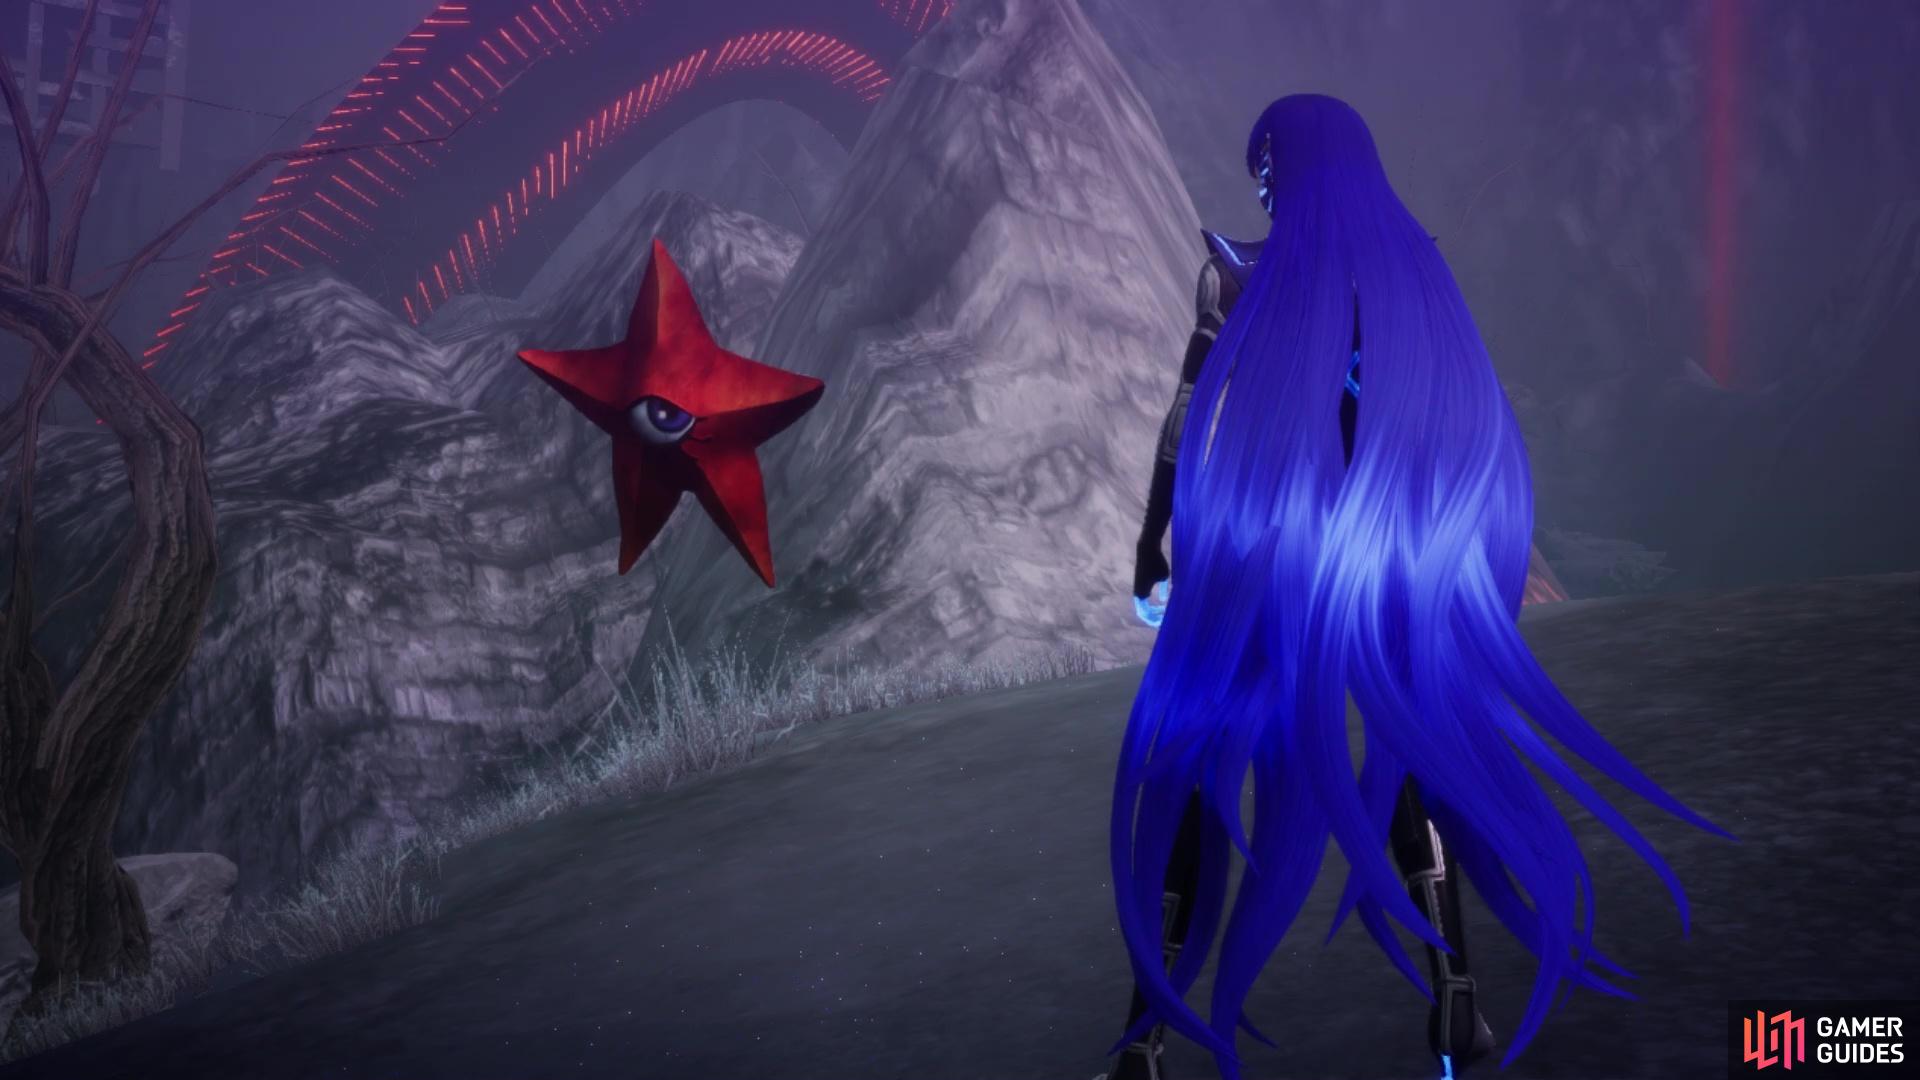
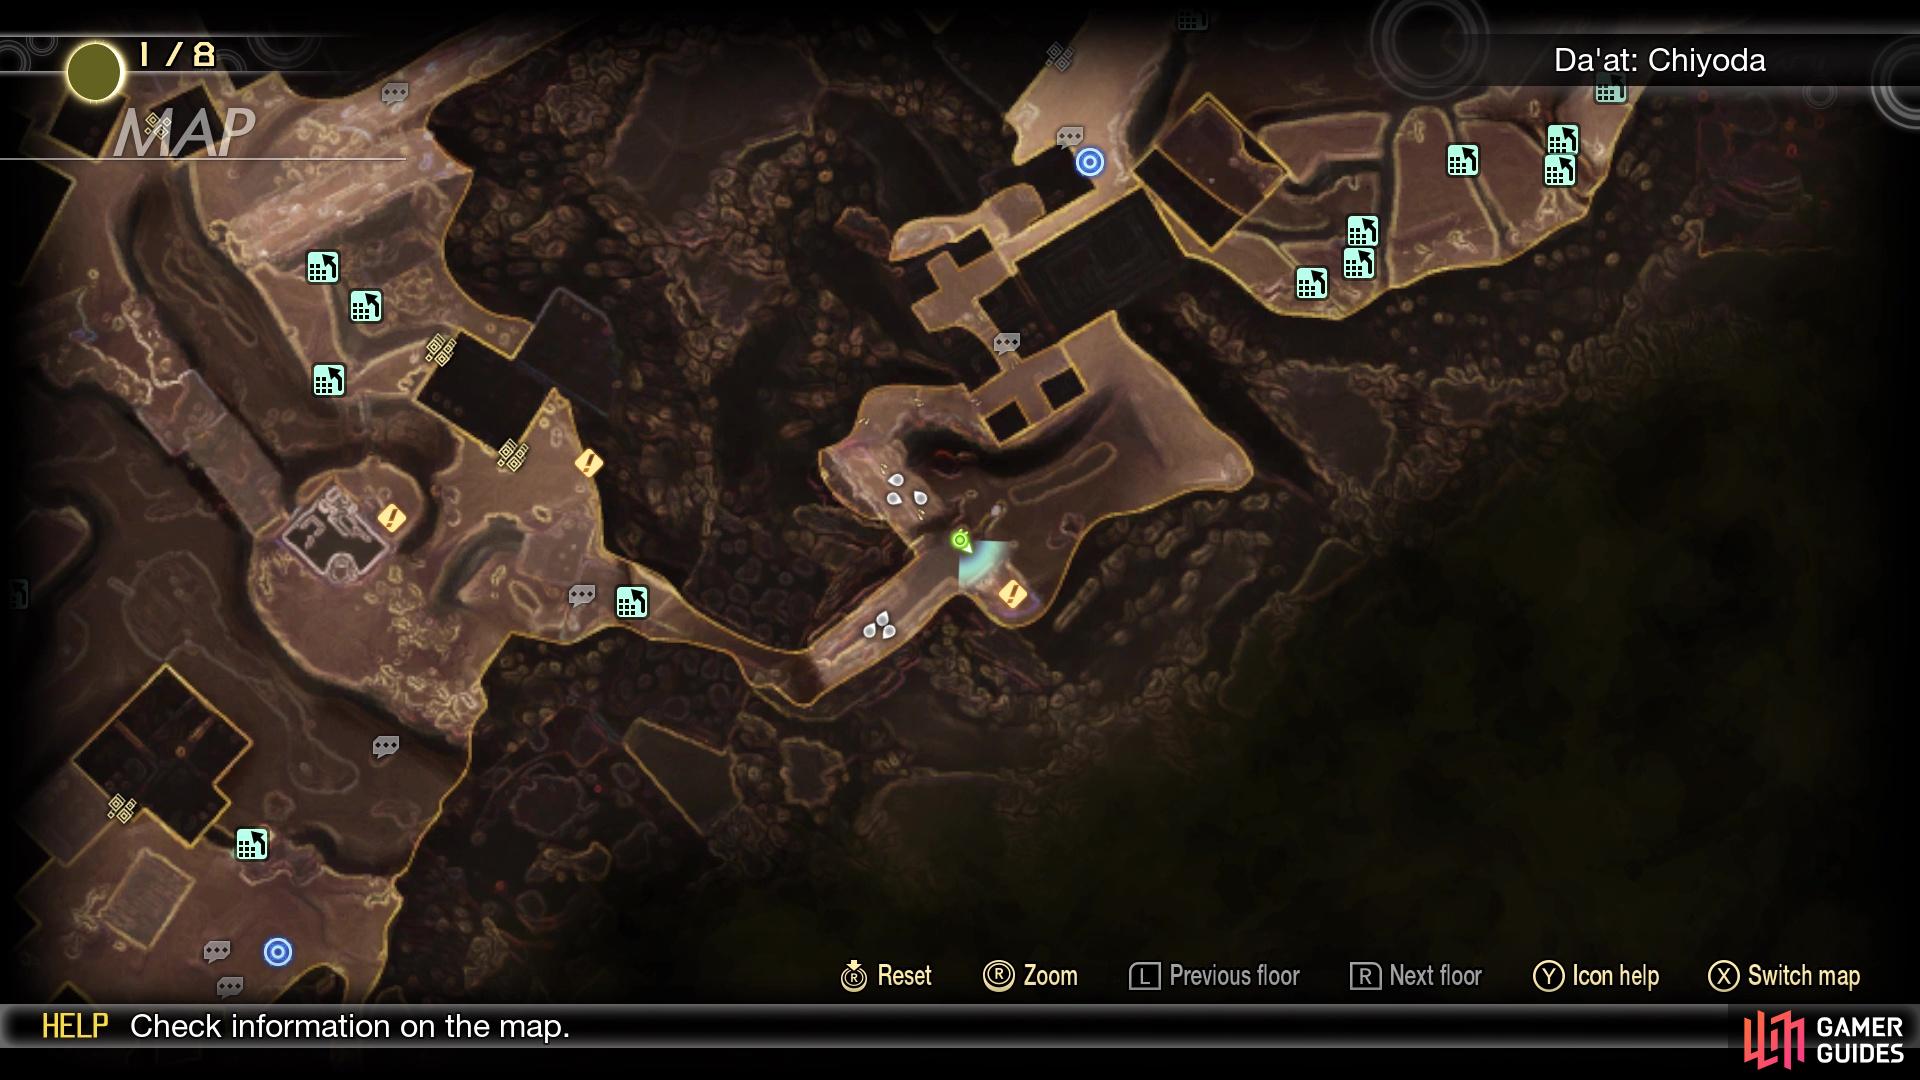
Miman #148 is in the little area southeast of the Tokyo Station Leyline
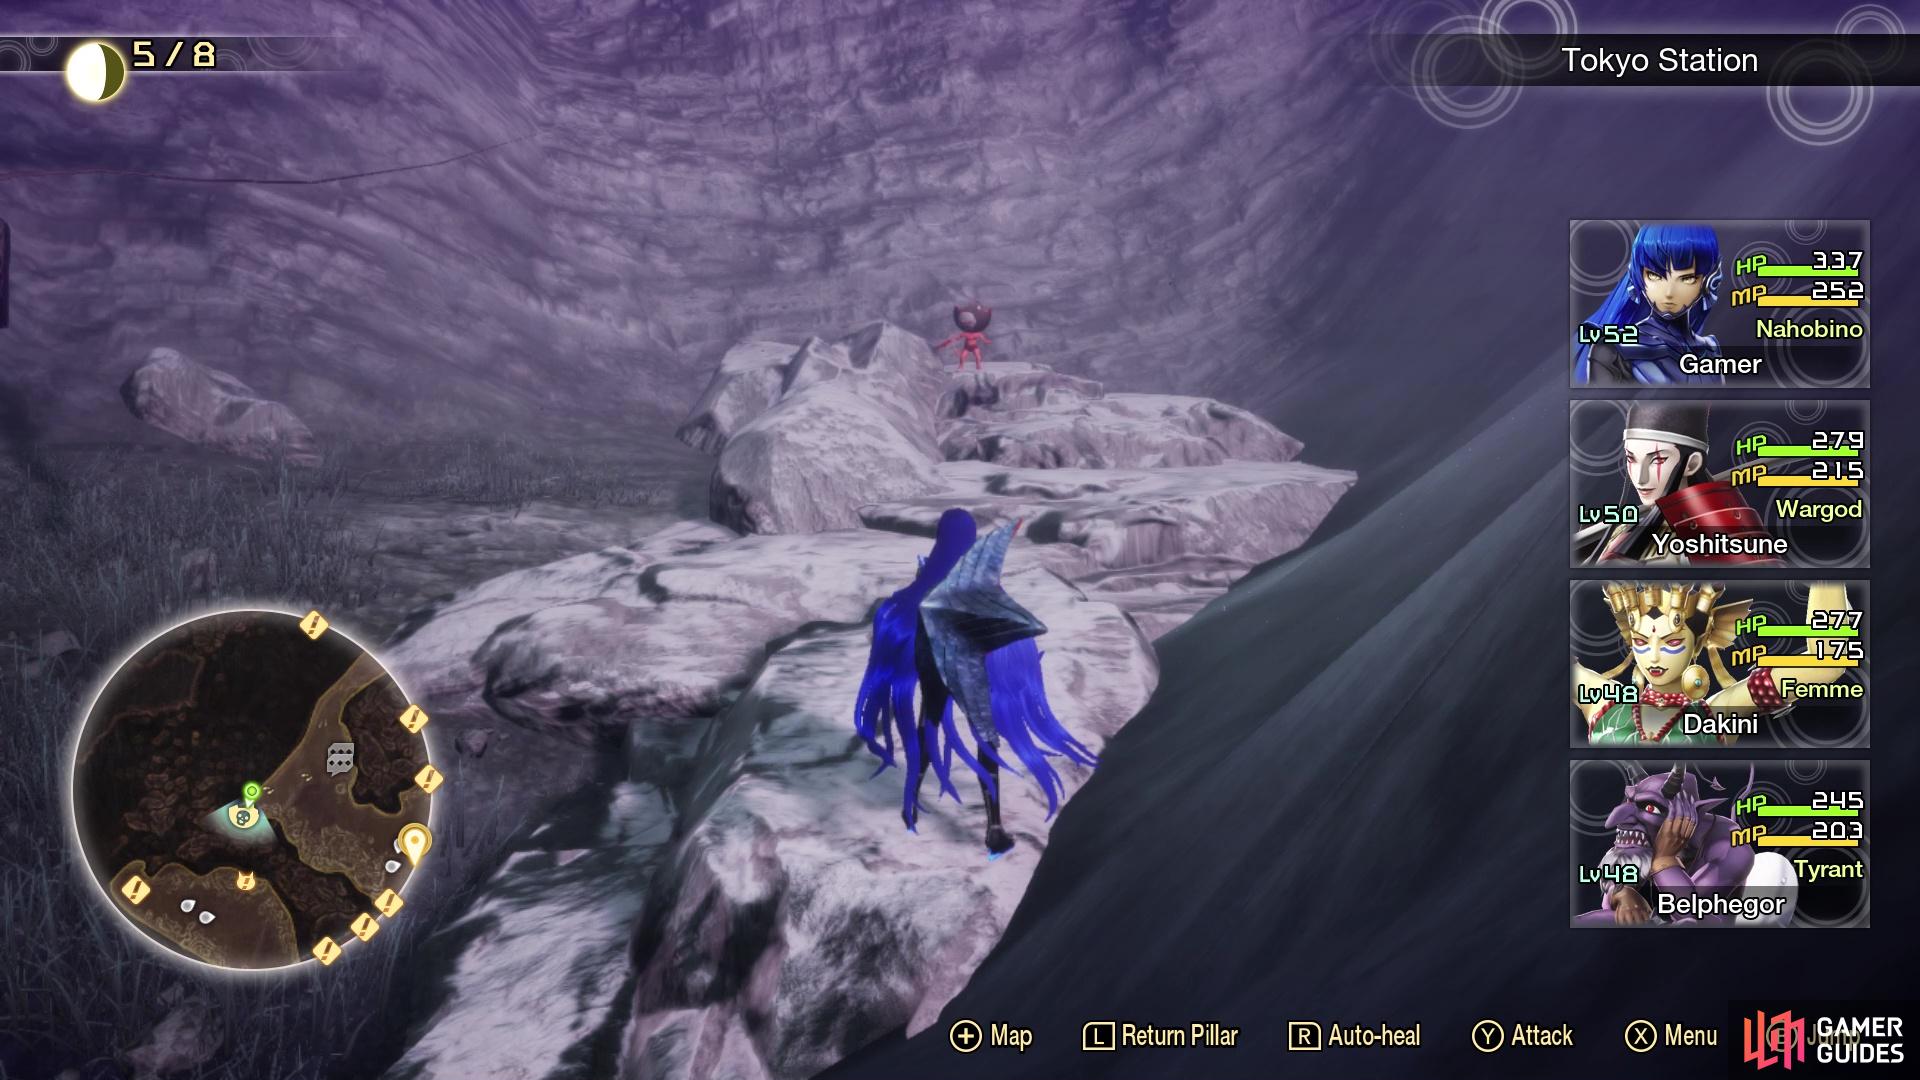
Look on the rocks southwest of the two Angels to find Miman #149
After speaking with Decarabia, touch the fount ahead to register the Tokyo Station Leyline. There will be a small area just southeast of the Leyline, where you will find Miman #148 right along the structure. Return to the Leyline fount and head southwest, to where you see two Angel NPCs. Southwest of them will be some rocks, at the dead end, and on those rocks will be Miman #149. Continue southeast, until you reach the Ose NPC, which is where you want to avoid the section to the east for now, as that is where you will trigger the boss battle with Ishtar. There will be two paths to the west, a northern one and a southern one. The northern one will lead to a dead end that has one of Ishtar’s devices. You only have to interact with it to shut it down.
On the southern of the two paths, you will find a Treasure Box at the end, which contains a Bead. If you have the Return of the True Demon DLC and have defeated Black Rider already, then you will find the last of the Four Horsemen’s portals here. However, it’s a few levels higher than you want, so it’s best to save it until after clearing the next area. That ends the exploration of the Tokyo Station area, so it’s time to hunt down those devices that power up Ishtar.
First Ishtar Device
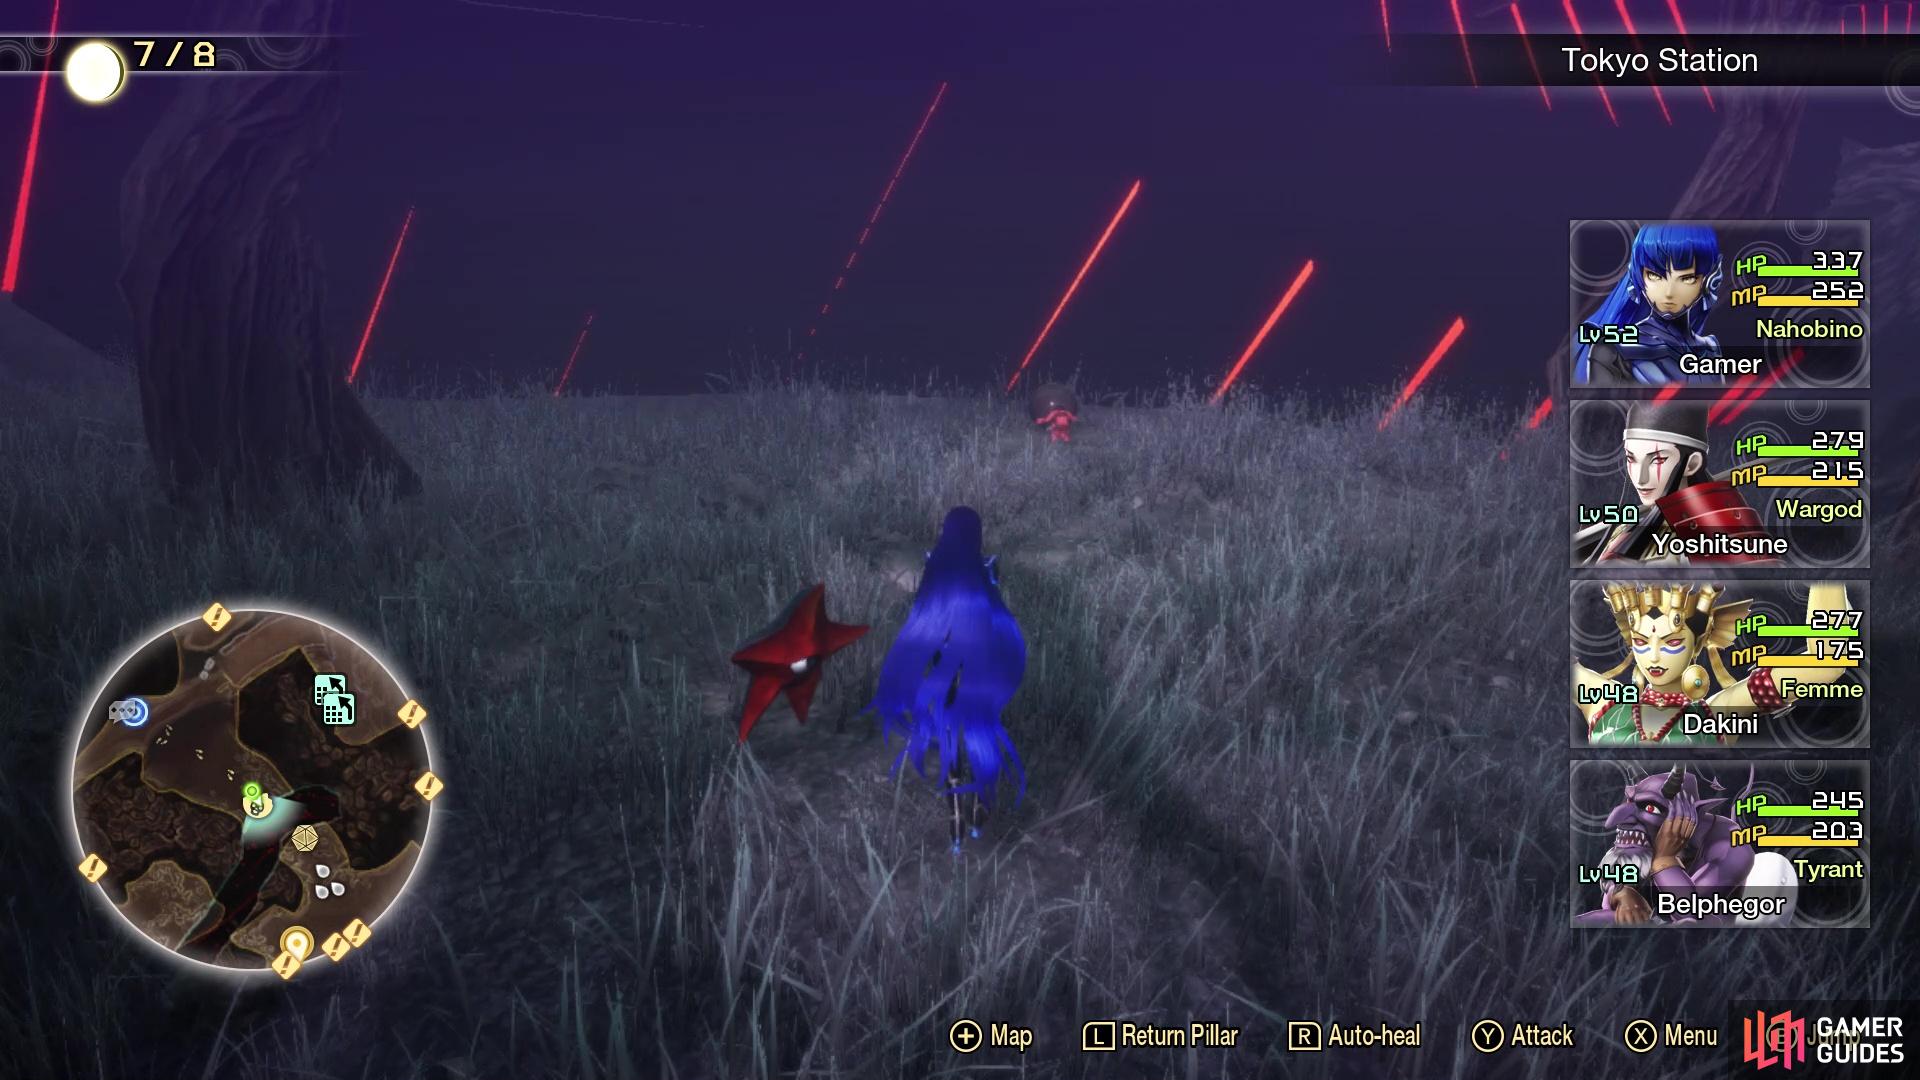
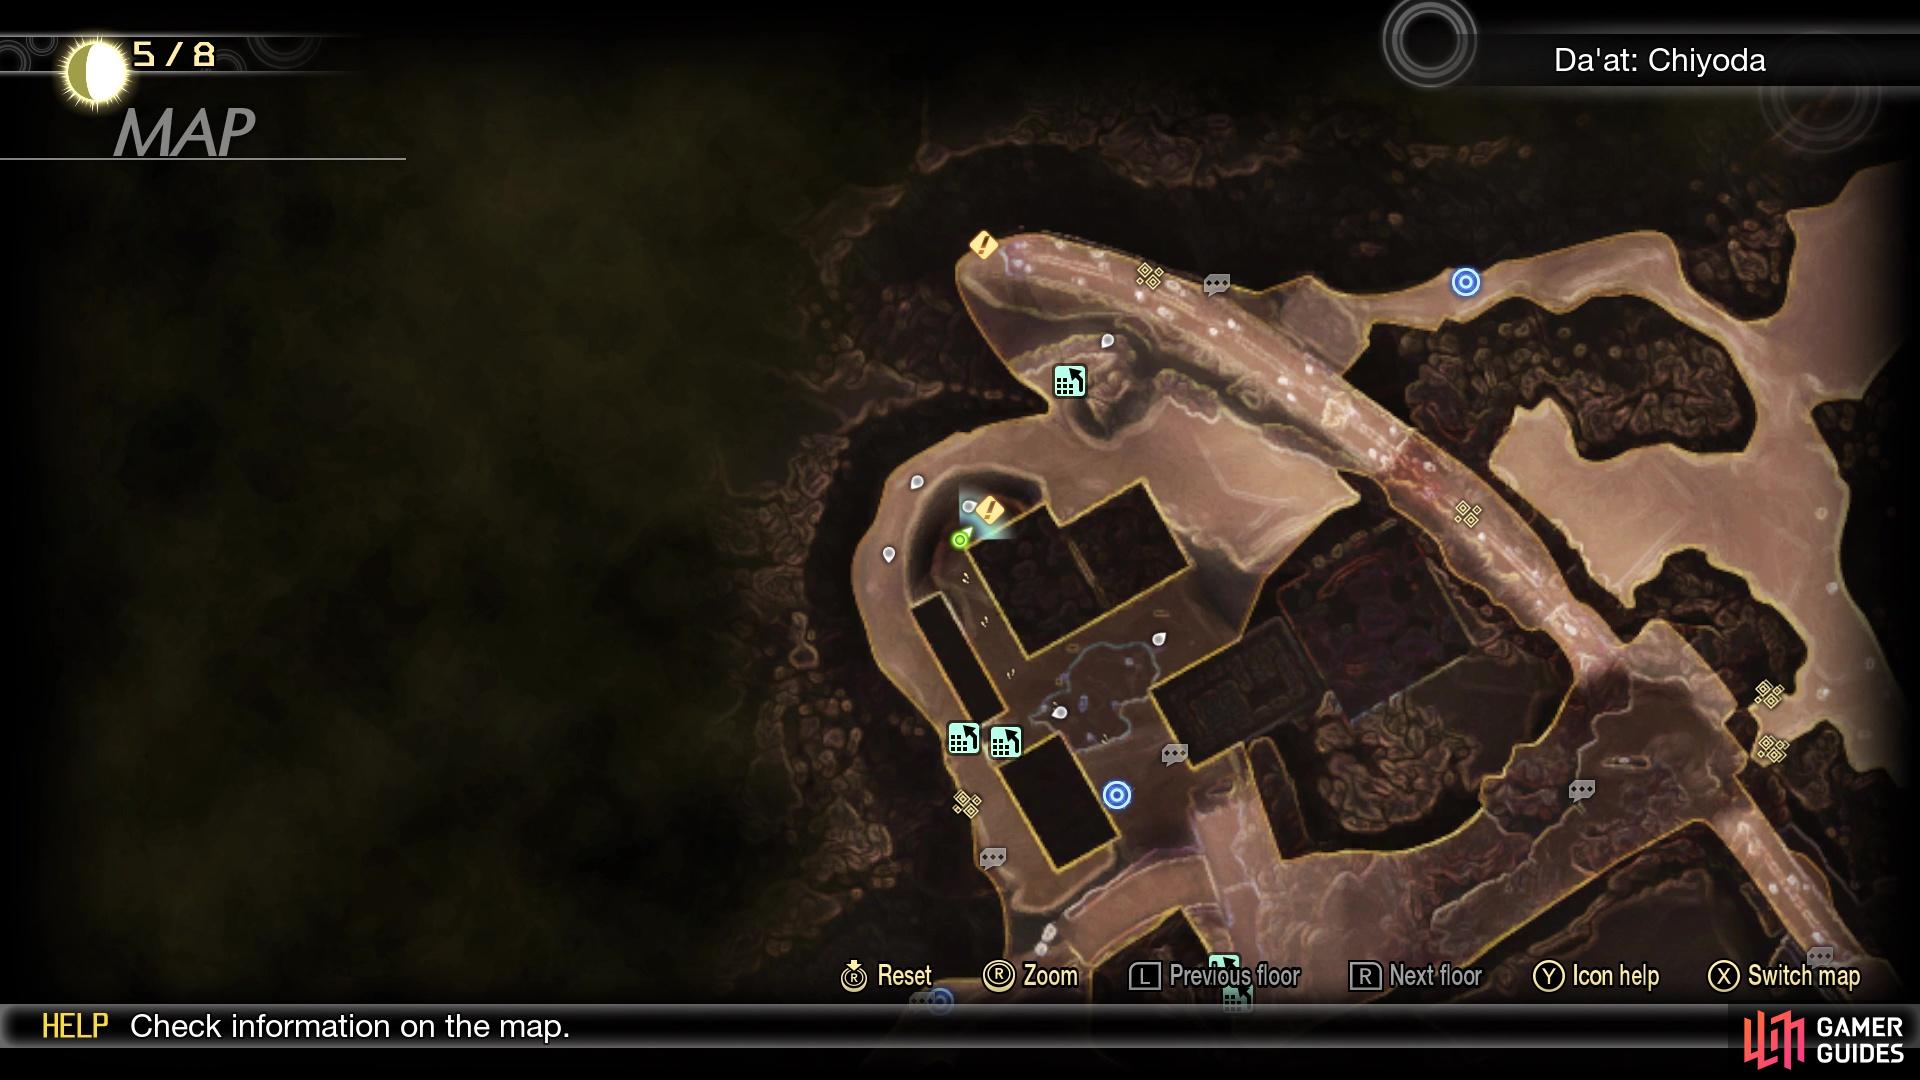
You encountered this one while exploring the Tokyo Station area, as pointed out above. It is located in the southern section of Tokyo Station, on the northern of the two paths down there that lead to the west. Interact with it and choose to deactivate it, when given the option.
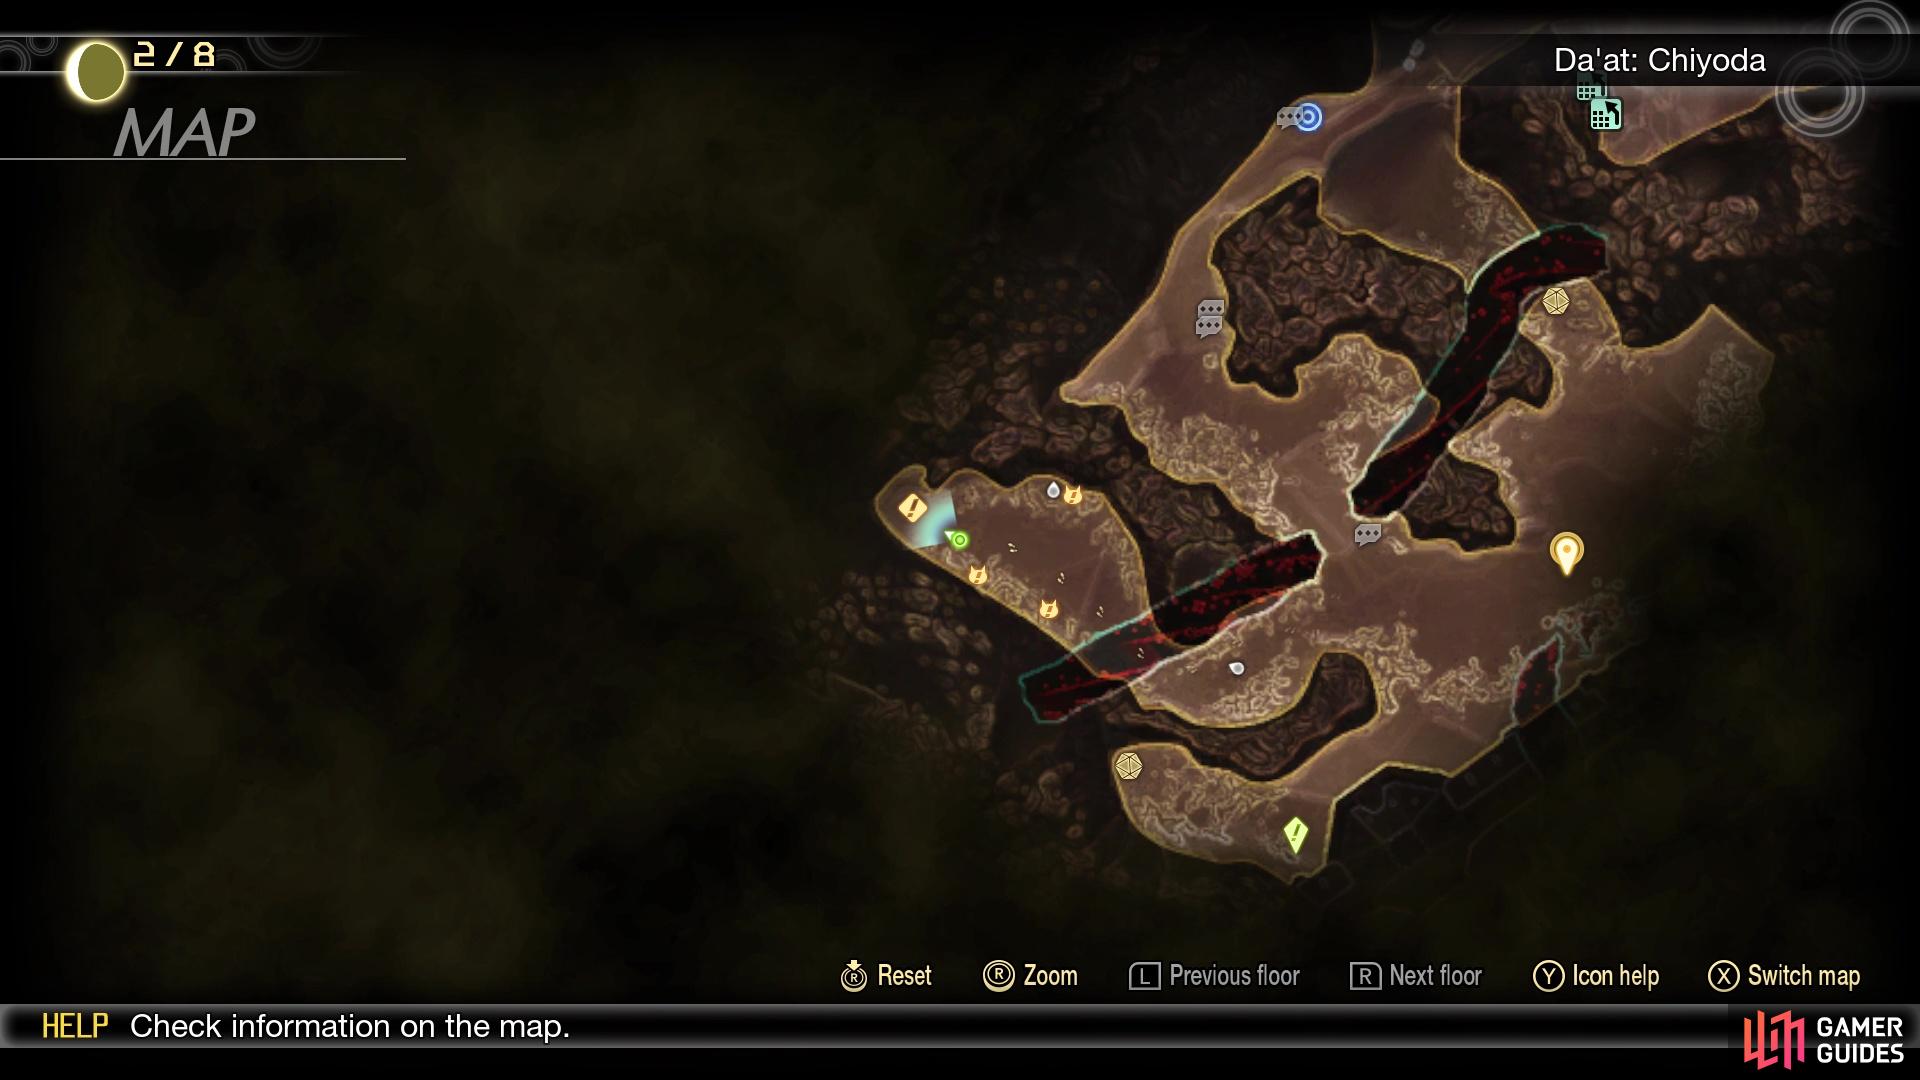
The first device on the map
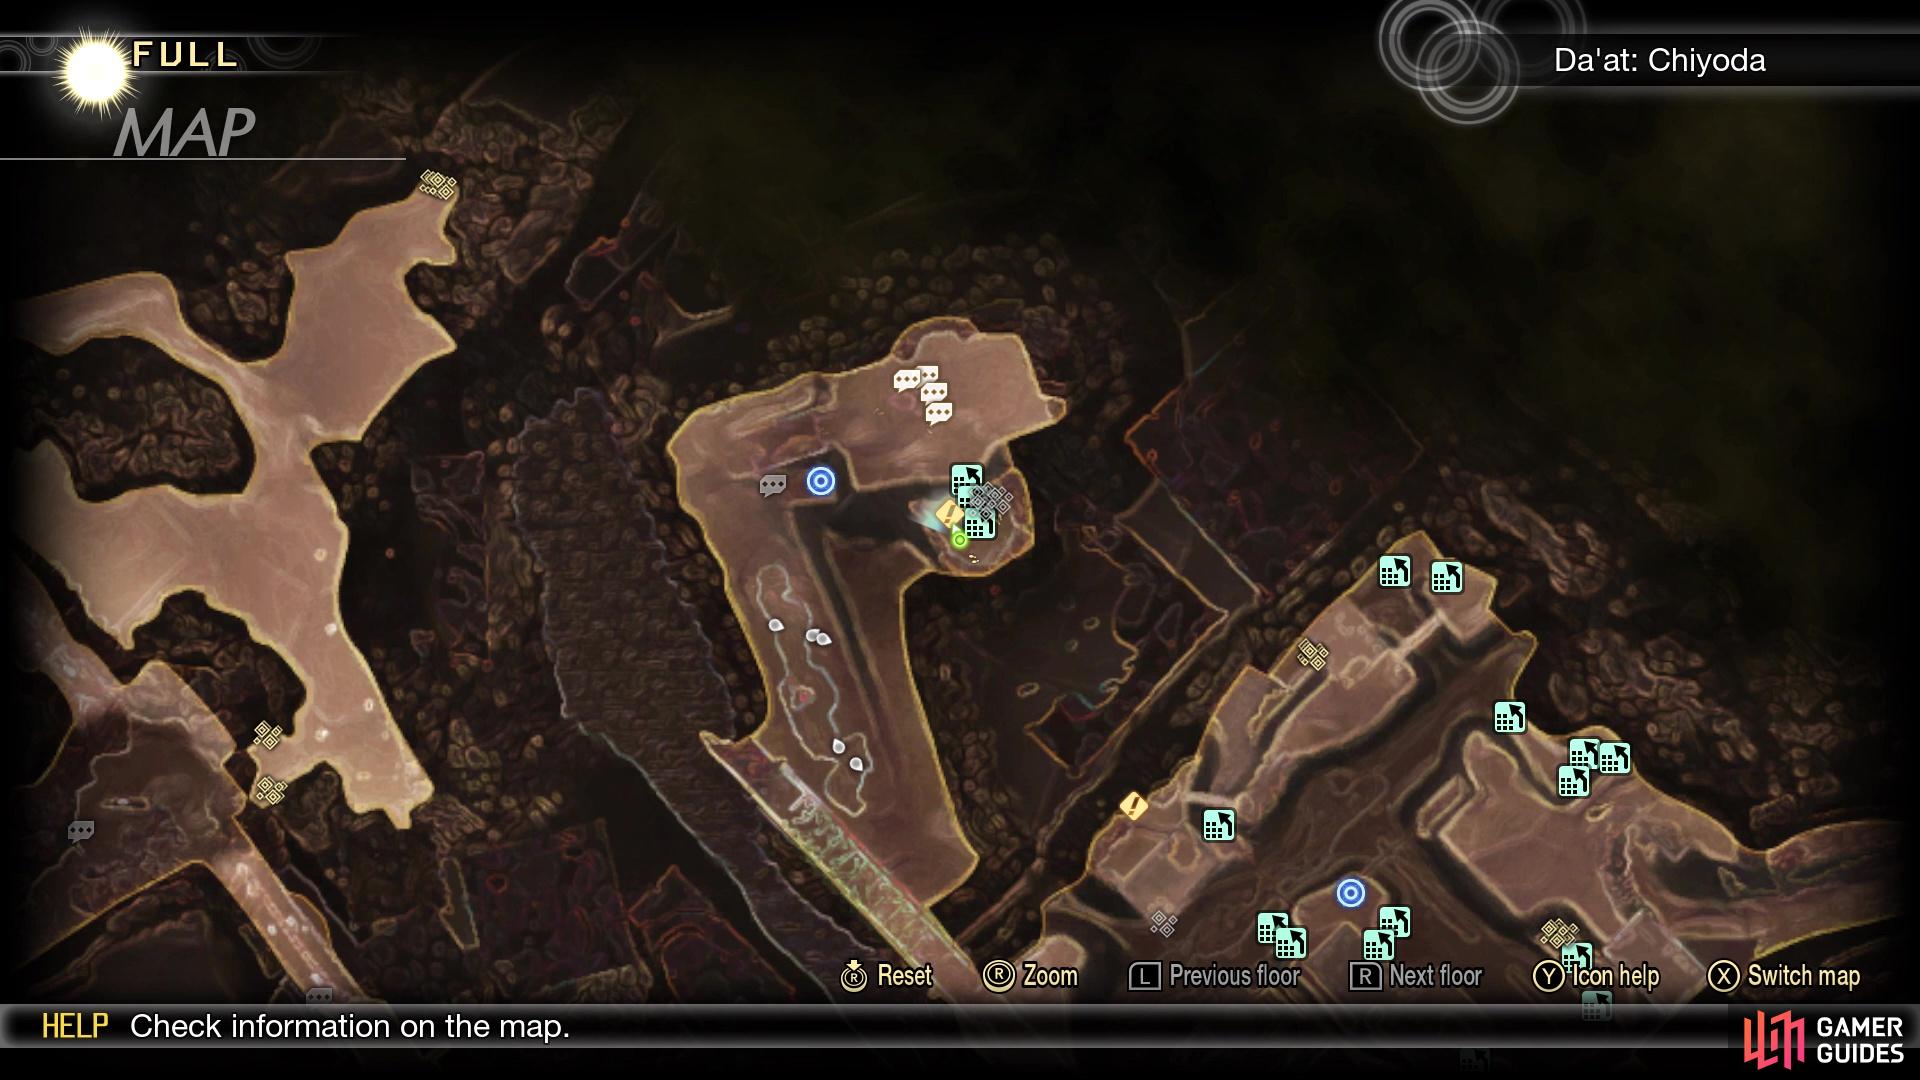
The second device on the map
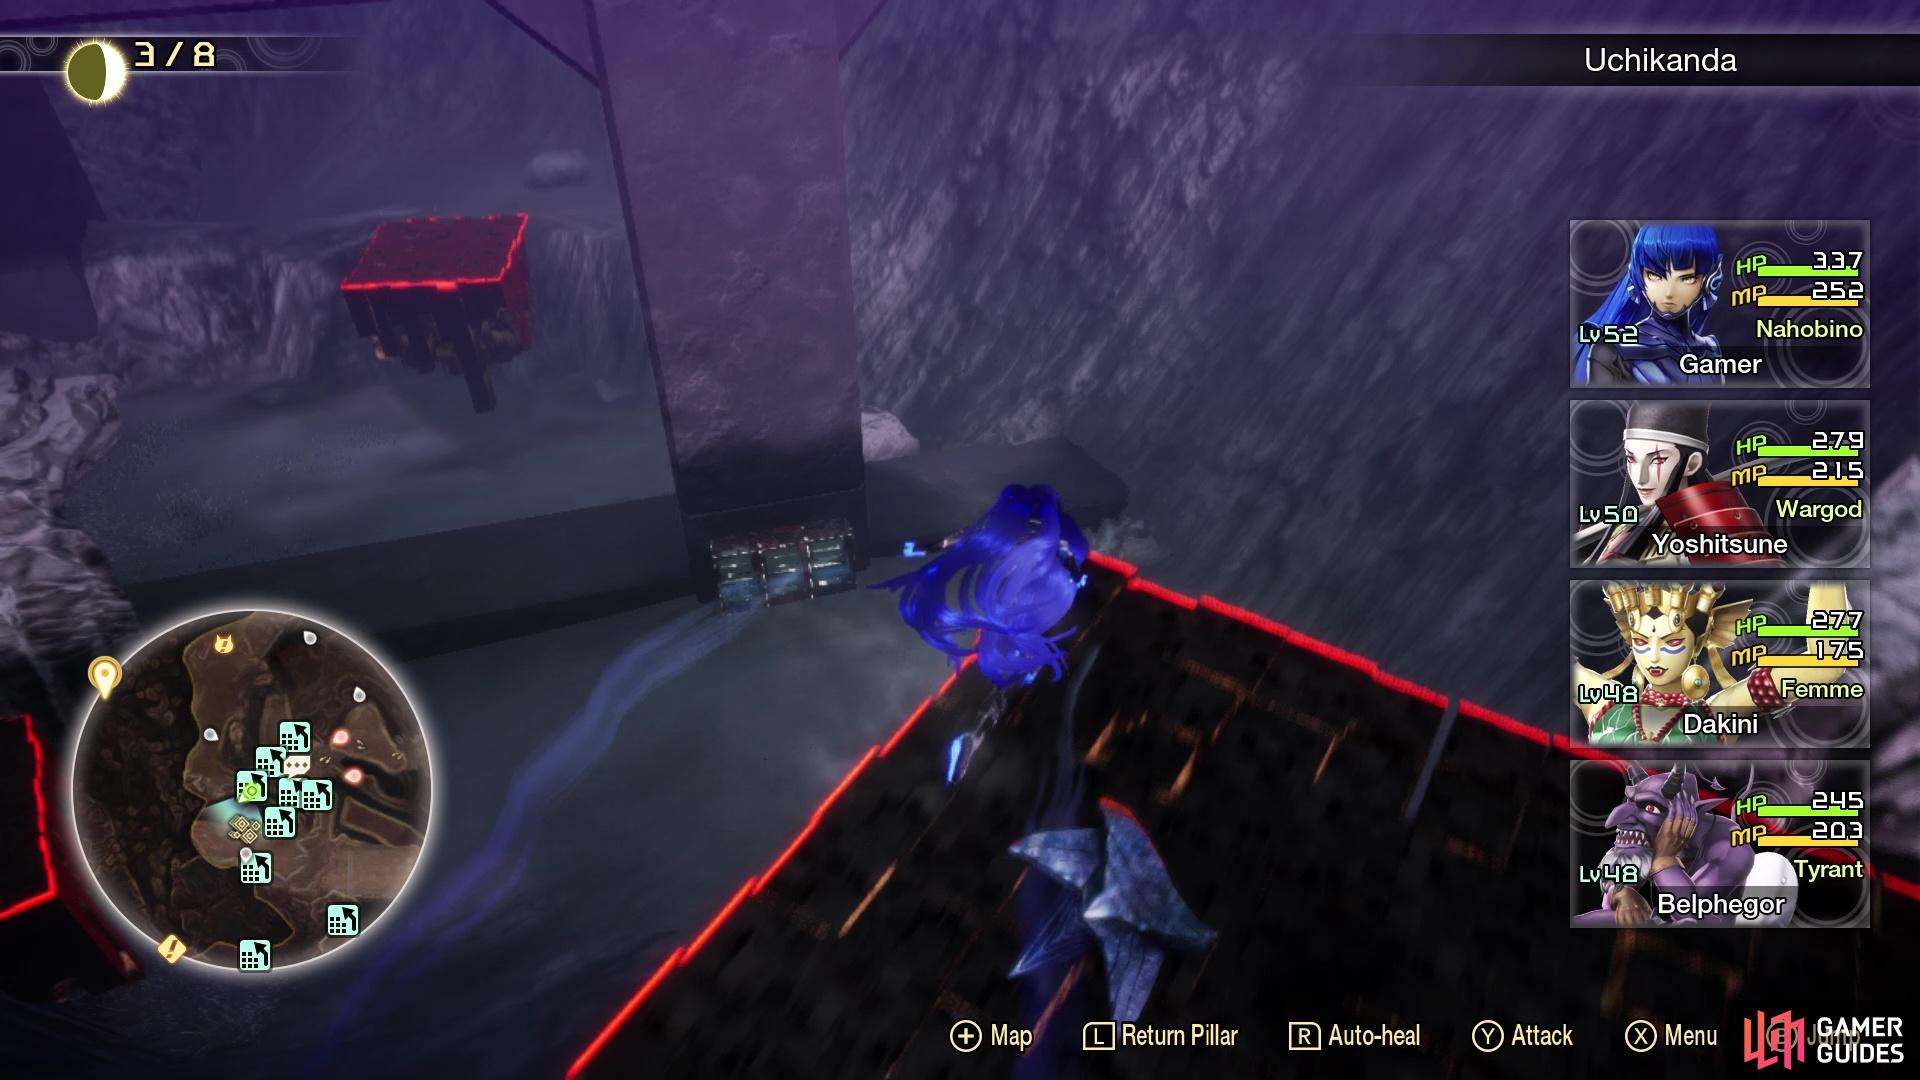
Second Ishtar Device
Teleport to the Otemachi Leyline to get to this device. Head northwest from the fount, past the climbing blocks and down the path beyond the blocks. At the very end, you will find the device.
Third Ishtar Device
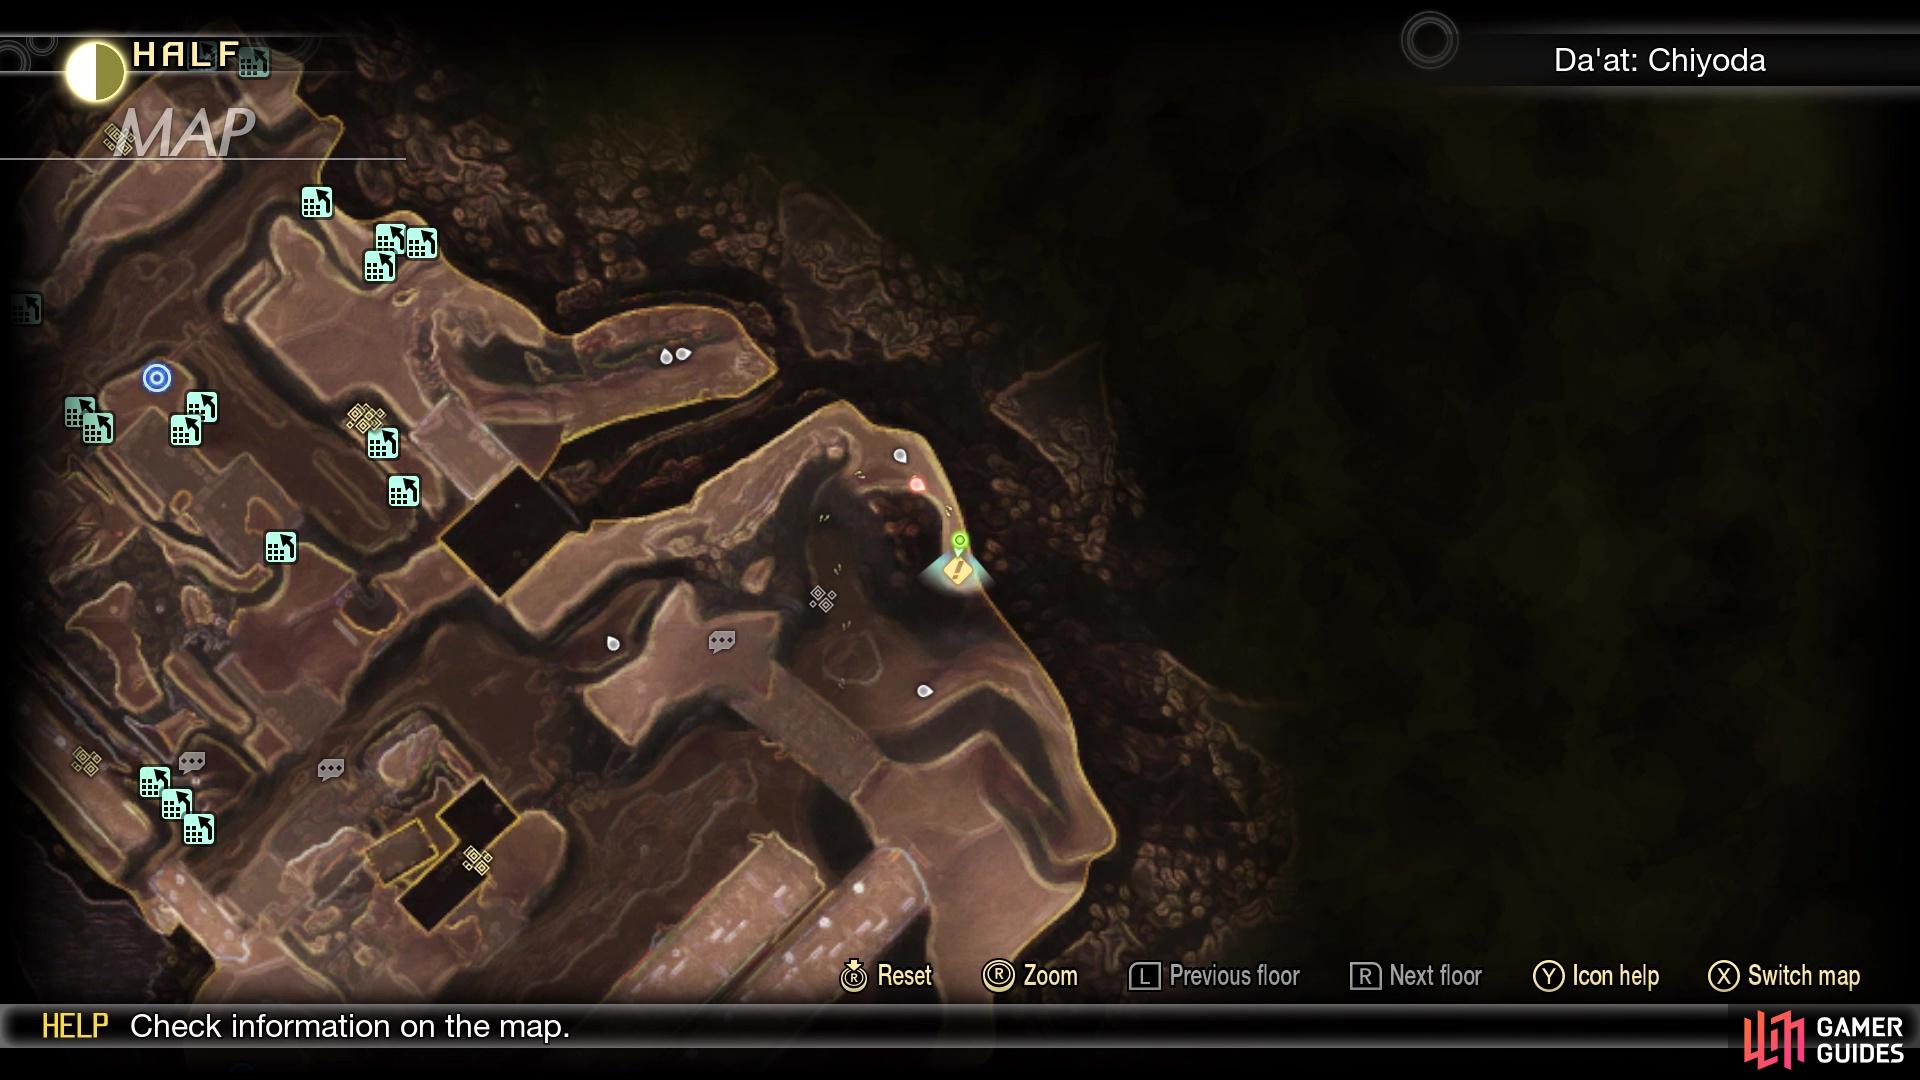
This one will be found in the Kanda-no-Yashiro area, which was where you spoke with the Kunitsukami earlier after defeating Surt. Teleport to the Leyline in the area and approach the altar there, then look off to the side to see some climbing blocks. Drop down the blocks and you will find the device right next to them.
The third device on the map
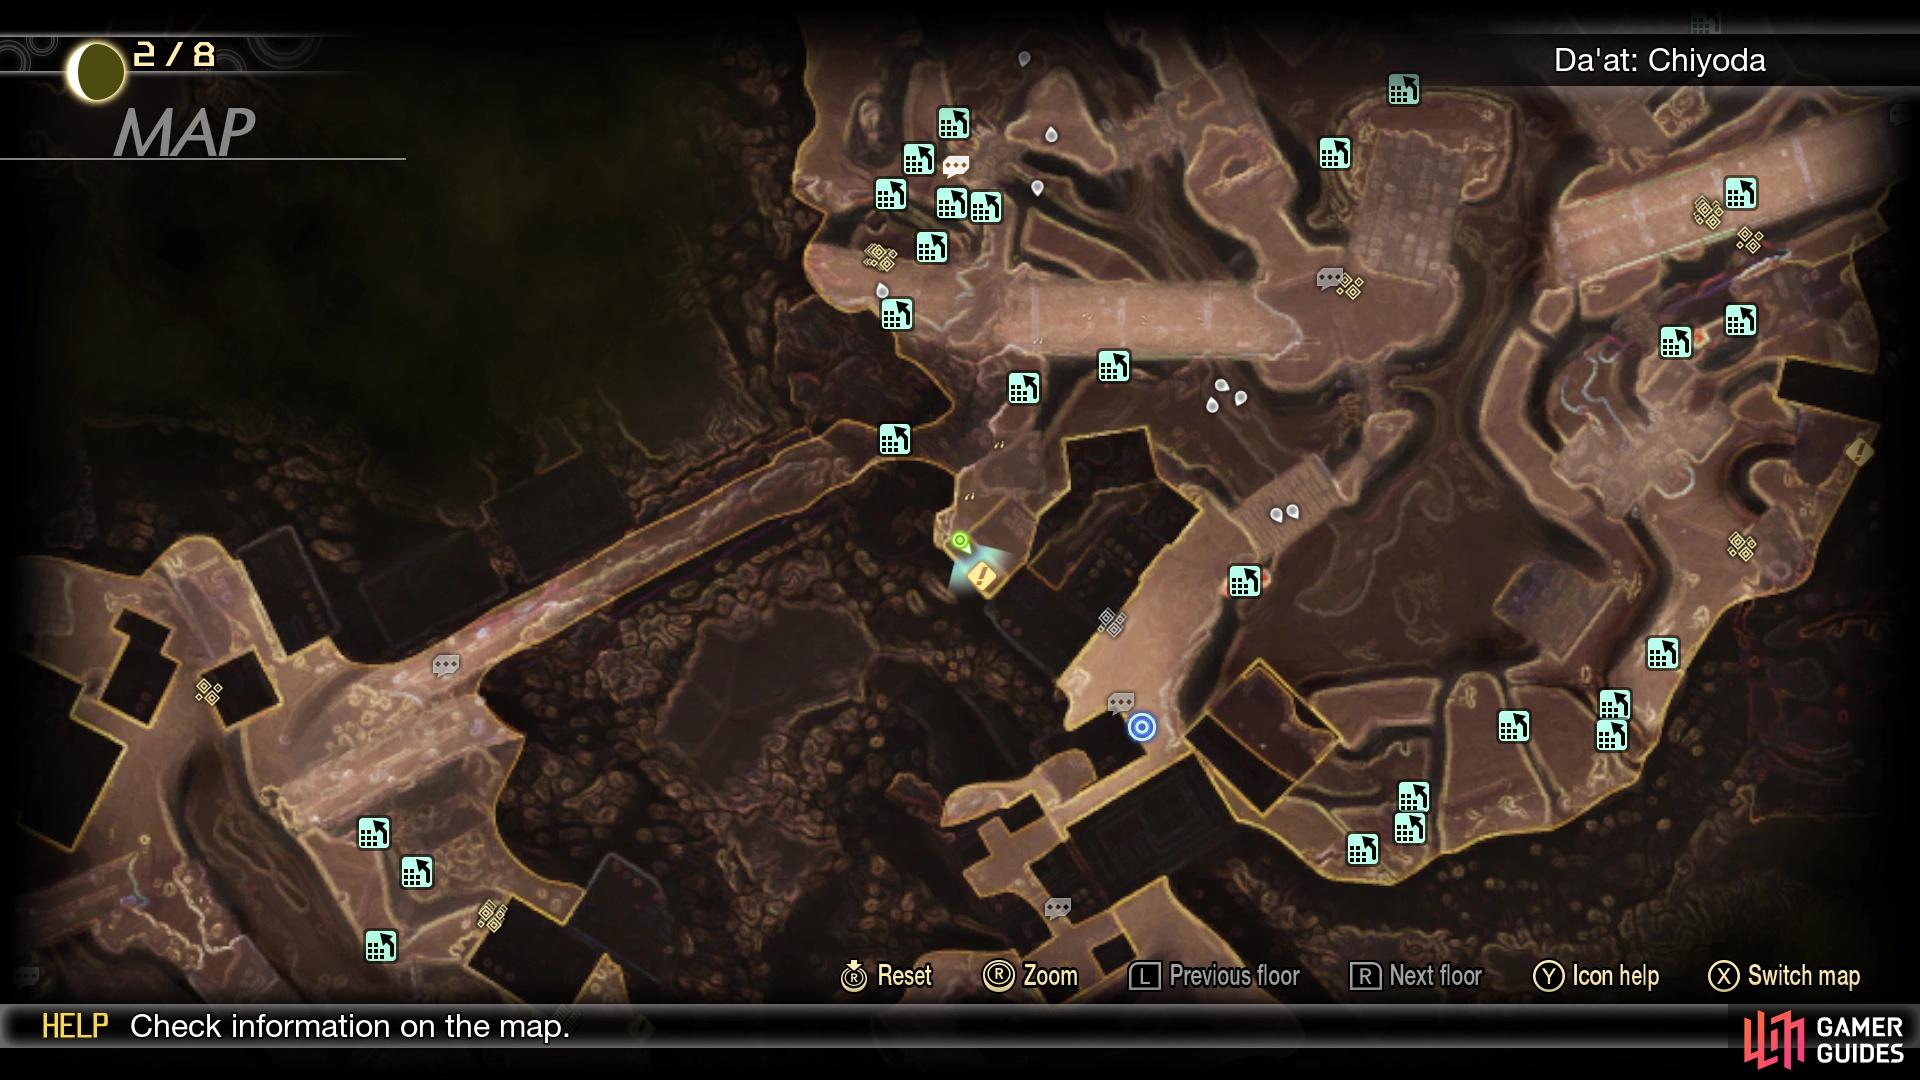
The fourth device on the map
Fourth Ishtar Device
Teleport to the Akihabara Leyline and head to where you found the first Abscess in that area (Sotokanda). Look for the path leading downward, then follow it until you go up another hill and are at a fork, with two Naga Raja. Go south at the fork to find the device at the end of the path.
Fifth Ishtar Device
Head to the Nihonbashi Leyline now and cross the building bridge, then follow the trail to the center section, where Fionn is hanging out. Remember the tracks nearby that had the Abscess on it? Go to the end of the tracks and look south to see a climbing block. Drop down and follow the path here to the end to find the device.
The fifth device on the map
The sixth device on the map
Sixth Ishtar Device
Return to the Nihonbashi Leyline and start moving backwards, stopping where you found the Mokoi with the quest earlier in the game. Go through the western opening there and onto the little piece of road with the Lamia. Jump down to the area below you and the device will be right in front of you, on another piece of road.
Seventh Ishtar Device
Drop down here to find the hidden path that leads to the final device
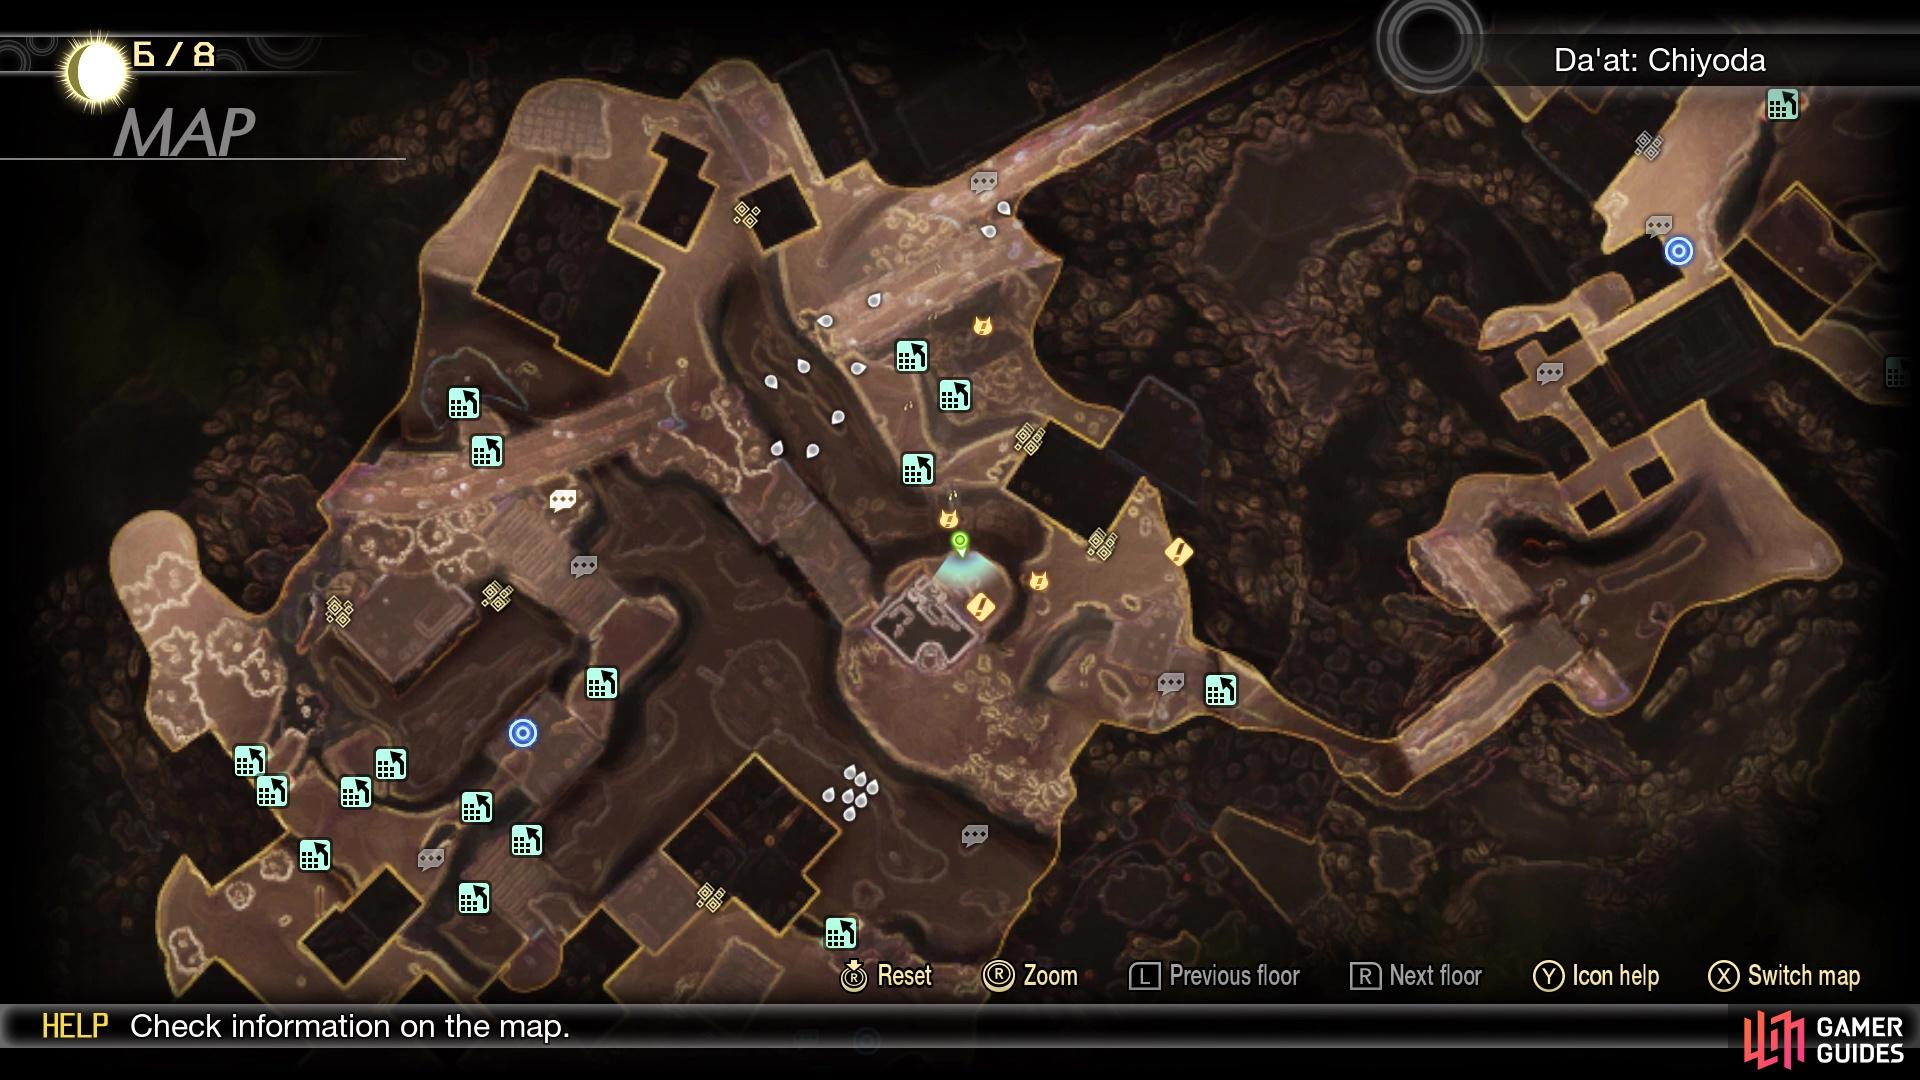
The seventh, and final, device on the map
The final device in this walkthrough is the most involved one, as you have to go through a roundabout way to reach it. It is located on a hill right before you begin going down the slope that leads to Nihonbashi, but you are unable to reach it from this direction. Start from the Nihonbashi Leyline, head to where Fionn is located and take the path heading to the northwest. When you reach the one Valkyrie NPC, drop down into the pit and use the tunnel going southwest to get to the one road where you picked up Amalgam #22. On the southern side, jump down to where the climbing blocks are located. There is one in a higher position, which will bring you to a fallen pillar that takes you to the device.
With all seven devices have finally been deactivated, you can head back to the Tokyo Station Leyline to begin preparing for the Ishtar boss fight. You will want protection against both Electric and Light, with no one being weak to them, as well as access to Force and Dark skills. Approach the marker on your map and get ready for the boss.
Boss: Ishtar
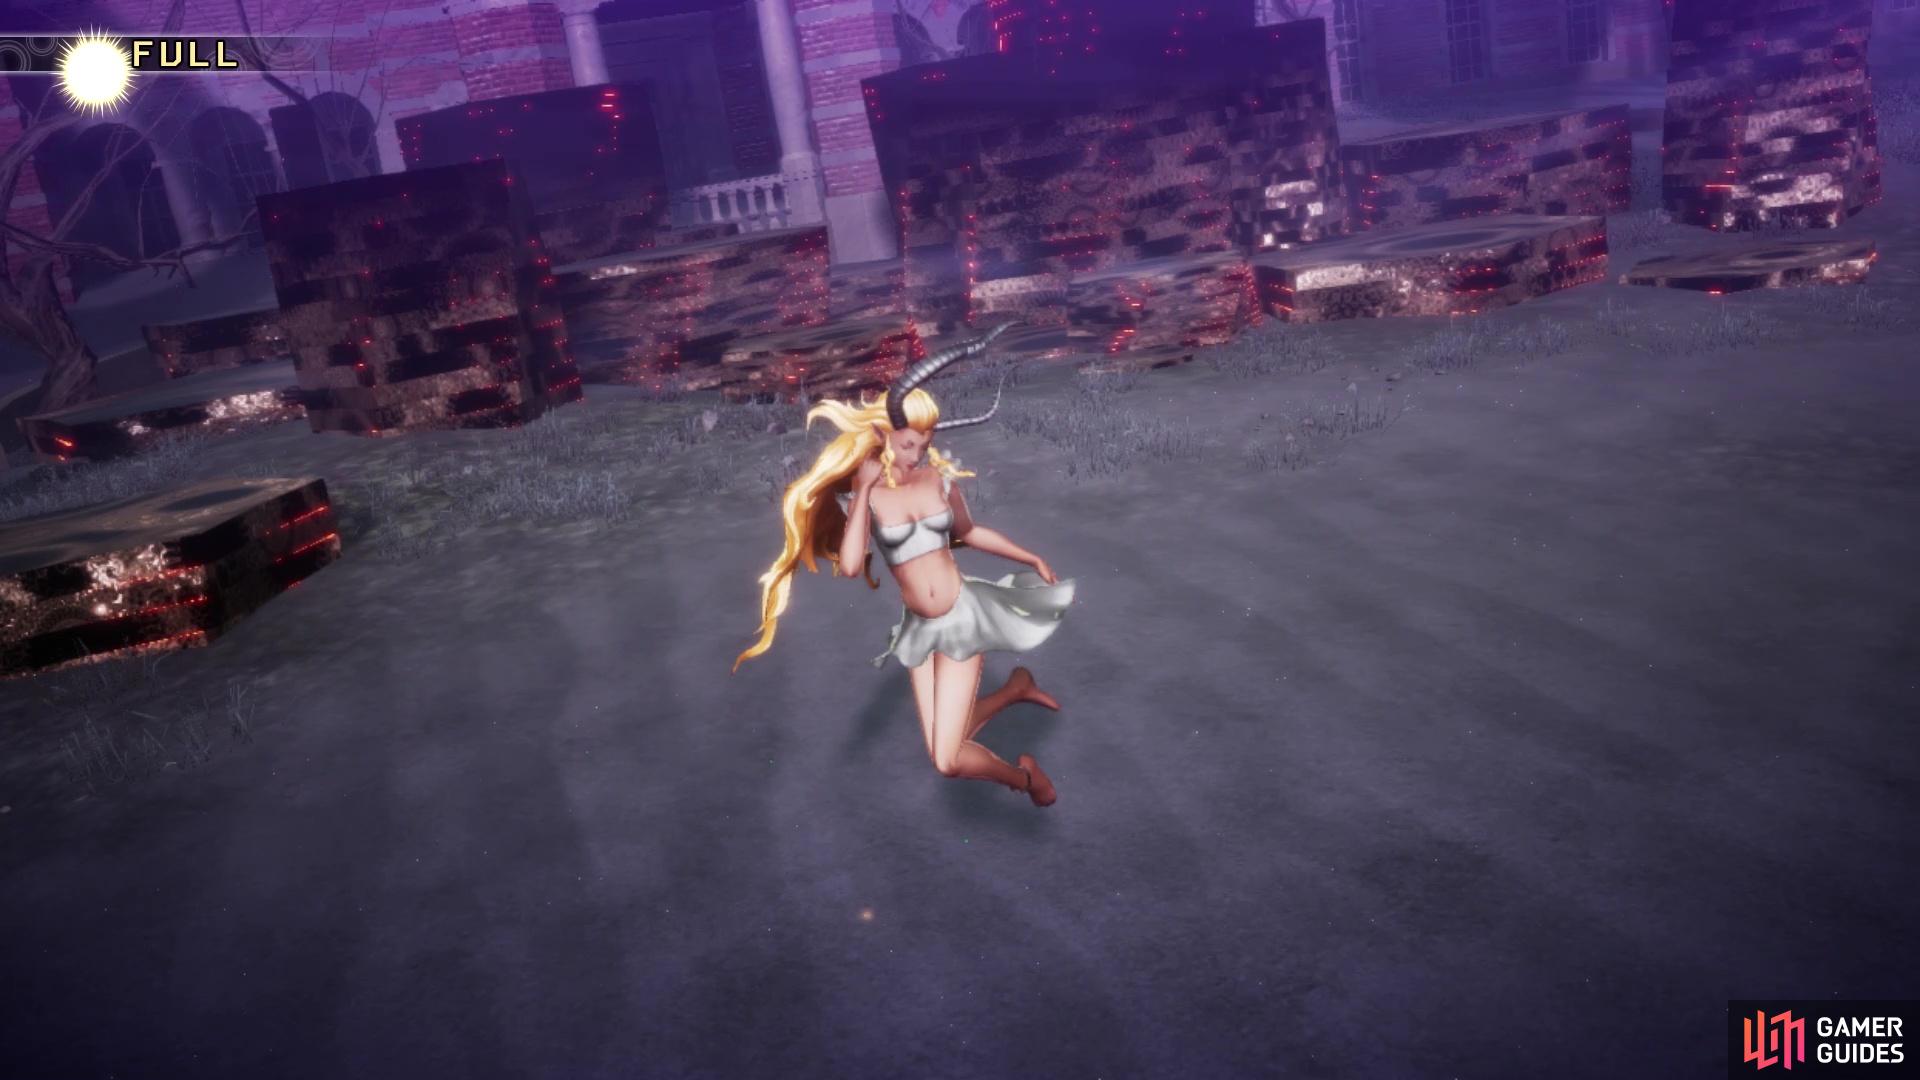
Ishtar will be the boss blocking you from entering the Demon King’s Castle
| Icon | Name | Lv | Weakness |
|---|---|---|---|
| Ishtar | 52 |
| Type | Skill | Effect |
|---|---|---|
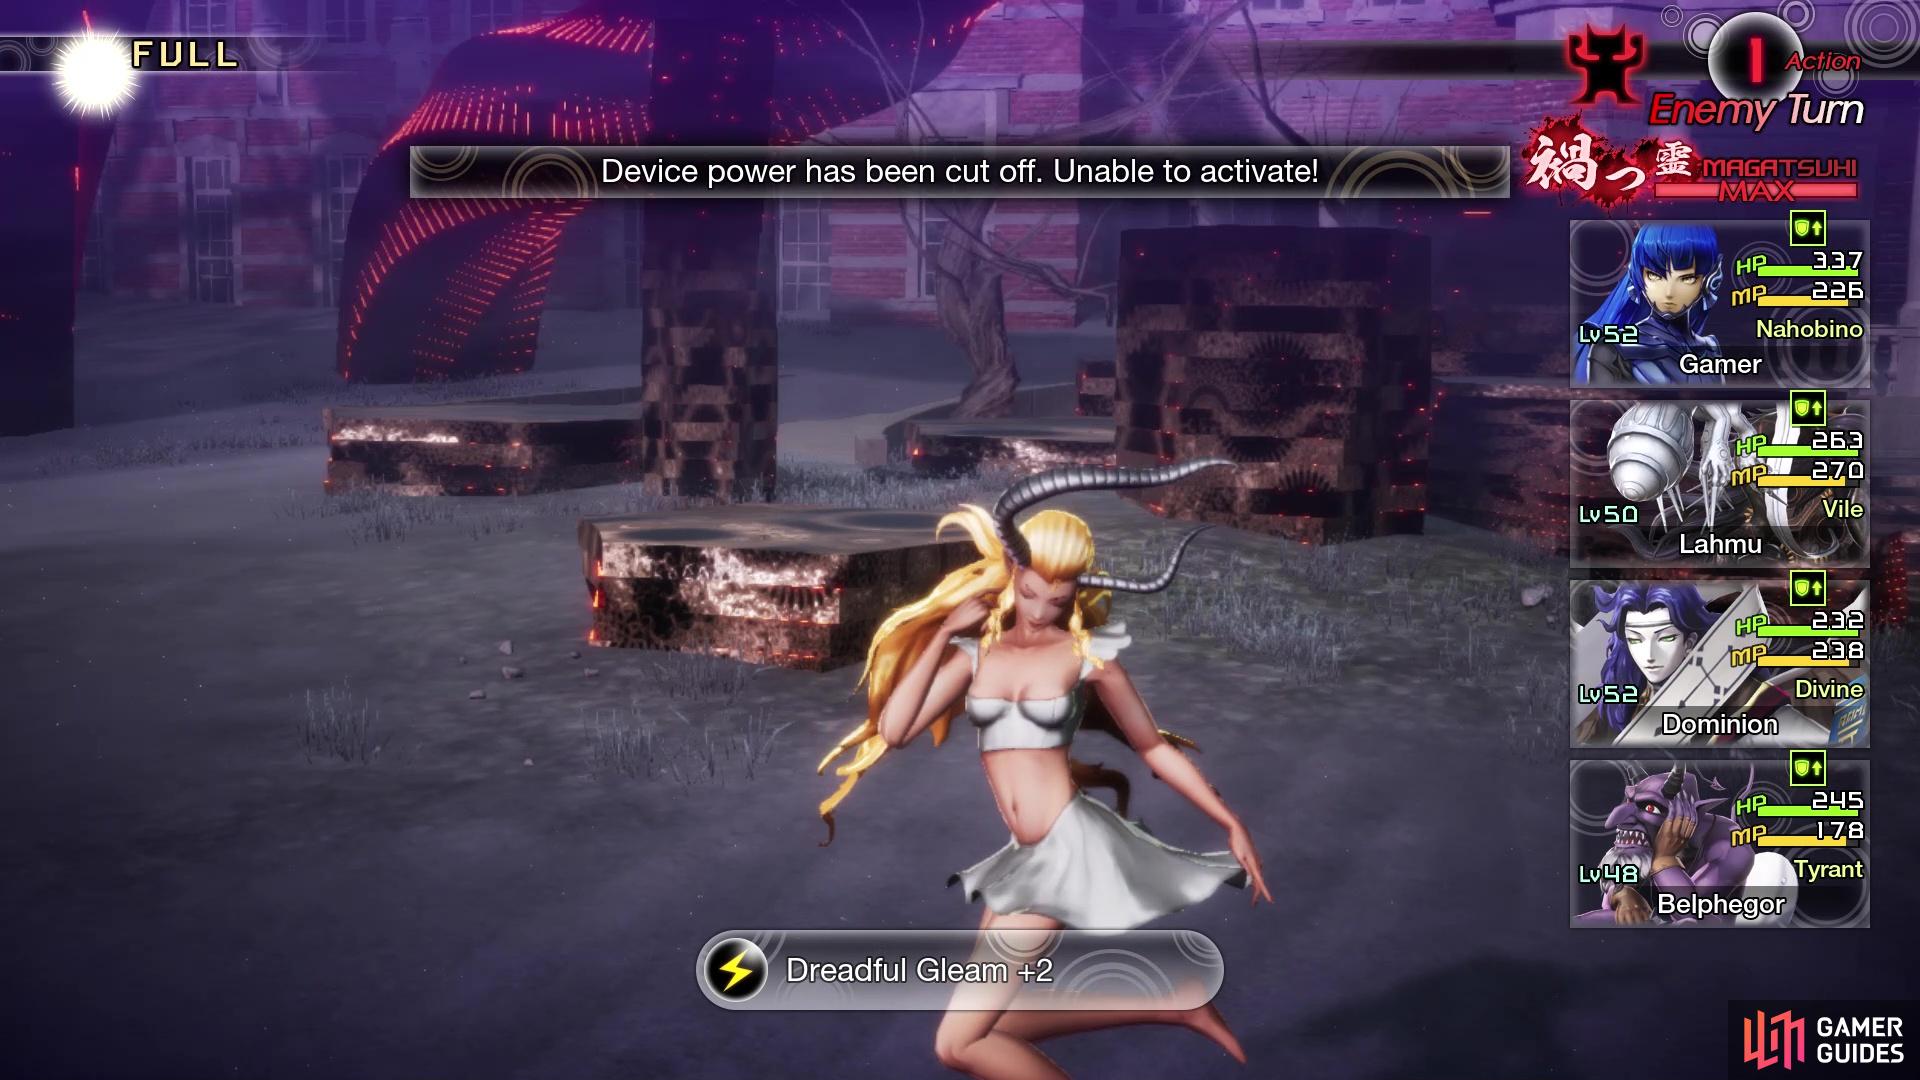
| Dreadful Gleam +2 | Heavy Electric attack to all foes. Ignores affinity and pierces through. Chance of inflicting Seal. | |
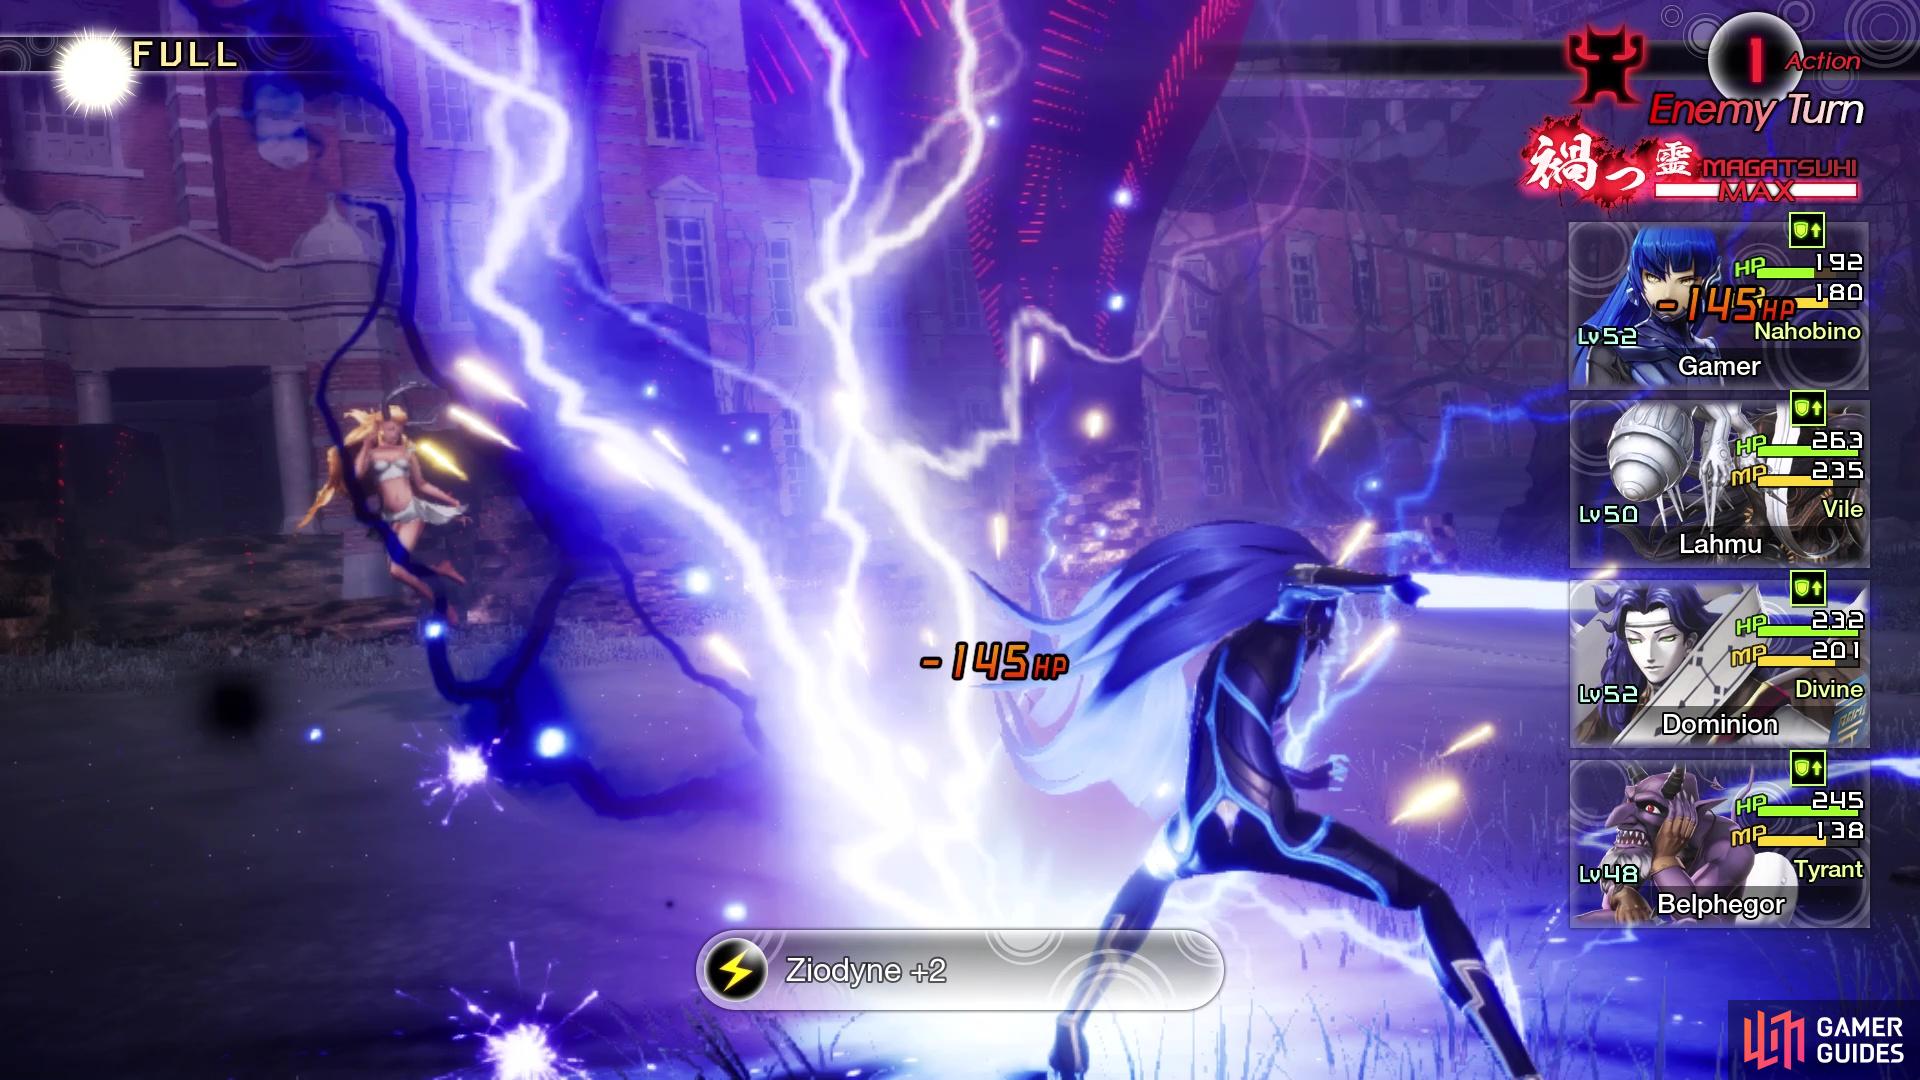
| Ziodyne +2 | Heavy Electric attack to 1 foe. | |
| Mazionga +2 | Medium Electric attack to all foes. | |
| Hamaon +3 | Heavy Light attack to 1 foe. Chance of instakill when striking weakness. | |
| Mahamaon +3 | Heavy Light attack to all foes. Chance of instakill when striking weakness. | |
| Sexy Dance | Chance of inflicting Charm to all foes. | |
| Diarama +2 | Moderate HP recovery to 1 ally. | |
| Marakunda +2 | Lowers Defense of all foes by 1 rank for 3 turns. |
The difficulty of this battle with Ishtar will depend entirely on how many of her devices you have deactivated. If you chose to do none of them, then she will have eight turns per round, which can prove to be the toughest battle in the game, thus far. If you deactivated all of the devices, then she will only have a single turn per round, plus her strongest move will be removed from her pool of actions. Any combination in between 0 and 7 devices will still allow her to use Dreadful Gleam. Speaking of it, Dreadful Gleam is a very dangerous attack, as it deals Electric damage to the entire party and has a chance of inflicting Seal.
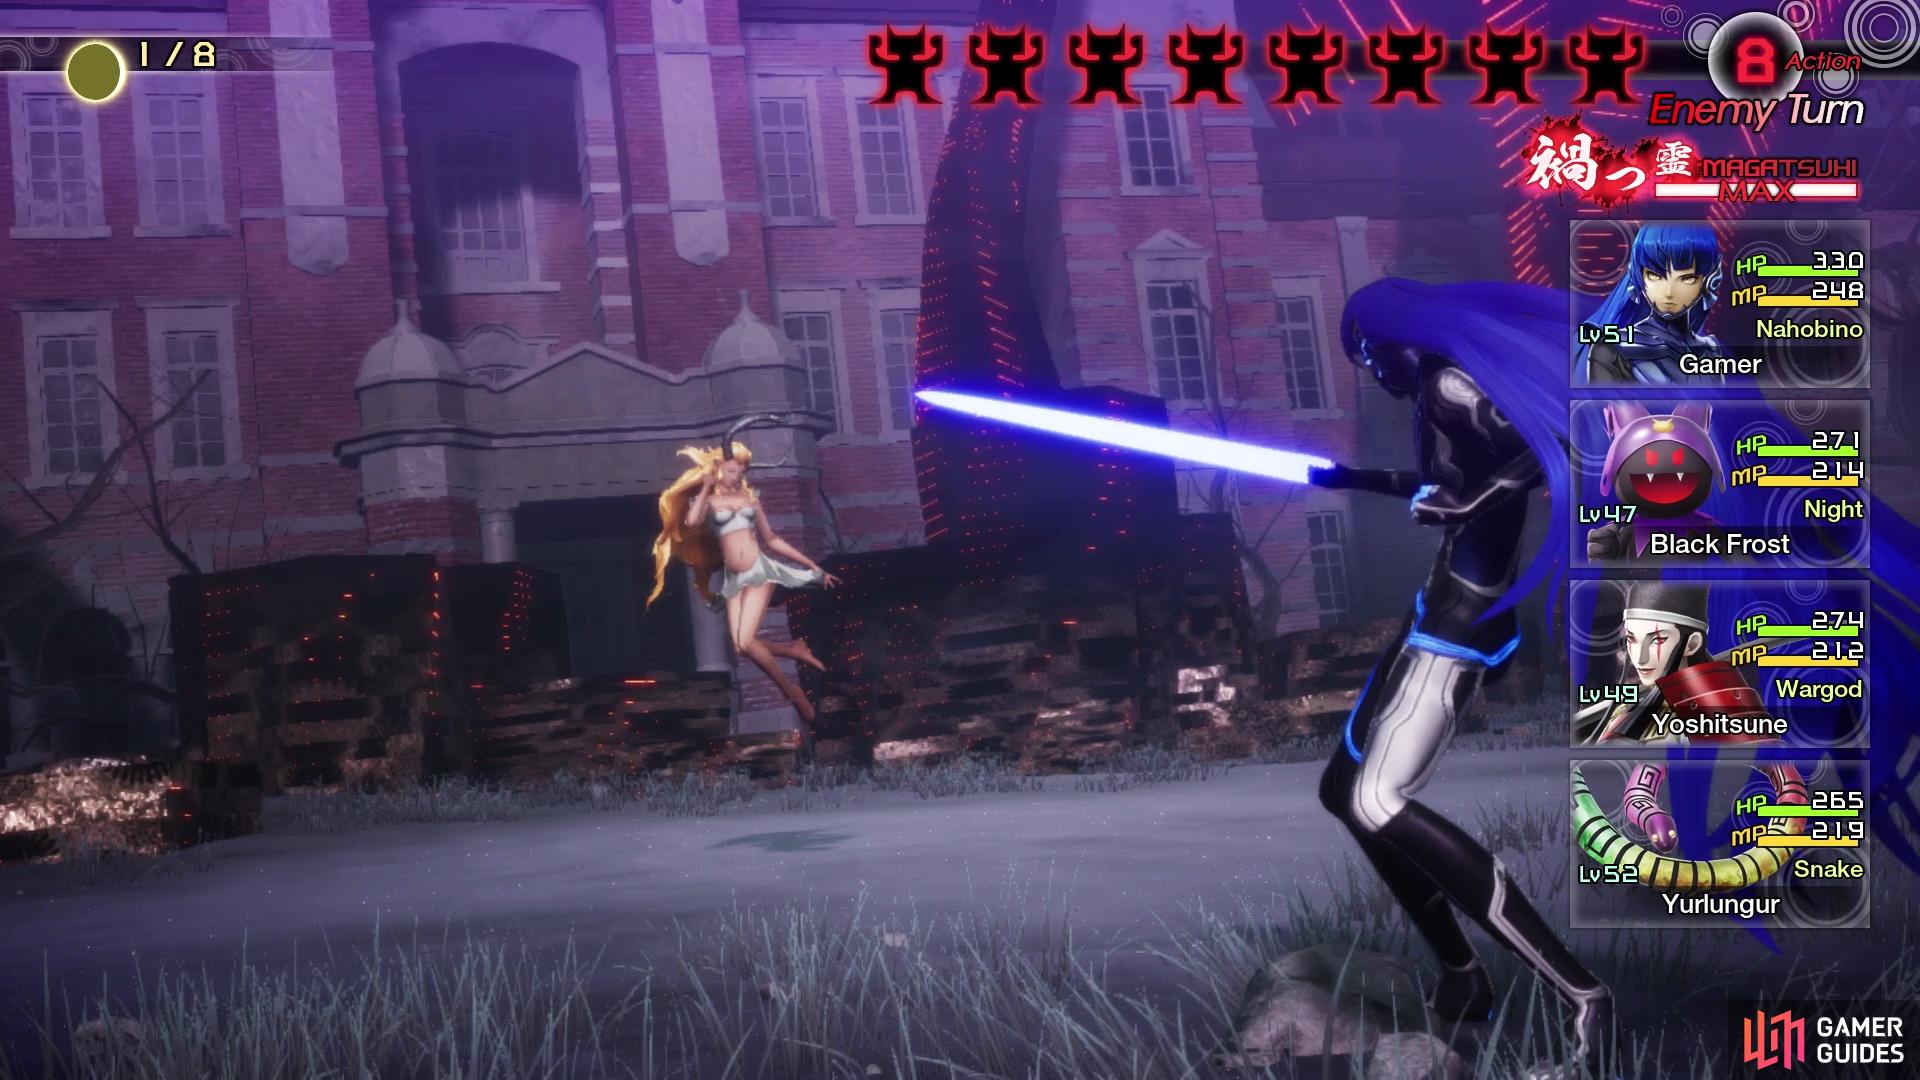
Ishtar can have a maximum of 8 turns if you don’t touch her devices
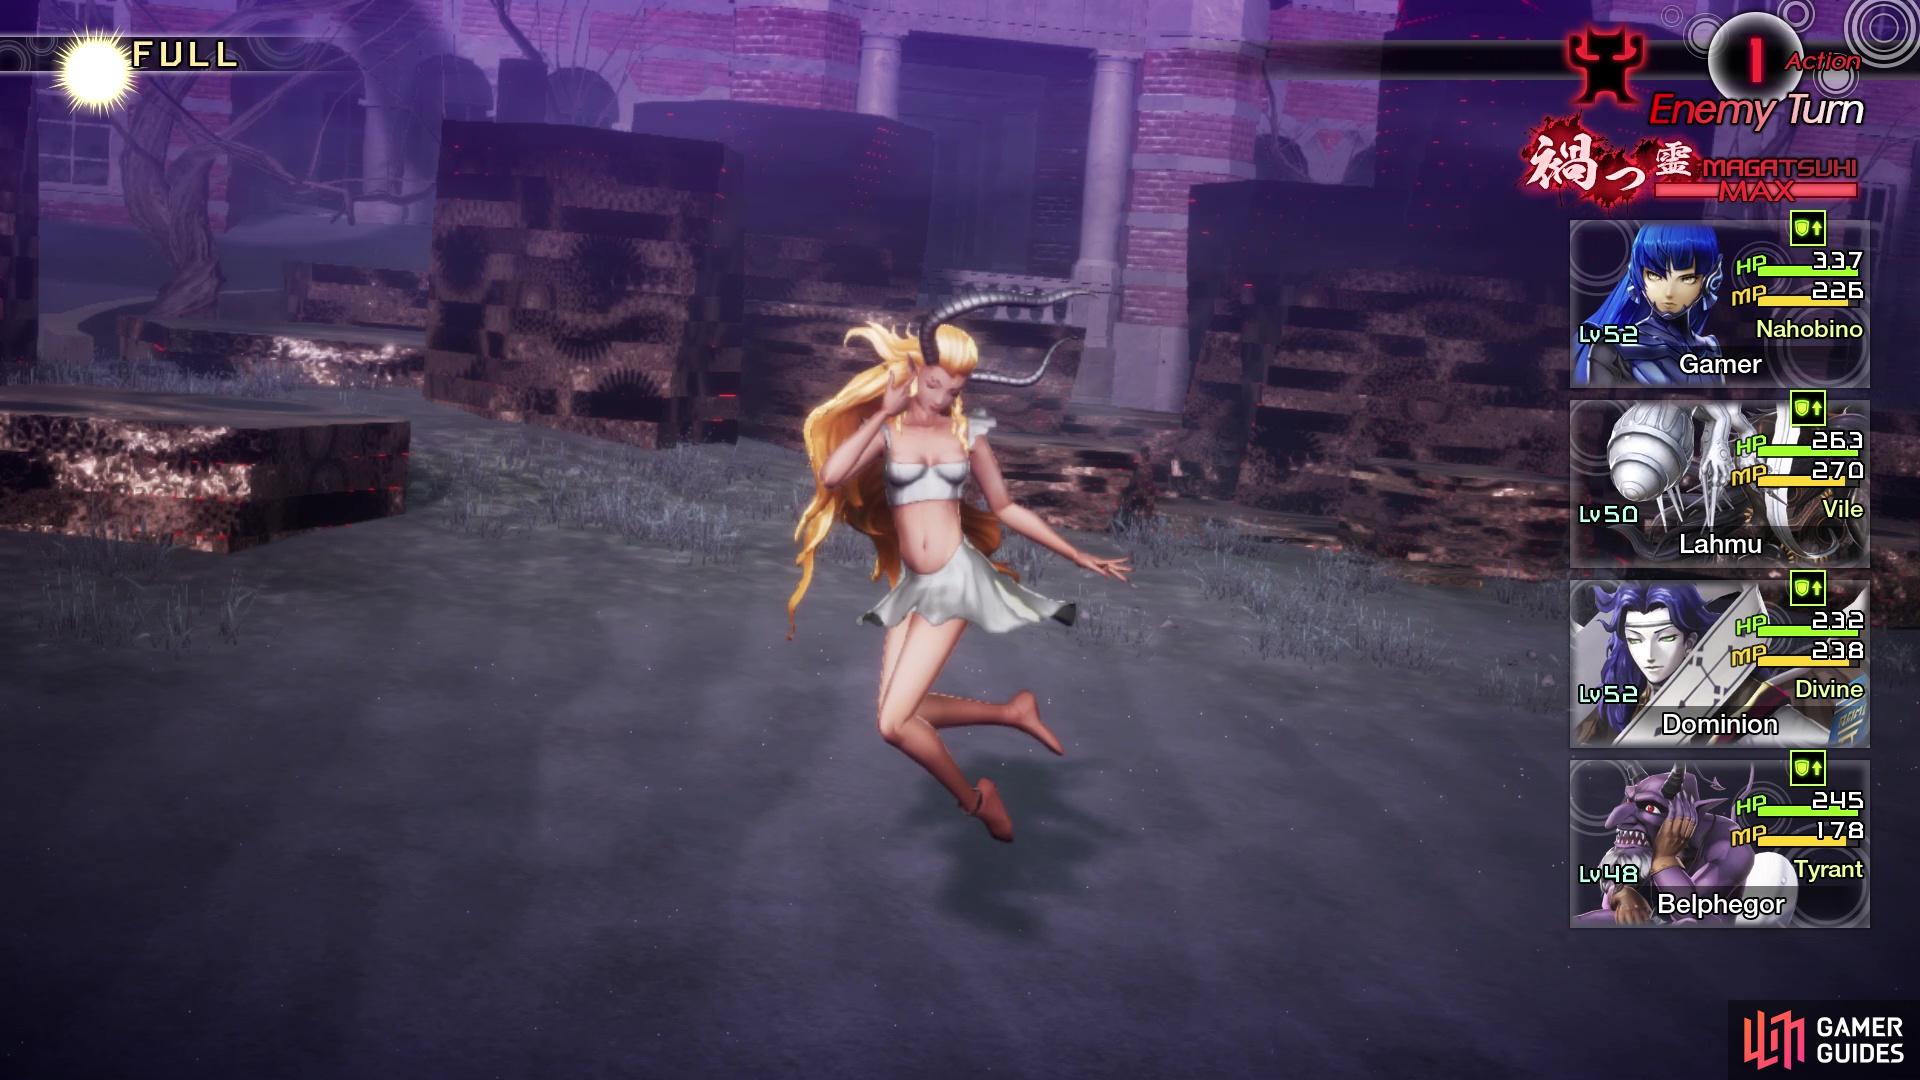
Destroy them all and she will be reduced to a single turn per round
You might think to just block it with resistances, but it ignores those and pierces through, so you have no way to avoid the damage at all, unless you happen to dodge the attack. Because of that reason, buffs can be extremely important in the battle, even moreso if you allow her to have multiple turns. You will definitely want to counter her Marakunda with either Dekunda or Marakukaja. Otherwise, Ishtar has no way of doing anything to debuffs or buffs, outside of the Marakunda. You will also possibly have to deal with Sexy Dance, which has a chance to Charm the entire party, so having someone with Me Patra is a great idea, preferably whomever is designated to do the healing.
There’s also really nothing you can do about Ishtar using Diarama, unless you try and inflict Seal on her, but she resists all ailments, so it would be challenging. Ishtar has access to a single target and party-wide skill for both Electric and Light elements. There is no real move she does when charging the Magatsuhi, so you can’t really predict whether a Light or Electric move will follow. Thus, the best way to counter the charge is to possibly just guard on the following turn, to minimize the risk of Ishtar gaining more turns during that round. There is one huge trick you could do, though, to help in this battle, especially if you allowed Ishtar to keep her multiple turns.
She will lose access to Dreadful Gleam with all devices deactivated
Her devices have no impact on her power, so you still want to be careful
Whenever a demon repels or absorbs an element, the opposing enemy will lose all of their turns, unlike with just losing two Press Turns during a block. With this in mind, there are two demons in that range that can absorb/repel Electric and Light, which are Naga Raja (Electric) and Horus (Light). Include them in your party, should you be facing an 8-turn Ishtar, and have them with Taunt/Fierce Roar to make sure that Ishtar targets them. This will ensure that her AI will be focused on those demons, where she will likely use Ziodyne or Hamaon, instead of the party-wide abilities. Note that should you use this strategy, you will probably want to put Resist Light on Naga Raja; Horus already resists Electric, so you don’t have to do anything for it.
Aftermath of Ishtar’s Defeat
Upon defeating Ishtar, Decarabia will leave your team and you will gain the ability to fuse Ishtar. You should see another objective marker right in front of you, so go to it to witness a cutscene, and you will be able to enter the Demon King’s Castle. Before doing that, though, there are a few loose ends here. In the area behind Ishtar, there is a Treasure Box on the northern side, which is being guarded by three Naga Raja; it contains a Balm of Life. In the narrow, eastern dead end, you will find Miman #150, which will be the final one for the Chiyoda region. Next to where you enter the Demon King’s Castle, there is a Power that will give you The Angel of Destruction quest.
Miman #150 is at this dead end after you defeat Ishtar
There is one more quest to be had in Chiyoda, which is not too far from the Nihonbashi Leyline. Work backwards from there, back to where you saw that one cutscene with Ichiro and Abdiel earlier in the game. Next to one of the buildings will be Queen Medb, who will give you the Glitter of Ginza quest. Queen Medb is looking for jewels buried around Chiyoda. You will need a Navigator demon for this and Decarabia seem to be the better option. Specifically, she wants 2 Diamonds, 3 Garnets, and 3 Aquamarines. When you are finally finished with everything, head on over to the entrance and enter the Demon King’s Castle.
No Comments