
This is a walkthrough for Demon King’s Castle of Shin Megami Tensei V, taking place in the 3rd Stratum area. How to complete every objective and find every chest.
The 3rd Stratum is the final full floor of the castle
Demons
| Icon | Name | Lv | Weakness |
|---|---|---|---|
| Kaiwan | 45 | ||
| Hanuman | 46 | ||
| Dakini | 46 | ||
| Oberon | 47 | ||
| Anzu | 48 | ||
| Orobas | 49 | ||
| Nue | 49 | ||
| Kin-Ki | 49 | ||
| Yurlungur | 50 | ||
 |
Flauros | 50 | |
| Pazuzu | 52 |
Items
| Name |
|---|
| Life Drain Gem x2 |
| Ambrosia x2 |
| Pazuzu’s Essence |
| Kin-Ki’s Essence |
| Bead |
| Flauros’s Essence |
| 40,000 Macca |
| Charge Gem x2 |
| Attack Mirror |
| Elec Gem x3 |
| Concentrate Gem x2 |
| Whittled Goat |
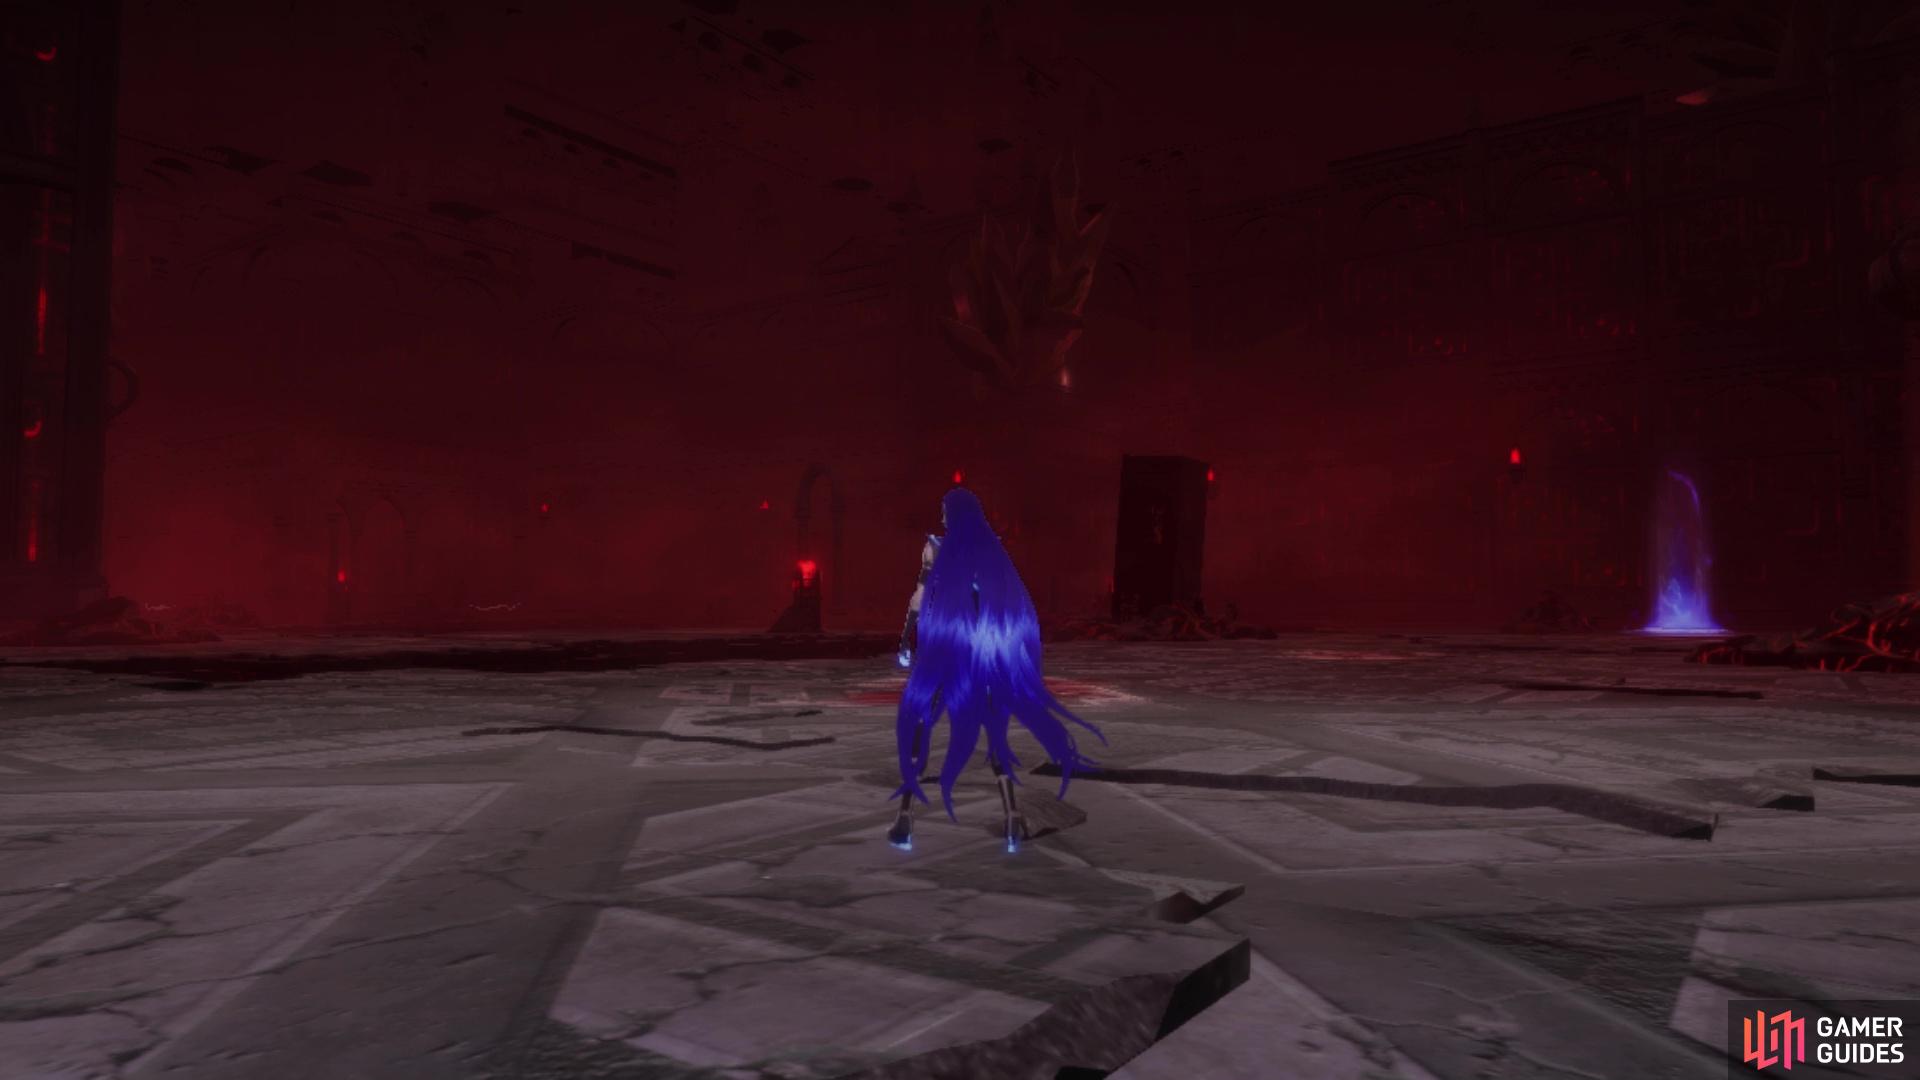
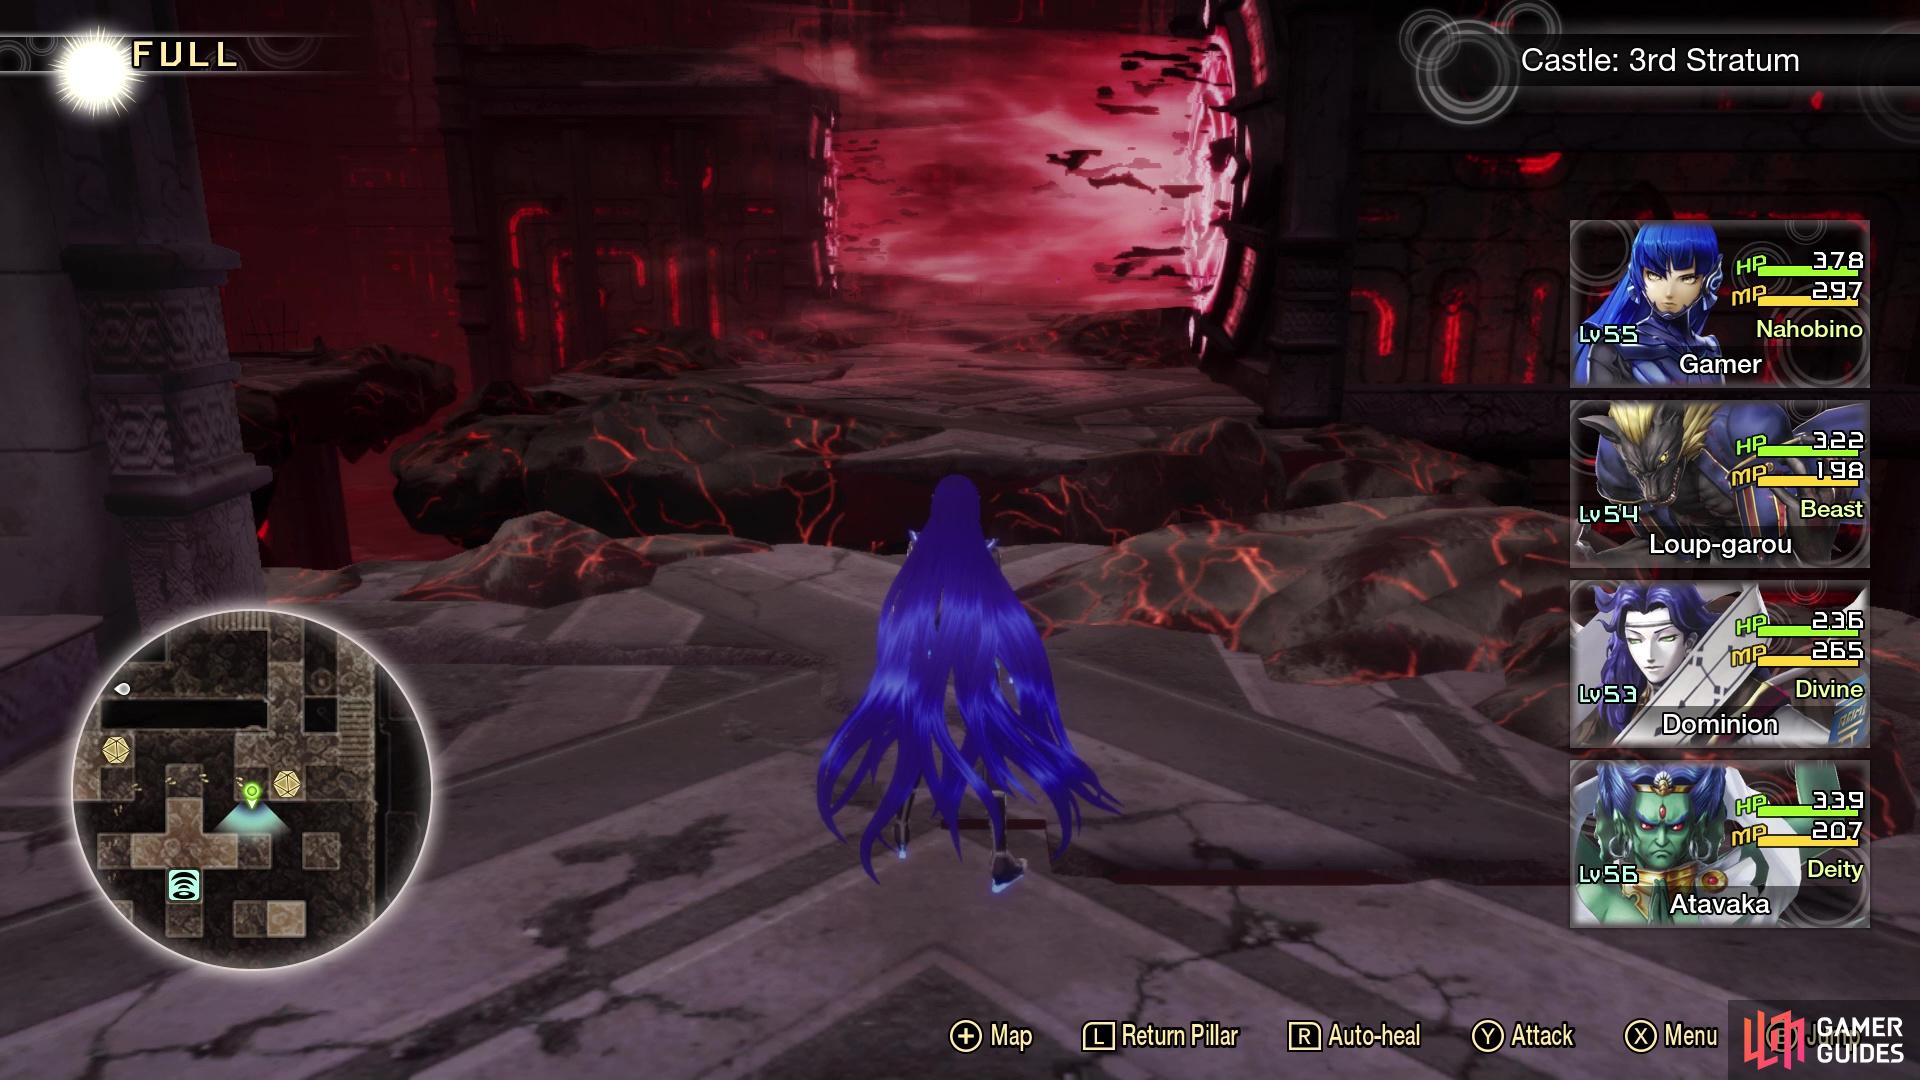
As soon as arriving in the 3rd Stratum, head to the east and touch the leyline fount to register the Castle: 3rd Stratum Hall Leyline. Begin heading north now, past the Yurlungurs, and to the northwest corner of the room, where you will find three Treasure Boxes. These will contain Life Drain Gem x2, Ambrosia x2, and a Pazuzu’s Essence. Find the path leading to the northeast, sneak past more Yurlungurs, and in the corner up there, you will find another Treasure Box (Kin-Ki’s Essence). Directly south of that, the path will lead you to the next area, but not before running into Abdiel and Ichiro in a cutscene.


(1 of 2) You will meet up with Abdiel and Ichiro on this floor
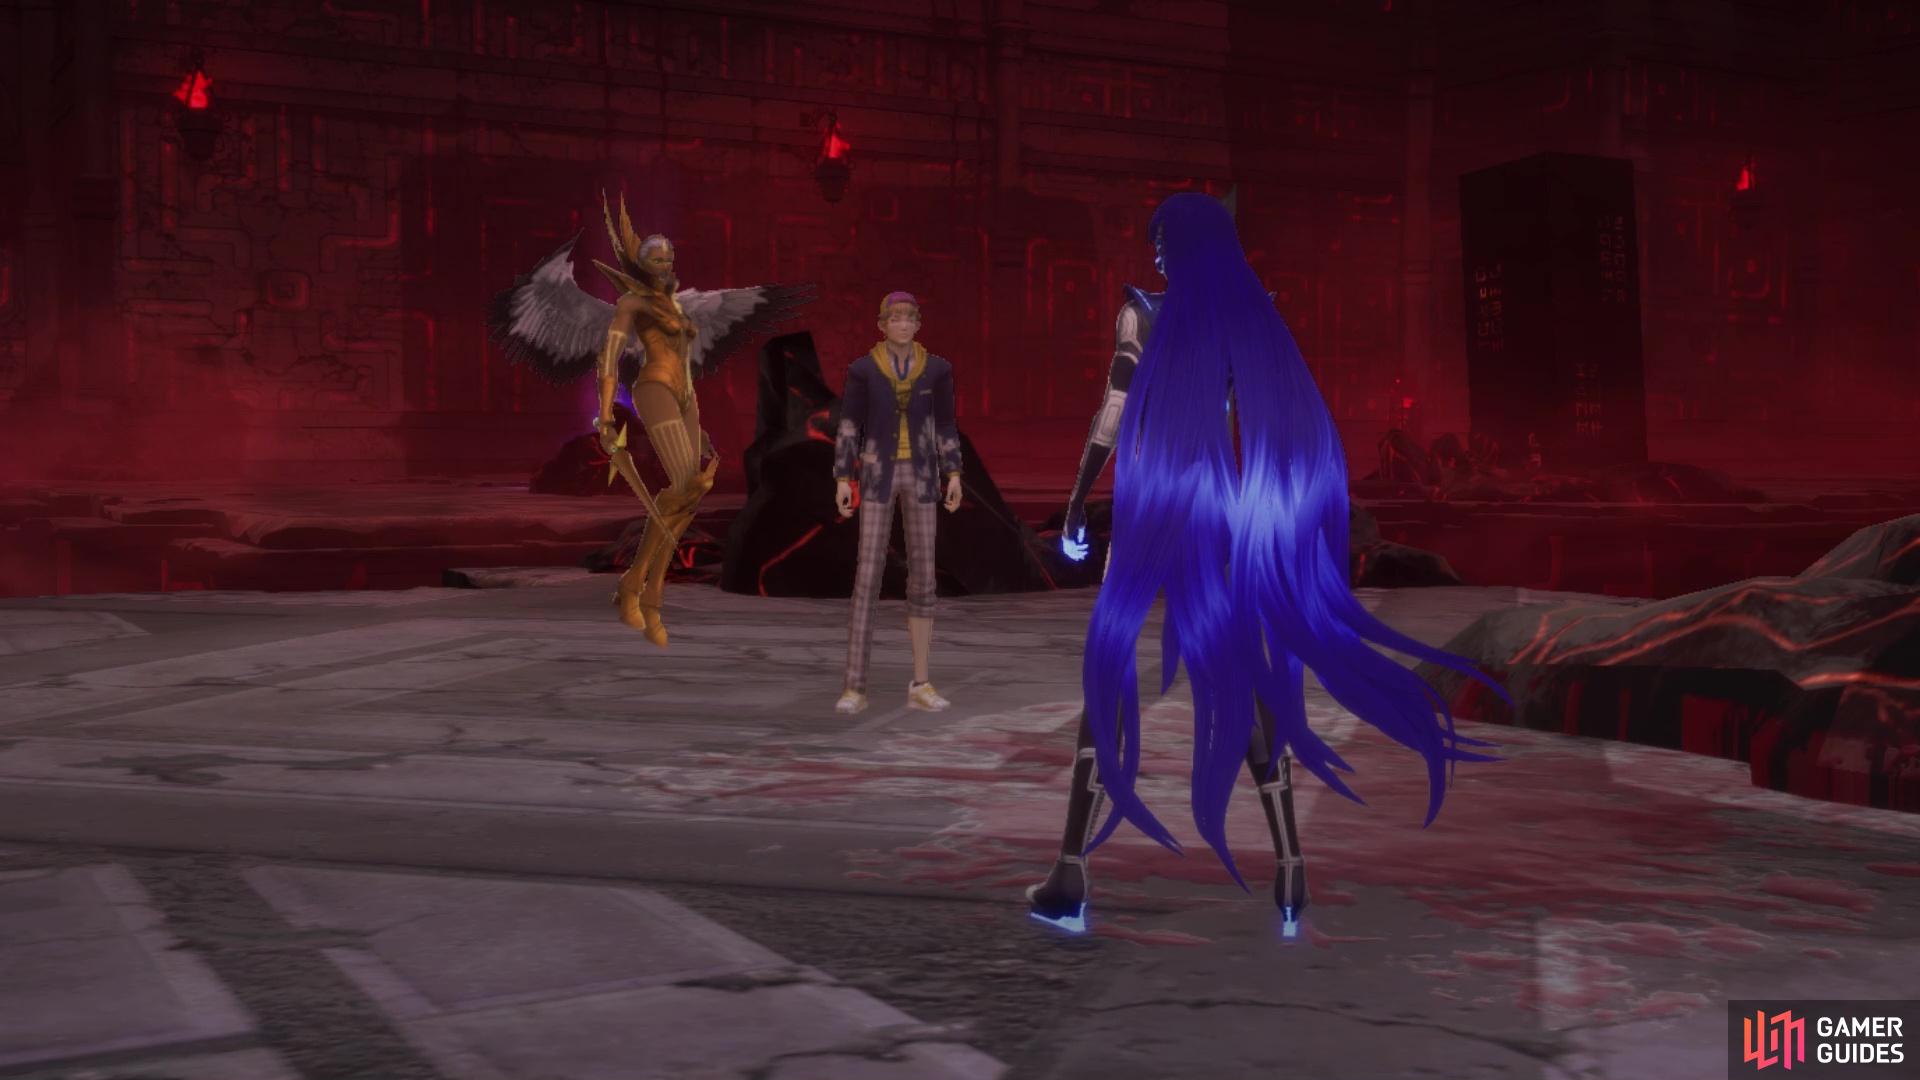

You will meet up with Abdiel and Ichiro on this floor (left), You will find some new demons here on the 3rd Stratum (right)
Pass through the door after the cutscene and into the next room, where you will want to make the trek south, east, then north to a set of stairs. Ignore those for the time being and go a little north to find a Treasure Box, which will contain a Bead. Climb the stairs, then head north and jump the gap in the corner, putting you on the ledge just north of the door used to reach this room. Go down the stairs, then follow the hallway to the east and north to find more stairs. This will lead to a small section with some Nues in little alcoves, who will chase you upon you running by them. South of the third Nue on the northern side, will be another Treasure Box (Flauros’s Essence).
Look to the east of the treasure, where you can see that jumping over the gap will lead you farther, so do that. Go up the stairs to the north, then begin hopping to each platform, until you reach a split in the path, where you can either go south or east. Venture to the south, until you reach a Treasure Box at the end, containing a cool 40,000 Macca. Double back to the other way you could go and jump to the platform, then look to the east to see a new, lower ledge you can reach with another jump. Follow the path before you to the south, down some stairs, then all the way to another set of steps. You should notice a large open area, with a bunch of Flauros and Kin-Ki demons, as well as some more stairs behind them.
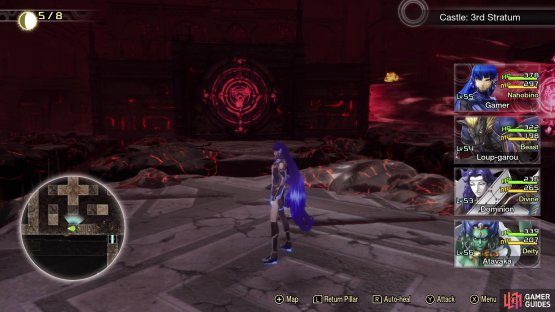
Aim for those stairs, then drop down in the gap you come across to find a Treasure Box, which contains Charge Gem x2. Drop down to the ground level and return to those stairs you just climbed, hopping over the gap this time. You should be in another large area with a bunch of demons, only the stairs you need will be guarded by some Nues. Head up both stairs here, then go north and through the door. There will be a leyline fount in the little alcove here, so touch it to register the Castle: 3rd Stratum Stairs Leyline.
3rd Stratum Stairs
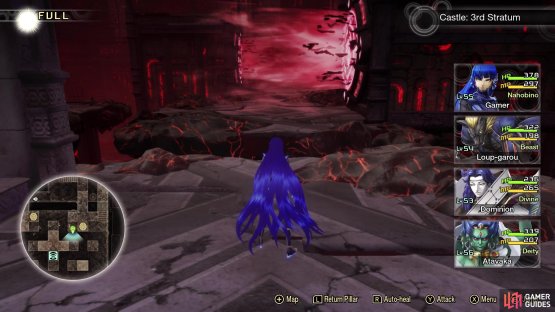
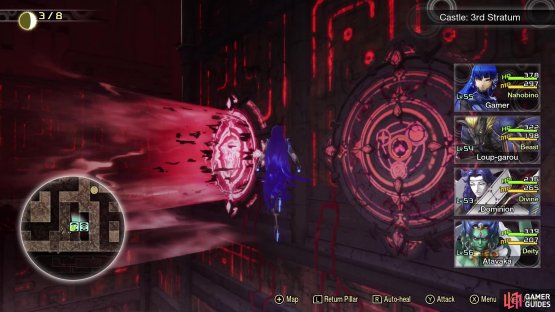
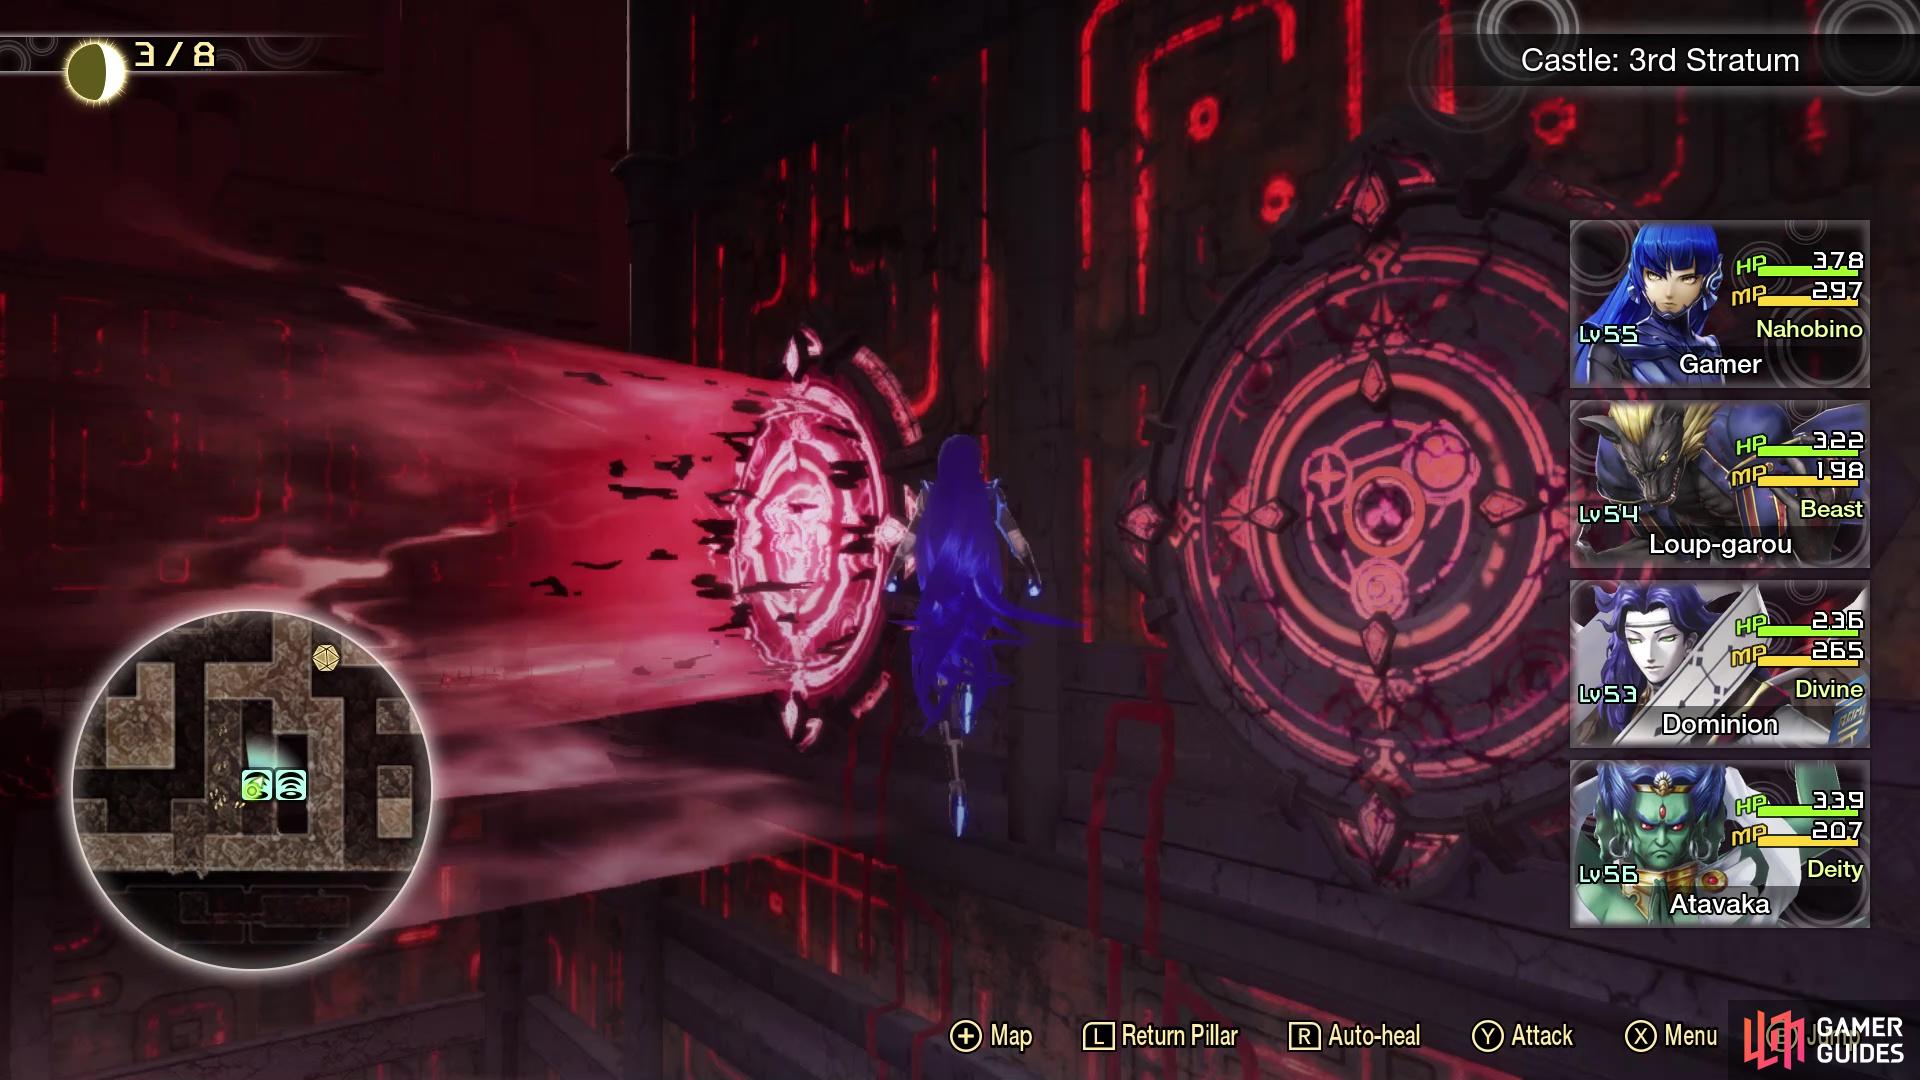
Head through the door at the bottom of the hallway and into the next room. There is nothing on the ground level, so immediately seek out the stairs to the west, where you will be greeted by the familiar Wind Panels once more. The central part of the room will have the Wind Panels blowing in such a way that they will knock you down to the ground floor. So, you will need to be very quick here, as you circle around clockwise, once the Wind Panel blowing southward stops. You will be working your way to the northeast corner of the room, where you need to be quick enough to avoid the one Wind Panel there.
(1 of 2) The panels here will activate in a set order

The panels here will activate in a set order (left), so you will need to wait in order to get pass them (right)
Once you make it there, climb the stairs to see some more panels on the far wall. Stop at the second one and have it blow you across the room, to another ledge, where you can break open the Treasure Box (Attack Mirror). Drop back down to the stairs and return to the Wind Panels, which will alternate, so time your way to get across them all. Should you happen to fall down, look in the southeast corner for a panel on the ground, which launches you to the platform with the treasure you collected. Upon making it past the first four, you will have to jump some gaps to platforms with more Wind Panels.
Stop at the second of these and let the wind blow you over to a ledge, which allows you to loot a Treasure Box (Elec Gem x3). Double back to where you got blown off, then hop over to the hallway with the two panels adjacent to one another. One will blow you forward, to another platform, while the other knocks your backward. Go forward with the first two here, then stop at the third one. Note that if you fall down at all, you will have to deal with a bunch of Flauros. There is a panel in the corner, on the floor, which allows you to get back to the first set of adjacent panels.
You will want to wait for the brief second or so of when one panel shuts off and the other turns on, to run on by before being blown in either direction and possibly falling into the pit below you. When you’re past it, go to the end of the path and drop down in the next area. Here, you will need to time things, so the panel on the floor blows you upward and into another one. However, there are two panels on the wall, with one blowing your backward and the other sending you east. The northbound one blows first, so wait for that to stop, which will trigger the other to activate. As soon as you see this, quickly let the bottom panel boost you up, which will put you to the east.

(1 of 2) You will need to time it right with the later Wind Panels

You will need to time it right with the later Wind Panels (left), as you will need to go in a specific direction (right)
There will be another set of panels here, like the ones in the previous paragraph, so you will be doing something similar. The only difference is you need to go immediately, since you want to go south. Upon landing, look east to see more panels, with three on the wall and one on the ground. The ones on the wall will alternate, and you will need to find the correct one to use. Of course, the correct Wind Panel on the wall to use is the northernmost of the three, which will put you on an upper portion. From there, you can head northeast and open the Treasure Box there for Concentrate Gem x2. Head south of where the treasure was, while still staying at the top level, until you reach the other Treasure Box on your map.
You will have to drop down to get this, though, which is a Whittled Goat. This item actually revives the Nahobino with full HP, should he ever have his health fall to zero. Unfortunately, you don’t get the choice, as the game automatically uses it on your behalf. Return to where you dropped off, then continue west through the door, and to the 4th Stratum.
No Comments