
This is a walkthrough for Da’at: Chiyoda of Shin Megami Tensei V, taking place in the Kanda, Iwamotocho, and Uchikanda areas. How to complete every objective, find every chest and locate every Miman.
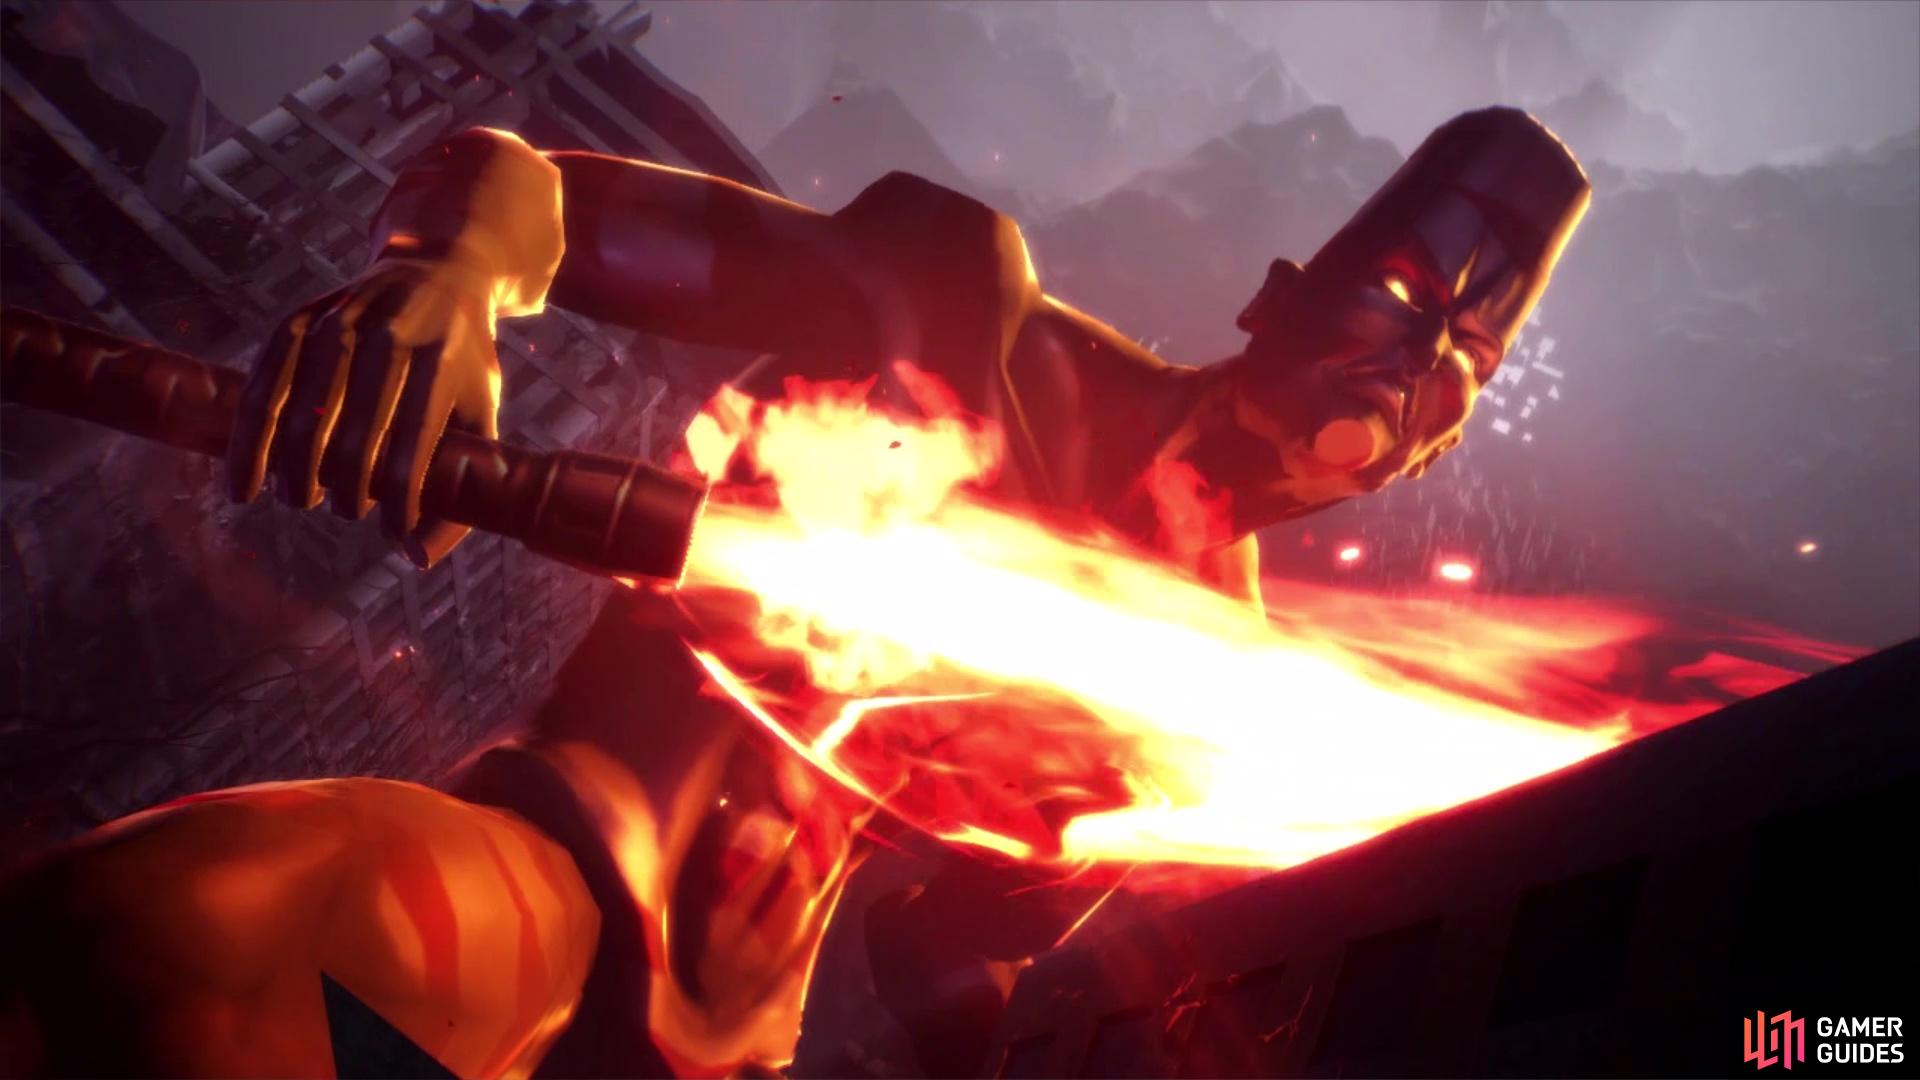
A new threat is now blocking your way
Demons
| Icon | Name | Lv | Weakness |
|---|---|---|---|
| Lamia | 36 | ||
| Narcissus | 38 | ||
| Succubus | 38 | ||
| Muu Shuwuu | 38 | ||
| Kurama Tengu | 39 | ||
| Valkyrie | 40 | ||
| Naga Raja | 40 | ||
| Kumbhanda | 41 | ||
| Orthrus | 42 | ||
| Mishaguji | 42 | ||
| Macabre | 43 | ||
| Kaiwan | 45 | ||
Items
| Name |
|---|
| Isis’s Essence |
| Naga Raja’s Essence |
| Bead |
| Grimoire x2 |
| Ice Gem x3 |
| Valkyrie’s Essence |
| Snake Talisman |
| Chakra Pot x2 |
Kanda Abscess
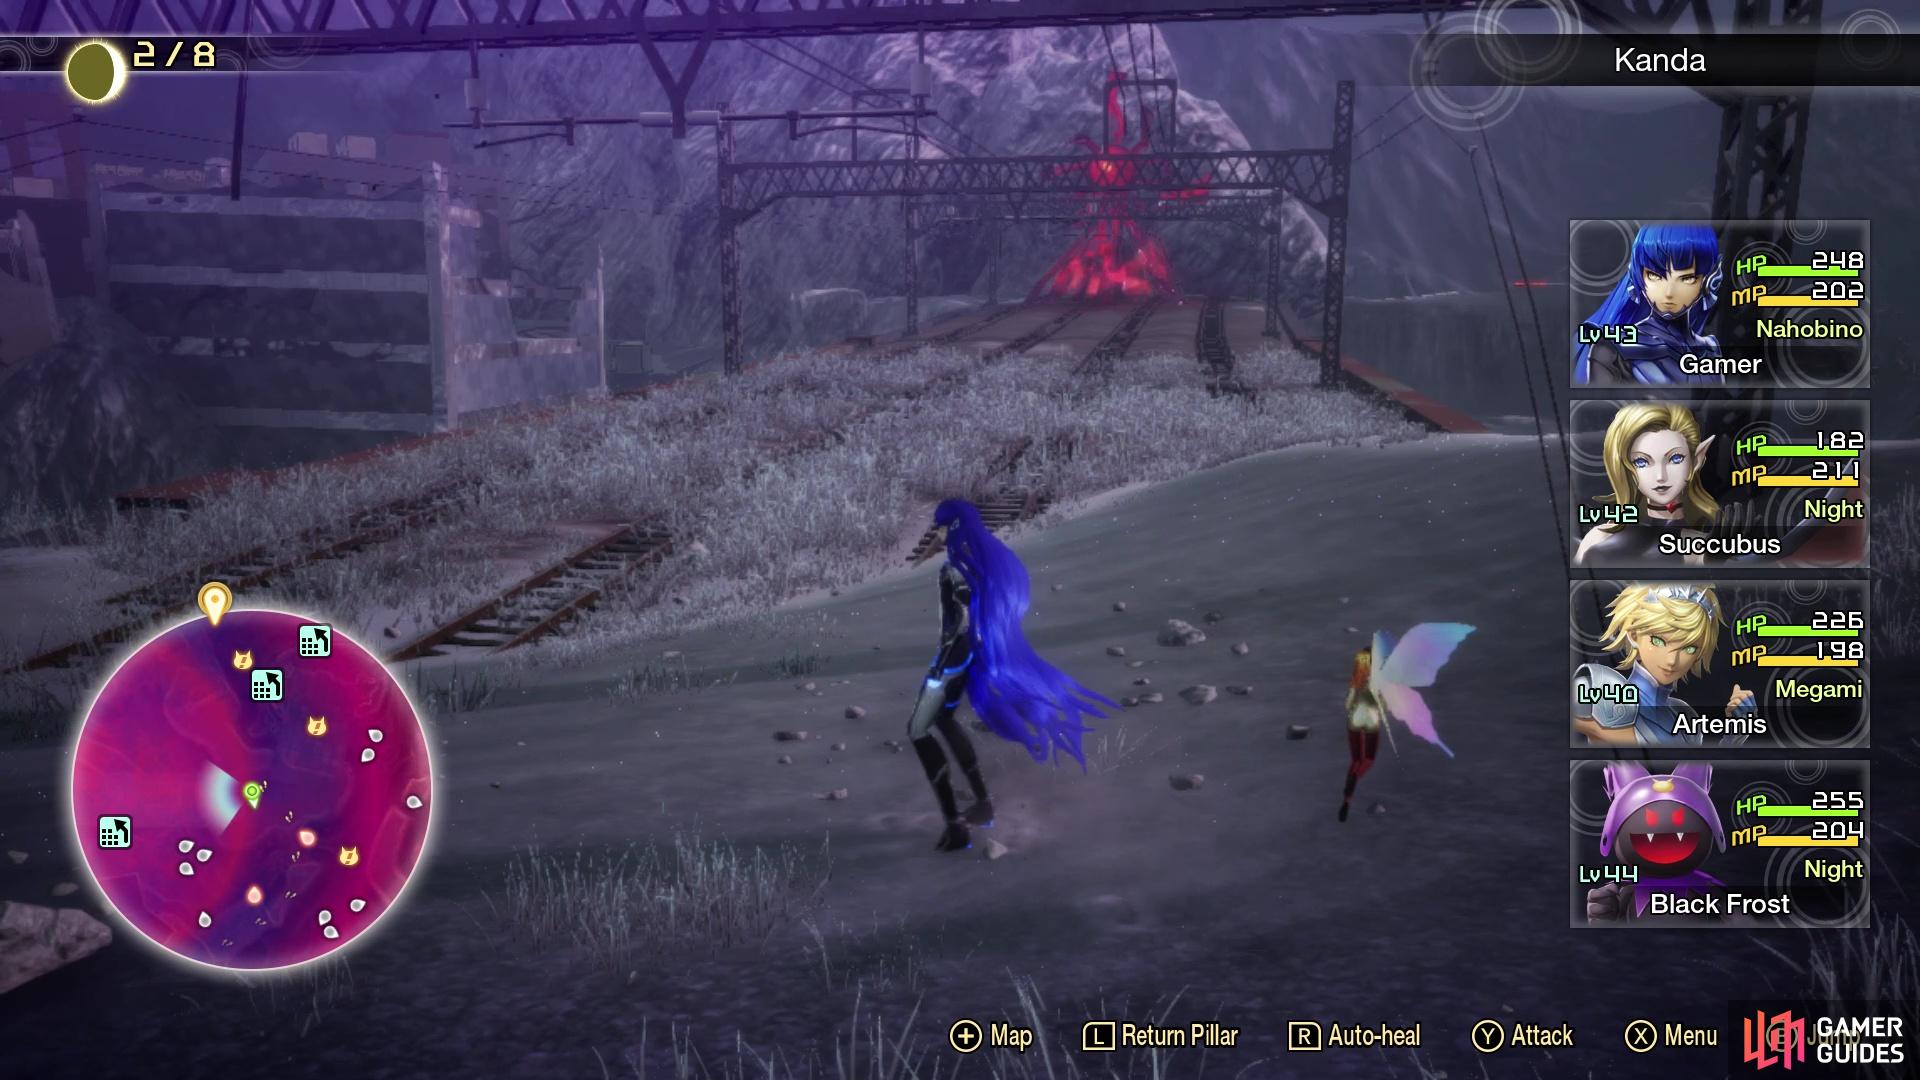
As with most of the areas thus far, there is an Abscess blocking the majority of the map here, so let’s take care of that first. From the Nihonbashi Leyline, head northeast, across the building and up the windy, narrow path. When you reach the little area with Fionn mac Cumhaill, who is a normal NPC here, you should notice the Abscess at the end of some train tracks. Note that this one will spawn some Orthrus to chase after you, which are very quick, so you will want to be careful.
The Abscess will be pretty easy to find this time
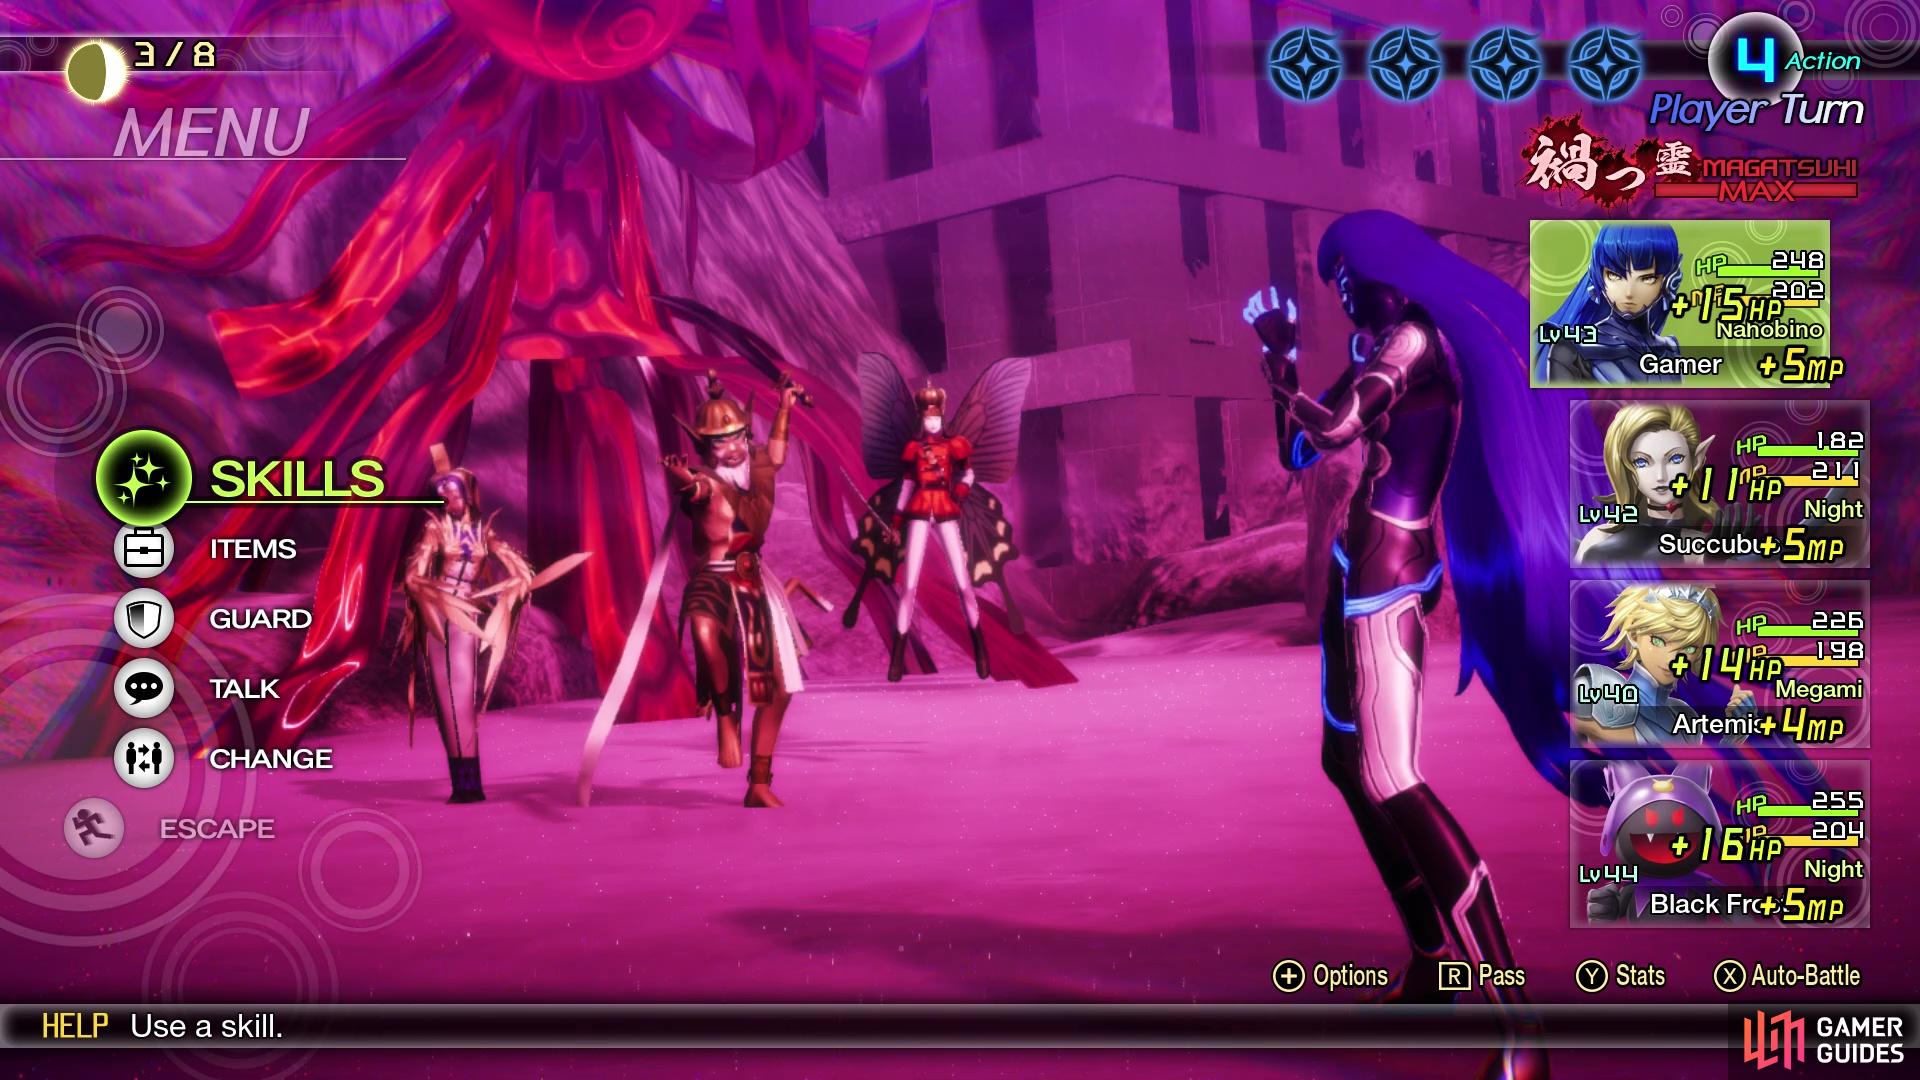
You will be facing three different enemies during the battle
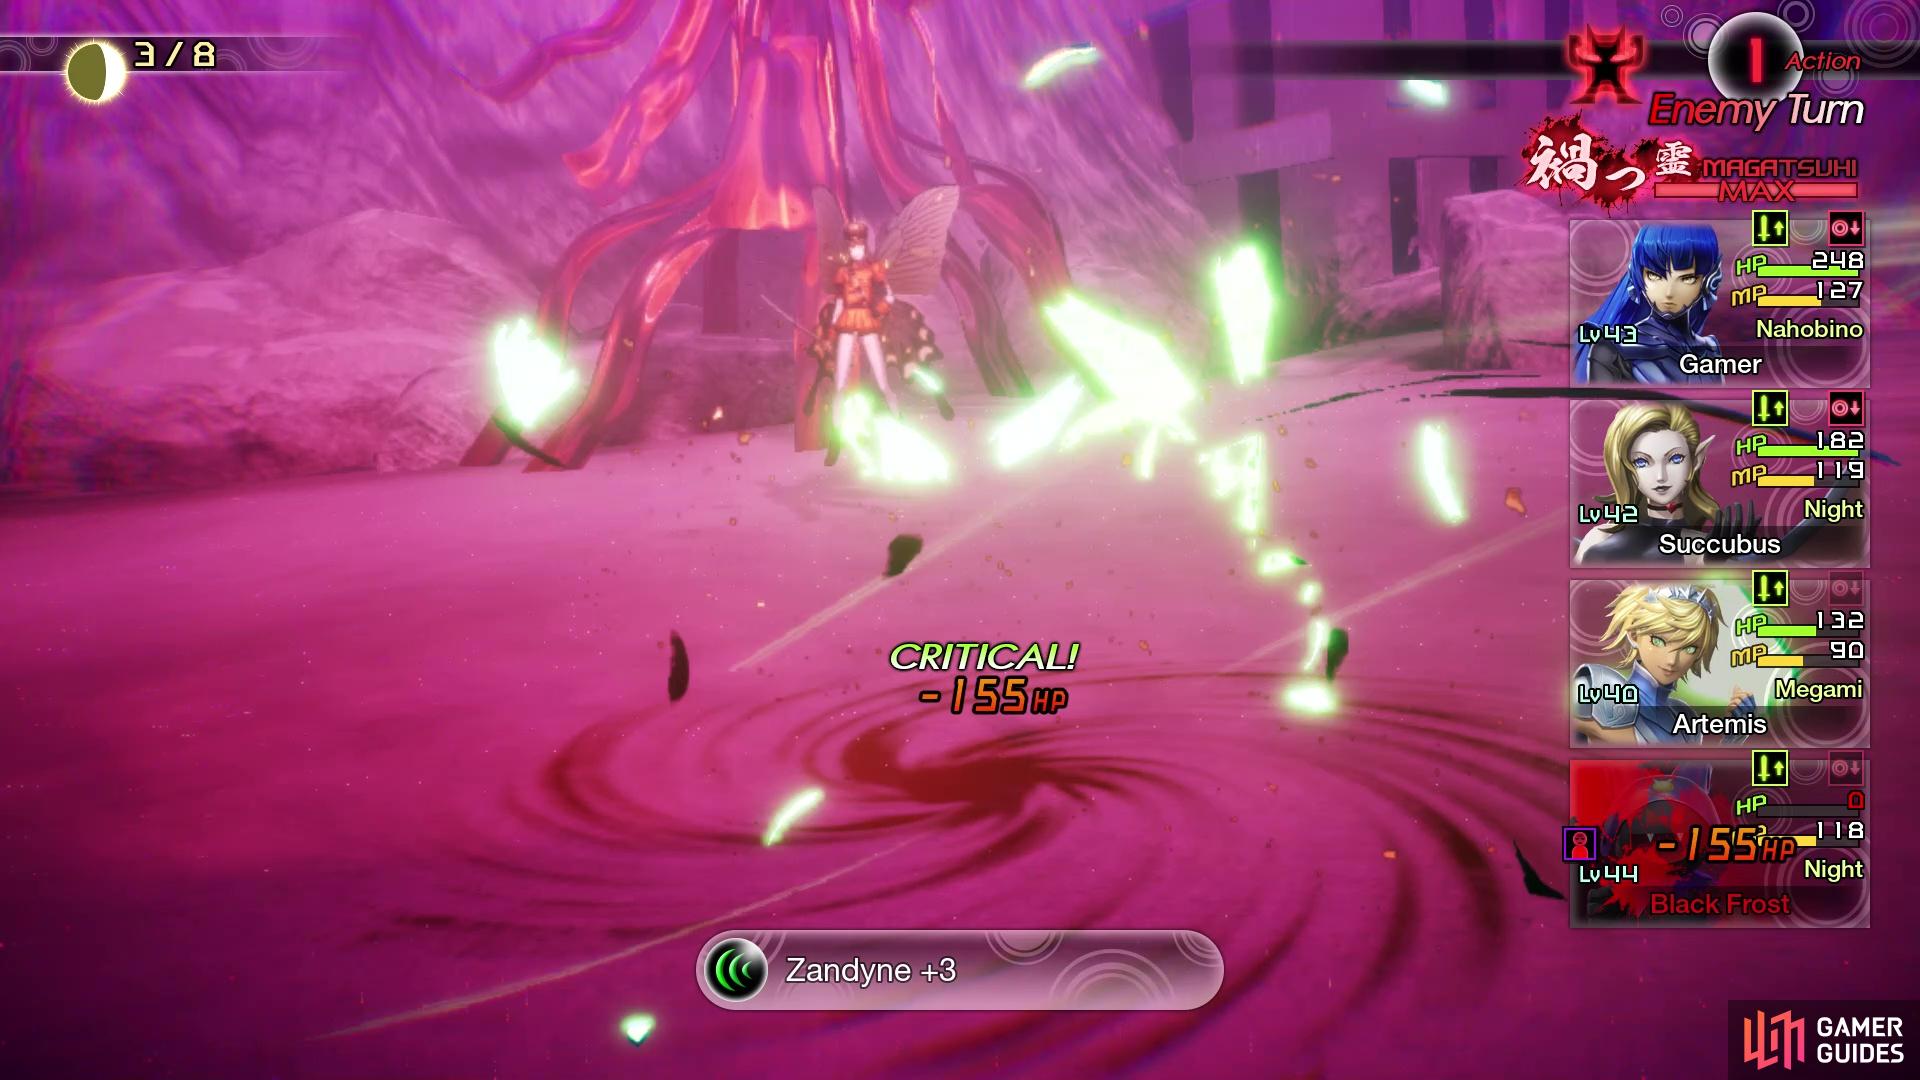
This can be a challenging Abscess battle, as you’re dealing with three different enemies. Both Oberon and Hanuman are weak to Electric, while Isis will block Electric, meaning you can’t use spells like Mazionga or else you will lose turns. Isis also resists Fire, but she will be weak to Dark attacks, while Hanuman reflects Force and Oberon blocks Force. Isis should be the first to go, as she can use Elec Block to cover the other two’s weaknesses; she also can use Zionga, so you don’t want anyone with an Electric weakness. The other two can use Force attacks (Hanuman has Wind Dracostrike and Oberon Zandyne), so you don’t need anyone weak to Force, either.
Hanuman also has access to Purple Smoke, which is a Physical attack that hits three times to one target, with it being stronger if they are confused. Thankfully, none of the enemies here can cause Confusion, so don’t worry about it. He also can debuff your accuracy/evasion with Masukunda. You should counter this with Masukunda of your own, or Masukukaja, if you have it. Oberon has a single-target heal, which will also cure ailments. Speaking of ailments, each enemy is weak to one ailment; Oberon is weak to Charm, Isis is weak to Seal, and Hanuman is weak to Mirage. If you have access to any of these ailments, they can definitely help a lot in this battle.
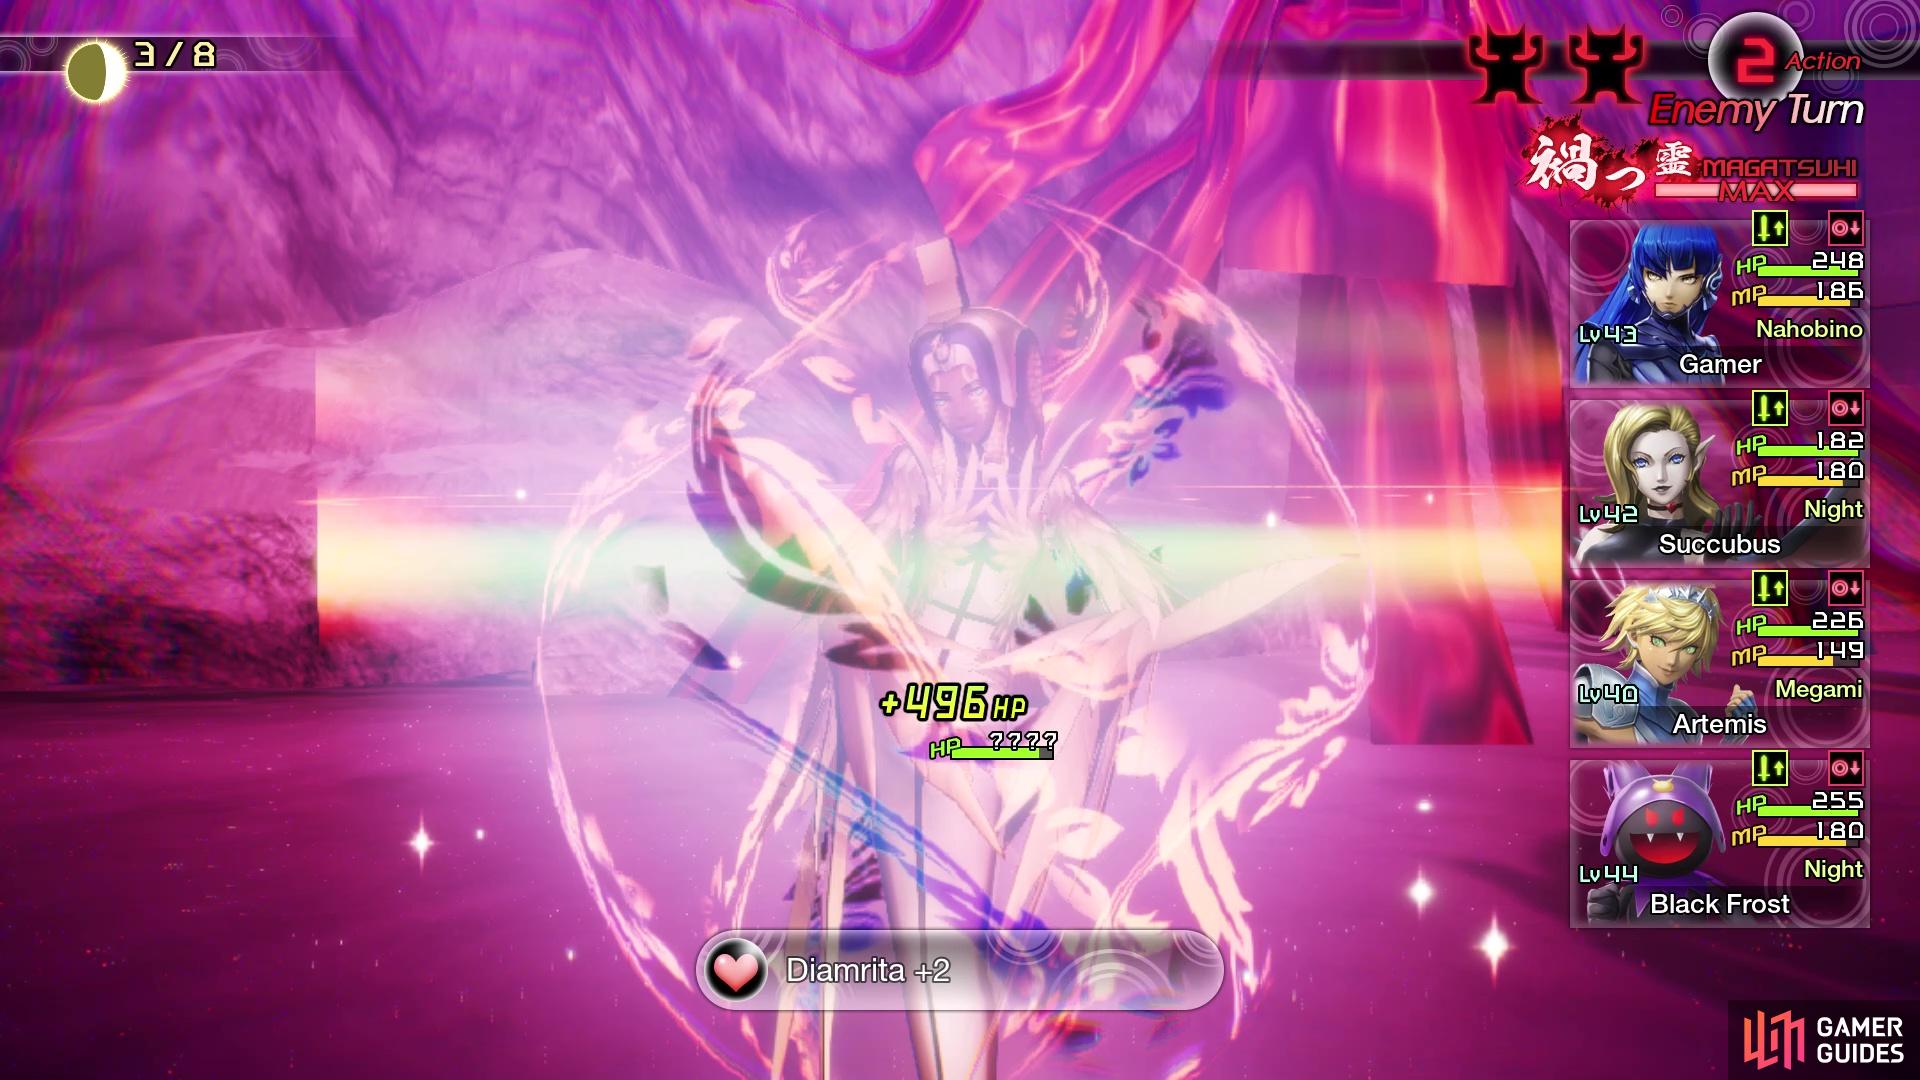
Oberon can use Diamrita on a single enemy to heal for a good chunk
Zandyne can hurt, even if you’re neutral to Force
As already mentioned, unless you can take out one of the enemies on your first turn, it is best to focus on Isis first. Elec Block can hurt you a lot more in the long run than the other things, especially if you’re not weak to any of those attacks. Likewise, debuffs/buffs will also help a ton in this battle, especially if you have strong attacks. For example, Marakunda can make some attacks like Ruinous Thunder do 350+ damage to Oberon and Hanuman. Once you get one enemy down, the battle will slowly start to be in your grasp, making things a lot easier.
| Miracle | Category | Effect | Glory |
|---|---|---|---|
| Enhanced Summon | Supremacy | Demon allies summoned in battle will have a random stat raised by 1 rank. | 80 |
| Summoner’s Hospitality II | Doctrine | The cost of summoning demons from the Demon Compendium is reduced by 30%. | 150 |
| Prayer of Agility | Awakening | Additional +1 increase to a demon ally’s Agility when the demon levels up (Only applies up to a certain level). | 70 |
| Prayer of Luck | Awakening | Additional +1 increase to a demon ally’s Luck when the demon levels up (Only applies up to a certain level). | 70 |
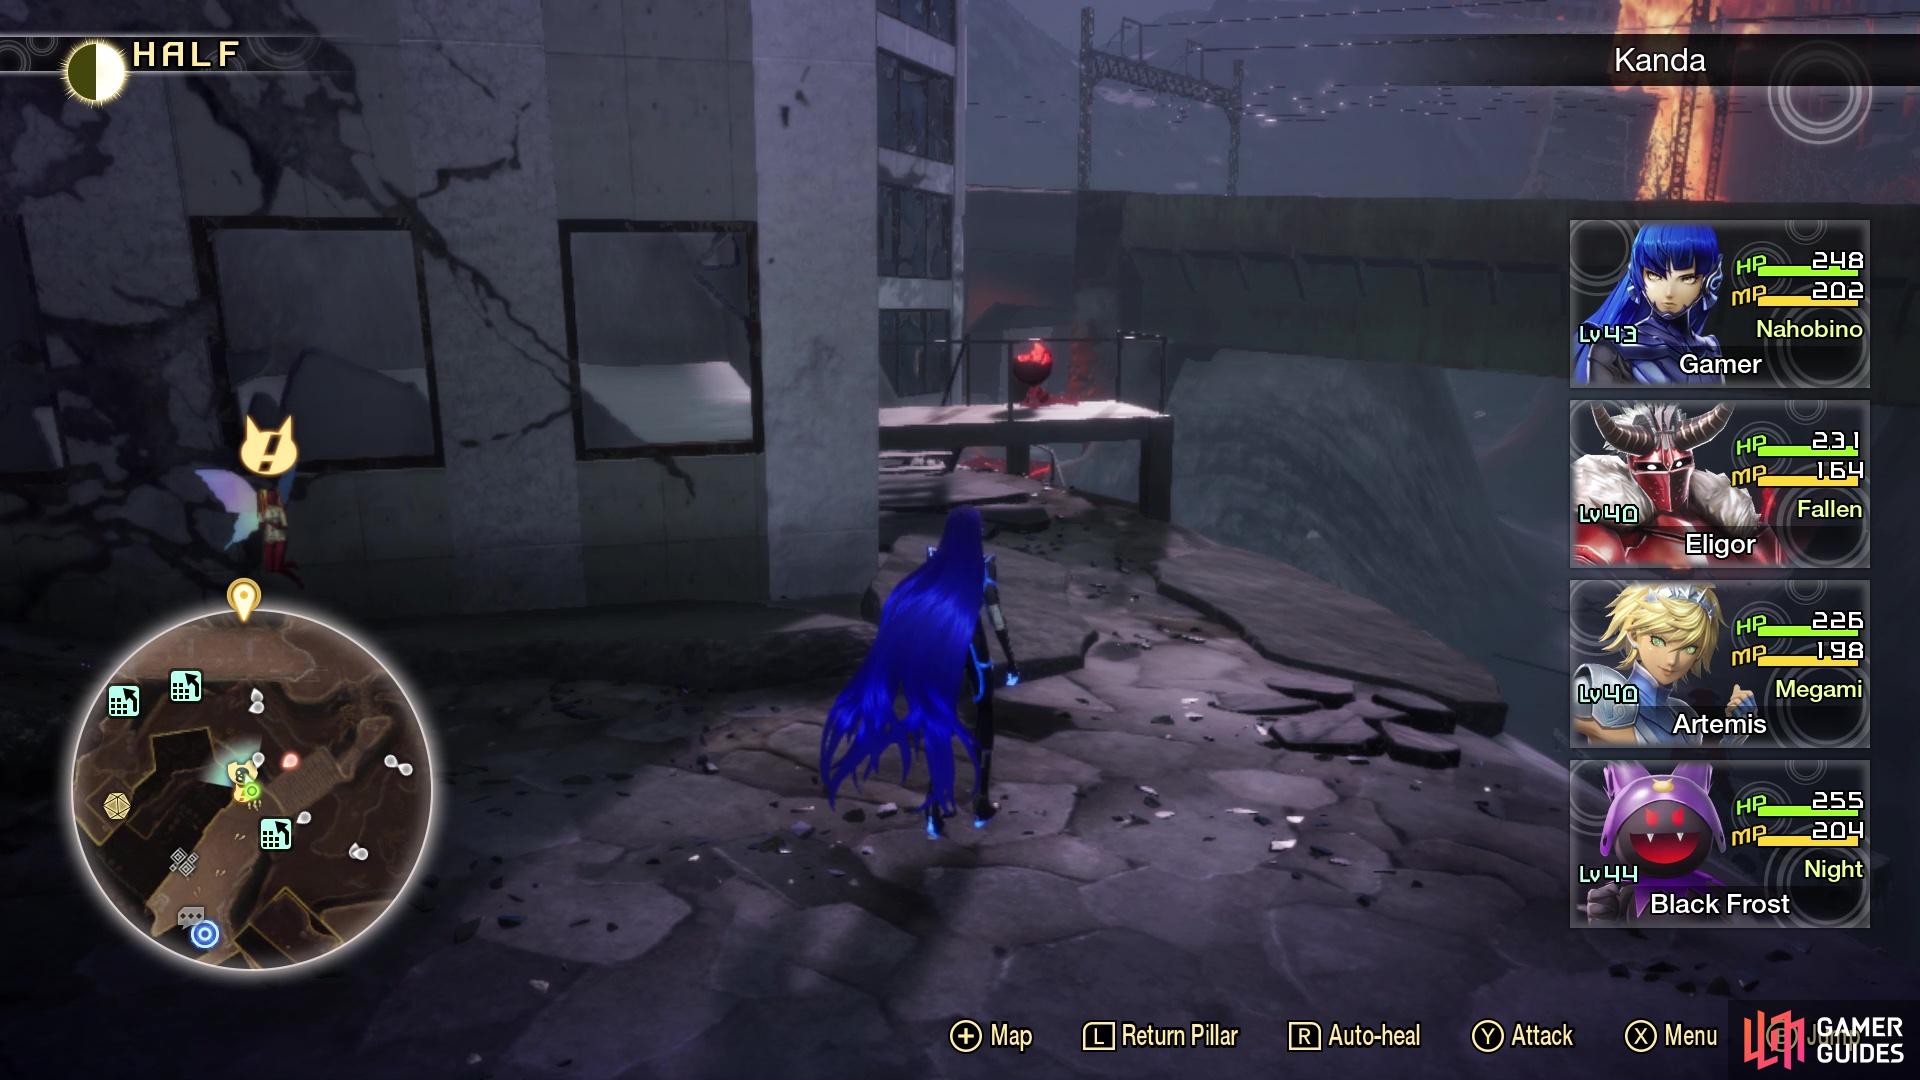
Kanda Exploration
Head back to the Nihonbashi Leyline and let’s begin exploring the surrounding areas. When you get to the bottom of the hill, right before crossing the building bridge, look to the northwest to spy Miman #113 sitting on some stairs connected to a building. Opposite of that, there are some climbing blocks that lead down into the pit area, so take them down and look at the nearby building to find a hole in the one side. This will bring you out to the other side, where you see some more blocks, so climb them and follow the path to the end for a Treasure Box (Isis’s Essence). Return to the main area, staying in the pit section, and head northeast now.
Be on the lookout for the slanted building acting as a ramp, being extremely careful of the Macabre demons at the base. These demons don’t appear on your map, as they will pop up out of nowhere to try and get the advantage in battle. At the top of the slanted building, look south-southeast for some climbing blocks, so use them to head in that direction. Just northwest of the bottom of the ramp, there is a little red-colored pillar next to some rocks and a dead tree; search next to it to find Miman #114, who is a little hard to see. Upon reaching the top here, look towards the building to the west and you should notice a path you can drop down to that is only accessible this way. It is here that you will find Miman #115, sitting near the edge, overlooking the pit area with the Kumbhandas you just passed earlier. Double back to the slanted building and head in the opposite direction at the top of it.
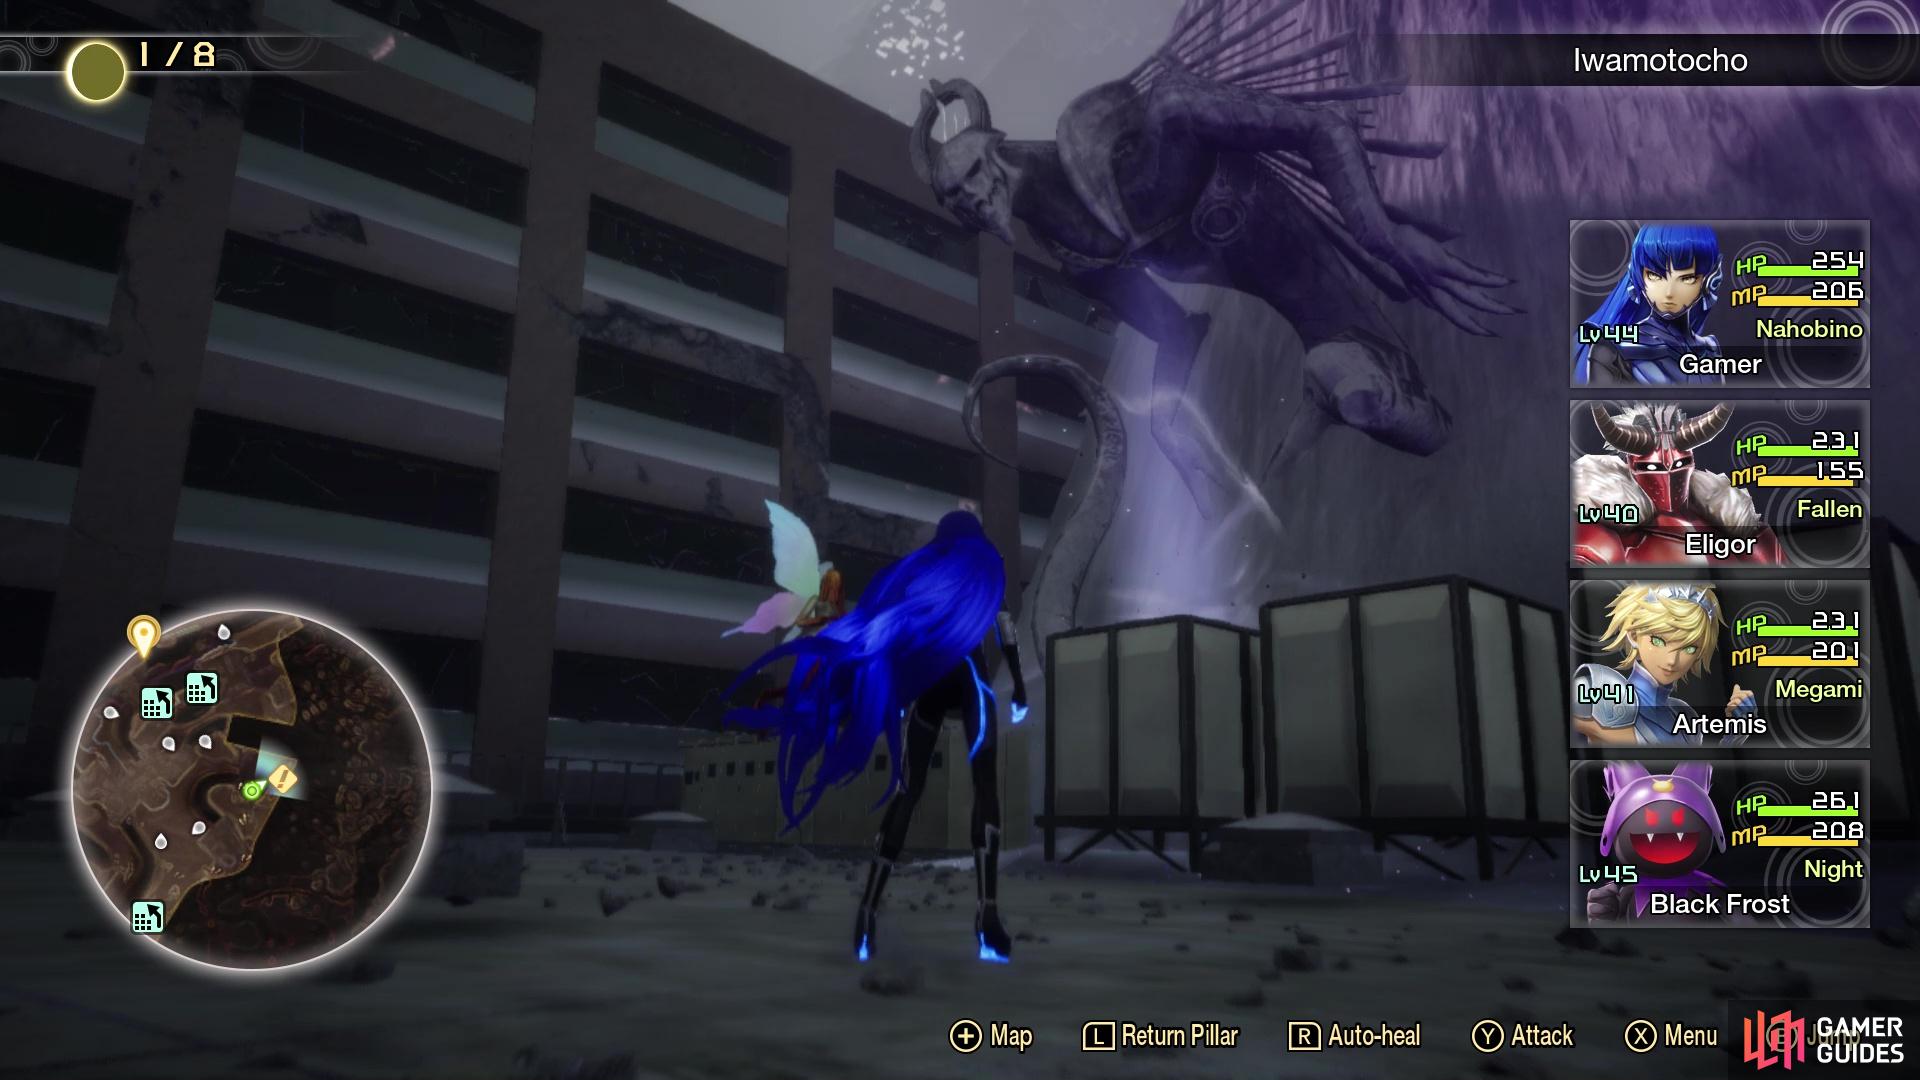
There will be some Orthrus running around here, next to a ruined building that has debris acting as ramps. At the top of that ruined building, there will be another Macabre demon, as well as some vending machines. This path will also bring you to Demon Statue #11 - Fafnir, which you can use to get levels for your current demons. There’s nothing else up here, so drop back down to where the Orthrus are and look for the trail with the orbs that’s past them. You will see a lone Naga Raja here, guarding a hidden path that eventually leads to a dead end, and Miman #116. Back at that same slanted building, at the top of it, there is a path leading to the north. Right before you encounter the Succubus here, go onto the rooftop that connects to the trail, which brings you to a ledge with some Kaiwan demons.
Follow this past them, to another “ramp” and more buildings you can jump on top of, leading to some climbing blocks. Drop down the other side of the climbing blocks, but don’t cross over the bridge that brings you to the Treasure Box just yet. Instead, on that thin ledge right before that bridge, you will find Miman #117. Go ahead and loot that Treasure Box now, for a Naga Raja’s Essence, then teleport back to the Nihonbashi Leyline. Head to the middle area, where you saw Fionn mac Cumhaill, and look for the slanted building just east of him. About halfway down it, drop off the eastern side to find Miman #118 near the dead tree. On the western side of the same building, there is a climbing block, so drop down to the ground and in this narrow path, you will find Miman #119 in the corner there.
Venture northwest now (vending machines on the eastern side of the building), then at the end in that direction, find the path going northeast. You’re in the right spot if you find a lone Naga Raja, with a sparkly spot behind him. This will be the Gibbon Guitar quest item for One Mokoi’s Trash…. Double back a little bit and sprint to the southwest now, stopping when you see an opening to the southeast. In this little valley here, there will be Miman #120, who will be dancing. Continue southeast (watch out for more Macabre demons), until you come to some more Kumbhanda demons. Just west of those is a climbing block, so go up it and follow this little path (you’re underneath where you fought the Abscess) to a Treasure Box (Bead). Drop back down the climbing block, and look for a path to the east of it to find one more Treasure Box (Grimoire x2).
Teleport back to the Nihonbashi Leyline and backtrack to Fionn once more. Take the path heading northwest of his location, making sure to keep an eye out for Macabre demons on the rooftop. Keep going northwest to loot the two Treasure Boxes ahead, which contain Ice Gem x3 and Valkyrie’s Essence. Double back a tiny bit and look for the bridge leading west, which will bring you to a Valkyrie NPC. There are some blocks you can climb next to the Valkyrie, allowing you to reach a little area with Amalgam #21 just past a Mishaguji. While still up here, go back a little and look for the ledge you can drop to that is connected to the train tracks where the Abscess was located; there is Miman #121 here.
Return to the Valkyrie NPC and look underneath where you got the Amalgam to see some climbing blocks. Climb the one to the south to discover a secret passage that brings you to a road. Right before the road actually begins, there will be Miman #122 in the open, kneeling down. Follow the road all the way up to the open air, then head to the end of the road to discover Amalgam #22 near a Kurama Tengu. If you look at your map, you will see a NPC in the area, requiring you to drop down in between the two lanes. The NPC (a Yurlungur, which looks like a rainbow snake) will give you the Snake Talisman upon speak to it. There will also be a Treasure Box in a little alcove nearby, which contains Chakra Pot x2.
There are some climbing blocks nearby, which will allow you to get back to the road above, but don’t do that just yet. In the little pit with the Magatsuhi orbs, there is a dead end on your map to the southeast; at the dead end will be Miman #123. On the northern side of the road from before, you can find Miman #124 at the end of a little path. There is a path between the buildings to the north of the previous Miman, leading to a small area with some Muu Shuwuu. If you take a glance on the nearby rooftop, you should see a Miman on top of it. It’s best to clear the enemies here, then get a running start and jump onto the lower roof first. From there, you will be able to access Miman #125. If you fail, head back to the Nihonbashi Leyline and try again.
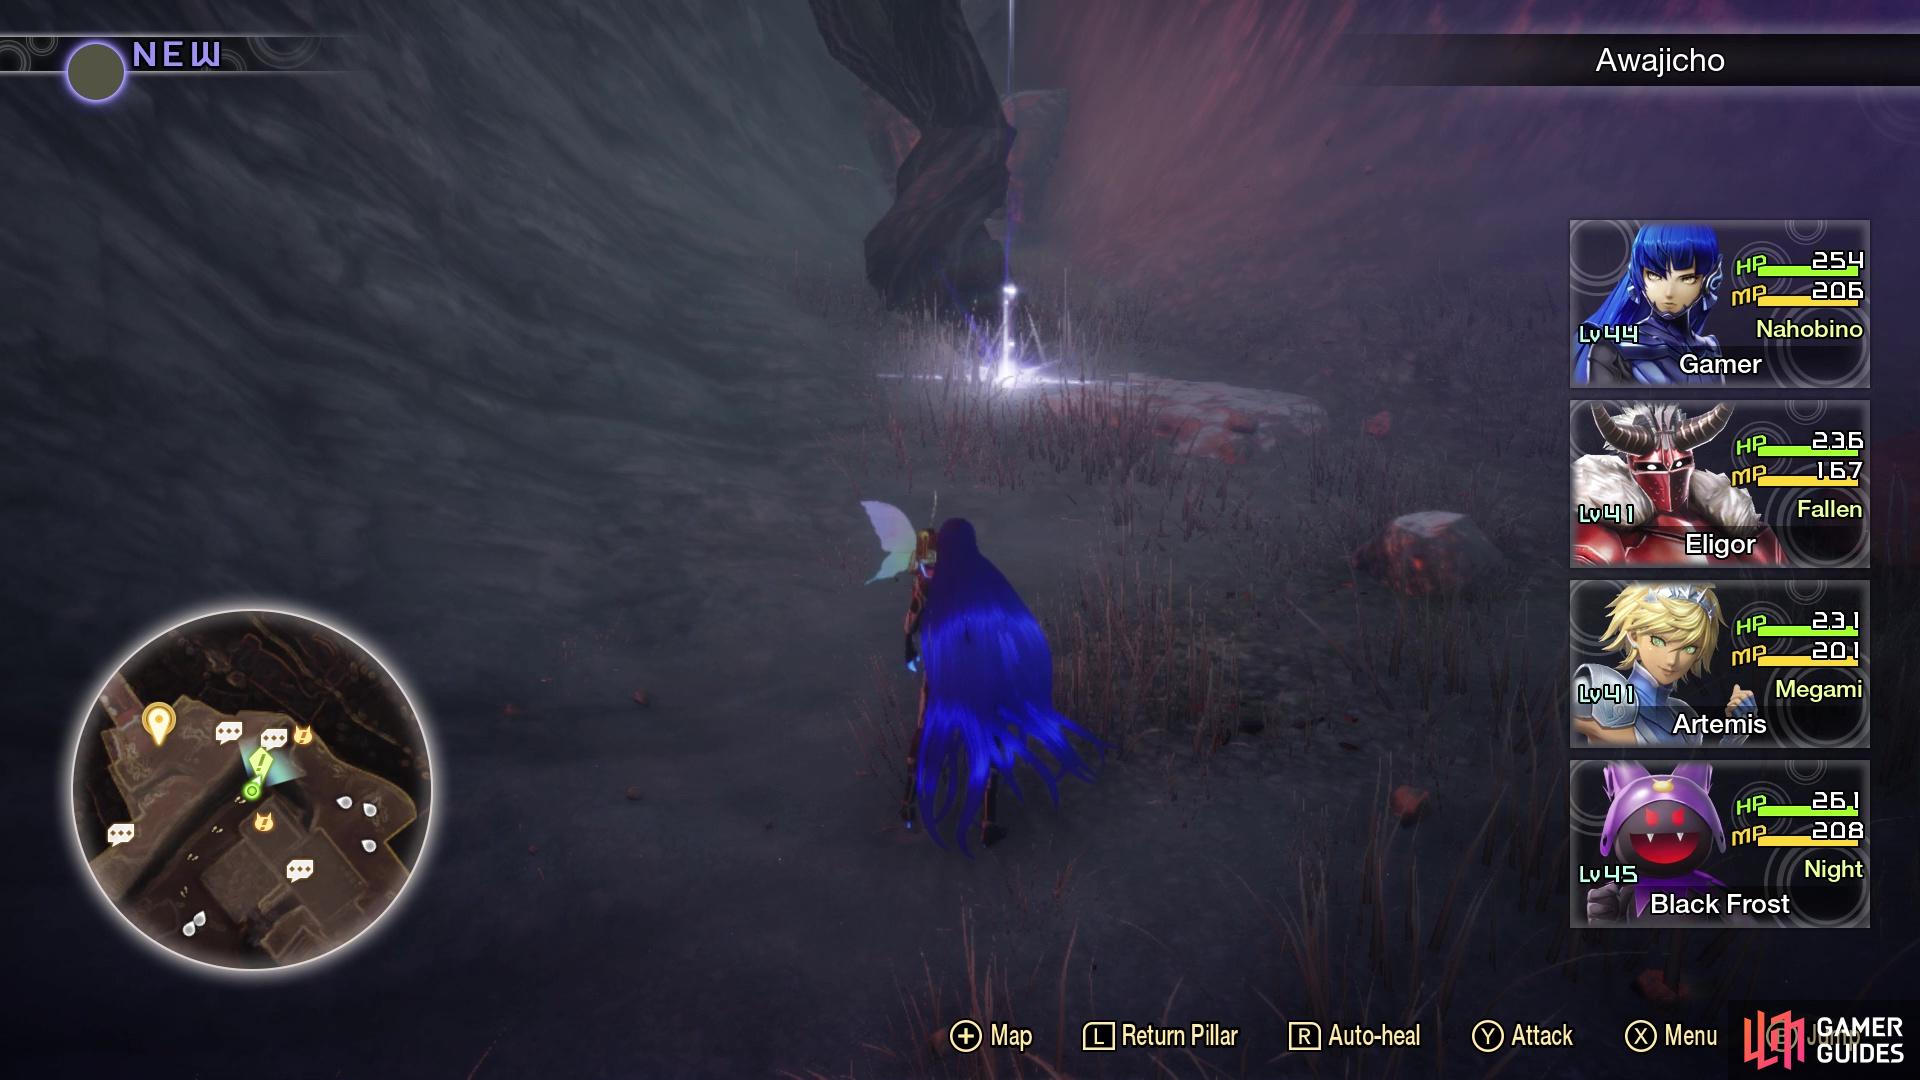
It was a long section of exploration, but you are finished for now. So, return to that one Valkyrie NPC and locate the path beyond it. You will eventually reach a Macabre NPC, who will be right next to the Awajicho Leyline. He doesn’t say anything important, so register the Leyline, then get ready for the next area.
No Comments