
This is a walkthrough for Da’at: Shinagawa of Shin Megami Tensei V, taking place in the Tennozu area. How to complete every objective, find every chest and locate every Miman.
Shinagawa is the second region in the game
Demons
| Icon | Name | Lv | Weakness |
|---|---|---|---|
| Andras | 18 | ||
| Incubus | 22 | ||
| Jack-o’-Lantern | 20 | ||
| Kaya-no-Hime | 21 | ||
| Legion | 19 | ||
| Rakshasa | 20 | ||
| Oni | 23 | ||
| Koppa Tengu | 24 |
Items
| Name |
|---|
| Repulse Bell x3 |
| Aogami Type-3 Essence |
| Andras’s Essence |
| Rakshasa’s Essence |
| Fortuna’s Essence |
| Ame-no-Uzume’s Essence |
Quests
| Subquest | Location | Reward |
|---|---|---|
| Chakra Drop Chomp | Next to Tennozu Leyline | Jirae Talisman (Purge Charm when repeated) |
Save the Students
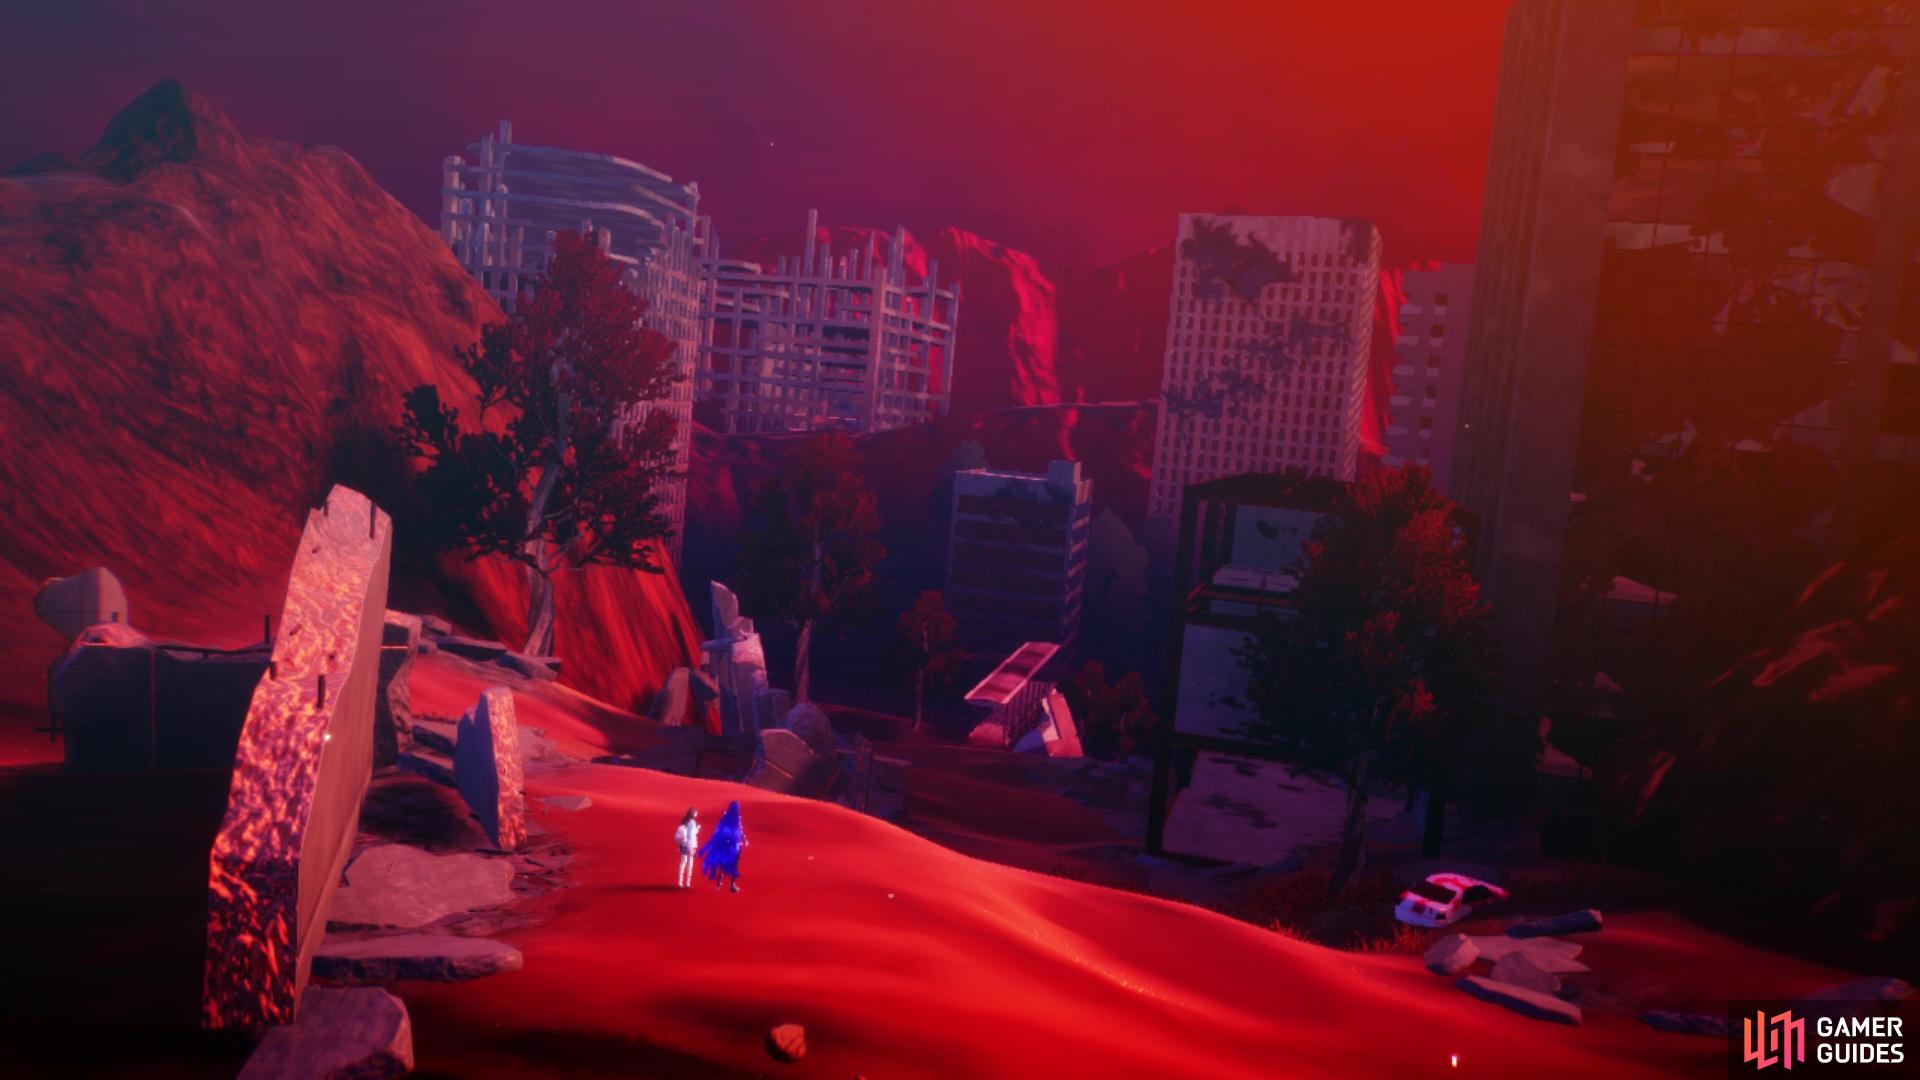
Welcome to your second region of the game, Shinagawa. Despite the minor change in look, you will mostly be doing the same thing as before, so let’s get right down to it. Upon first arriving and getting a quick overview of the place, you are greeted by Amanozako, who will join back up with you as your Navigator demon. The game will also automatically register the nearby leyline fount (Tennozu Isle), but it’s a good idea to save your game, so you don’t have to redo all of the school stuff again.
Once you are able to move, look to the east of of the Leyline to find some rubble and if you search behind it, you will find Miman #51. There is a building nearby, at the start, so look for the stairs to reach the top floor, where you find a Treasure Box that contains Repulse Bell x3. This item can be nifty to have, as it basically makes it so demons don’t chase after you, plus they can last until the next New Moon. After collecting the treasure, drop down to the ground and begin descending the hill, only to run into Yuzuru and Hayataro. They will mention some kidnapped students and that you should help them in any way, should you come across any, which will officially start the Save the Students main quest.
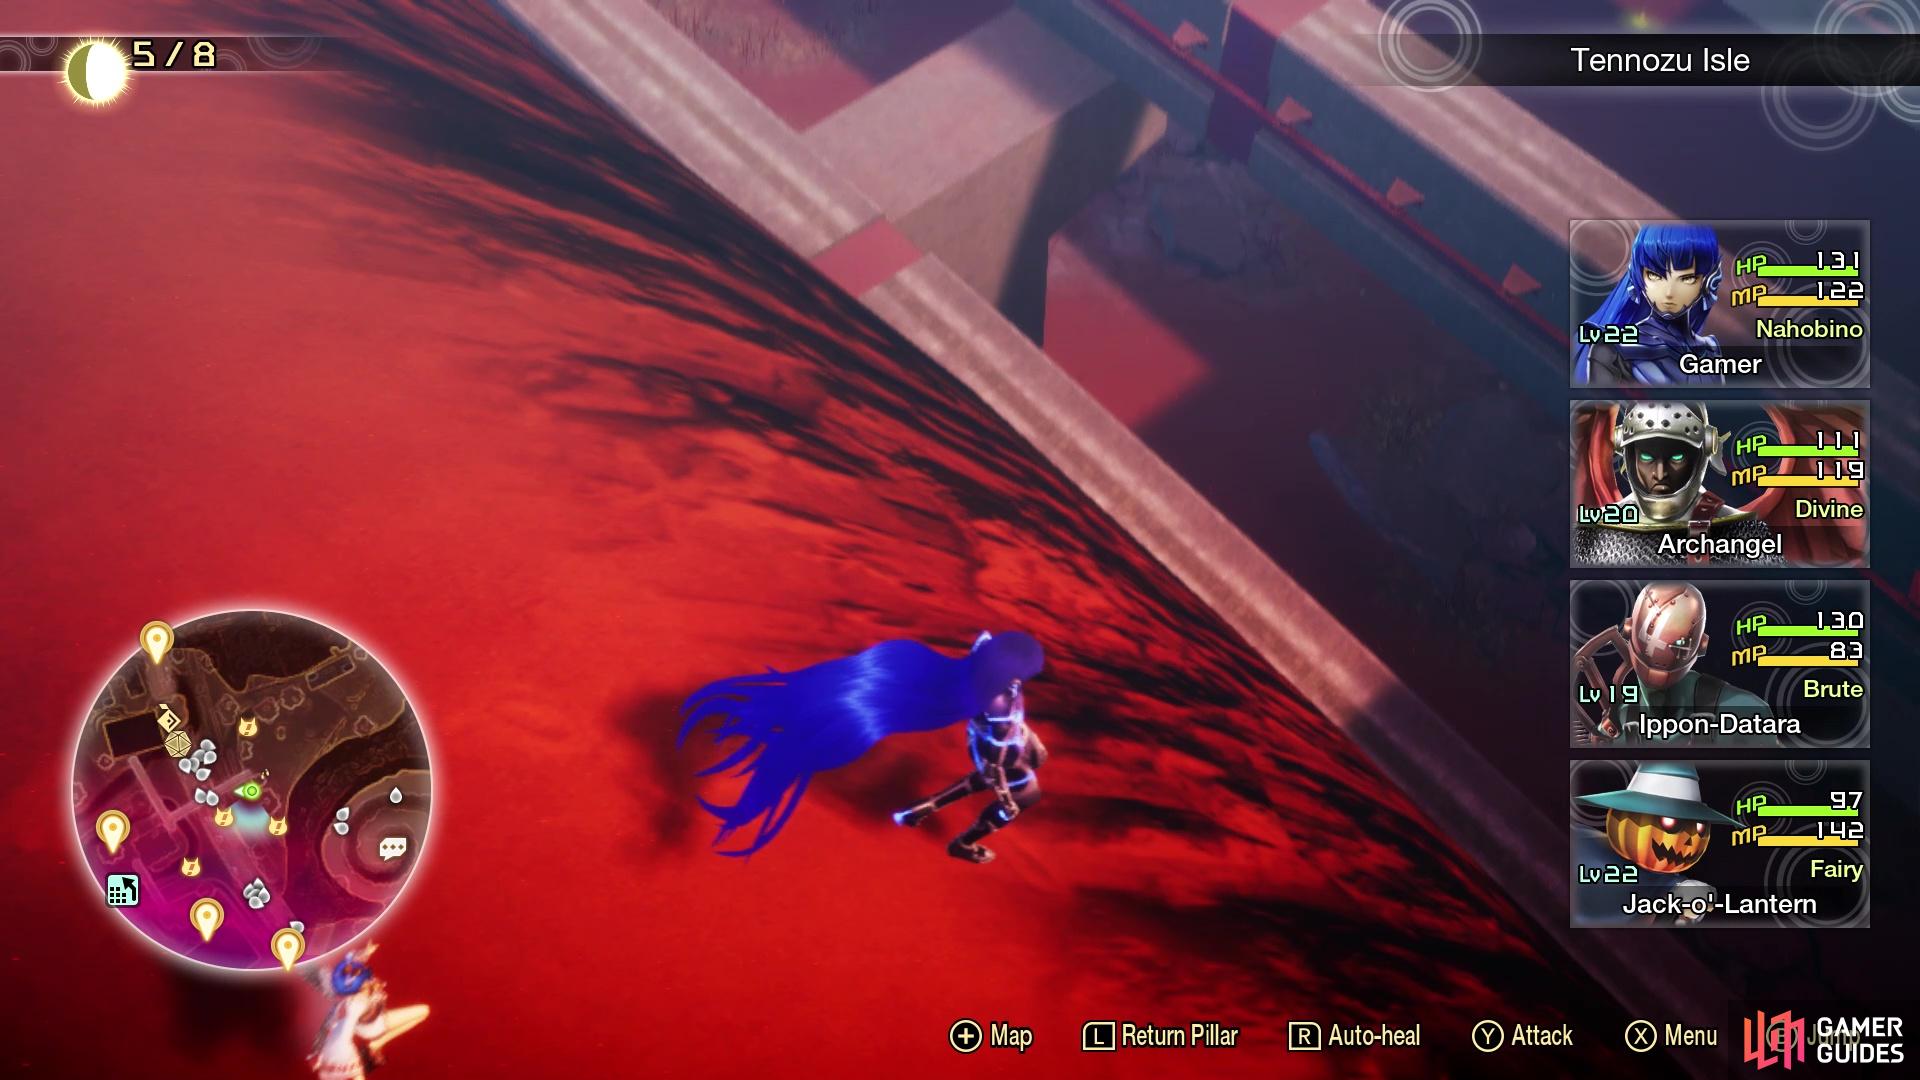
Thanks to Aogami’s upgrade back in Tokyo, he is able to pinpoint the locations of four missing students and marks them on your map. That should be your main priority right now, as well as the Abscess, since those are blocking your progress. When you regain control, you will see a bridge in front of you, but ignore it for right now. While facing the bridge, look over the cliffside to see some monorail tracks. Drop down to the one closest to you, then follow it all the way north to find Miman #52. Drop down to the ground and you should get Amanozako say she smells a human nearby.
Search for the nearby speech bubble to find Student #1 underneath the road. Speak with the student to automatically rescue them, then Tao will mention she has the ability to heal. After every battle you do, Tao will help your party recover a tiny bit of HP. Head out from underneath the road to the north, then immediately look to the right to spot Miman #54. Use the Return Pillar to go back to the Leyline now, as it makes things a little easier to find. Slide down the hill like before and cross the pedestrian bridge this time, spying some vending machines to the left at the split.
Take the right path at the bridge’s split, then follow it all the way around until you are in front of a building that doesn’t really have many walls. Jump onto the floor with the vending machines ahead, then take the stairs to the top floor. Behind the wall to your west will be Miman #53, so add it to your collection, then go to the eastern side. You might notice some white puffs of smoke coming from a nearby building, which is a sign of an Amalgam. Hop over to the other piece of building on this side to see Amalgam #10, which just needs you to jump down to grab. To the north is part of the highway, so drop down and grab the Treasure Box at the end (watch for the Incubus perched on the streetlights) for an Aogami Type-3 Essence. This one can teach the Nahobino a medium Almighty strength-based attack that hits a single foe, which can be nice if you are using a Strength build.
From this piece of the highway, you can jump back over to the main portion, putting you underneath the building from before. Look for the nearby Andras and find the tree just south of them, which is where you will also find Miman #55. Look for the rubble nearby, which is just west of the previously mentioned building, and use the conveniently placed slanted portions to reach the top of the ruined building, allowing access to a Treasure Box that contains Andras’s Essence. Drop down to a lower section of the rubble, then hop on top of the pedestrian bridge, where you will find Miman #56. That’s about all of the exploring for right now, as the southern portion of the map is obscured by the Abscess, so let’s take care of that right now.
Tennozu Abscess
For now, ignore everything else and follow the western edge of the map to the south. When you can drop down and see a group of four Oni, then there will be a path to the side that brings you to the Abscess.
| Icon | Name | Lv | Weakness |
|---|---|---|---|
 |
Jack Frost x2 | 25 |
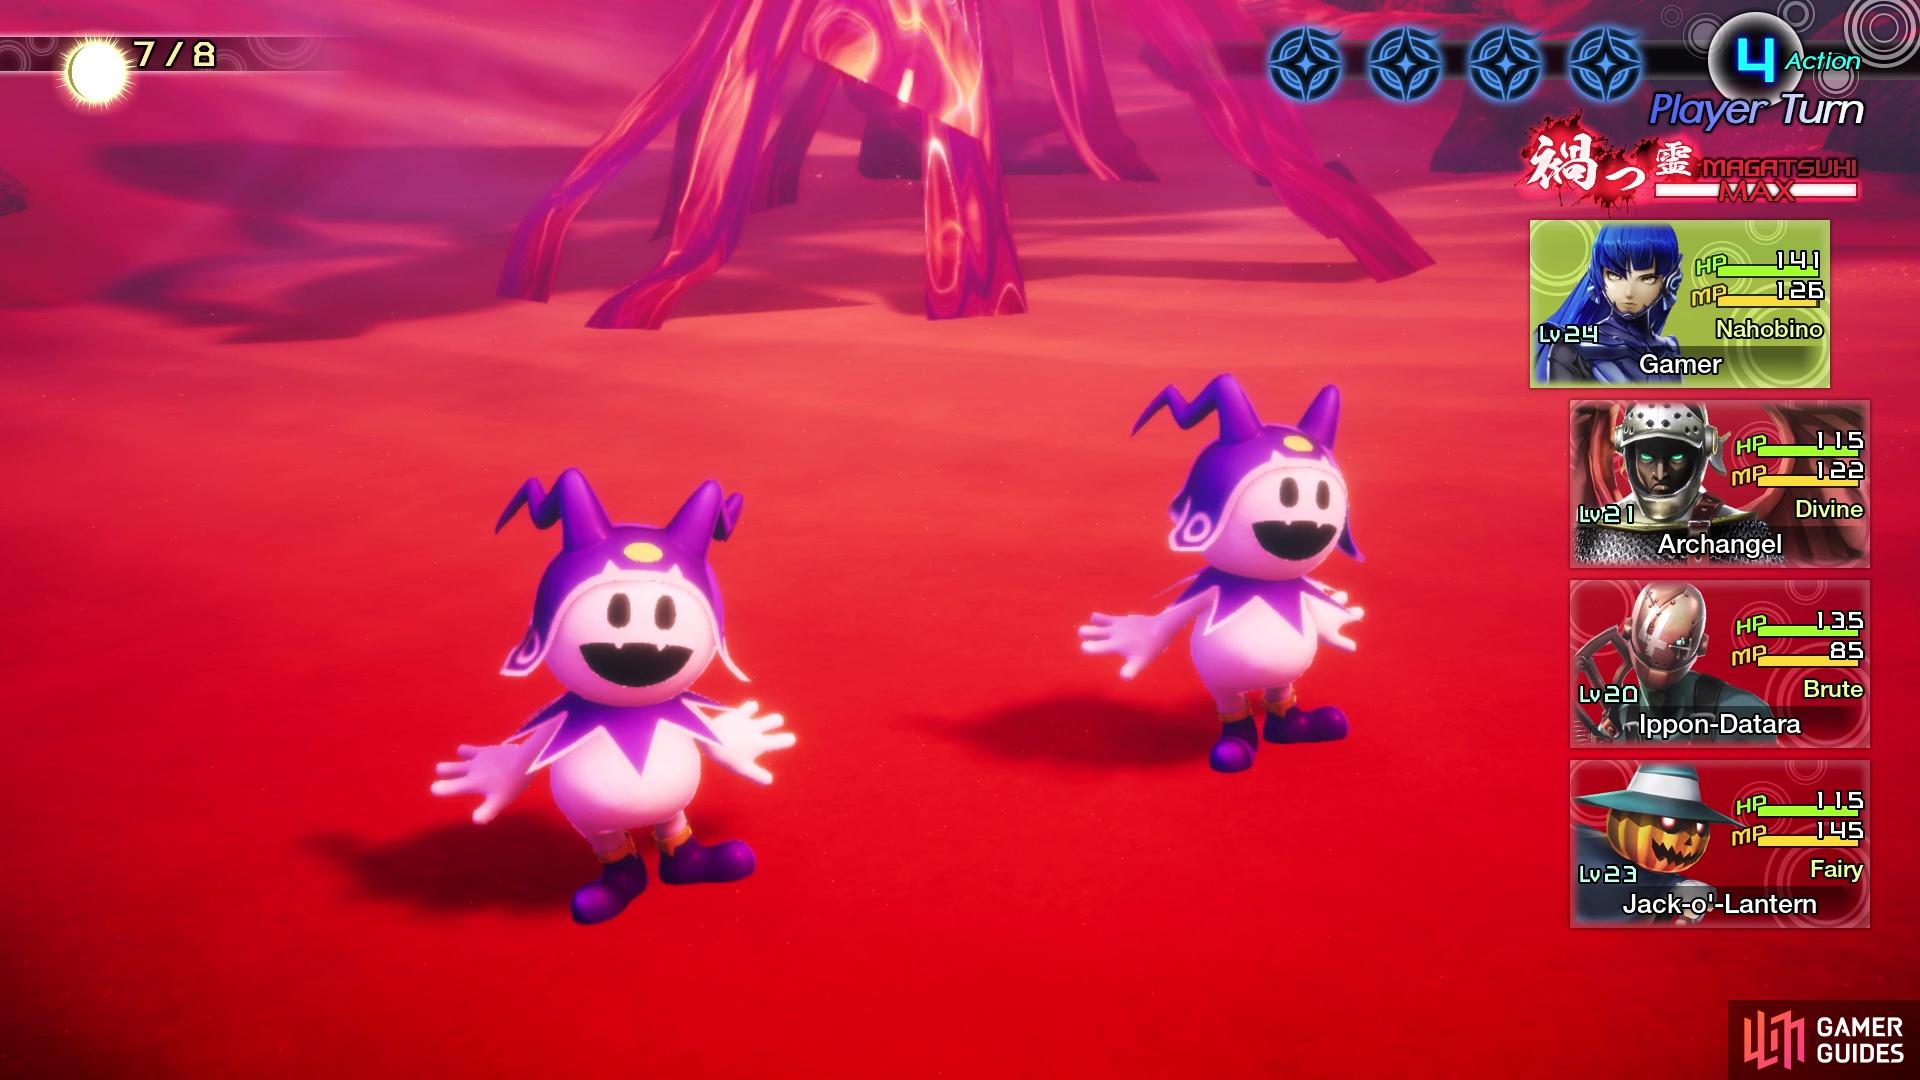
You are up against two level 25 Jack Frosts, and considering the name, you should realize their obvious weakness (hint: it’s fire). Don’t let their cute look fool you, though, as they can deal some decent damage. You should have access to Agi/Agilao at this point, plus you may have recruited a Jack-o’-Lantern from the area, who has Agilao from the start. Archangel also learns Agilao naturally, so you should be more than prepared for this battle.
The path to the Abscess will be right past the group of Oni
You will be facing two Jack Frosts in order to destroy the Abscess
Their only skill is Jack Bufula, which is the medium Ice attack, but their special version will also carry the Rakunda effect, meaning your defense will be lowered by one rank for three turns. Having weakness to Ice is definitely something you don’t want, since there are two of them, despite the possibility of using Jack-o’-Lantern here (who is weak to Ice). Other than that one skill, their normal Attack isn’t anything special. You don’t want to use Ice skills here, though, since they absorb, but anything else is fair game. Concentrate on one at a time and this battle should be over before you know it.
| Miracle | Category | Effect | Glory |
|---|---|---|---|
| Knowledge of Tools | Supremacy | Allows your demons to use items during battle. | 85 |
| Demonic Discipline | Awakening | Increases the amount of EXP earned by demons in your stock after a battle. | 150 |
| Fire Mastery II | Cosmos | Increases the Nahobino’s Fire skill potential by 2. | 80 |
| Ice Mastery II | Cosmos | Increases the Nahobino’s Ice skill potential by 2. | 80 |
| Electric Mastery II | Cosmos | Increases the Nahobino’s Electric skill potential by 2. | 80 |
| Force Mastery II | Cosmos | Increases the Nahobino’s Force skill potential by 2. | 80 |
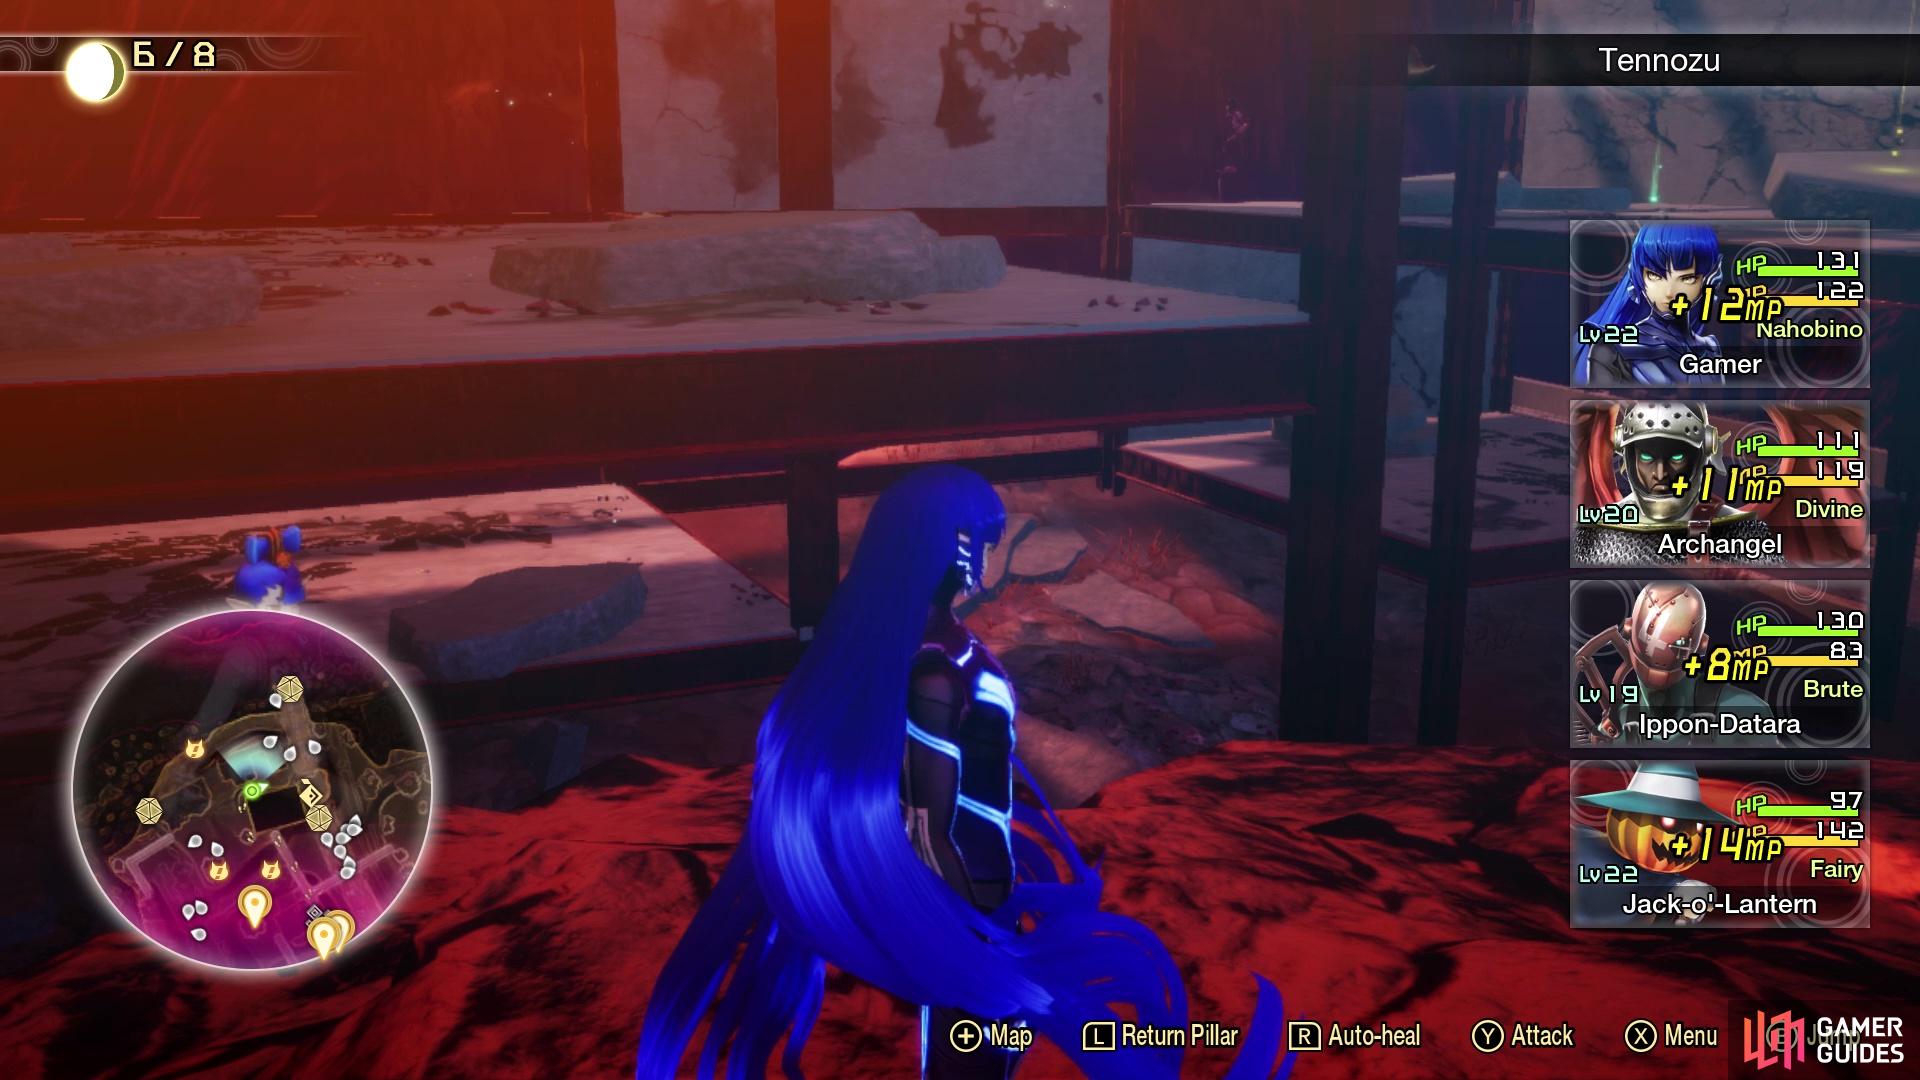
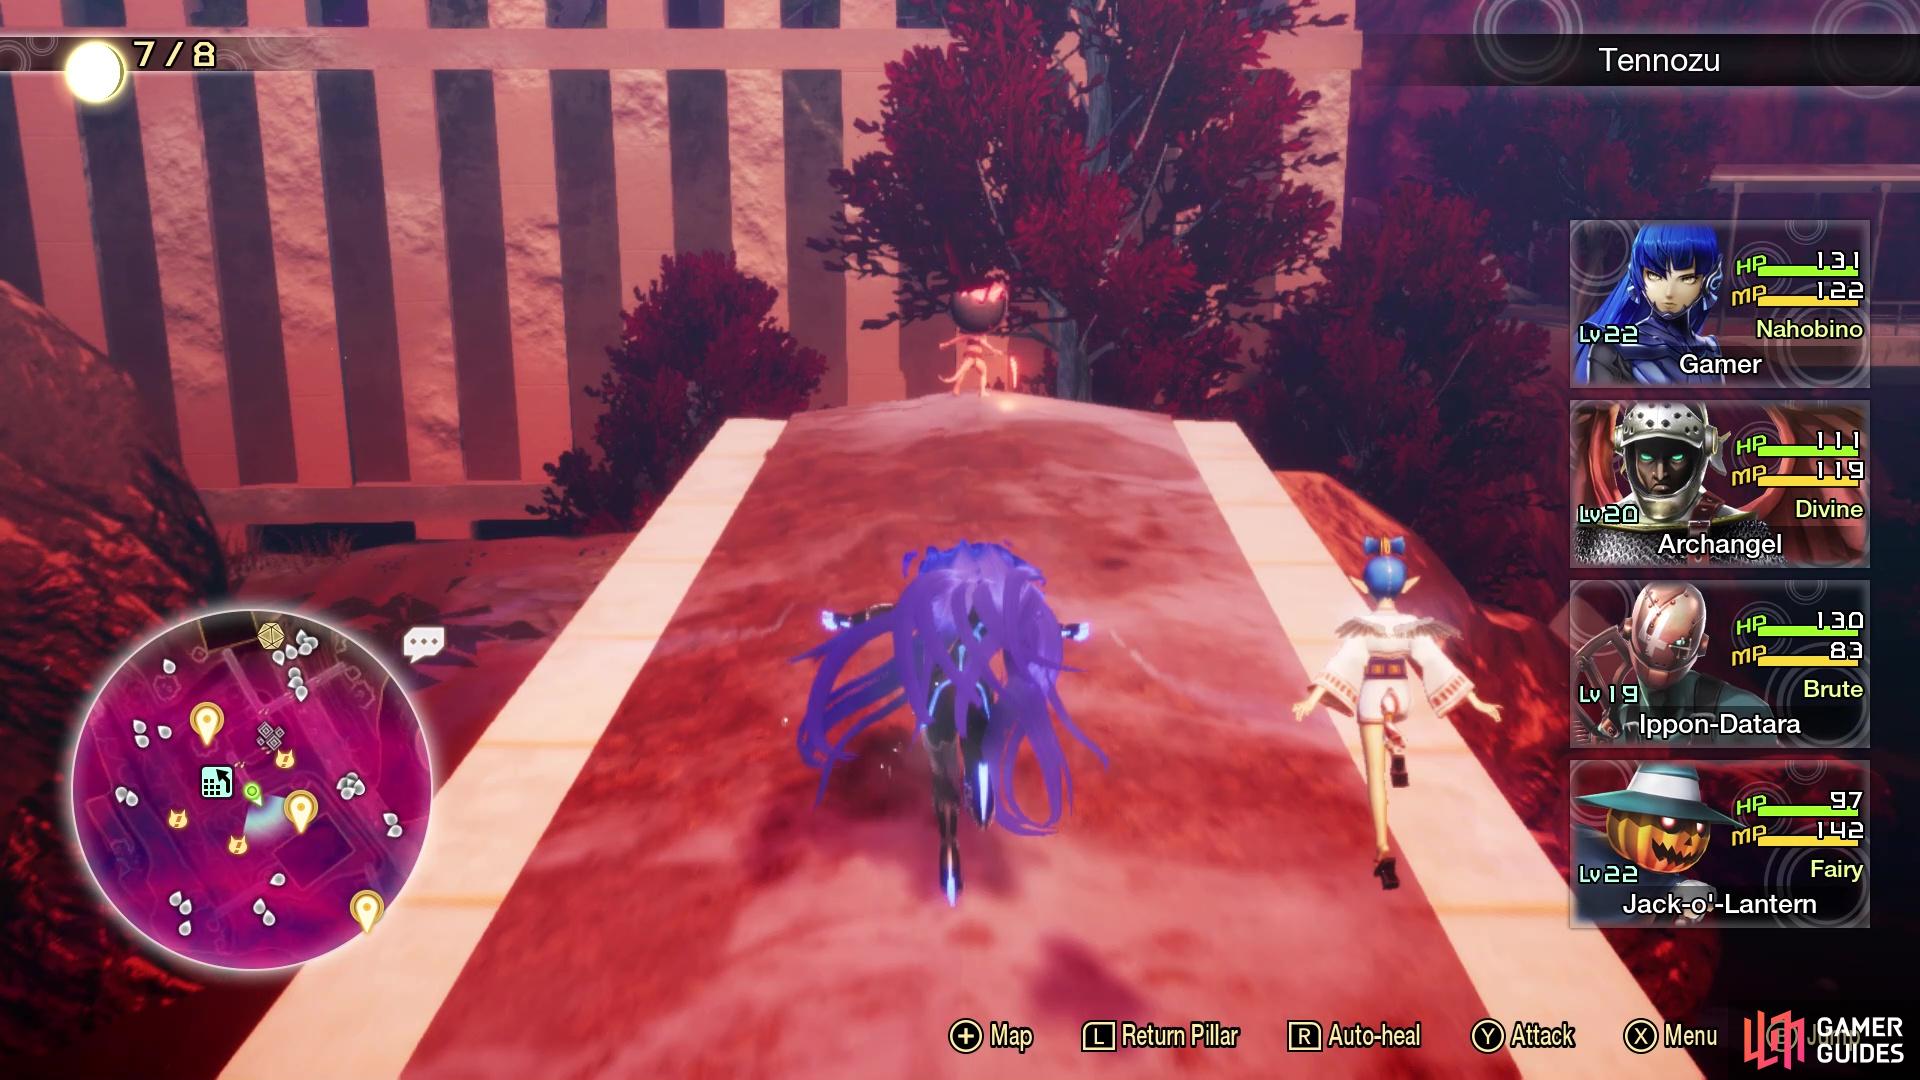
Travel back to the Tennozu Isle Leyline and cross the pedestrian bridge, going left at the split this time. Go past the vending machines and at the end of the path, jump on top of the bridge right in front of you, where you’ll find Miman #57 at the end of it. Turn around and go north, dropping off the bridge and speaking to Student #2 to rescue them. Amanozako will ask you a question afterwards, with the answer not mattering. Also, the Netherworld’s true name will be revealed here, Da’at. Cross over the same pedestrian bridge you just found the Miman on top of and follow the path around the building (will pass some more vending machines). Ignore the first bridge you find and keep going around the building, until you reach a second one.
You will know you’re in the right spot, if you happen to see a lone Kaya-no-Hime there. Cross the bridge now and run up the slanted building, then look next to the tree nearby for Miman #58. Drop down right there, loot the vending machine, then drop down one more level to find the Tennozu Leyline, as well as a Kodama that will give you the Chakra Drop Chomp subquest. You probably have two Chakra Drops on you right now, so turn them in to finish the quest, with your reward being a Jirae Talisman. You can repeat this quest, should you want, but the reward isn’t too valuable and your Chakra Drops will likely be needed for battles. There is another vending machine a little northeast from the Leyline, but return to the fount after looting the machine.
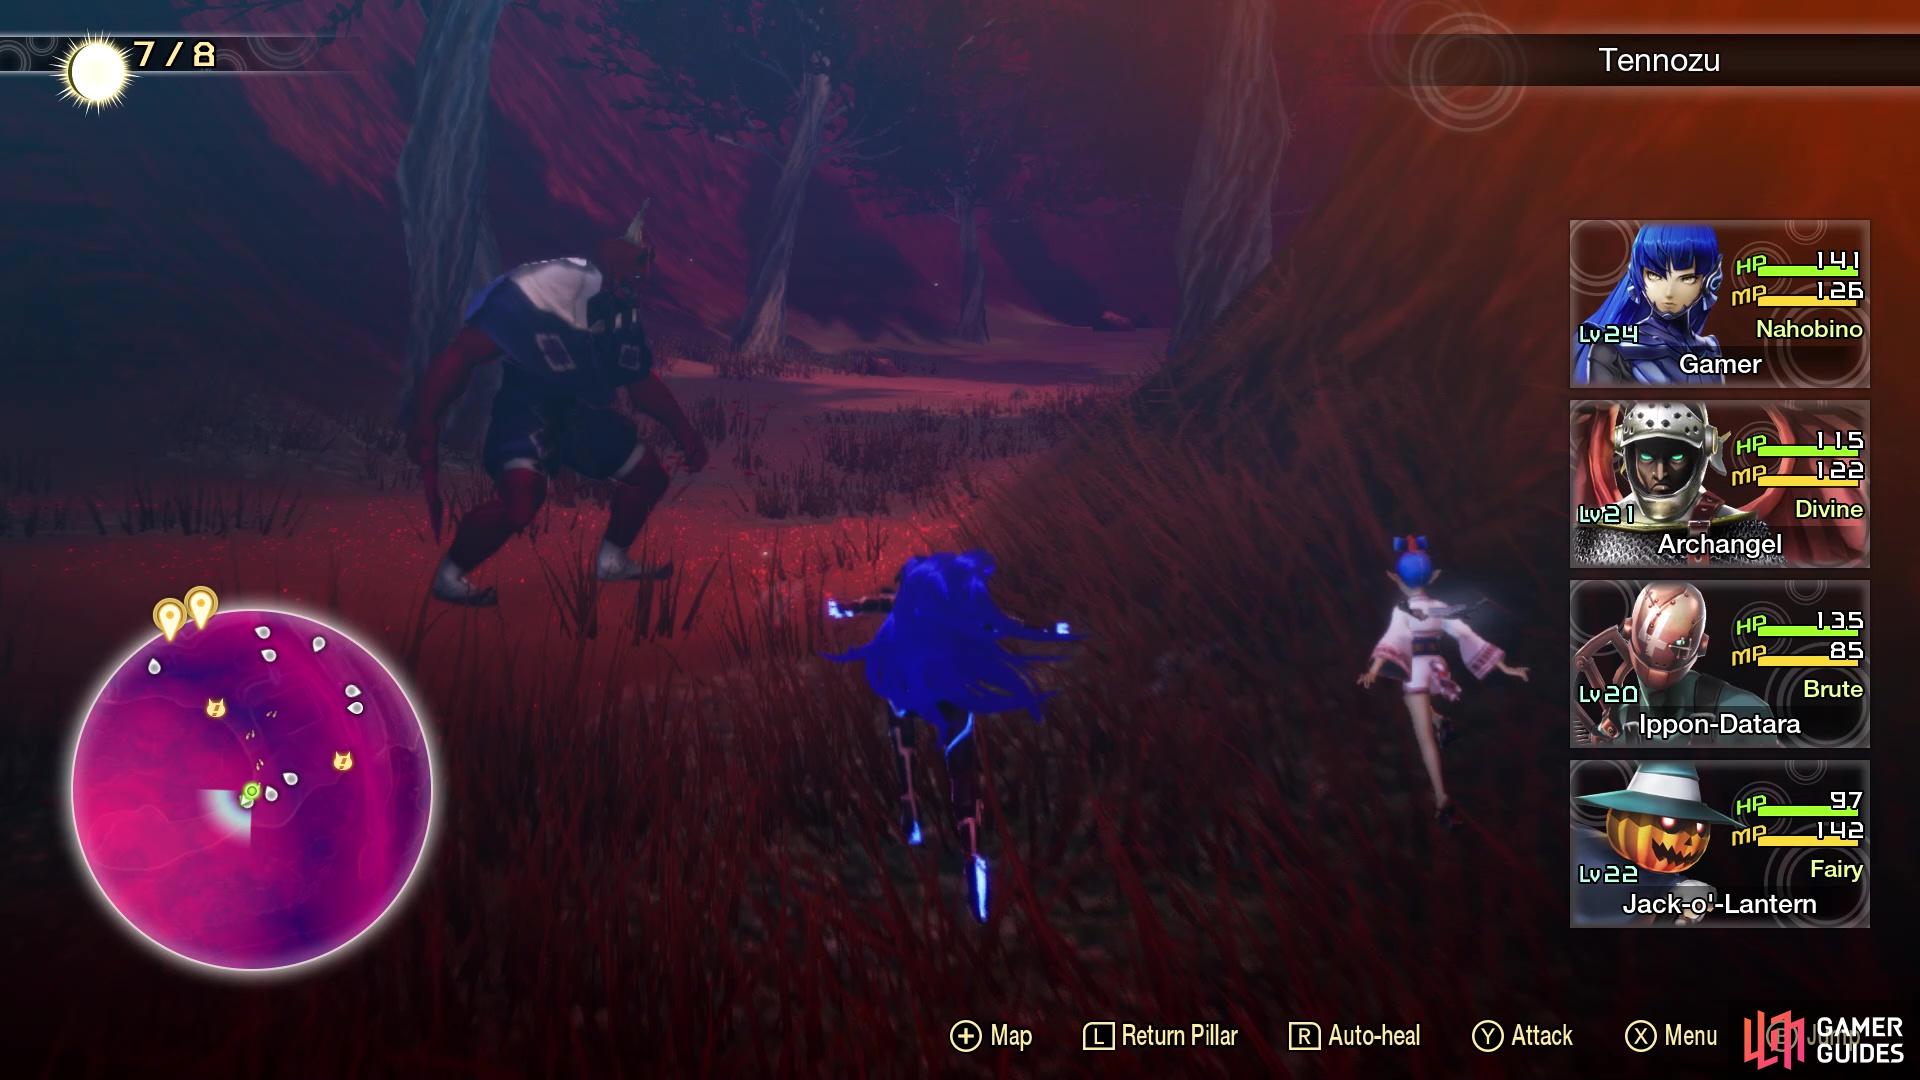
East of the Tennozu Leyline, there will be a path that is housing Student #3, so go and rescue them. Travel southeast from the Tennozu Leyline, stopping on the southern side of the big building (the third student was on the northern side of it) for one more vending machine. Continue southeast and go up the hill with the Magatsuhi orbs, where you’ll see a Mothman NPC right outside of a building. Inside the building, though, will be the Student #4, who will be the final one. That’s all of the students here, but Aogami catches a glimpse of another one nearby. This will move you into the next area, but there’s still a few things left to collect there.
Teleport back to the Tennozu Isle Leyline, then start crossing the bridge at the bottom of the hill. Don’t cross it all the way, though, instead jumping down to the highway beneath you. There is a Treasure Box to the north of you (Rakshasa’s Essence), so bust it open and follow the highway south. When you see the Treasure Box on the map, you will have to jump over the side of the highway and onto the support pillar, which is where the treasure is located (Fortuna’s Essence). Get back onto the highway and head all the way to the southern tip, where you will find another Treasure Box, this one containing an Ame-no-Uzume’s Essence. Behind the rock just beyond the treasure will be Miman #59. Double back to the highway and jump off the eastern end, looking behind the rock in the corner southeast of the NPC by the bridge to find Miman #60.
That’ll wrap up the Tennozu area, so it’s time to move onto the Shinagawa Pier one.
No Comments