
This is a walkthrough for Da’at: Chiyoda of Shin Megami Tensei V, taking place in the Kanda Bridge and Otemachi areas. How to complete every objective, find every chest and locate every Miman.

There’s not much left to do in the Chiyoda region
Demons
| Icon | Name | Lv | Weakness |
|---|---|---|---|
| Valkyrie | 40 | ||
| Mishaguji | 42 | ||
| Orthrus | 42 | ||
| Macabre | 43 | ||
| Ose | 44 | ||
| Kaiwan | 45 | ||
| Hanuman | 46 | ||
| Dakini | 46 | ||
| Oberon | 47 | ||
| Anzu | 48 |
Items
| Name |
|---|
| Orobas’s Essence |
| Aogami Type-8 Essence |
| Oberon’s Essence |
| Force Gem x3 |
| 20,000 Macca |
| Anzu’s Essence |
| Sarasvati’s Essence |
Quests
| Subquest | Location | Reward |
|---|---|---|
| The Horn of Plenty | East of Abscess, by climbing block | Megami Talisman |
| The Roar of Hatred | East of Abscess, by climbing block (complete previous quest) | Phys Dampener x2 |
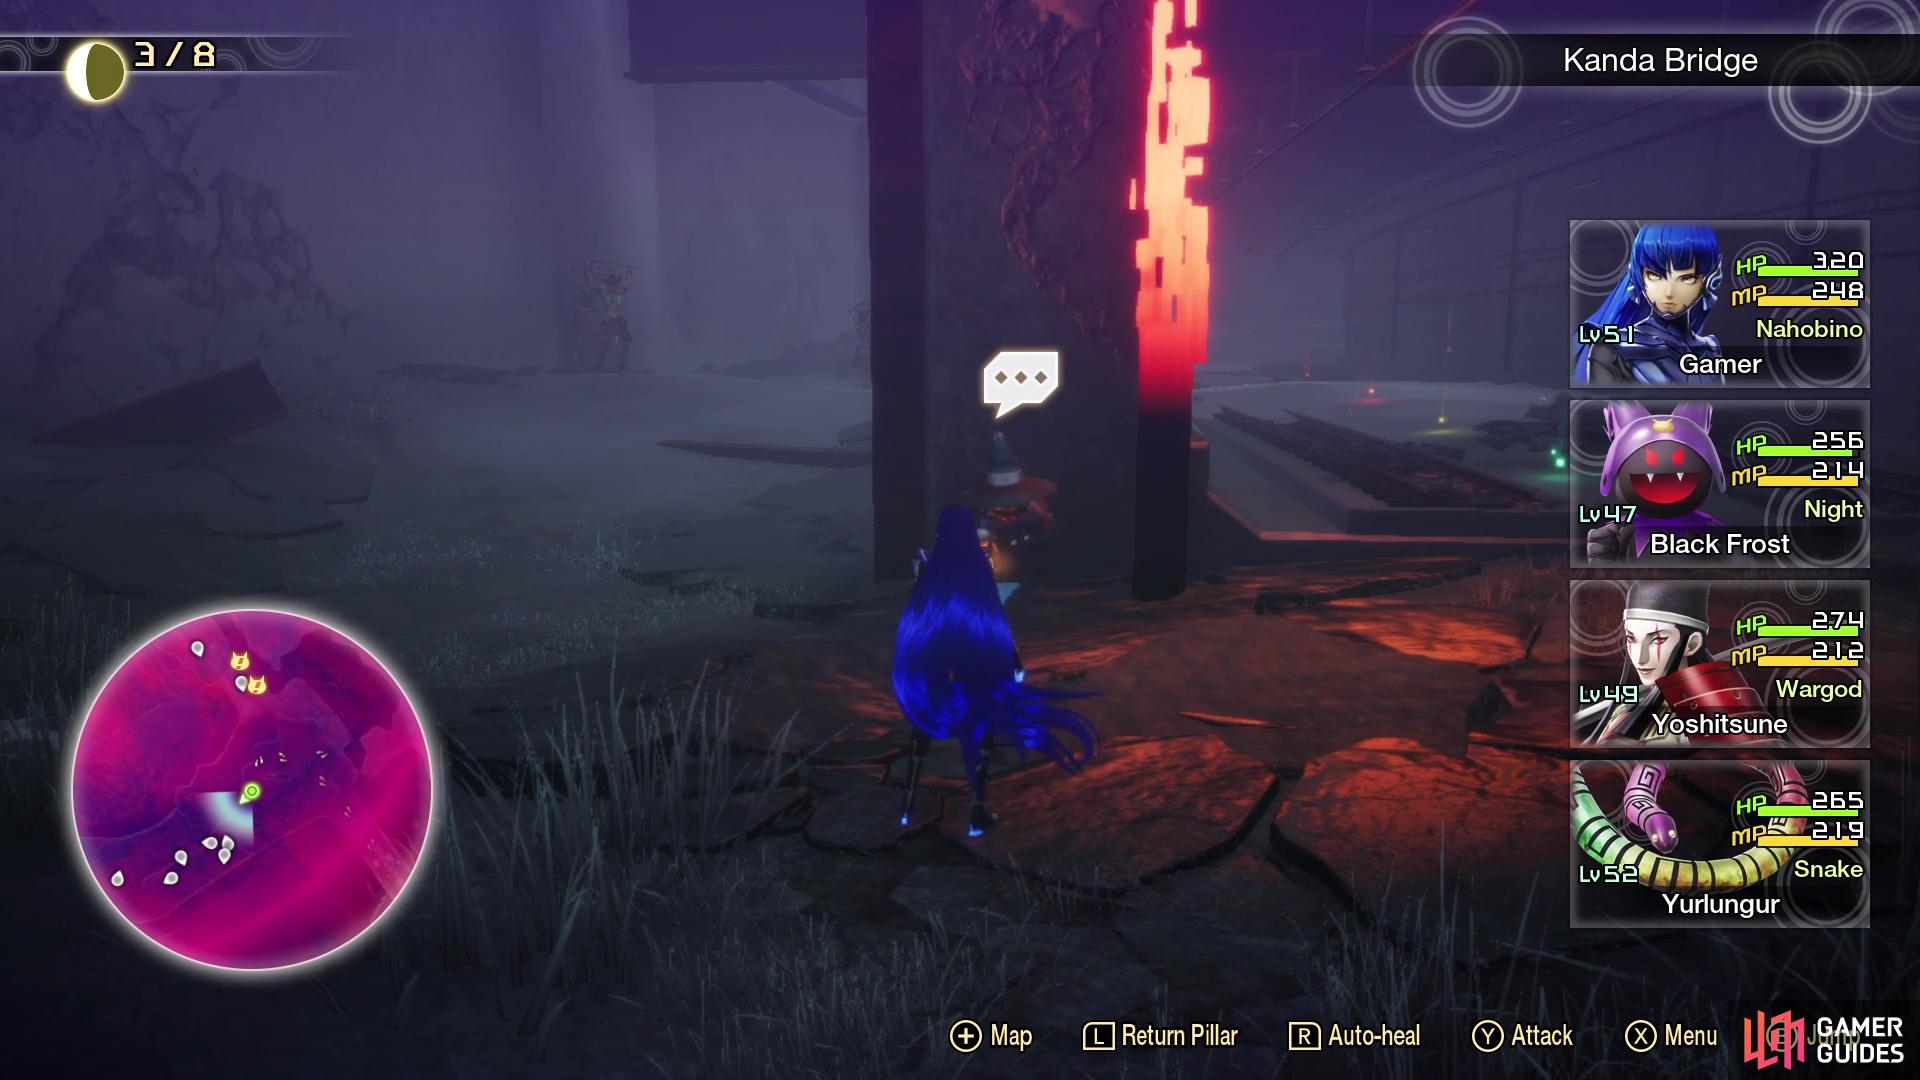
Starting from the Awajicho Leyline, cross the Kanda Bridge, which is where you fought Surt, until you are stopped by Ichiro. He will ask you two questions, so answer them both however you want and continue onward, past him. There will be a Macabre NPC ahead, who says nothing important, then you’ll begin to get into the area with the Abscess blocking your map.
Otemachi Abscess
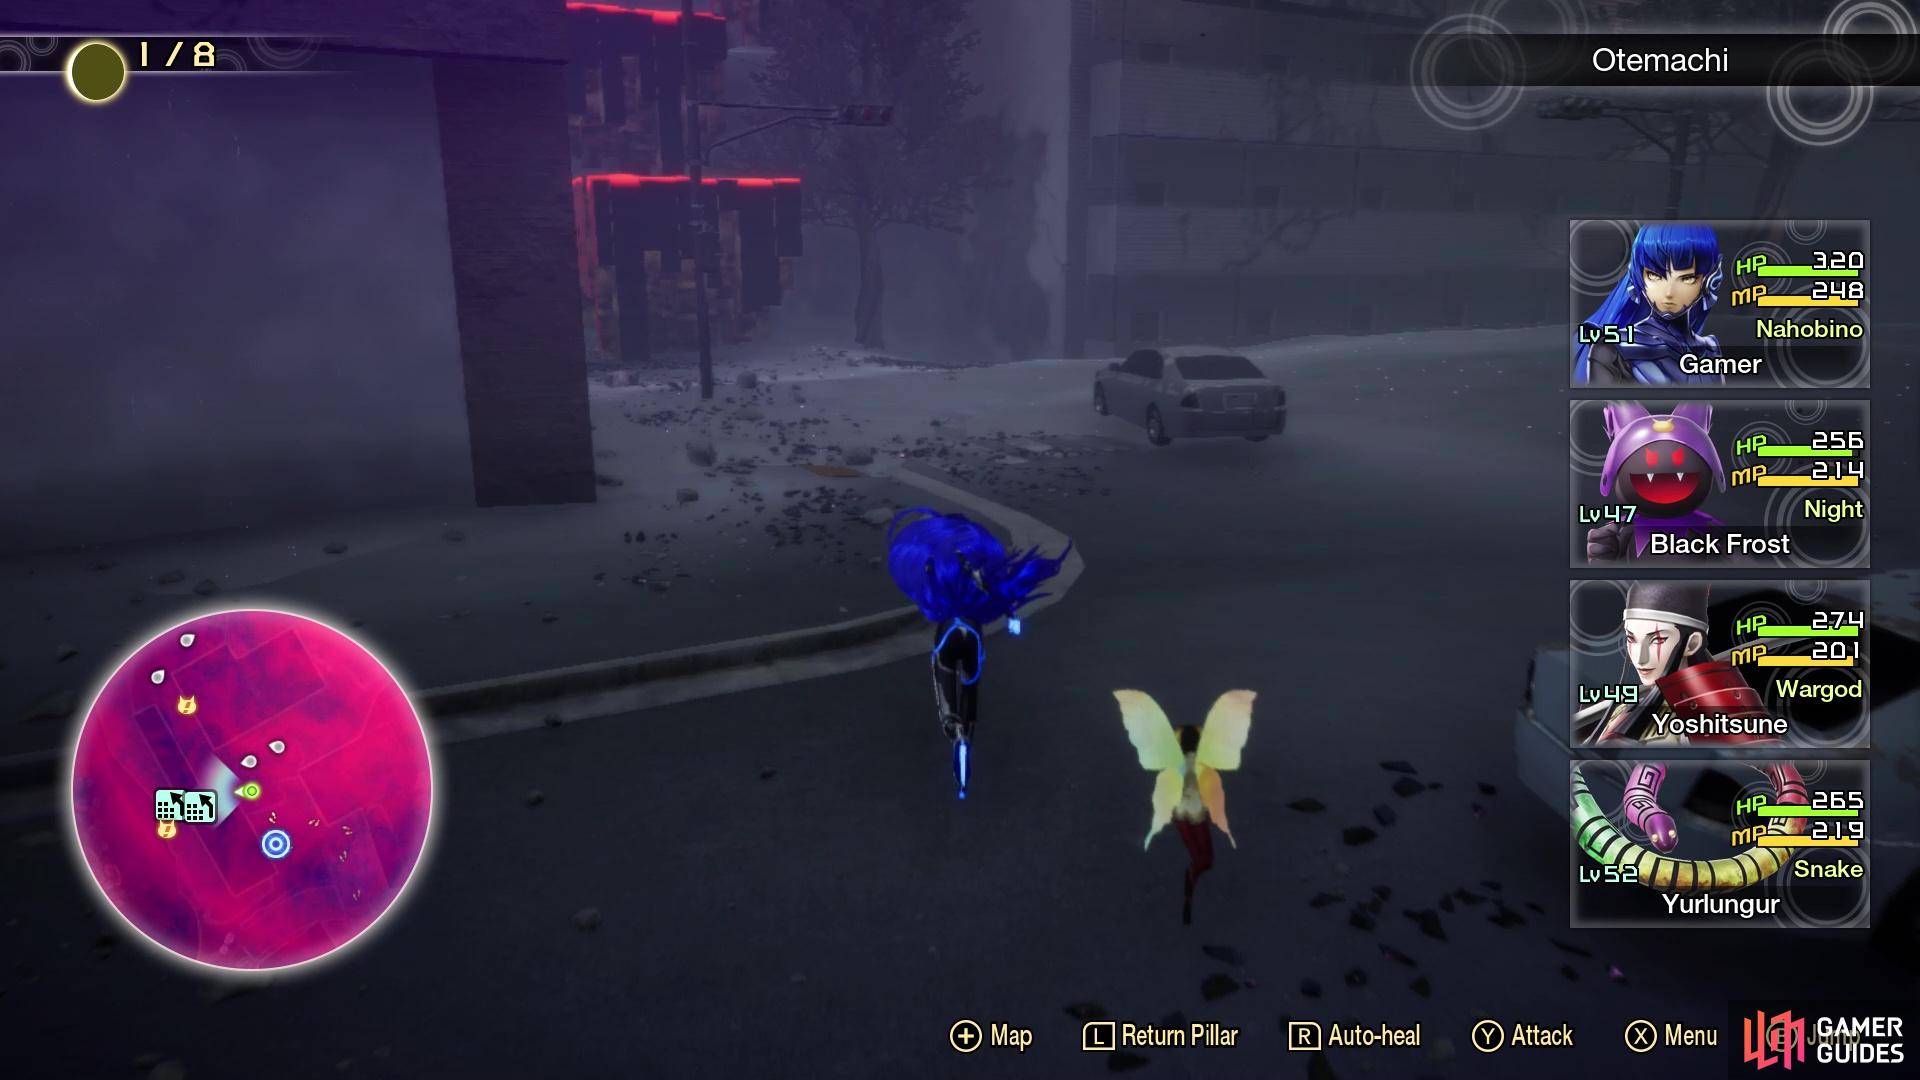
Run past the first set of demons and to the end of the road, where you will be able to jump down to another area. To the southwest, there will be a Jack-o’-Lantern standing next to some tunnels, who mentions that the right path leads to Tokyo Station, while left goes towards Otemachi. You will be going down the left path here, where you find more Dakini. At the very end, you will find some climbing blocks, so go up them and follow the path until it opens up a little, where you will find the Otemachi Leyline.
Follow the path to the left of the Jack NPC here
Climb up these blocks to eventually reach the Abscess
Register it to the leyline network, then speak with the Kaiwan NPC, if you wish (says nothing). Head north from the leyline, then west, to find some more climbing blocks. Ascend and follow the trail with the Anzu flying around, until you see the Abscess in the distance. Sprint to it and get ready for the next battle.
| Icon | Name | Lv | Weakness |
|---|---|---|---|
| Yurlungur | 50 |
There is only a single enemy here and unless you know the trick, this battle can be pretty frustrating. Yurlungur has access to both Bufudyne and Ziodyne, so you don’t want anyone with weaknesses to those. In fact, the best thing to do is have one demon immune to Ice and another immune to Electric, although both of the above spells are single target, so it wouldn’t make a huge difference. Outside of those two spells, the only other thing on the menu is Diarahan, a healing skill that completely heals the target. As you can probably imagine, it’s going to be annoying to have Yurlungur completely heal itself with Diarahan, especially if it was really close to dying.
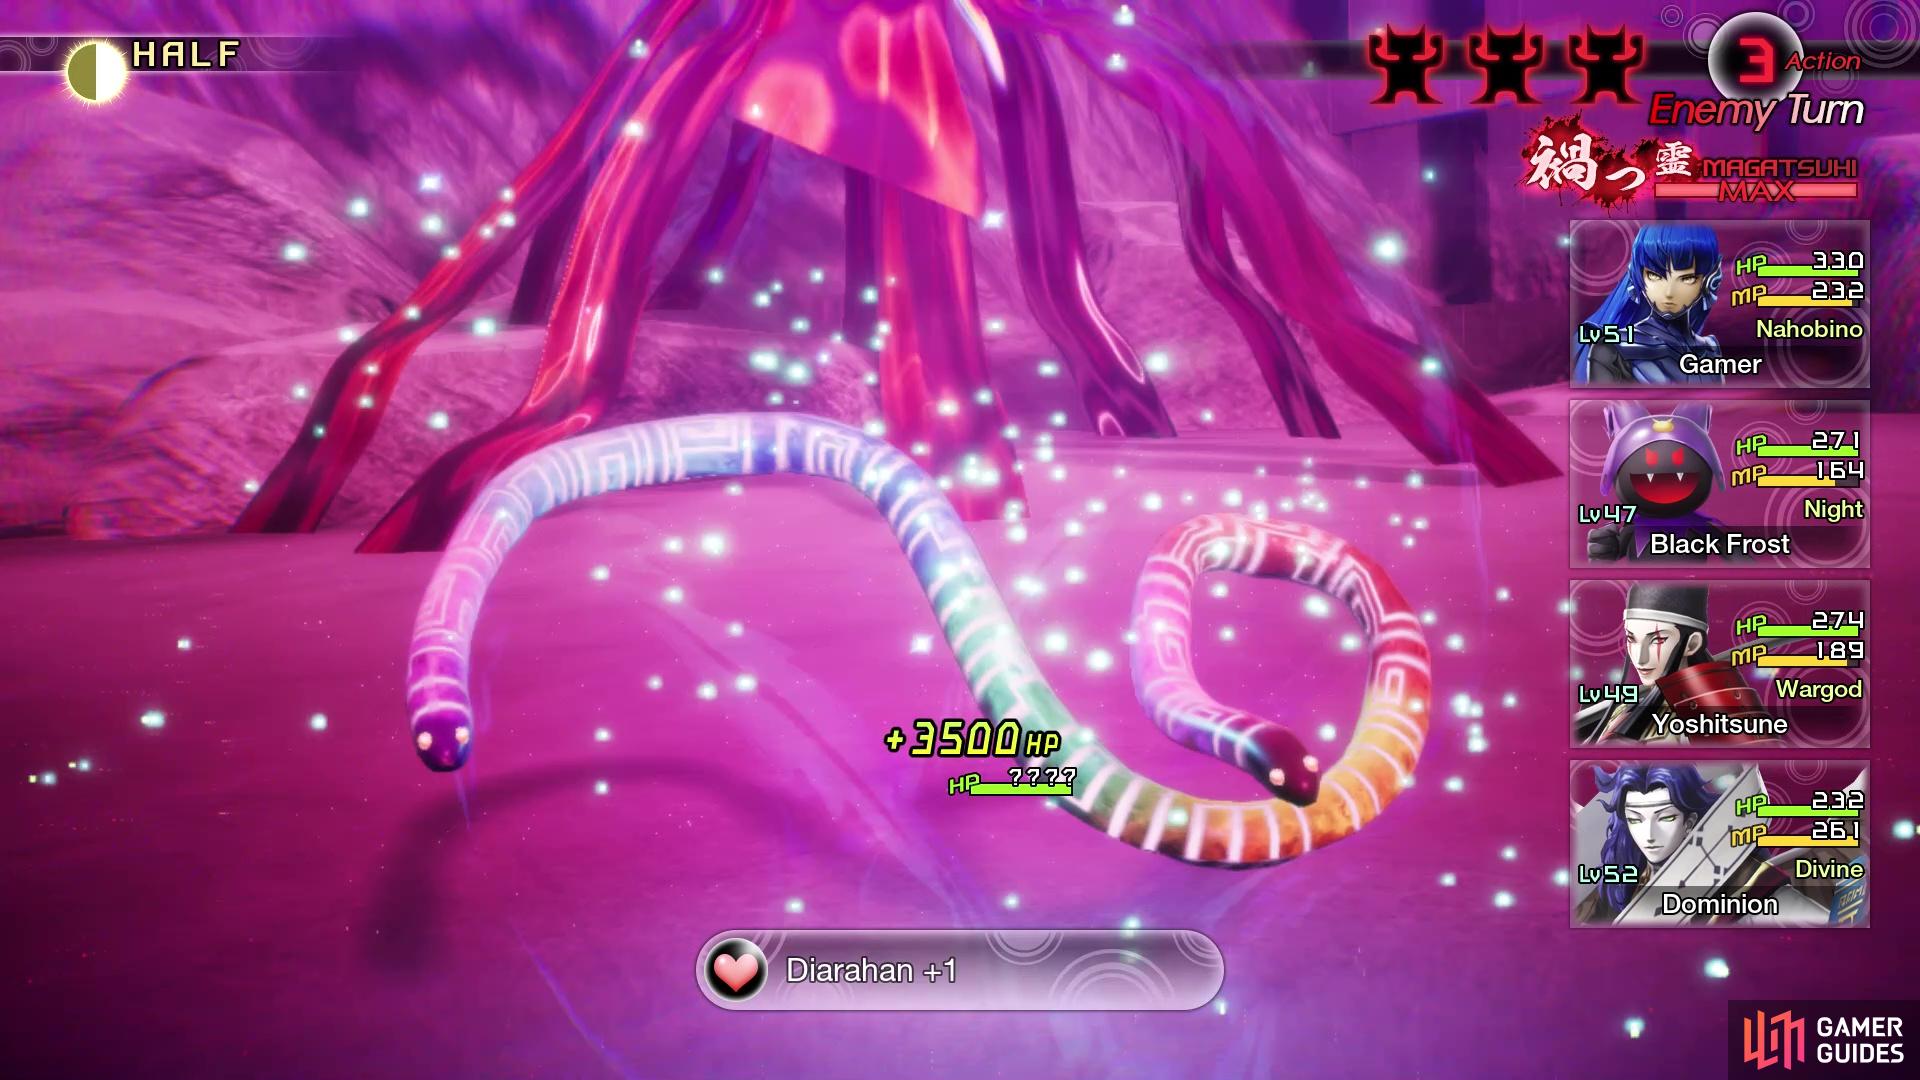
Yurlungur can use Diarahan to completely heal itself
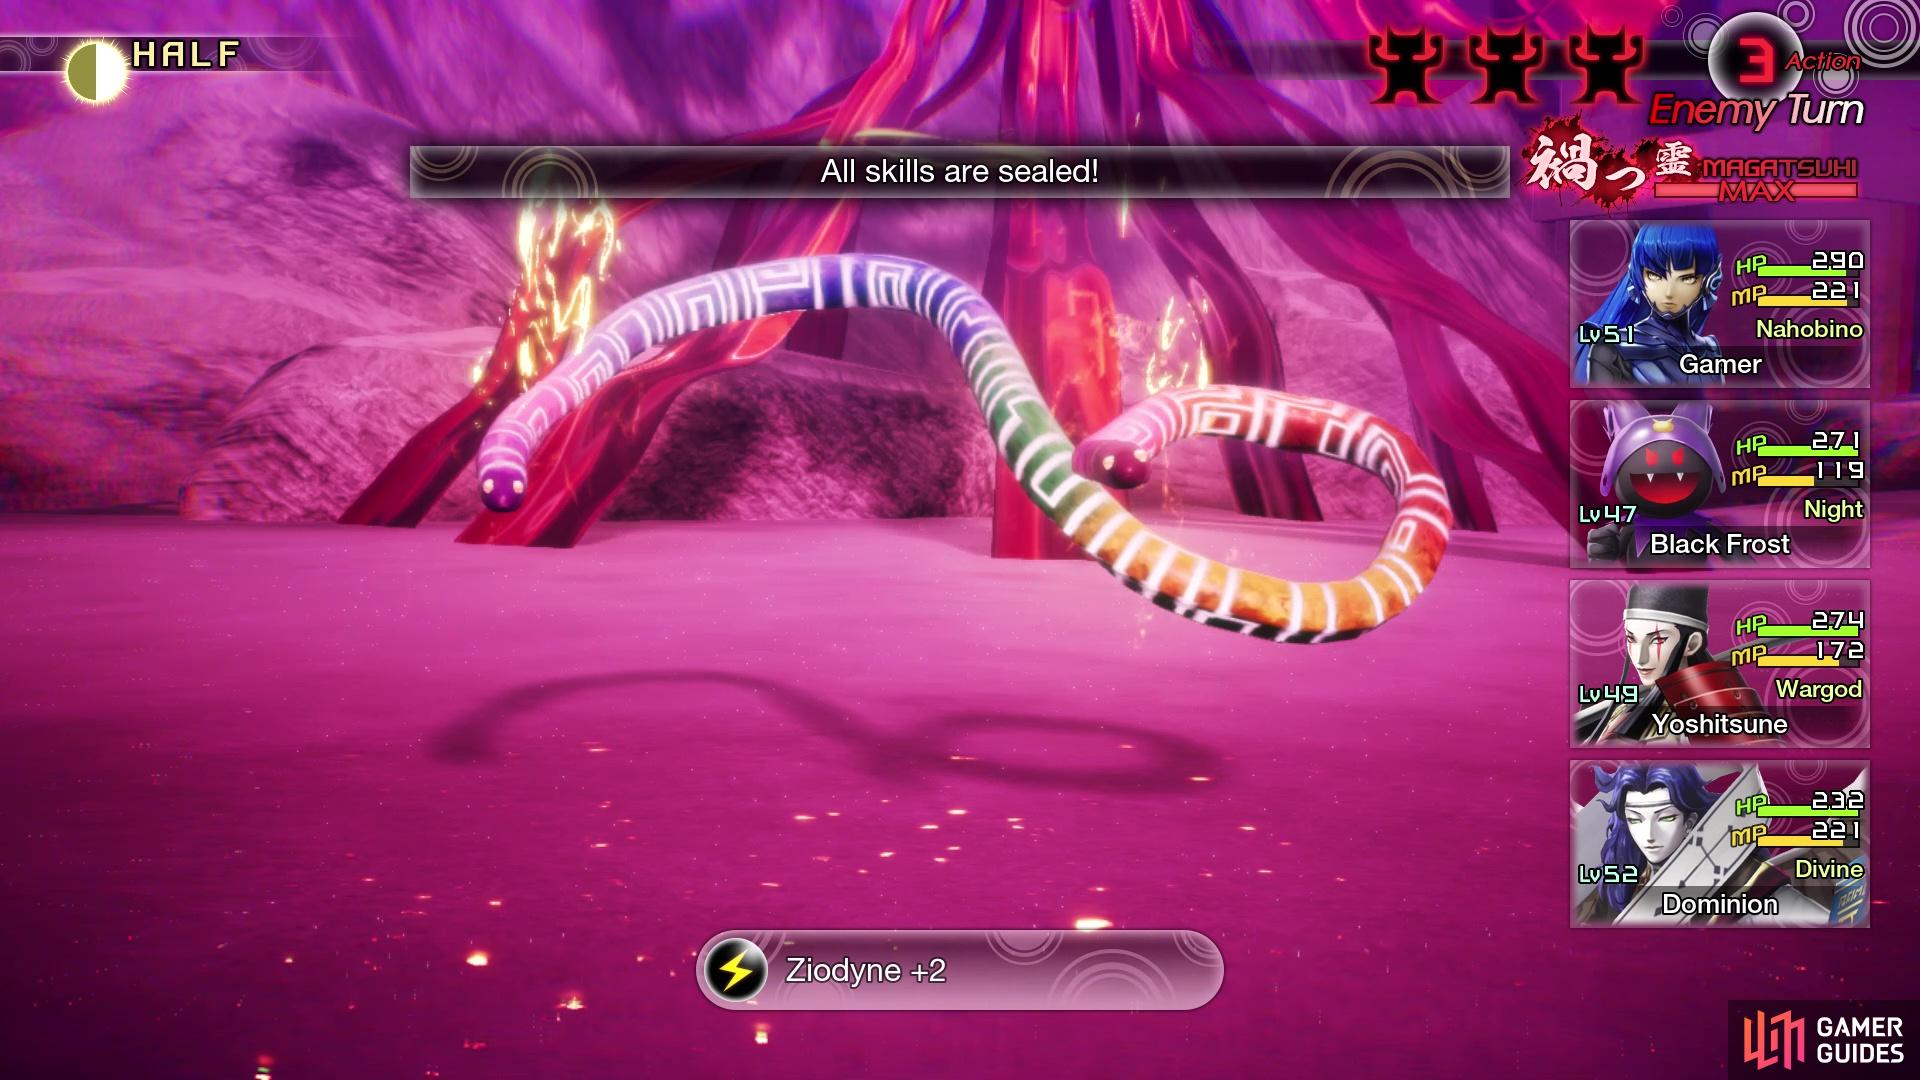
Inflict it with Seal to completely stop it from using Diarahan
Yurlungur is weak to Fire and immune to Electric, so you should have mostly Fire skills in your arsenal. It should be noted that Yurlungur does have three turns per round, which increases the chance it will use Diarahan even more. The key to winning this battle without a lot of hassle is with the ailment, Seal, which Yurlungur is weak against here. If you don’t have any moves that can inflict it, use Seal Gems to do it instead. Should you have been keeping up with Mimans thus far, you should have a good supply of them in your inventory. The ideal setup is to inflict Seal, reduce its defense, then go to town with high damaging moves before it recovers from the ailment and has a chance to use Diarahan.
| Miracle | Category | Effect | Glory |
|---|---|---|---|
| Prayer of Vitality | Awakening | Additional +1 to a demon ally’s Vitality when the demon levels up (Only applies up to a certain level). | 130 |
| Fire Mastery IV | Cosmos | Increases the Nahobino’s Fire skill potential by 2. | 130 |
| Ice Mastery IV | Cosmos | Increases the Nahobino’s Ice skill potential by 2. | 130 |
| Electric Mastery IV | Cosmos | Increases the Nahobino’s Electric skill potential by 2. | 130 |
| Force Mastery IV | Cosmos | Increases the Nahobino’s Force skill potential by 2. | 130 |
Kanda Bridge and Otemachi Exploration
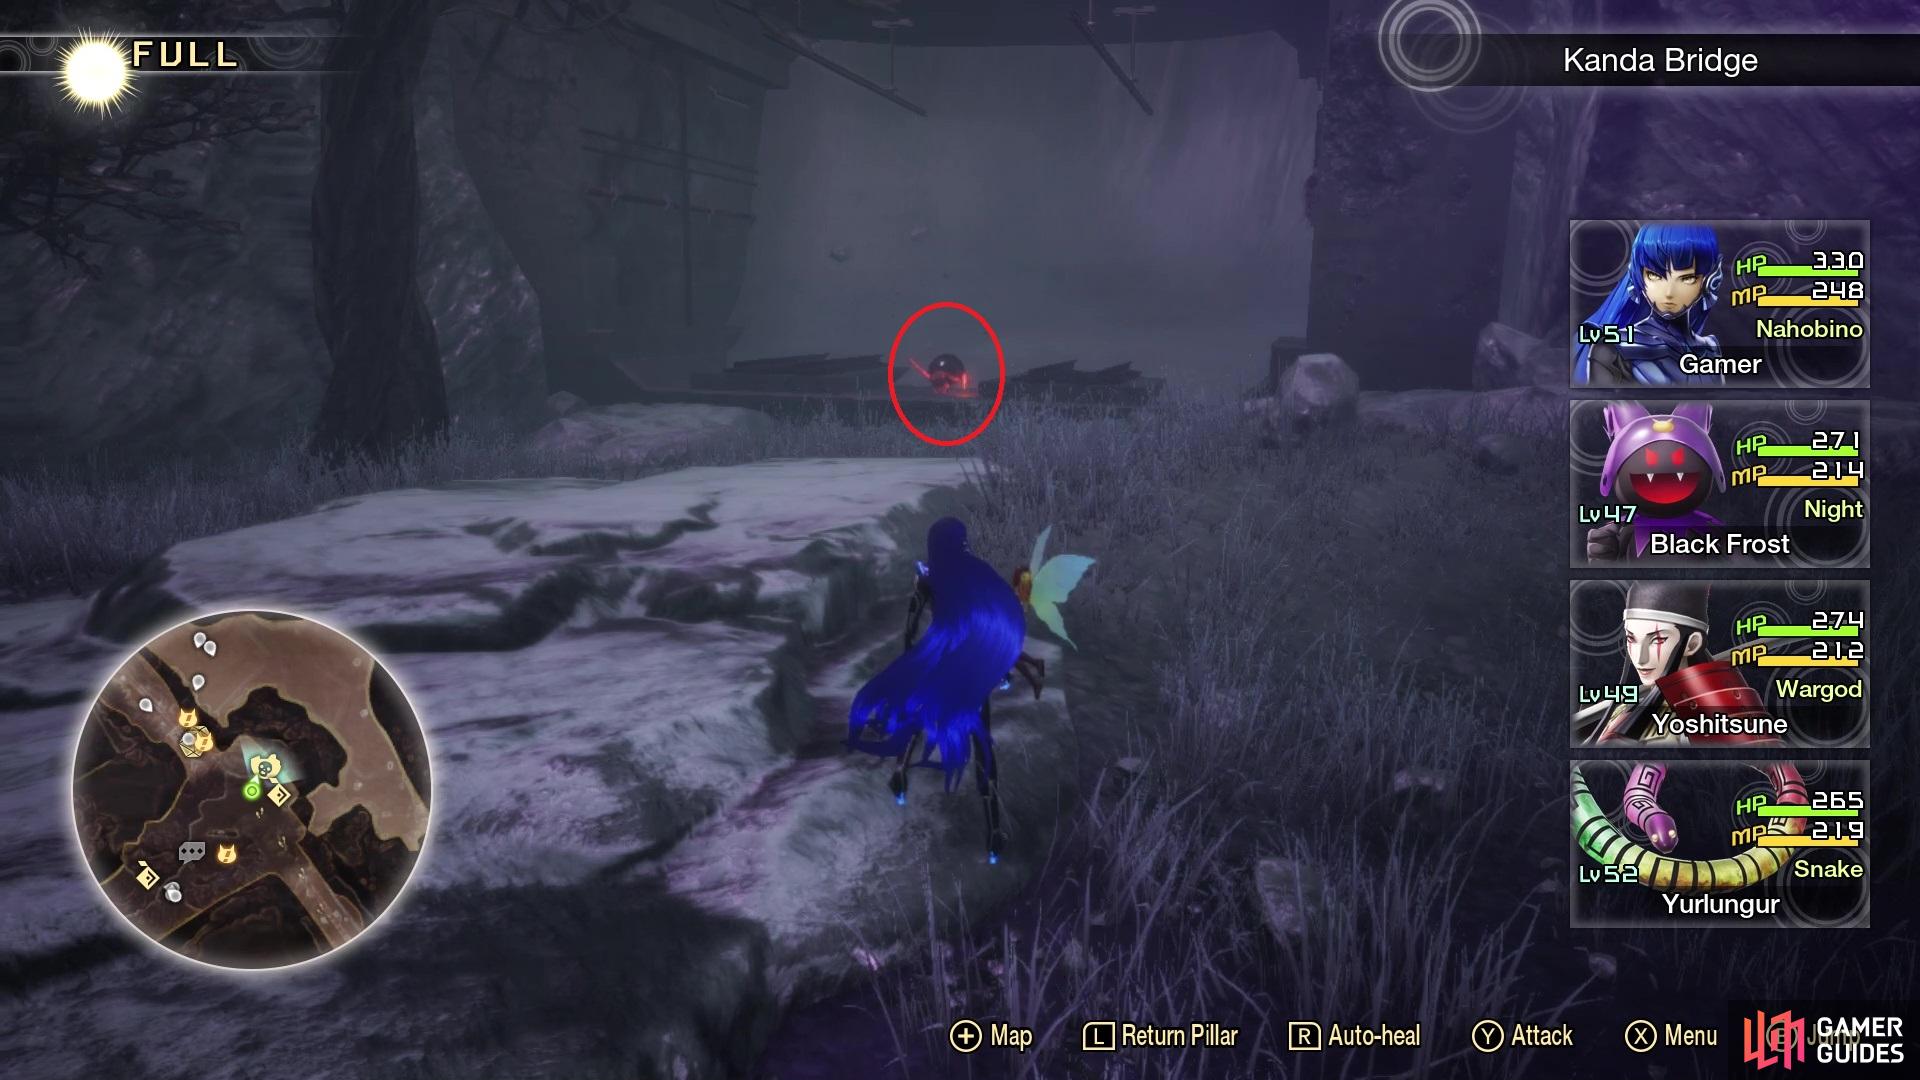
Return to the Awajicho Leyline and let’s begin exploring. Run to the end of the road and drop off like before, but as soon as you do, turn around and head underneath where you came to find a Treasure Box (Orobas’s Essence). There will also be Miman #142 in the northeast corner of this small area. Head on over to where the Jack-o’-Lantern is and take the left path to Otemachi once more. When you reach the climbing blocks at the end, drop to the ground in between the two to find a cleverly hidden Miman #143. Climb back up and in the next little tunnel, right there, check the southern end for Miman #144.
Get to the open area, with the Otemachi Leyline, and look south from it to find a path. On the western end, there will be Miman #145 looking out towards another Leyline (don’t go that way yet). If you follow this same path to the east, you’ll have to jump over some steel beams, but will eventually come to Amalgam #27. Double back to the Otemachi Leyline and find the nearby climbing blocks, which are the ones you took to eventually reach the Abscess (the other two paths lead to nothing, for now). After climbing the second one, you will see some vending machines right in front of you, as well as a Cironnup to your south.
This is the same NPC as before, who will ask you for 20,000 Macca this time to point out the locations of Mimans for this region. Save your money and go to the edge just south of it, then look east to spy a Treasure Box next to the building, which contains an Aogami Type-8 Essence. This one will contain some nice skills that complement each one, with the Nahobino unique skill called Profaned Land being the highlight; it’s a heavy Dark attack against a single target that also has a chance of inflicting Poison. Return to the blocks and climb up the last one, where you will follow the trail until you reach another one.
If you’ve completed The Tyrant of Tennozu, Demeter will be here and offer you The Horn of Plenty quest, with her asking you to defeat the Chimera Punishing Foe near the Sukiyabashi Leyline. Do that task for her and she will give you one more quest, The Roar of Hatred, asking you to defeat that one Moloch NPC back in the Akihabara area. Run over to where the Abscess was located and take a gander over the edge, where you’re looking for a rock that has Miman #146 that is only accessible by dropping down from here. This will also put you by the road where you will be going next, so drop down to the road after collecting the Miman.
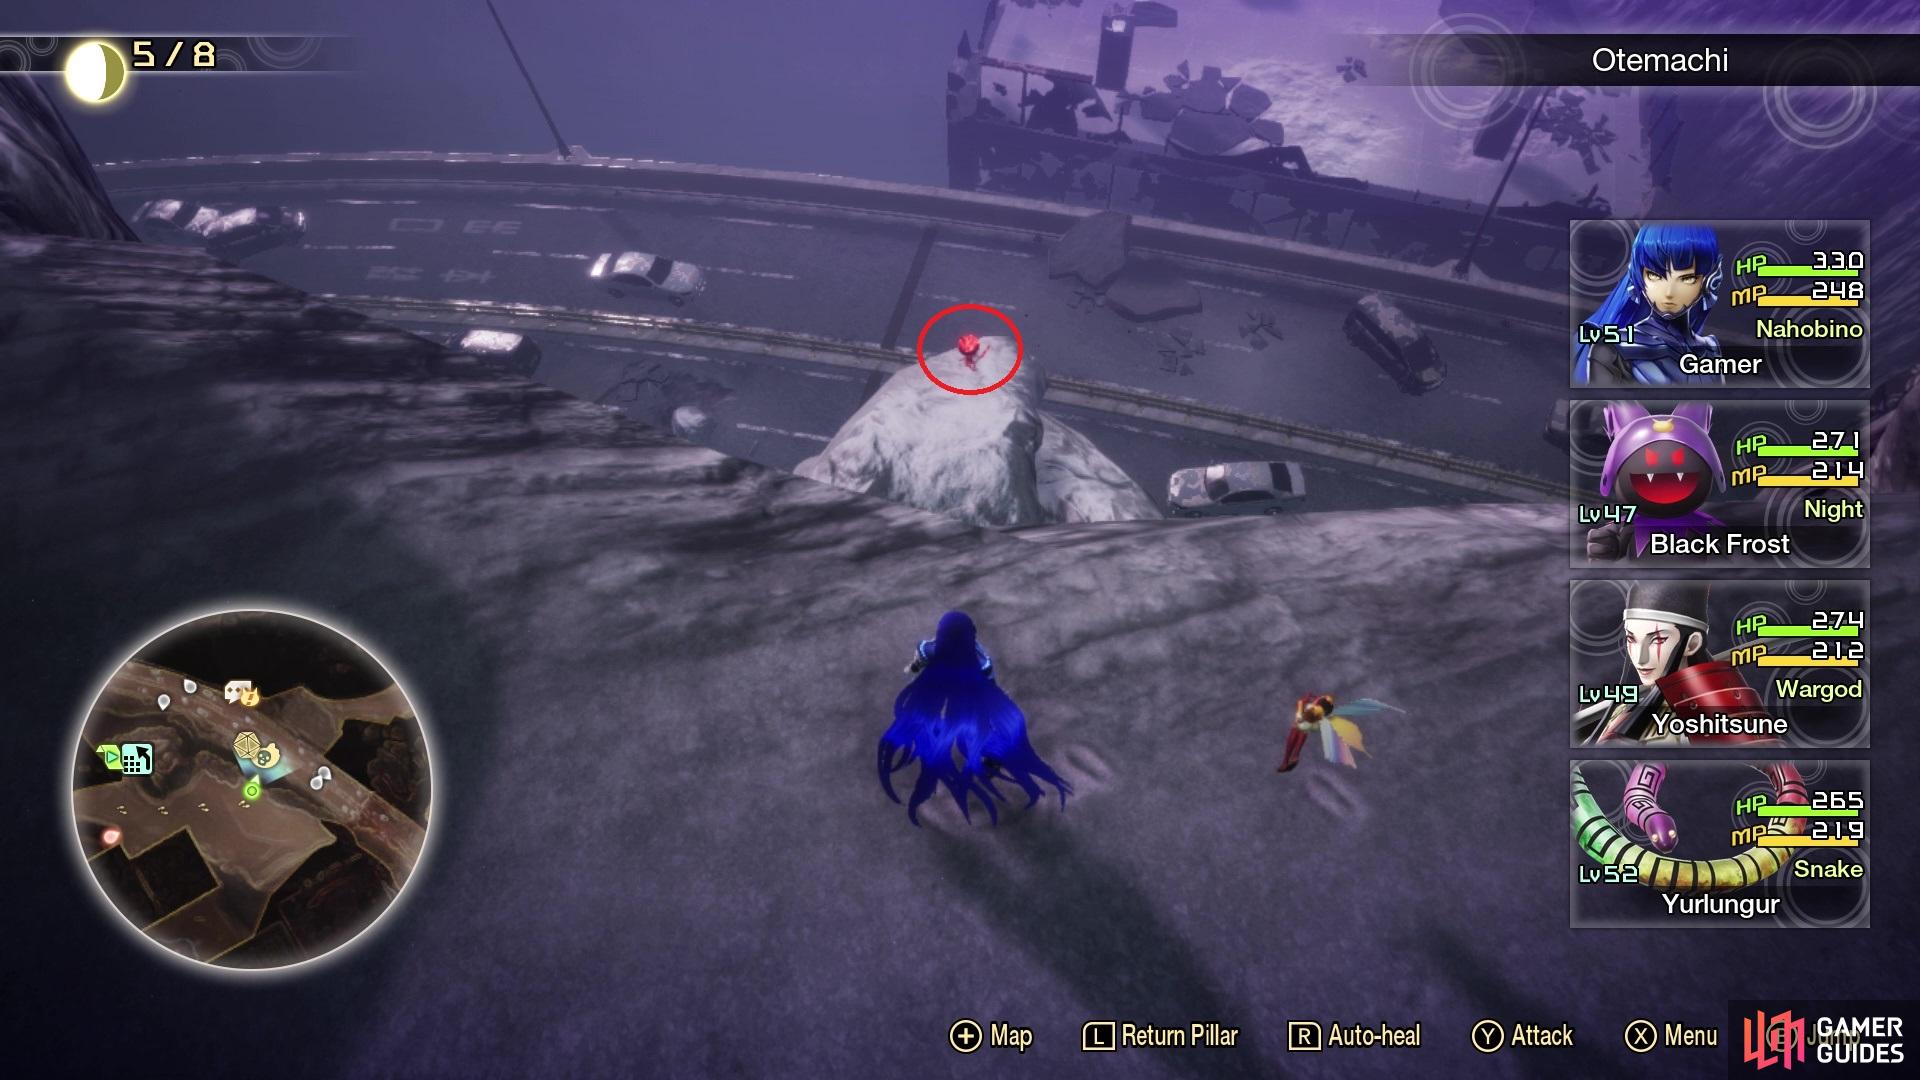
You will need to jump down onto this rock from the Abscess area for Miman #146
Demon Statue #13 is at the one end of the highway you drop down to
On the road, head to the western end to find Demon Statue #13 - Loa, which is the final one for Chiyoda. If you look next to the road on this side, you should notice a trail leading to underneath it, with some orbs showing you the way. Follow this until you reach a Muu Shuwuu NPC and near her will be a Treasure Box, which contains an Oberon’s Essence. Continue on the path down here, past some Kaiwan and a Naga Raja, and you will find two Treasure Boxes at the end (Force Gem x3 and 20,000 Macca). Return to the Demon Statue and follow the highway until you see a building off to the side.
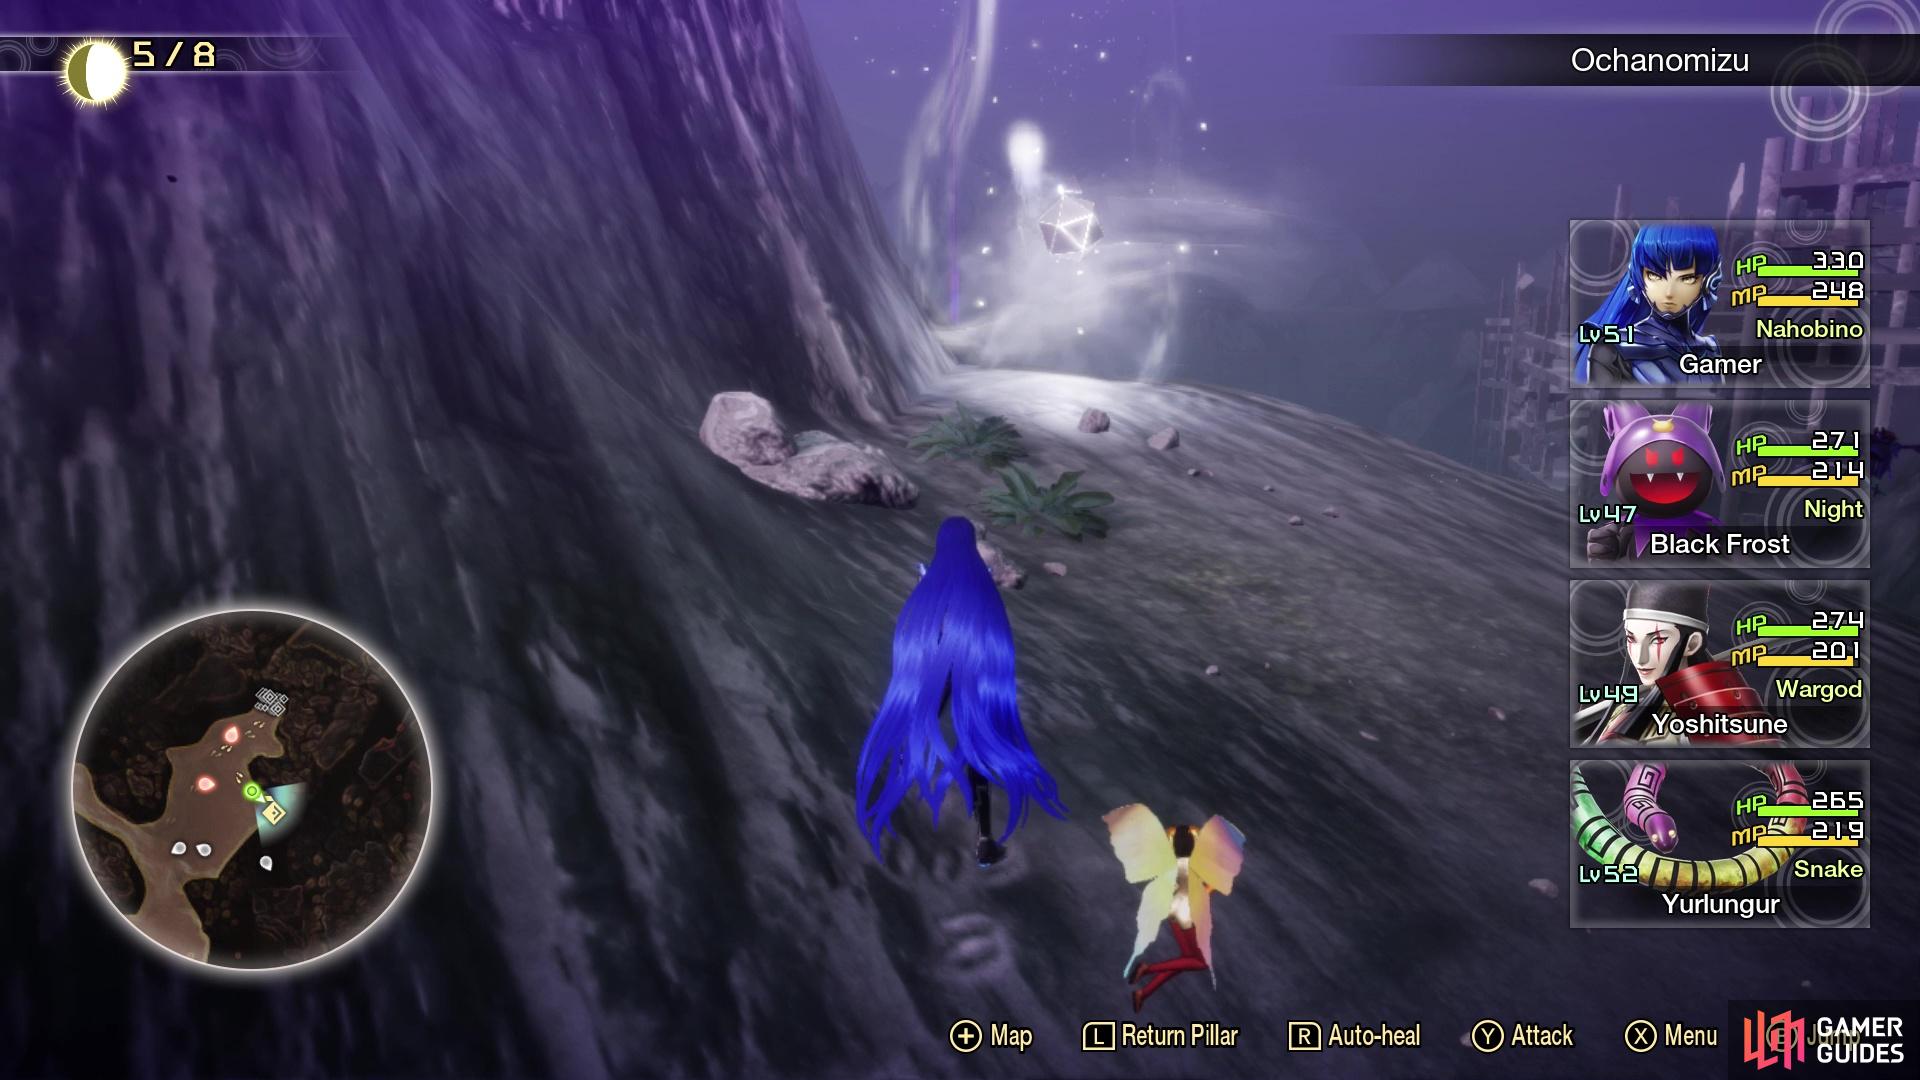
Make the jump over to the building, then run up the hill to find the Ochanomizu Leyline. This place is mostly a dead end, but there’s a few things up here, so it’s good to explore it. When you reach the split path, go north and off to the side, there will be Amalgam #28. To the far north, at the end, will be some vending machines, so loot them, then begin exploring the southern end of this little area. There are two more Treasure Boxes off to the west, past the Orthrus demons, which contain an Anzu’s Essence and a Sarasvati’s Essence. The southern end will have some more vending machines, as well as Miman #147 hiding behind some debris (can be a little difficult to see it).
Get back to the highway and drop off to the lower section on the southern end, then keep going until you reach the end, where the Oberon is located. You should see Amalgam #29 on a rocky ledge a little ways away, but you’re not going to be able to reach it with a normal jump. Look for the rock on the northern side of the minimap, where you will drop down and search for a path that is a little obscured by the bush, leading you straight to the Amalgam. You should be right by the split with the Jack-o’-Lantern, so return to him and take the right tunnel this time. By the time you exit it, you will be in the Tokyo Station area.
No Comments