
This is a walkthrough for Da’at: Minato of Shin Megami Tensei V, taking place in the Shiba area. How to complete every objective, find every chest and locate every Miman.
You’ll meet up with Yuzuru in Shiba.
Demons
| Icon | Name | Lv | Weakness |
|---|---|---|---|
| Slime | 1 | ||
| Preta | 3 | ||
| Onmoraki | 4 | ||
| Mandrake | 6 | ||
| Kodama | 6 | ||
| Oyamatsumi (Punishing Foe) | 44 |
Items
| Name |
|---|
| Amrita Soda x3 |
| Sake and Dango Medley (Quest item) |
| 700 Macca |
| Grimoire x2 |
| Ice Shard x3 |
Quests
| Subquest | Location | Reward |
|---|---|---|
| The Spirit of Love | Cave east of Shiba Leyline | Health Incense x2, Apsaras joins |
| No Stone Unturned | North of Shiba Leyline, South of Hamamatsucho | Wargod Talisman |
The Lay of the Land (2)
Shiba is a much larger area than the previous two, and there’s a lot to cover, especially now that you’ll encounter Abscesses from this point on. To begin with, turn left as you pass beyond where the Abscess was and climb the rocks to reach a cliff and Miman #8. Continue along to the northeast and you’ll run into that demon from before who offers you a Bead, your choice doesn’t matter here so you may as well take up her offer, Beads are extremely useful healing items to have.
Once the demon takes off again, ransack the nearby Vending Machines and speak with the Muu Shuwuu to learn some more about the Netherworld. Continue to follow the path towards the trains to trigger a scene where you’ll meet up with Yuzuru and you’ll have a choice here, one that once again has little impact on your alignment. Aogami will remind you of the need to visit Tokyo Tower first and Yuzuru will leave to begin his search for Dazai.
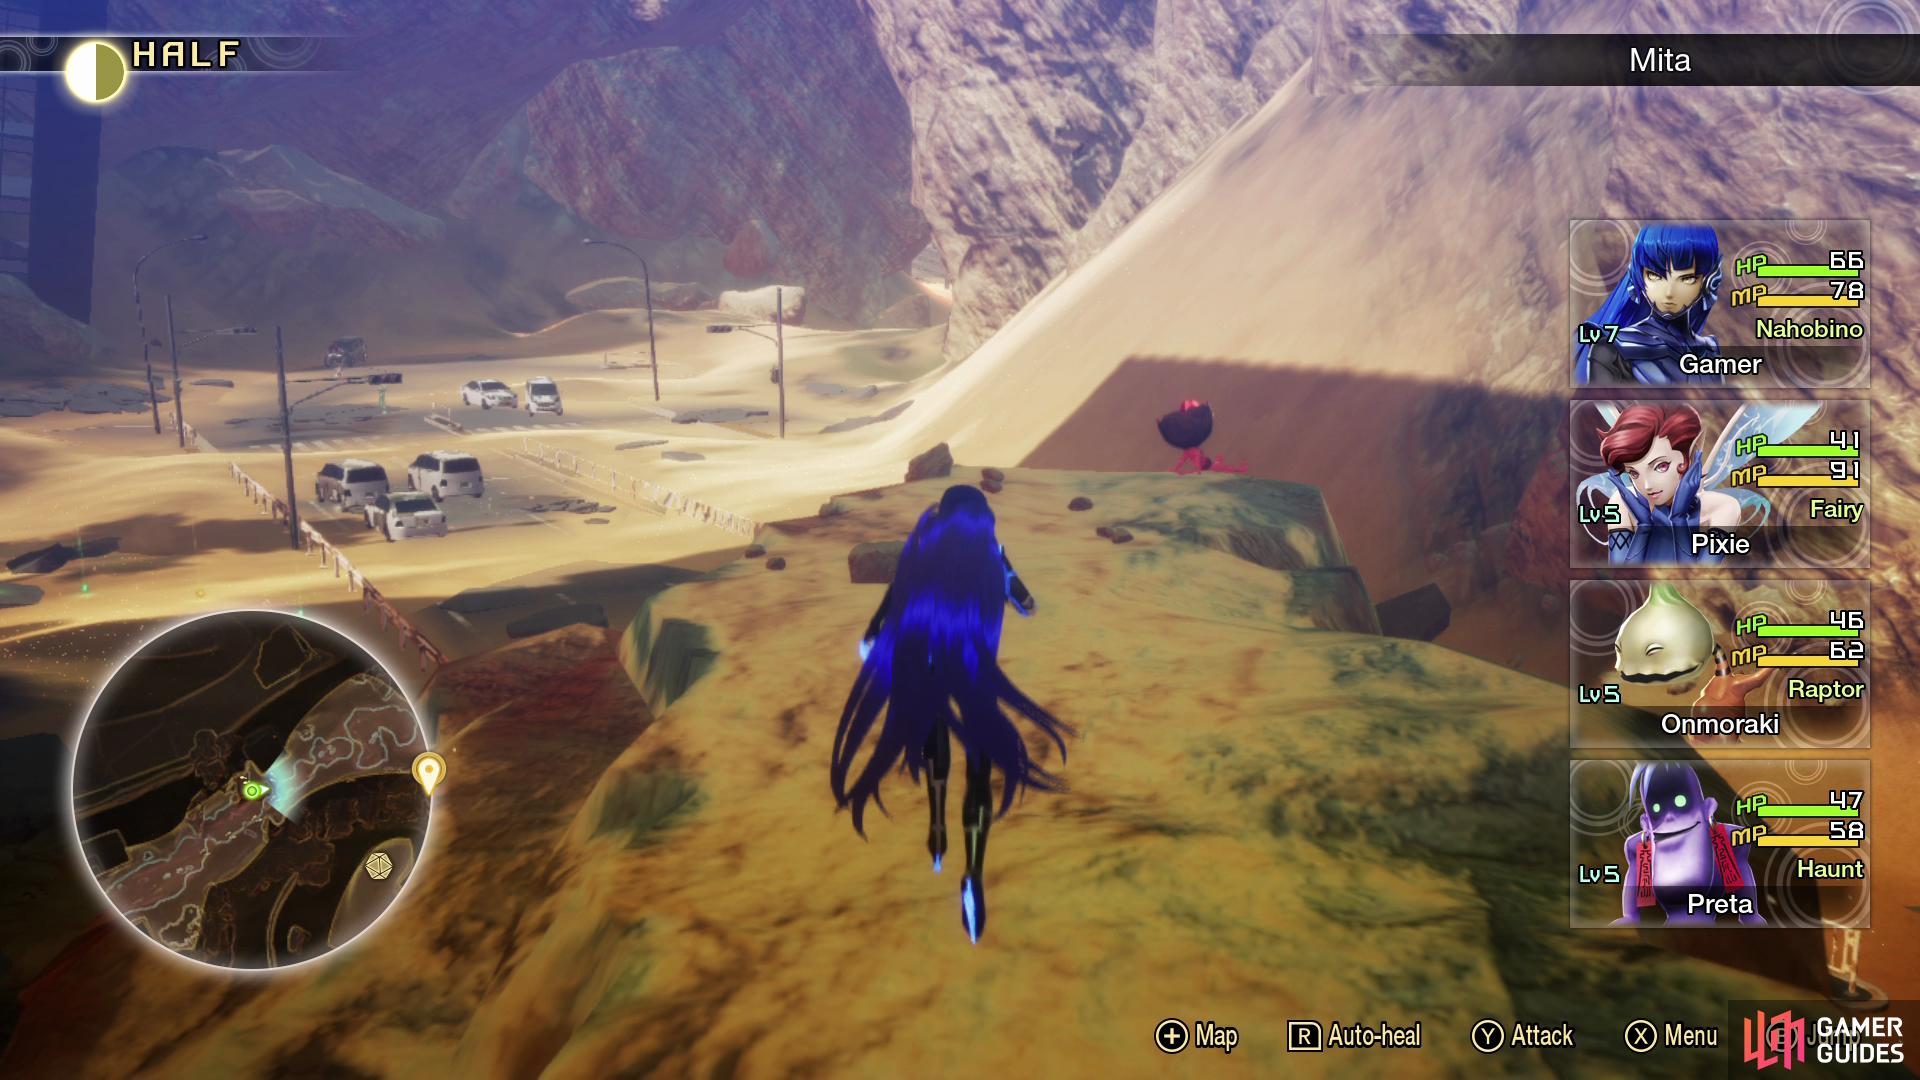
(1 of 3) The first Miman in this area can be found on top of the cliff just after the Abscess
Your destination leads northeast, but ignore that for now and head along the path to the southwest to locate a group of Mandrakes that are well worth taking the time to try and recruit. Smash the Treasure Box while you’re here to obtain Amrita Soda x3 and then just beyond it, behind a rock, you’ll find Miman #9.
Follow the train to the northeast and once you reach the tunnel, look on the east side to find Miman #10. Head up the slope along the west side (before entering the tunnel) now and you should run into your first encounter with a Mitama. These curious demons only have on weakness and will NULL all others, so you’ll want to have Spyglasses on hand to discern what that weakness this is (this is always random). If you succeed in defeating a Mitama, you’ll get a large boost of Exp, Macca and useful items ranging from Grimoires (will bring a demon’s Exp forward until they need 1 to level up), Glory Crystals (grant Glory based on the size of the crystal), Relics (these usually sell for more than the ones you find in vending machines), and Gospels (the same effect as Grimoires but for the Nahobino).
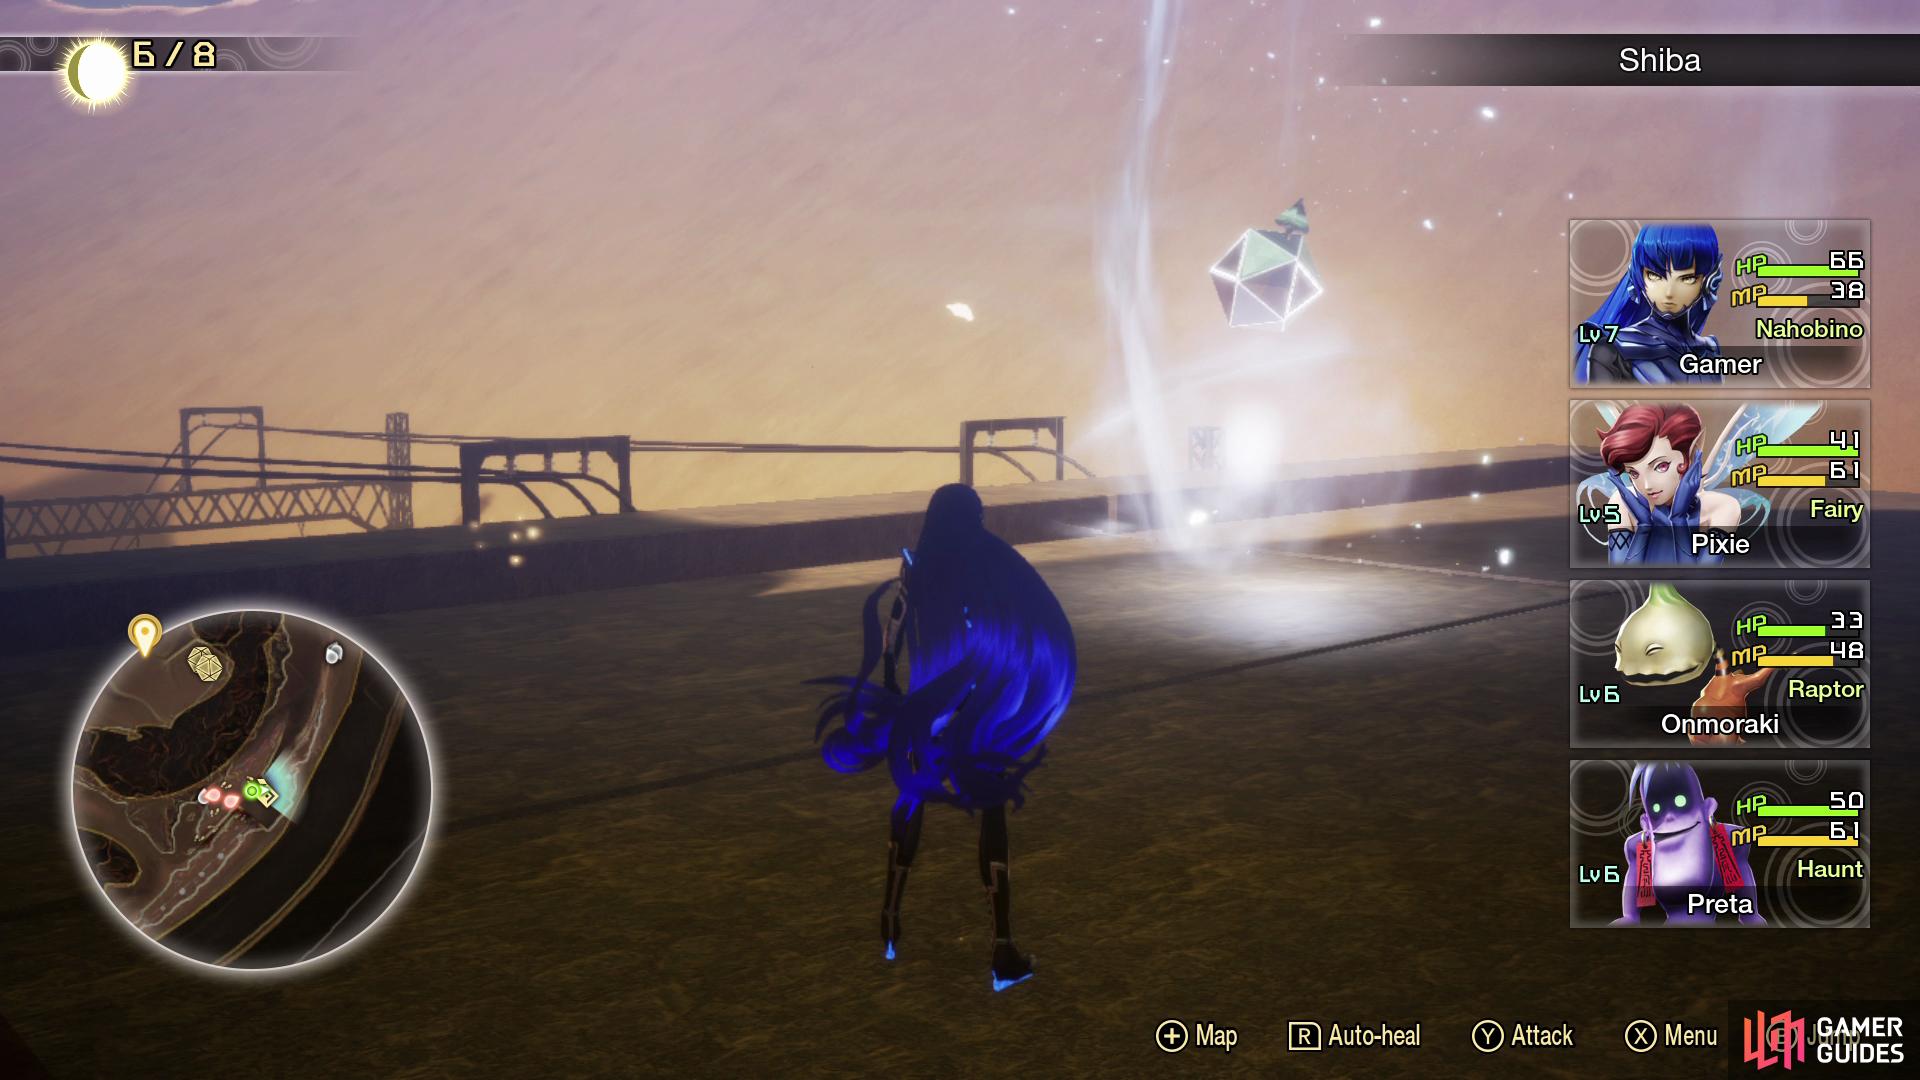
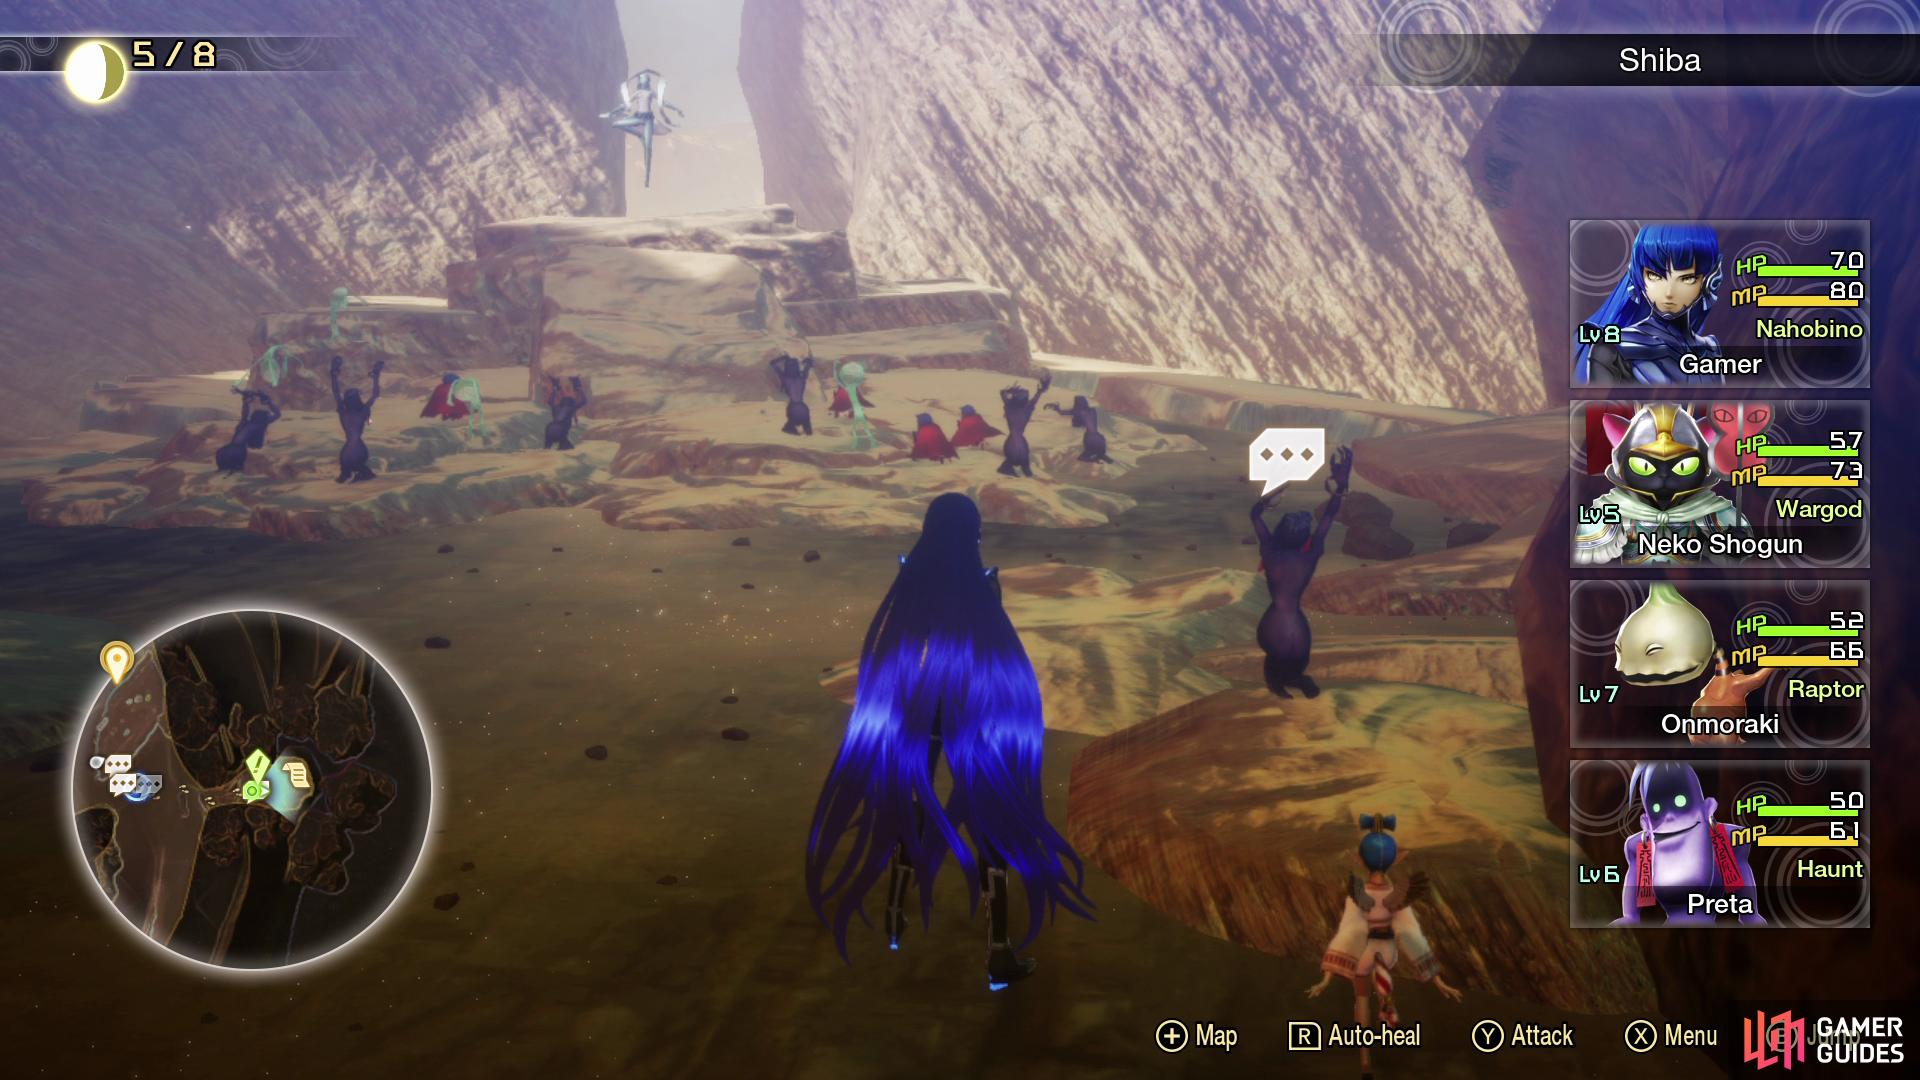
As you reach the top of the slope, take a look on top of the tunnel to find a shining box, these are known as Amalgams and will grant a large quantity of Glory to you. These are essential if you wish to acquire as many Miracles as possible for the Nahobino. Press onwards, and you’ll have another opportunity to recruit a Mandrake if you failed earlier and the next Leyline Fount. As you approach it however, you’ll once again run into that demon from before, who now reveals herself as Amanozoko and decides to tag along.
With her aid, she’ll discover hidden points as you explore the Netherworld, indicated by a monster icon. By investigating these icons, you’ll either gain an item, or be thrust into a battle with a high probability of it being a Mitama battle. While navigating the Netherworld, be sure to make use of this handy skill. Speak to the Sandman after if you wish, and then access Shiba’s Leyline Fount to add it to your Crossing list.
Visit the World of Shadows and Sophia will introduce you to the final, and most powerful, feature of this realm, Demon Fusion. This will allow you to fuse two (or in some cases, more) demons together to create a new demon. Not only will you acquire new demons that you’ve yet to encounter, but you’ll also be able to transfer skills across them. There is a catch however, you can only fuse demons that are no higher in level than the Nahobino.
There are various types of fusion available to you. Dyad Fusion will allow you to manually select two demons from your current stock to create a demon, useful if you have a specific demon in mind, but not the go to. Reverse Fusion is a far more useful tool, this will display all the demons you can summon based on your current demon stock. Reverse Compendium Fusion is a similar tool, only it takes into account every demon in your Demonic Compendium, it does however cost Macca to use demons not currently in stock, and this can add up a lot so where possible, try and manually recruit a demon if you wish to avoid the hefty fee. Special Fusion is the final option, and this allows you to summon specific demons that have requirements based on certain conditions, be it from completing a Quest or defeating them in the story. For now, only High Pixie is available and it’ll be some time before you can use her.
The Demonic Compendium mentioned above is a vital tool, using the data you’ve stored from your demons, you can recall any demon for a price, useful if you had to use a favorite demon to summon a new one. The price increases based on level however you will eventually learn Miracles that bring this price down. As a rule, every time you visit Sophia, be sure to visit the Compendium and register all of your current data for your demons on hand, although newly recruited demons are automatically added to it.
Be sure to purchase a new Miracle for Nahobino now that you have more Glory, Demon Proficiency I is a good call for now if you’re about to fuse a Demon so that it can house one more skill, otherwise settle for Divine Proficiency I. For now, you may wish to consider fusing a Neko Shogun, not only does it have Dia, but it has high Vitality making it a useful demon for this stage of the game.
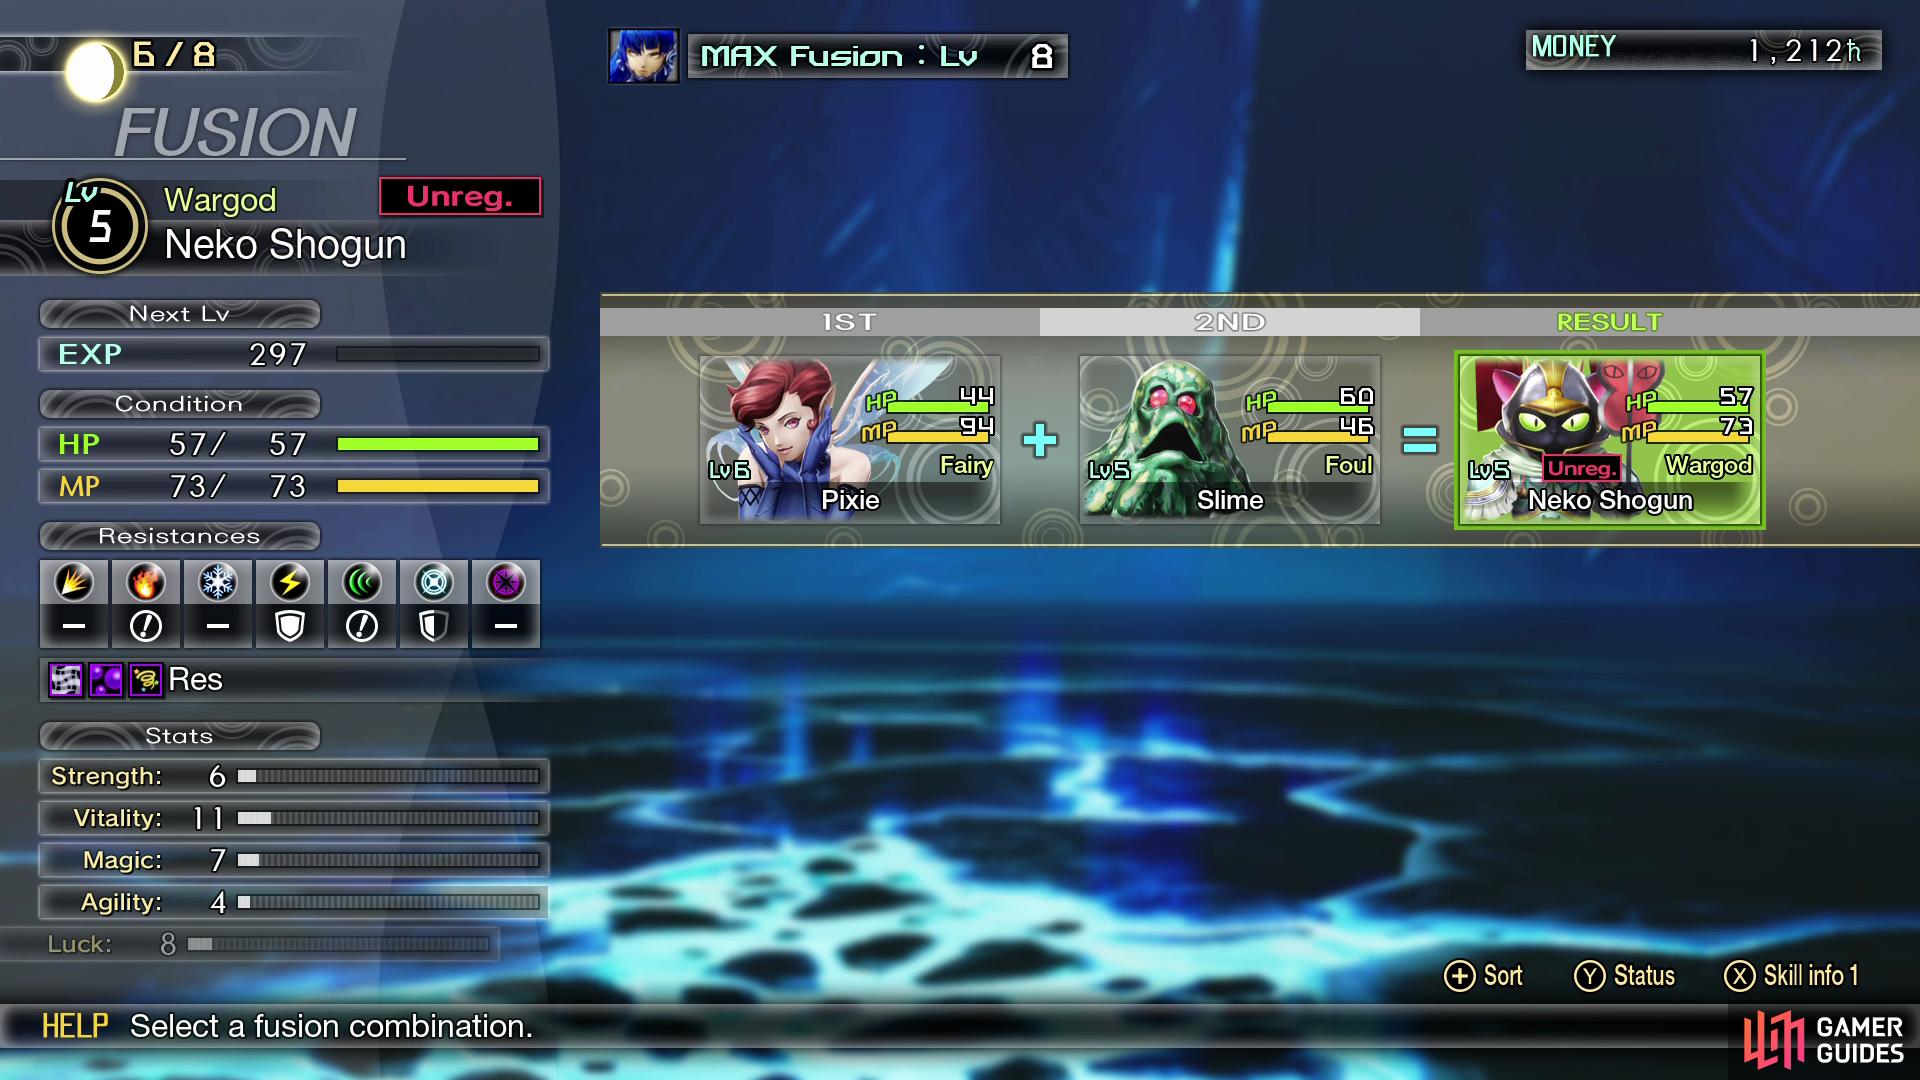
Consider fusing a Neko Shogun
visit this cave to find the missing Preta related to a Quest you have accepted.
Be sure to visit Gustave while you’re here to receive your reward for 10 Miman, the Element Talisman, this grants members of the Element family the Magatushi skill Omagatoki: Luck. Head east from the Leyline and you’ll find a cave of demons worshiping an Apsaras along with the Preta you’ve been searching for as part of the A Preta Predicament Subquest.
Speak with him to obtain the Sake and Dango Medley and then make your way over to the Apsaras in the center and listen to her request. You’ll learn that a Leanan Sidhe that opposes her methods and she wishes for you to deal with her. Agree to assist her for now to begin The Spirit of Love and you’ll have a choice to make a bit later once you find the Leanan Sidhe (more about that later). With your business here concluded for now, return to the Leyline and return to the Pretas in Tamachi, be sure to save and heal up before you speak to them however as a battle awaits. For completing the Quest, you’ll obtain the Haunt Talisman, unlocking the Twilight Wave Magatushi skill.
Make your way back to the Shiba Leyline and speak to the demons here for some more background lore on the Netherworld and then head west to the large expanse beyond the Mandrakes. As you reach this area, search the northern corner to find Miman #11 and then consider recruiting a Kodama. They’re weak to Fire and Ice, but have access to Zan, which is useful if you used Pixie to create a Neko Shogun. In the southwest corner, you’ll find a Mitama spawn to the southwest and two Treasure Chests in the southeast containing 700 Macca and Grimoire x2.
Return to the Leyline once more, and should you have 30 Glory, purchase Divine Proficiency I to add an extra skill slot to the Nahobino. Head northeast from the Leyline to find another two vending machines and then off to the northwest, you’ll encounter the hulking giant that is Oyamatsumi, the first Punishing Foe in the game. These are one-time only demons that are often way above your level for the first time you encounter them. This particular demon is Level 44 and you stand no chance against it right now so be sure to avoid it at all costs.
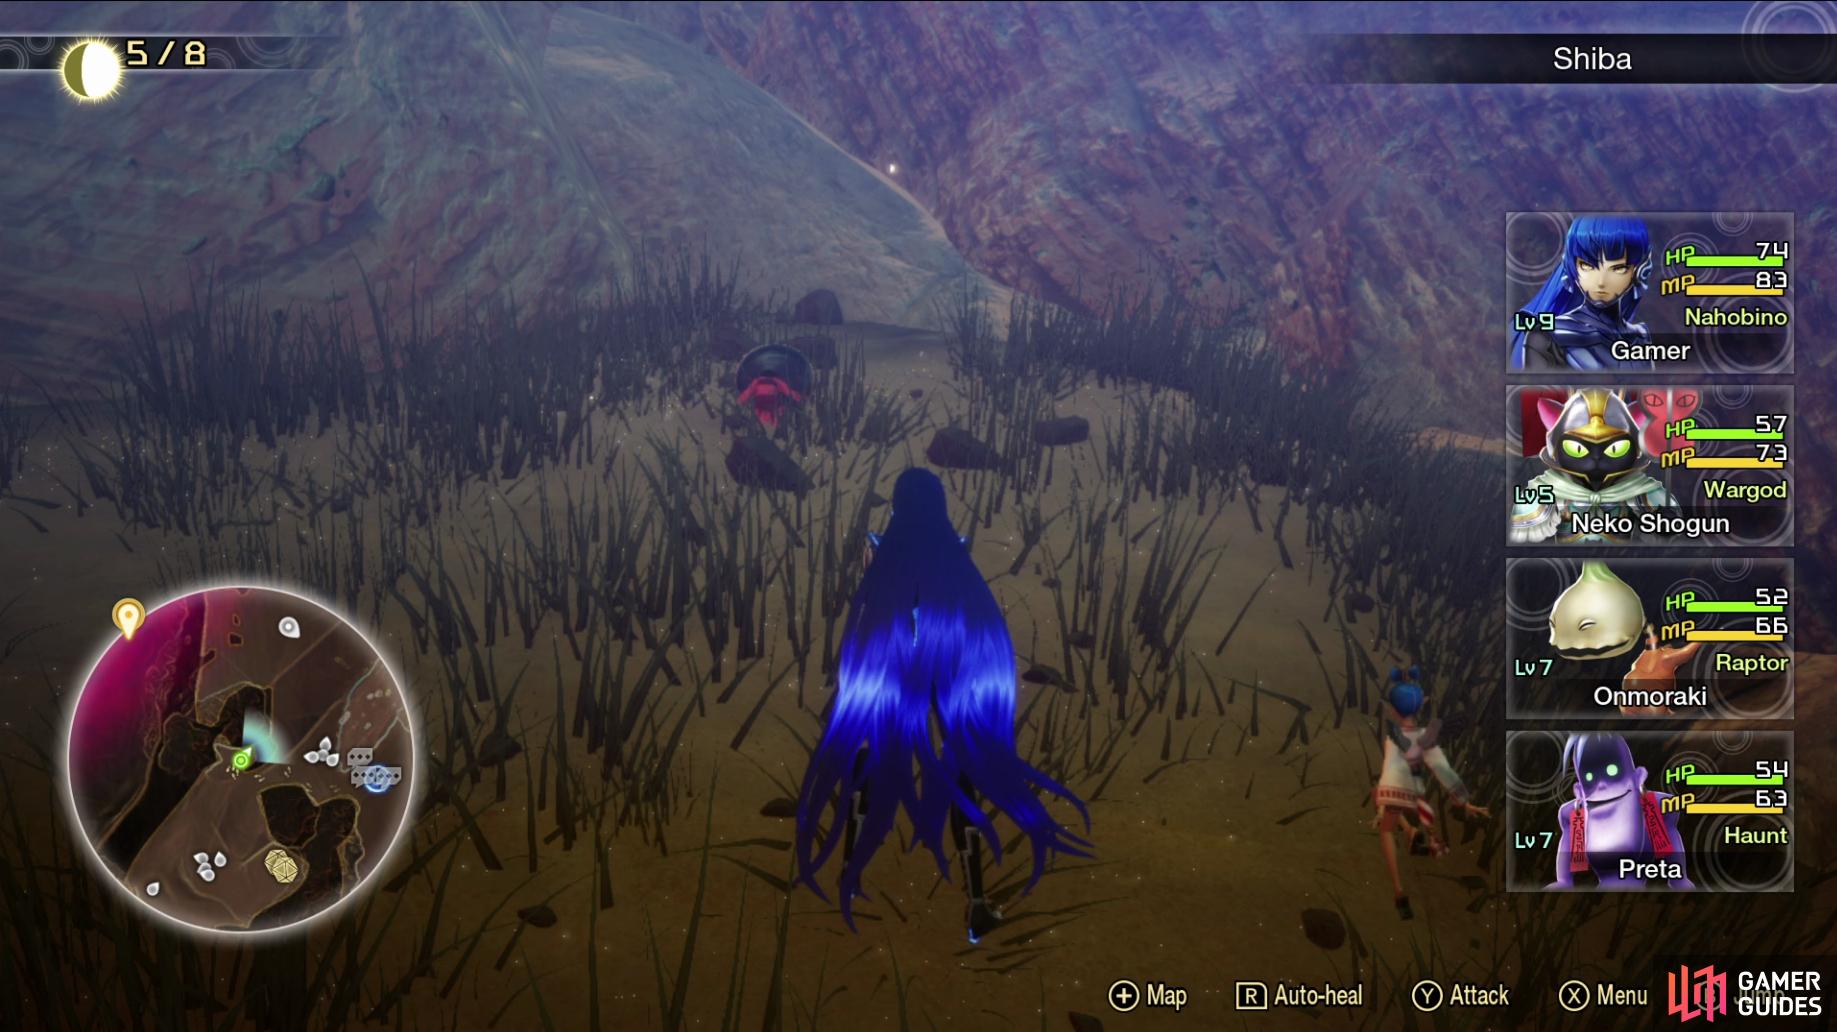
As you pass through this area however, dash over to the southwest corner to find Miman #12 cowering. Continue north and you’ll receive a tutorial on your quest navigator, as mentioned above. Be sure to seek these out, as the rewards are often worth it, despite being randomized. Loot the nearby vending machines and then use the Climbing Points to reach the rooftops and speak with the Neko Shogun there to begin and complete No Stone Unturned to receive the Wargod Talisman.
Turn to your east from Neko Shogun’s location and use the Climbing Point there to reach another rooftop where you’ll find Amalgam #2 in the corner. Instead of continuing along the rooftops to the north, drop down to the ground between these buildings and search behind the concrete to the east of the northern-most Climbing Point icon to locate Miman #16. Use the Climbing Points once more to cross over into Hamamatsucho, then turn around and face the building to find a Treasure Chest inside containing Ice Shard x3. Ignore the Abscess for the moment, just to the northwest is the Leyline Fount and it’s a much safer course of action to save your game first before setting off to explore Hamamatsucho in full.
No Comments