
This is a walkthrough for the boss Lahmu found at Shinagawa Station in Shin Megami Tensei V. All of his weaknesses, resistances and skills to avoid. Lahmu has two forms, fought back to back.
Lahmu (First Form)
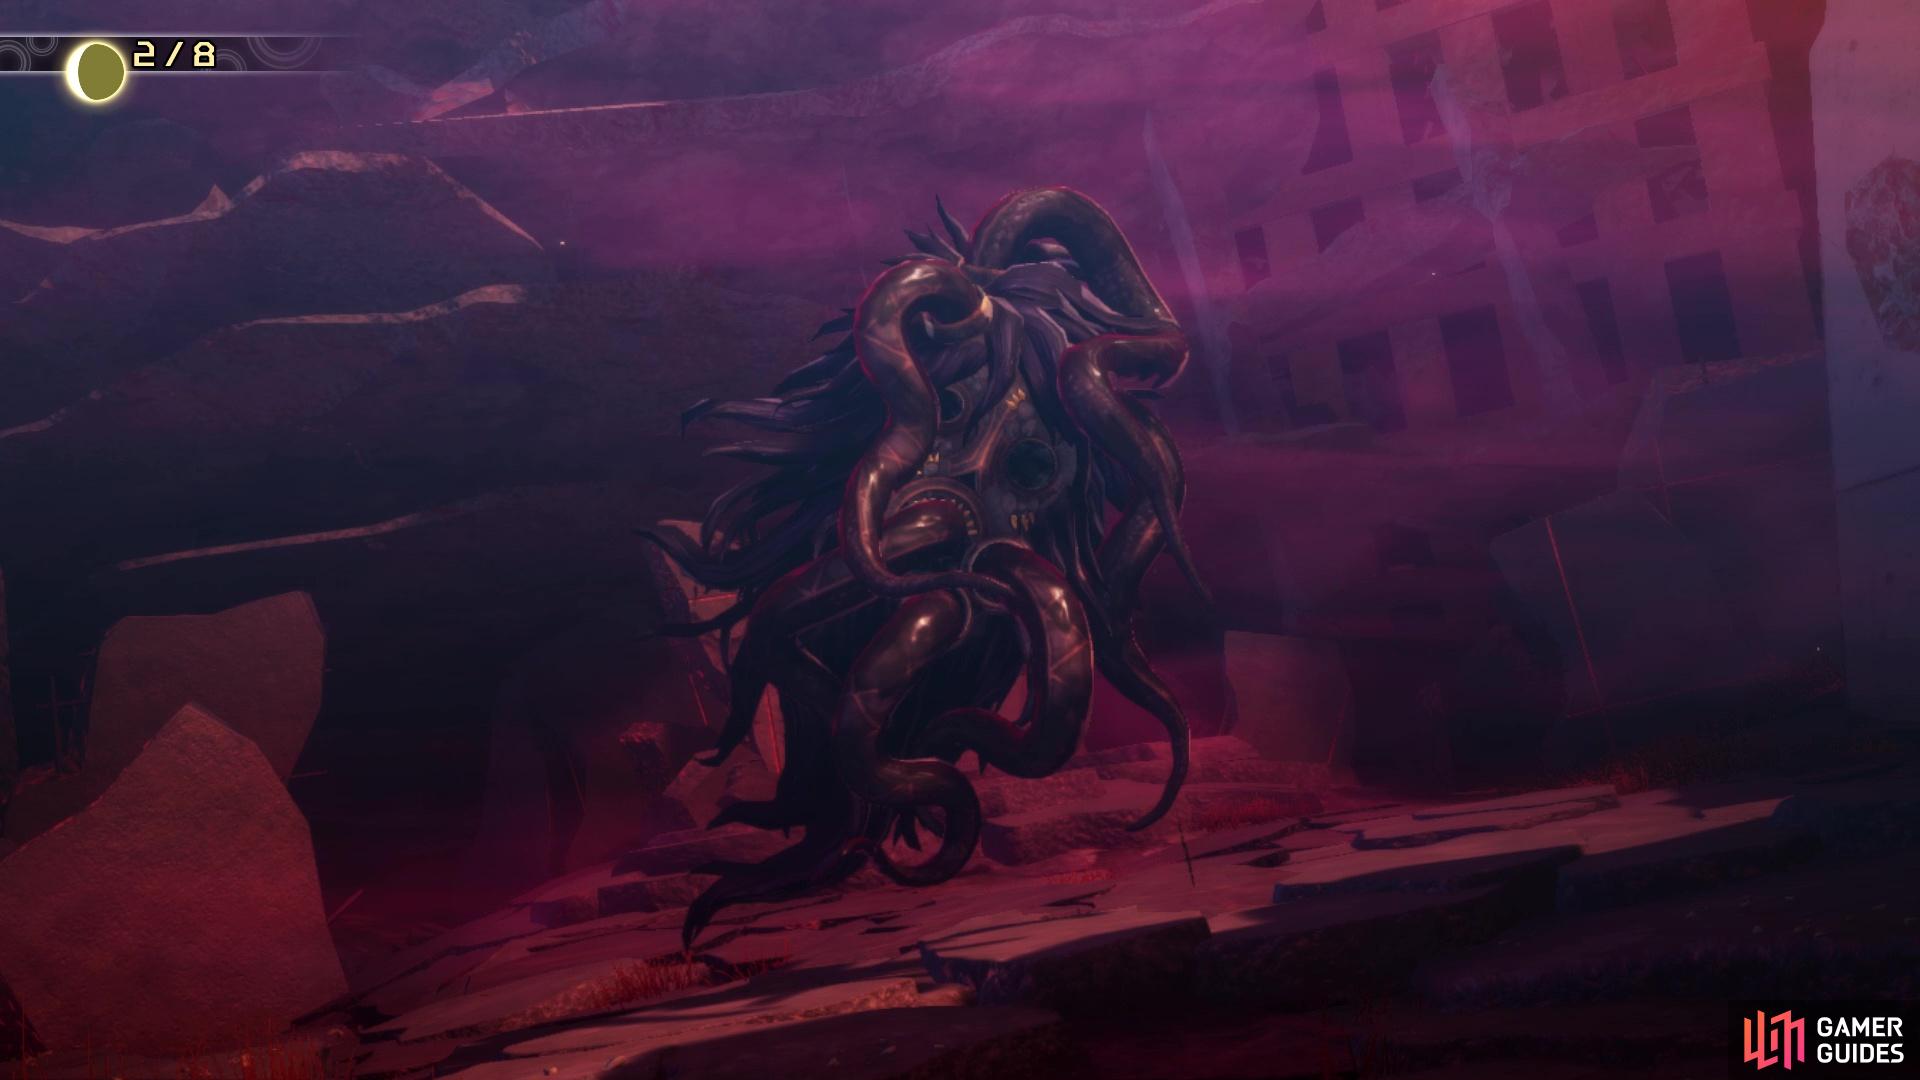
The first form of Lahmu
Stats and Resistances
| Icon | Name | Lv | Weakness | Resistances | Location |
|---|---|---|---|---|---|
| Lahmu | 38 | Shinagawa Station |
Skills
| Type | Skill | Effect |
|---|---|---|
| Babylon Curse | Weak Almighty attack to 1 foe. Inflicts Mud. | |
| Bufula +3 | Medium Ice attack to 1 foe. | |
| Zionga | Medium Electric attack to 1 foe. | |
| Mudo +3 | Weak Dark attack to 1 foe. Chance of instakill when striking weakness. | |
| Charge | Greatly increases the damage of the next Strength-based attack from self. |
Recommended Party (First Form)
| Icon | Name |
|---|---|
| Thoth | |
| Parvati | |
| Muu Shuwuu |
The first form of Lahmu is definitely a little different compared to the other bosses you’ve faced thus far in the game. First and foremost, you cannot target the main body, as you can only target the Tentacles at first. Whenever you defeat a Tentacle, it will be gone for good, so you don’t have to worry about it growing back. Thankfully, they won’t attack you at all, but the main body will be more than happy to sling attacks at you, though. Once you get rid of all the Tentacles, then you will be able to go after the main body, which is pretty weak in terms of HP, so the main goal will be to destroy the Tentacles as soon as possible.
There is a huge catch, though, depending on how things go, since the ideal thing to do is attack all of the Tentacles at once. There is a slight problem, should you leave one of the Tentacles in critical health whenever Lahmu’s turn comes around. This will cause him to use Babylon Curse, a move that seems relatively harmless at first glance. It does weak Almighty damage to one target, but it inflicts a new status ailment called Mud. This ailment cannot be cured at all and whenever the unit with it has their turn come around, you will lose a Press Turn. Babylon Curse also has another effect, as all of the Tentacles still alive will be fully healed. Babylon Curse isn’t used otherwise, so it can be a good thing to keep things under control.

Babylon Curse will fully heal any Tentacles still alive
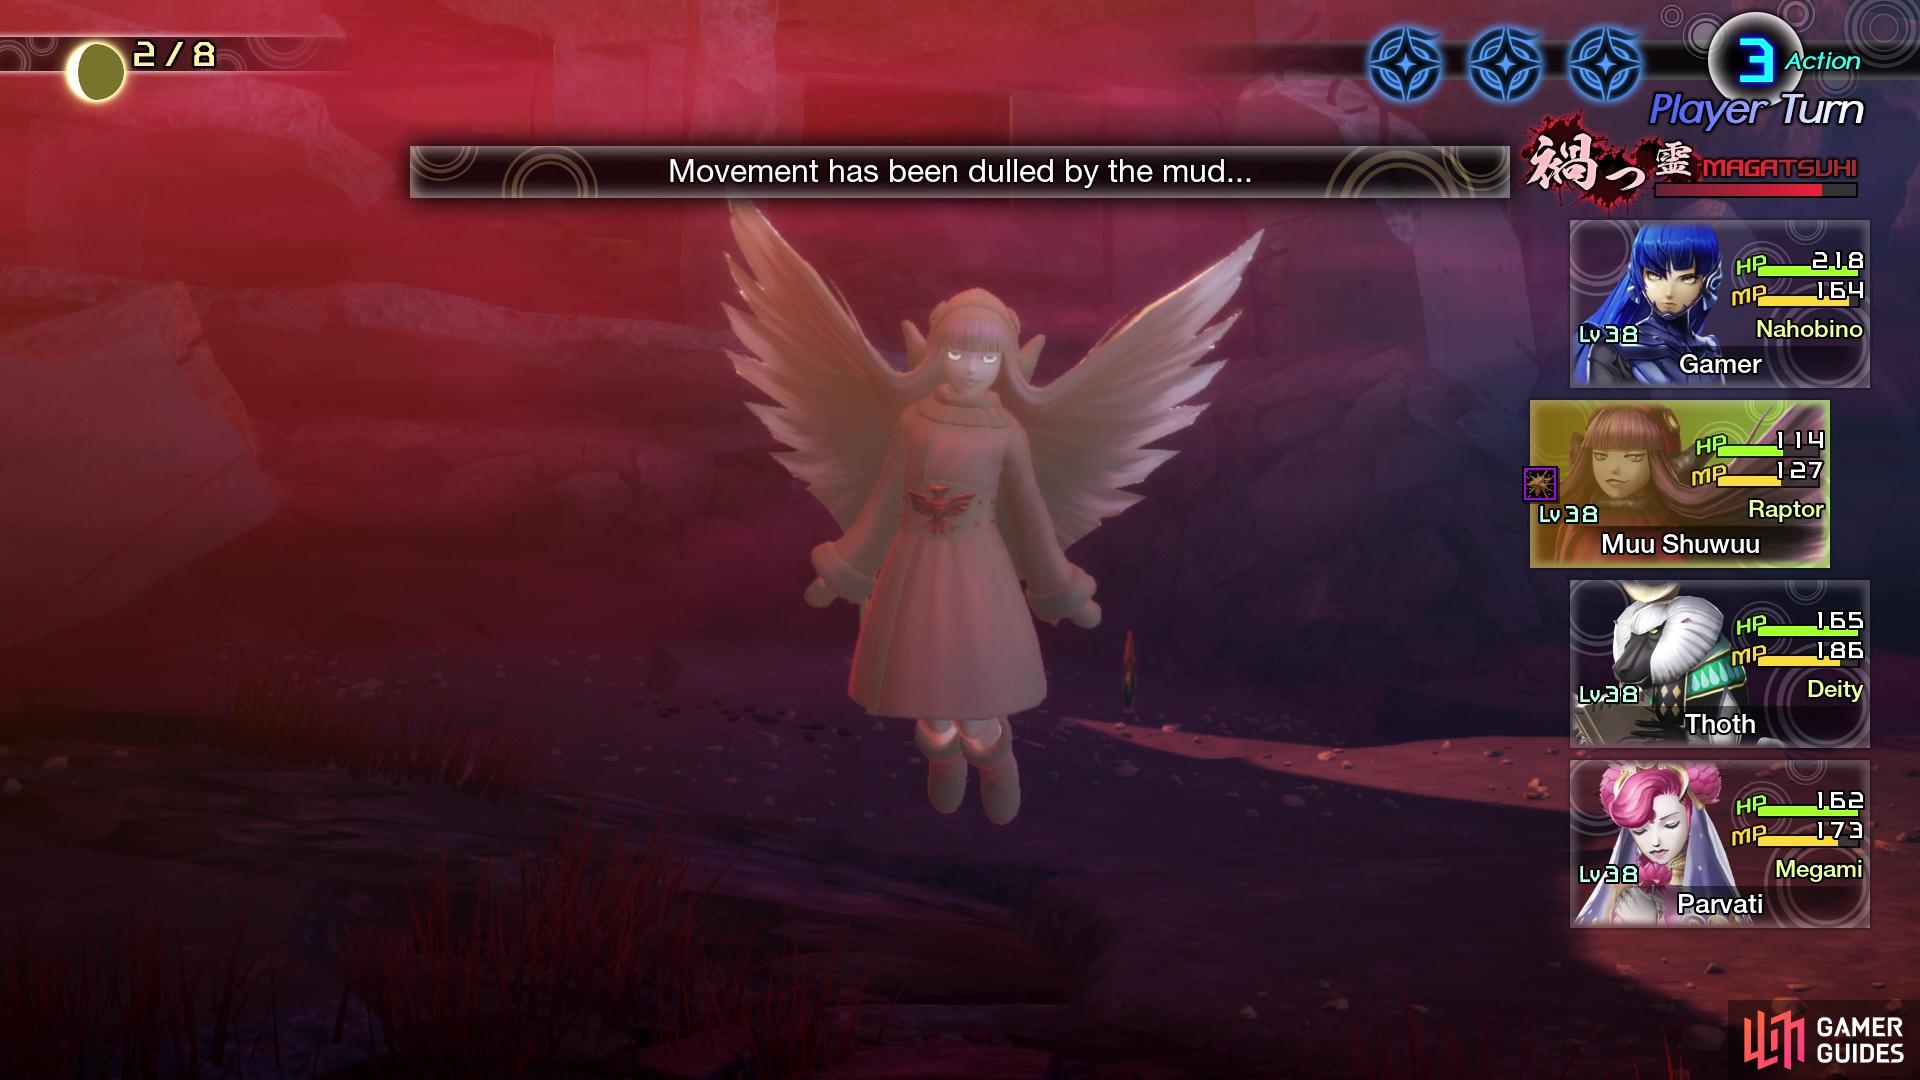
It also inflicts Mud, which will take away one Press Turn during each round it’s active
The problem arises, then, regarding the Tentacles and whether to attack them with skills like Mahama/Mazanma (their weaknesses), or to concentrate on one at a time. If you have Force/Light Shards, then you can also use those. You are likely not going to fell all of the Tentacles in a single turn, so you could play it safe and stop at about half HP, or right before they get to critical health. Outside of the above thing, you have to contend with three different elements, Bufula, Zionga and Mudo. It’s difficult to cover all of those weaknesses at once, but the Recommended Party above should be fine. The only problem is Thoth, but if you have a Yakshini Essence, then you could put Resist Dark on him to make things a lot easier.
As already mentioned, once a Tentacle is gone, it will not grow back, so you don’t have to defeat them all at the same time. Once all of the Tentacles are gone, you will be able to attack the main body of Lahmu. The good thing about this is that his main body doesn’t have much health at all, so it should only take a few attacks to finish him.
Lahmu (Second Form)
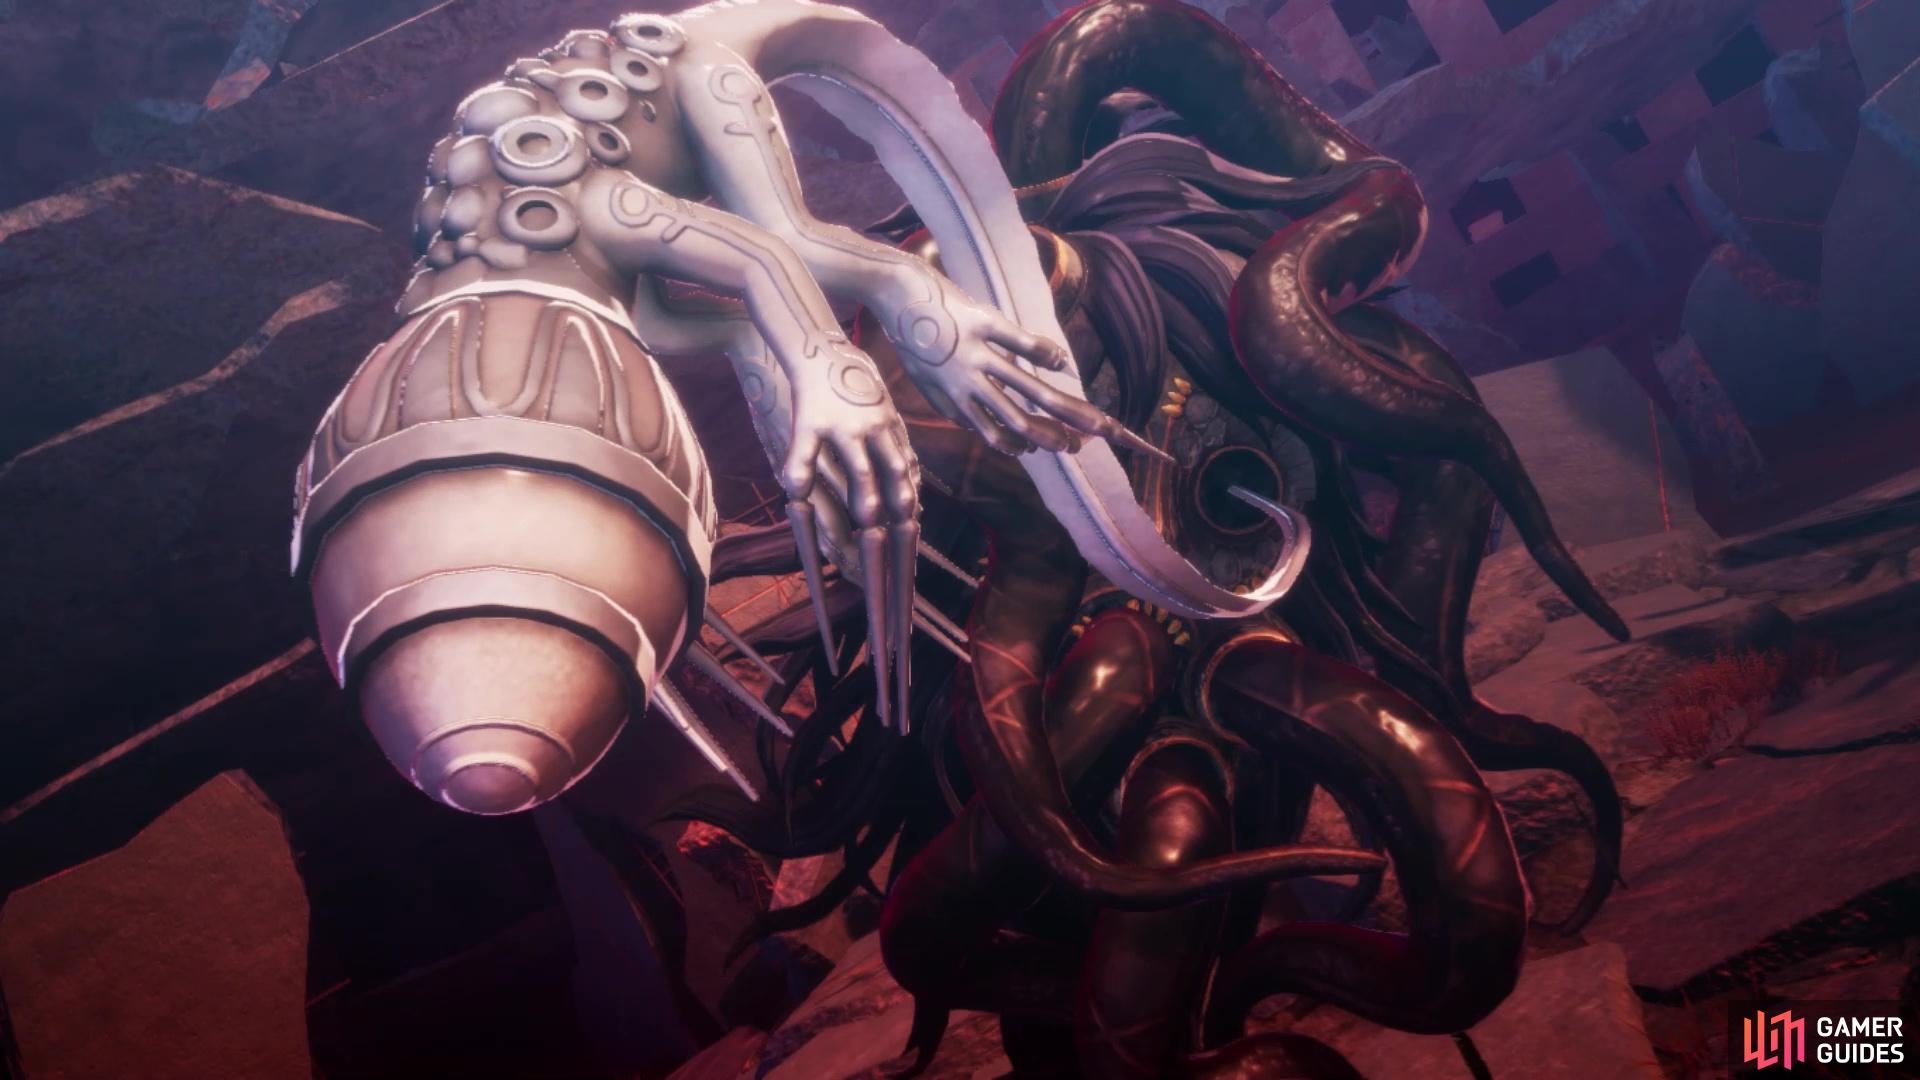
Lahmu isn’t done after the first form, as he has a second one
Stats and Resistances
| Icon | Name | Lv | Weakness | Resistances | Location |
|---|---|---|---|---|---|
| Lahmu | 38 | Shinagawa Station |
Skills
| Type | Skill | Effect |
|---|---|---|
| Silt of Ruin +2 | Medium Almighty attack to all foes. Lowers target’s Accuracy/Evasion by 1 rank for 3 turns. | |
| Mudoon +3 | Heavy Dark attack to 1 foe. Chance of instakill when striking weakness. | |
| Bufula +3 | Medium Ice attack to 1 foe. | |
| Purple Smoke +2 | 3 weak Physical attacks to 1 foe. Greater effect if target is Confused. | |
| Tentarafoo +3 | Chance of inflicting Confusion to all foes. | |
| Mazionga | Medium Electric attack to all foes. |
Recommended Party (Second Form)
| Icon | Name |
|---|---|
| Quetzalcoatl | |
| Succubus | |
| Parvati |
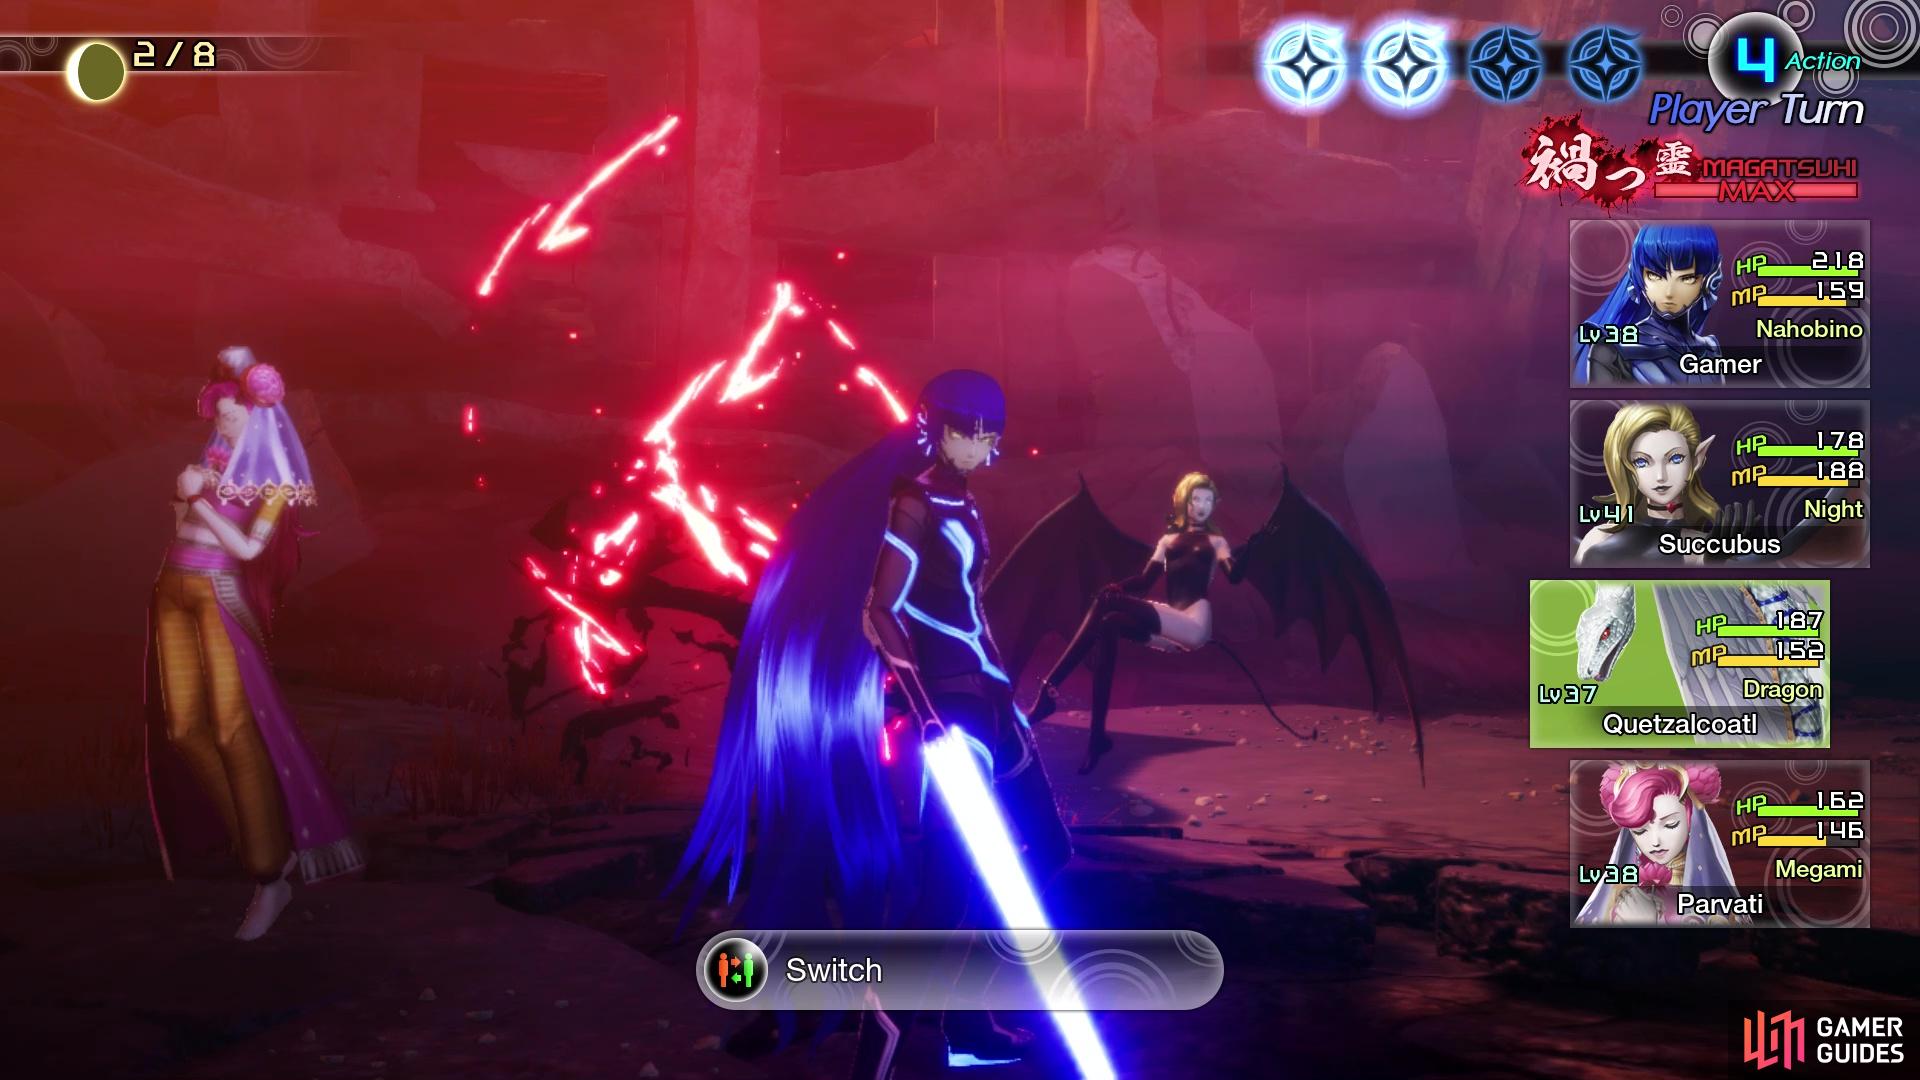
Lahmu’s second form is definitely a lot more challenging than his first form, due to pretty much everything changing. While he will still have the same three elements at his disposal, Mudo has been upgraded to Mudoon, and Zionga has been upgraded to Mazionga. The good thing is that Bufula remains the same, but his magic stat is a little higher in this form, so things will hit a little harder. His weakness has changed to Fire, while he gains a resistance to Force and will be neutral to Light now. That means the Force/Light heavy team you probably used for the first form are going to be a little useless in this form.
The biggest problem with Lahmu’s second form comes in the form of two skills, Silt of Ruin and Tentarafoo. The latter has a chance to confuse your entire party, and to add insult to injury, his Purple Smoke attack will deal more damage to those confused. If you’re using Parvati as a character here, then she is immune to Confusion, so that helps out a lot to have someone who won’t be affected by it. If you somehow could get Me Patra on Parvati, then that makes things even better, since she can cure Confusion for the rest of the party. The other move mentioned, Silt of Ruin, is a medium Almighty attack that does decent damage, plus it will also lower everyone’s accuracy/evasion for three turns (so, basically, it’s damage plus Masukunda).
If you still use Cironnup and have Cautious Cheer on him, then you could bring him in to counter the accuracy/evasion debuff with that skill. If not, then you simply need to deal with it and hope your attacks don’t miss too often, as that can really put a damper on things. Bufula is something you should be used to and Mudoon is nothing but a stronger version of Mudo. The Mazionga seems to only be used following the charging of the Magatsuhi, so you can usually cover that by using an Elec Dampener. Even if Lahmu uses the charge when he still has two actions, it will use up that entire turn.
Both Sukunda and Taruna are recommended for this battle, since both have a use to help counter something. The first turn should be for switching out your demons for the ones that can use Fire skills, since that is Lahmu’s only weakness. You do not want to play around with the second form, since that would force you to have to refight the first form. Parvati is great here, even if she doesn’t participate in offense, since Bowl of Hygieia allows you to heal higher than your max HP (up to a certain point). Cast it on a turn when nothing is going on, which will allow you to bank it for when an emergency comes around and you do require it.
No Comments