
This is a walkthrough for Da’at: Minato of Shin Megami Tensei V, taking place in the Toranomon and Nagatacho areas. How to complete every objective, find every chest and locate every Miman.

You’ll catch up with the Angels in Nagatacho.
Demons
| Icon | Name | Lv | Weakness |
|---|---|---|---|
| Tsuchigumo | 13 | ||
| Obariyon | 12 | ||
| Bicorn | 14 | ||
| Mokoi | 16 | ||
| Ippon-Datara | 17 | ||
| Baihu (Punishing Foe) | 43 |
Items
| Name |
|---|
| 2000 Macca |
| Mokoi’s Essence |
| Aogami Type-2 Essence |
| Jack-o’-Lantern’s Essence |
| Ippon-Datara’s Essence |
| Jaki Talisman |
Quests
| Subquest | Location | Reward |
|---|---|---|
| Talisman Hunt | Shiki-Ouji, southeast of the Nagatacho Leyline. | Brute Talisman |
| Movin’ on Up | Oni in a cave west of the Nagatacho Leyline. | Phys Dampener x1, Raptor Talisman |
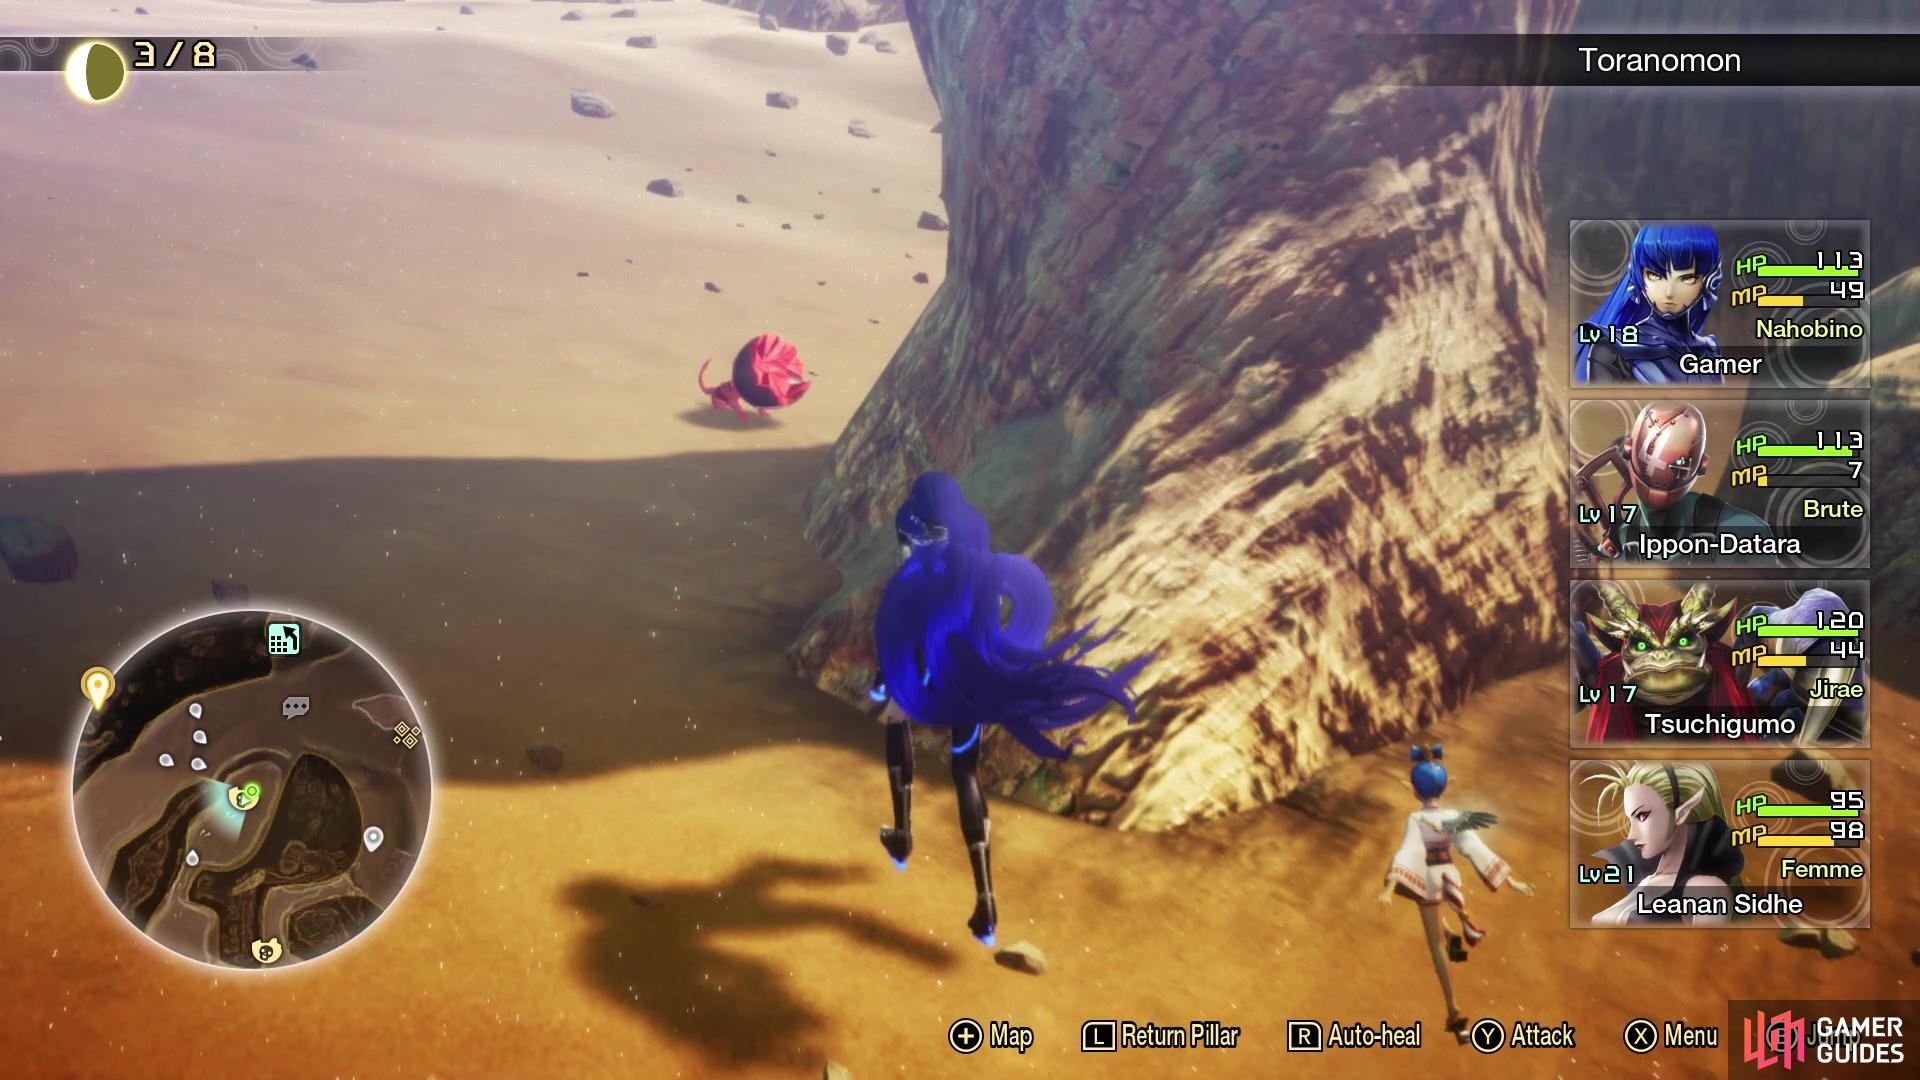
Toranomon Exploration
As you move beyond the Angel, you’ll spot a group of Tsuchigumo on the path leading west. Ignore this for now however, and look to the south of the Angel to find a path you can reach by dropping down. Behind the large rock here is Miman #45 while you’ll also encounter a group of Obariyons that are weak to Ice and Light. As you pass beyond them, you’ll see some Climbing Points on your left but before you head up there, look behind the building framework to locate Miman #46.
Use the Climbing Points now and as you reach the top, face the camera north to find Miman #47 behind a tree. Follow this path north to the end to smash a Treasure Chest containing 2000 Macca and then return to where you used the Climbing Points and head south this time. You’ll find some more vending machines just before the next Climbing Points and, after you reach the next path above, you’ll locate the final Abscess for Minato.
Toranomon Abscess
| Icon | Name | Lv | Weakness |
|---|---|---|---|
| Shiisaa x2 | 19 |
You’ll be thrust into battle against two Level 19 Shiisaas, electric-based demons that have the potential to use Mazio against your entire party so be sure that you don’t have any demons weak to Electric or you protect them against them. If you’ve not changed the Nahobino’s resistance since the Hydra fight, odds are he’s weak to Electric so you’ll need to make sure he’s guarding at the end of his turn or you make use of Elec Dampeners (purchasable from Gustave’s shop).
You’ll want to use Fire against Shiisaa, that makes Aitvaras an excellent choice due to it being an early method of having a medium-level Fire spell. More interestingly, Shiisaa is weak to Charm, so if you have a Leanan Sidhe in your party, you can make use of it to disable one of the Shiisaas while you work on the other. Your reward for defeating Ippon-Datara and clearing this Abscess are the following Miracles:
| Miracle | Category | Effect | Glory |
|---|---|---|---|
| Warrior’s Conception | Doctrine | Newly-fused demons will gain a stat bonus based on the stats of the demons fused. | 50 |
| Skill Manifestation | Awakening | A demon may awake to a new skill when levelling up. | 50 |
| Almighty Mastery I | Supremacy | Increases the Nahobino’s Almighty skill potential by 1. | 120 |
| Physical Mastery I | Doctrine | Increases the Nahobino’s Physical skill potential by 1. | 120 |
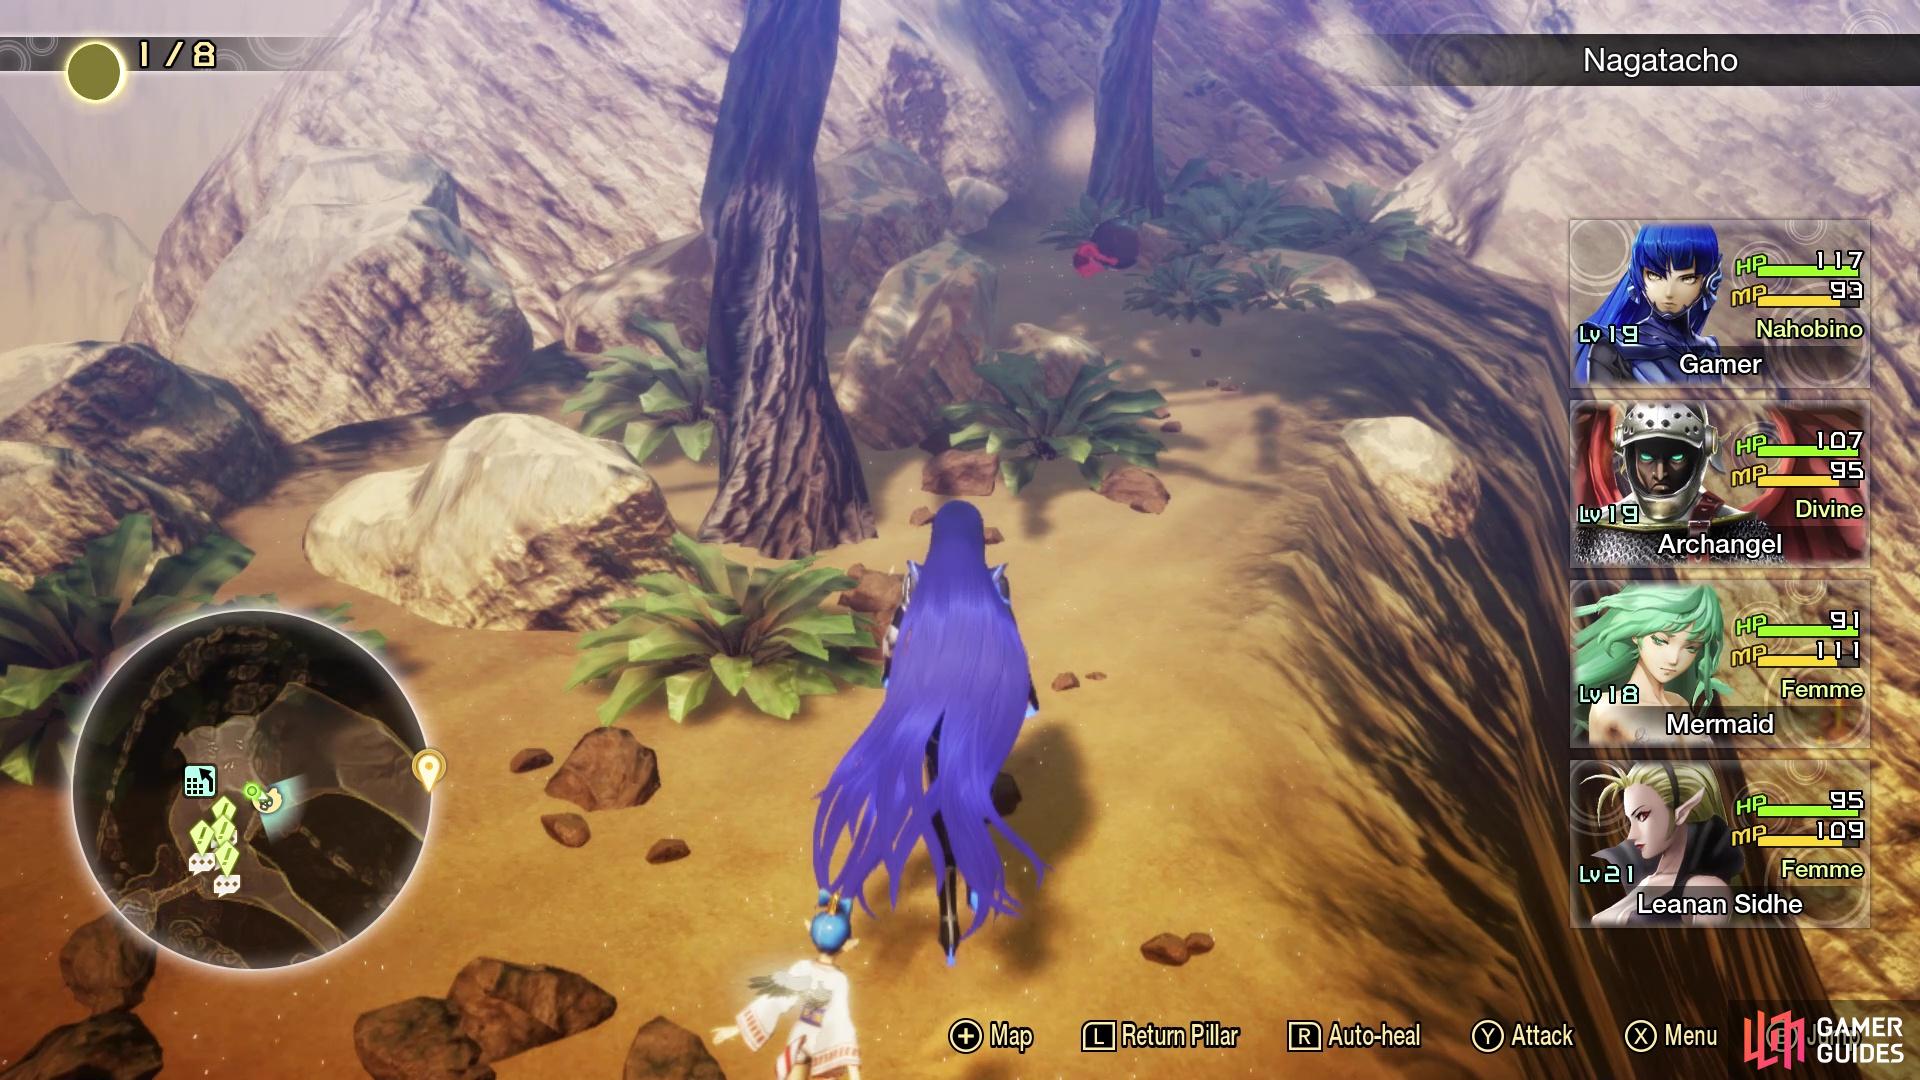
With the map free of any obstructions, drop off the edge and proceed northwest to reach Nagatacho, the final area for Minato. Ignore everything for the moment, and dash over to the Leyline to register it and save your game. Visit Gustave to receive your reward for 45 Mimans (Avatar Talisman), and then visit Sophia to spend some of your Glory. Physical Mastery I is great for a strength-focused Nahobino, while Warrior’s Conception will make your fused demons even stronger.
The Angels’ Request
Speak to the nearby Angels after to learn about some nearby minions of Chaos and begin the Quest The Angels’ Request. You’ll get to that in a moment, but first, return the way you came to find a Shiki-Ouji offering the Talisman Hunt Subquest. Follow the page above to learn the locations of all the Talismans and then be prepared for a difficult battle against Shiki-Ouji after (remember to save before!).
Make your way to the southwest now (ignoring the Baihu for now) and you’ll find a path leading north. You’ll reach a cave to the west where an Oni has taken up residence, speak to it to begin the Movin’ on Up Quest that culminates in a battle with said Oni. Head north from the cave and use the Climbing Points and make sure you’re healed up and have MP, a battle with Eligor awaits. This is not much more than a regular battle, but still, you’ll want to ensure you have demons on hand that can hit the Electric weakness that both the Andras and Eligor share. Focus on the Andras first, using Light as an additional weakness before focusing all your attention with a Magatsuhi skill on the Eligor.
With the battle won, head to the southeast to find Miman #48 and then drop off to the east to reach two Treasure Chests containing Mokoi’s Essence and Aogami Type-2 Essence which offers a new unique group heal for the Nahobino. Return to the Leyline to discover the Angels are gone and you’ll complete the Quest at the same time.
Head forward towards the Tokyo Diet Building (the eastern path leads to some vending machines) and on the right, you’ll find you can reach the rooftops by leaping from the elevated hill. The final Amalgam is located to the east and then head west towards the central building here and go south to reach a roof with Miman #49. Return to the rooftops at the back (using the hill on the right) and head west to find the final Miman for Minato. Continue around to the west to find two Treasure Chests containing Jack-o’-Lantern’s Essence and Ippon-Datara’s Essence.
Speak to the nearby Rakshasa to obtain the Jaki Talisman and then head south to find a Cironnup who offers to sell you a map of all the Mimans in the Minato region for 2,500 Macca, this is a fantastic offer if you’ve yet to find them all, but you should have them all from following this Walkthrough or using our Miman section.
You’ve achieved everything you can in Minato for now, so use the Return Pillar to save your game, speak to Gustave for your reward for 50 Mimans (Incense Set x2) and possibly purchase some Force Dampeners. You’ll want to be at least Level 20 and ensure you have no weaknesses to Force along with some demons that have fire-based magic. High Pixie, Aitvaras and Jack-o’-Lantern is a great party for this upcoming battle, while using the Aogami Type-2 Essence will allow your Nahobino to act as a healer for this upcoming boss. Once you’re ready, march up to the Tokyo Diet Building and head inside to meet Nuwa, who promptly attacks you!
Boss: Nuwa
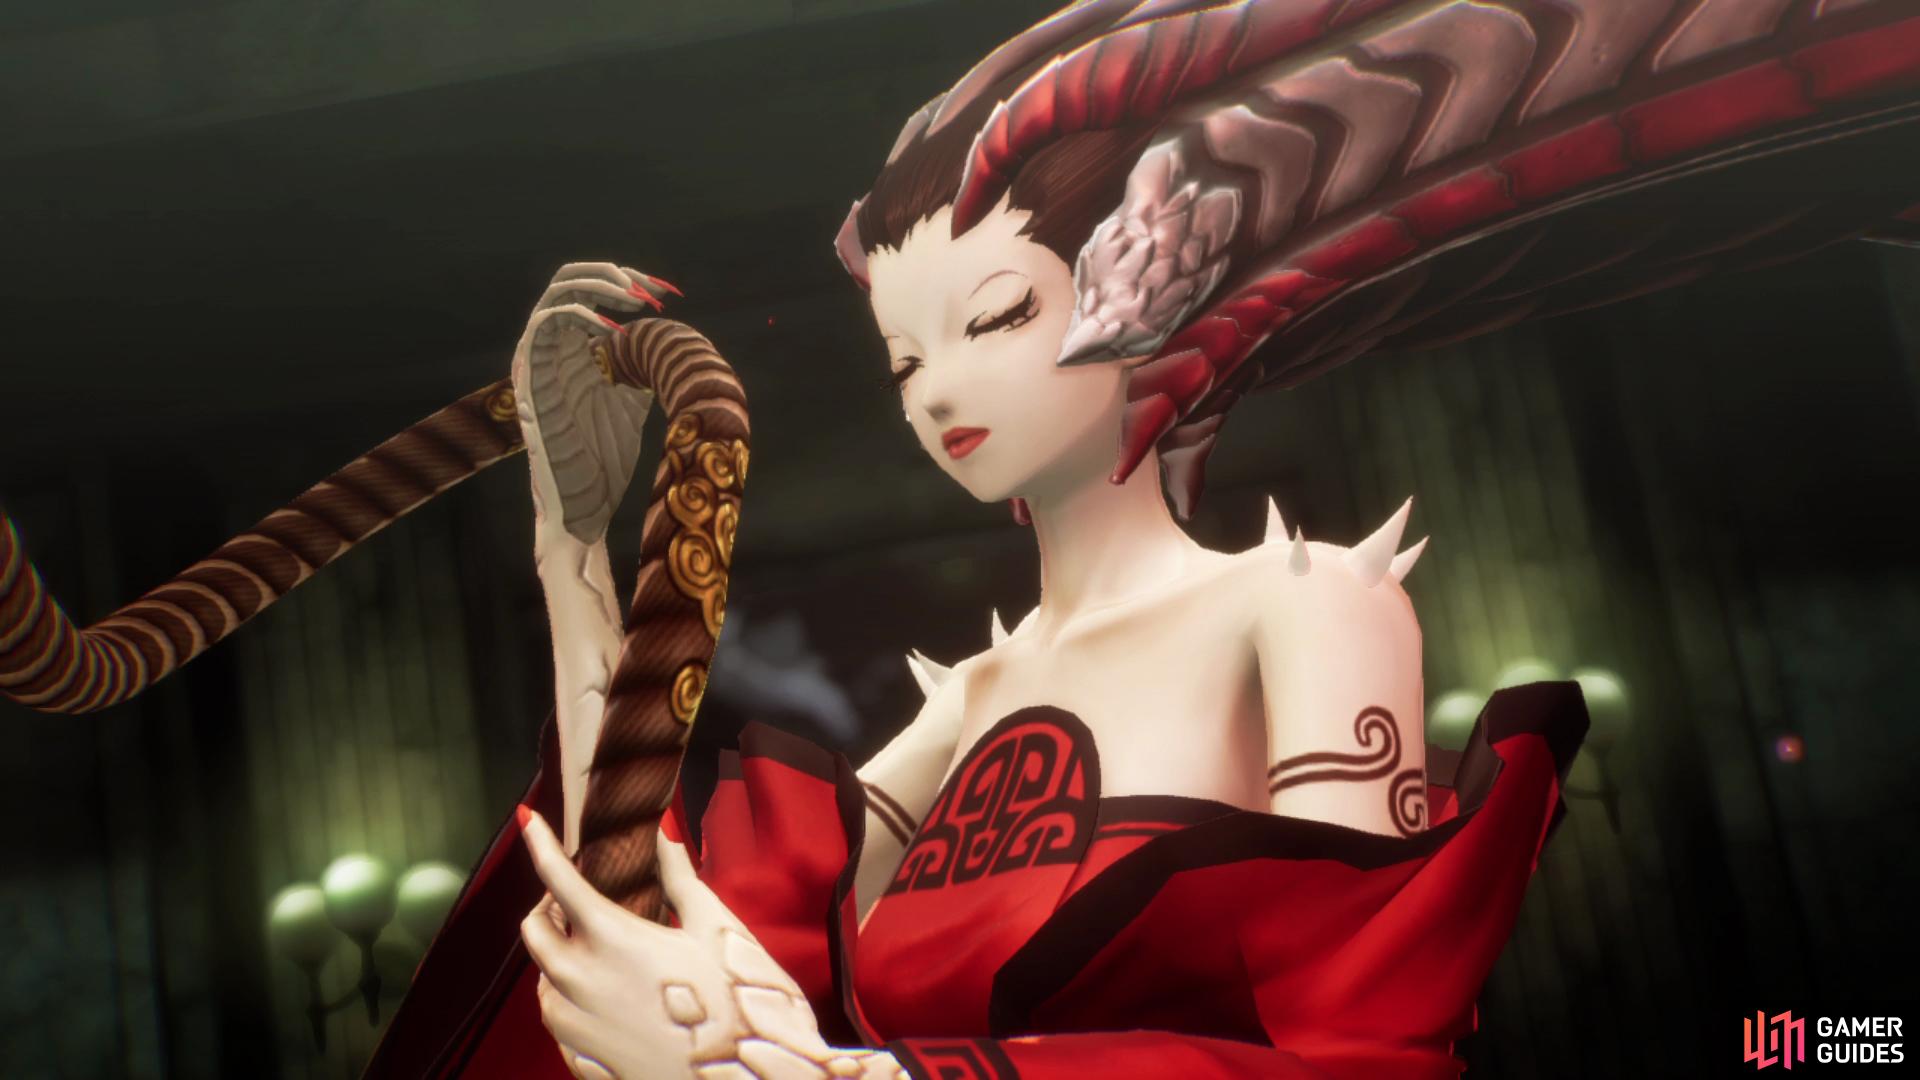
You’ll fight Nuwa in the Tokyo Diet Building.
| Icon | Name | Lv | Weakness |
|---|---|---|---|
| Nuwa | 22 |
| Type | Skill | Effect |
|---|---|---|
| Sacrifice of Clay +7 | Heavy Force attack to all foes. Lowers target’s defense and attack by 1 rank for 3 turns. | |
| Zanma +7 | Medium Force attack to 1 foe. | |
| Mazio +3 | Weak Electric attack to all foes. |
Hopefully you made the necessary preparations mentioned above before you entered this battle, Nuwa is your toughest foe yet. Don’t get disheartened however at her HP, your goal here is simply to bring her down to half HP, a feat that is still difficult. As you can see from the above skills table, Nuwa is a demon that uses primarily Force based skills, so ensuring that will strike no weaknesses should be your first port of call. Your next should be to see if you have the magic on hand that can strike her Fire weakness, the party of Aitvars, Jack-o’-Lantern, and High Pixie is a great one.
If you have your Magatushi Gauge filled from the start, use it right away as the goal here is to bring Nuwa to half HP as quickly as possible. Aramasa is deadly on a Strength-based Nahobino here, especially with Omagatoki: Critical, Jack-o’-Lantern and Aitvaras should have access to medium rank Fire spells and High Pixie can act as a healer while also using Agi when not on healing duty.
Nuwa’s Mazio is the least concerning of all her skills, having a Skill Potential of only +3 means it will deal less damage than her Force skills, especially as Mazio is a weak rank Electric spell. Zanma on the other hand is far more deadly, even if you’re not weak to it, dealing around 80+ damage to an ally without any resistances. Thankfully, this is single target and you can heal it easily, but should she use it twice in succession on the same ally, it will often result in death so be sure to heal up straight away if given the possibility.

Hopefully you enter this battle with Force Dampeners, if you see her use Magatsuhi, she’s preparing to use Sacrifice of Clay, a deadly Heavy rank Force spell on the entire party while also lowering your attack and defense, suffice to say this will outright kill you if you’re not either Guarding or using a Force Dampener. Thankfully, knowing this information can turn it to your advantage, using the Dampener to use up her turns and hand you back control instantly. The rest of her attack patterns will follow this order until you bring her down to half HP and end the battle and make use of the Nahobino’s Miracle Water skill to heal the entire party should you Guard through Sacrifice of Clay instead of using a Dampener.
You’ll receive no rewards for ending the battle, and you’ll soon be introduced to her partner, Yakumo. You’ll get some dialogue choices here where you can press them for more details and your final one will be much more interesting:
Unlike other Shin Megami Tensei games, you are free to choose your route near the end of your journey, but choosing a route that relates to you answers will cause an end-game Subquest to cost you nothing, otherwise you will have to pay 666,666 Macca to accept it if you’ve chosen a route different to your alignment. Say what you will, and save your game. You’ll find yourself in the Tokyo Diet Building but there’s not much to see here for now so press onwards to meet up with Ichiro and Yuzuru. Once you’re ready to leave behind the Netherworld for now, proceed forward to trigger some scenes and return to Tokyo.
No Comments