
This is a walkthrough for Da’at: Shinagawa of Shin Megami Tensei V, taking place in the Container Yard area. How to complete every objective, find every chest and locate every Miman.
Ichiro tests his resolve
Demons
| Icon | Name | Lv | Weakness |
|---|---|---|---|
| Andras | 18 | ||
| Oni | 23 | ||
| Inugami | 24 | ||
| Berith | 24 | ||
| Bugs | 24 | ||
| Manananggal | 25 | ||
| Naga | 27 | ||
| Shiki-Ouji | 29 |
Items
| Name |
|---|
| Kaya-no-Hime’s Essence |
| Ice Gem x2 |
| 5000 Macca |
| Shiki-Ouji’s Essence |
| High Pixie’s Essence |
| Jack Frost’s Essence |
| Wilder Talisman |
| Berith’s Essence |
| Divine Talisman |
| Chakra Drop x3 |
Quests
| Subquest | Location | Reward |
|---|---|---|
| Holding the Line | Among containers past Berith hoard on road | Light Sutra, Principality joins party |
| Magic from the East | Warehouse northwest of the Container Yard Leyline | Vile Talisman, Mirage Gems x4 on repeat |
| A Wish for a Fish | On awning after defeating the boss | Beast Talisman |
Container Yard Abscess
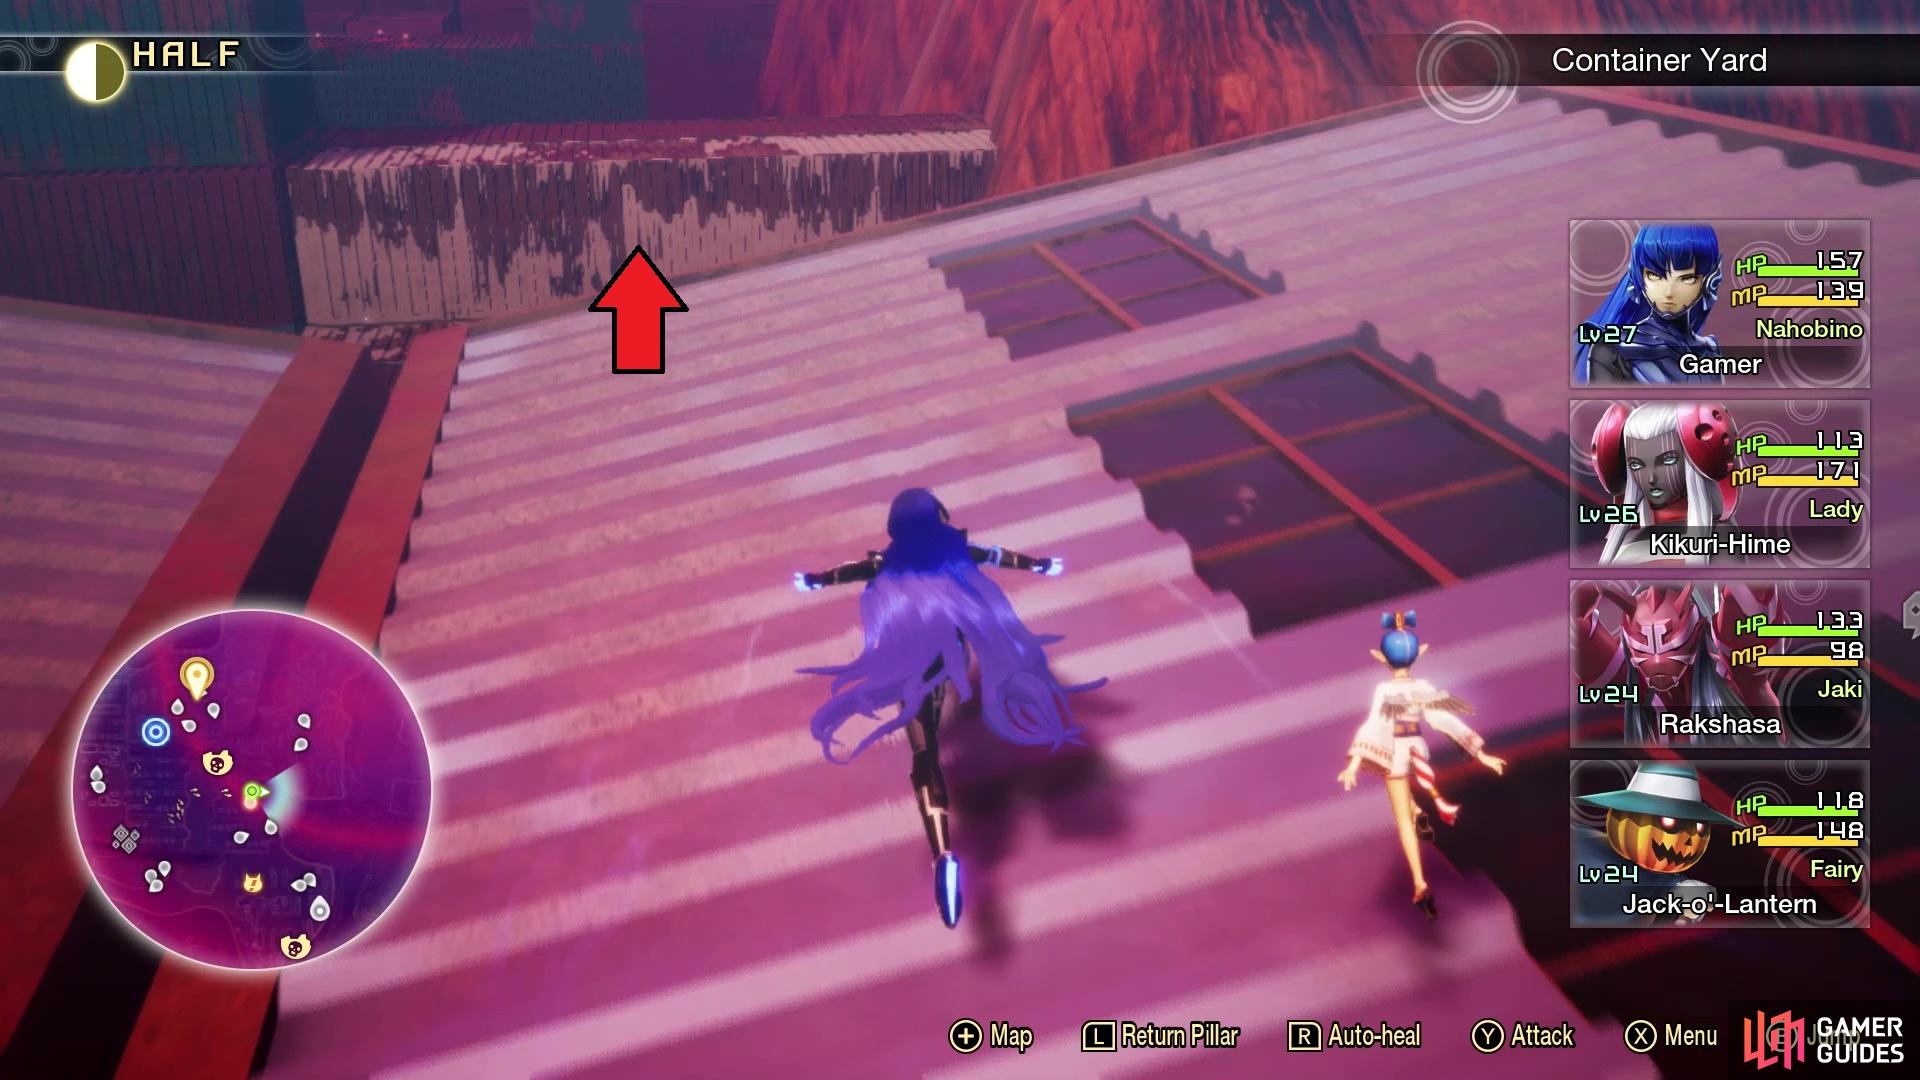
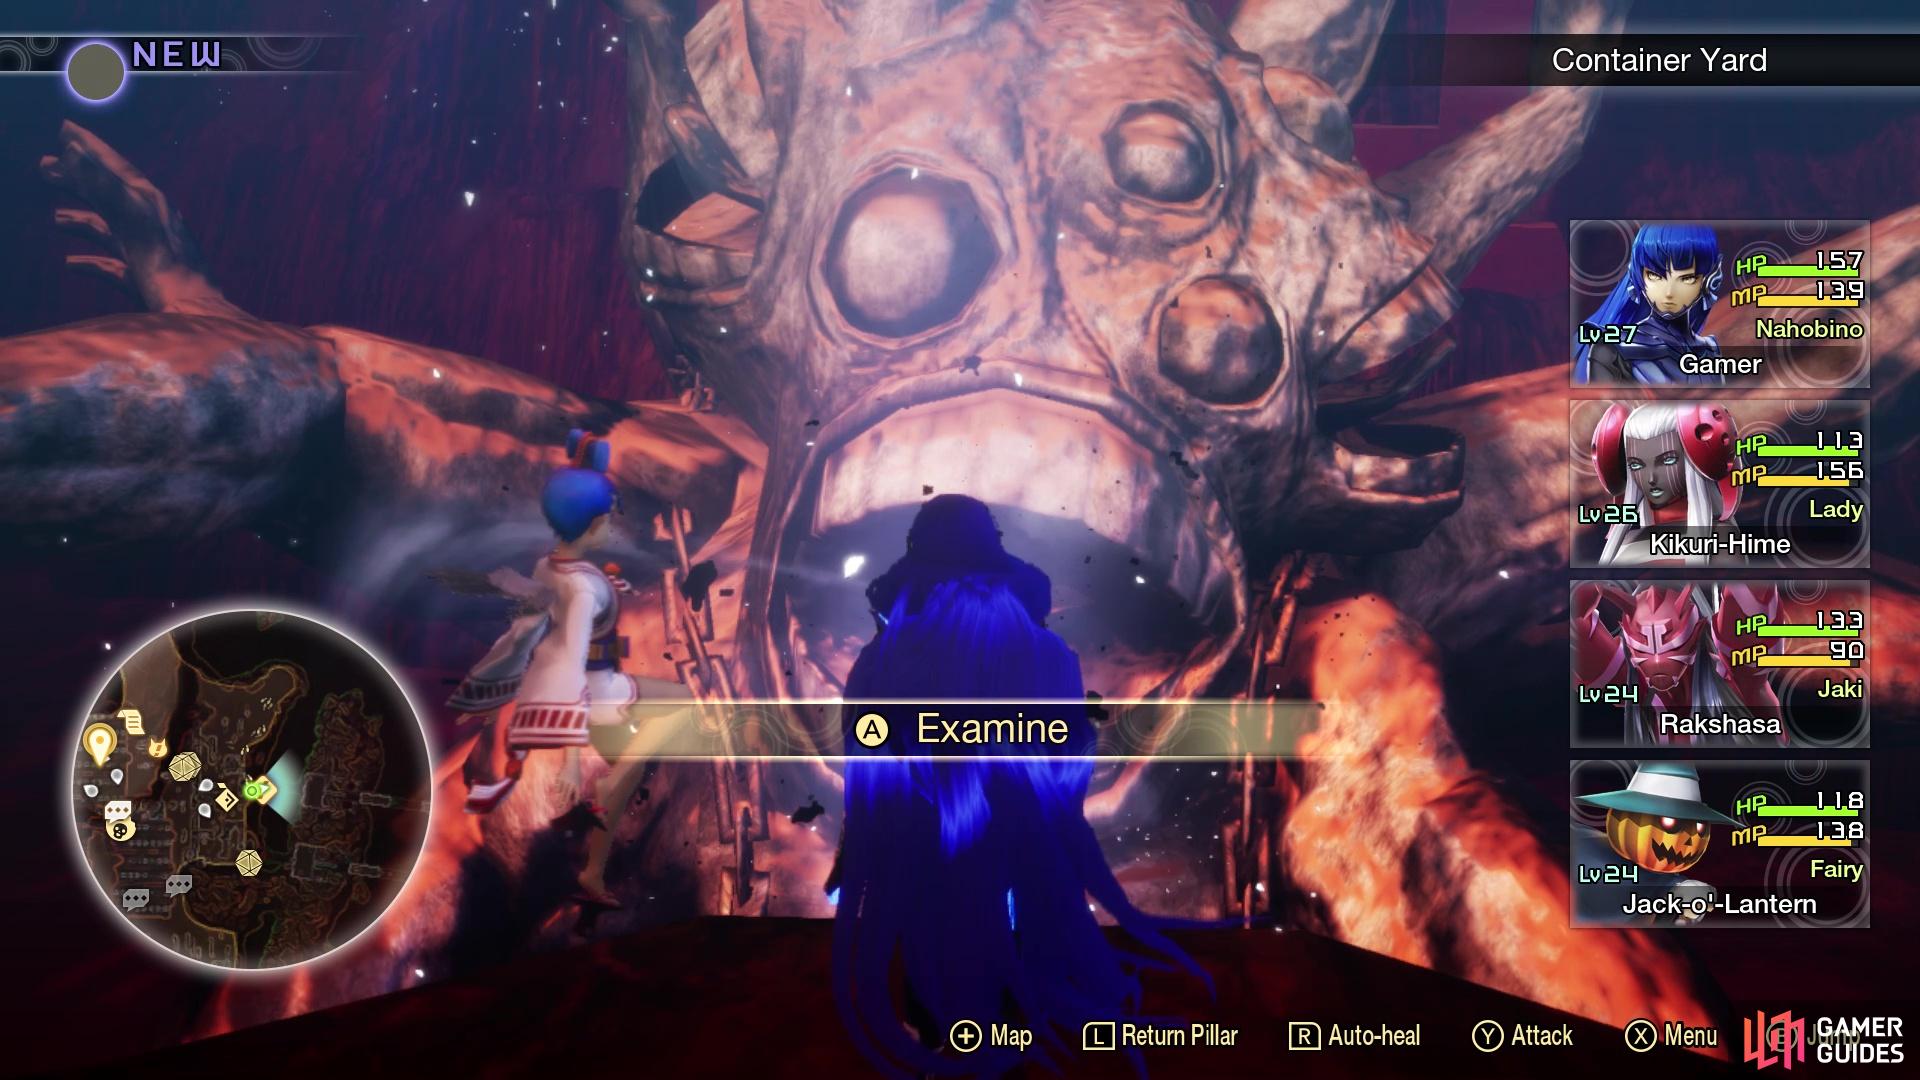
As soon as you pass the road with the Berith, you will be in the Container Yard area. One of the first things you should notice is that the majority of the area is obscured by an Abscess, so let’s take care of that first. It will be a little bit before reaching it, though, but having the map clear is always a good idea, so you can tell where you are going. When you reach the containers on the right, there will be a path with some Magatsuhi orbs directly across from them. Go past the NPC and warehouses, where you should notice some containers you can use to reach the rooftops of the previously passed warehouses (there are Bugs on here).
This is where you will need to jump to reach the area with the Abscess
On the rooftops, look to the east to find some more containers you can jump to, which will lead to an isolated area where the Abscess will be located.
| Icon | Name | Lv | Weakness |
|---|---|---|---|
| Makami x2 | 28 | ||
 |
Feng Huang x2 | 28 |
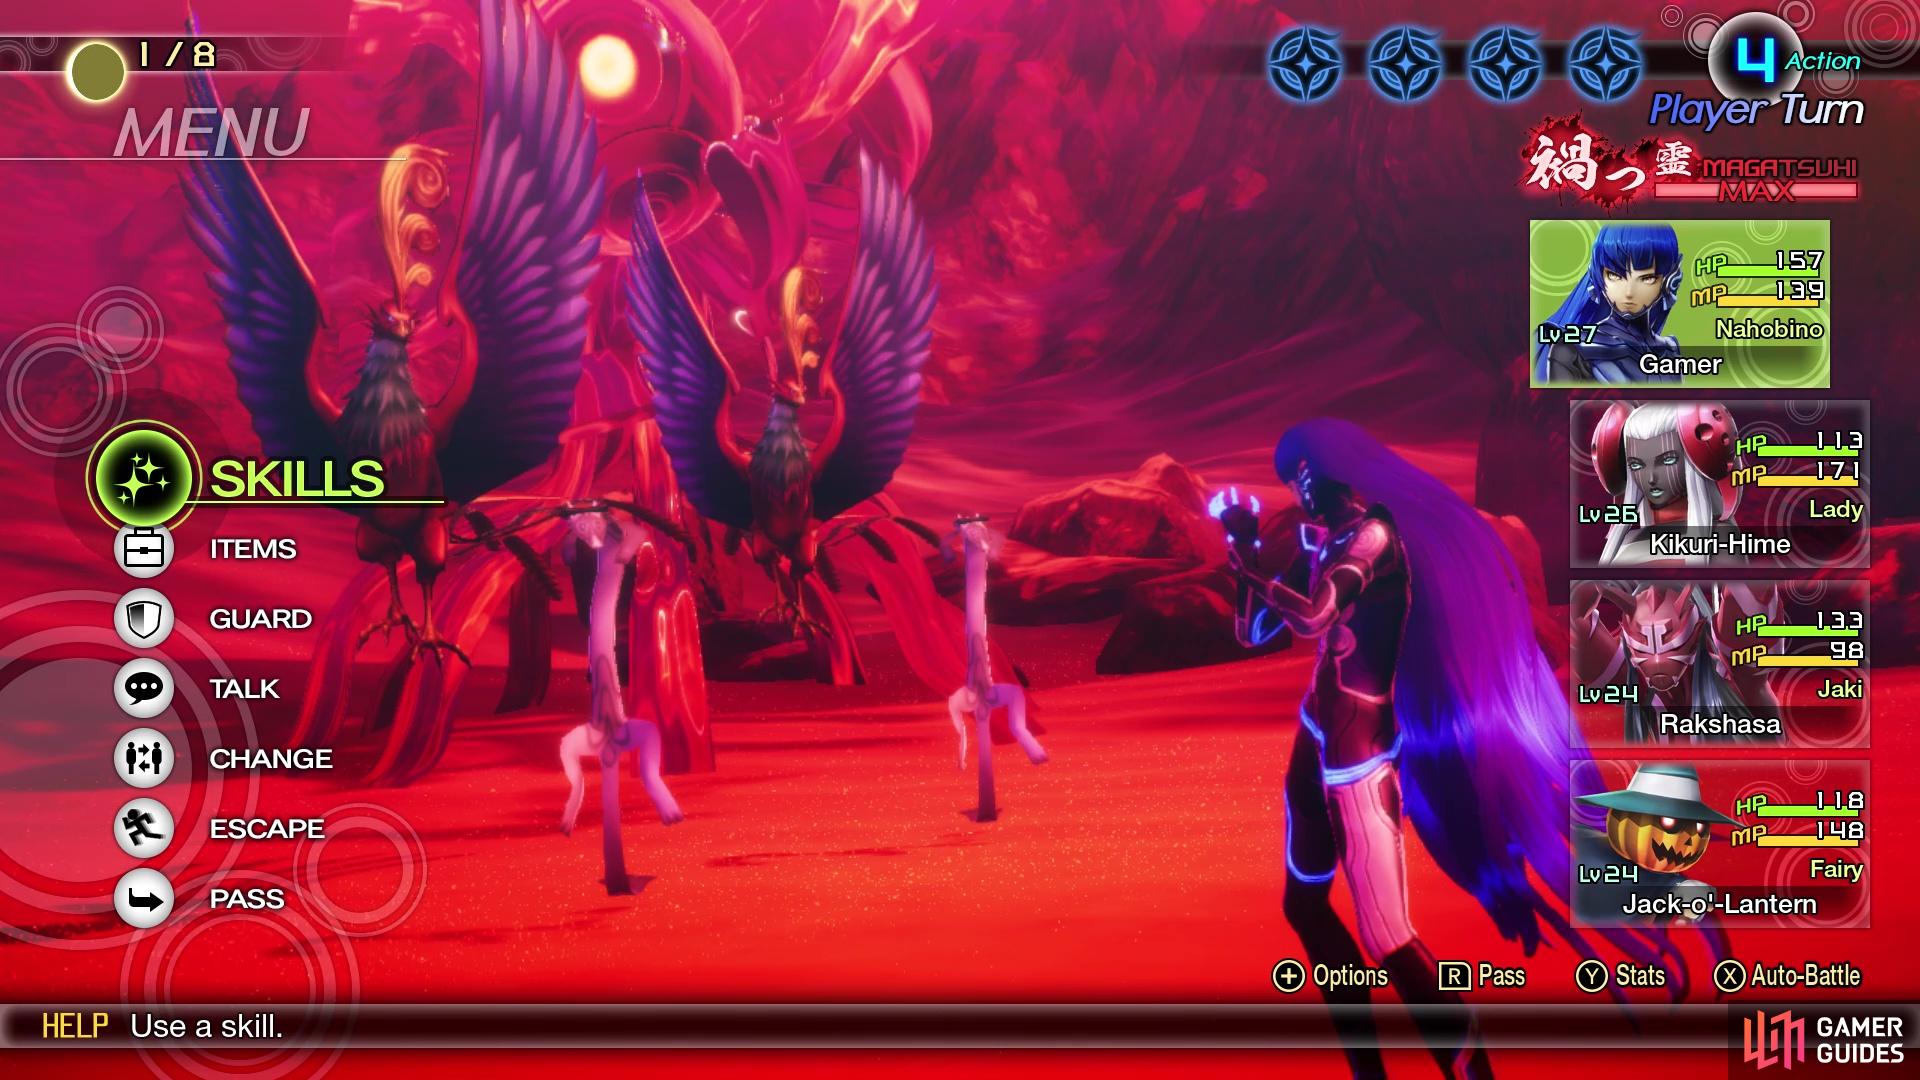
You are up against four enemies here, two Makami and two Feng Huang, all of which are level 28. Both of them are weak to Dark, so if you have anyone with Mudo/Mudoon/Mamudo, then they will be extremely useful here. You won’t want anyone weak to either Fire or Light here, since the Makami use Mahama, and the Feng Huang use Agilao. Since they use those elements, that means you don’t want to use them, either, on them. The Makami resist Light, while the Feng Huang block Fire; they will also resist Force.
If you got the Knowledge of Tools Miracle, then all of your demon party will be able to use items. That means if you stocked up on Shards, then you can simply use Dark Shards every action, if no one has access to the Dark skills. This would make this battle a lot easier, since the Dark Shards hit the entire enemy party. Combine this with something like your Critical Magatsuhi buff, then things would go even quicker. Don’t forget that you can use a Fire/Light Dampener to help protect against the respective skills, especially if you bring someone weak to that element.
You’re up against four enemies with this Abscess
| Miracle | Category | Effect | Glory |
|---|---|---|---|
| Magatsuhi Dispersion | Supremacy | The enemy Omagatoki: Critical effect will end when an ally guards, evades, Nulls, Repels, or Drains an enemy attack. | 80 |
| Deathly Aura II | Supremacy | Demand Macca from cornered demons. | 50 |
| Merchant’s Hospitality I | Doctrine | Item prices at the Cadaver’s Hollow are reduced by 25%. | 60 |
| Divine Garrison V | Awakening | Increases demon stock by 2. | 80 |
Save the Students (cont.)
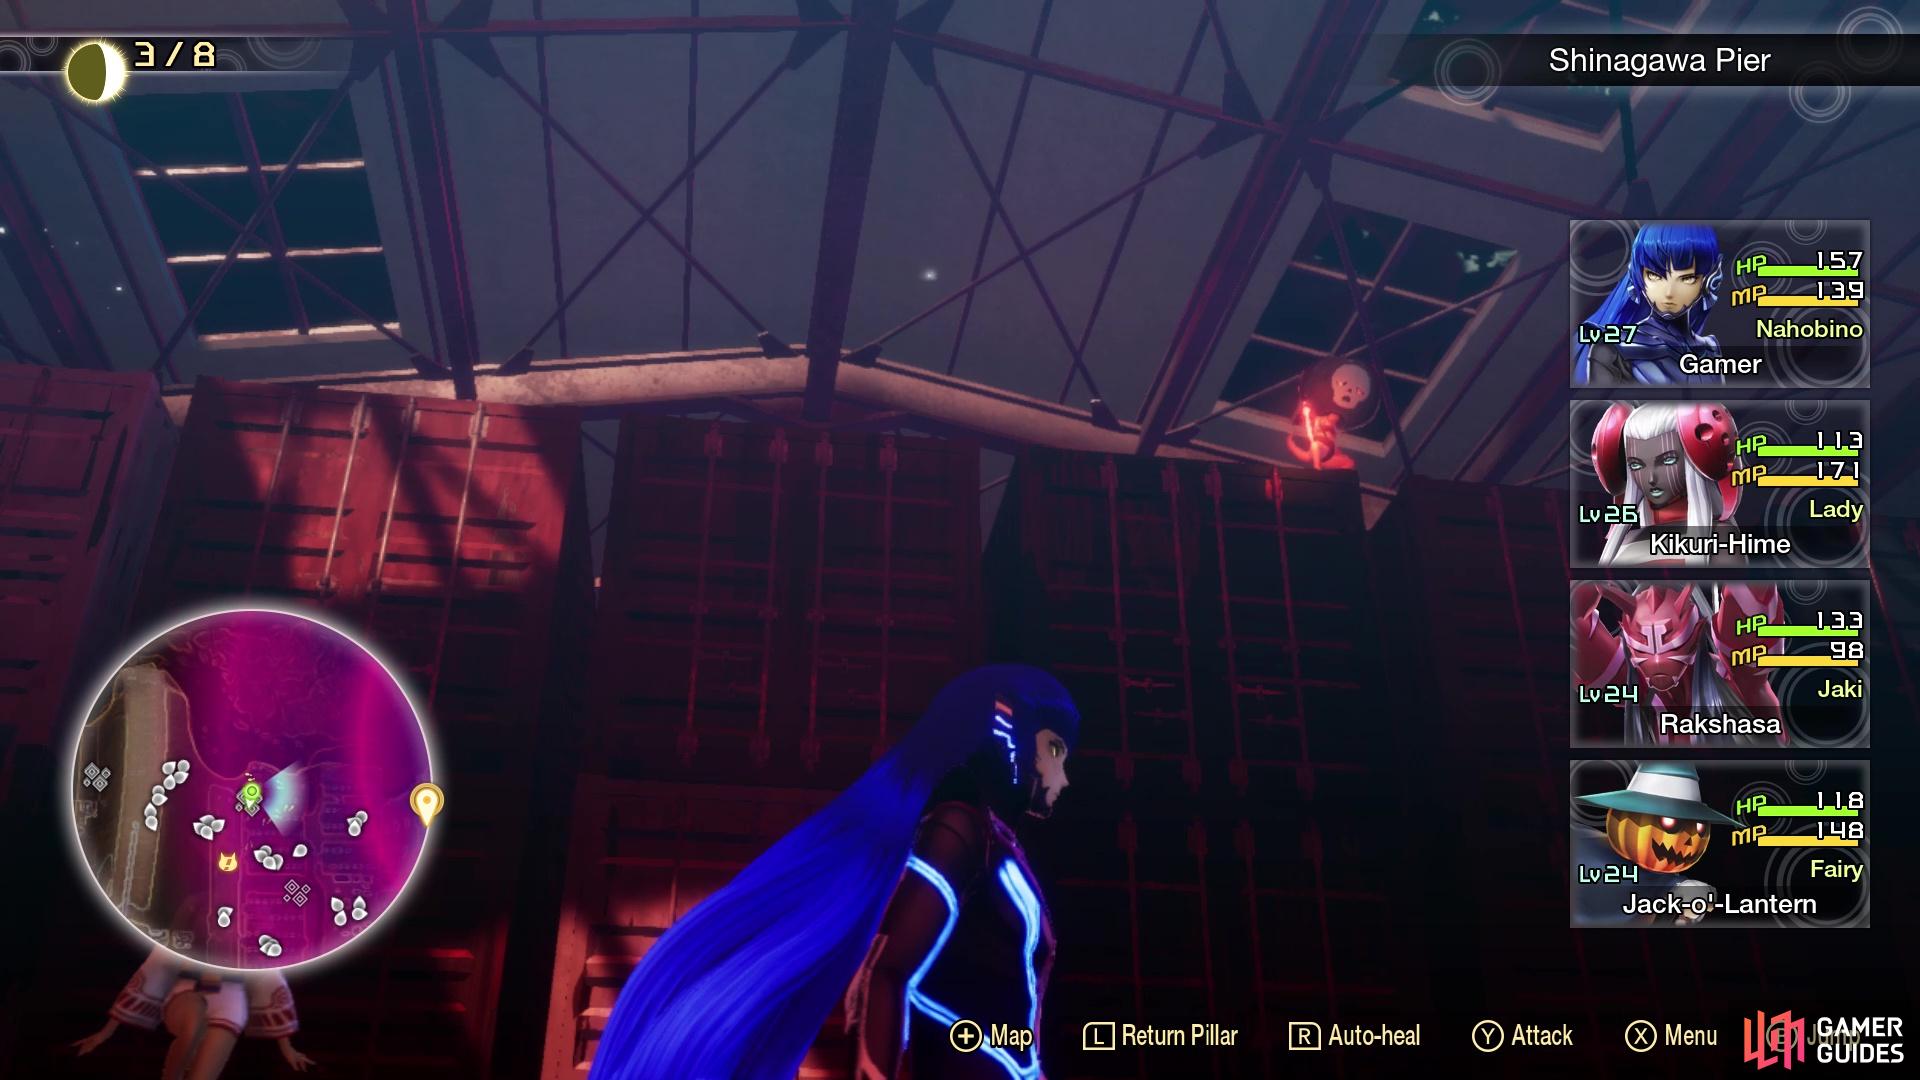
Once you’ve vanquished the Abscess, use the Return Pillar to go back to the Leyline in Shinagawa Pier. Follow the same trail as you did before to reach the Container Yard area, with one of the first things you’ll see being some stacked containers right past the road with the Beriths. There will be a subquest here, which allows you to log the Holding the Line quest. Note that this is mutually exclusive with Those Seeking Sanctuary, so if you have that logged, choose to talk to him in order to get the quest.
Near the Principality, whether you fight him or not, are some containers that allow you to get on top of the cluster. As soon as you reach the top, look at one of the lower ones connected to the top to see Miman #66. While still on top of the containers, maneuver yourself over the “bridges” and to the northwest portion, where you will find Amalgam #12. Drop down now and take the path with the Moh Shuvuu NPC, who mentions the nearby chilly warehouse with the large demon inside of it. Don’t worry about that right now, though, as it will be used in another quest a little later. There will be another warehouse just past the NPC, though, so enter it and go to the back to find Miman #67.
Double back to the area where you destroyed the Abscess, which is done via the roof just past the warehouses with the one NPC mentioned above. Follow the path normally, as if you were going to the Abscess, but once you’re past the first Naga, there will be a little opening in the eastern side of the containers. Go through it to find Demon Statue #5 - Hecatoncheires, giving all of your demons a level boost. Continue through the “maze” and at the northern end, south of where you had the Abscess, will be some containers you can use as stairs to the top of them. Hop over to the western set, where you can grab a few things.
East/South will lead you to Amalgam #13, while the other direction leads to Miman #68, and a Treasure Box with a Kaya-no-Hime’s Essence. Double back to the path leading to the Amalgam, but stay on the bottom portion and look in the little section between the mountain and container to see another Treasure Box (Ice Gem x2). Get back on the rooftops with the Bugs to continue with the area, looking for the warehouse that you can go through, to an area with some Oni. Instead of climbing the containers on the side of the one warehouse, head around to the western side of it. Enter the first warehouse you can, then head around the containers inside to find a Treasure Box with 5000 Macca.
Exit that warehouse, looting the vending machines just to the north, then enter the next one north of that. Note that some Jack Frosts will spawn behind you as you enter this warehouse, so be wary of that. Loot the Treasure Box inside (Shiki-Ouji’s Essence), then go inside the last warehouse just north of that to find a Baphomet, who will give you the Magic from the East quest. He simply wants 5 Inugami Heads, which can be obtained by simply defeating Inugami while the quest is active. As you leave that warehouse, step onto the rooftops to the west and look for some open windows on the northernmost rooftop. Drop through either one to find Miman #65, as well as a Treasure Box that contains a High Pixie’s Essence.
Double back to the Oni area from before and climb the containers this time. You should see a Leyline nearby, so go ahead and touch it to register it. There will be more rooftops of warehouses to your south, which is where you will be going next. Jump through the open window of the first one to find a Treasure Box that contains a Jack Frost’s Essence. In the southwest corner of the same warehouse, behind the containers, will be Miman #69. Exit the warehouse how you came in, then jump down into the next warehouse to the south. There will be a Nue here you can talk to, who will give you the Wilder Talisman; you will also find some vending machines here.
Return to the Leyline and look in between the buildings just west of you, until you spot the Treasure Box. Drop down and open it for a Berith’s Essence, then return to the Leyline. As you approach the one warehouse near the Leyline, Aogami will report feeling a strong demon nearby. This will be a boss, but there is one more thing to grab before getting ready for the battle. Enter the warehouse at the end to find containers lined up. Go down the middle and you’ll find Miman #70 in a little alcove at the end.
The next boss is mostly physical, so you might want to get some demons that are more beefier than normal, especially since there’s not many that have resistances to Physical at this point in the game. Oni is one such example, though, and could be a great demon to have in your party for this battle. If you manage to get to level 29, then Shiki-Ouji is another great one, and you can recruit him northwest of the Shinagawa Pier Leyline. You will also want access to both Ice and Light skills, as the boss is weak to them. Preferably, you don’t want anyone weak to Electric, although that skill from the boss is easily blocked, as it is telegraphed (could also purchase Elec Dampeners). When you’re ready, enter the warehouse with the human inside to get throw into the boss fight.
Boss: Loup-Garou
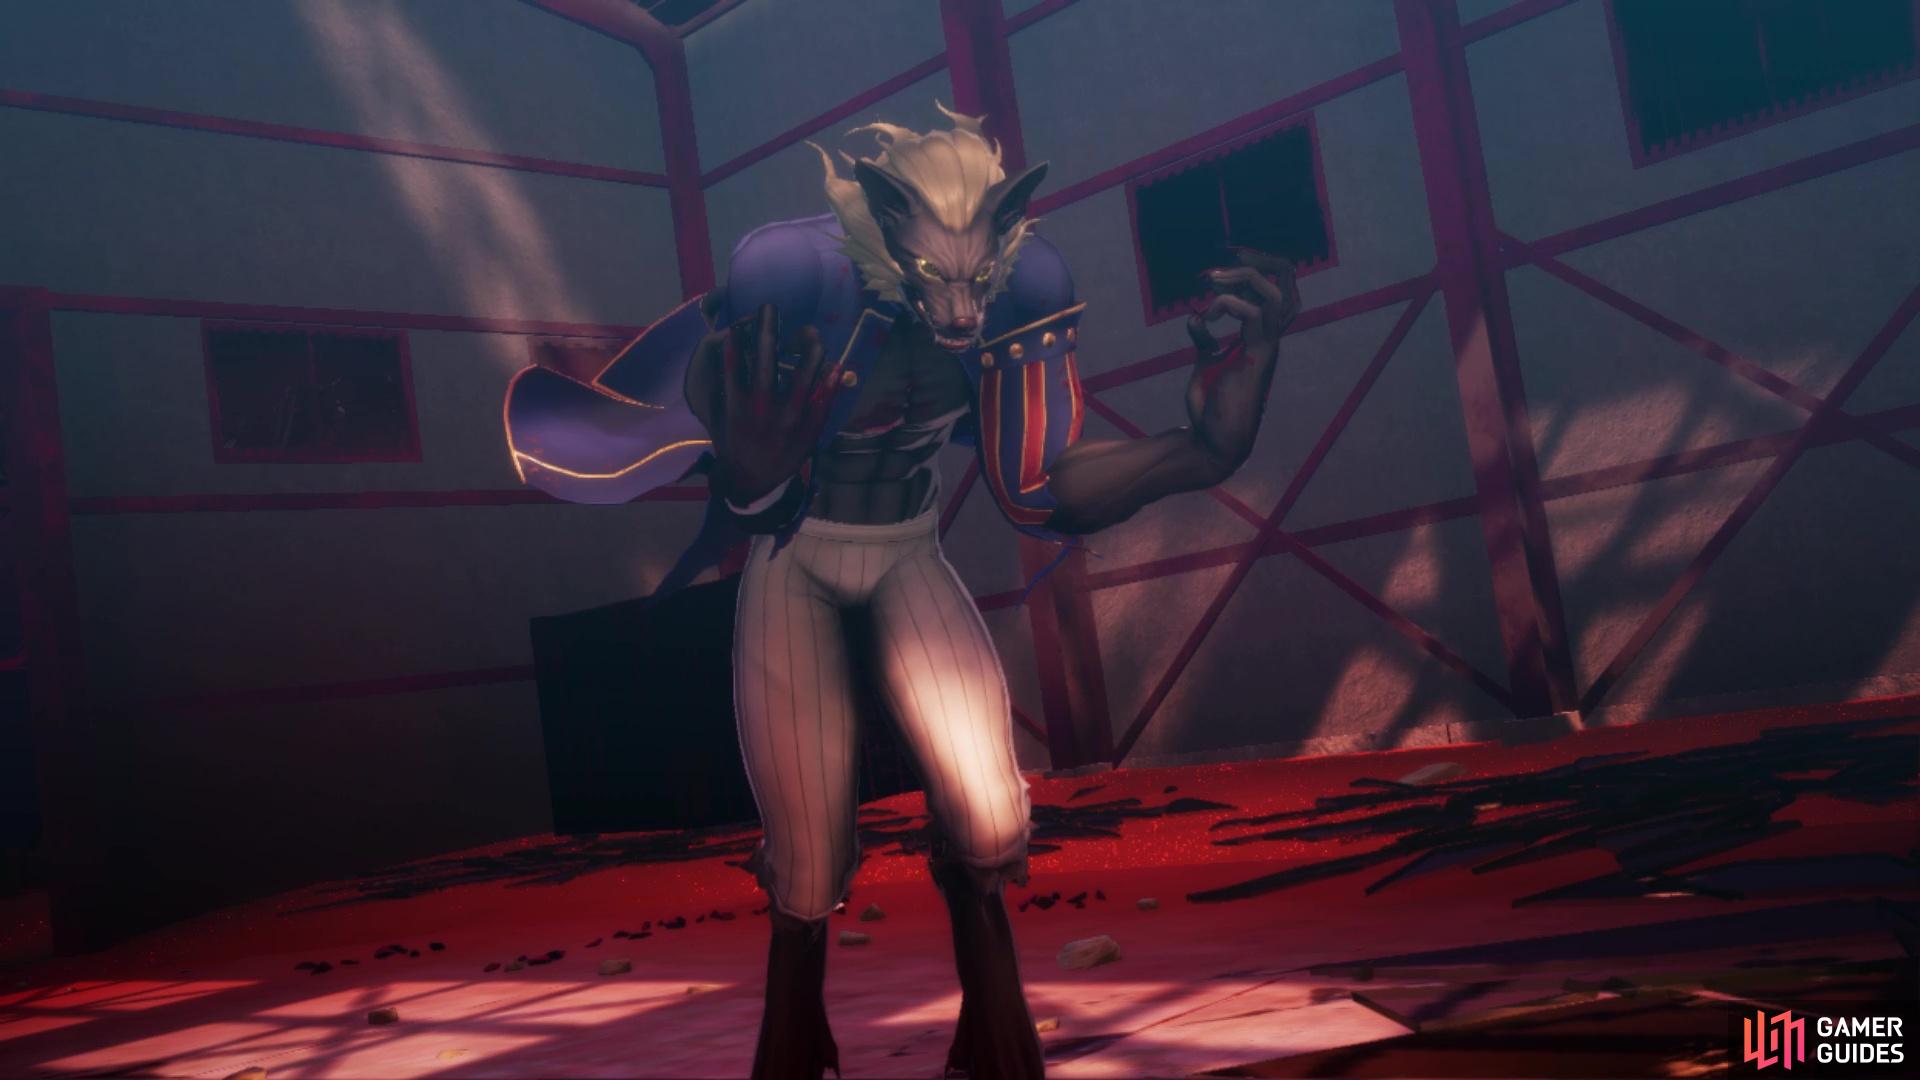
You’ll fight Loup-Garou at the Container Yard
| Icon | Name | Lv | Weakness |
|---|---|---|---|
| Loup-garou | 28 |
| Type | Skill | Effect |
|---|---|---|
| Souffle D’eclair +2 | Severe Electric attack to 1 foe. | |
| Fang Breaker +3 | Weak Physical attack to 1 foe. Lowers target’s attack by 1 rank for 3 turns. | |
| Damascus Claw +3 | 2-3 medium Physical attacks to 1 foe. | |
| Axel Claw +3 | 2-4 medium Physical attacks to multiple foes. Greater effect if a Critical hit. | |
| Critical Aura | Next Strength-based attack of self will be 100% accurate and guaranteed Critical. |
Loup-garou can be a challenging boss, since his attacks are quite powerful and you don’t have many options in helping with physical attacks at this point of the game. All, but one, of his skills are physical in nature, which is why you want to try and access the few physical resistance demons at that level. It also helps that you pick up Shiki-Ouji’s Essence in this area, and Oni’s Essence in the previous one. You will want to add one of those to the Nahobino so he becomes physical resistant. If you can fuse a Principality and get it an extra level (don’t be afraid to use a Grimoire, if needed, although the Nahobino would need to be 29, too), then it learns Hamaon.
Of course, Jack Frost has a great unique skill, called Jack Bufula, which will hit his Ice weakness and also debuff his defense. If you have your Magatsuhi meter filled, then activate the Critical buff and exploit Loup-garou’s weaknesses. Jack Frost is easy enough to get, but the other two mentioned above are a little higher than normal, depending on how much you grind. If you use Oni, he gets a skill called Taunt at level 24, which you can use to try and draw all of the boss’ attacks towards him.
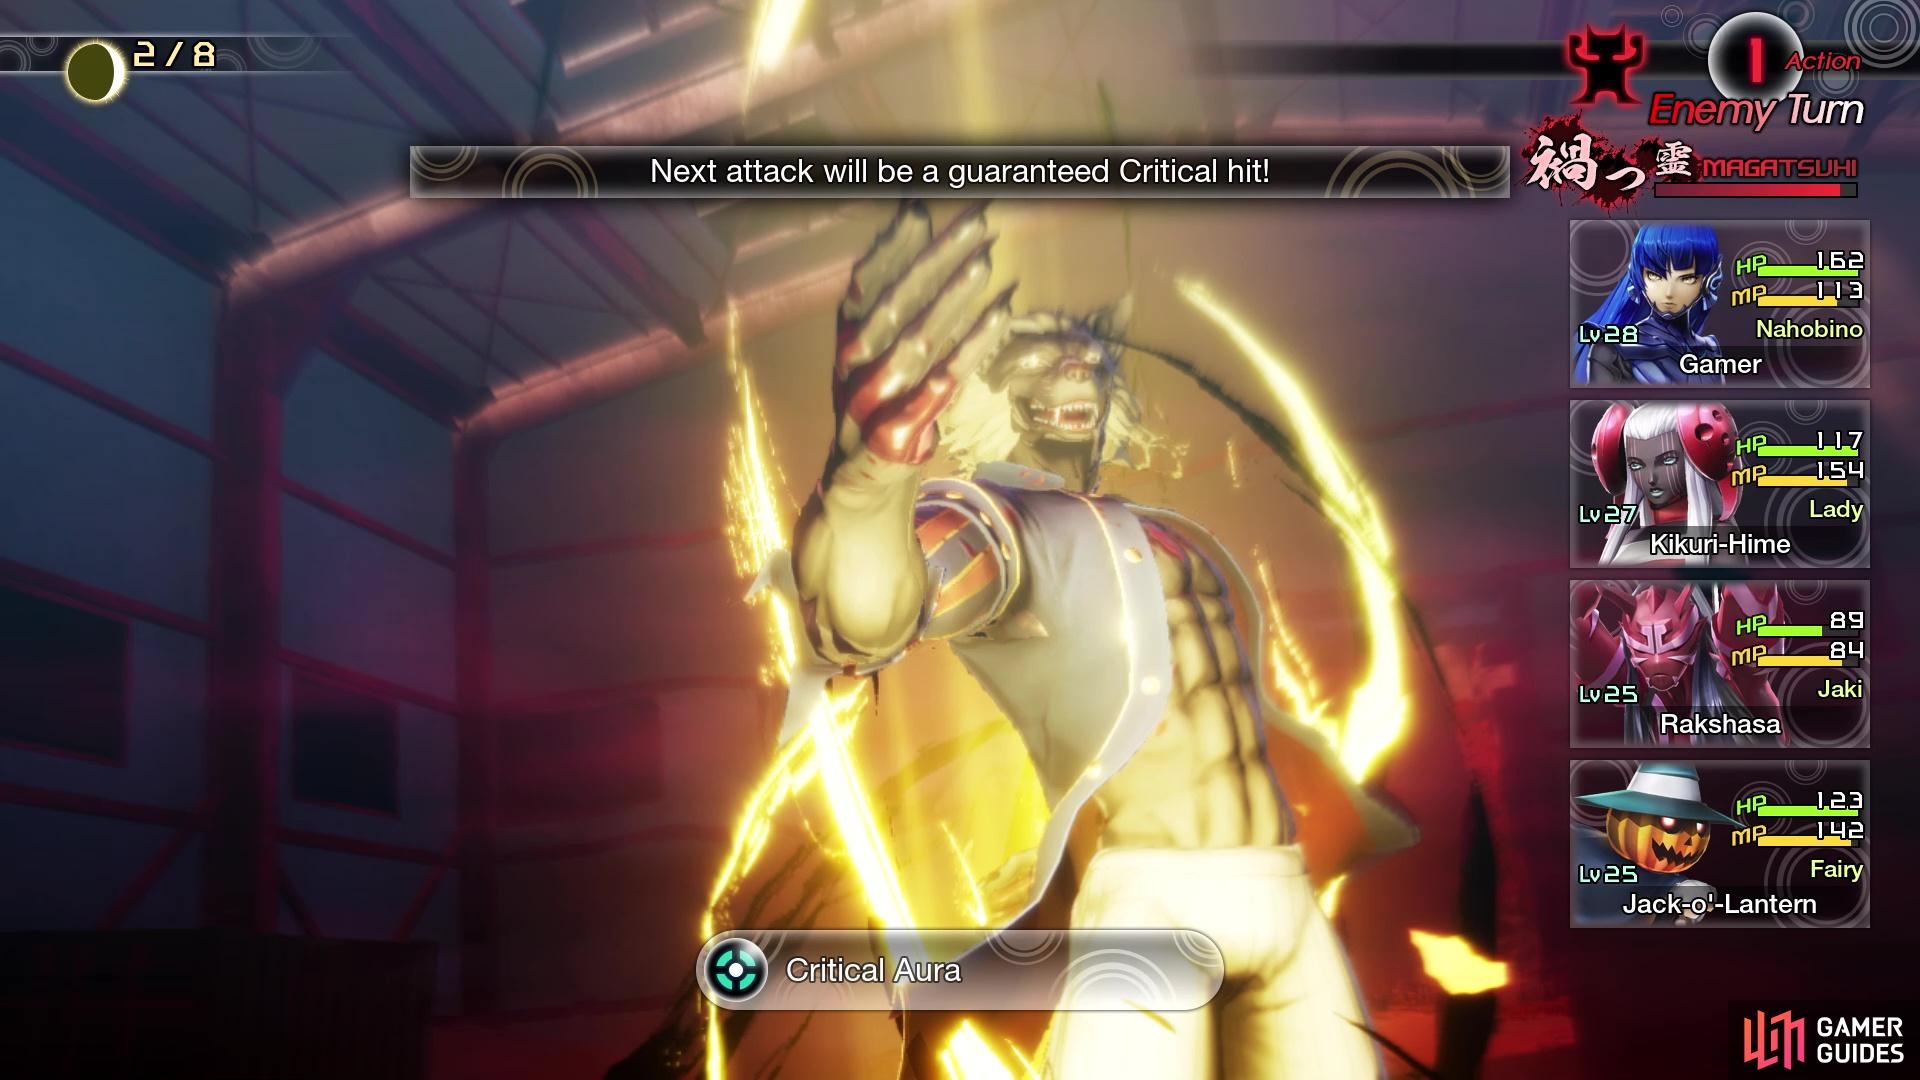
The physical skills in Loup-garou’s arsenal can be a bit concerning, as two of the three are medium-tier ones that can hit 2-to-3 times. Damascus Claw concentrates on a single target, while Axel Claw hits randomly. Fang Breaker is thw weakest attack of the bunch, but it will also lower the target’s attack by a single rank for three turns. The biggest problem, though is Critical Aura, which guarantees that the boss’ next attack will be a critical hit. This can guarantee that his actions will be extended during that turn. Whenever you see Loup-garou use his Magatsuhi Critical buff, you will want to toss out an Elec Dampener, as he will be using Souffle D’eclair on his next turn.
That attack will likely deal major damage to a single character, possibly one-hit killing a demon weak to Electric. With an Elec Dampener, though, the character it hits will block it, so you will make the boss lose both actions that turn. Depending on who you have in your party, and their skills, you may need to resort to healing with Nahobino’s Miracle Water.
Container Yard Continued
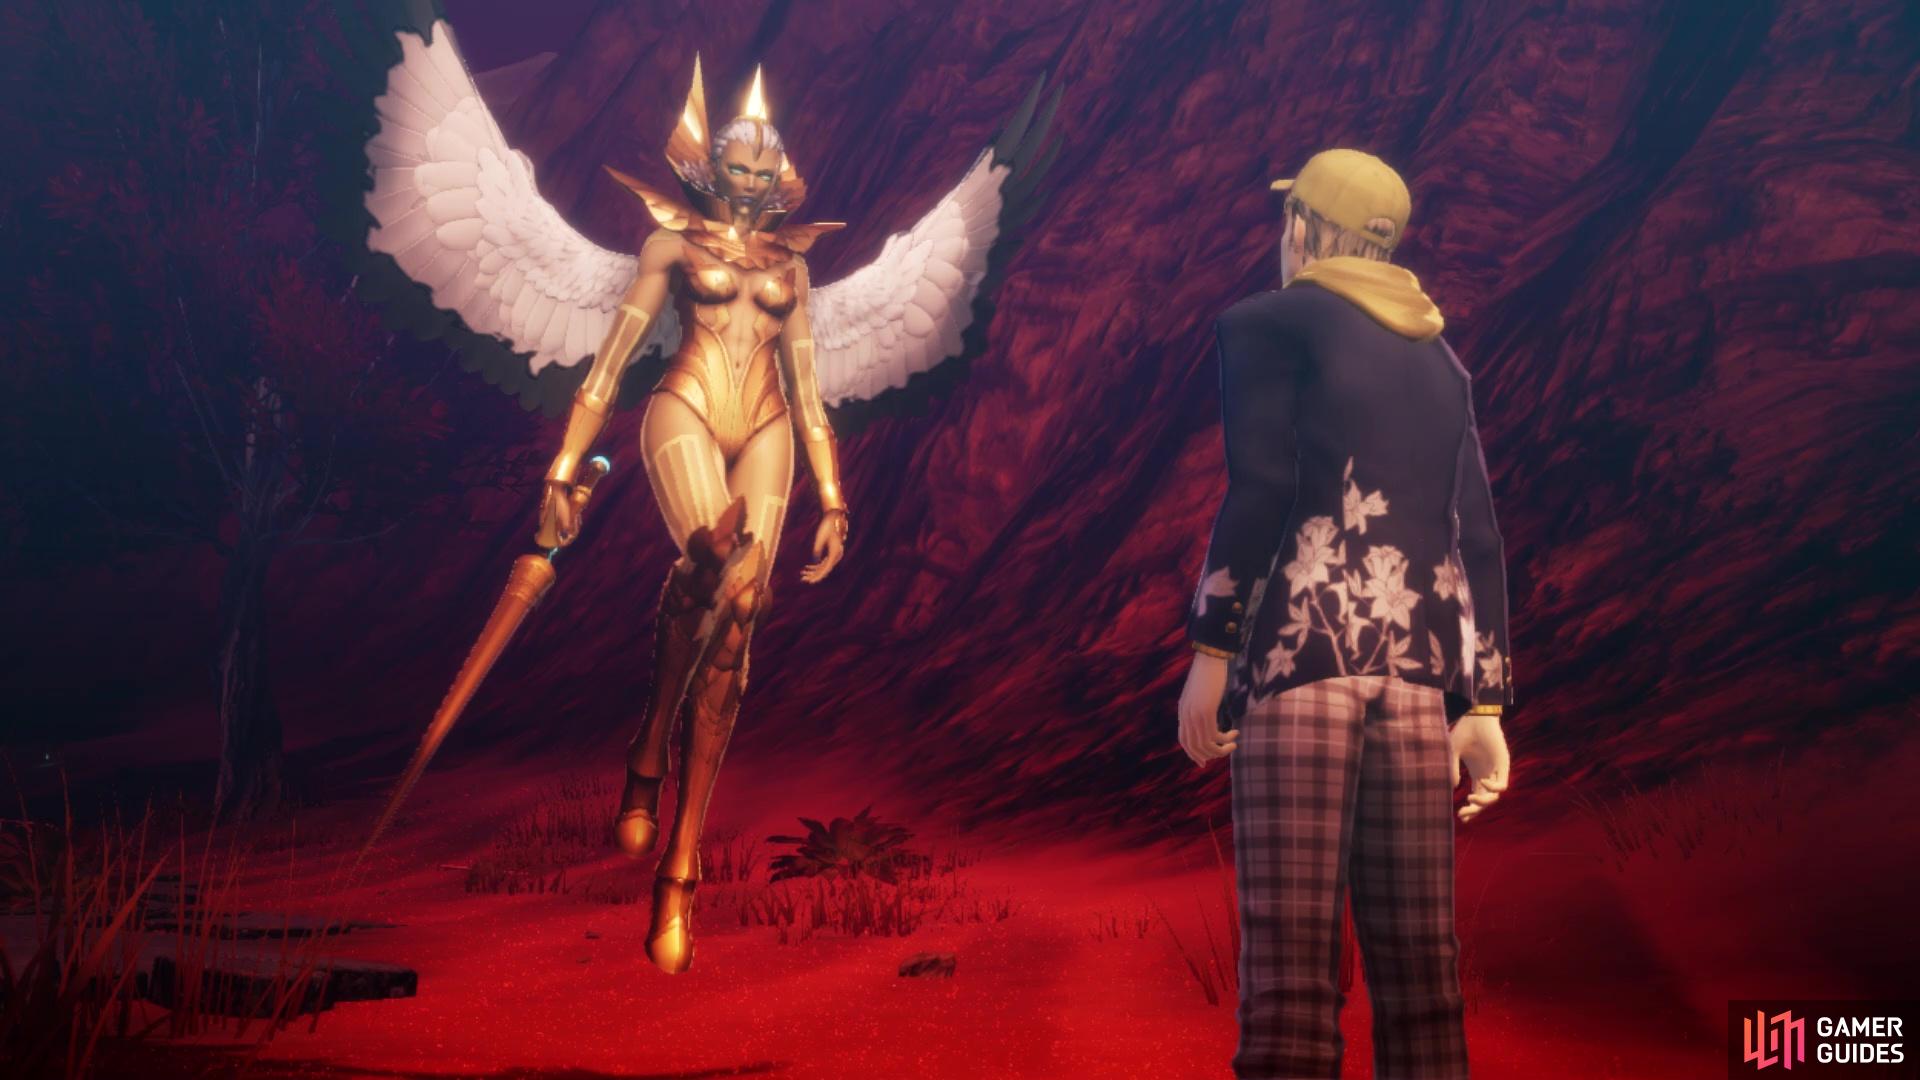
With Loup-garou finished, the student you rescued mentions that Sahori was taking to another area. Exit the warehouse via the other side, then loop around to the southern end to find an Angel by the cliffside. Talk to the Angel to receive a Divine Talisman. Just north of there, you will find a Nekomata hanging out on an awning and she will give you the A Wish for a Fish quest. Climb the hill and look for the little path to get on the rooftops of the warehouses. From here, go to the southern side and look below to see the one Treasure Box you likely saw earlier and couldn’t reach. Drop down and bust it open for Chakra Drop x3. Get back on the path and follow it all the way to the next area, Konan 3rd Block.
No Comments