
An Unusual Forecast is a Subquest in Shin Megami Tensei V. Most Subquests will reward you with a large amount of experience, some Macca, and then you’ll receive an item of sorts. Most of the time, it’ll be a Talisman which allows you to have access to the different Magatsuhi skills in the game.
Kelpie wants you to defeat a Girimekhala
| Recommended Level | Location | Rewards |
|---|---|---|
| 46+ | Kelpie; Next to the Mansei Bridge Leyline | Soma |

Defeat Girimekhala for Kelpie.
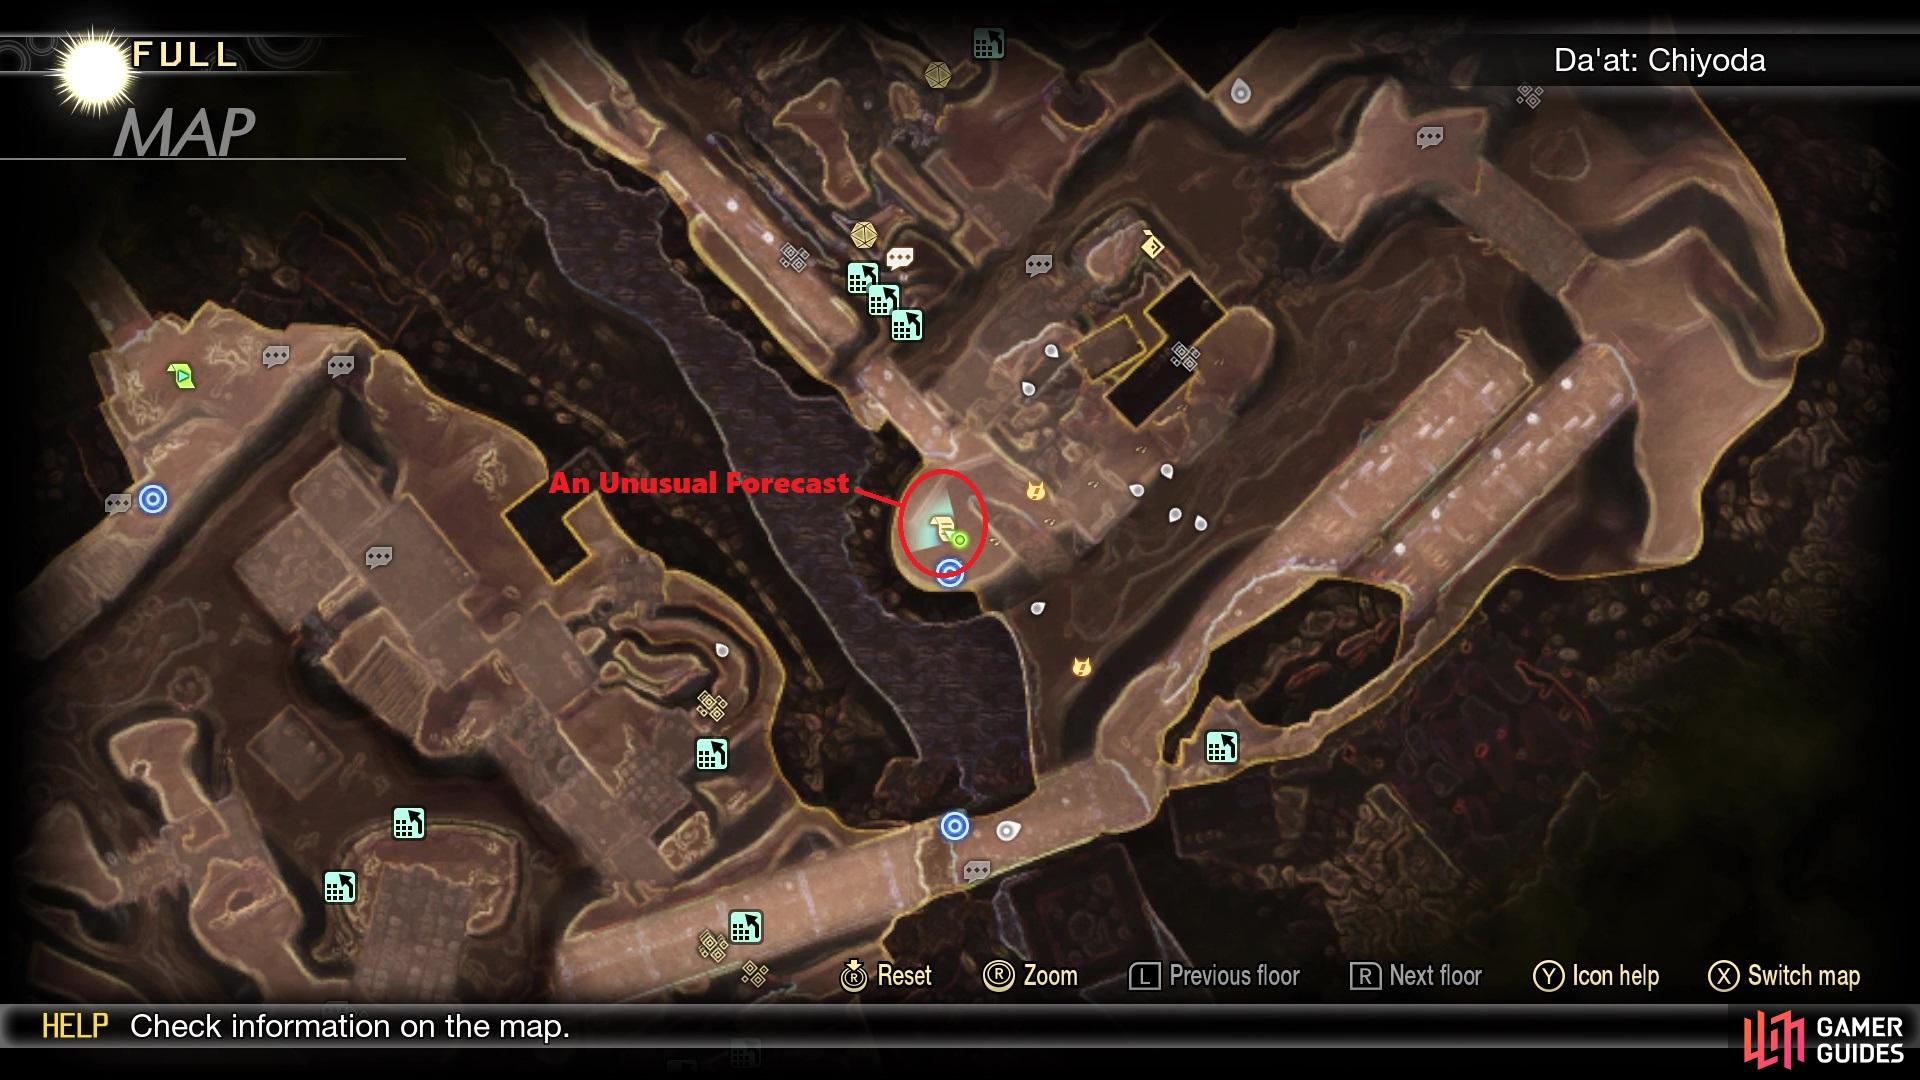
Where to start An Unusual Forecast
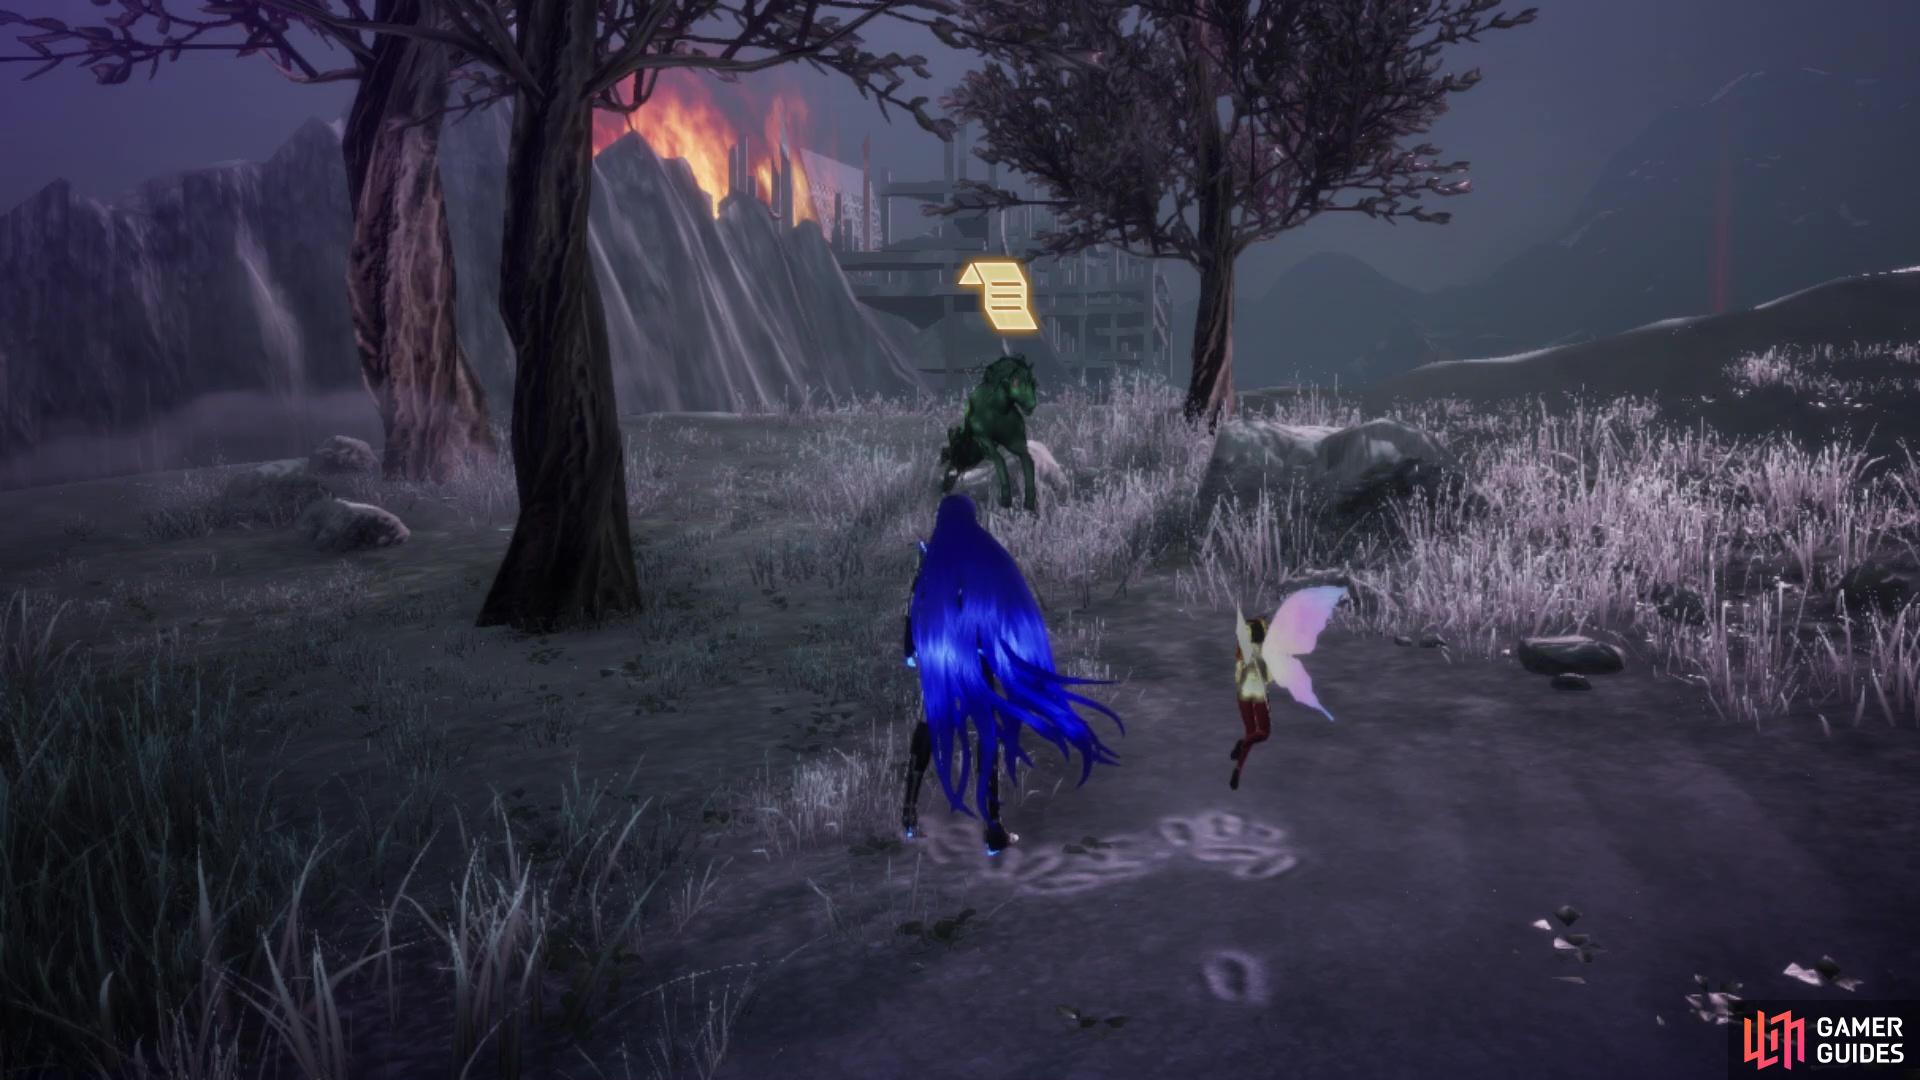
Once you make it to the Mansei Bridge Leyline in Chiyoda, you will see a Kelpie near it. That Kelpie will give you the quest. It wants you to defeat a Girimekhala and bring back its head, which will use as some sort of sprinkler.
Kelpie will be right next to the Mansei Bridge Leyline in Chiyoda
Where to find Girimekhala for An Unusual Forecast
Girimekhala is a Punishing Foe you have likely seen before, but if you don’t recall its location, you will have a hard time finding it in Chiyoda. That’s because the Girimekhala is located in the Shinagawa region, not too far from the Mitatebashi Leyline. Head east from there, crossing over into the Konan 4th Block area, and you should see Girimekhala on the eastern side, in a little pit.
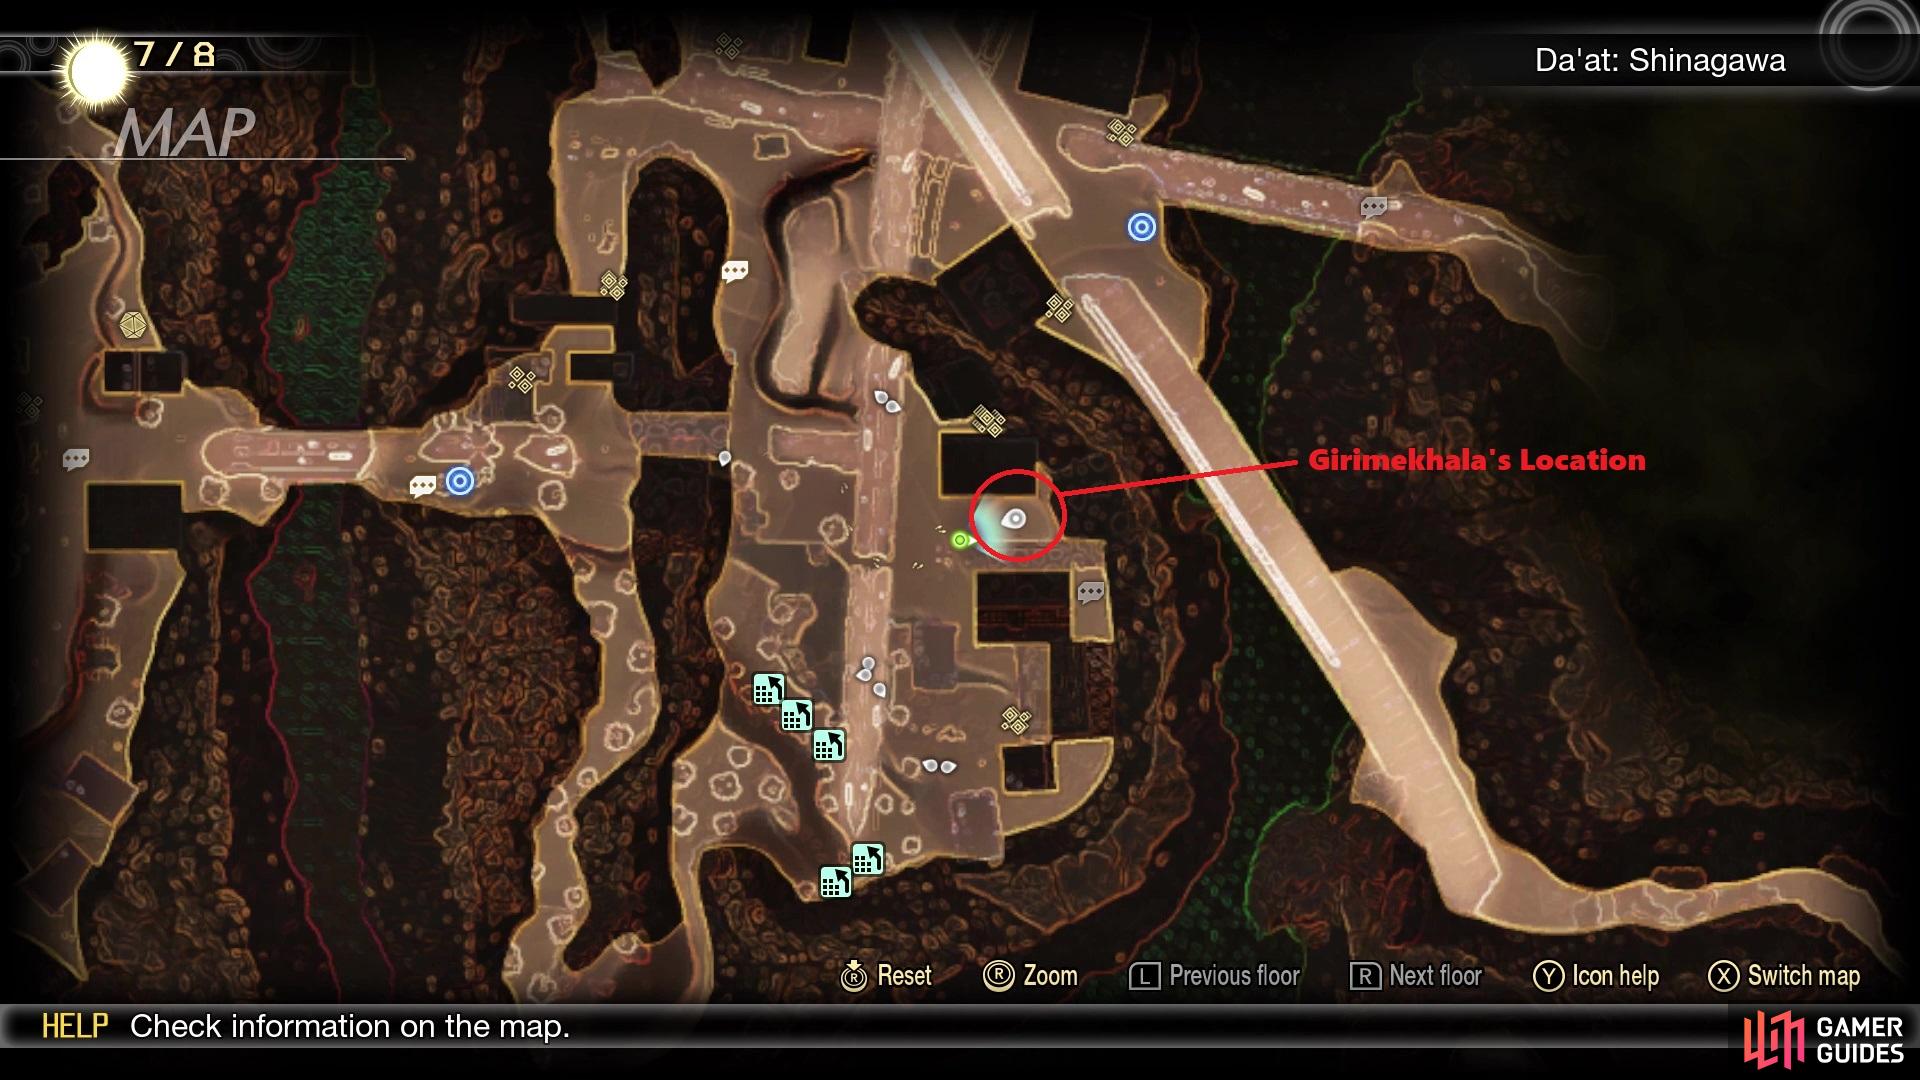
Girimekhala will be in Shinigawa, in the Konan 4th Block area
Recommended Party
| Icon | Name |
|---|---|
| Anubis | |
| Black Frost | |
| Kaiwan |
Girimekhala is a boss that looks a little intimidating, but can be a bit on the easier side, if you come in prepared. He is mostly focused on Strength, with three different Physical attacks in his repertoire. Thankfully, two of them have low accuracy, so if you can debuff him with Sukunda and cast Masukukaja on your party, then things can be a little safer on you. Of course, that doesn’t discount both Mamudoon and Deathbound, both of which can be dangerous for different reasons. For the former, you want to make sure none of your members have a weakness to Dark, since there is always that chance of instakill.
With the above party, you will be fully protected against Mamudoon and should never have to worry about it (provided you also protect the Nahobino, too). There’s nothing you can really do about Deathbound, other than debuff Girimekhala’s attack and up your defense. It’s possible he uses Deathbound, too, after a Magatsuhi charge, which can spell huge trouble, so when you see that, toss up a Phys Dampener to be safe. Outside of the attacking skills, you might also see Marakunda, making his attacks hit for more, as well as Tentarafoo, a skill that can cause Confusion for your whole party.
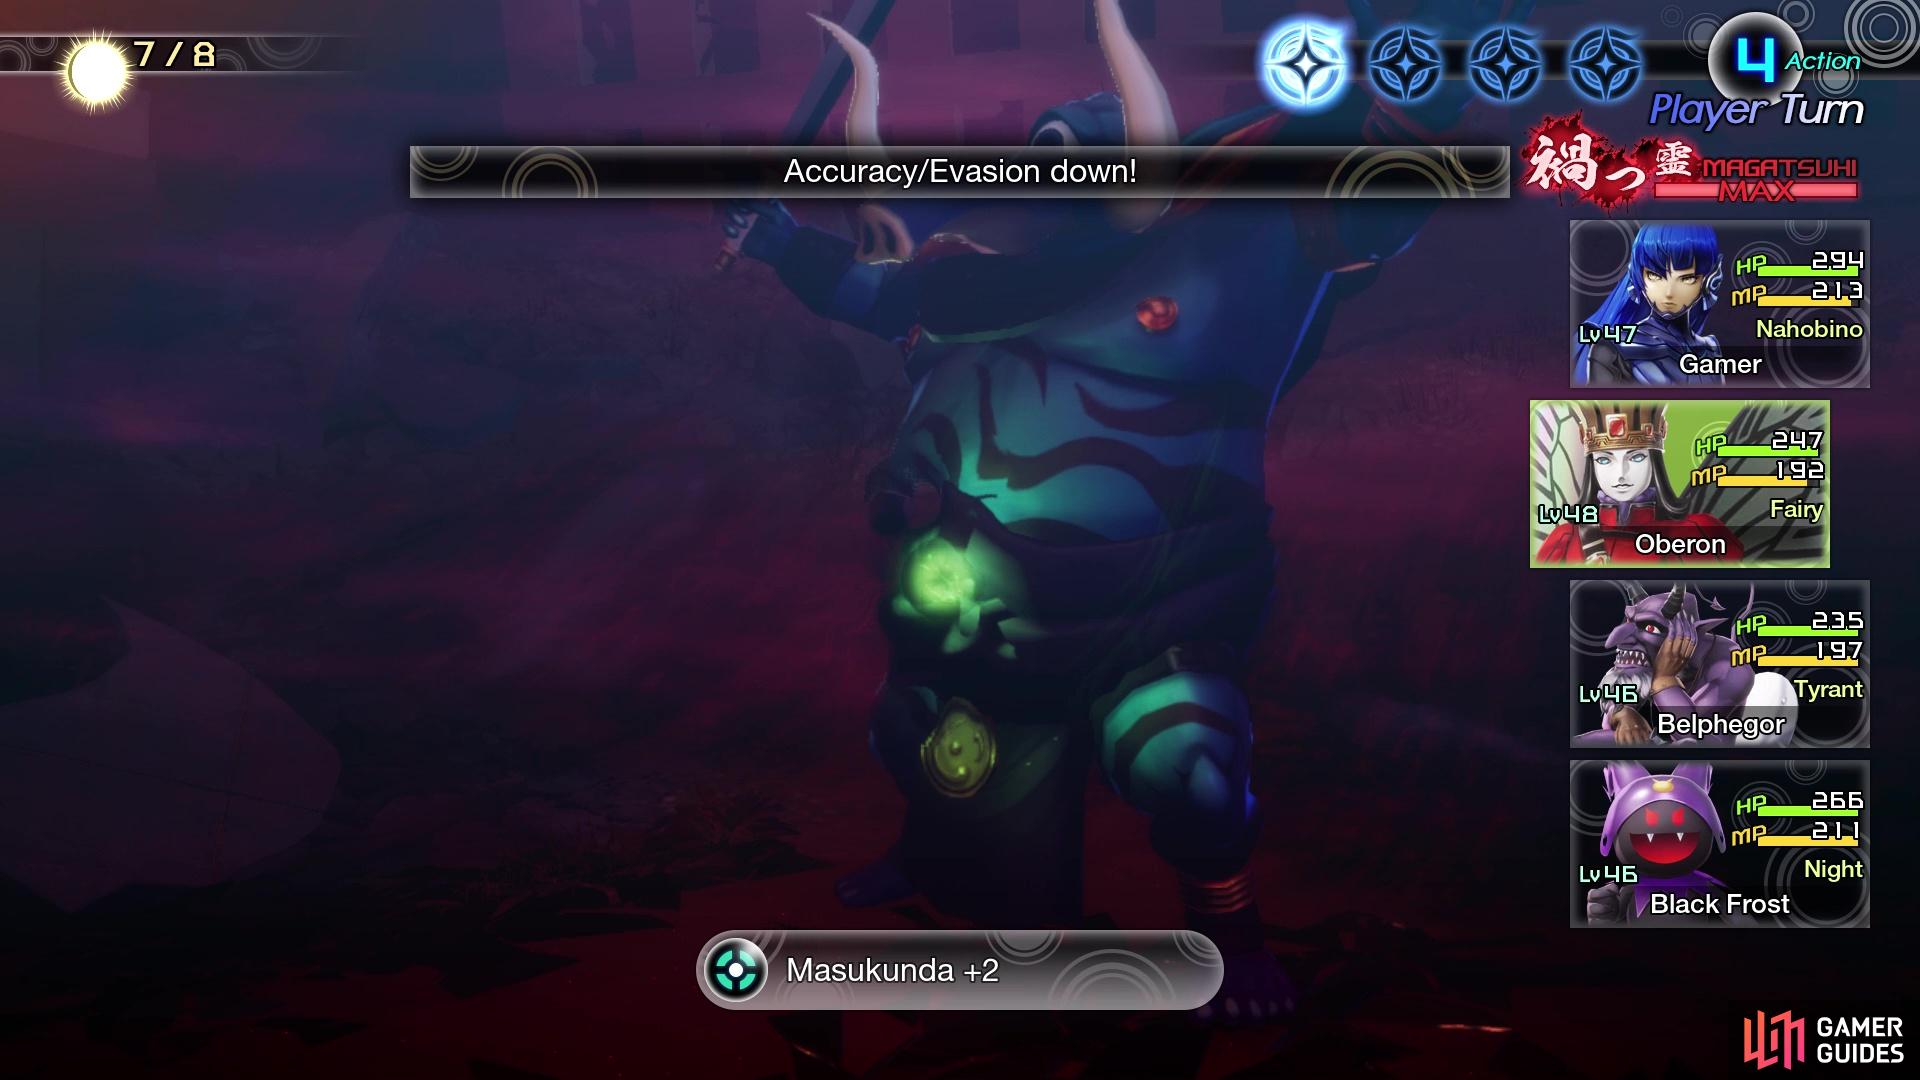
Debuffing Girimekhala’s accuracy will help a lot
as some of his skills have low accuracy to begin with
You will be unable to use Physical attacks in this battle, as he repels them, plus he will also resist Dark. Oddly enough, Girimekhala has weaknesses to Electric, Force and Light, so you have a lot of options in dealing extra damage and gaining more turns throughout each round. You will also see, if you look close enough, that he is weak to Sleep. So, if you can get someone with Dormina or Lullaby, then it’s possible to put him to sleep right before his turns come up, and hope he doesn’t recover until his turns end. Any damaging attack will wake Girimekhala up from his slumber, so you need to hope it connects and skips his turns.
You will receive Girimekhala’s Head upon defeating him, which you can bring back to the Kelpie to finish the quest.
No Comments