
This is a walkthrough for Da’at: Minato of Shin Megami Tensei V, taking place in the Mita area. How to complete every objective, find every chest and locate every Miman.
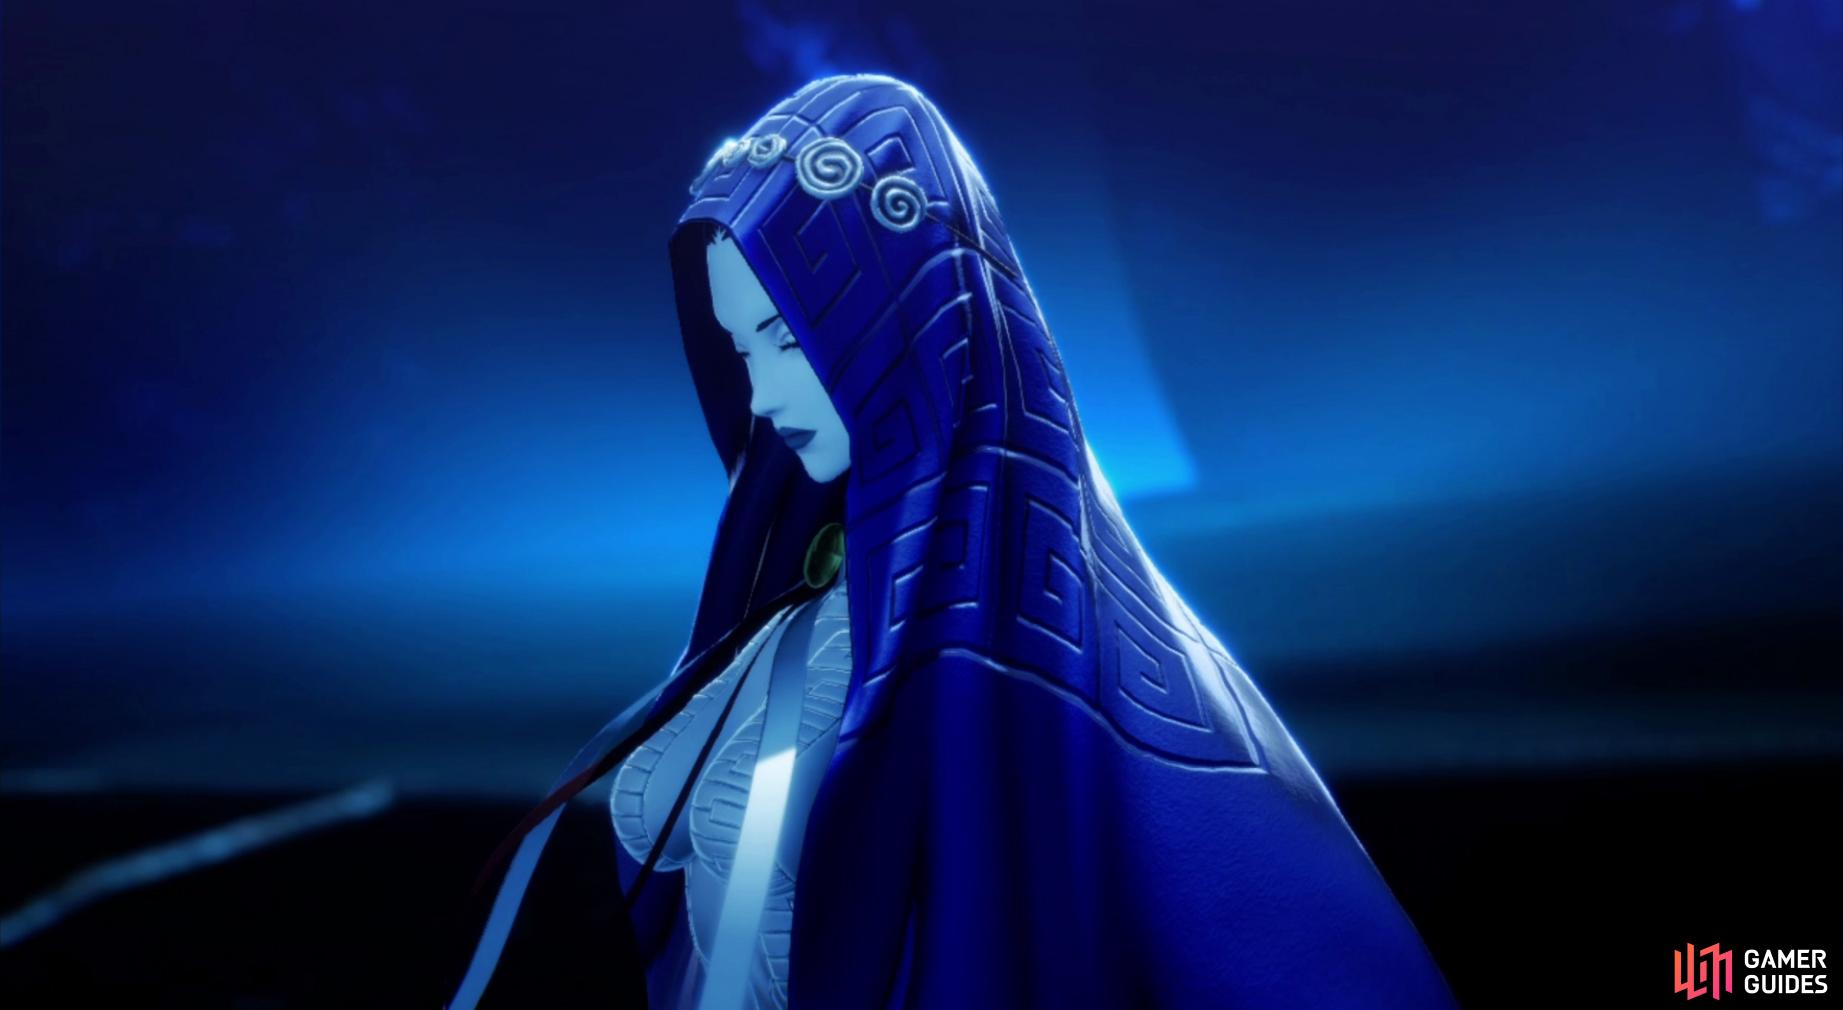
You’ll meet Sophia for the first time at the Mita Leyline.
Demons
Items
| Name |
|---|
| Pixie’s Essence |
The World of Shadows
You’ll be introduced to Sophia who is the ruler of the World of Shadows, a place where you can use the Essences you’ve been picking up which can change the Nahobino’s resistances or teach skills from their repertoire to both the Nahobino or a Demon of your choice. Note that Unique skills can’t be carried over and you’ll have to unlock abilities to have the full assortment of skills to be selectable. Essences are plentiful throughout the game, and you’re encouraged to use them as often as possible rather than sitting on them and waiting for the right moment. For now, consider using the Onmoraki and Preta Essences on Nahobino to give him both Bestial Bite and Agi.
You’ll also learn about Miracles and Glory, the currency used to obtain them. Miracles will unlock new powerful abilities for Nahobino such as increasing how many Demons you can hold at once and you will use Glory to purchase them. Glory can be obtained via the Mimans in the world, special Glory Boxes hidden in the areas or by using a consumables dropped by some Mitamas, rare Demons with specific weaknesses. Consider your choices for your Miracles, since it can take a while to stockpile a lot of Glory, and some are game changing. For now, you have access to the following Miracles (and more will be unlocked shortly):
| Miracle | Category | Effect | Glory |
|---|---|---|---|
| Forestall | Supremacy | Slashing an enemy in the field without being noticed will greatly increase the Magatushi Gauge at the start of battle. | 5 |
| Hand of God | Doctrine | Rare chance to acquire one extra relic. | 5 |
| Empowering Cheer I | Awakening | Half of Max HP and MP are recovered when levelling up. | 5 |
| Fire Mastery I | Cosmos | Increases the Nahobino’s Fire skill potential by 1. | 50 |
| Ice Mastery I | Cosmos | Increases the Nahobino’s Ice skill potential by 1. | 50 |
| Electric Mastery I | Cosmos | Increases the Nahobino’s Electric skill potential by 1. | 50 |
| Force Mastery I | Cosmos | Increases the Nahobino’s Force skill potential by 1. | 50 |
Forestall, Hand of God, and Empowering Cheer I are all Miracles you should look to unlock right now, whereas the Cosmos ones should be ignored for now. Raising your Skill Potential will decrease the MP of that group of spells while increasing potencies. Useful, but hard to waste all of your Glory on until you have an idea of your Nahobino in mind, especially if you’re going for a Strength build in which case only Physical and Almighty Potentials will be of main concern to you.
Sophia will have another powerful tool available to her shortly, but for now, leave the World of Shadows and Gustave will inform you that all the Leylines are linked, essentially allowing you to fast travel for free between them, you’ll want to make constant use of this feature throughout your journey. Finally, if you’ve purchased the Return of the True Demon DLC, this will become available by speaking with Sophia in the World of Shadows. It’s a long Quest that spans the entire game, and the first battle requires you to be around Level 24, but it doesn’t hurt to get the ball rolling.
Miman #6 can be located at the end of the southeast path
Miman #7 can be accessed by using the walkway near the Leyline.
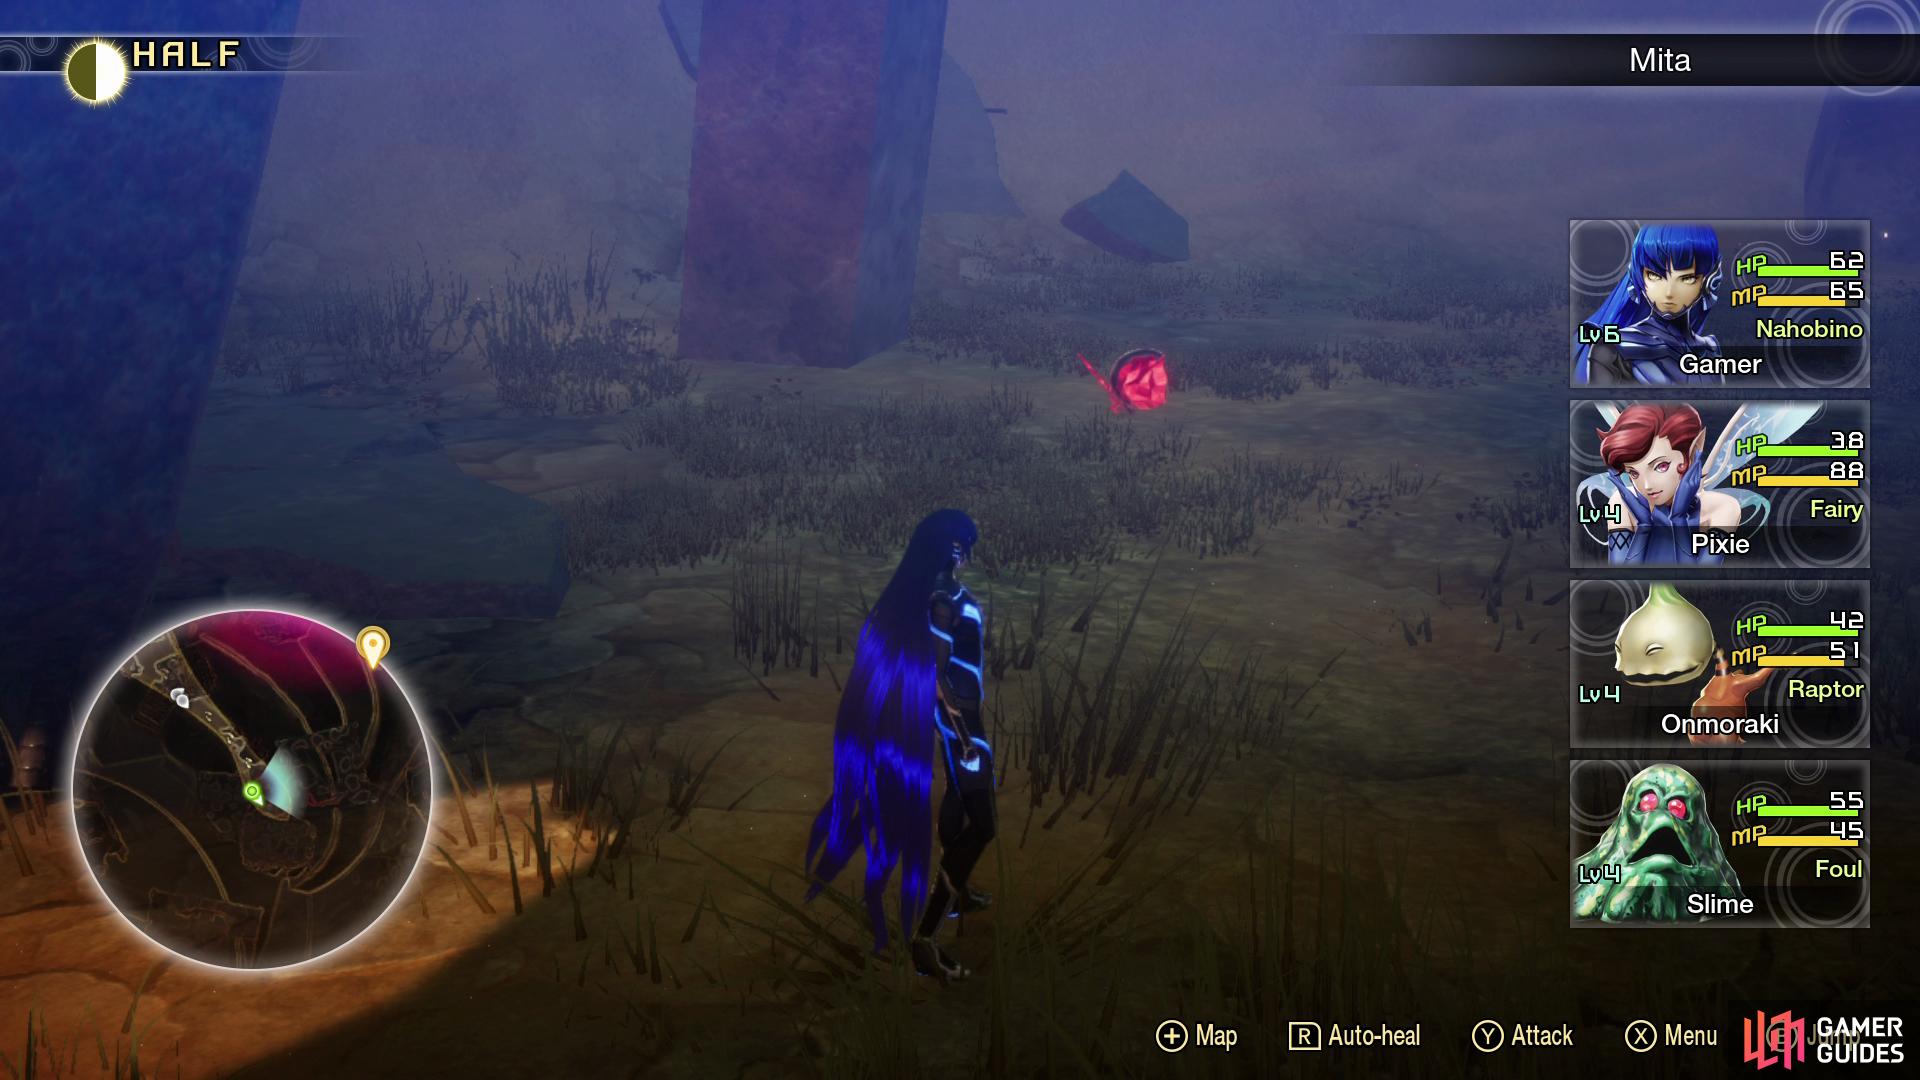
With your business here concluded for now, save your game, visit Gustave to receive your reward for 5 Mimans (an assortment of starter healing items) and recover your HP and MP. Your destination lies to the northeast, but for now, take the southeast path and speak to the Preta to learn where the missing Preta for the A Preta Predicament Quest may be. Follow the path to the end to locate a Treasure Box containing Pixie’s Essence, this can be used to teach Nahobino or another Demon the Dia skill, useful for early-game healing. Before leaving what seems to be a dead-end, head around the rubble to find the hidden Miman #6.
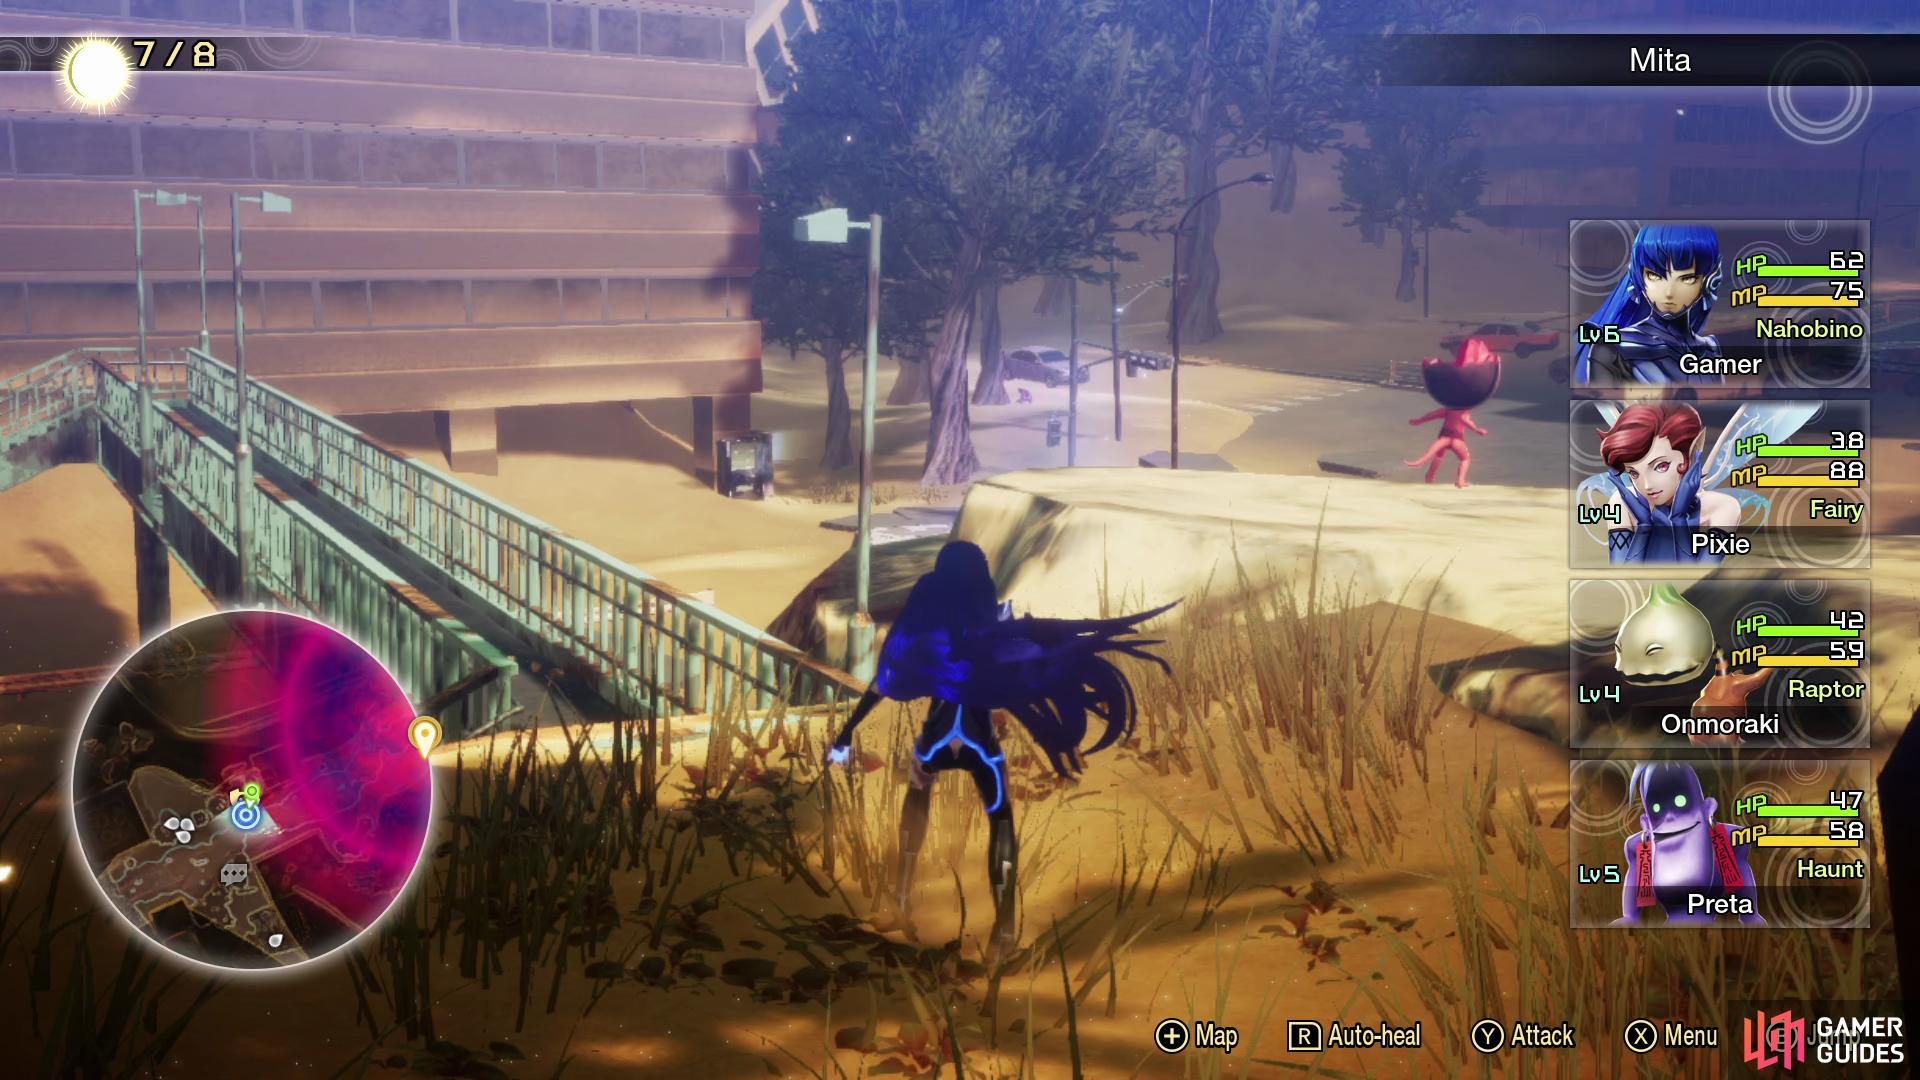
Return to the Leyline and climb the stairs of the walkway nearby to reach the rocky outcrop above where Miman #7 stands. As you proceed further down the path, Aogami will point out the large red orb in the sky ahead, this is known as an Abscess, a nest of powerful Demons that obscures some of your map.
When you enter a new area, you should always set off to find and conquer these first so that you have full access to your map. What’s more, each defeated Abscess will unlock new Miracles in the World of Shadows, suffice to say, these are important landmarks in the Netherworld. As you approach an Abscess, the sky will turn red and Demons will appear on the field, ignore these and dash past them to reach the Abscess and strike it for the initiative for the battle to come.
Mita Abscess
| Icon | Name | Lv | Weakness |
|---|---|---|---|
| Mandrake x3 | 7 |
This can be a tricky battle depending on where you’re at with your party, if you’ve been avoiding battles and not recruited a full party, then stay away, this will be too tough a battle for you. You’ll want to ensure you have Onmoraki and used his Essence on Nahobino to give him Agi, this will allow you to strike Mandrake’s weakness and score extra turns.
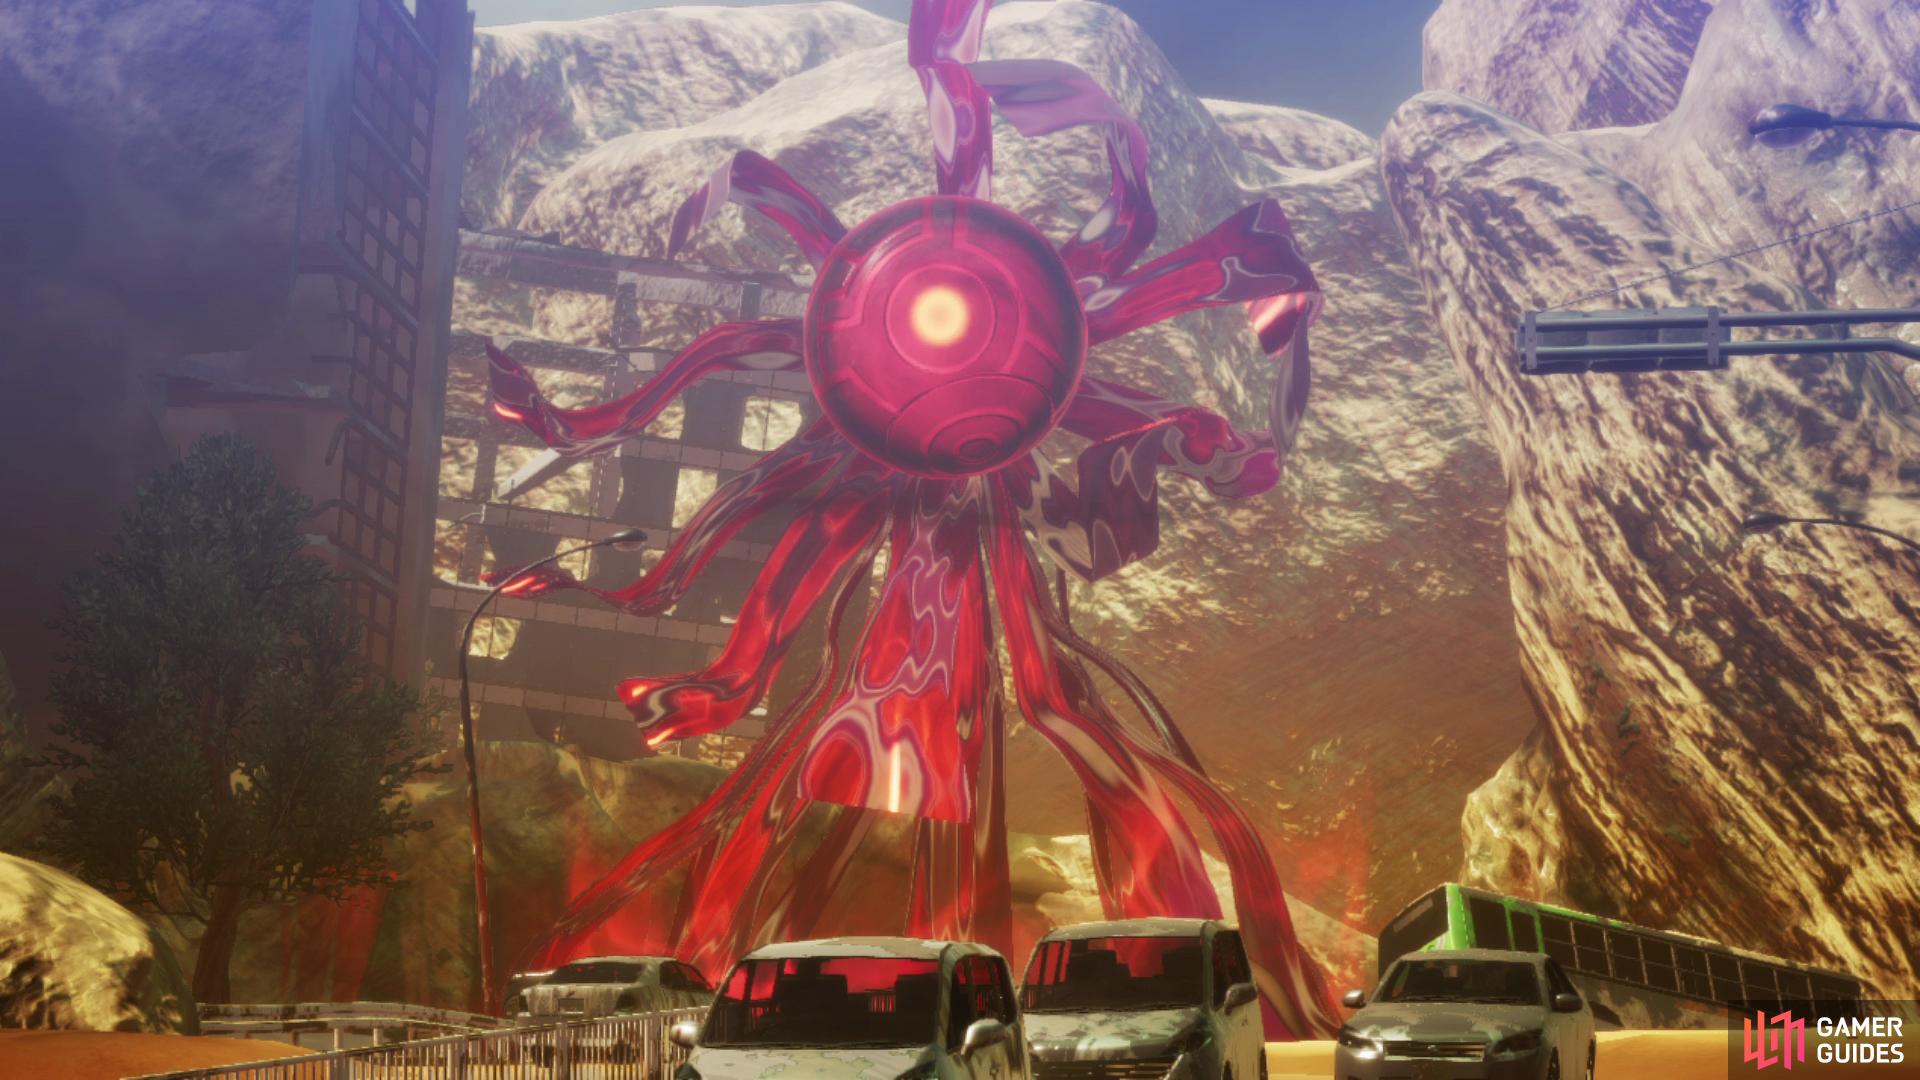
Mandrakes have access to Zio and Toxic Sting, dealing Electric damage and Physical damage with a chance to inflict Poison. If you’re already replaced Slime, you should avoid any weaknesses being struck and thus, extra turns for the Mandrakes outside of a lucky Critical. That being said, don’t let your HP drop too low, Dia is inexpensive and a Leyline is just behind you to recover any spent MP in this battle. To speed things up, make use of Omagatoki: Critical as soon as it becomes available, especially in the first round to cut down on how many targets you’ll need to deal with. With the battle won, you’ll uncover the map and unlock the following Miracles:
| Miracle | Category | Effect | Glory |
|---|---|---|---|
| Art of Essences I | Doctrine | Allows an additional skill to be selected from essences. | 30 |
| Divine Garrison I | Awakening | Increases demon stock by 1. | |
| Divine Proficiency I | Awakening | Increases the Nahobino’s skill slots by 1. | 30 |
| Demon Proficiency I | Awakening | Increases demon ally’s skill slots by 1. | 50 |
| Recover Mastery I | Cosmos | Increases the Nahobino’s Healing skill potential by 1. | 60 |
| Support Mastery I | Cosmos | Increases the Nahobino’s Support skill potential by 1. | 60 |
Return to the Leyline as you’re near it to save your game and access the World of Shadows. If this is only your second visit, you’ll obtain the Menorah of Knowledge if you have the Return of the True Demon DLC installed. The first battle in this DLC is well beyond your capabilities, so put it out of your mind for now and take a look at the new miracles on offer. Nearly all of these are essential purchases, outside of the Masteries but you’ll be limited on Glory for now so consider purchasing just Divine Garrison I so you can recruit more demons. With that out of the way, you’re ready to leave Mita by pressing forward from where the Abscess stood.
No Comments