
There are 200 Mimans hidden throughout the four regions of Shin Megami Tensei V. This page will list the locations for the Kanda Bridge and Otemachi areas of the Chiyoda region.
Miman 142
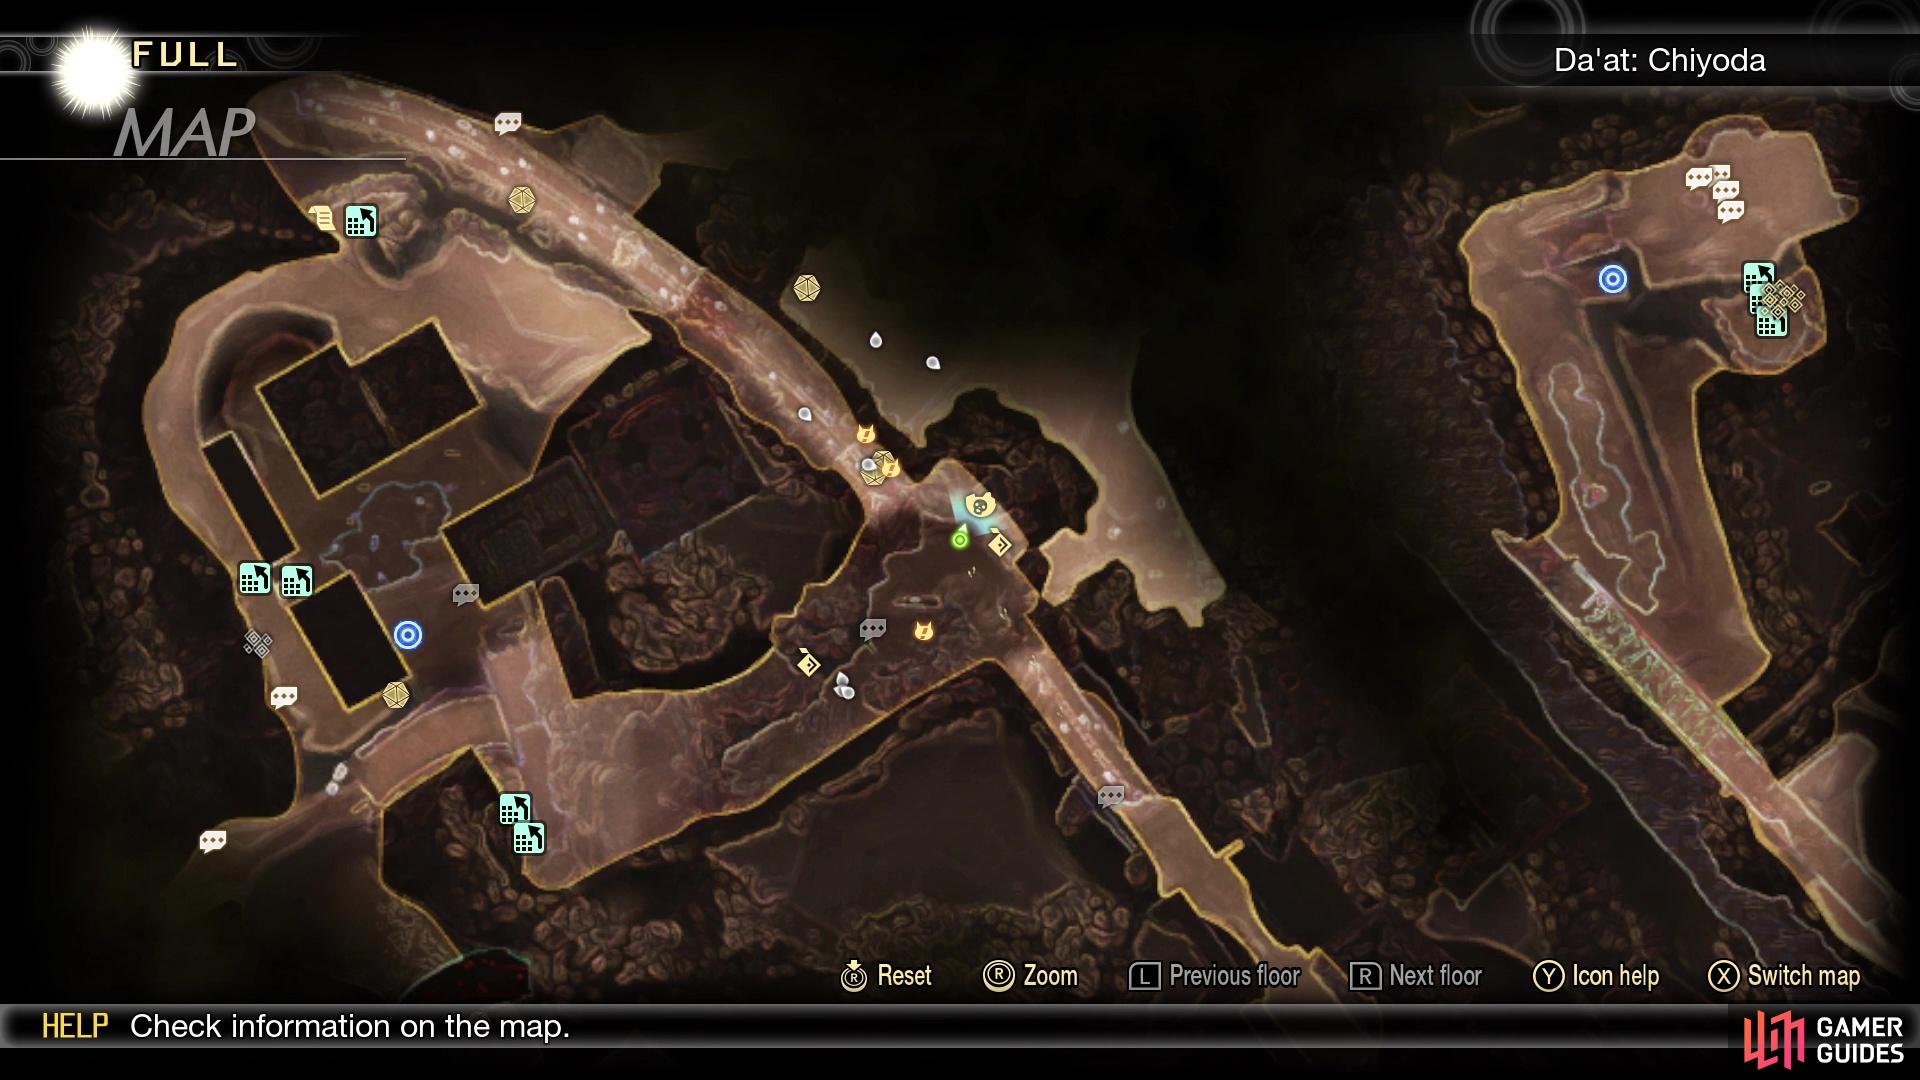
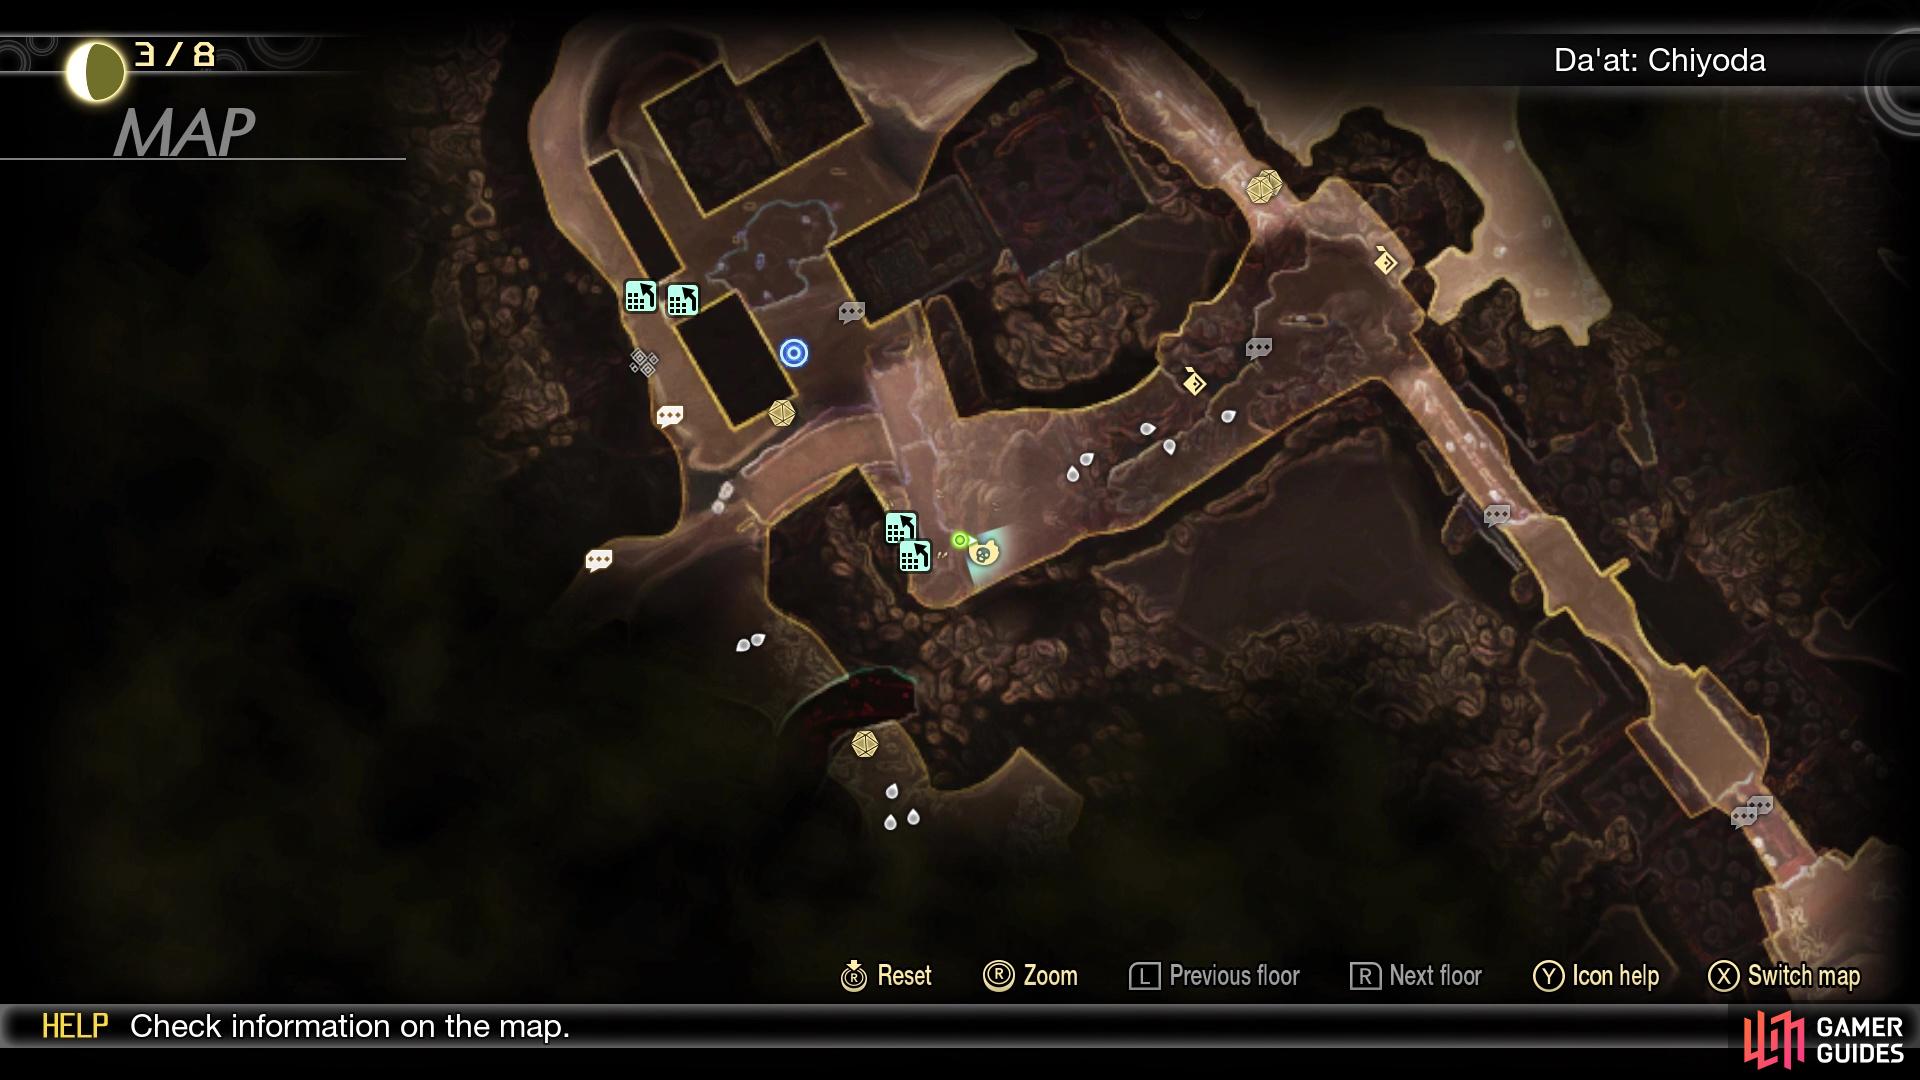
Miman #142 on the map
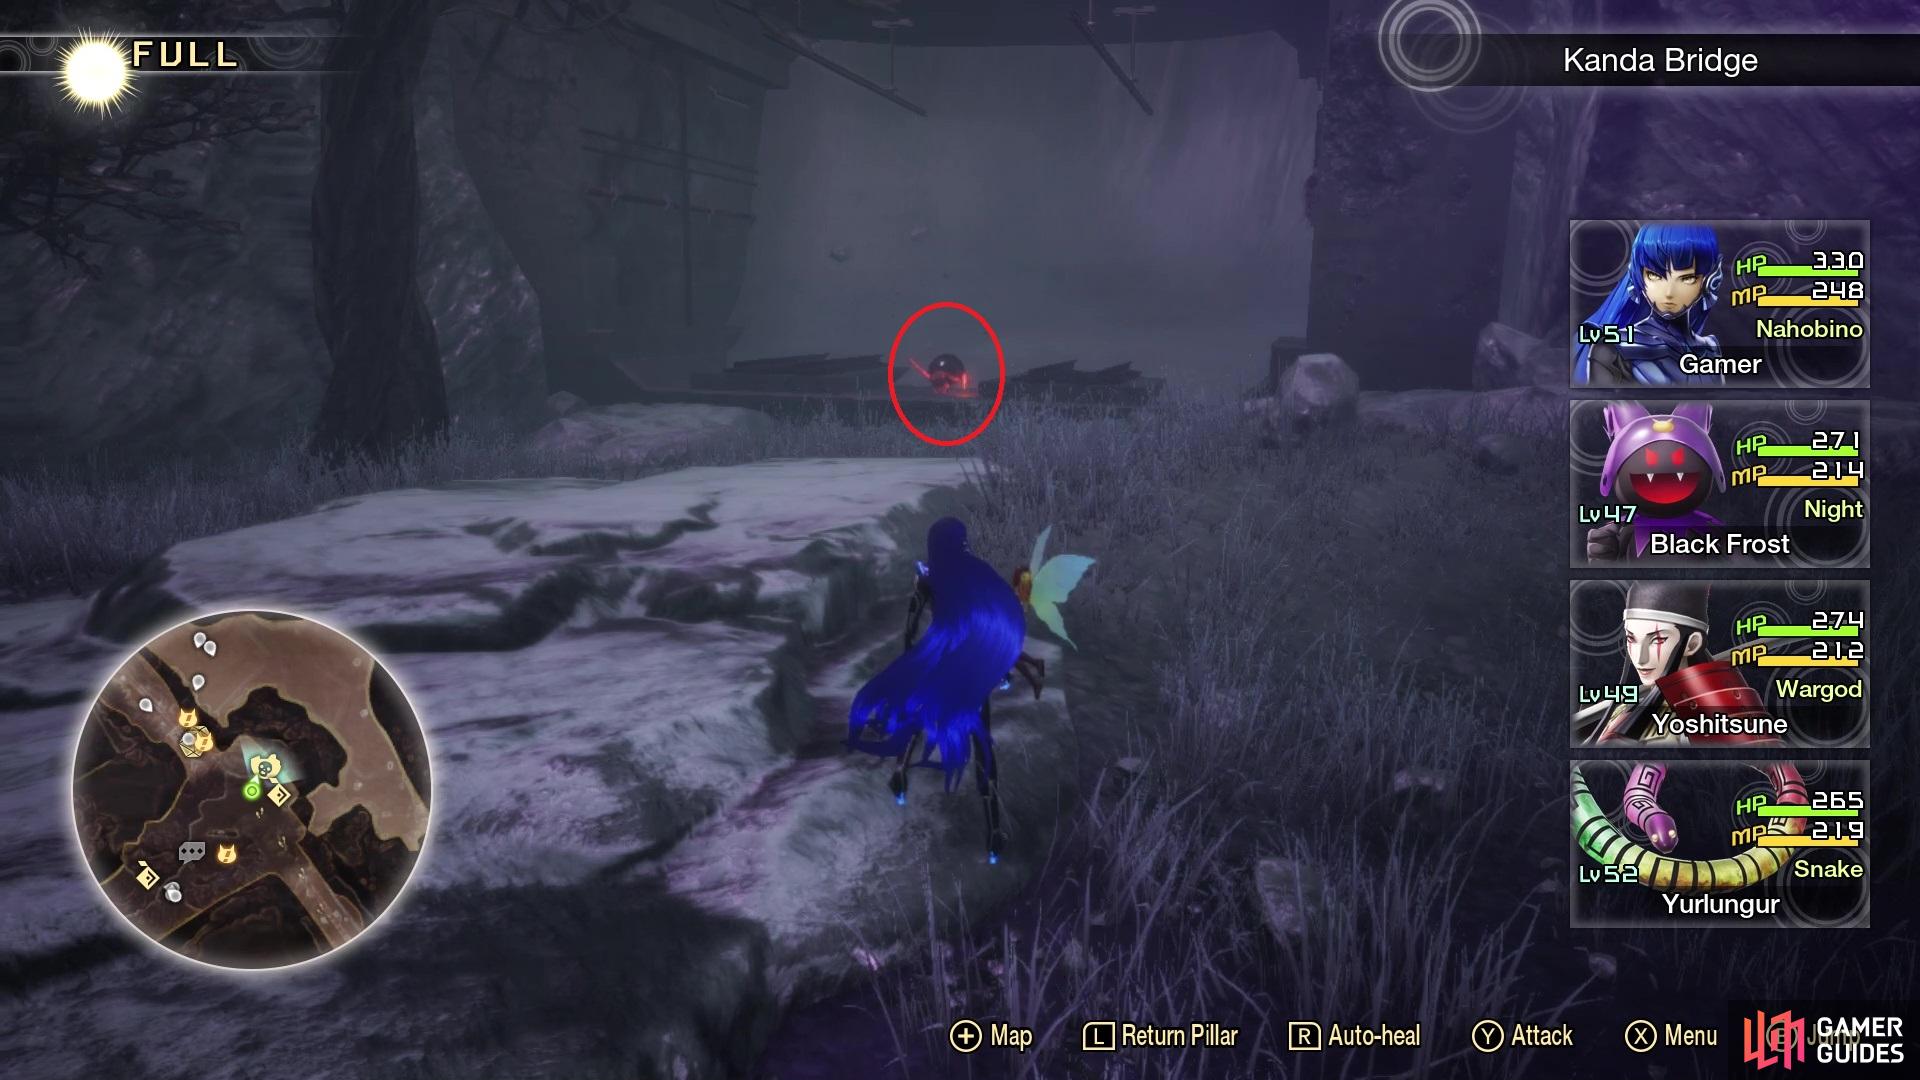
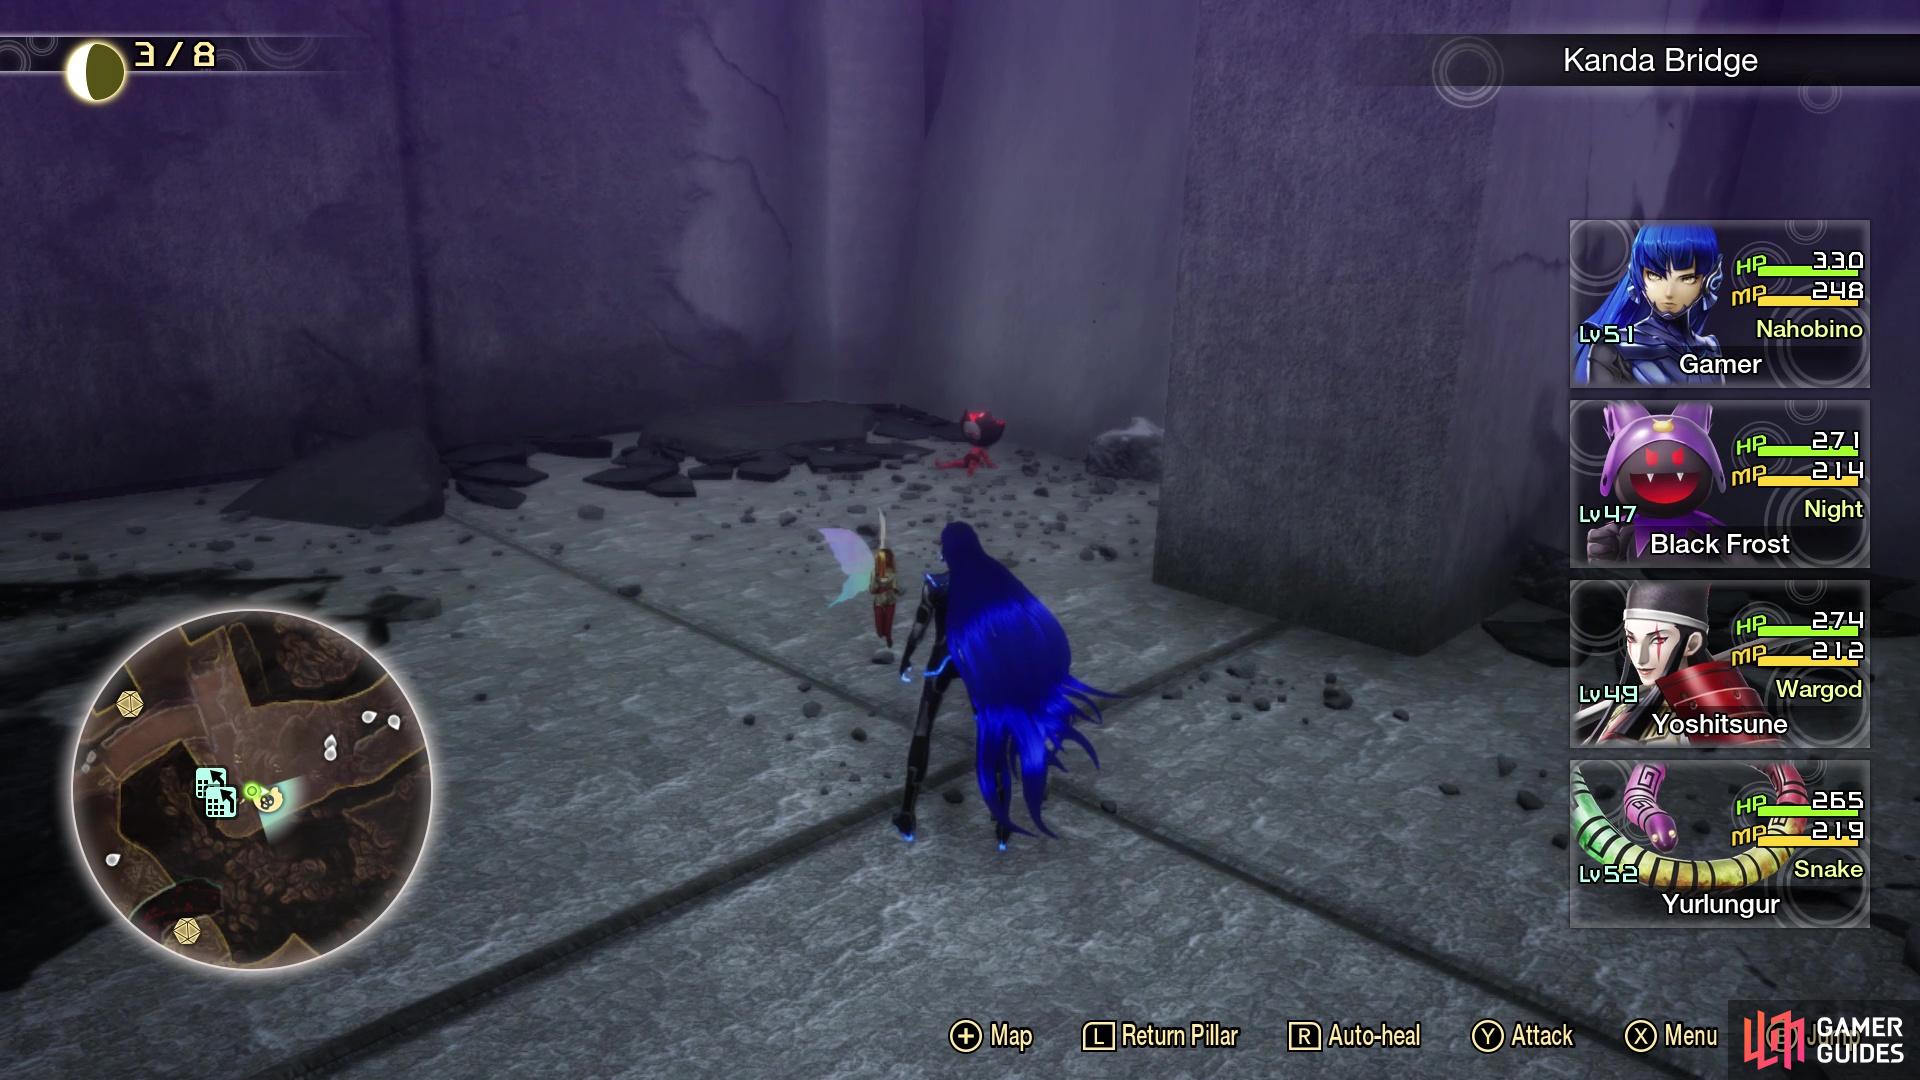
Miman #142 in the game
From the spot where you fought Surt during the main story, head along the road and you will eventually have to drop down to another section. As soon as you do, look in the little alcove in the northeastern corner to find the Miman.
Miman 143
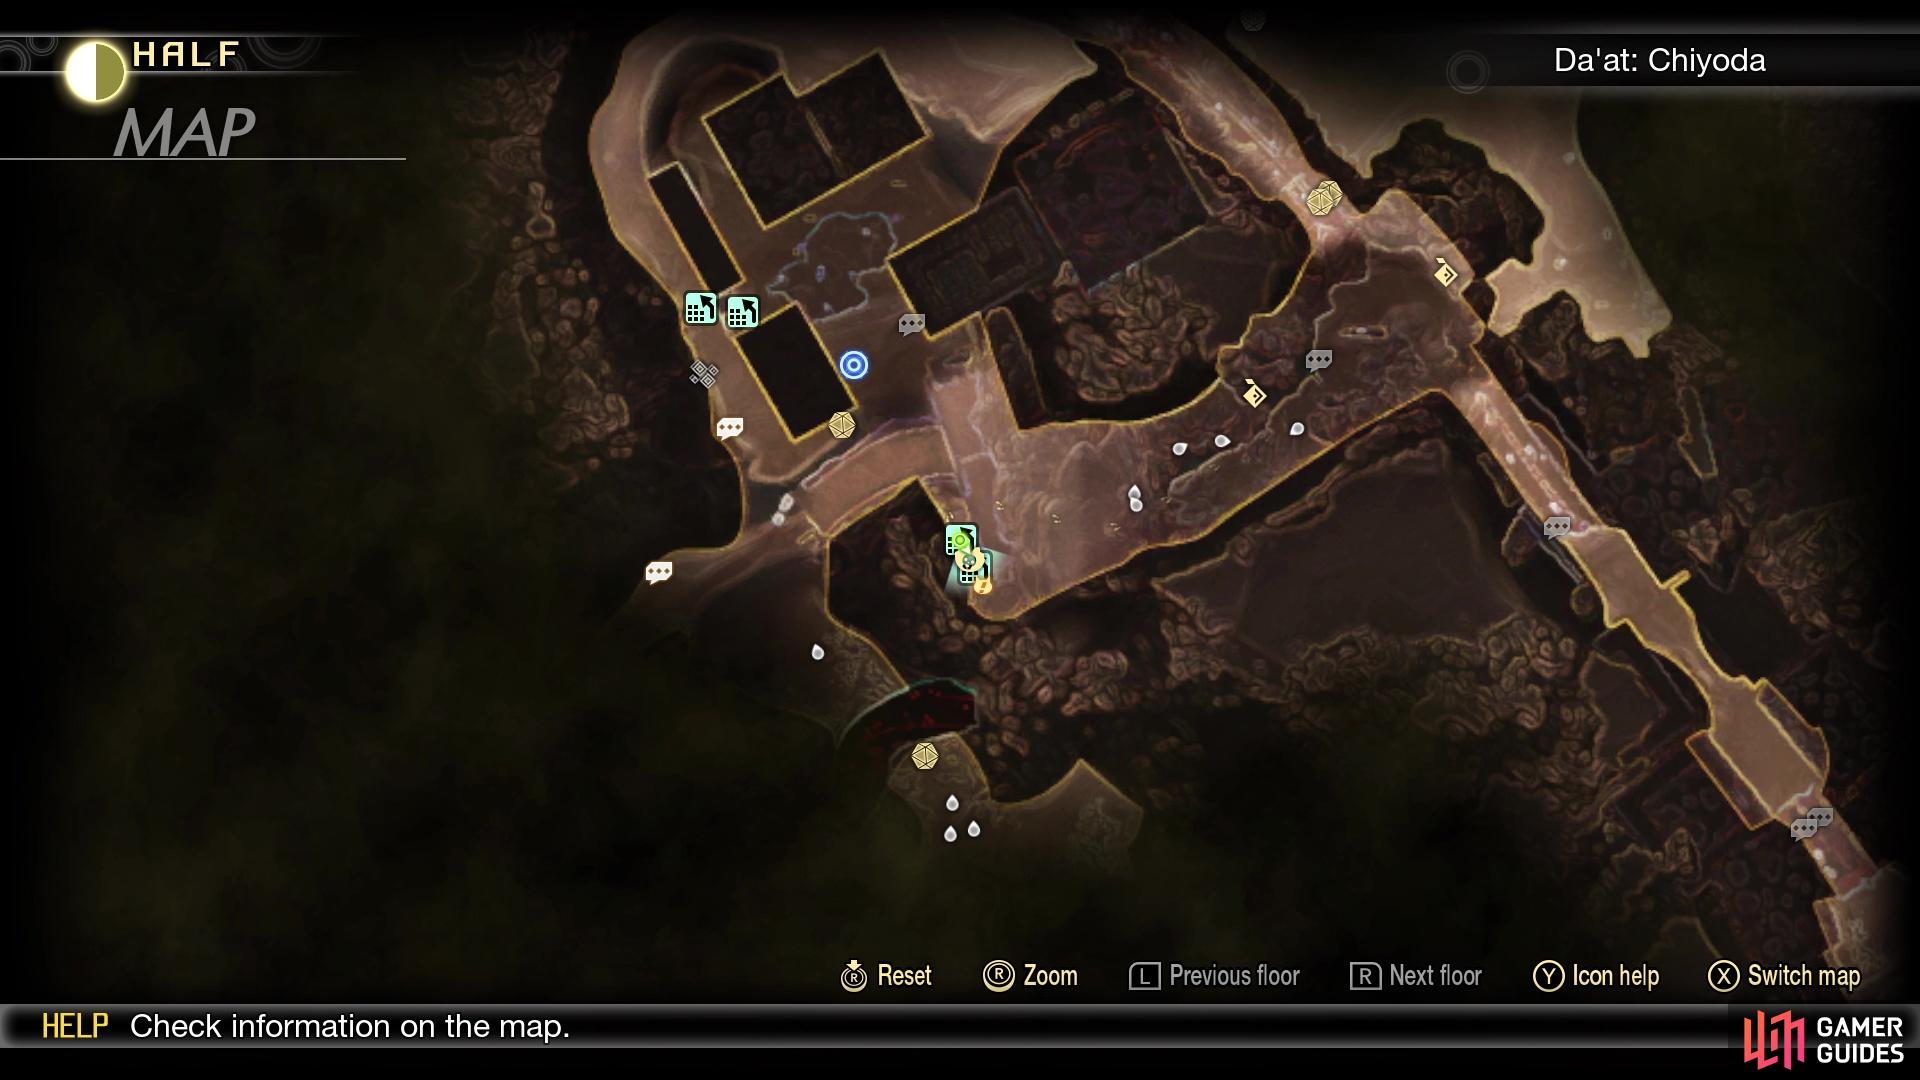
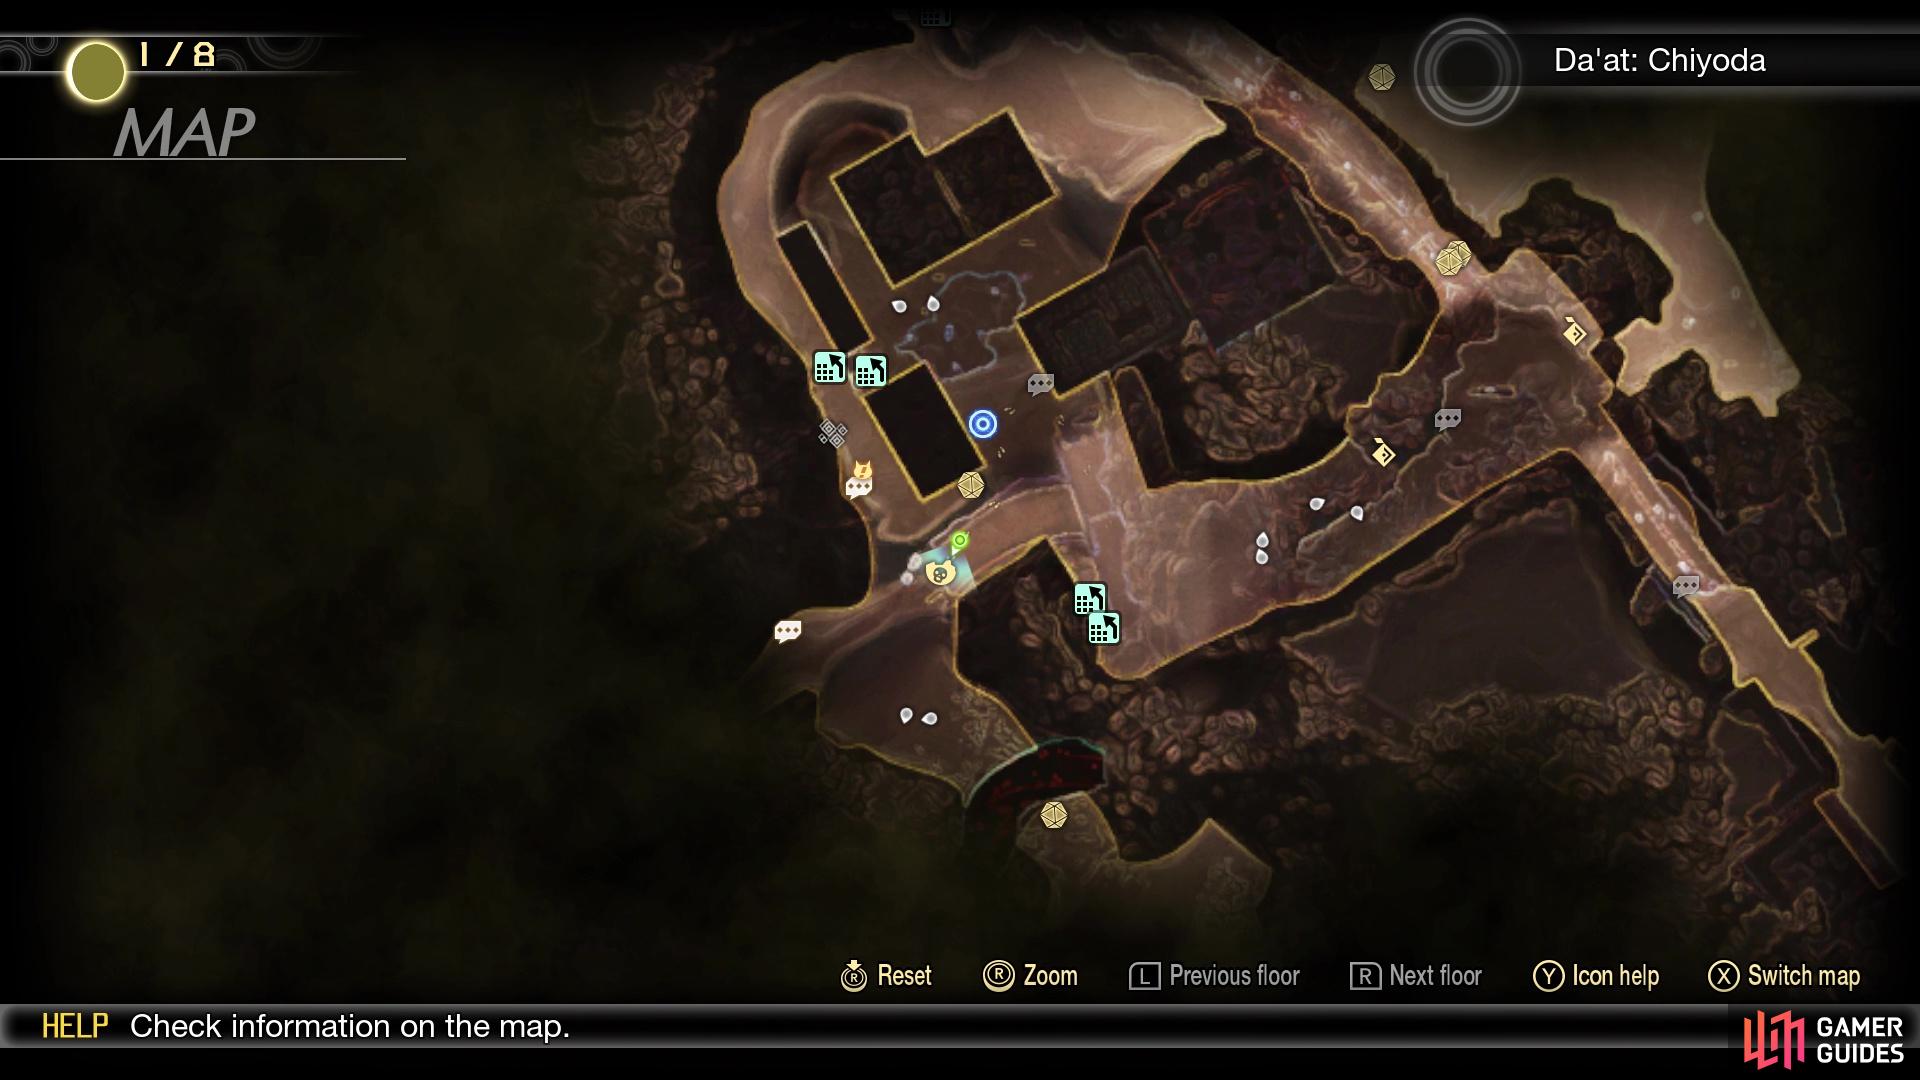
Miman #143 on the map
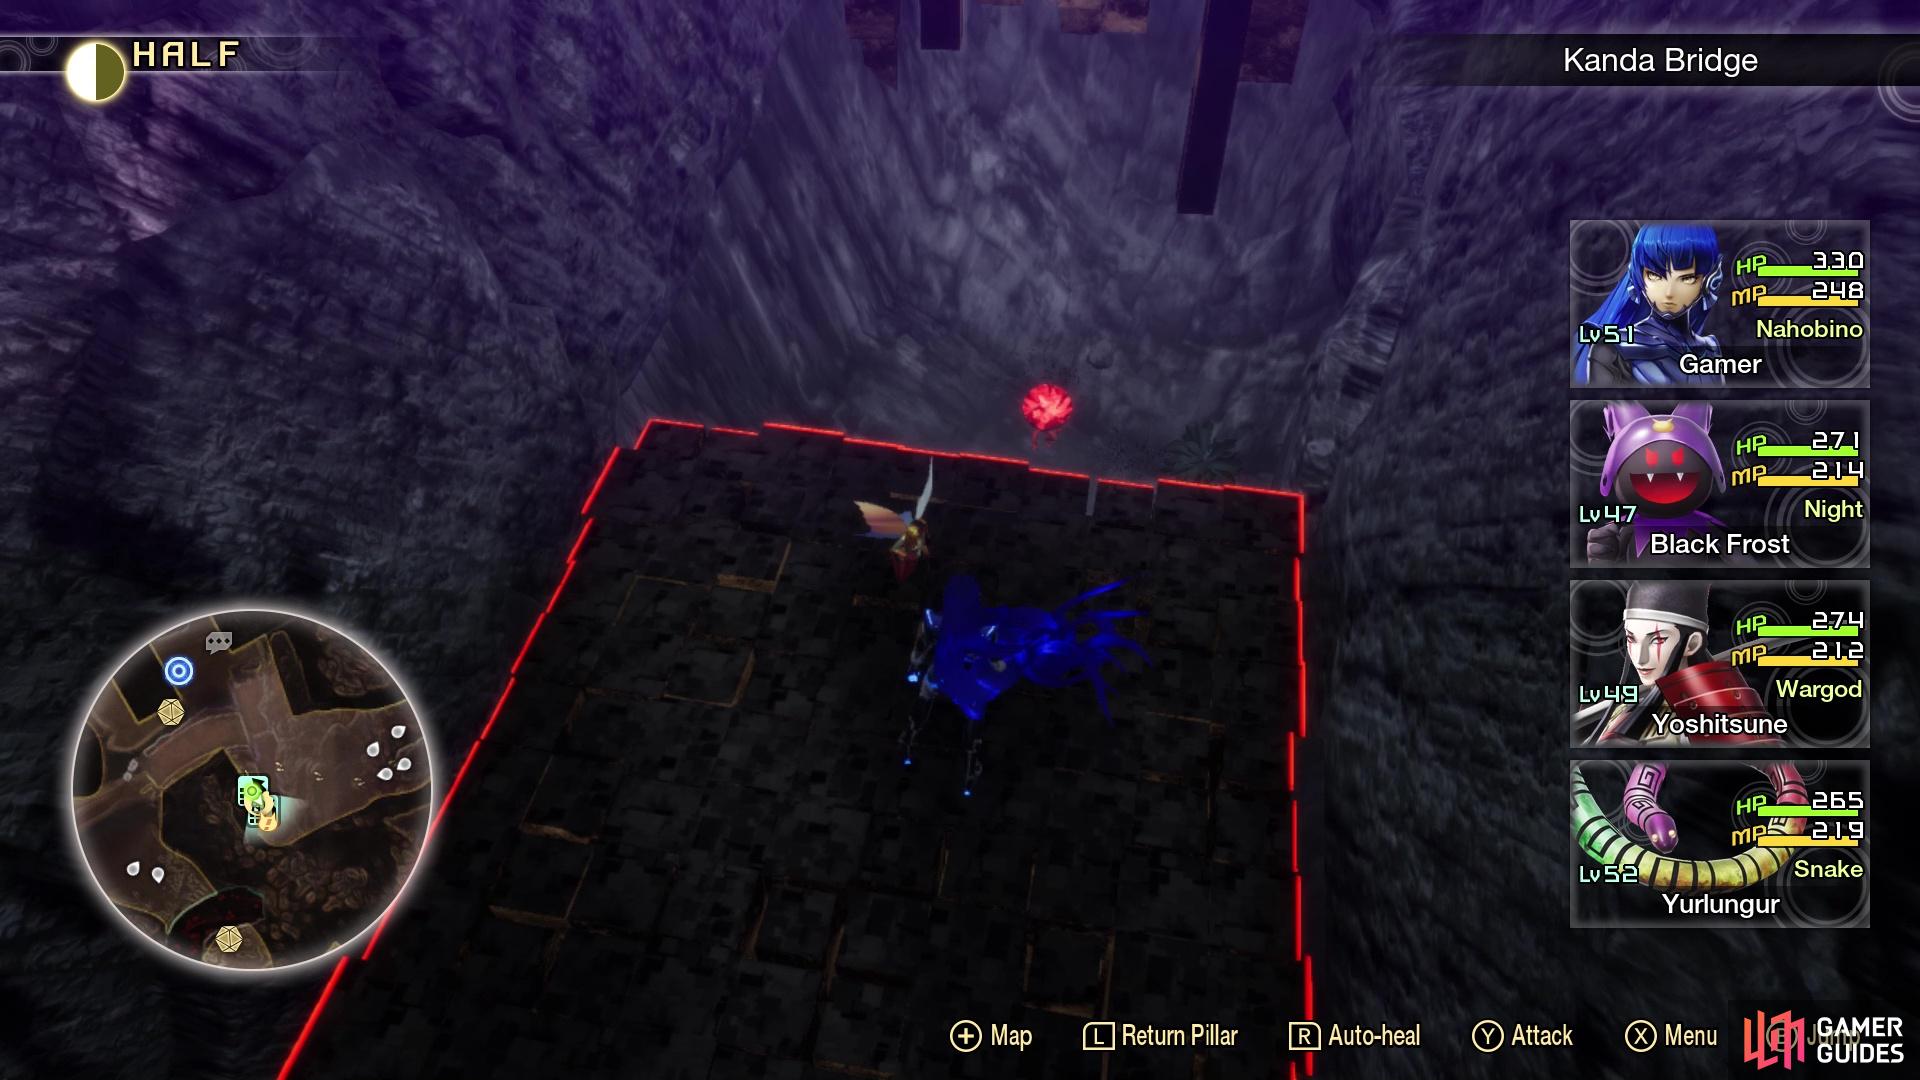
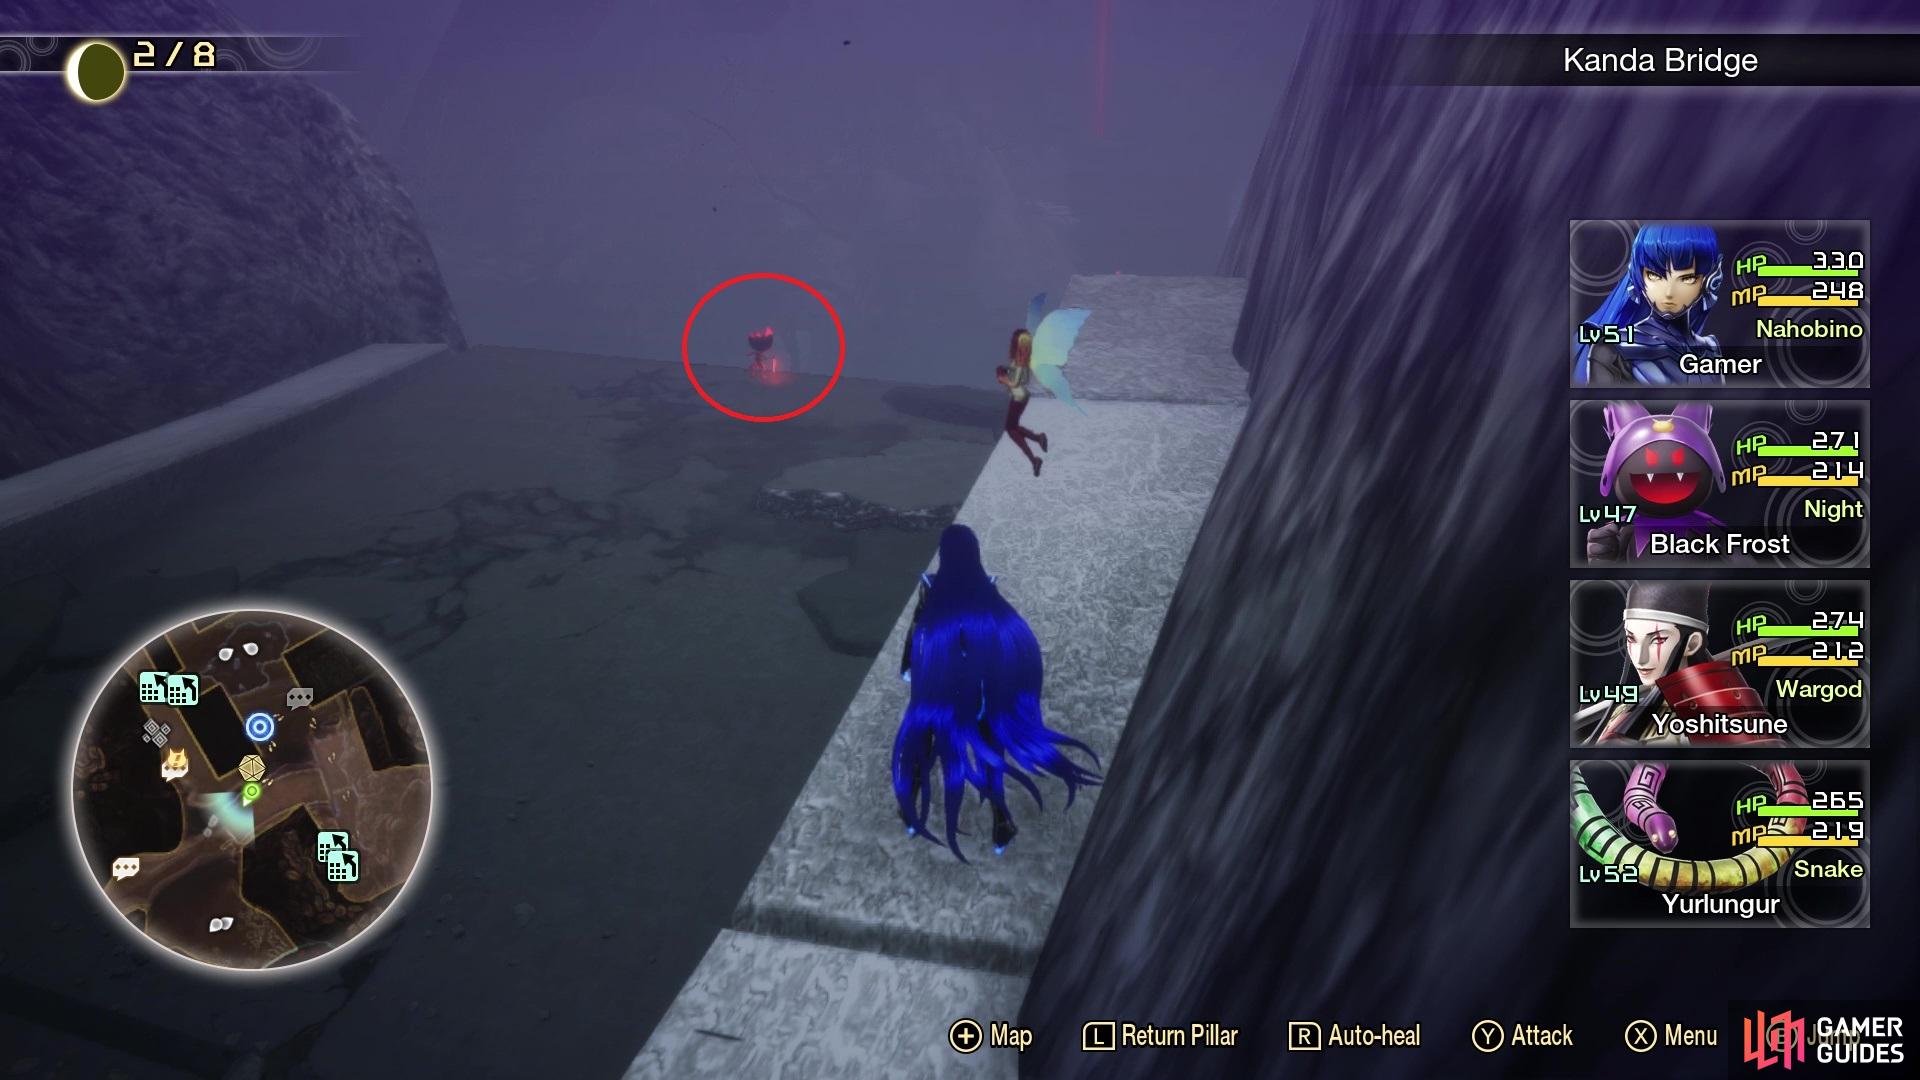
Miman #143 in the game
In the same area as the previous Miman, you will find a Jack-o’-Lantern NPC on the opposite side, who mentions that there will be a split path here, with one trail leading to Otemachi (left) and the other to Tokyo Station (right). Head down the left path and you will eventually reach the dead end, where you’ll find some climbing blocks. Drop down to the ground between the two blocks to discover this Miman.
Miman 144
Miman #144 on the map
Miman #144 in the game
After collecting the previous Miman, climb both blocks mentioned above to get to another tunnel. As soon as you arrive in this tunnel, check the southern end to find the Miman.
Miman 145
Miman #145 on the map
Miman #145 in the game
From the Otemachi Leyline, you will see a tunnel to your south, which is actually above the previous tunnel leading to the leyline fount. Drop down into the tunnel and go to the western edge to find the Miman overlooking the area below it.
Miman 146

Miman #146 on the map
Miman #146 in the game
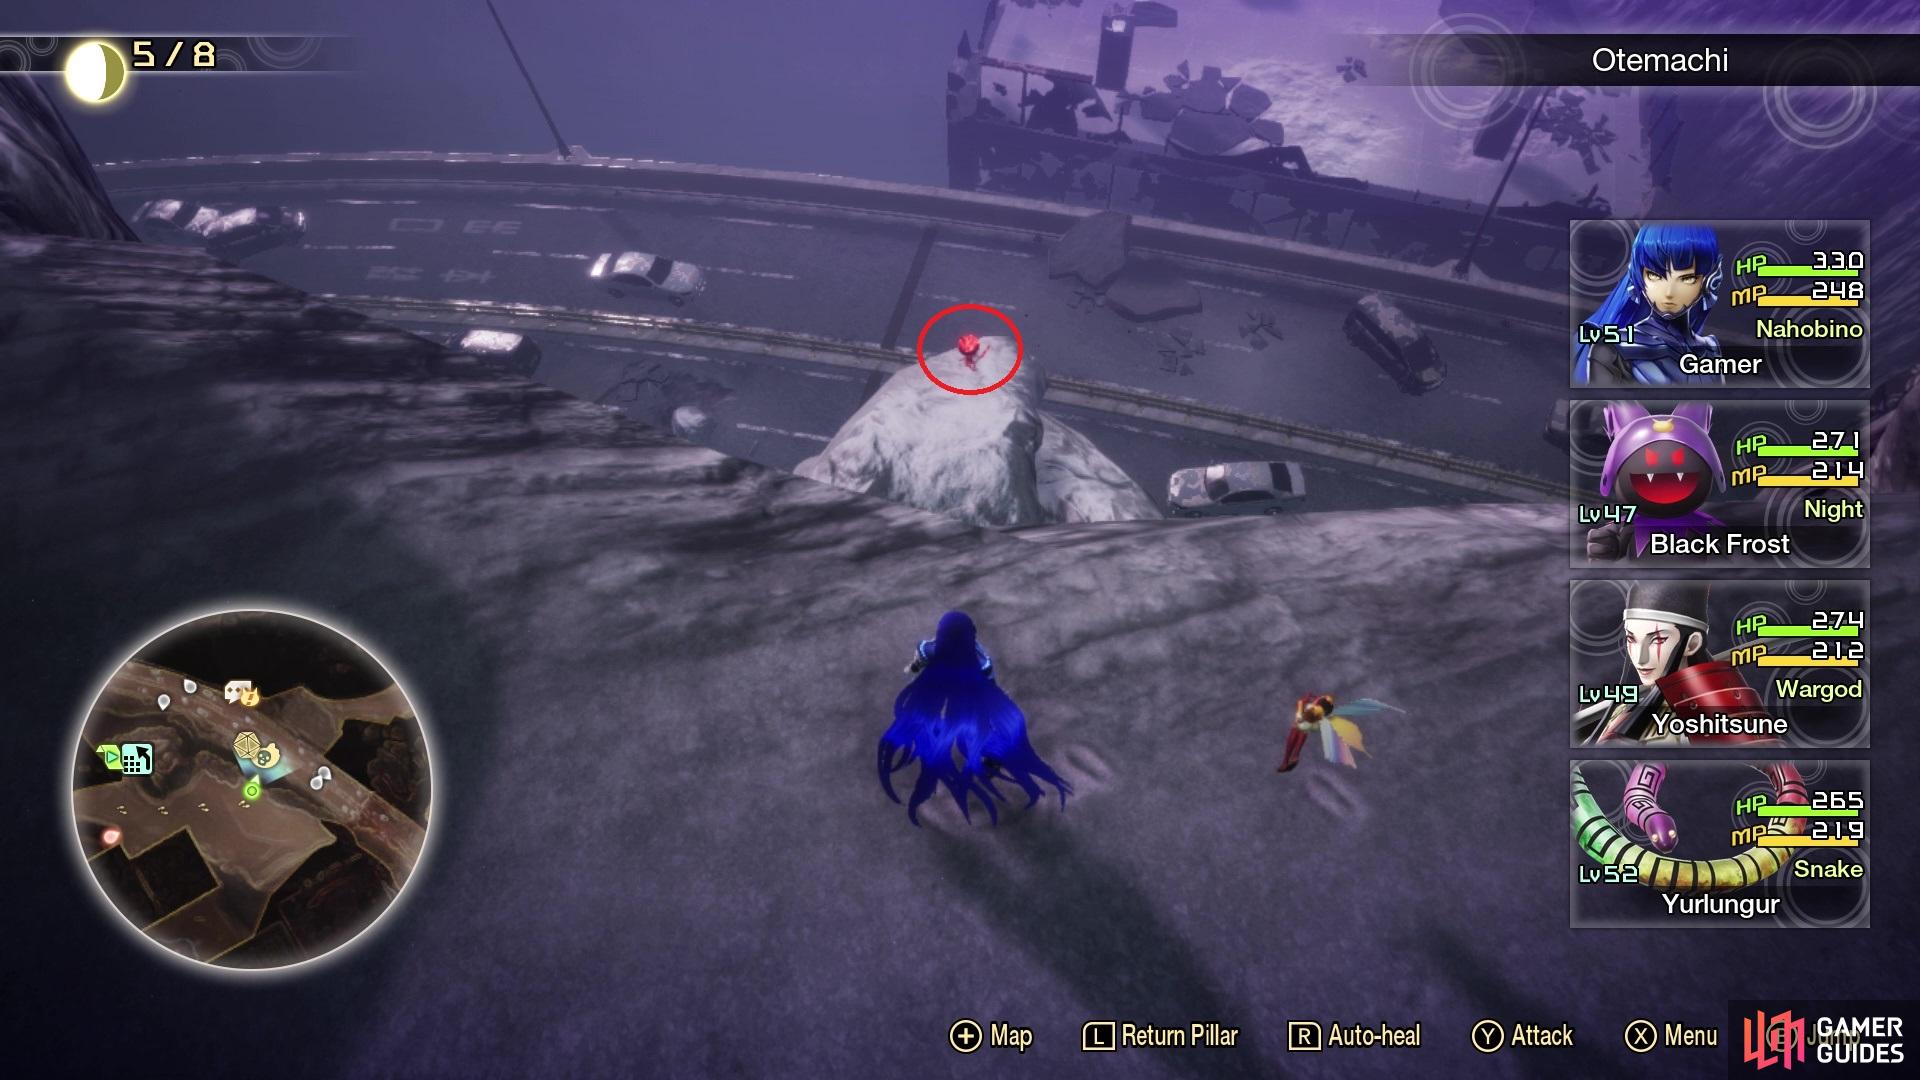
At the Otemachin Leyline, go north a bit, then look west to spy some climbing blocks. Take all of these up to a path with some Anzu flying around it. Keep going until you reach the part where you found the Abscess, then look over the northern edge that’s clear of rocks. You should see some rocks below that you can drop down to, which is only accessible from this spot; the Miman will be on those rocks.
Miman 147
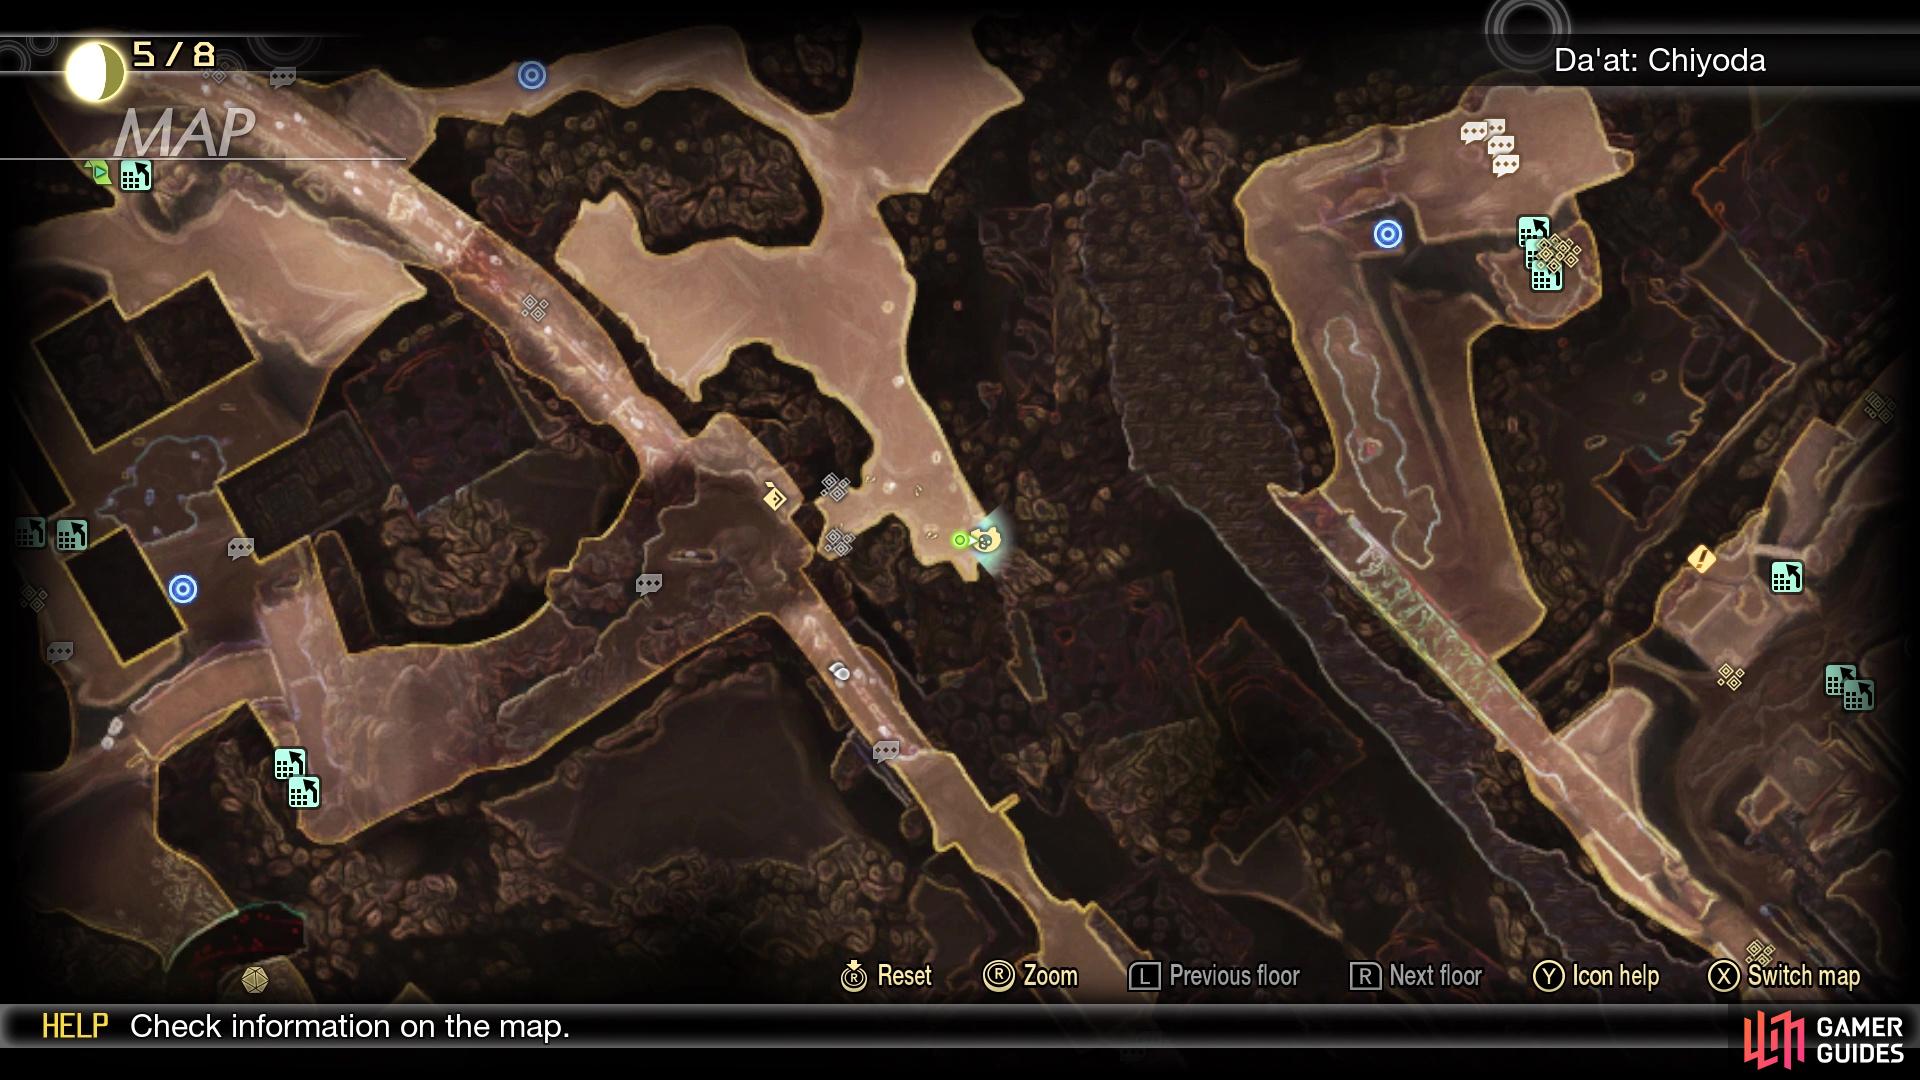
Miman #147 on the map
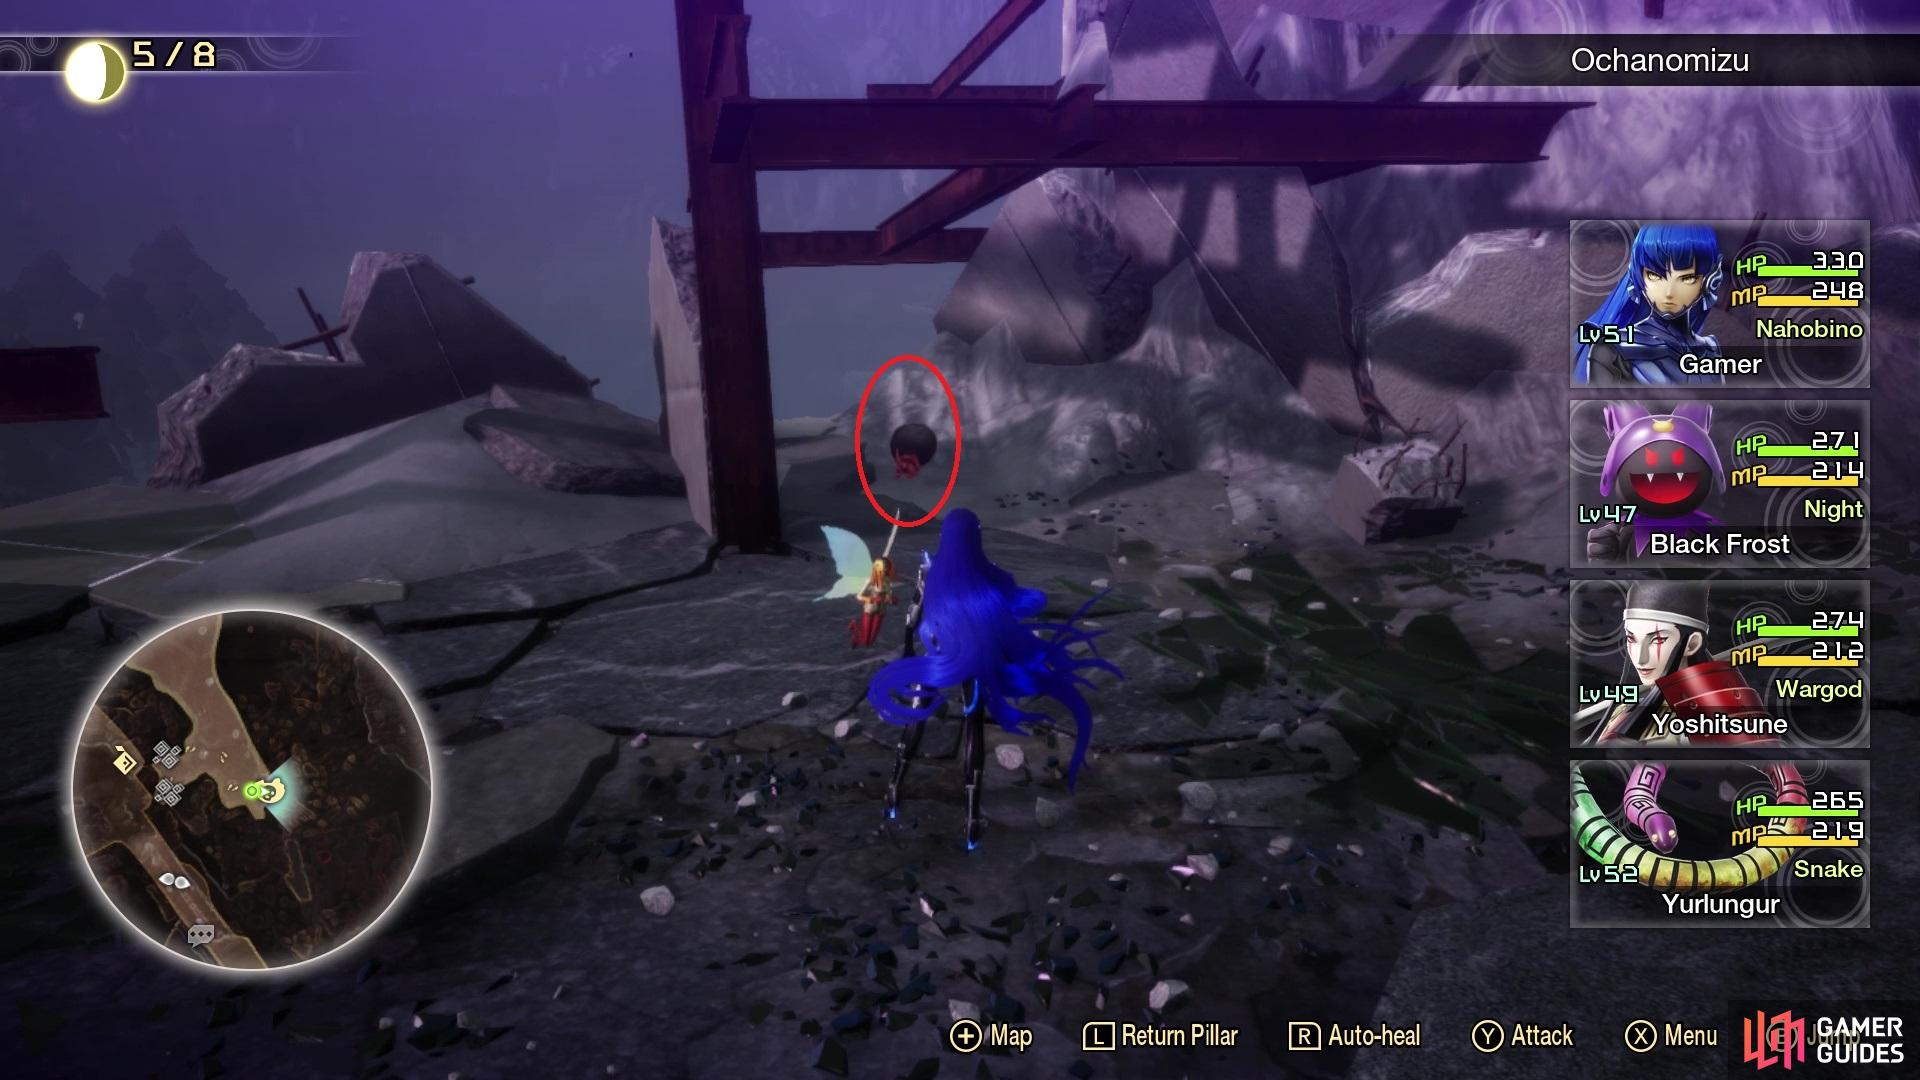
Miman #147 in the game
Directly across from the previous Miman is a building you can jump over to, which has a hill leading to the Ochanomizu Leyline. Continue past it and when you see the fork in the path, start heading straight south. At the southern end, you should notice a bunch of ruins from buildings and amongst that rubble will be the Miman. It can be a little difficult to see, though.
No Comments