
This is a walkthrough for Da’at: Chiyoda of Shin Megami Tensei V, taking place in the Awajicho area. How to complete every objective, find every chest and locate every Miman.
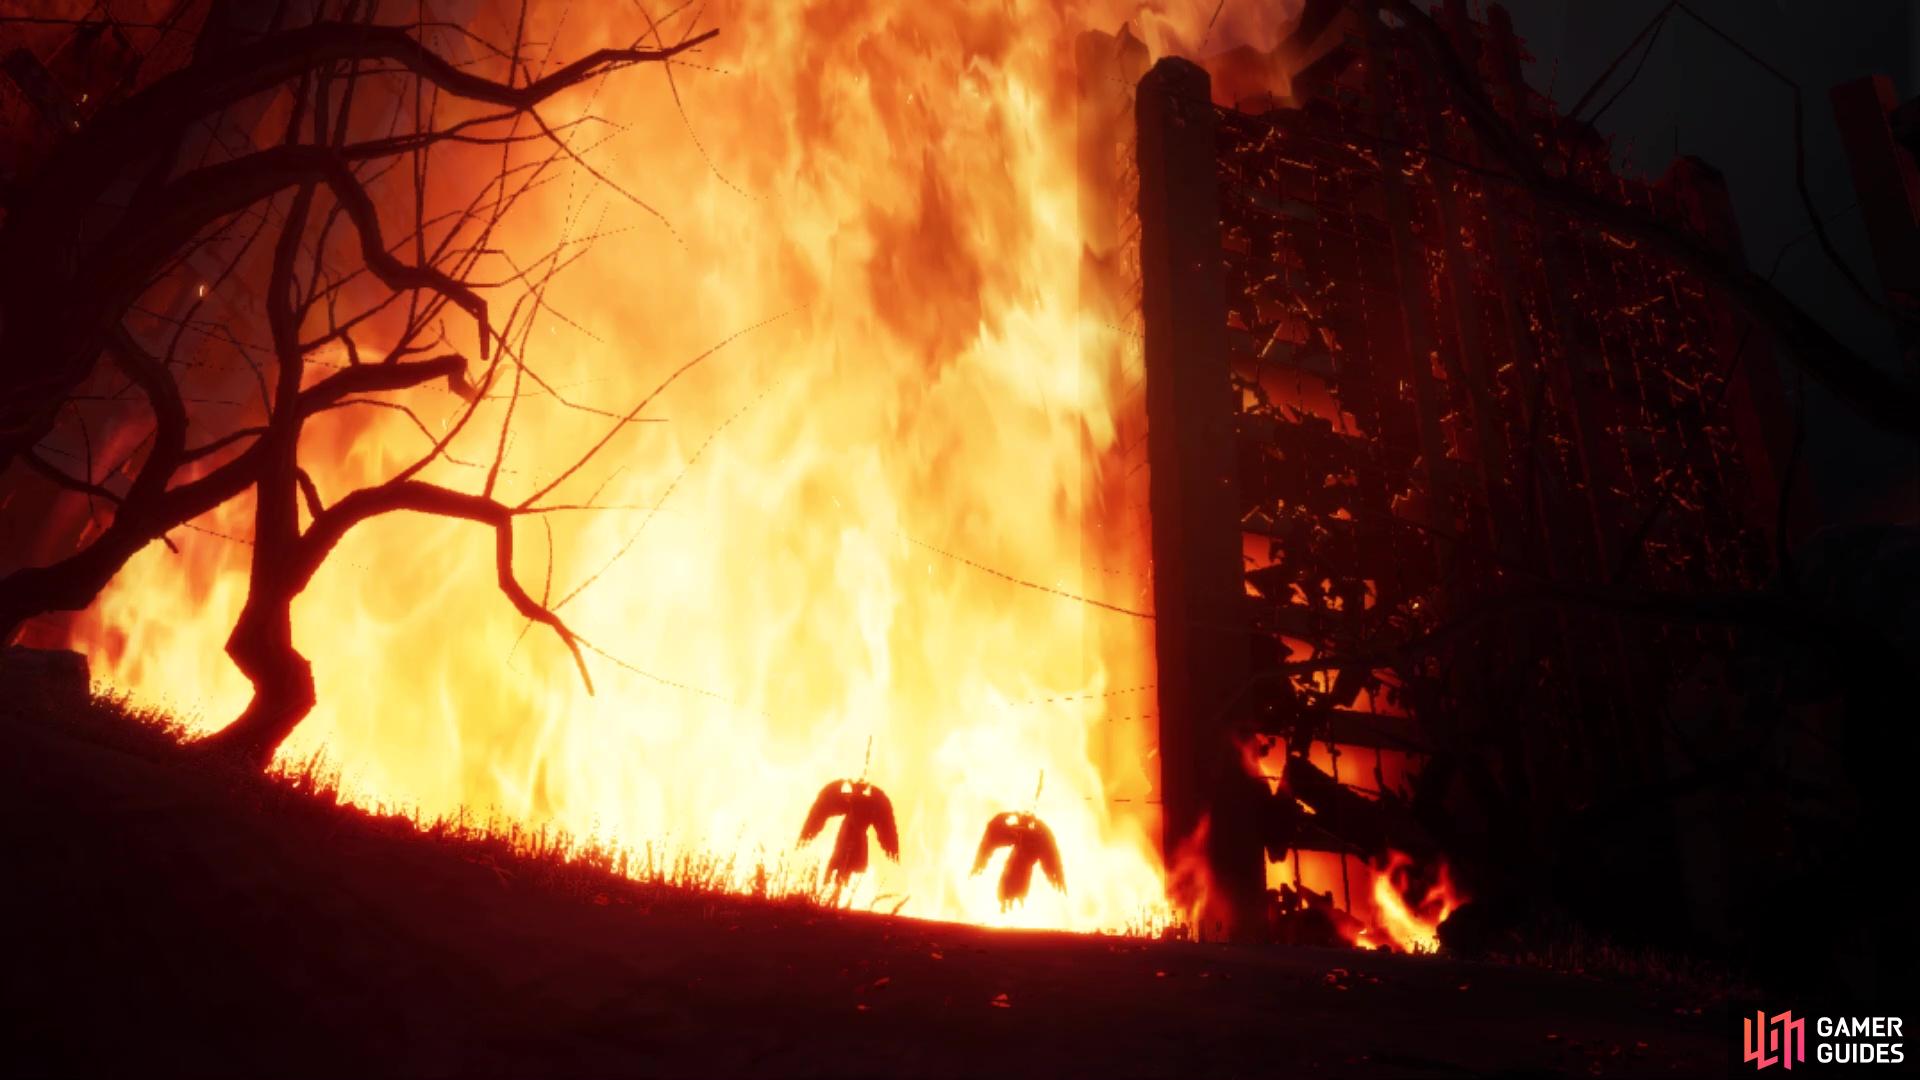
You will need to find a way to get past the giant wall of fire
Demons
| Icon | Name | Lv | Weakness |
|---|---|---|---|
| Succubus | 38 | ||
| Narcissus | 38 | ||
| Valkyrie | 40 | ||
| Naga Raja | 40 | ||
| Kumbhanda | 41 | ||
| Macabre | 43 | ||
| Kaiwan | 45 |
Items
| Name |
|---|
| Kumbhanda’s Essence |
For once, you don’t actually have an Abscess blocking your map, so you don’t have to rush to destroy it to get a clear view of things. You should be starting from the Awajicho Leyline, so move forward a little bit and you will trigger a scene of the giant fire wall. Looks like that one large demon blocked access to himself with the giant wall of fire, and the two Powers standing there want you to find a way to dispel it. This will begin the Hellfire Highway main quest, which will take you through the next two bosses. Continue past those Powers, speaking to the Orthrus, if you want, who mentions there being a shrine past Akihabara that can dispel fire.
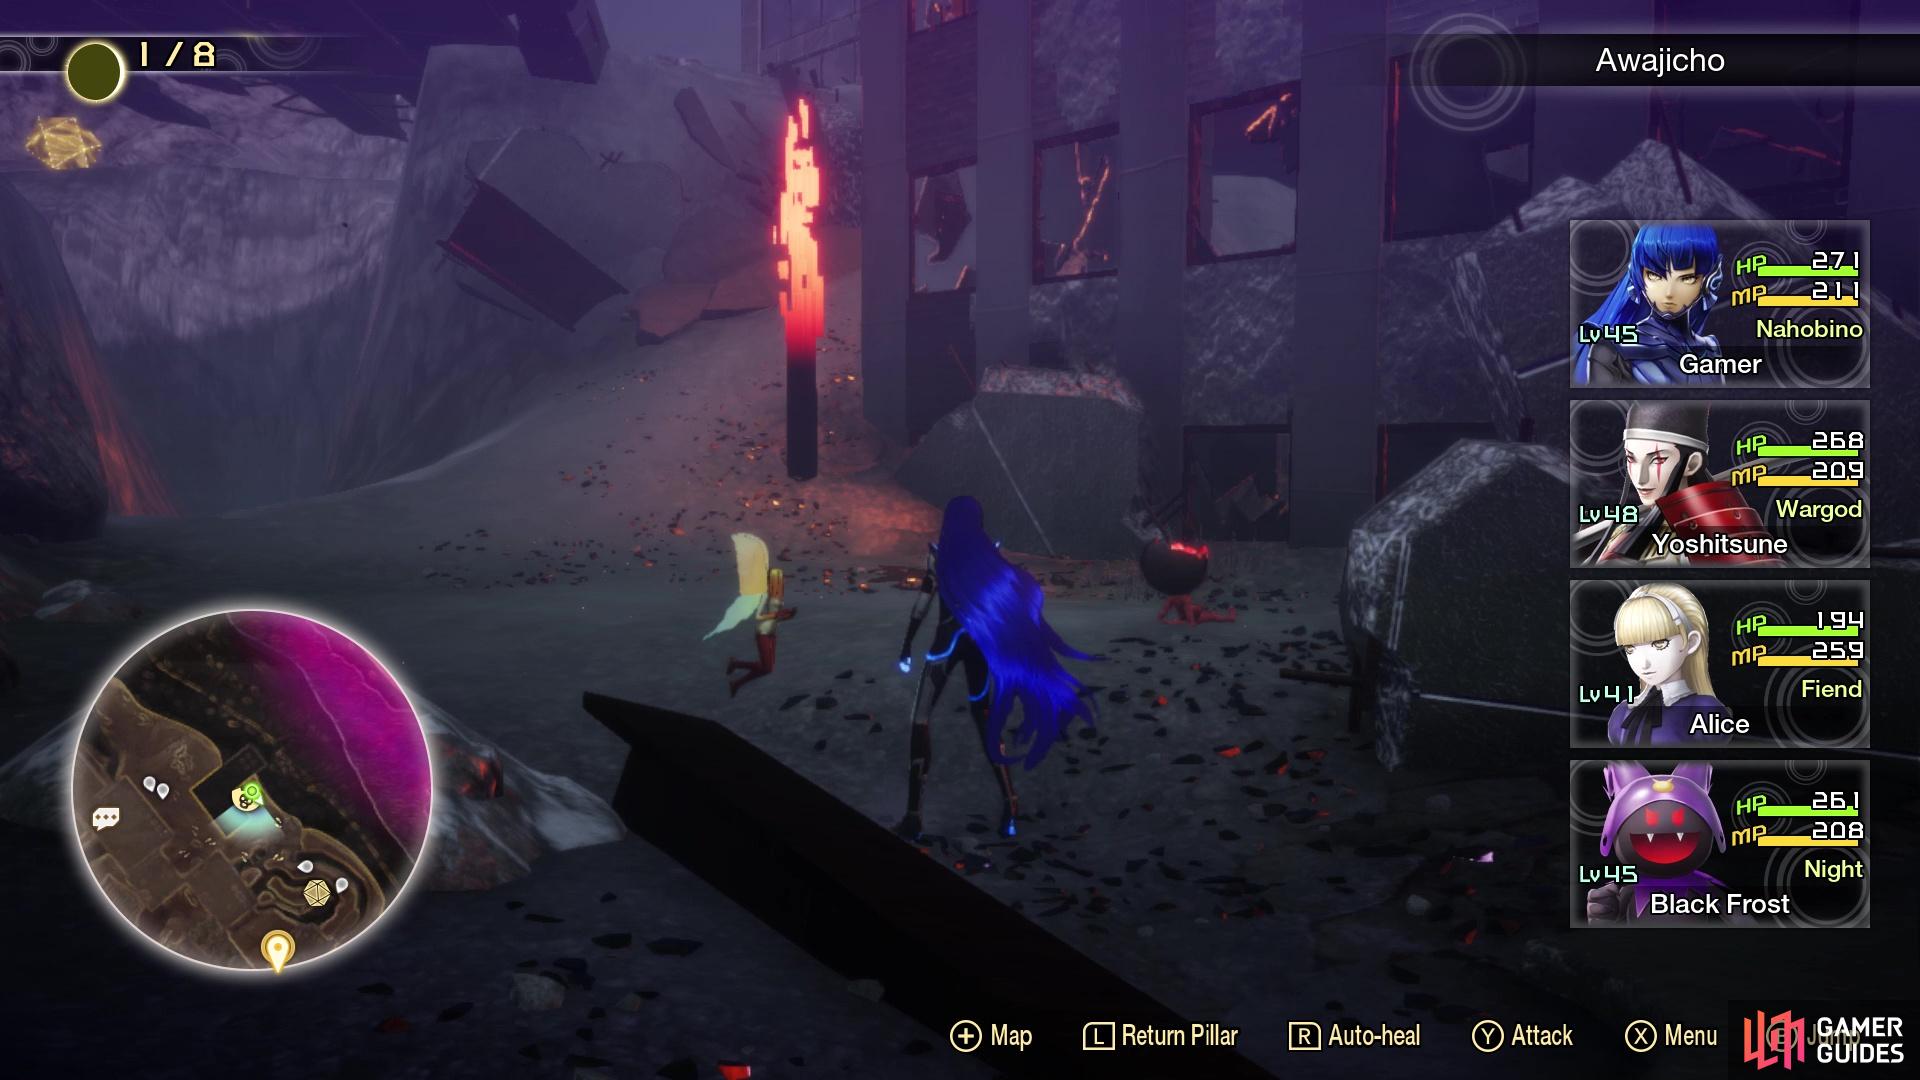
Miman #126 will be in a little alcove by the two makeshift bridges
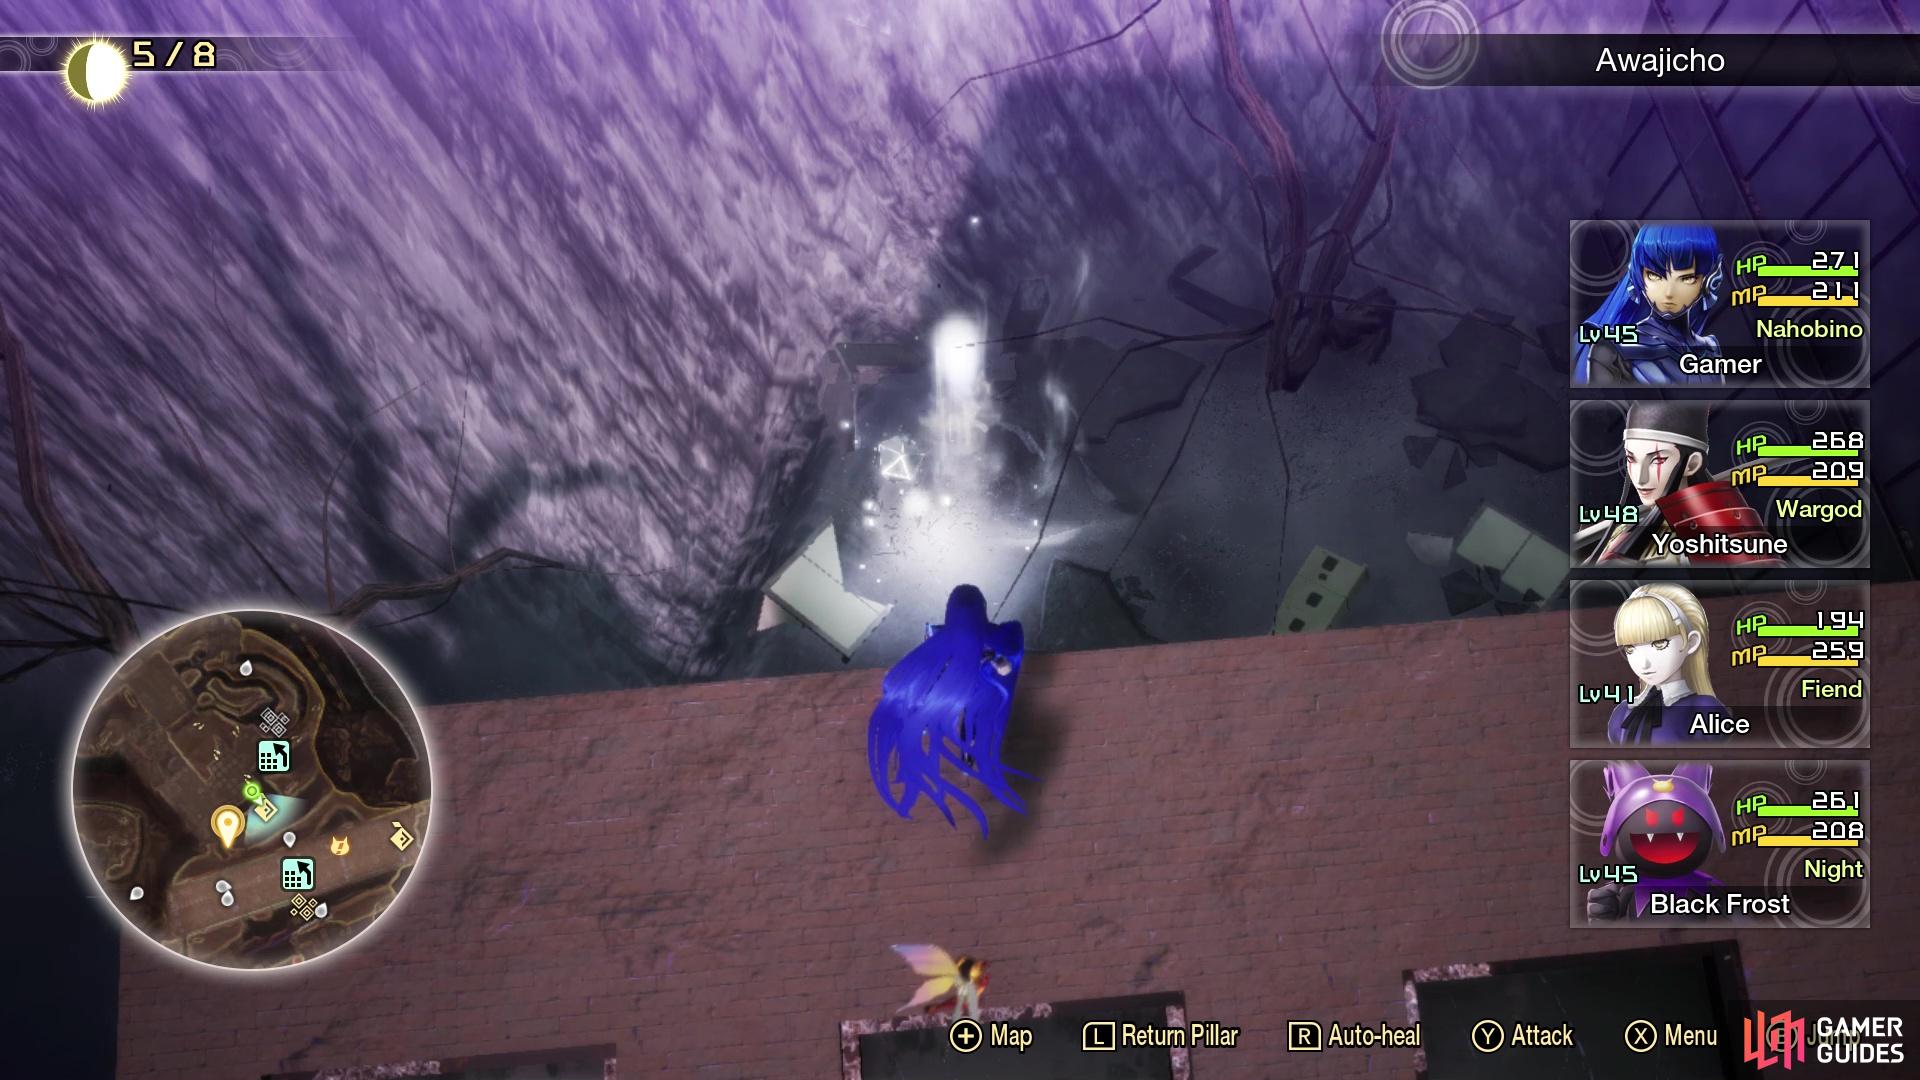
Look down from this sloped building to find Amalgam #23
On the ruined building ahead of there, you will find Ichiro hiding behind a pillar, although he says nothing of importance. Keep moving forward, until you reach some makeshift bridges, with some Kaiwan floating around them. Cross the one bridge without the orbs, and bust open the Treasure Box there for a Kumbhanda’s Essence. Double back to the split and look for the hill going downwards, as you will be going underneath those bridges now. At the bottom of the hill, look in the little dead end to spot Miman #126. Follow the trail down here to the very end, where you will find a few vending machines, so loot them and get back to the bridges.
Take the trail with the orbs and you will eventually come to a slanted building. At the top of it, you can drop down to a little section, where you will find Amalgam #23. Return to that slanted building and approach the Power standing there for a scene, in which he tells you about being attacked by someone wearing a hat, as well as the shrine the Orthrus told you about before. As soon as he’s gone, go directly behind him to find Miman #127 underneath the train tracks. If you follow the path pointed out by the Power, it can take you to a climbing block, where you can drop down for some vending machines.
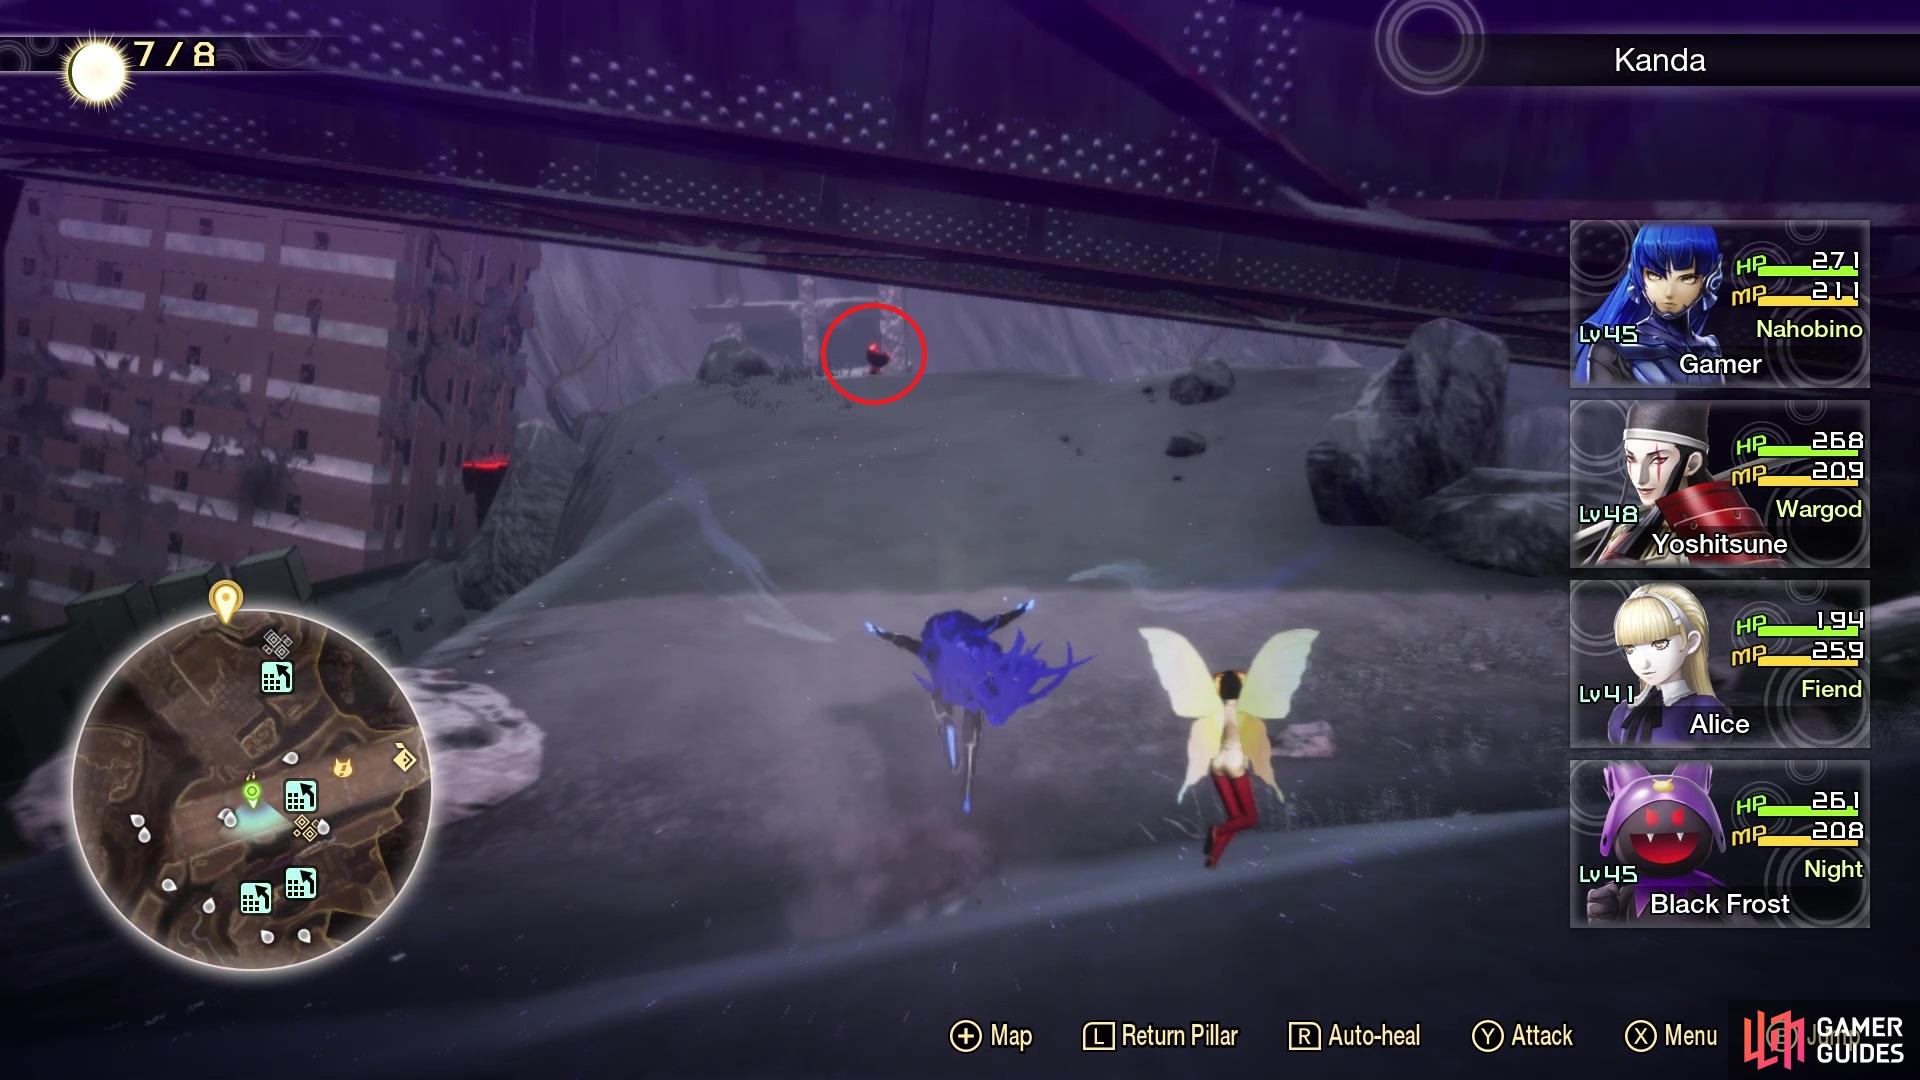
Ignore the rest of that path, though, as it brings you to where you need to go and there’s one more thing to acquire here. Return back to where the Power was located and go in the opposite direction, onto the buildings. Follow these buildings until you reach a NPC named Moloch, who isn’t important right now, but will be part of a quest later. If you look over the side to the west, you should see another building below you, which will have Miman #128 on it, so jump down and grab it. Find the way back to where the Power was once more, and look for the little bit that allows you to get on top of the tracks. Head all the way to the end for Amalgam #24, then drop down to register the Akihabara Leyline. You will get a warning from Aogami as you move forward, which means a boss fight is coming up, so prepare for the bout.
Boss: Shohei Yakumo
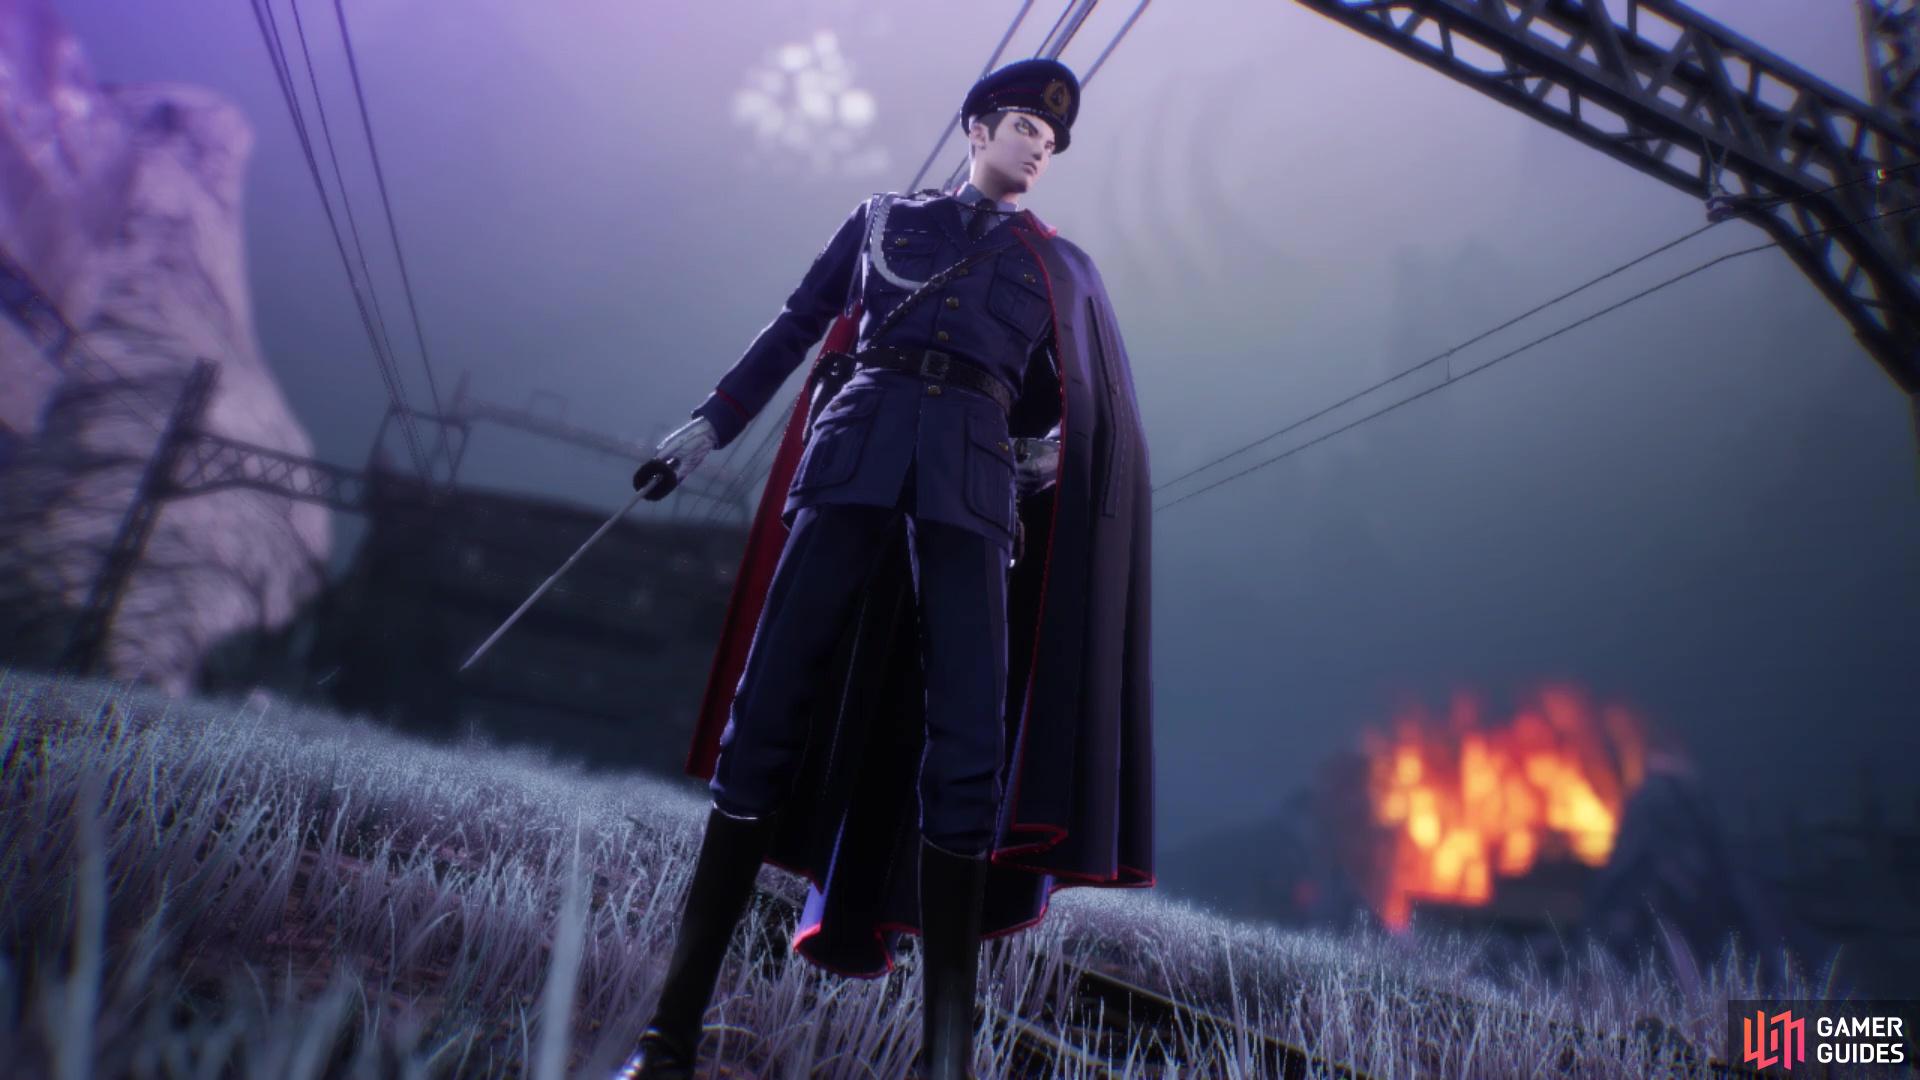
Shohei Yakumo will finally fight you just past the Akihabara Leyline
| Icon | Name | Lv | Weakness |
|---|---|---|---|
| Shohei Yakumo | 46 |
| Type | Skill | Effect |
|---|---|---|
| Galvanic Slash +2 | Heavy Electric Strength-based attack to 1 foe. | |
| Mazionga +2 | Medium Electric attack to all foes. | |
| Fatal Sword +3 | Medium Physical attack to 1 foe. High chance of Critical. | |
| Deathbound +3 | Medium Physical attack to all foes. | |
| Tarukaja | Raises Attack of 1 ally by 1 rank for 3 turns. | |
| Dekaja | Negates status buff effects on all foes. | |
| Mist Rush +3 | 2~4 medium Physical attacks to random foes. Chance of inflicting Mirage. |
Shohei is a very tough boss, as he has very high Strength and can deal a lot of damage. The biggest problem, depending on your build, is that Shohei is resistant to both Physical, so you will have to resort to Magic and elemental attacks to bring him down. He is also only resistant to Electric, despite having access to Electric-type skills. That’s the one good thing about Shohei, as he doesn’t block any damage types, so you’re not going to be losing any turns, unless he manages to dodge any of your attacks. Other than Physical and Electric, he is neutral to everything else, and will be weak to Dark attacks.
Shohei also has access to some Physical-based skills, so things can get a little dicey, in terms of how to go about it. Belphegor is an ideal candidate for this battle, as he resists both Electric and Physical, while also have access to Mudoon. Likewise, you should have a Belphegor’s Essence, too, from exploring, so you can pop that on the Nahobino. While Alice doesn’t have any resistances that help in the battle, she has strong Dark attacks and also learns Dark Pieroma to make them pack an extra punch. Yoshitsune can resist Physical and while most of his prowess revolves around Physical attacks, you can give him ones that debuff the boss.
Additionally, Yoshitsune learns Puncture Punch naturally, which can bypass Shohei’s resistance to Physical, meaning Yoshitsune can contribute to the damage. Galvanic Slash is a heavy Electric Strength-based attack that only hits a single character, so this could possibly one-shot a demon that might be weak to Electric. Fatal Sword hits one character and has a high chance of Critical, while Deathbound just hits the entire party. One of the more annoying moves in his arsenal is mist Rush, as it hits multiple times (randomly, though) and has a chance to inflict Mirage. This ailment makes it a little harder for you to connect with attacks and if there’s more than one target, you might accidentally hit the wrong one (won’t happen here, of course).

Shohei is a very strong boss, with high Strength
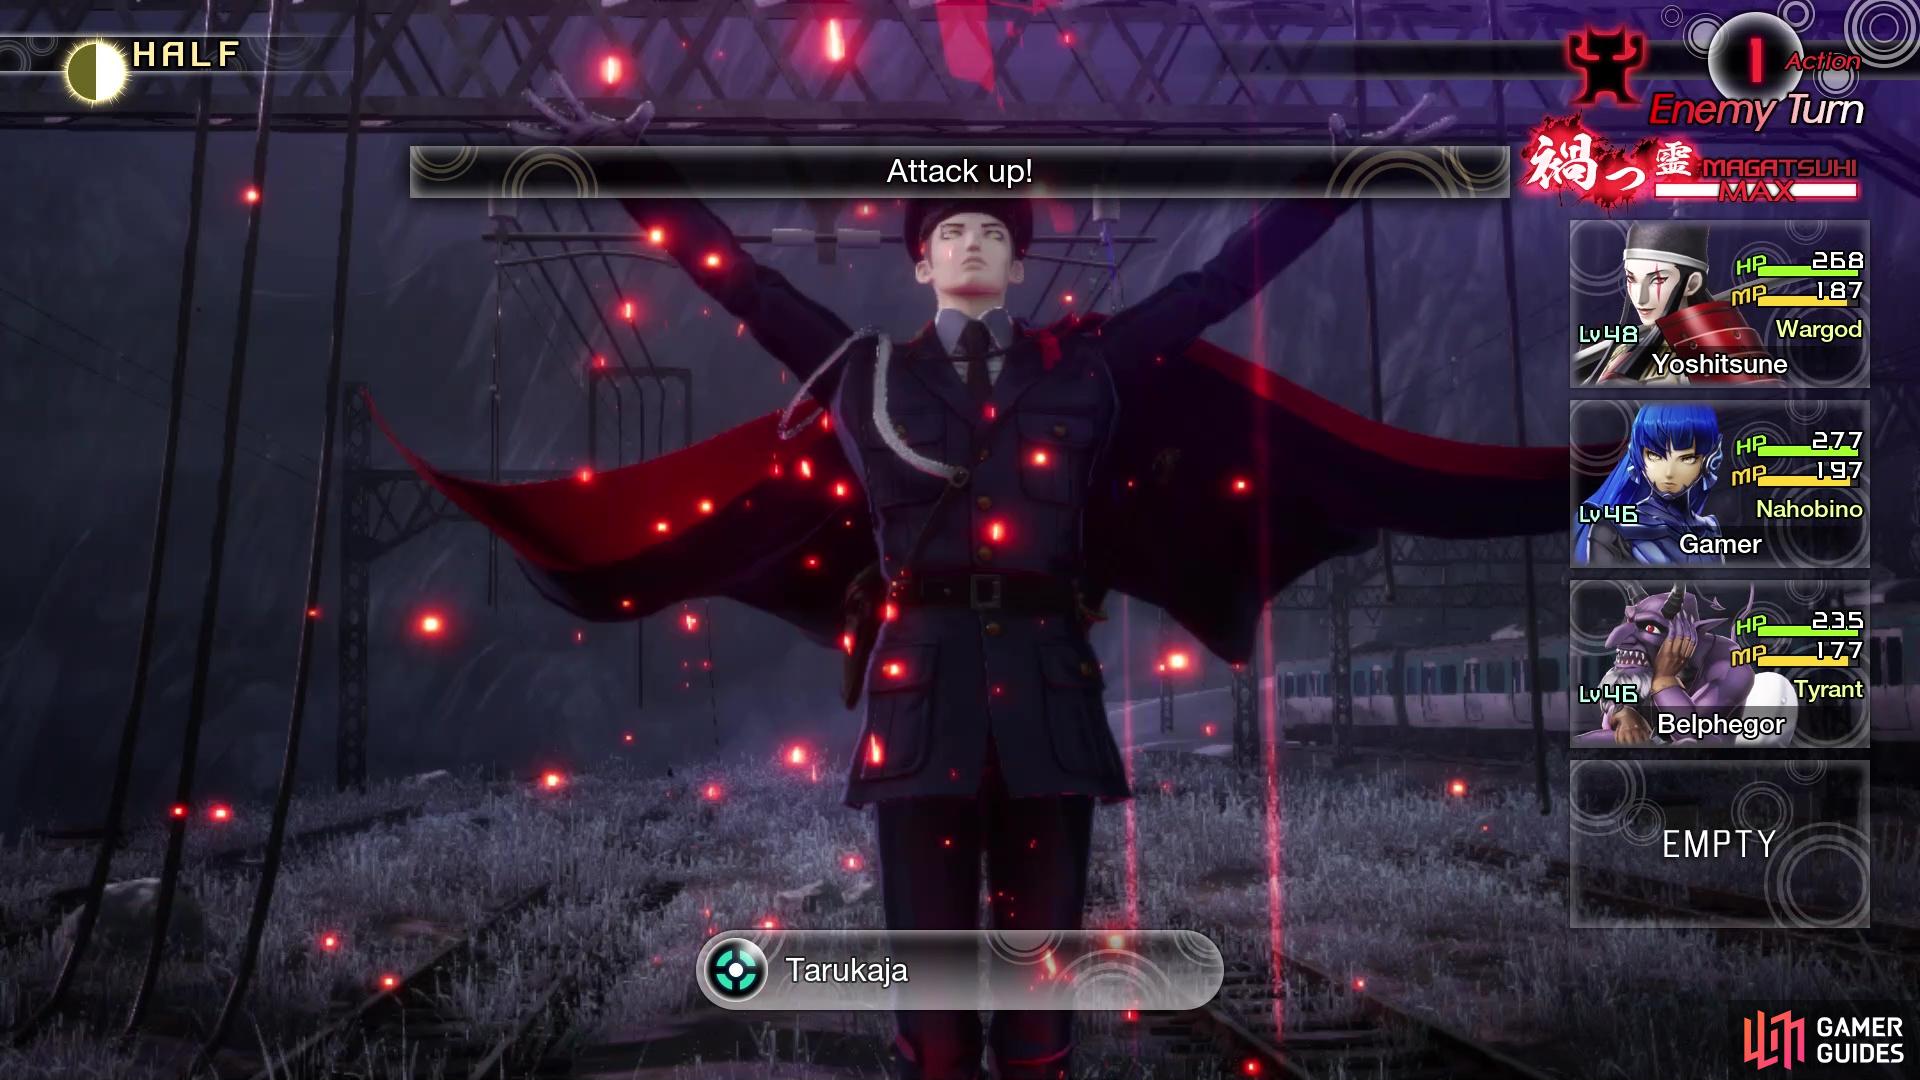
He will continually raise his attack power with Tarukaja
By far, two of the more annoying/dangerous abilities that Shohei has aren’t even ones that deal damage. Tarukaja is something you have seen time and time again, as it buffs up the attack of a single target. Considering Shohei is strong enough as it is, you definitely want to counter this with Tarunda or any skill that reduces the attack. Likewise, you might have a difficult time buffing your characters, since Shohei can remove those buffs with Dekaja. Thankfully, he doesn’t seem to use this too often, but you don’t want to be buffing too often, just to have him negate them. A single buff of something like Matarukaja/Marakukaja/Masukukaja is the ideal way to go about things.
After the battle is over, Shohei will ask you a question, so answer whatever you want, then move forward a little bit to have Aogami ask you another. Again, the answer doesn’t really matter, but that will bring an end to this page, with some more areas opening up before you.
No Comments