
There are 200 Mimans hidden throughout the four regions of Shin Megami Tensei V. This page will list the locations for the Nihonbashi, Kanda, Uchikanda, and Iwamotocho areas of the Chiyoda region.
Miman 112
This one is located close to the One Mokoi’s Trash quest giver. Right near that NPC, you can go through another hole in the wall of the building, out to a piece of road that has some Lamia on it. While standing on the road, peer over the side with the trees, where you should be able to see a ledge underneath the road on which you can drop down. Do that, then look underneath the road to find the Miman.
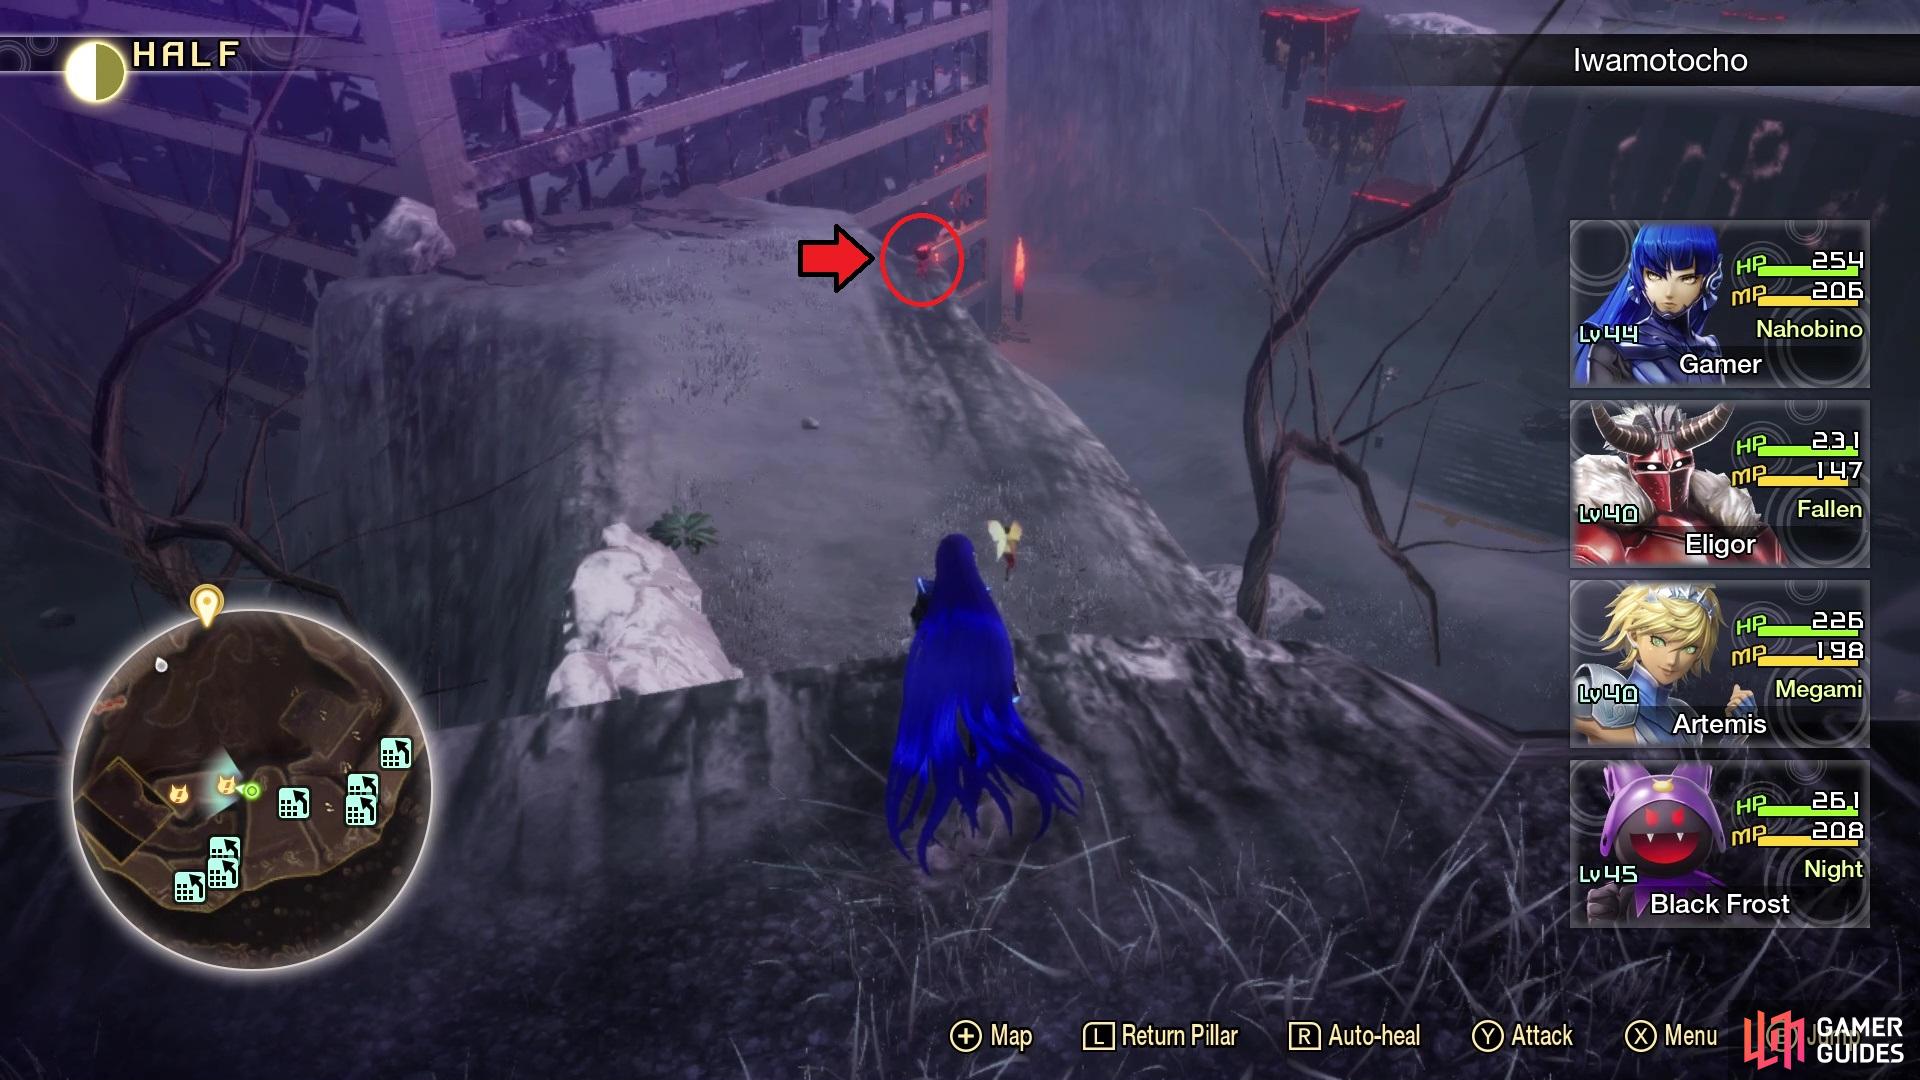
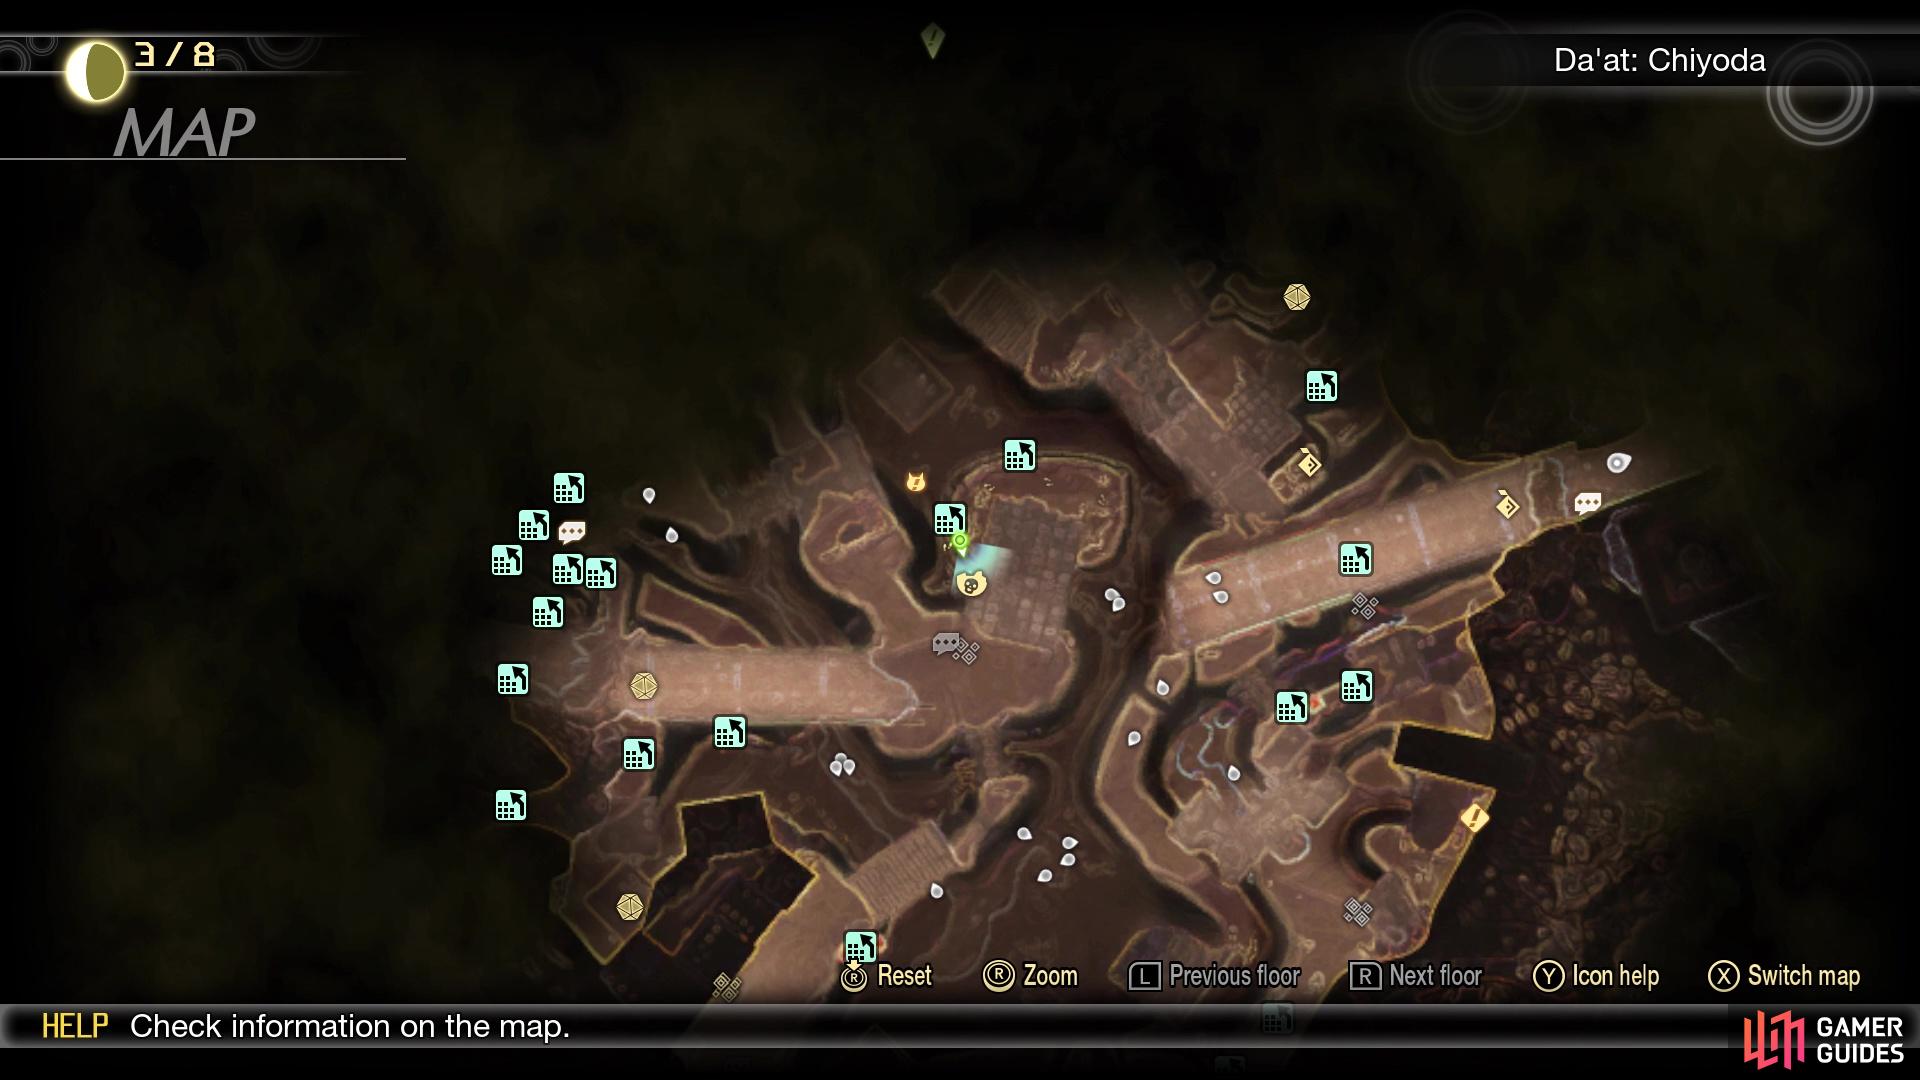
Miman 113
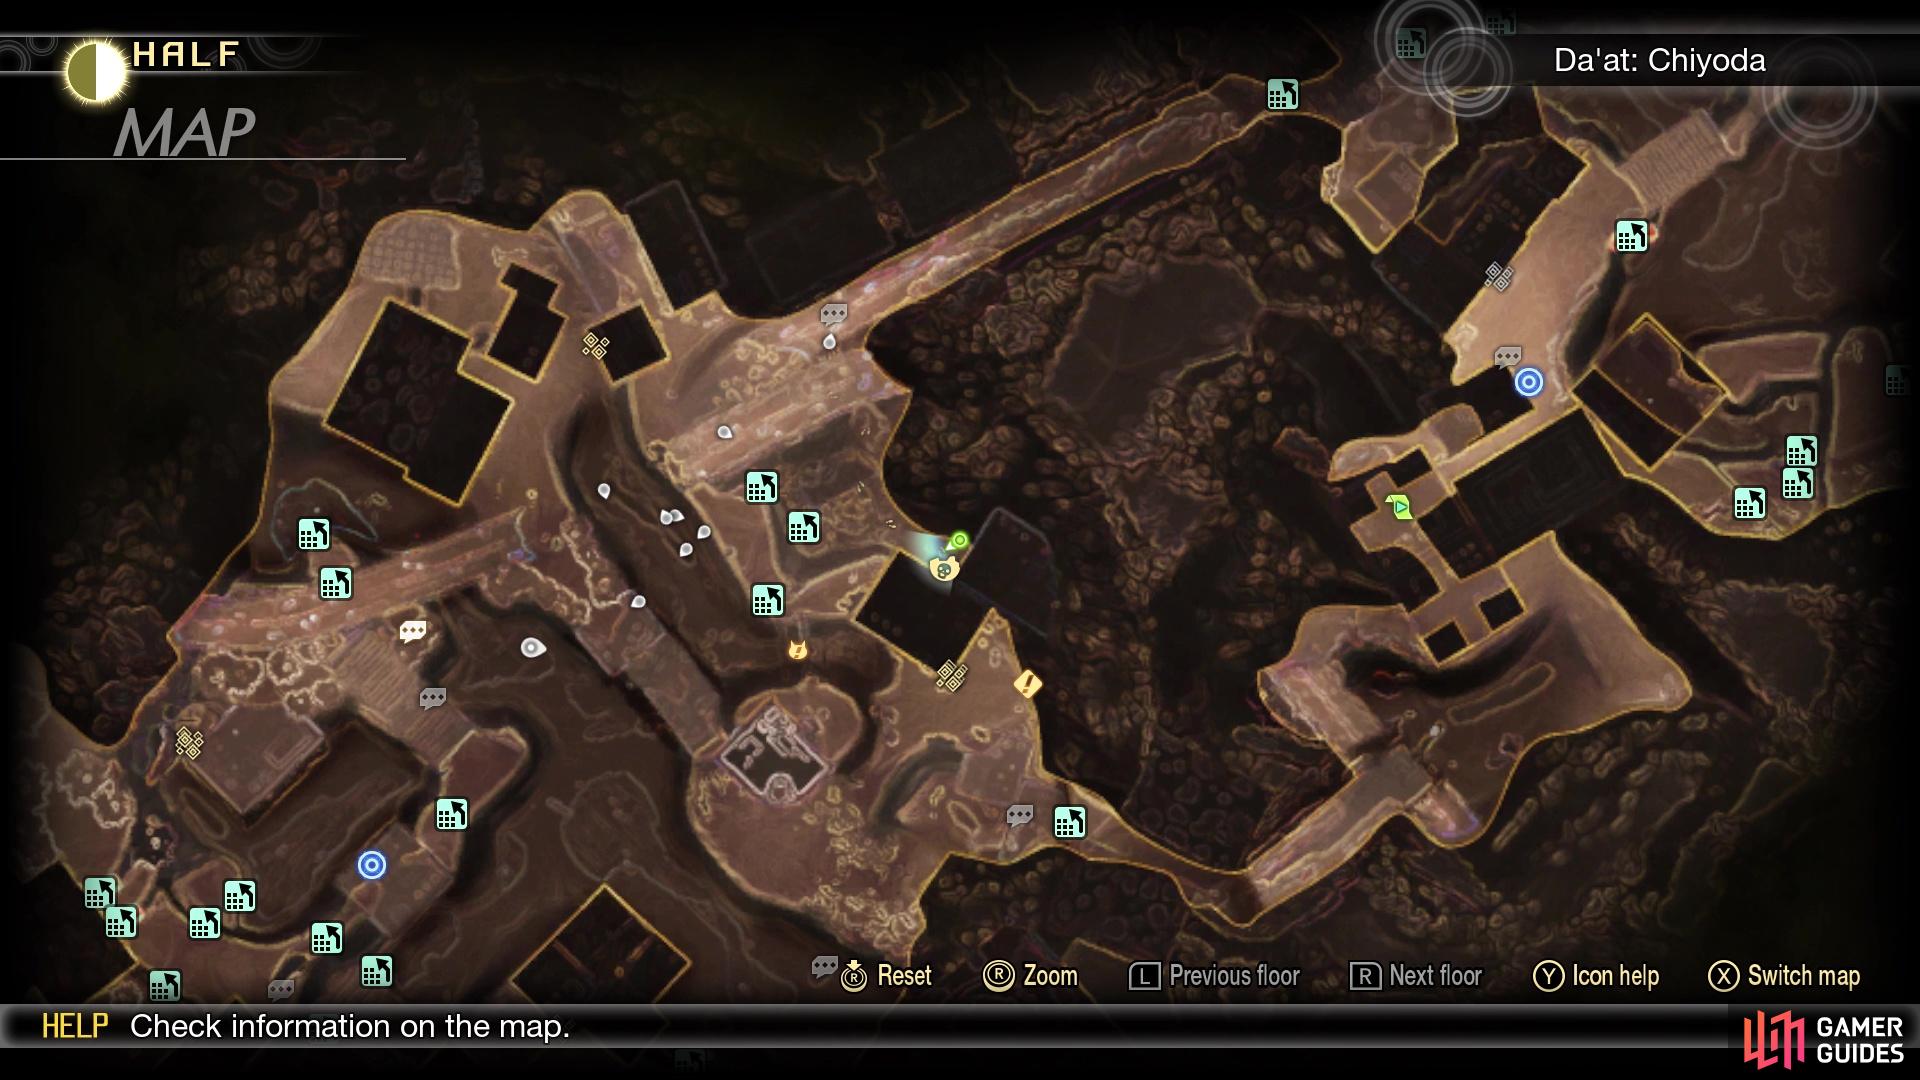
Miman #113 on the map
Miman #113 in the game
Start from the Nihonbashi Leyline and head down the hill, to where you can cross over a building that’s acting like a bridge. Stop right before stepping on the building bridge and if you look northwest, you should see a building that has some stairs on the side. The Miman will be on the stairs.
Miman 114

miman #114 on the map
Miman #114 in the game
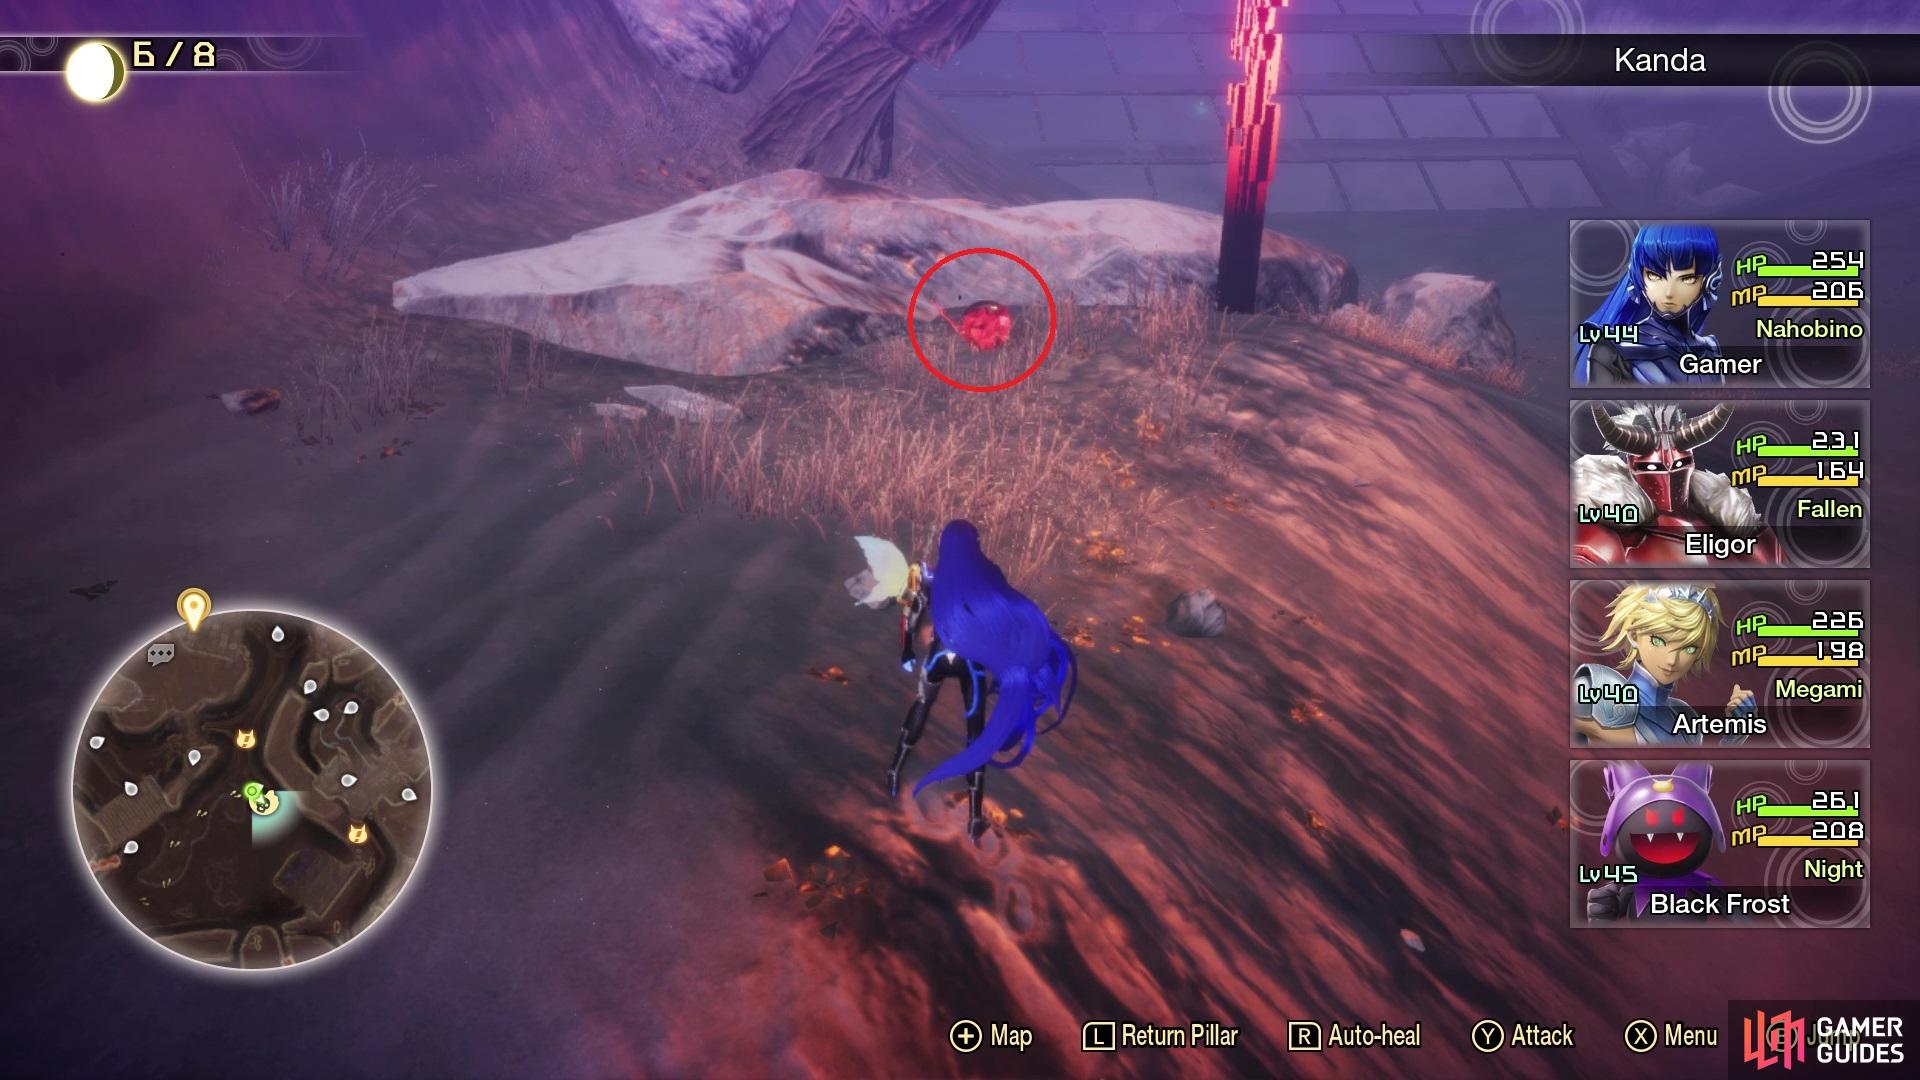
Opposite of the previous Miman, go into the pit area with the Kumbhanda, then find the slanted building that has some Macabre demons at the base of it. Immediately northwest of them, there is some red, glowing pillar next to some rocks and a dead tree. If you look near the pillar, you will find a Miman.
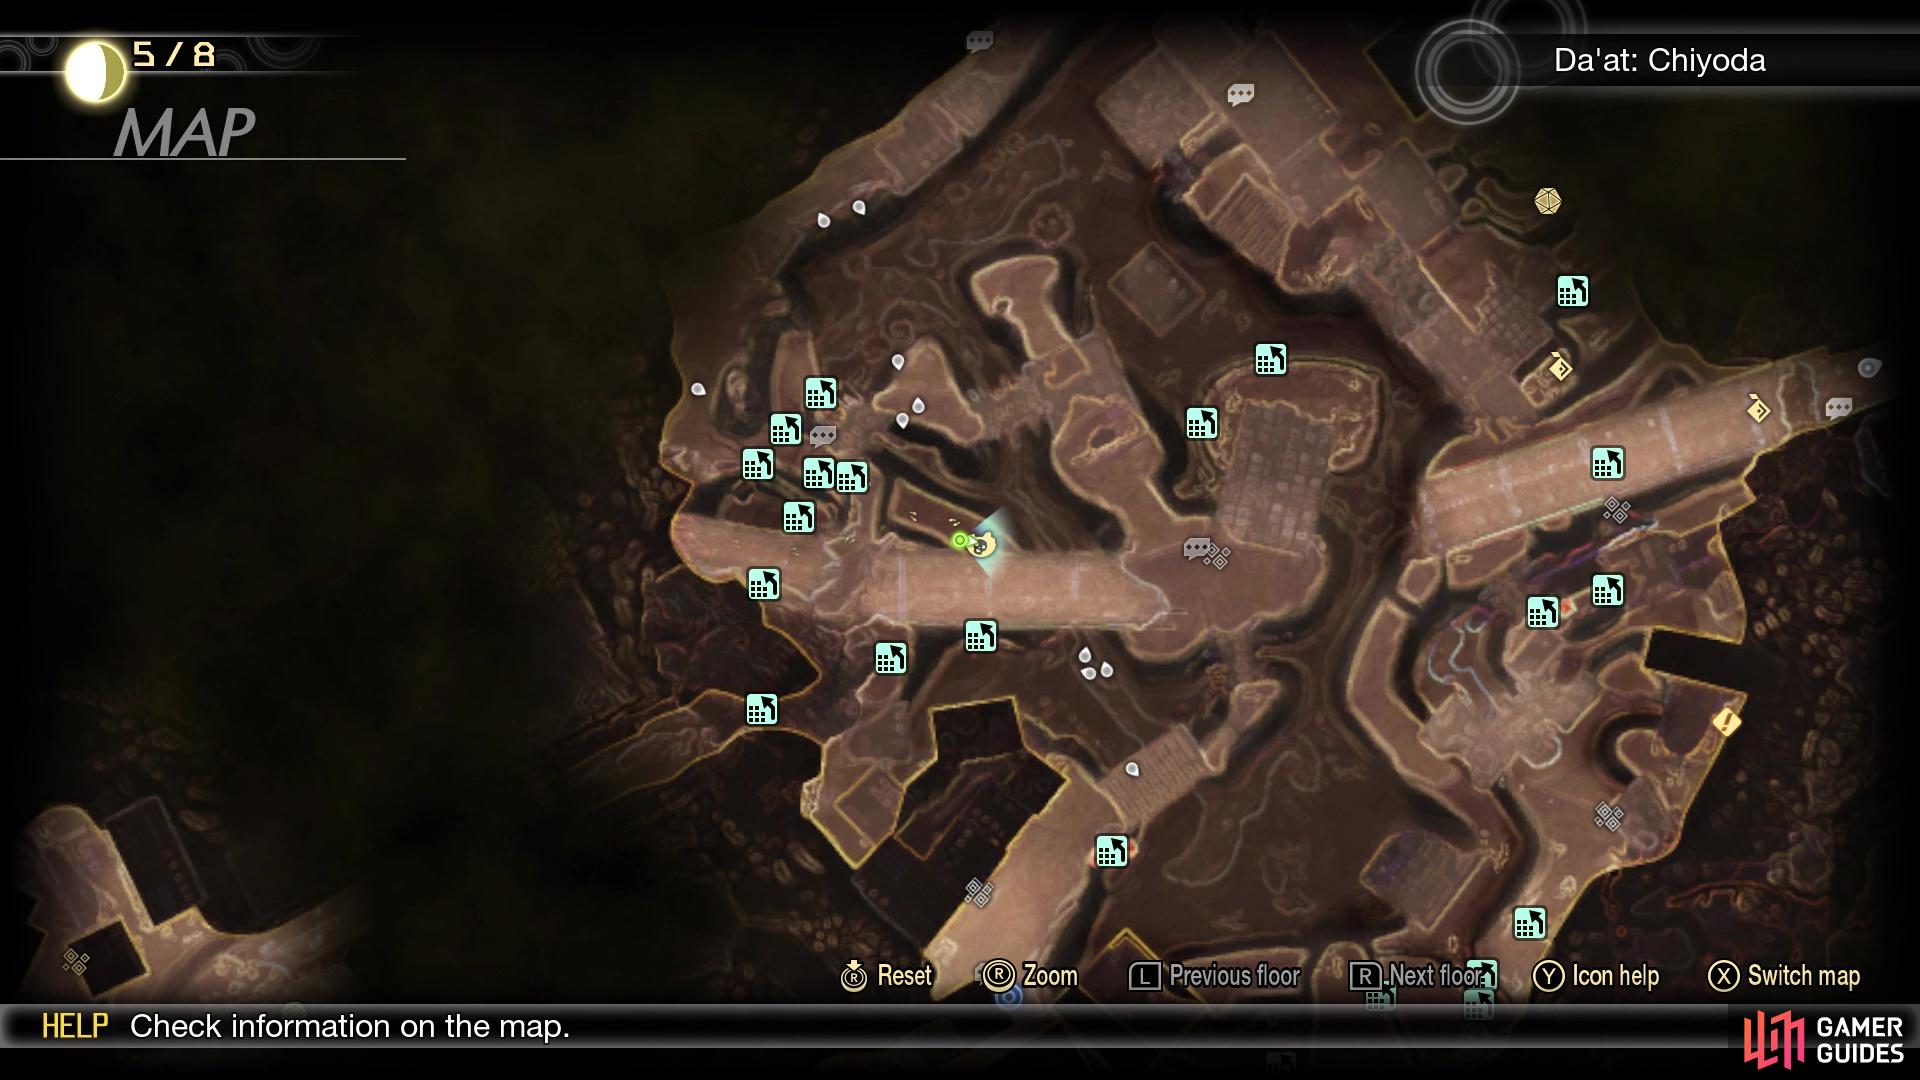
Miman 115
Miman #115 on the map
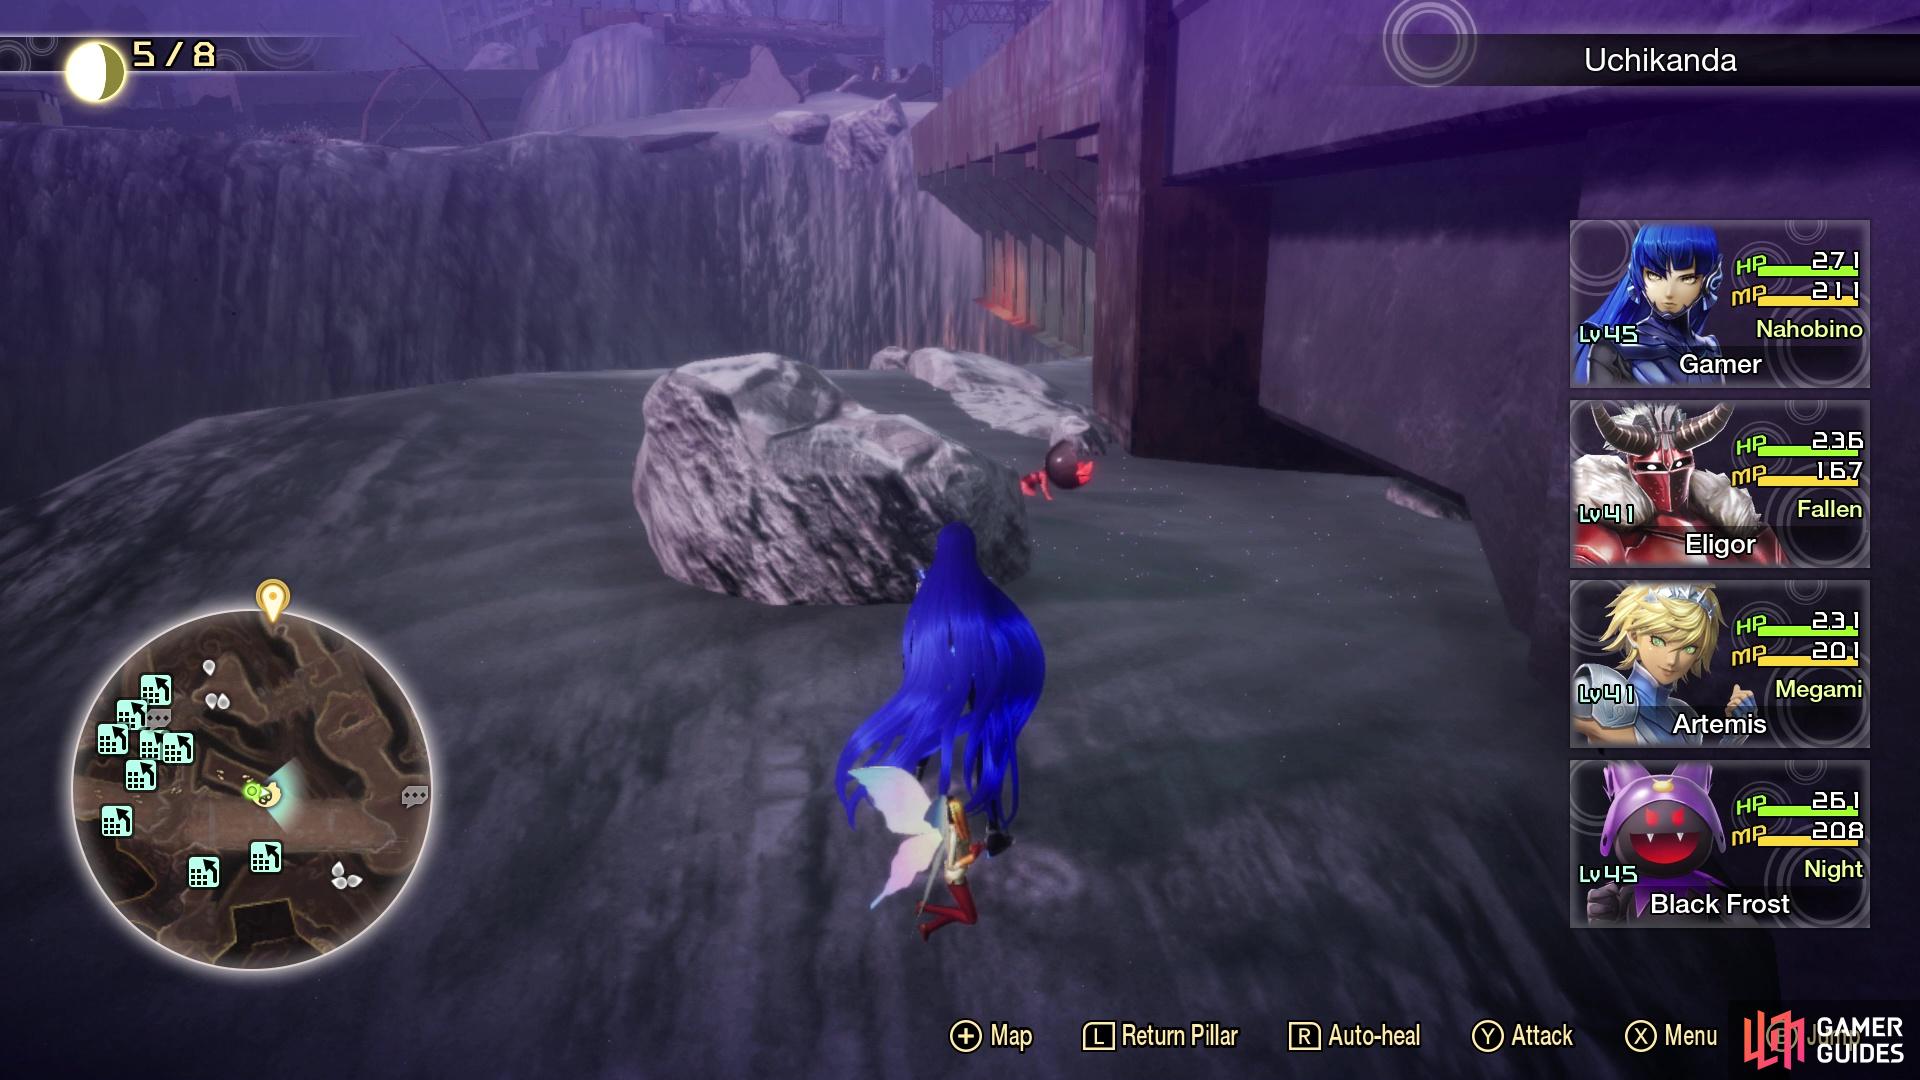
Miman #115 in the game
From the previous Miman, go up that slanted building and at the top, look for the nearby climbing blocks to the south-southeast. Once you go up the final climbing block, ignore the other set nearby and look for a small path that you can drop down to that’s connected to the one building. There will be a Miman sitting on the edge here, overlooking the pit area you were just in before.
Miman 116
Miman #116 on the map
Miman #116 in the game
After finding Demon Statue #11, drop down into the area next to it that has the Orthrus running around there. Just northwest of them, there is a path that has some Magatsuhi orbs, as well as a lone Naga Raja. The path the Raga Naja was guarding leads to a dead end and a Miman.
Miman 117
Miman #117 on the map
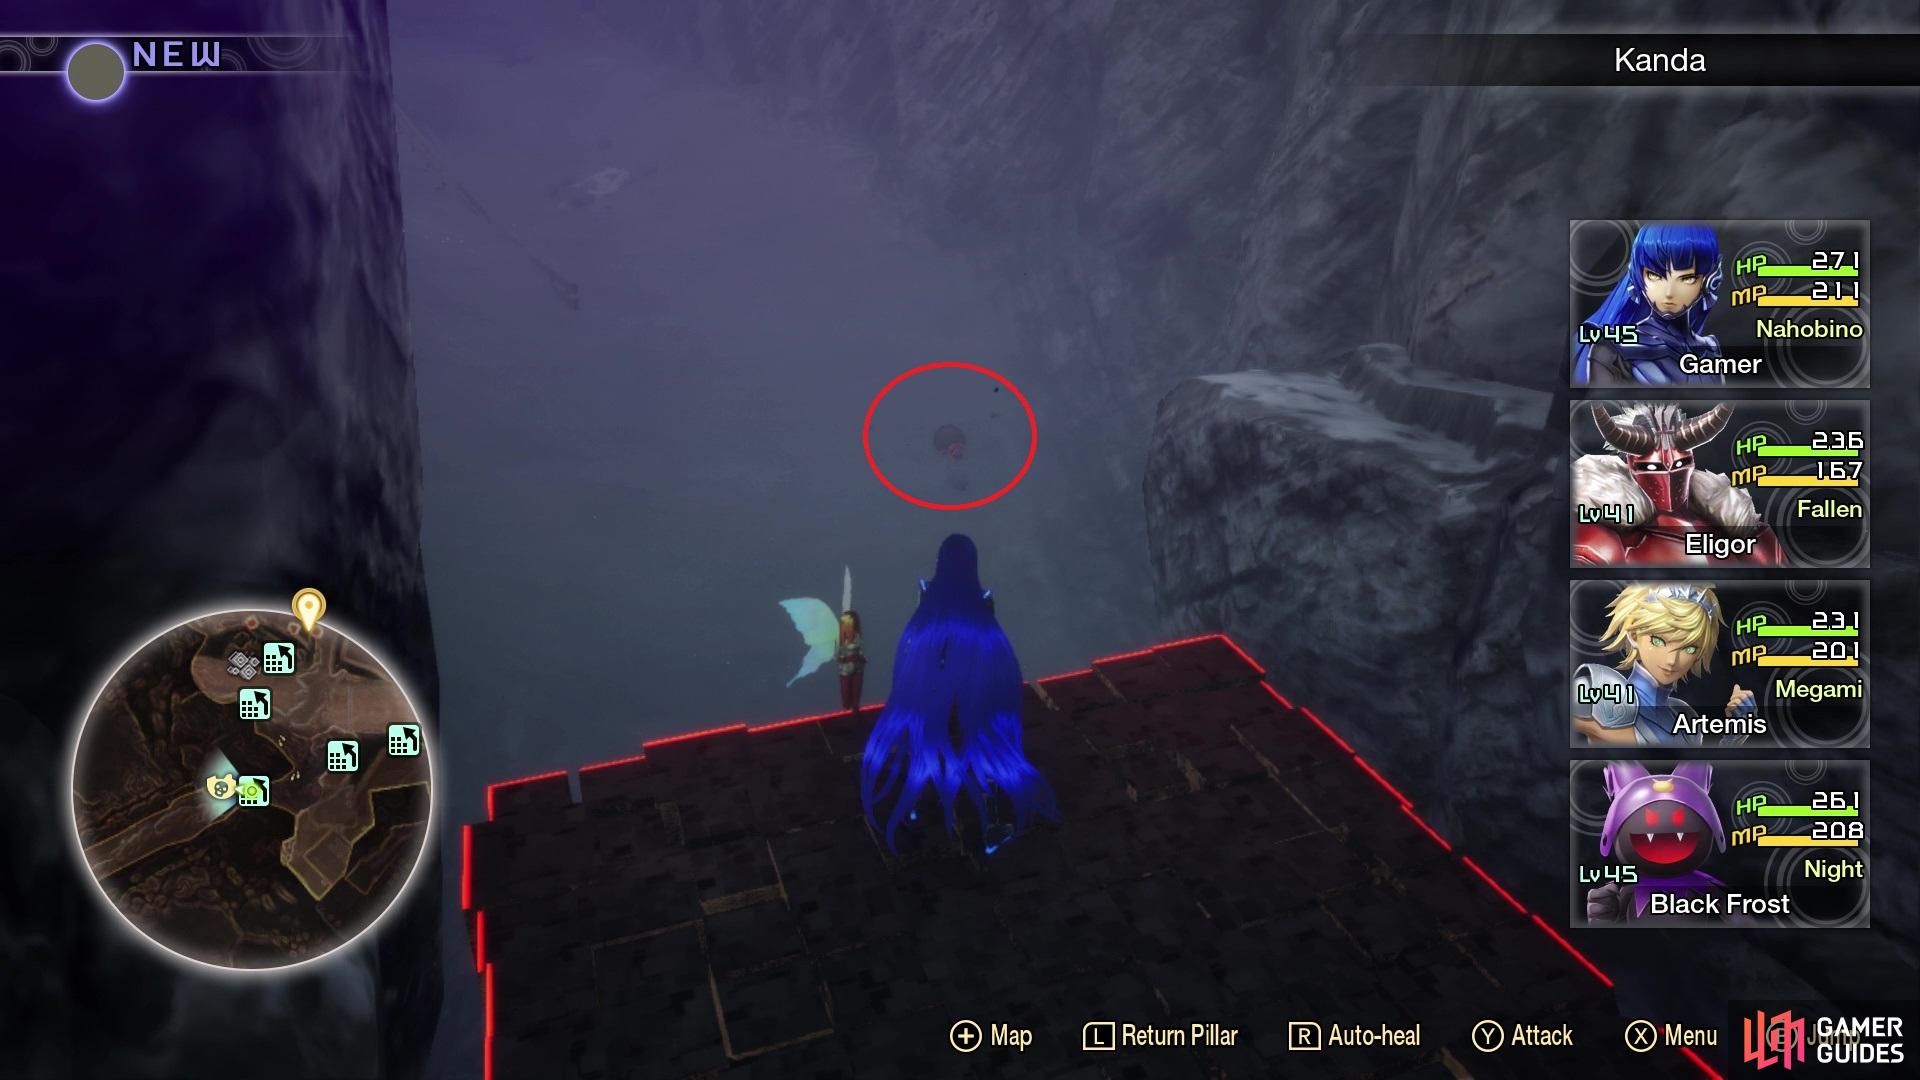
Miman #117 in the game
Return to the slanted building mentioned with the previous few Mimans and go to the top of it. You should see a path leading north, with some Succubi at the far end, but ignore those and get onto the rooftop a little ways along the trail. This will bring you along another path, which will have some Kaiwan and another area with more buildings. You should see some climbing block here, as well as some rubble forming a bridge that leads to a Treasure Box. Drop down to that bridge, but don’t cross it just yet. If you look right next to the bridge, to the south, you will find the Miman on a thin ledge.
Miman 118
Miman #118 on the map
Miman #118 in the game
From the Nihonbashi Leyline, follow the main path over the building acting like a bridge, until you reach Fionn mac Cumhaill, who is a NPC. Just east of him is a slanted building you can go down, so do that and stop a little ways from the bottom. Peek over the eastern side and you will see a Miman sitting on the ledge, right next to a dead tree.
Miman 119
Miman #119 on the map

Miman #119 in the game
On the western side of the same building from Miman #118, you will see a climbing block. Drop down to ground level and look at the little dead end there to find the Miman in the corner.
Miman 120
Miman #120 on the map

Miman #120 in the game
From the previous two Mimans, head northwest from there, until you reach the end and can go either northeast or southwest. Continue southwest and stop when you reach the Kumbhanda, where you should see another path to the southeast here. As you head down that trail, you will run into this Miman.
Miman 121
Miman #121 on the map
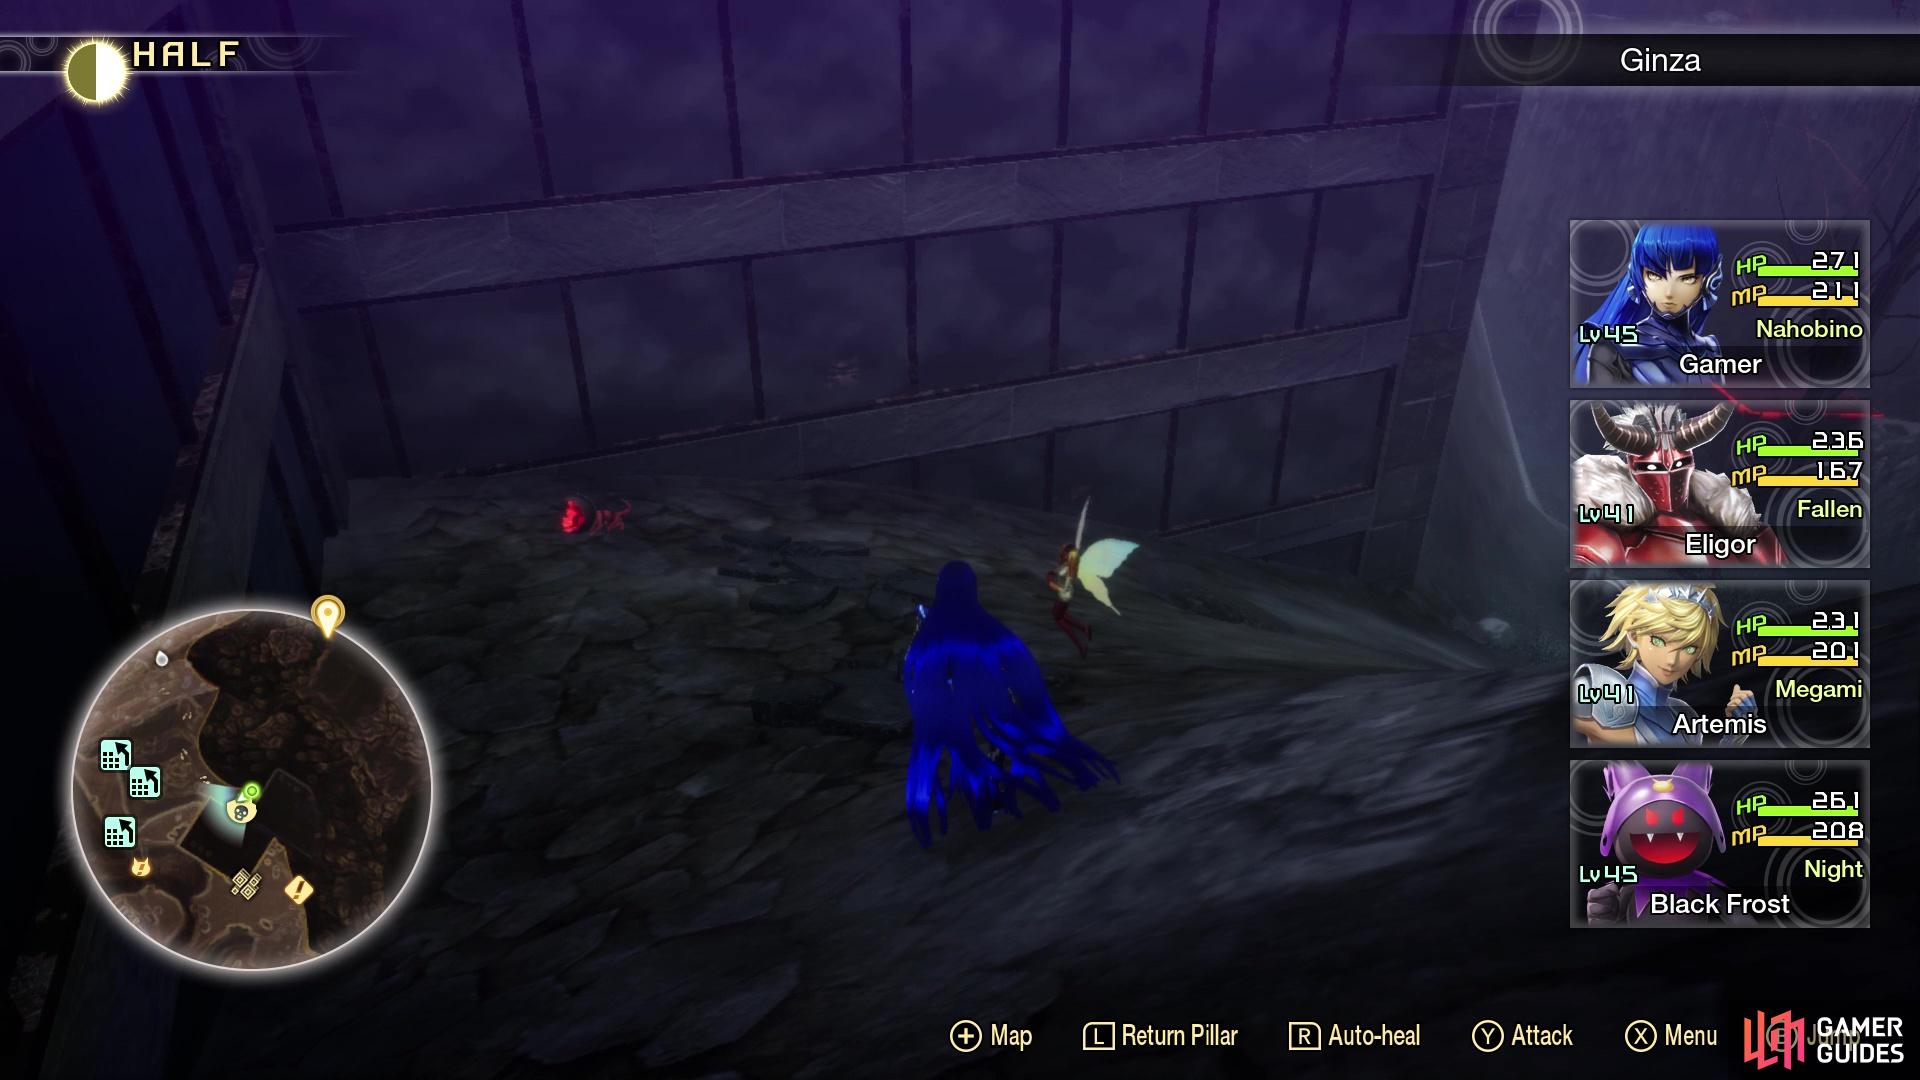
Miman #121 in the game
Make your way back to Fionn and follow the path northwest of him, to a rooftop that has some Macabre demons. There will be some rubble forming a bridge on this rooftop, leading to the west. You will eventually come to a Valkyrie NPC and some climbing blocks. Go up and jump to the area with Amalgam #21, but stop before getting on those tracks there. You should see a path below you, to the east, that connects to the tracks where you fought the Abscess in the area. The Miman will be behind a rock on that little path there.
Miman 122

Miman #122 on the map
Miman #122 in the game
There is a little area underneath Amalgam #21, where you will find some climbing blocks. Go up the one while facing south, where you will find a hidden trail that takes you to a road. As soon as you come out the other side of the tunnel and drop down into the dirt, there will be a Miman on the right side. Note that this will be before reaching the actual road.
Miman 123
Miman #123 on the map
Miman #123 in the game
Continue on from the previous Miman, going to the end of the road mentioned above. You should see a NPC underneath the road here, so drop down to where it’s located (it gives you a Snake Talisman) and go south to a small pit that has some climbing blocks. Looking at your map, you should see a dead end to your southeast, so that is where you need to go to find this Miman.
Miman 124
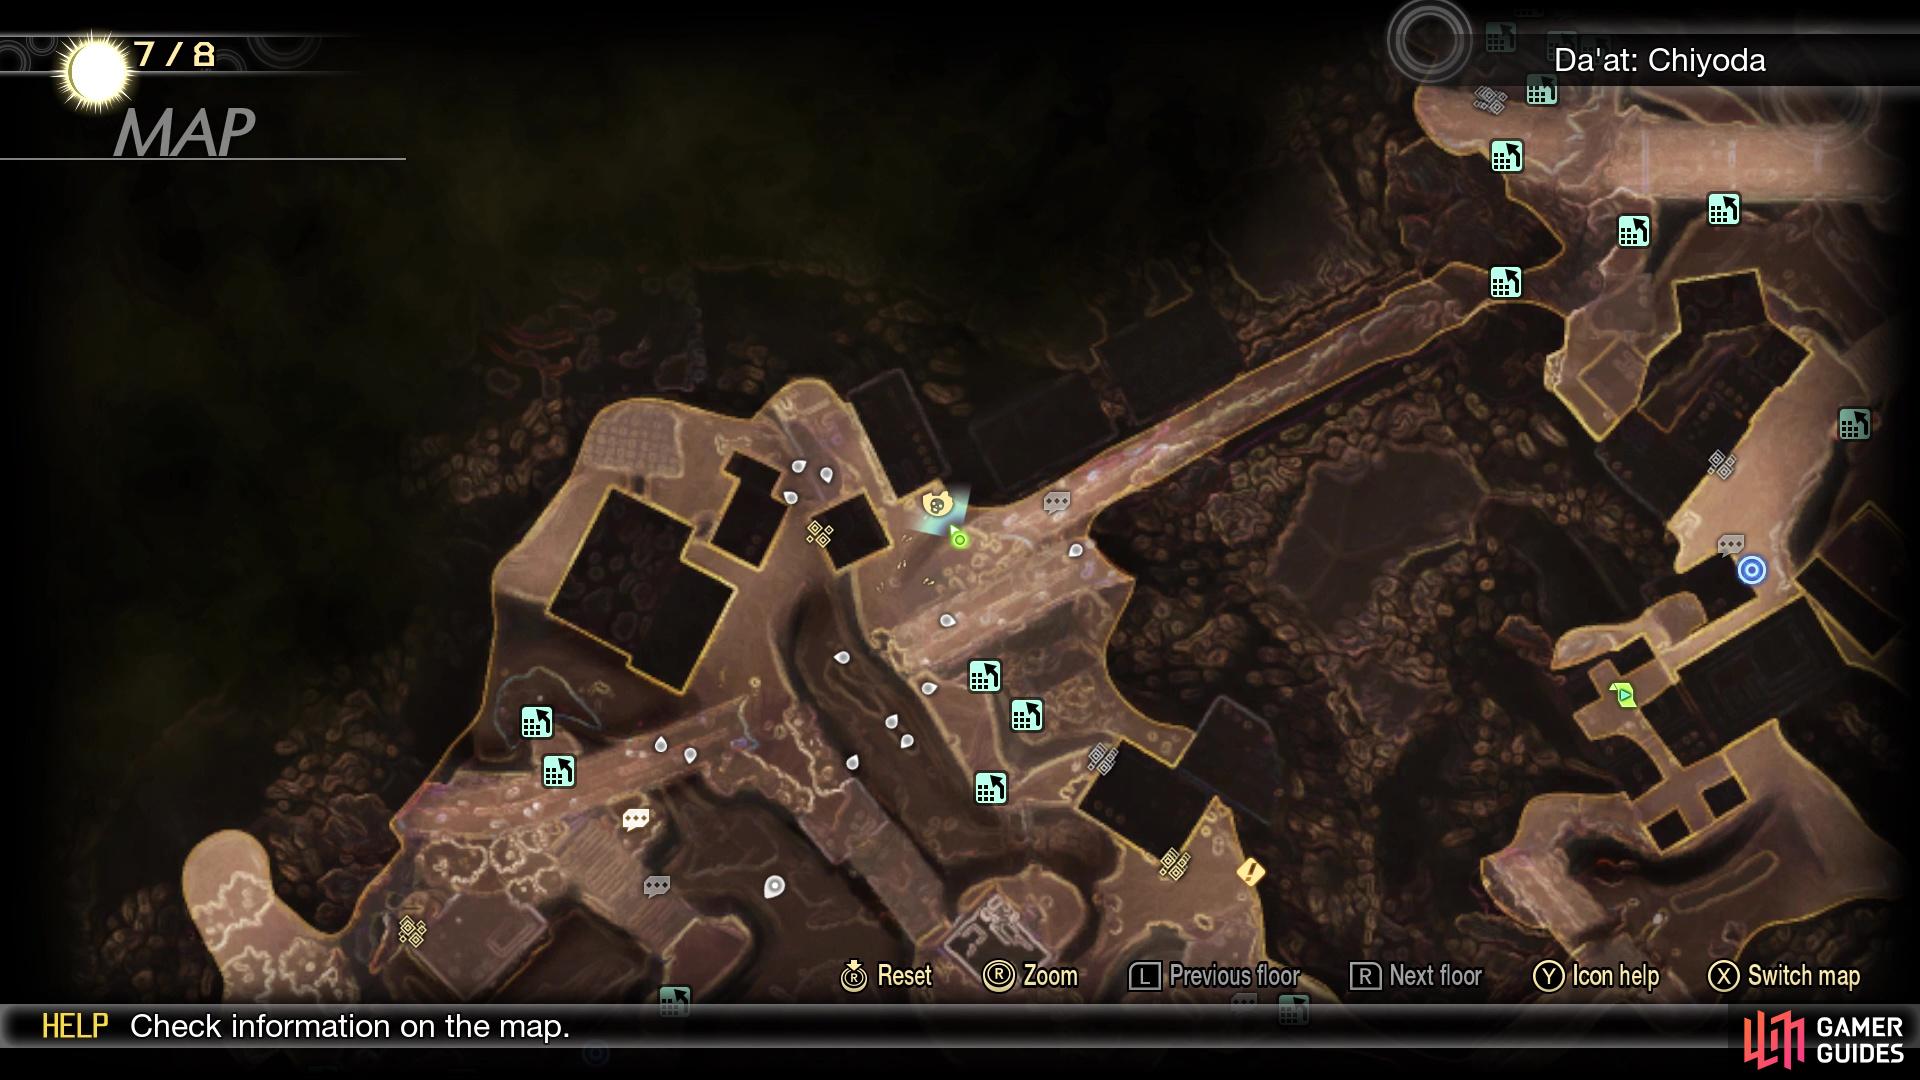
Miman #124 on the map
Miman #124 in the game
Use the climbing blocks from before to find a hill that allows you to get back on the road. Don’t go up there yet, but instead, if you look on the northern side of that hill, you will find a small path with this Miman.
Miman 125
Miman #125 on the map
Miman #125 in the game
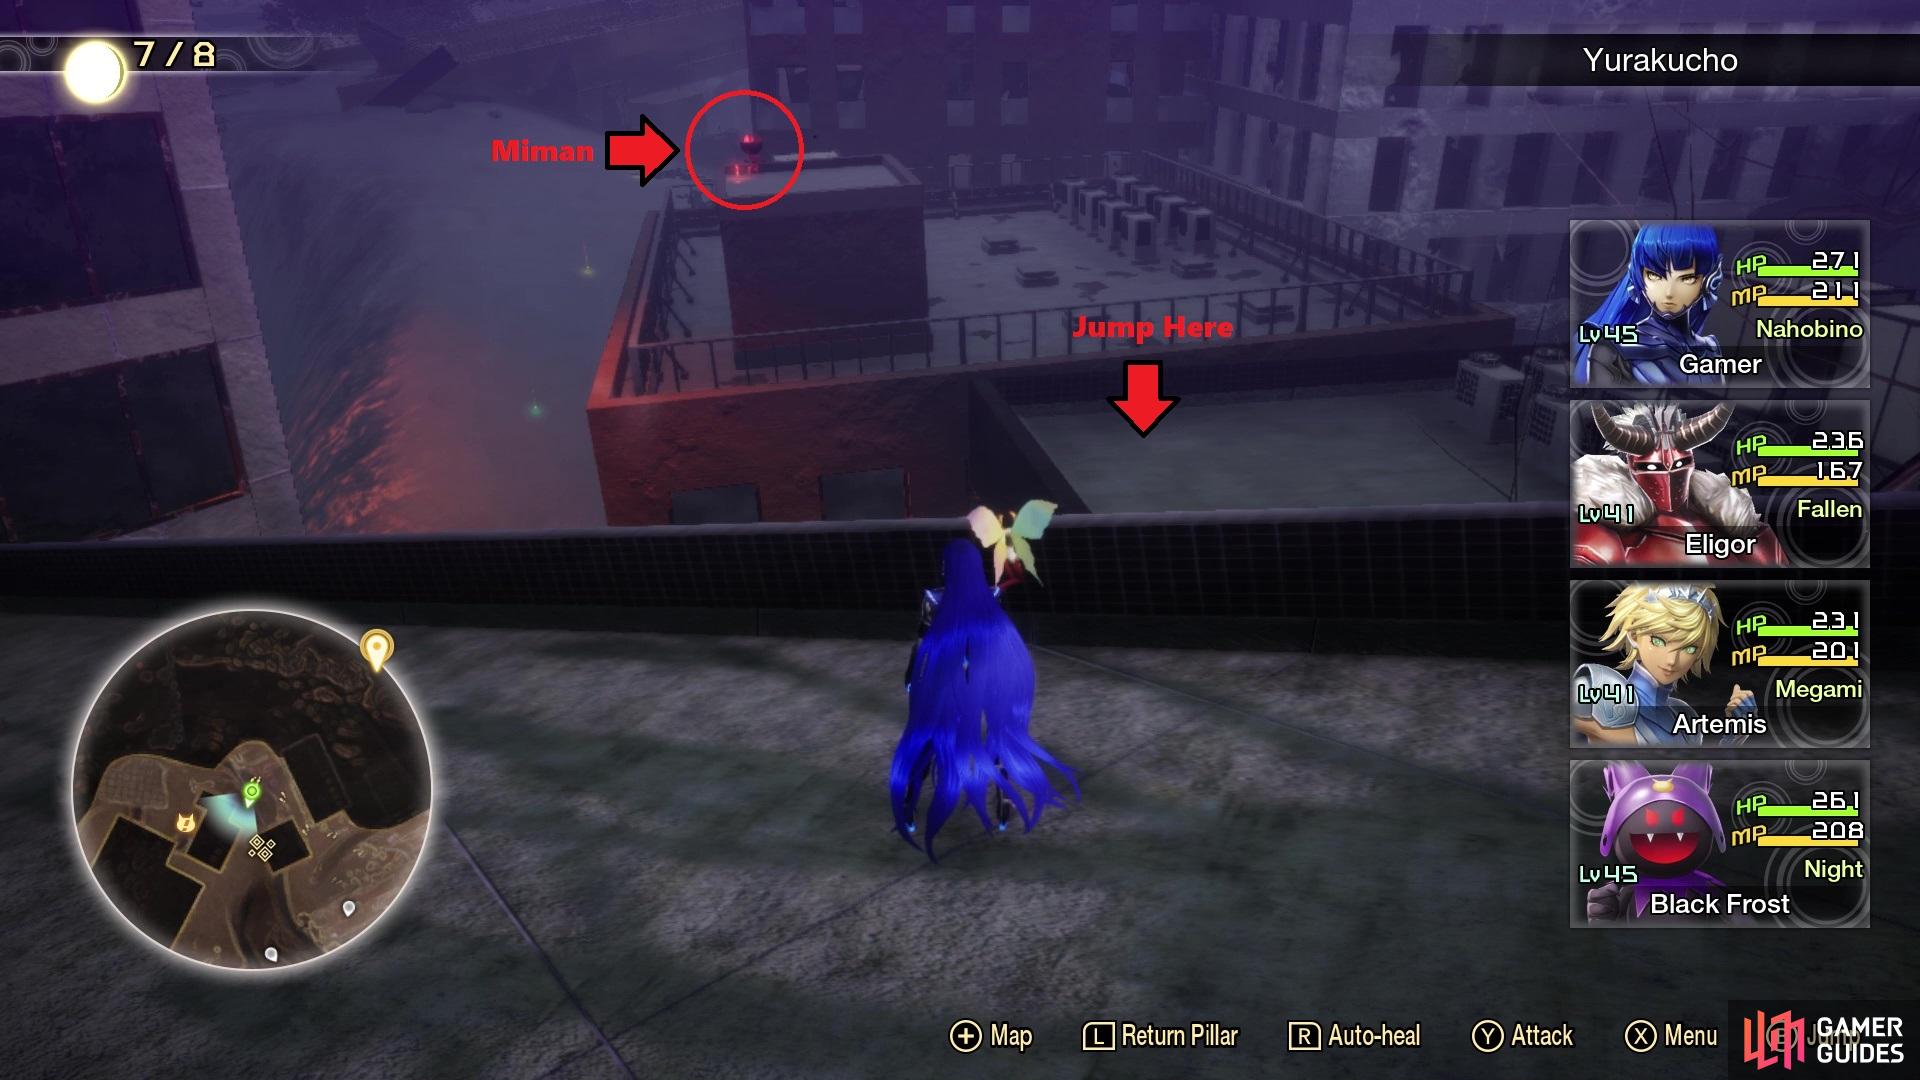
Just west of the previous Miman, there is a path in between the buildings that leads north. There will be some Muu Shuwuu here and it might be a good idea to get rid of them all before attempting to grab this Miman. The reason for this is you will need to do a jump to the rooftop just west of the demons. You can see where the Miman is located, but you’ll need to jump to the lower section, as the spot is too far normally. If you happen to fall to the ground, then go back to the Nihonbashi Leyline and make the trek back to attempt it again. Once you make the jump, it’s a few little hops to get to the Miman.
No Comments