
This is a walkthrough for Da’at: Chiyoda of Shin Megami Tensei V, taking place in the Akihabara, Sotokanda, and Akihabara Electric Town areas. How to complete every objective, find every chest and locate every Miman.
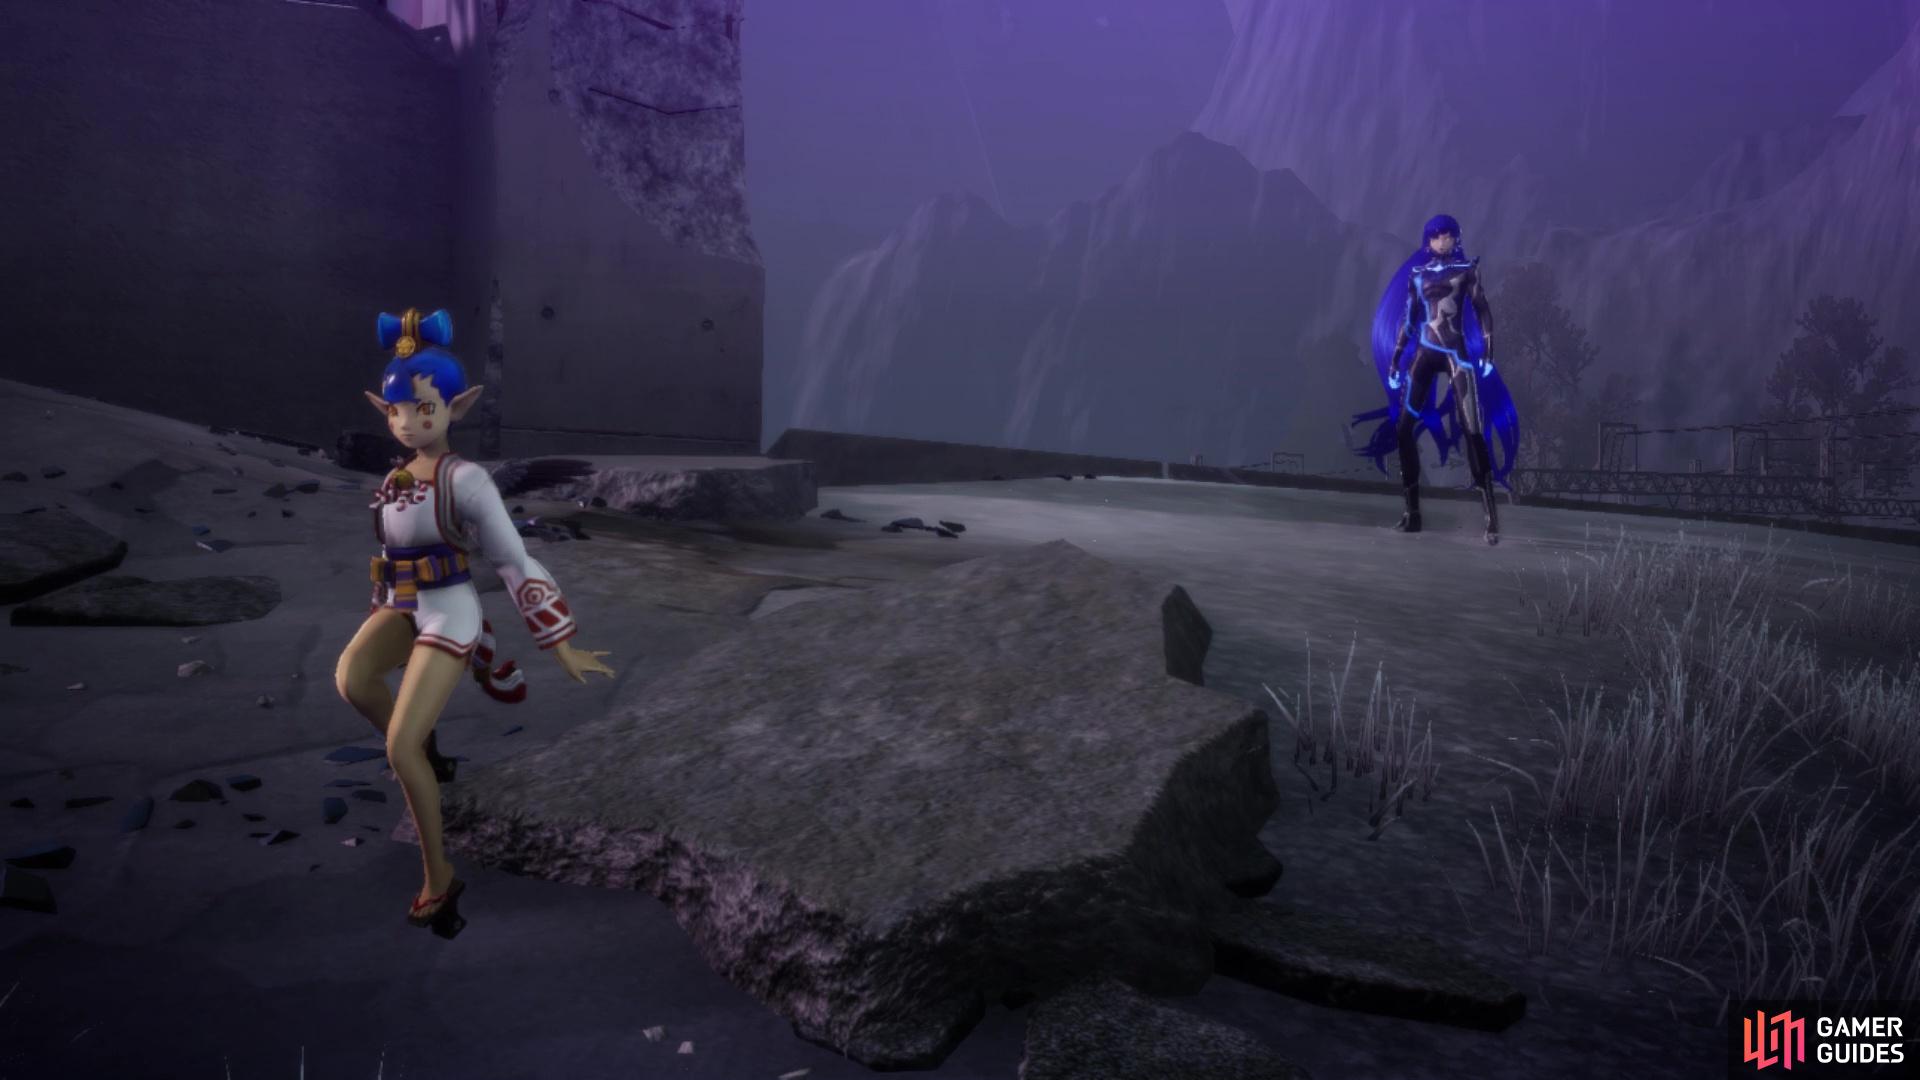
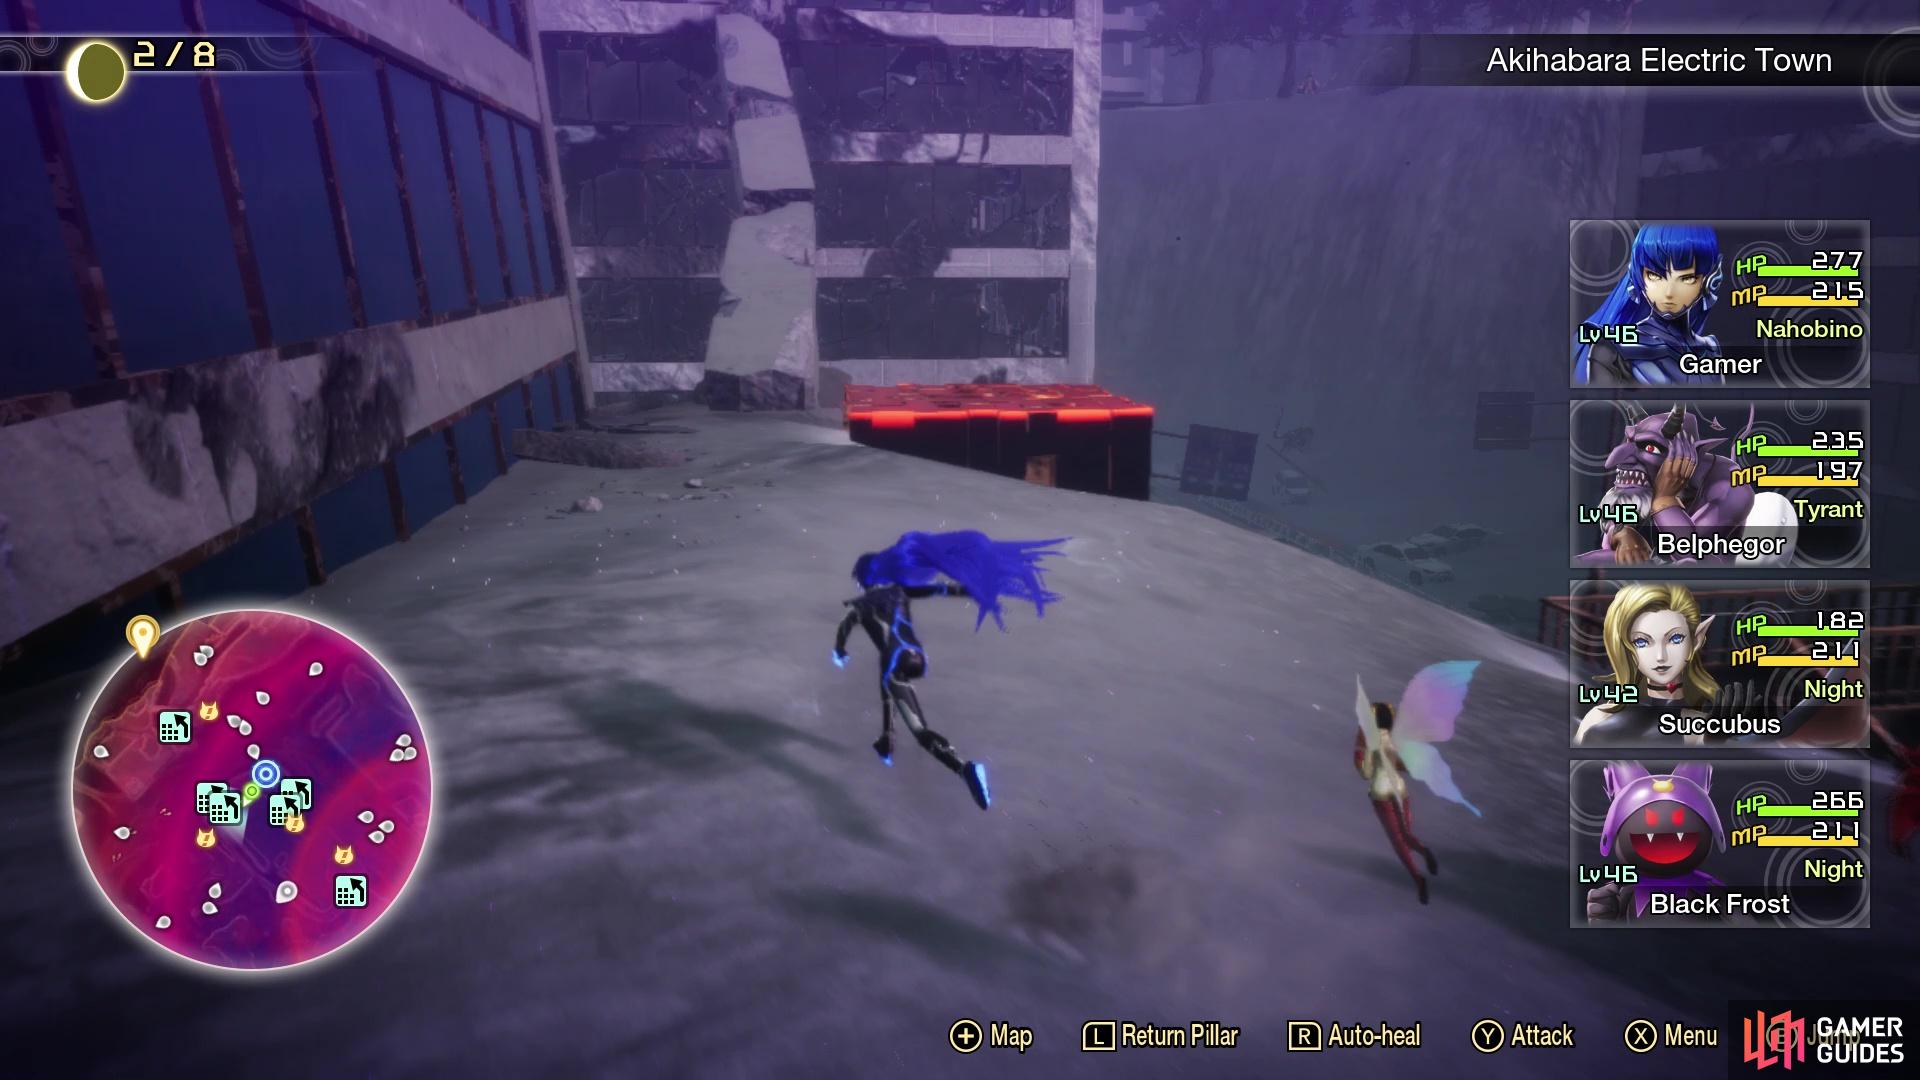
You’ll have a little run-in with Amanozako
Demons
| Icon | Name | Lv | Weakness |
|---|---|---|---|
| Lamia | 36 | ||
| Succubus | 38 | ||
| Narcissus | 38 | ||
| Valkyrie | 40 | ||
| Naga Raja | 40 | ||
| Kumbhanda | 41 | ||
| Orthrus | 42 | ||
| Mishaguji | 42 | ||
| Macabre | 43 | ||
| Ose | 44 | ||
| Kaiwan | 45 | ||
| Hanuman | 46 | ||
| Anzu | 48 | ||
Items
| Name |
|---|
| Sukuna-Hikona’s Essence |
| Dionysus’s Essence |
| Orthrus’s Essence |
| Grimoire x2 |
| Ose’s Essence |
| Chakra Pot |
| Mishaguji’s Essence |
Quests
| Subquest | Location | Reward |
|---|---|---|
| An Unusual Forecast | Next to Mansei Bridge Leyline | Soma |
| He of a Hundred Hands | Next to Akihabara Electric Town Leyline | 18,000 Macca |
Sotokanda Abscess
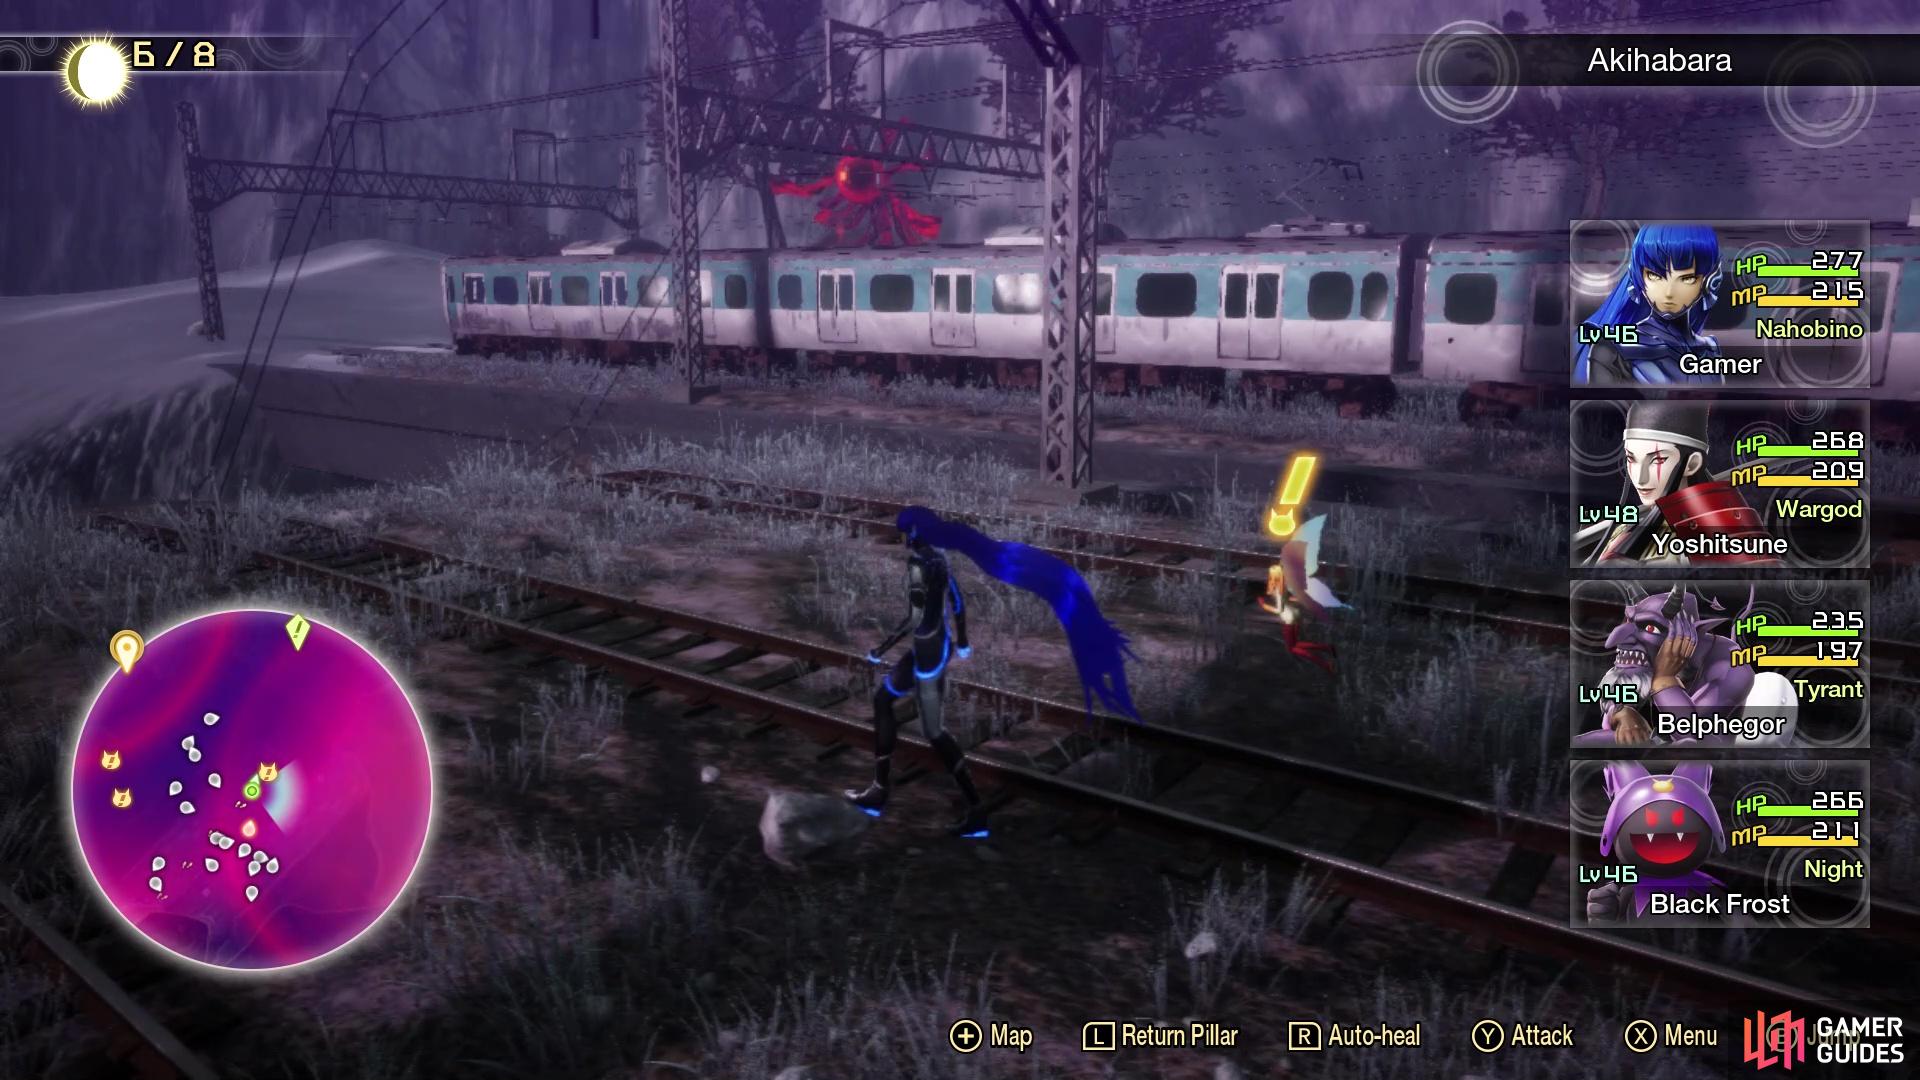
You will see the Sotokanda Abscess off to the side as you start exploring
Unlike other areas, you will see there are two Abscesses here blocking your map, so the ideal is to destroy both of them. The first one will be easy to get to, while the second will take a little bit more to reach. Before approaching the first Abscess, make sure you don’t have anyone weak to Force or Fire in your party, and have access to both Electric and Ice/Light attacks. Ignore what looks like a Punishing Foe that is underneath the bridge where the Akihabara Leyline is located and just continue east. Follow the trail to some more train tracks, which will have some Ose on them. If you have a keen eye, you should notice the Abscess to the northeast. Jump over the gap to the east, onto the second set of tracks, then continue in the direction of the Abscess to confront it.
| Icon | Name | Lv | Weakness |
|---|---|---|---|
| Cu Chulainn | 46 | ||
| Dakini | 46 |
First and foremost, both of the enemies here are resistant to Physical attacks, so you won’t be able to use any, unless they pierce through that resistance. Dakini is also resistant to Fire, while Cu Chulainn is immune to Force. Of the two, Dakini might be the more dangerous, as Dark Sword has a chance to inflict Seal and hits twice, too, so there is bigger damage there. Despite having two weaknesses, Dakini can actually be instakilled by Light, so you should use that option, if you can. Should you manage to get rid of Dakini early, the battle becomes a lot easier to manage.
You will be facing two enemies with this Abscess
Keep trying Light skills and hope you get the instakill
In addition to Dark Sword, Dakini has access to Maragion, while Cu Chulainn has both Fatal Sword (high chance of Critical) and Mazanma. Just to be on the safe side, you shouldn’t have anyone weak to either Fire or Force, but it’s not exactly clear if they can use those skills outside of the Magatsuhi charge or not. As already said, use Light on Dakini and hope the instakill goes through, then you’re left with a fairly easy fight against Cu Chulainn. Despite the weakness to Fire, the Belphegor Essence is still extremely useful here against both of them, due to the resistance to Physical on it.
| Miracle | Category | Effect | Glory |
|---|---|---|---|
| Art of Intervention | Supremacy | Use a demon ally’s action to speak with a demon. | 100 |
| Deathly Aura III | Supremacy | Demand Essence from cornered demons. | 70 |
| Physical Mastery III | Cosmos | Increase the Nahobino’s Physical skill potential by 2. | 200 |
| Almighty Mastery III | Cosmos | Increase the Nahobino’s Almighty skill potential by 2. | 200 |
Akihabara Abscess
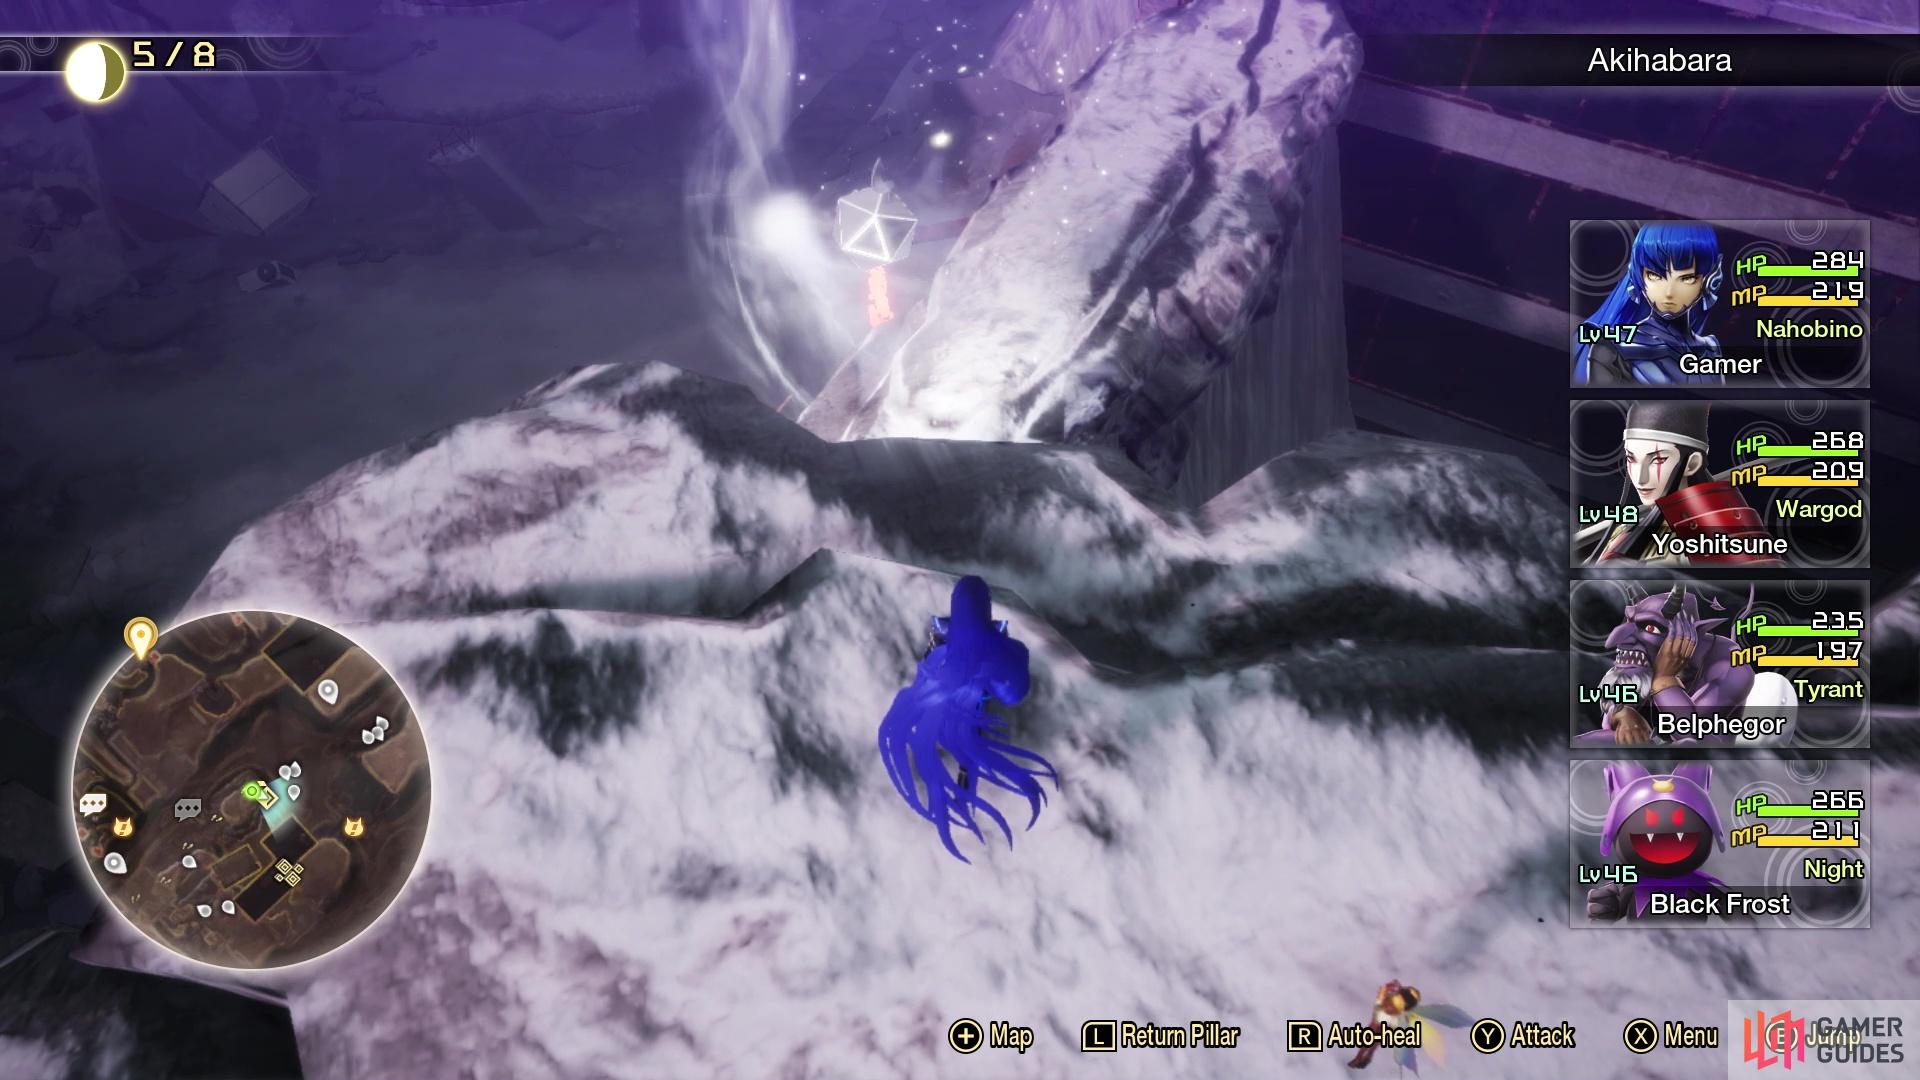
With one Abscess out of the way, it’s time to tackle the second one. If you have immunity to Ice, then you should be more than fine to tackle the enemies. You will want Fire and Dark attacks on your characters to strike their weaknesses. To get to the Abscess, go back to the Sotokanda one and head northwest, where you should see a building acting like a bridge. Cross it and you should see the Abscess in the background, although it’s not a straight shot to it. After crossing the building, look southwest to see a trail of orbs and follow them until you reach some Anzu flying around. Eventually, you will trigger a cutscene with Amanozako, who will scamper off after a short conversation. Ignore the quest nearby, but register the Mansei Bridge Leyline.
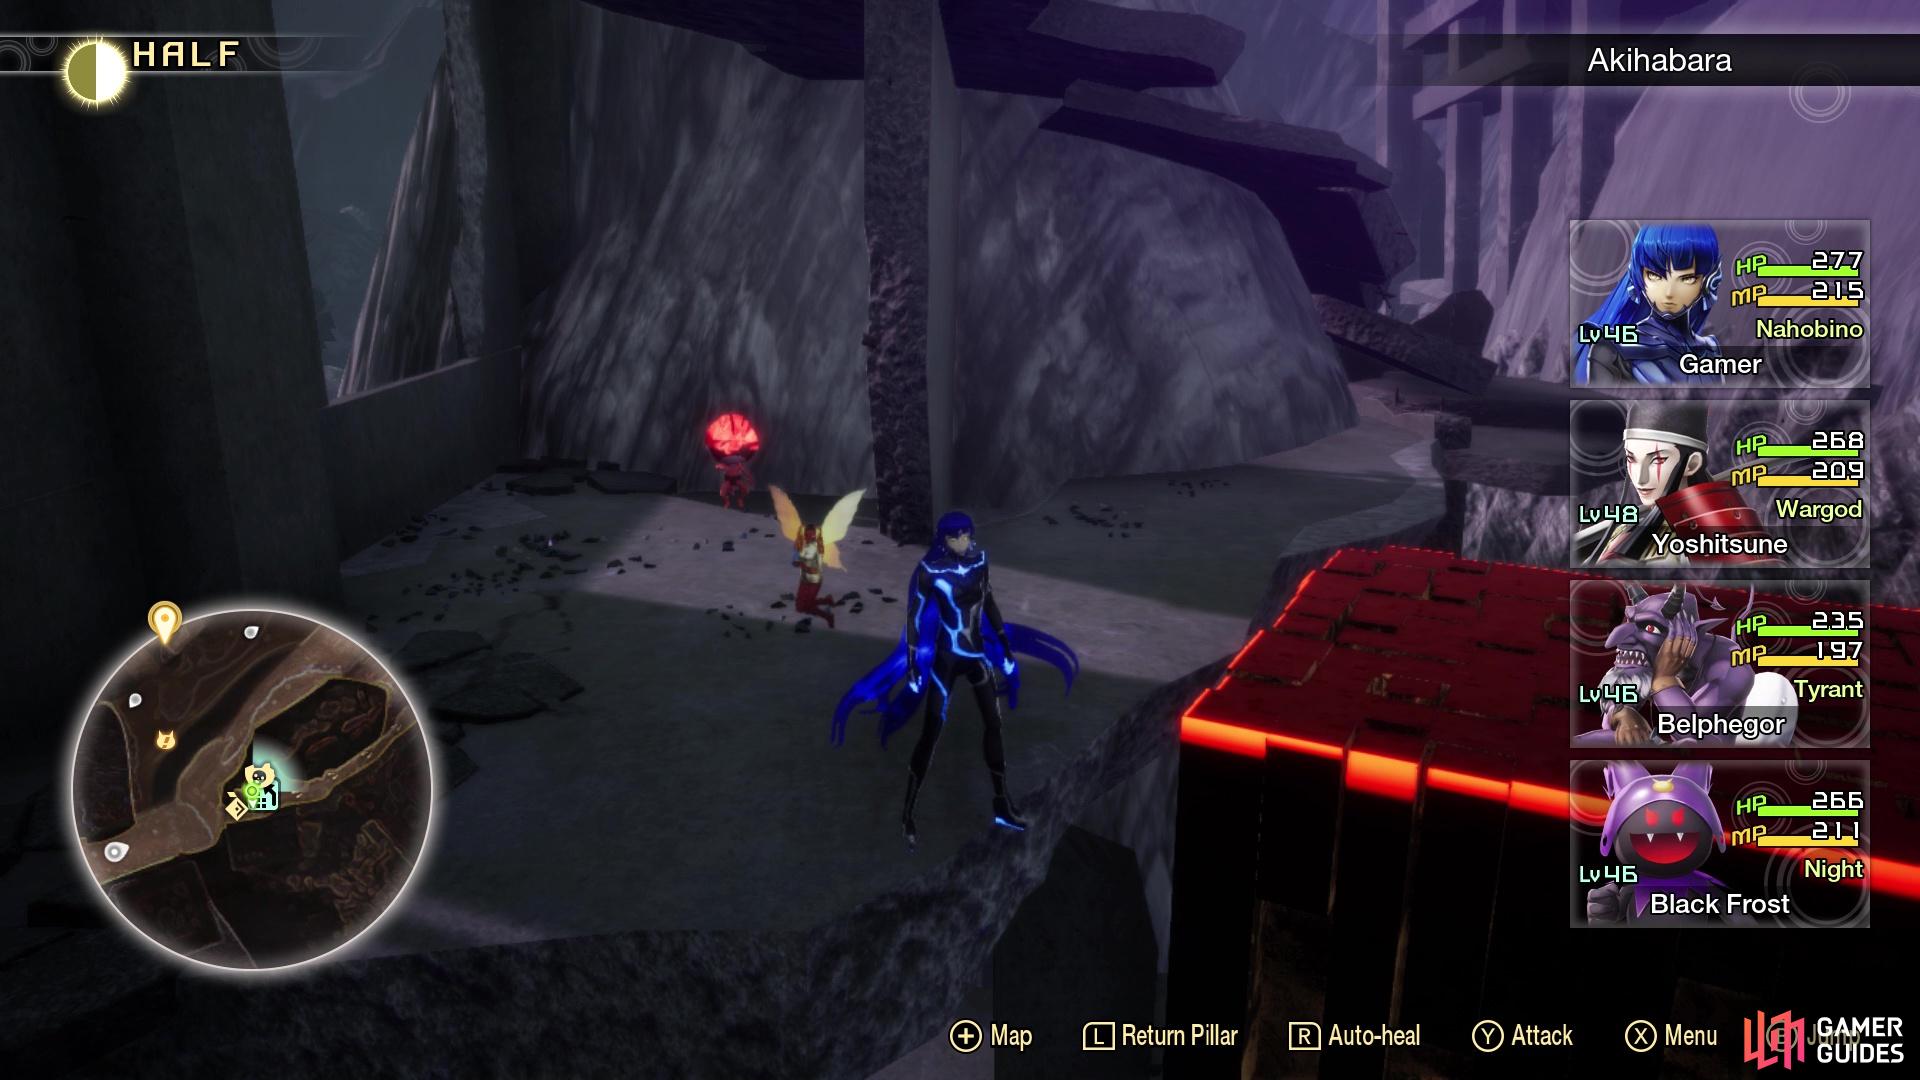
Head up this fallen pillar to get set on the path to the second Abscess
Nearby, you should see some rooftops, but next to those are some tracks that slope downward. Take those tracks down and drop down the climbing blocks, then follow this trail until you reach a slightly more open area with some Orthrus. You should see some more climbing blocks ahead, so go up them to find a Valkyrie who can give a quest, as well as the Akihabara Electric Town Leyline. Register it and look for the rubble acting as ramps right next to the blocks you just climbed to reach the Leyline. This will take you to some rooftops, where you can find the path to the Abscess. Note that the Abscess will spawn Anzu to chase after you, which are quick and you don’t have a lot of room to maneuver, so you might get into a few battles along the way.
| Icon | Name | Lv | Weakness |
|---|---|---|---|
| Silky | 47 | ||
| Sarasvati | 47 | ||
| Kushinada-Hime | 47 |
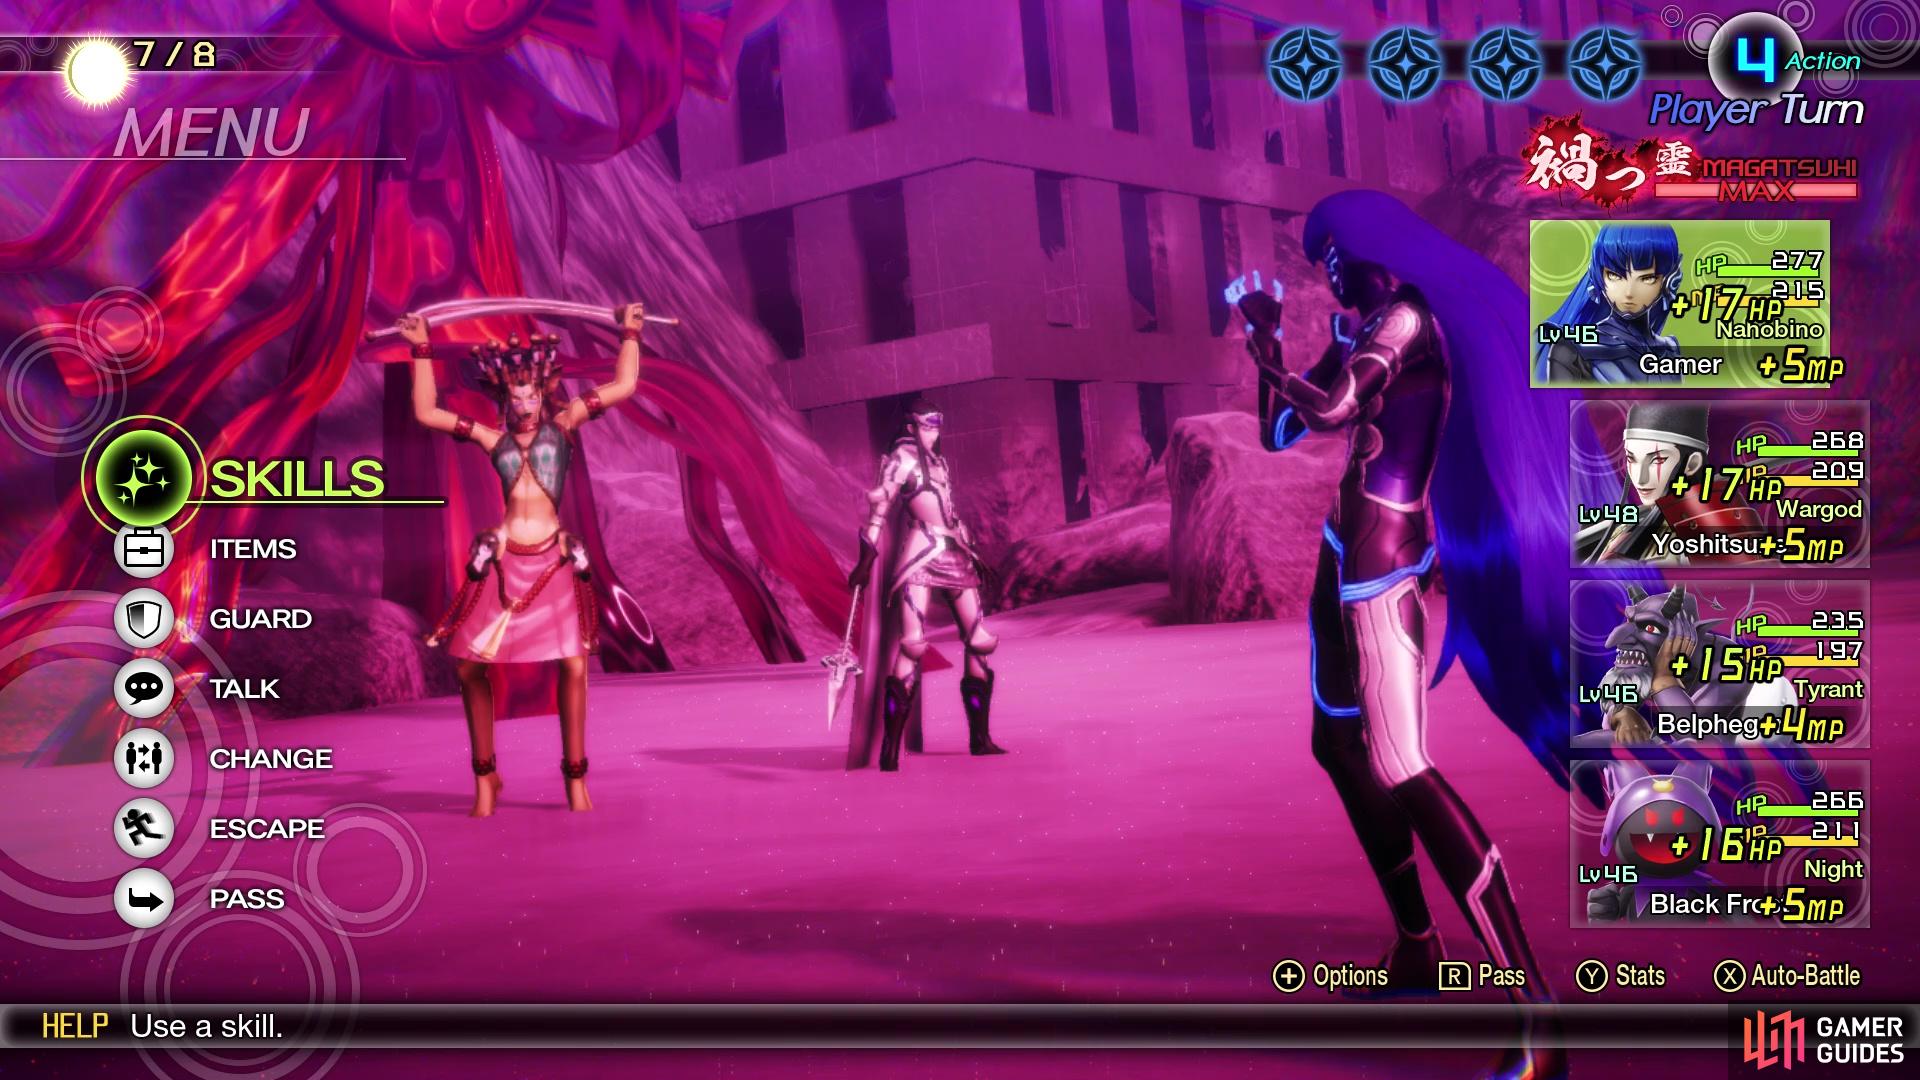
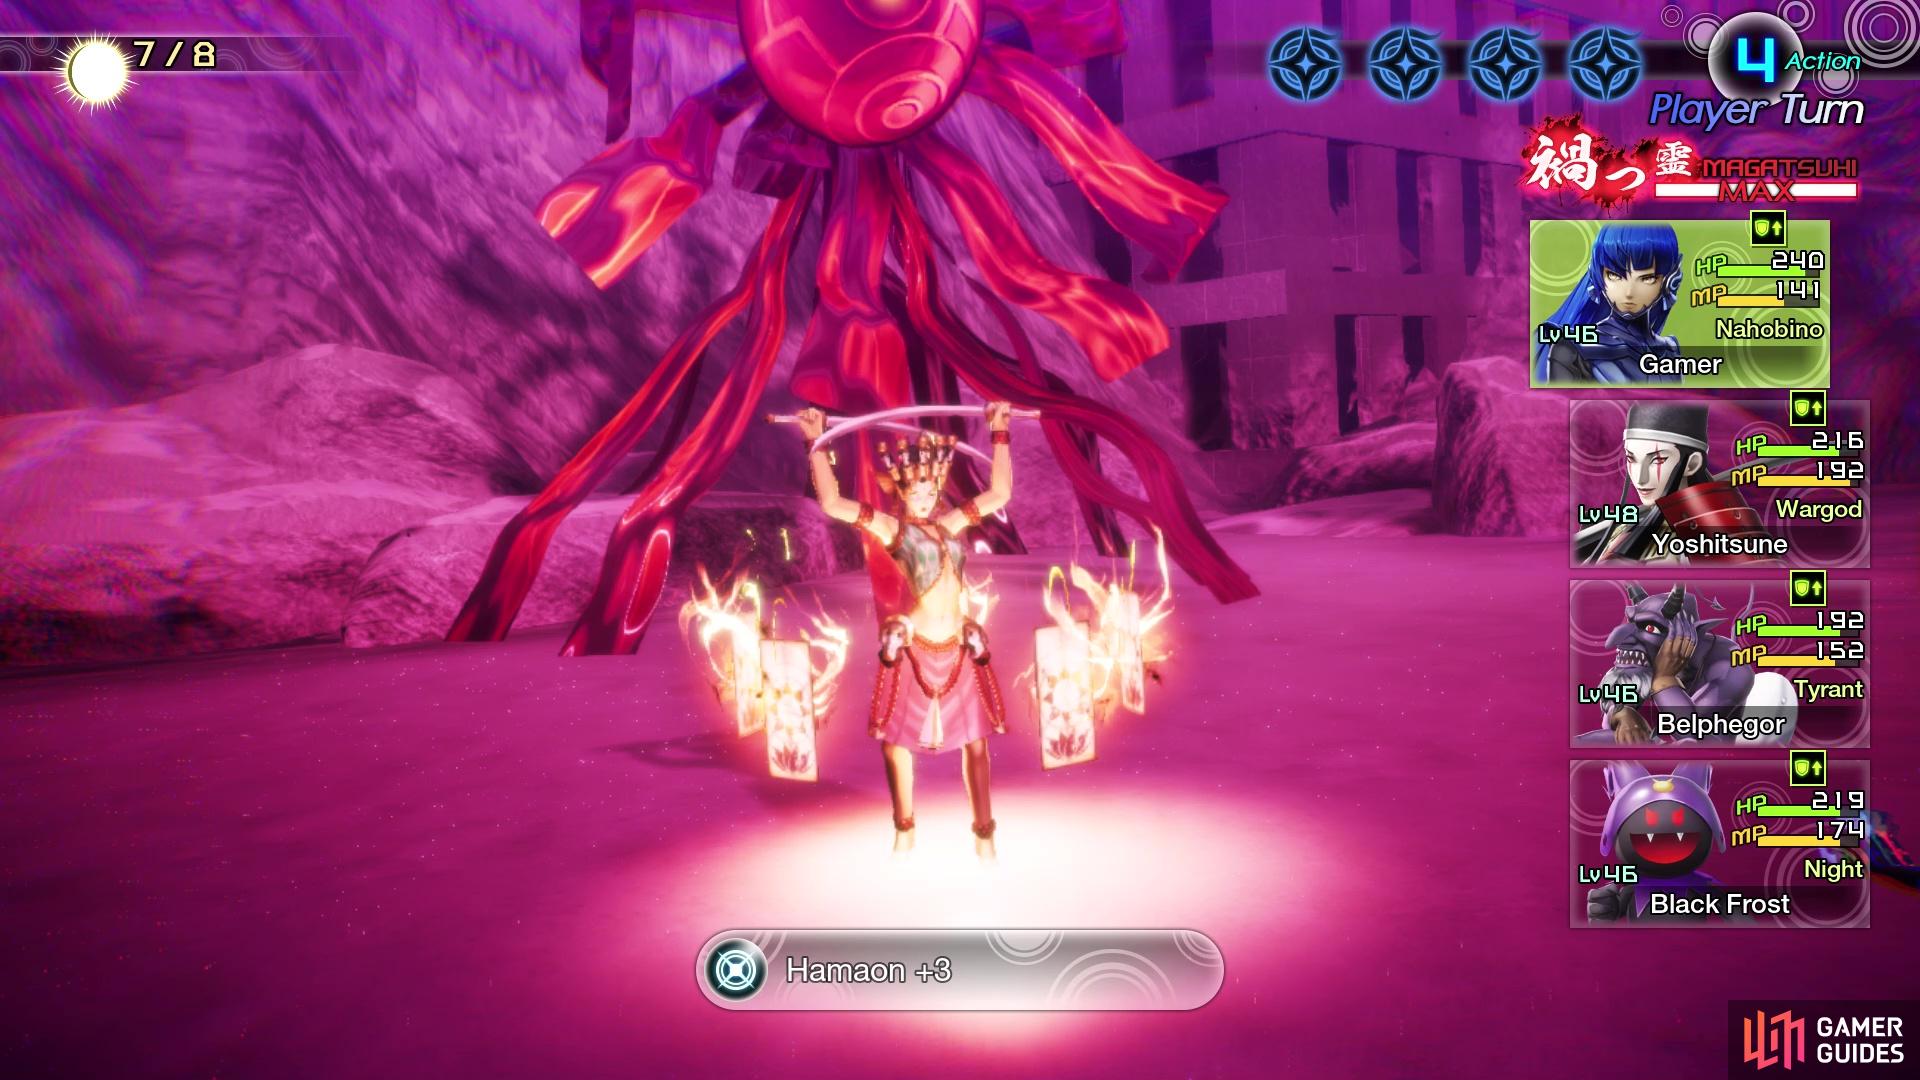
You will be up against three enemies here, which might be a bit daunting, but things can be pretty easy, depending on your resistances. First and foremost, Kushinada-Hime has no actual attacking skills (she still has her normal attack, of course), so you don’t have to worry about her in that aspect. However, she does have both Mediarama and Matarunda, so she can prolong the fight much longer and thus, she should be your first target. She is weak to Dark and blocks Light. Silky has access to Bufula, as well as Marakukaja, with the latter making the battle even longer, especially when paired with Matarunda. She is weak to Fire, while being immune to Ice.

You will have three demons to contend with in this Abscess battle
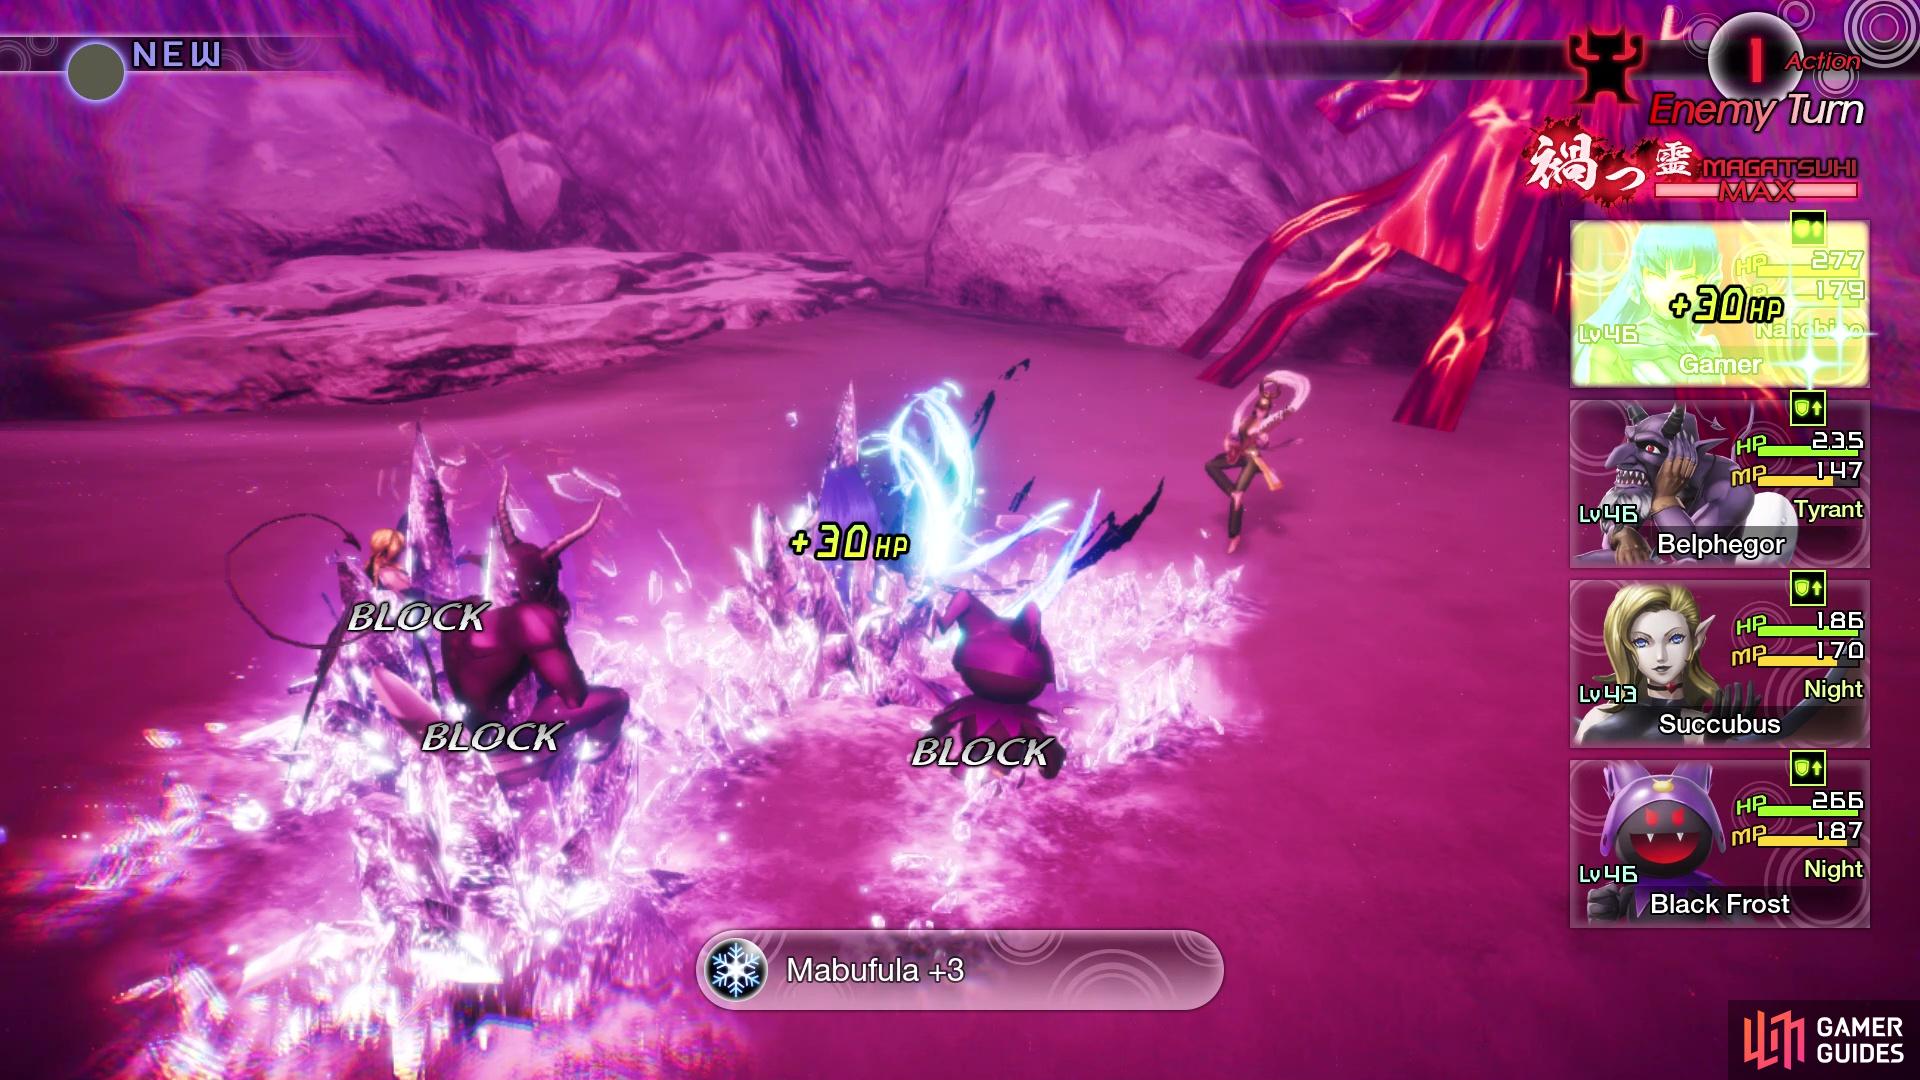
Immunity to Ice makes this battle a breeze
The third enemy is a Sarasvati, who has access to both Lullaby and Mabufula. She is weak to both Fire and Dark, while being immune to Ice. As you can see from their skills, the only attacking ones they have is Ice, so if your party is immune to Ice, then you only have to worry about the debuffs/buffs/ailments. As already mentioned, Kushinada-Hime should be your primary target at the start of the battle, since she can heal the others. It’s also possible to leave her last, since you would only have to deal with normal attacks. Thankfully, all of the enemies here have pretty low Strength, so their normal attacks shouldn’t really hurt at all.
| Miracle | Category | Effect | Glory |
|---|---|---|---|
| Embolden | Supremacy | Raises the amount added to Magatsuhi Gauge each turn. | 150 |
| Divine Garrison VIII | Awakening | Increases demon stock by 3. | 165 |
| Light Mastery IV | Cosmos | Increase the Nahobino’s Light skill potential by 2. | 130 |
| Dark Mastery IV | Cosmos | Increase the Nahobino’s Dark skill potential by 2. | 130 |
| Ailment Mastery IV | Cosmos | Increase the Nahobino’s Ailment skill potential by 2. | 90 |
Akihabara Exploration
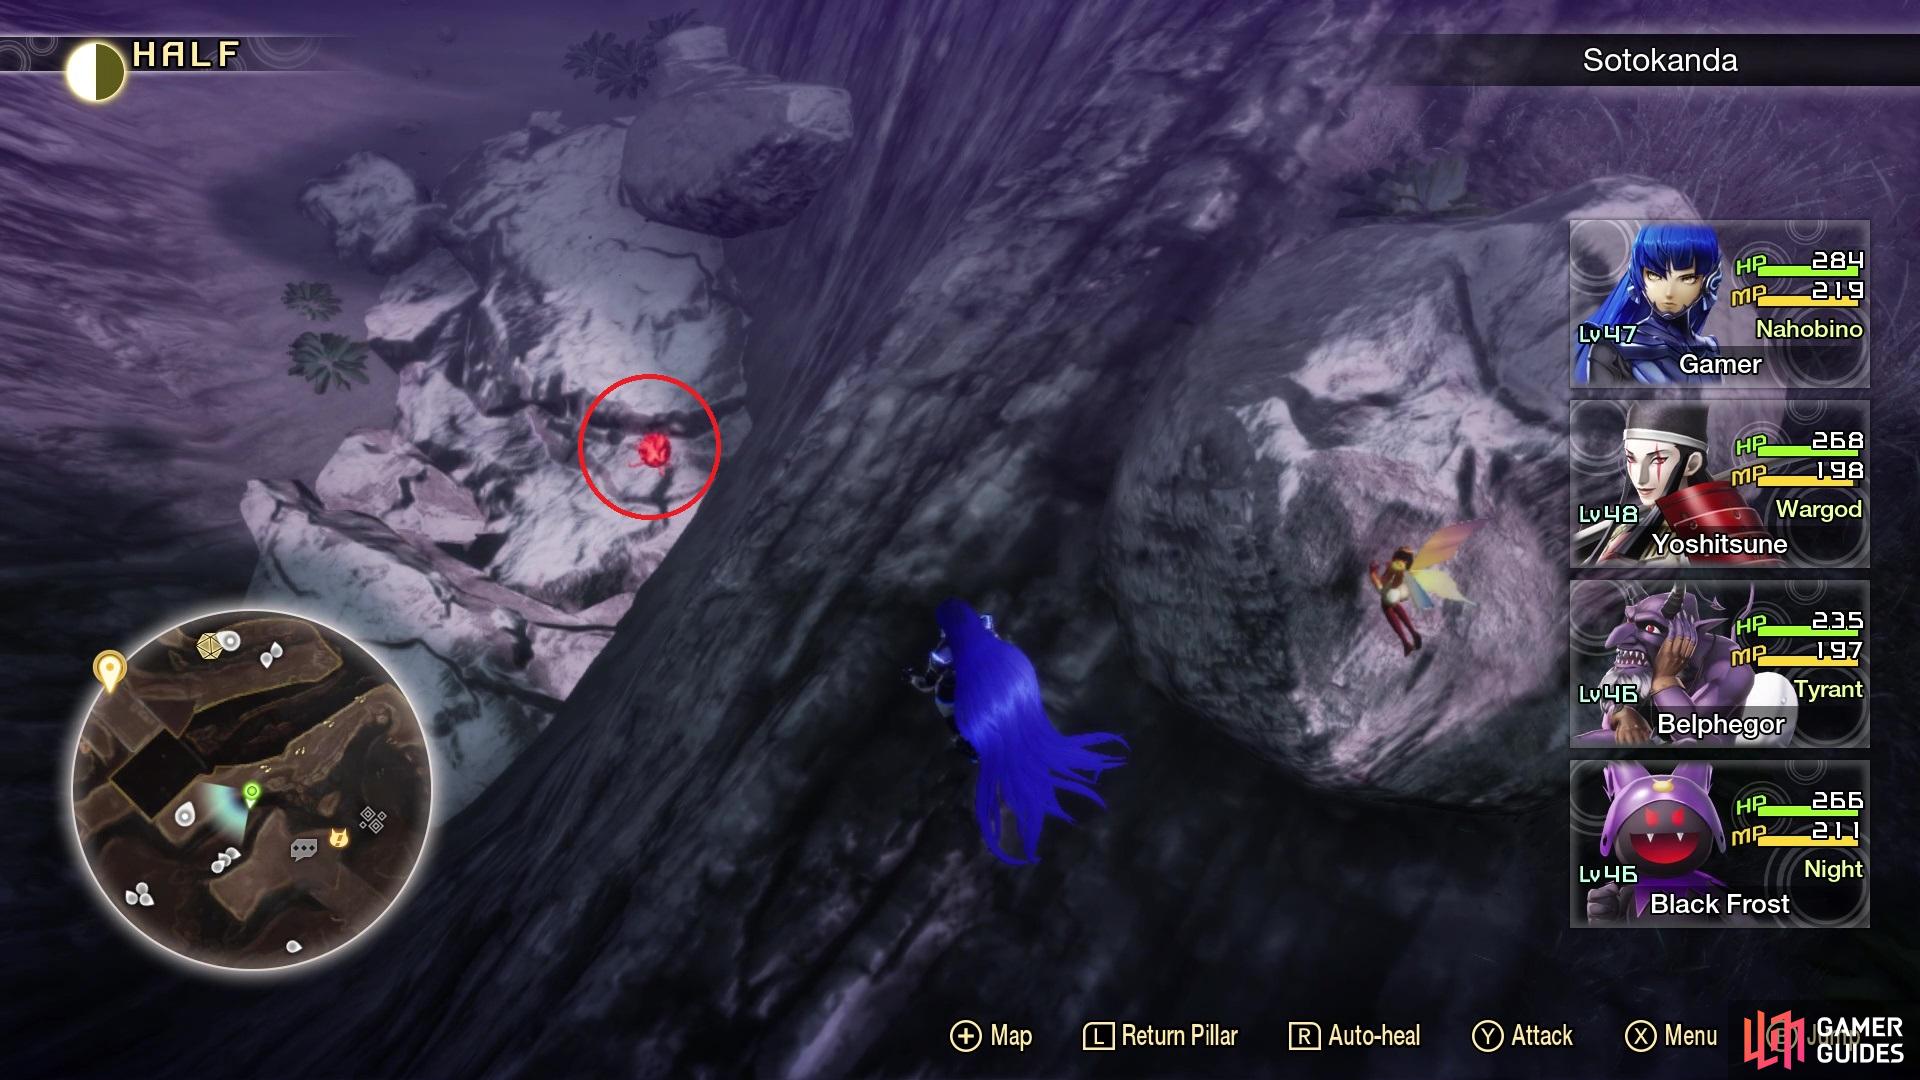
Once you’ve gotten both Abscesses, you can head back to the Akihabara Leyline and begin exploring the areas. Follow the trail until you get to the train tracks, where you should see a Treasure Box icon on your map. It’s not right there, but actually under the tracks. To get to it, go on top of the icon and drop in between the tracks to land on a small ledge with the Treasure Box, which contains a Sukuna-Hikona’s Essence. Drop down to the ground below you, then locate the thin path to the southeast, which goes uphill. When you reach the end of the path, you can hop up the rocky terrain to be able to get to the climbing block.
As soon as you climb that block, look behind the nearby rubble to find Miman #129. Look for the rubble that acts as a ramp now, which will allow you to get to the top and collect Amalgam #25. That’s all you can find in this area, so drop back down to the main path below you and make your way to where you fought the first Abscess. If you look over the edge to the north-northeast, you should see a path down there. In the corner down there, you will also find Miman #130. Follow this path downward, to some Orthrus running around, along with another path.
If you look next to the building down here, though, you will see a sparkly spot on the ground, which is the Large Model Kit for the One Mokoi’s Trash… quest. Head up that other path you saw down here, where you will come to a split. The eastern leads to nothing (for right now), while the western trail will eventually bring you to a ledge that has the Jikokuten Punishing Foe. It is level 51, so if you don’t feel like fighting it right now, ignore it and come back later. Look in the pit next to the Punishing Foe to see Miman #131 down below, so drop down and get it.
Go southwest to some Ose, then look for the path going southwest here. You will pass by a Jack-o’-Lantern NPC, who tells you about how to get back up to the train tracks, but ignore him. Continue southwest, to the end of the path, to find a Treasure Box with a Dionysus’s Essence inside it. Backtrack to the Jack-o’-Lantern NPC and head into the area behind him. In here, you will find the TV-Game Combination for One Mokoi’s Trash… (the third and final item), and a Treasure Box that contains an Orthrus’s Essence. If you go inside the busted-up building, you will find some stairs, so take them. At the top of the first set, jump over to the ledge to grab Miman #132.
With that out of the way, teleport back to the Akihabara Leyline and take the path opposite of the first Abscess. Cross over the building that’s like a bridge, where there will be an Angel NPC. Continue past the ruined building, but stop at the bridge, as Miman #133 will be in the rubble of that building you just passed. Cross that little bridge and ahead, you will find some Anzu flying around in the air. Continue straight southwest and you will come to the Mansei Bridge Leyline. Right next to it, there will be a Kelpie that gives you the An Unusual Forecast quest; Kelpie wants you to defeat Girimekhala and bring its head.
Mansei Bridge Exploration
North of the Leyline will be two different paths to take, one being a ramp going down towards the ground level and the other staying on top of nearby buildings. Follow that path to the northeast, to the end, where you can drop down to a thin ledge that contains Amalgam #26. Return to the Mansei Bridge Leyline and head down the slanted building, where you can either climb up a block or drop down some; the little path with all of the orbs was already explored previously. Ignore the block going up, instead dropping down the two blocks to ground level. As you follow this path to the northwest, keep an eye out for an opening on the western side.
Go underneath the small bridge here for some vending machines, and if you look behind the one support pillar, you will find Miman #134. A little further ahead on the main trail you were just on, there is another path heading northeast. Turn here, then venture southeast to find a Treasure Box at a dead end, which contains Grimoire x2. The little detour adjacent to the Treasure, with the Magatsuhi orbs, leads to a dead end with nothing. Double back to the initial trail that was heading northwest and follow that until it opens up a little bit, where you see some Orthrus running around ahead. There is a small opening right before the single vending machine, where you will find another Treasure Box that has Ose’s Essence in it.
Amalgam #26 will require you to navigate the rooftops by the Mansei Bridge Leyline
Miman #134 is underneath the bridge near the Mansei Bridge Leyline
You will find some climbing blocks nearby, so go up them to find a Valkyrie with a quest; this is the He of a Hundred Hands quest that asks you to defeat a Hecatoncheires. If you don’t remember where it is located, it’s underneath the tracks that has the Akihabara Leyline. Anyway, to continue on, right next to that Valkyrie will be the Akihabara Electric Town Leyline, so register it if you didn’t before when doing the Abscesses.
Akihabara Electric Town Exploration
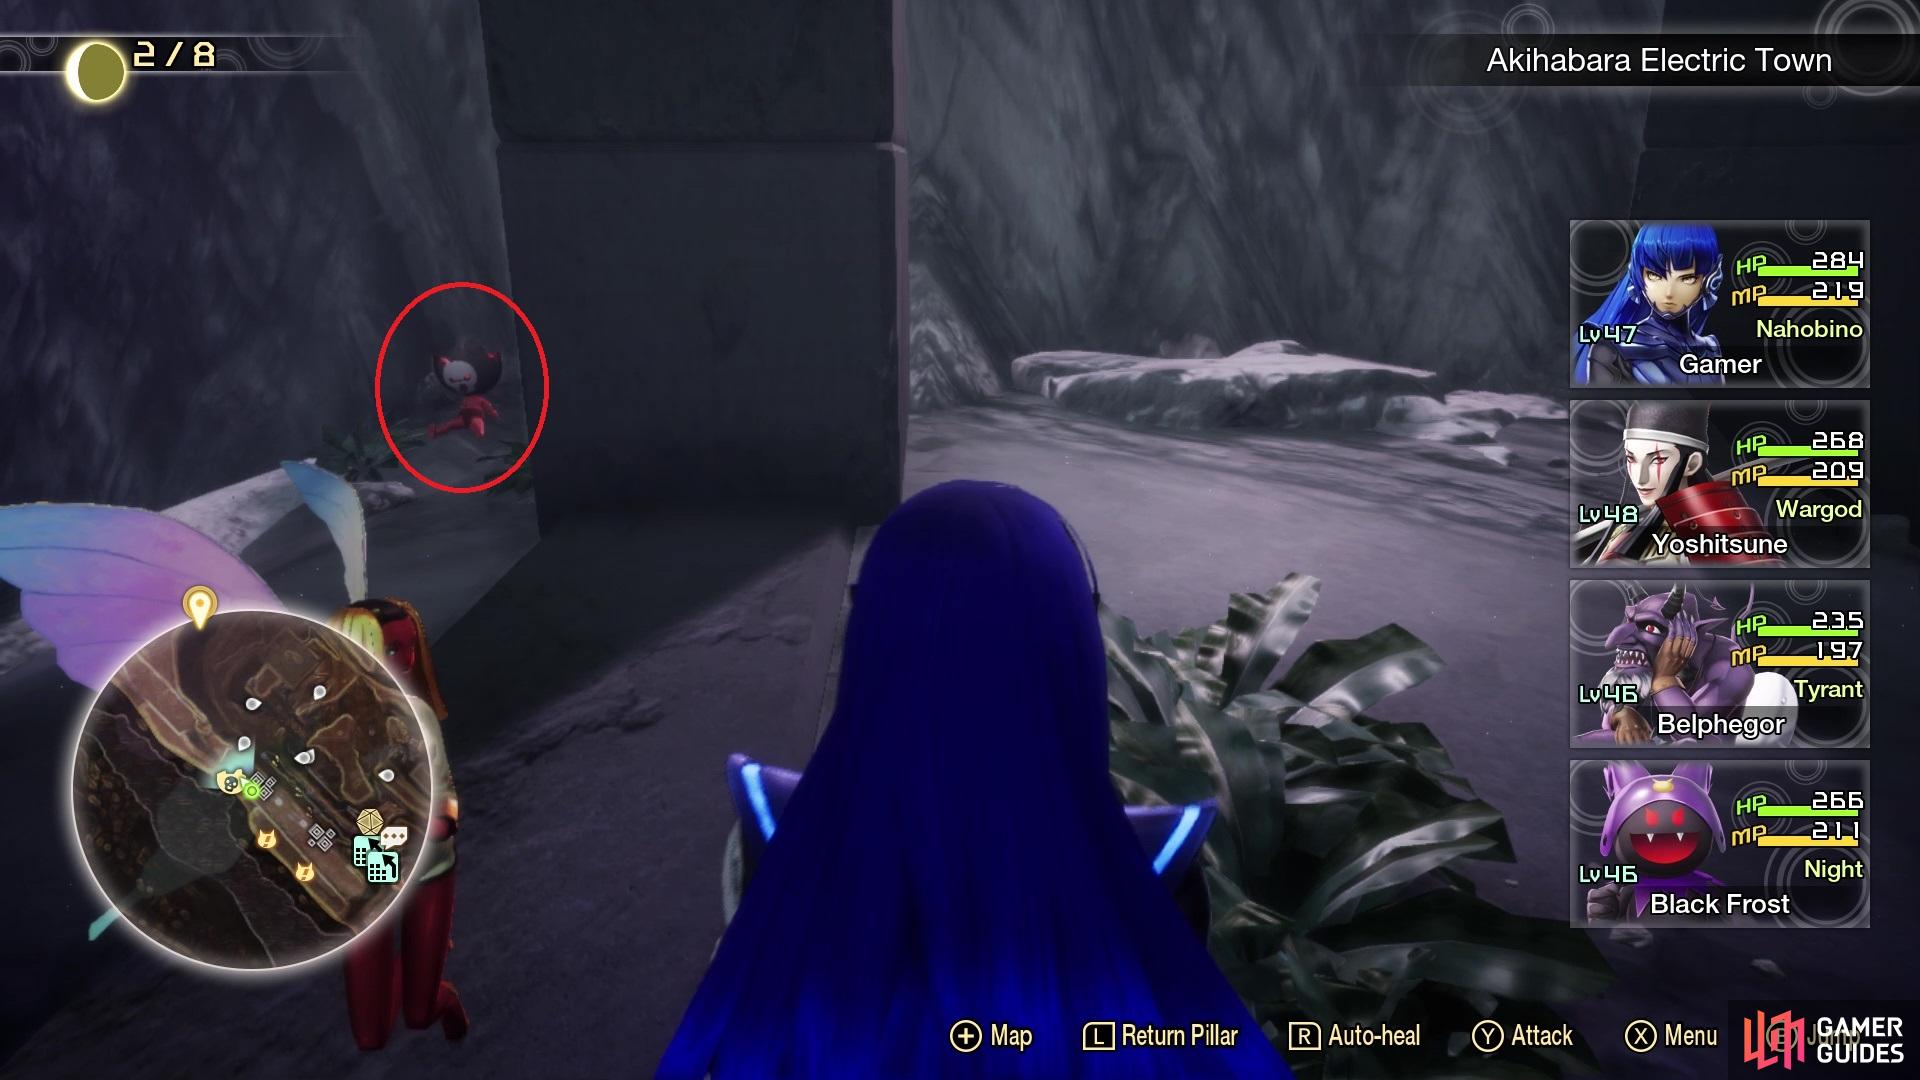
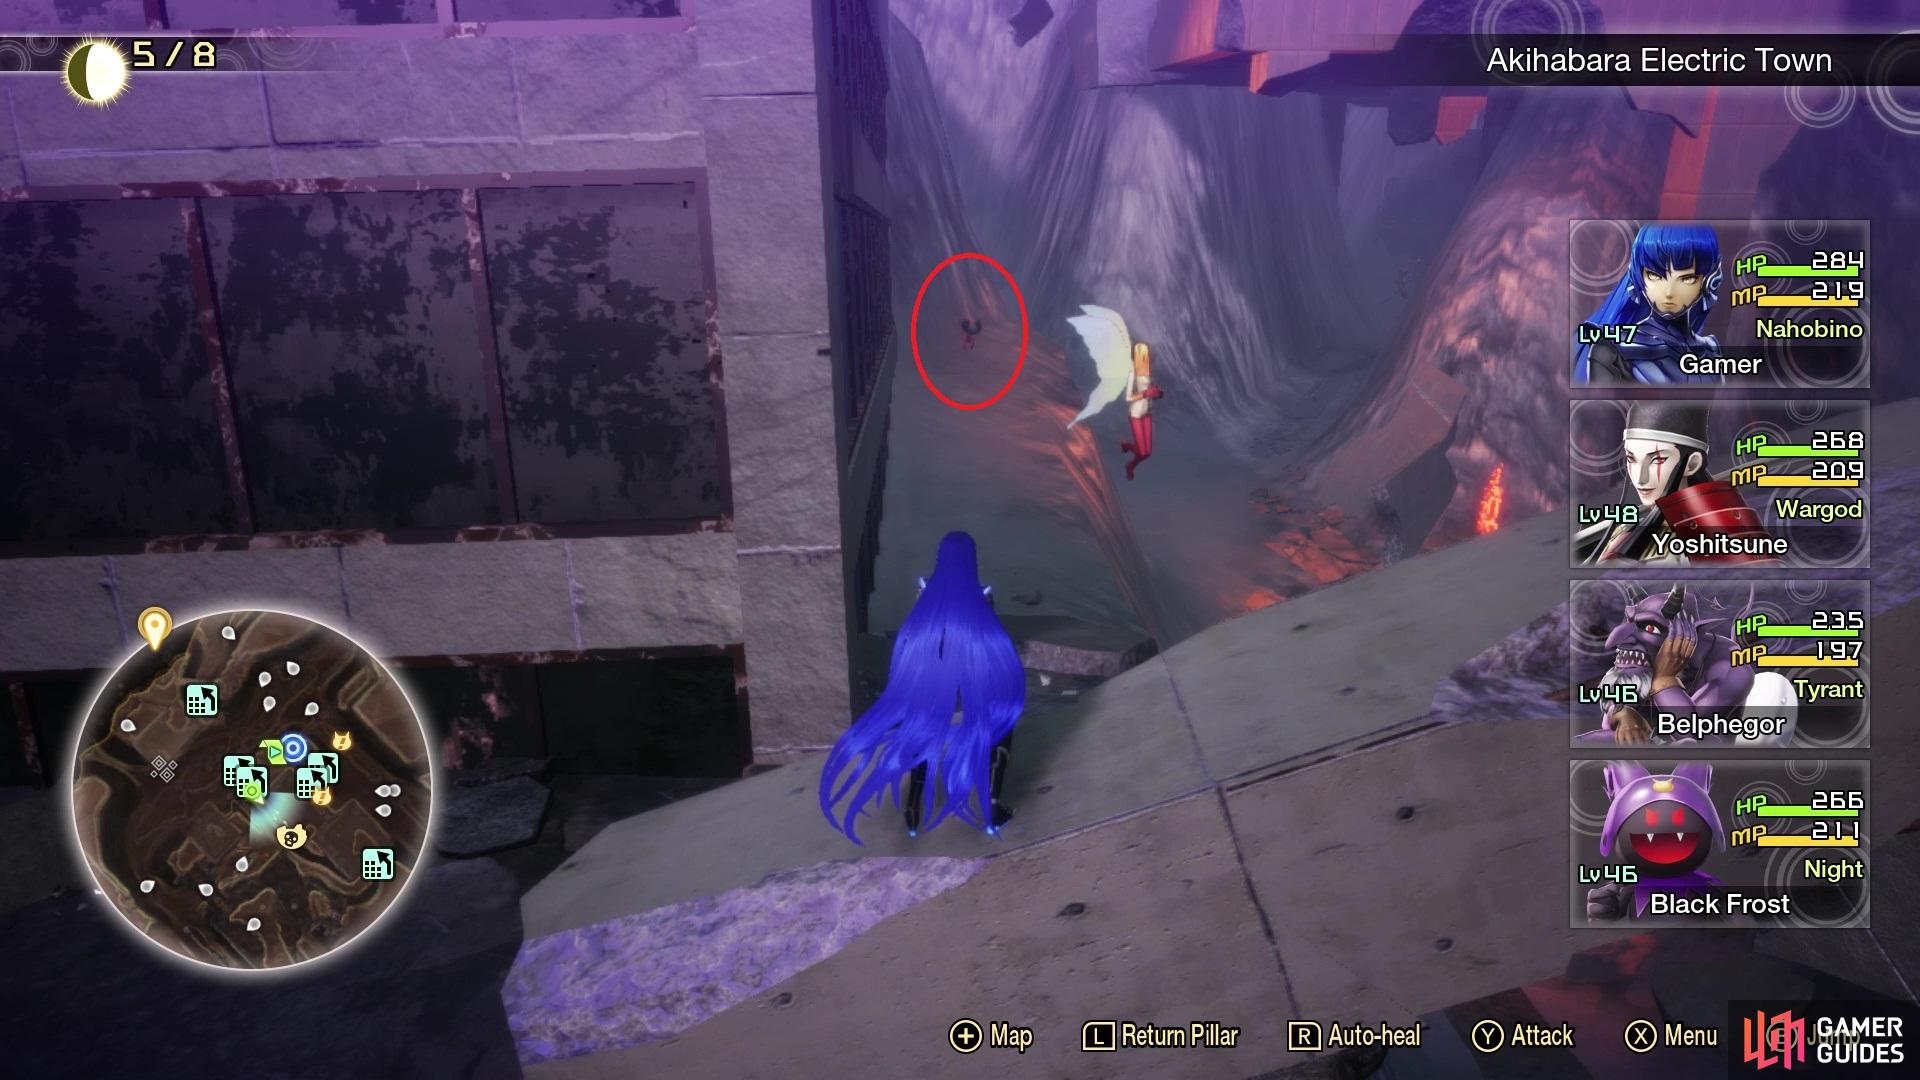
You remember the broken beams you used to climb up next to the Electric Town Leyline to set upon the path leading to the second Abscess? While standing on the base of the broken pillar, look north and on the thin ledge there, you should see Miman #135 at the end of it. Go up the beams again and stop on the first big rooftop, where on the southern side of it, you will find Miman #136 on a small mound. There is one more thing up here, so head over to where the second Abscess was located. From there, venture straight southwest from it to the edge of the rooftop. If you look over the edge of the roof, you should see the Jack-o’-Lantern NPC from before. In that corner of the rooftop, look over the edge of the adjacent side to see a little area you can drop down to, with Miman #137.
Return to the Electric Town Leyline and look for the pedestrian walkway next to the Valkyrie NPC. Cross it to reach a small area that results in a dead end, with some vending machines. Note that the other little walkway near the Leyline leads to nothing, so ignore it. Back at the Leyline, drop down to where all the Orthrus are roaming, and head northeast, past the Naga Raja. At the end, you should see a small hill to the one side, and some climbing blocks on the other side. Run up the hill first to find another block, so climb up them to see a pillar that lets you cross to a rooftop. Follow the path here until you reach Demon Statue #12 - Kumbhanda; opposite the Demon Statue is a rooftop with Miman #138 on it.
Double back to that split in the path before and climb the blocks opposite the hill. Run past the Ose, then head southeast to the rooftop, where you will find Miman #139. On the northern side of the same building, drop down to the area below to find a path that leads upwards. At the top, you will find a Treasure Box that contains a Chakra Pot and if you wait, this is where you can encounter the Horus Punishing Foe, who is needed for The Falcon’s Head quest. It is level 46, but it has a huge Agility stat, so it might be better to come back a little more prepared.
Travel back to the Mansei Bridge Leyline, slide down the slope and climb the block there, where you should see an Ose NPC. Right behind him, you can drop down to break open the Treasure Box containing a Mishaguji’s Essence. Use the white structures to get back to where Ose is located. Carefully make your way across the derailed trains, where you will find some tracks that lead you to the next area.
No Comments