
This is a walkthrough for Da’at: Taito of Shin Megami Tensei V, focusing on clearing more of the Abscesses blocking the map.
Yuzuru will reveal his plans
Demons
| Icon | Name | Lv | Weakness |
|---|---|---|---|
| Clotho | 52 | ||
| Loup-garou | 54 | ||
| Hecatoncheires | 55 | ||
| Decarabia | 55 | ||
| Queen Medb | 56 | ||
| Titania | 57 | ||
| Cerberus | 64 | ||
| Throne | 64 | ||
| Yamata-no-Orochi | 72 |
Shinobazu Pond Abscess
This might be one of the more difficult Abscesses to clear, at least at the present time. You will be going up against four level 65 enemies, all of which have different resistances and access to four types of elemental skills. Having no one weak to those elements (Ice, Electric, Light and Dark) will be the key to winning the battle, as well as debuffs. You will also want the following four elements in your arsenal: Fire, Ice, Force, and possibly Dark (you only need either Force or Dark, since two enemies share both of those weaknesses). At this point of doing the previous pages, you should be around level 62-63, which should be more than enough to tackle the Abscess. If you are having trouble, then grind a little bit more to get the necessary levels to help things along.
Go down this path whenever you come to the fork
The Abscess will be up the hill right past the Kurama Tengus
Start off by going to the Ueno Park Leyline and taking the path to the west, down to where the Hecatoncheires are in a narrow passageway. Head south in that passageway to come to the shallow lake, where you will want to stick to the higher ground. Follow the path to the north and around to where it is going south, which is when the trail will split. Continue southwest and keep going in this direction to find the Abscess up a little hill, just past the group of Kurama Tengu NPCs.
Yep, this is going to be a challenging battle, as all of the enemies are level 65 and you have to deal with four different demons. All of them have two skills each in their skillset, both of which will be attacking spells. Since they don’t have any support spells at all, that means buffs and debuffs will go a long way in this fight. Skadi is weak to Fire, resistant to Ice, and immune to Dark. Atavaka is weak to Ice, and immune to both Light and Dark. Barong is weak to both Force and Dark, while being immune to both Electric and Light. Siegfried is weak to Force, Light and Dark, and will absorb any Physical attacks. All of them resist all ailments, with Skadi being immune to Seal, so you likely don’t want to go that route.
Out of the four opponents, depending on your resistances, Siegfried might be the biggest problem. He has pretty high Strength and both of his skills are Physical, with Hades Blast hitting your entire party and Mortal Jihad only hitting a single target. He also has three weaknesses, so there’s a lot of versatility in exploiting those weaknesses. Barong might be the next in line, since it has both Maziodyne and Damascus Claw, the latter of which is a Physical attack that can hit multiple times. Third would probably be Skadi, since she has Mabufudyne and Mamudoon, two spells that can hit the entire party. Atavaka has Mamudoon and White Dracostrike, so he can only hit the party with one of his skills.
Being immune to the mentioned elements will cut down on the number of enemy turns
Concentrate on one enemy at a time until they’re defeated
The first round should be used to exploit some weaknesses to get extra turns, then casting Matarunda on the group, and possibly Marakukaja on your party. This ensures that their attacks won’t hit as hard and you won’t have anyone dying on the enemy’s first turn. From there, you can begin concentrating on the order described above, as that should hopefully make things easier. As long as you have at least one character that is immune to each of the elements the enemies use, then that will drastically cut down on the damage done to your party. Also, whenever they charge the Magatsuhi, there doesn’t seem to be any clear skills they will use, so there’s no point in tossing up any Dampeners. Just continue focusing on Siegfried first to get rid of that potential Hades Blast being used during the Magatsuhi. Once you start clearing enemies, the battle will get easier.
| Miracle | Category | Effect | Glory |
|---|---|---|---|
| Prayer of Strength | Awakening | Additional +1 increase to a demon ally’s Strength when the demon levels up (Only applies up to a certain level). | 200 |
| Prayer of Magic | Awakening | Additional +1 increase to a demon ally’s Magic when the demon levels up (Only applies up to a certain level). | 200 |
| Light Mastery V | Cosmos | Increases the Nahobino’s Light skill potential by 2. | 160 |
| Dark Mastery V | Cosmos | Increases the Nahobino’s Dark skill potential by 2. | 160 |
| Ailment Mastery V | Cosmos | Increases the Nahobino’s Ailment skill potential by 2. | 140 |
Kuramae Abscess
Return to any Leyline to heal up, then come back to the spot where the above Abscess was located. The following Abscess will be pitting you against three level 59 enemies, which might seem to be like an easier time, but all three demons will have access to healing. In terms of elements needed, everything is either weak to Ice, Dark or both. Likewise, you want to be protected against Fire, Force, and Light. Marakunda and Matarukaja will go a long way in this battle, so it’s a wise idea to have those skills. Once you’re fully prepared, let’s get moving to the Abscess.
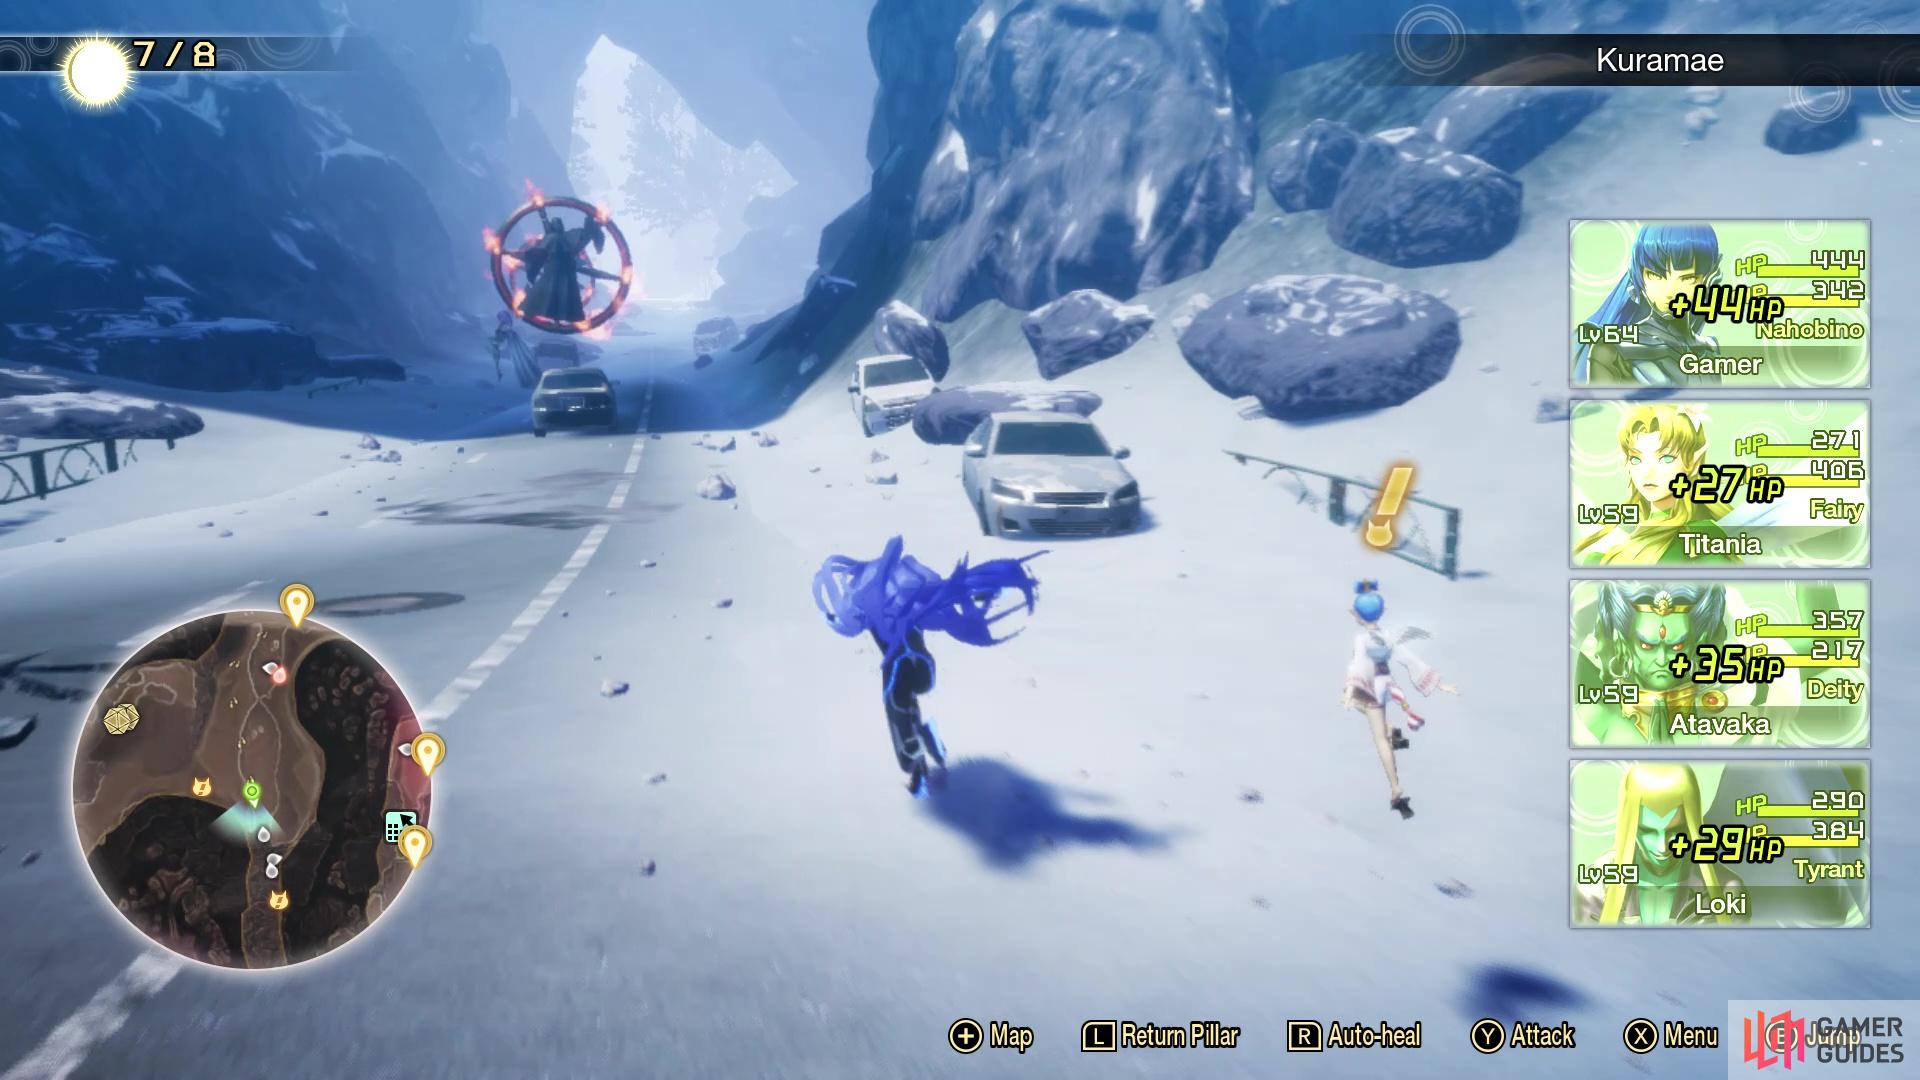
Keep going south until you start seeing Thrones
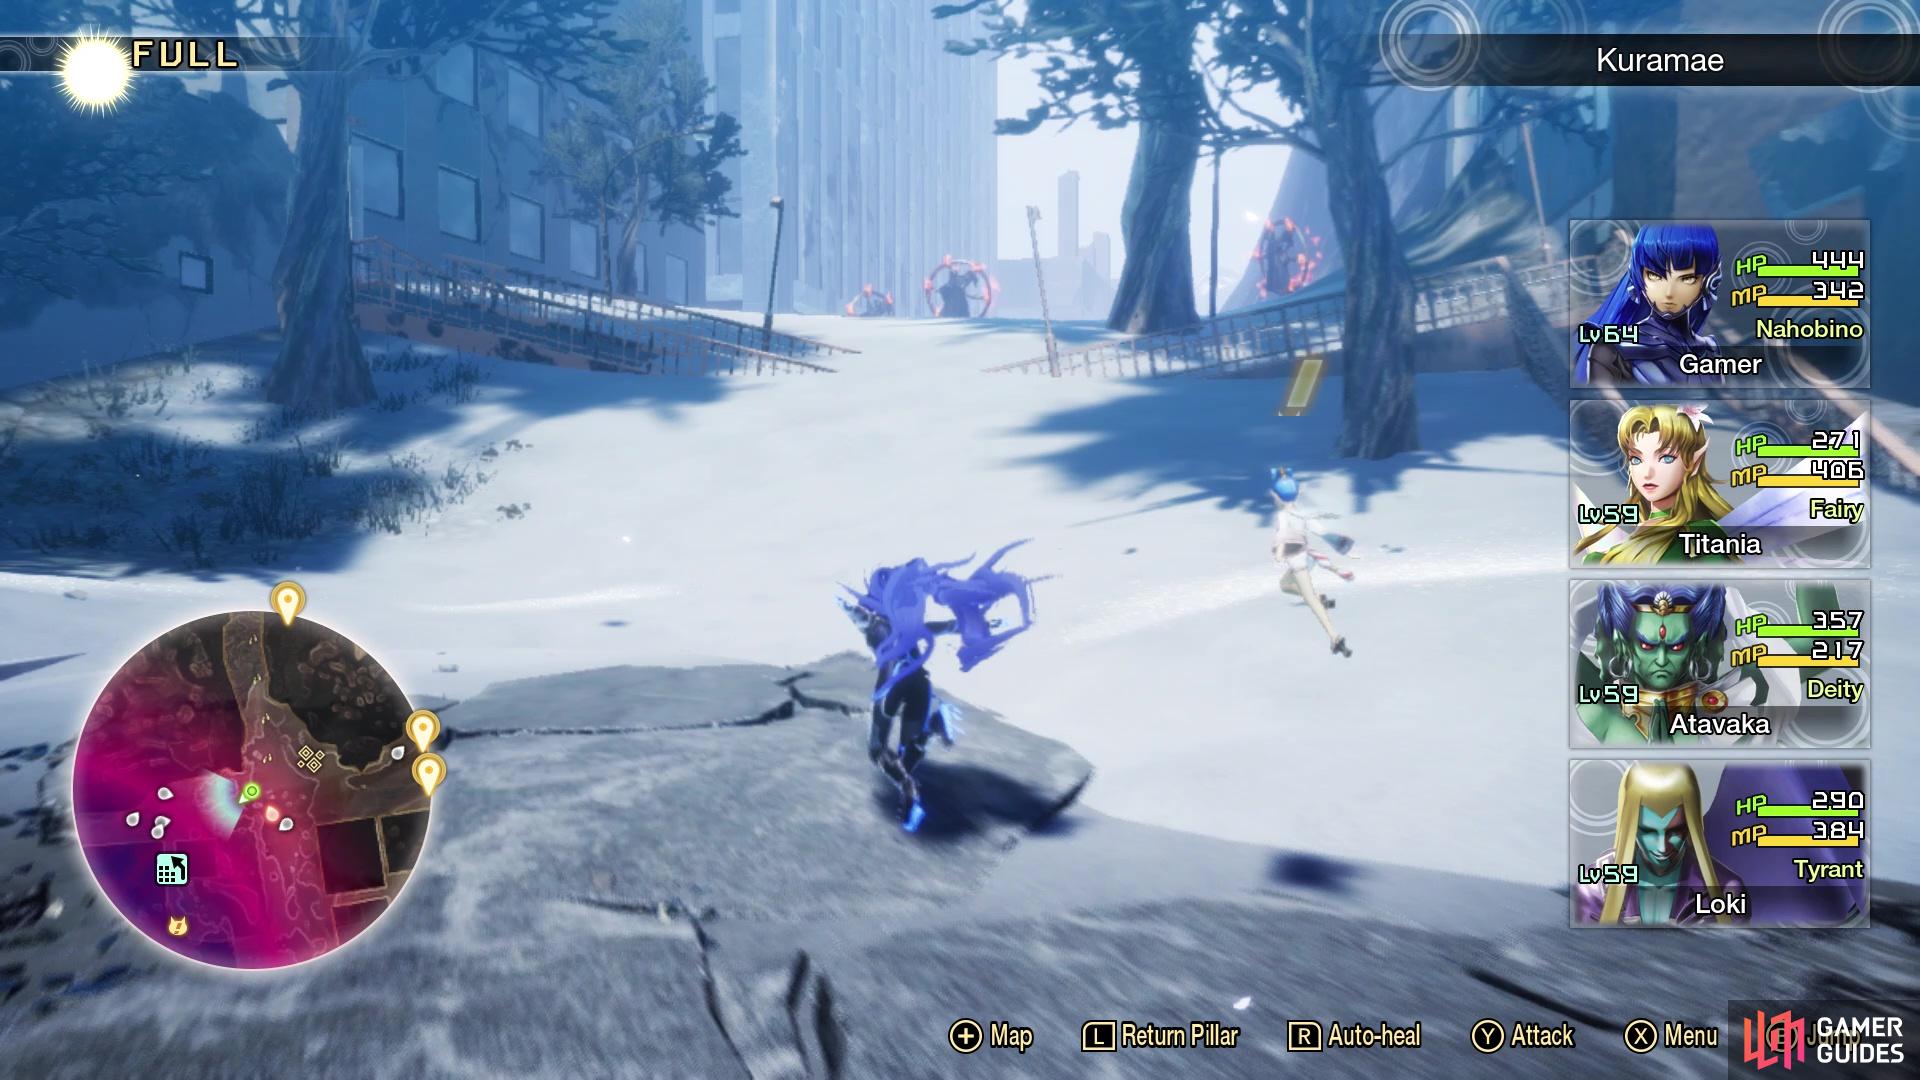
You will want to go west at this crossroad to reach the Abscess
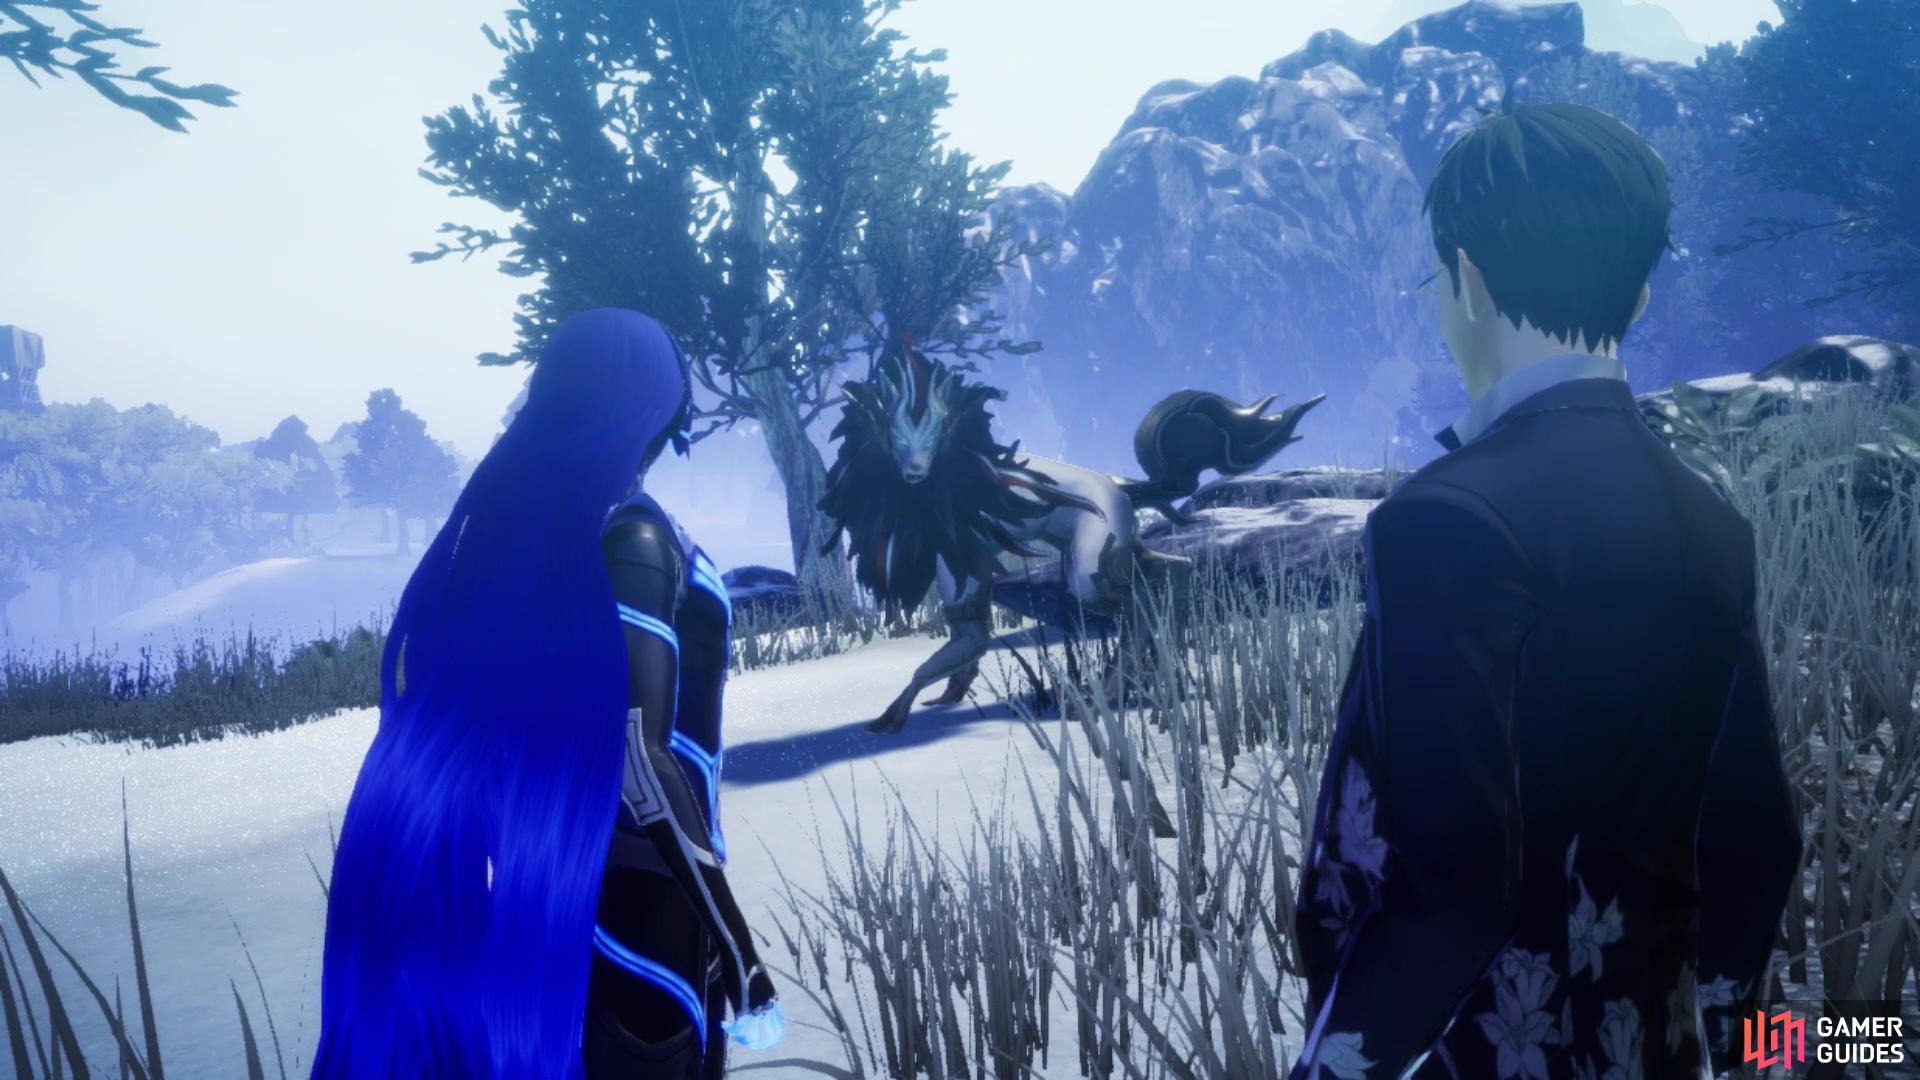
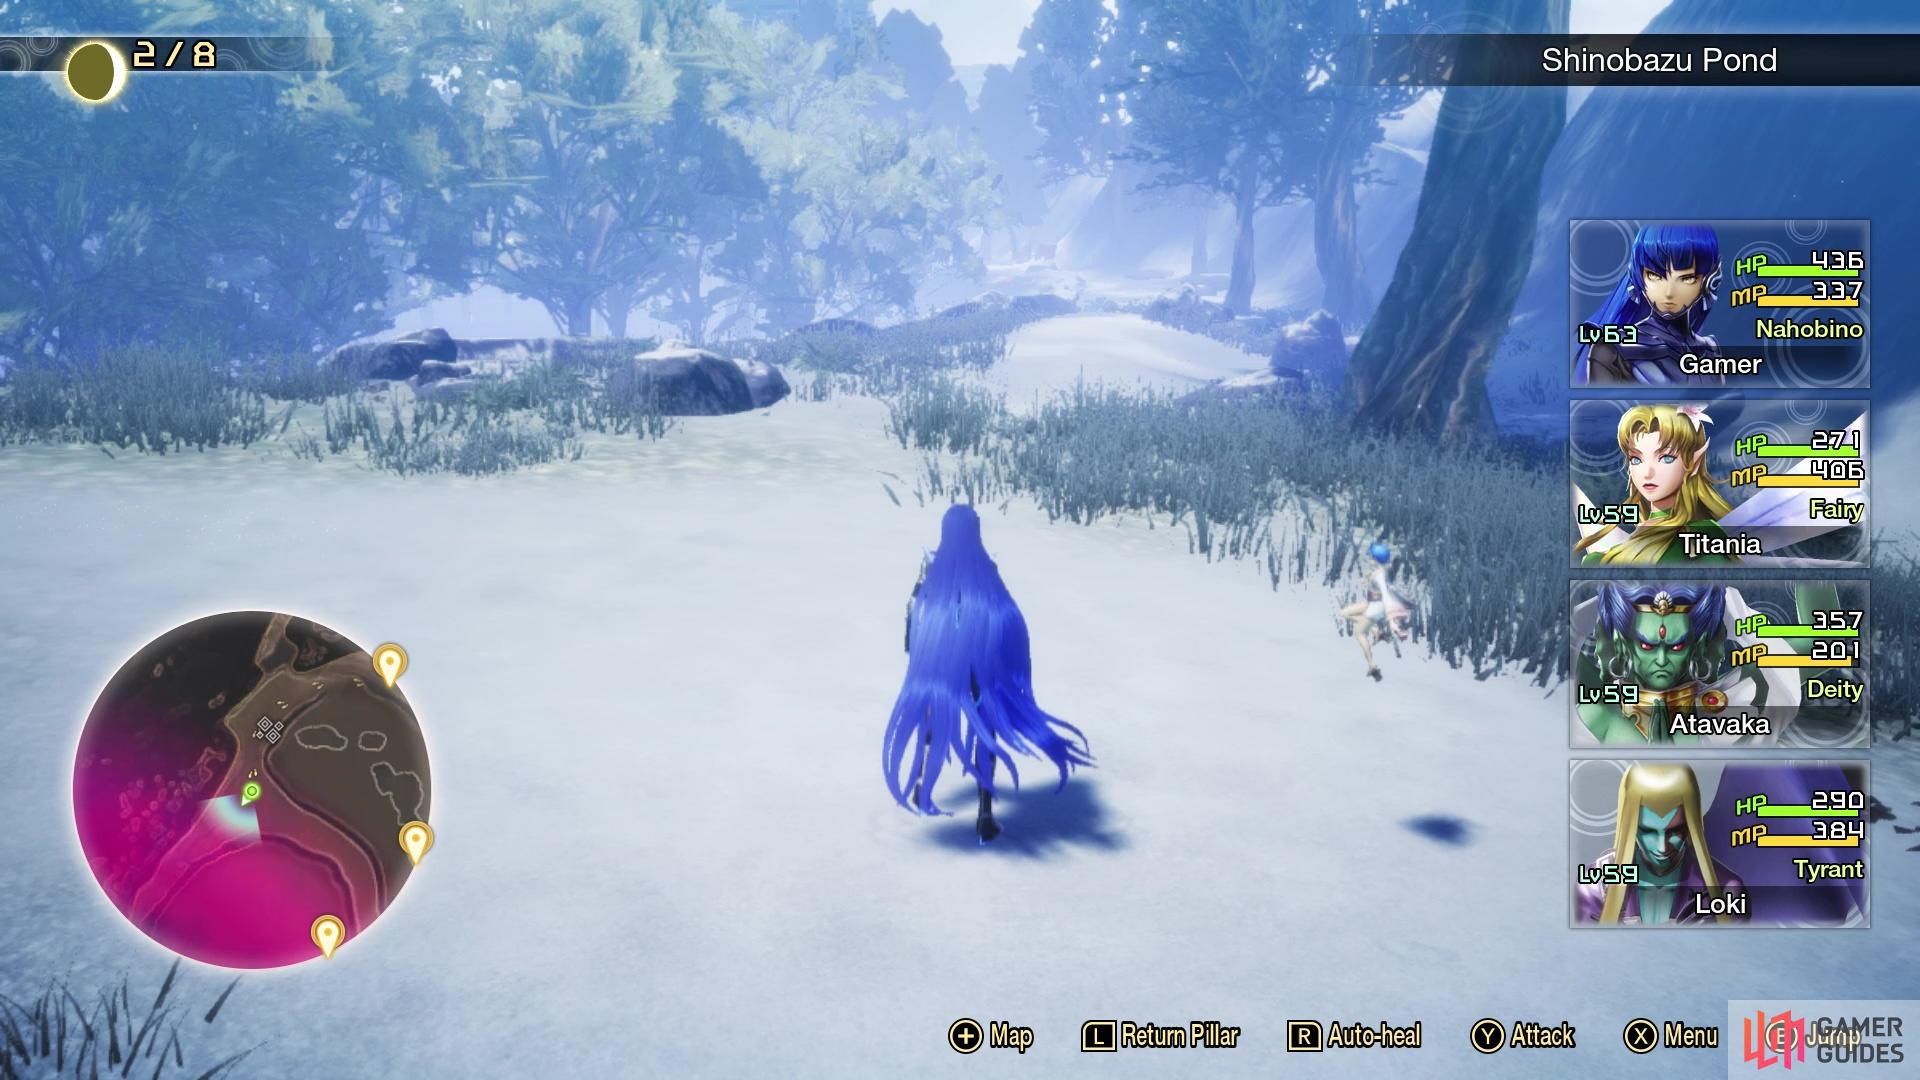
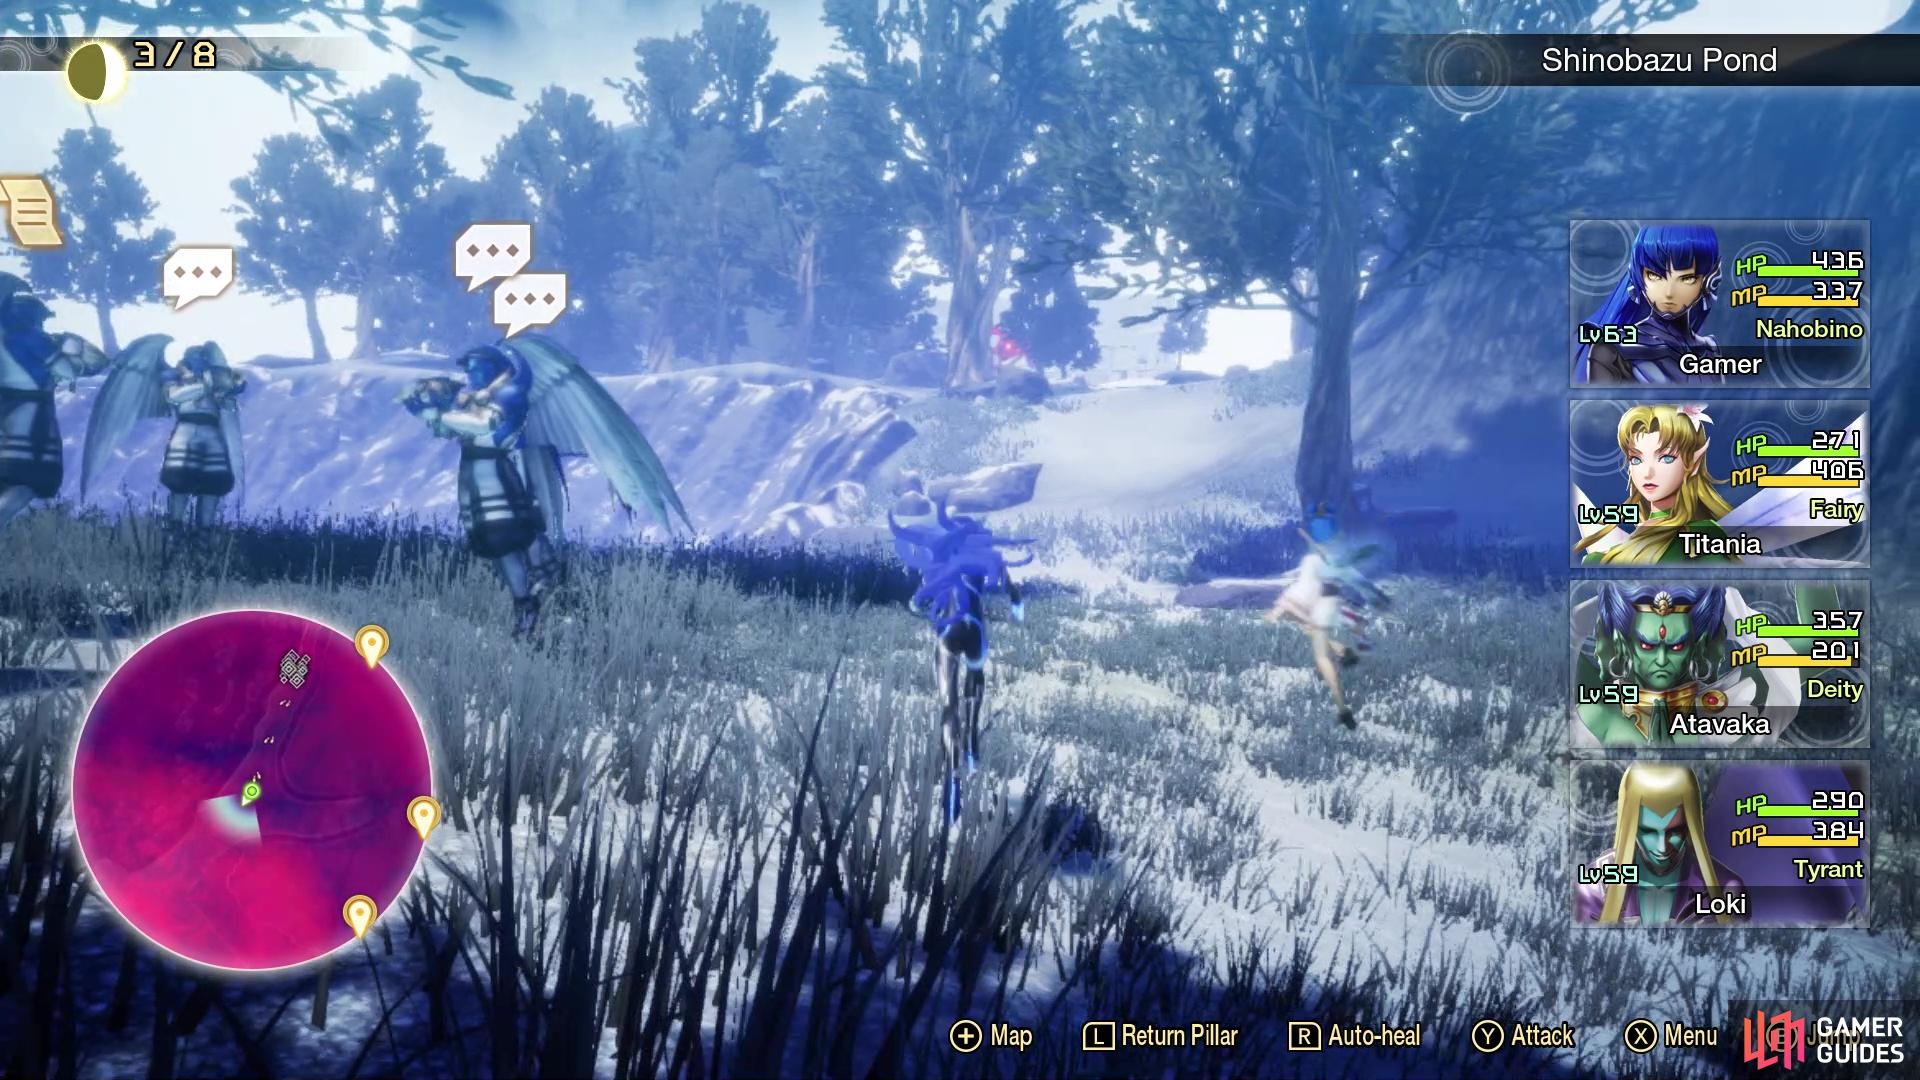
From the previous Abscess’ location, head southeast and follow this land until you meet up with Yuzuru again, for a short cutscene. East of his location will be another leyline fount, the Shinobazu Pond Leyline, so make sure to register it. Drop off the cliff just south of the leyline and continue straight south, past some groups of Loup-garou demons. Past the second group, you will see some Throne demons to the south, which is where you want to go. At the second group of Thrones, head west and follow this narrow path to the Abscess. Note that the passageway here is kind of tight and it will spawn a bunch of Thrones, so fighting one or two might be required to reach it.
| Icon | Name | Lv | Weakness |
|---|---|---|---|
| Yatagarasu | 59 | ||
| Throne | 59 | ||
| Mitra | 59 |
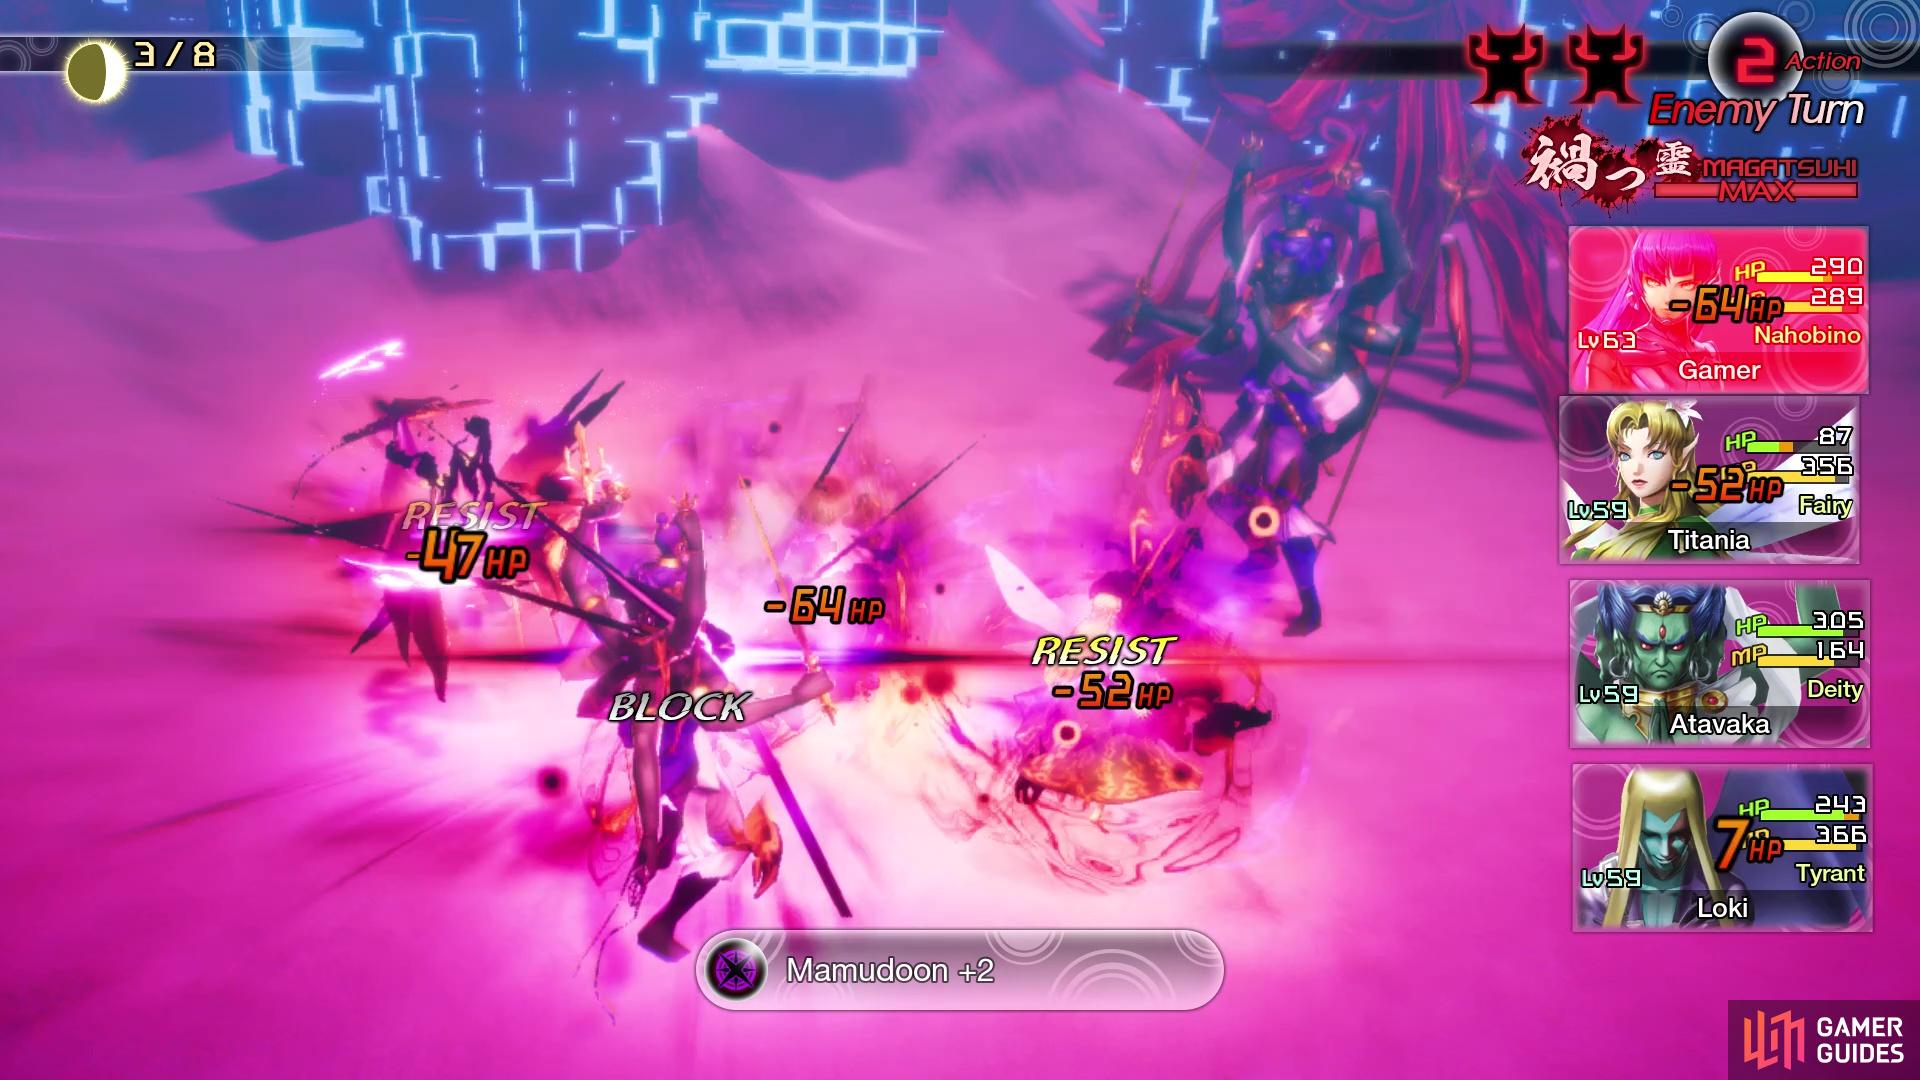
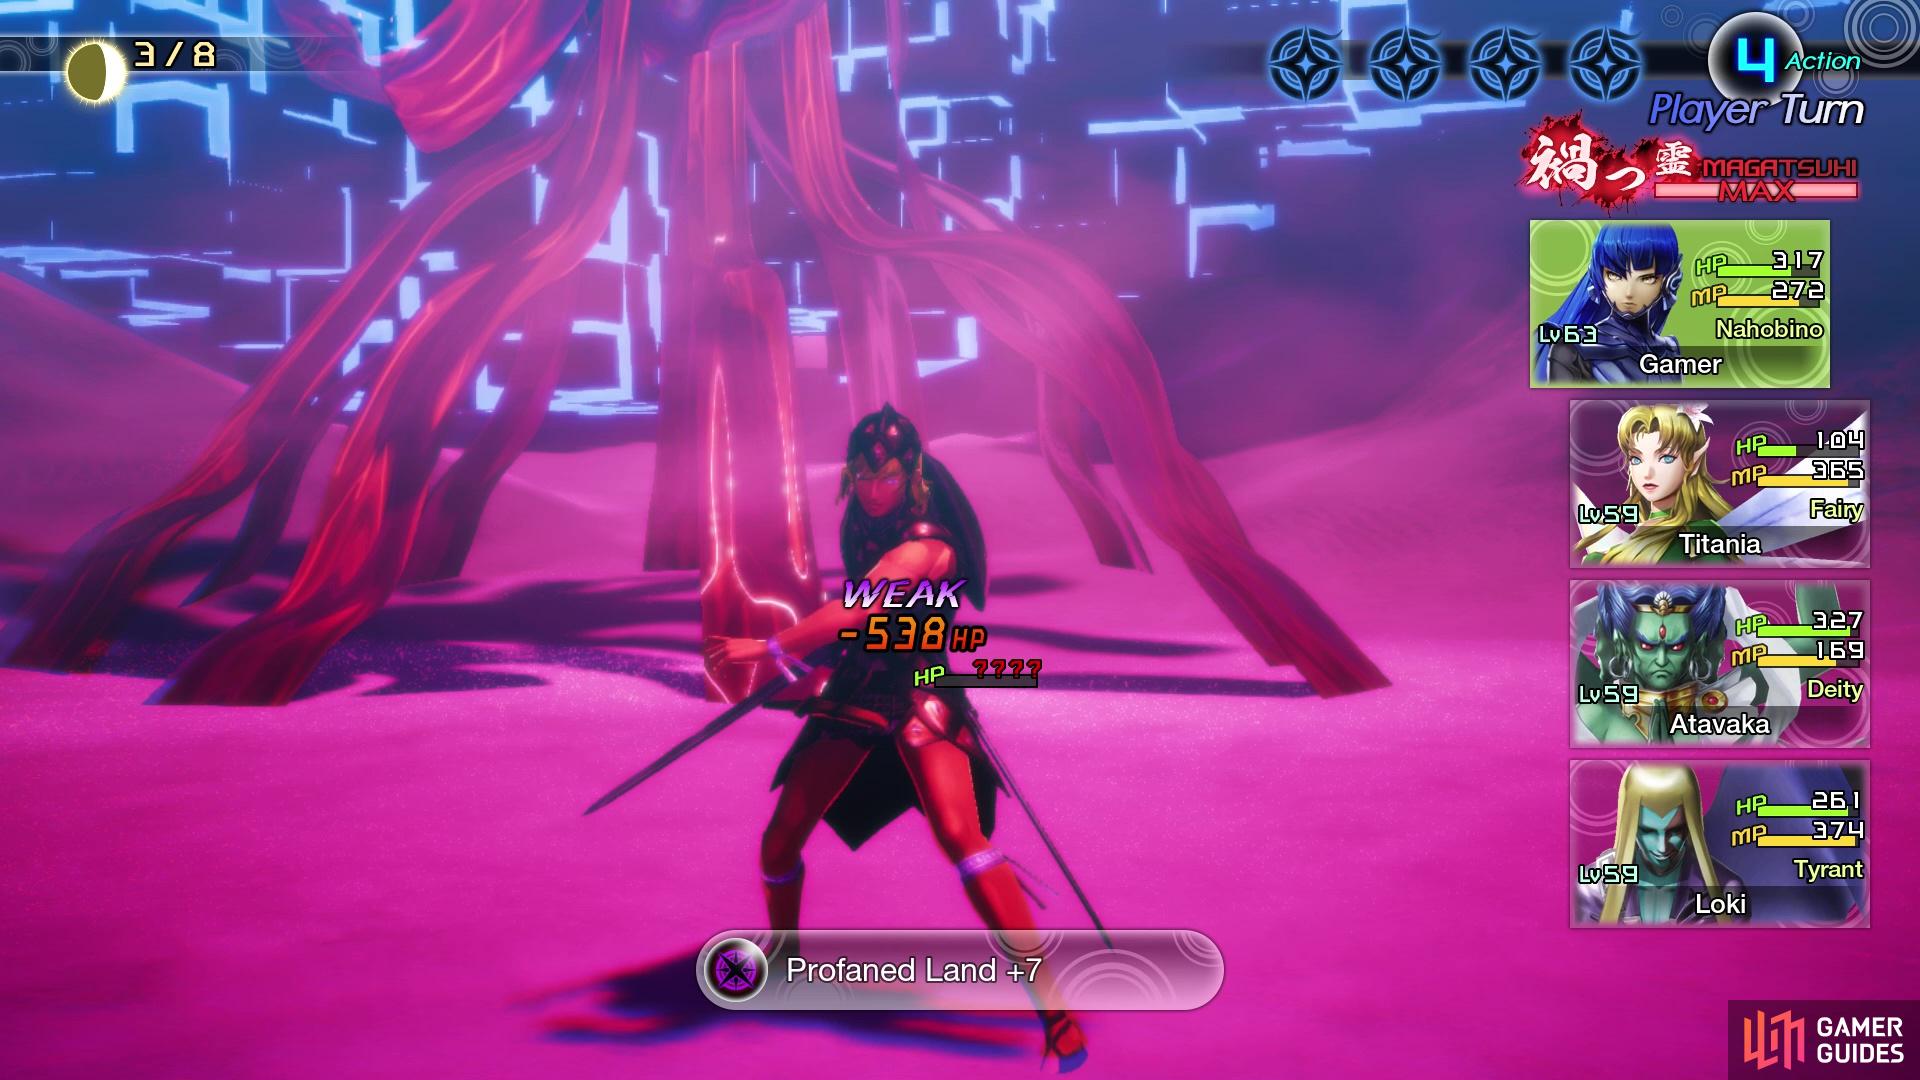
While you may look at the levels and think this battle will be easy, it won’t be, since all three demons here have healing spells. That means things will be drawn out longer than needed, so hopefully you have Marakunda and Matarukaja to increase your damage. Yatagarasu is weak to Dark, while being resistant to Force and immune to Light; it is also weak to Charm, so that’s another possibility to exploit. Throne is weak to both Ice and Dark, while being immune to Fire and Light. Mitra will be weak to Ice, while being immune to Light and resistant to Dark. Other than the Charm mentioned above, the rest of the ailments will be resisted during this fight.
Yatagarasu should probably be your first focus, as it has Diarahan, meaning it can fully heal any enemy in this battle. In addition to that, it can use Wind Breath and Hamaon, although neither will likely be that strong. Mitra is probably the next in line, as he has access to Megidola, which is damage you can’t resist. Other than that, he has Hamaon also, and Diamrita. That healing spell is equivalent to Diarama, but it also heals ailments. Throne is probably the last enemy left in the battle, with him having Mediarama. Besides that, Throne can also use Maragidyne and Hamaon. As long as you’re neutral to Fire, you should be more than fine in this battle against the damaging spells.
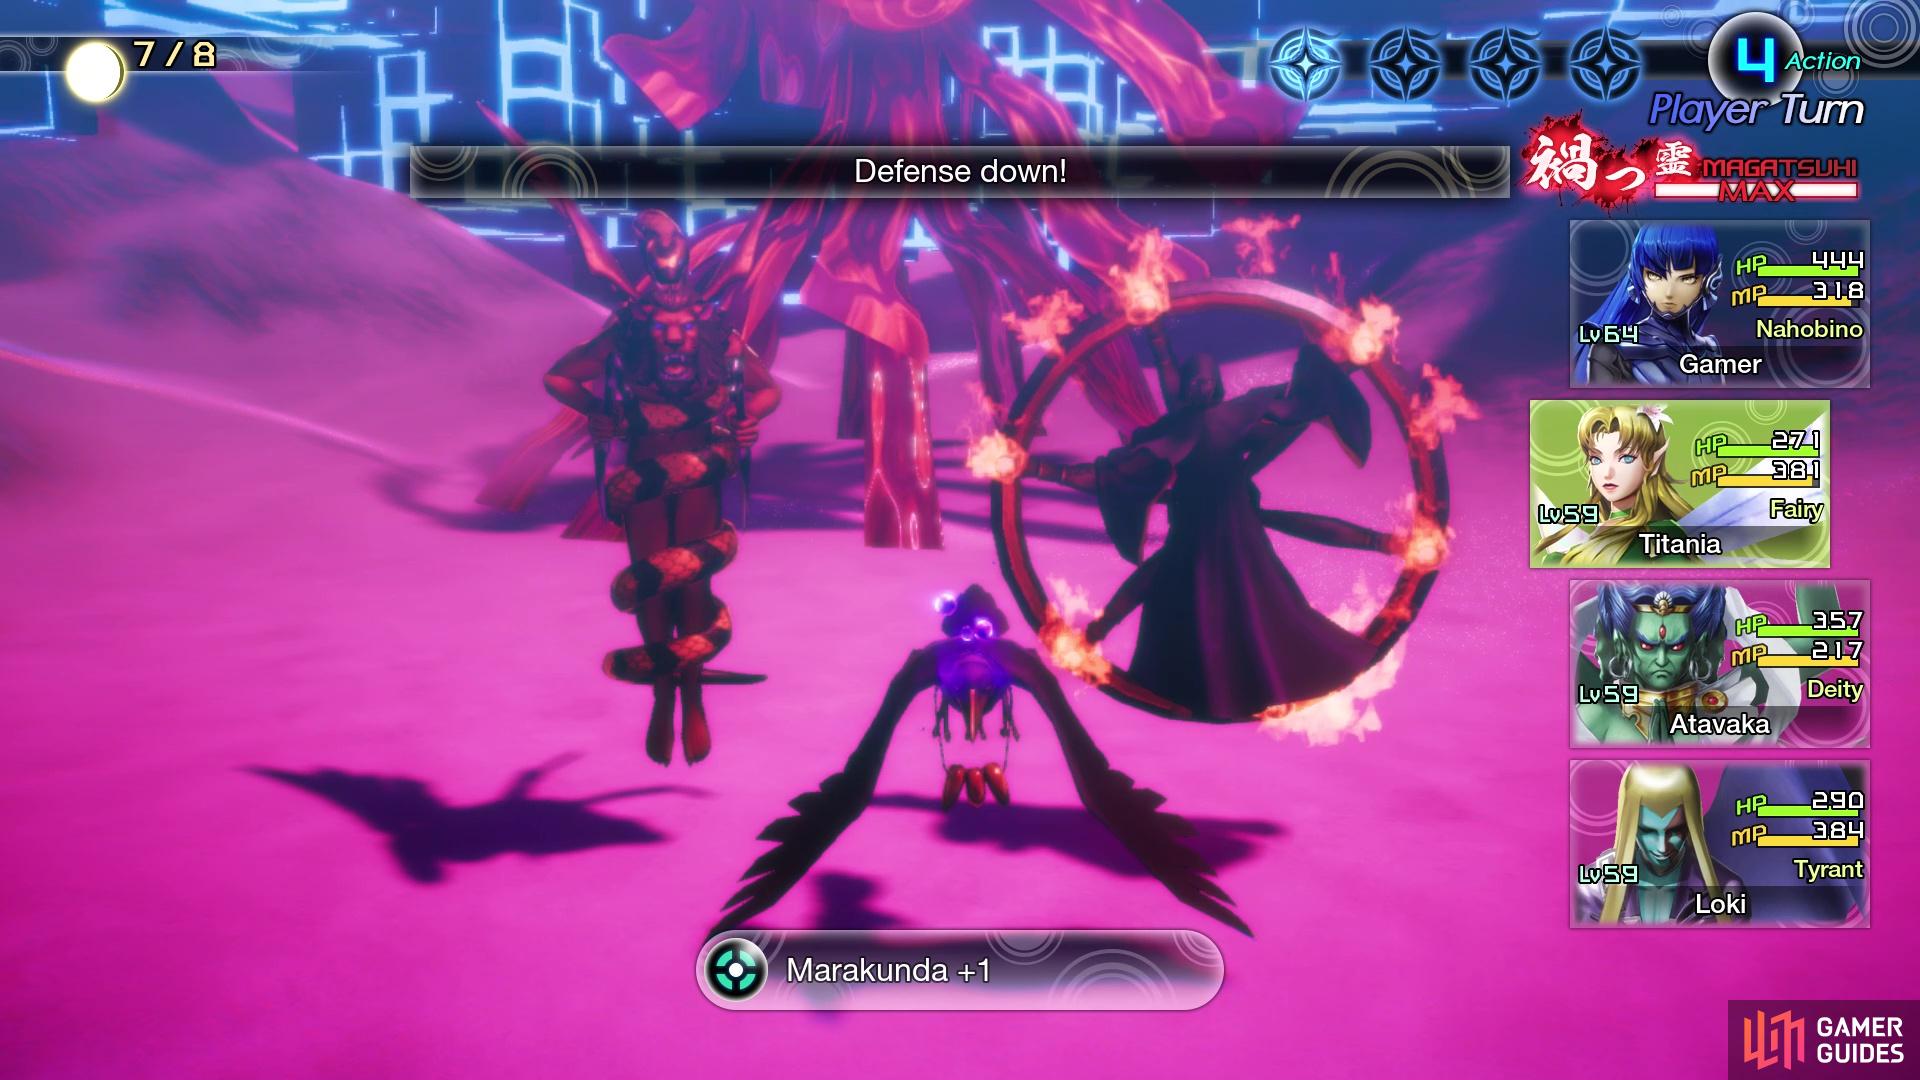
Debuffing their defenses will help a lot in this battle
as it allows you to quickly kill the enemies before they can heal
Naturally, the idea behind this battle is to focus on a single enemy and kill them in a single round, since they will just heal themselves to full on their turns. As already said above, Yatagarasu should be first, since he can use Diarahan to fully heal anyone. Exploit his weakness on your first action, then begin casting buffing your attack/debuffing their defense. This ensures, outside of using Concentrate/Charge, that you will be dealing the maximum damage you can. If you cannot kill a single enemy in one round, try again on the second round, hoping you don’t need to heal at all from the damage taken. Once you take out one enemy, the battle will be a little easier, but you still have to contend with the healing. Do the same thing with the other two enemies and you will vanquish another Abscess.
| Miracle | Category | Effect | Glory |
|---|---|---|---|
| Inspiring Covenant | Supremacy | Recruiting demons in battle will cause them to immediately level up. | 150 |
| Healer’s Hospitality II | Doctrine | The healing cost at leyline founts is reduced by 50%. | 100 |
| Almighty Mastery IV | Cosmos | Increases the Nahobino’s Almighty skill potential by 2. | 300 |
| Physical Mastery IV | Cosmos | Increases the Nahobino’s Physical skill potential by 2. | 300 |
Motoasakusa Abscess
The next Abscess is close by and will pit you against four level 99 enemies. You might be thinking that things will be extremely rough, but there is a trick to winning this battle without too much fuss. You will want to fuse the Fafnir demon and make sure he reaches level 63, as well as not getting rid of Toxic Cloud, Poison Adept and Poison Master, since they will be essential. Normal skills and attacks won’t deal much damage, as levels play a huge part in damage calculations and at this point, you are probably around level 64/65. You will also probably not want to have weaknesses to Fire, Ice, or Force.
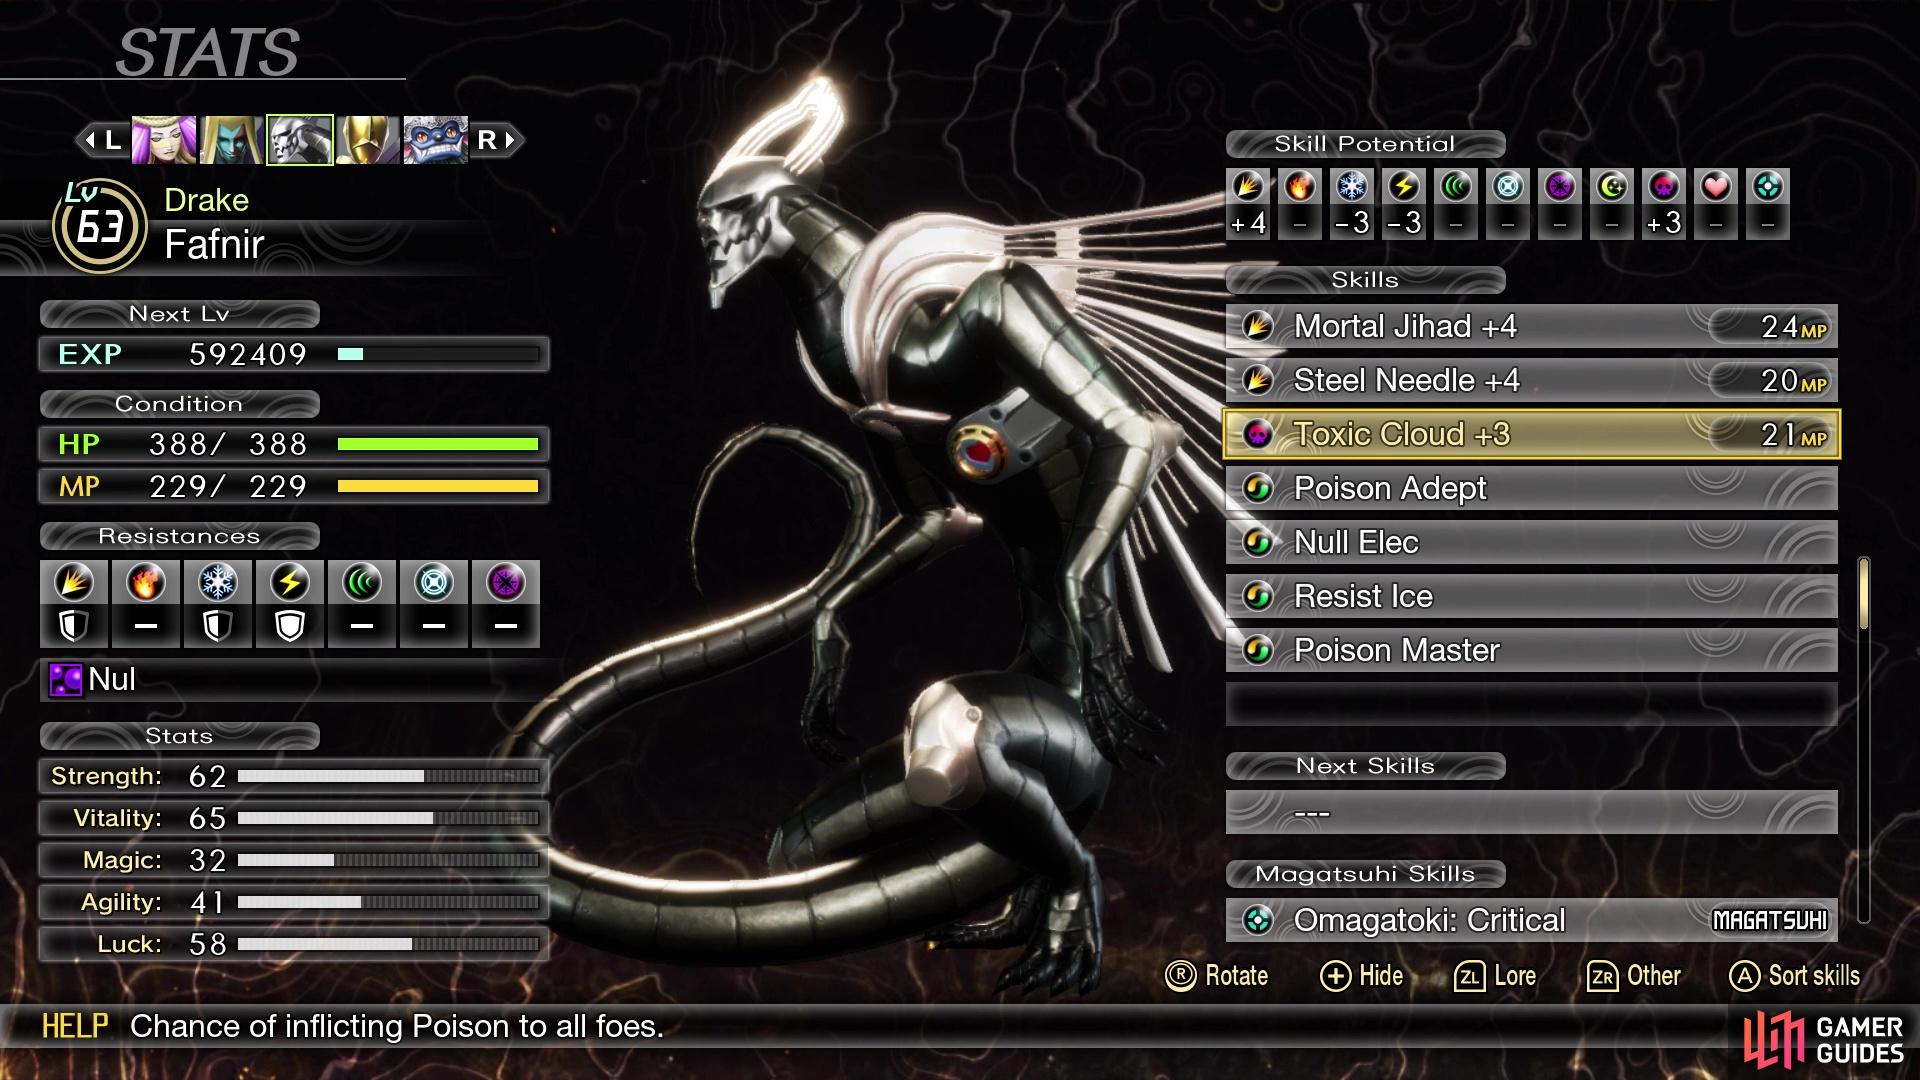
You will want Fafnir with the shown skills for the next battle
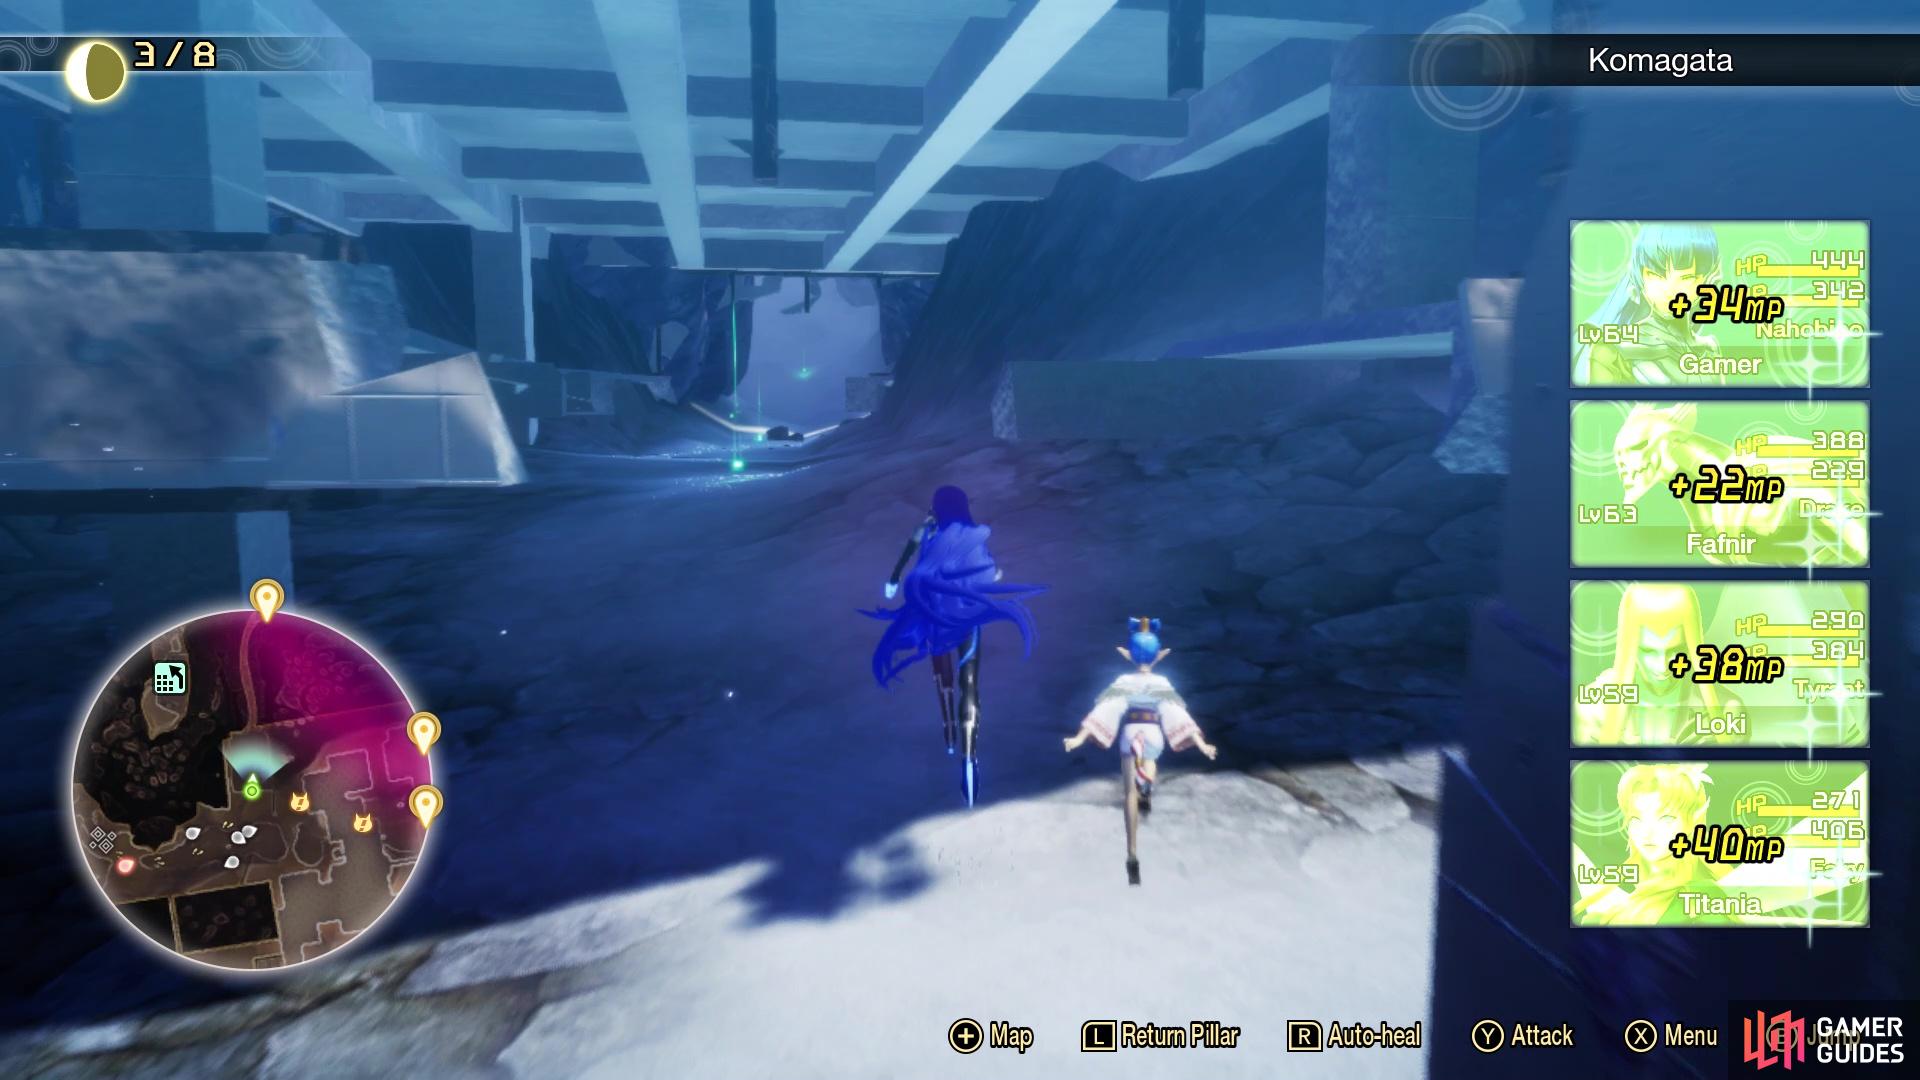
Cut through this ruined building to reach the Abscess
To get to the Abscess, head to where the previous one was located and work backwards. As you leave the area with the Kuramae Abscess, you will be at a crossroads with some Throne enemies. Continue straight east from there and at the next group of Thrones, look for the building with the hole in it to your north. Go through that hole and you will be in a narrow passage, with a rooftop you can jump onto right in front of you. Look to the east of there to spot the Abscess.
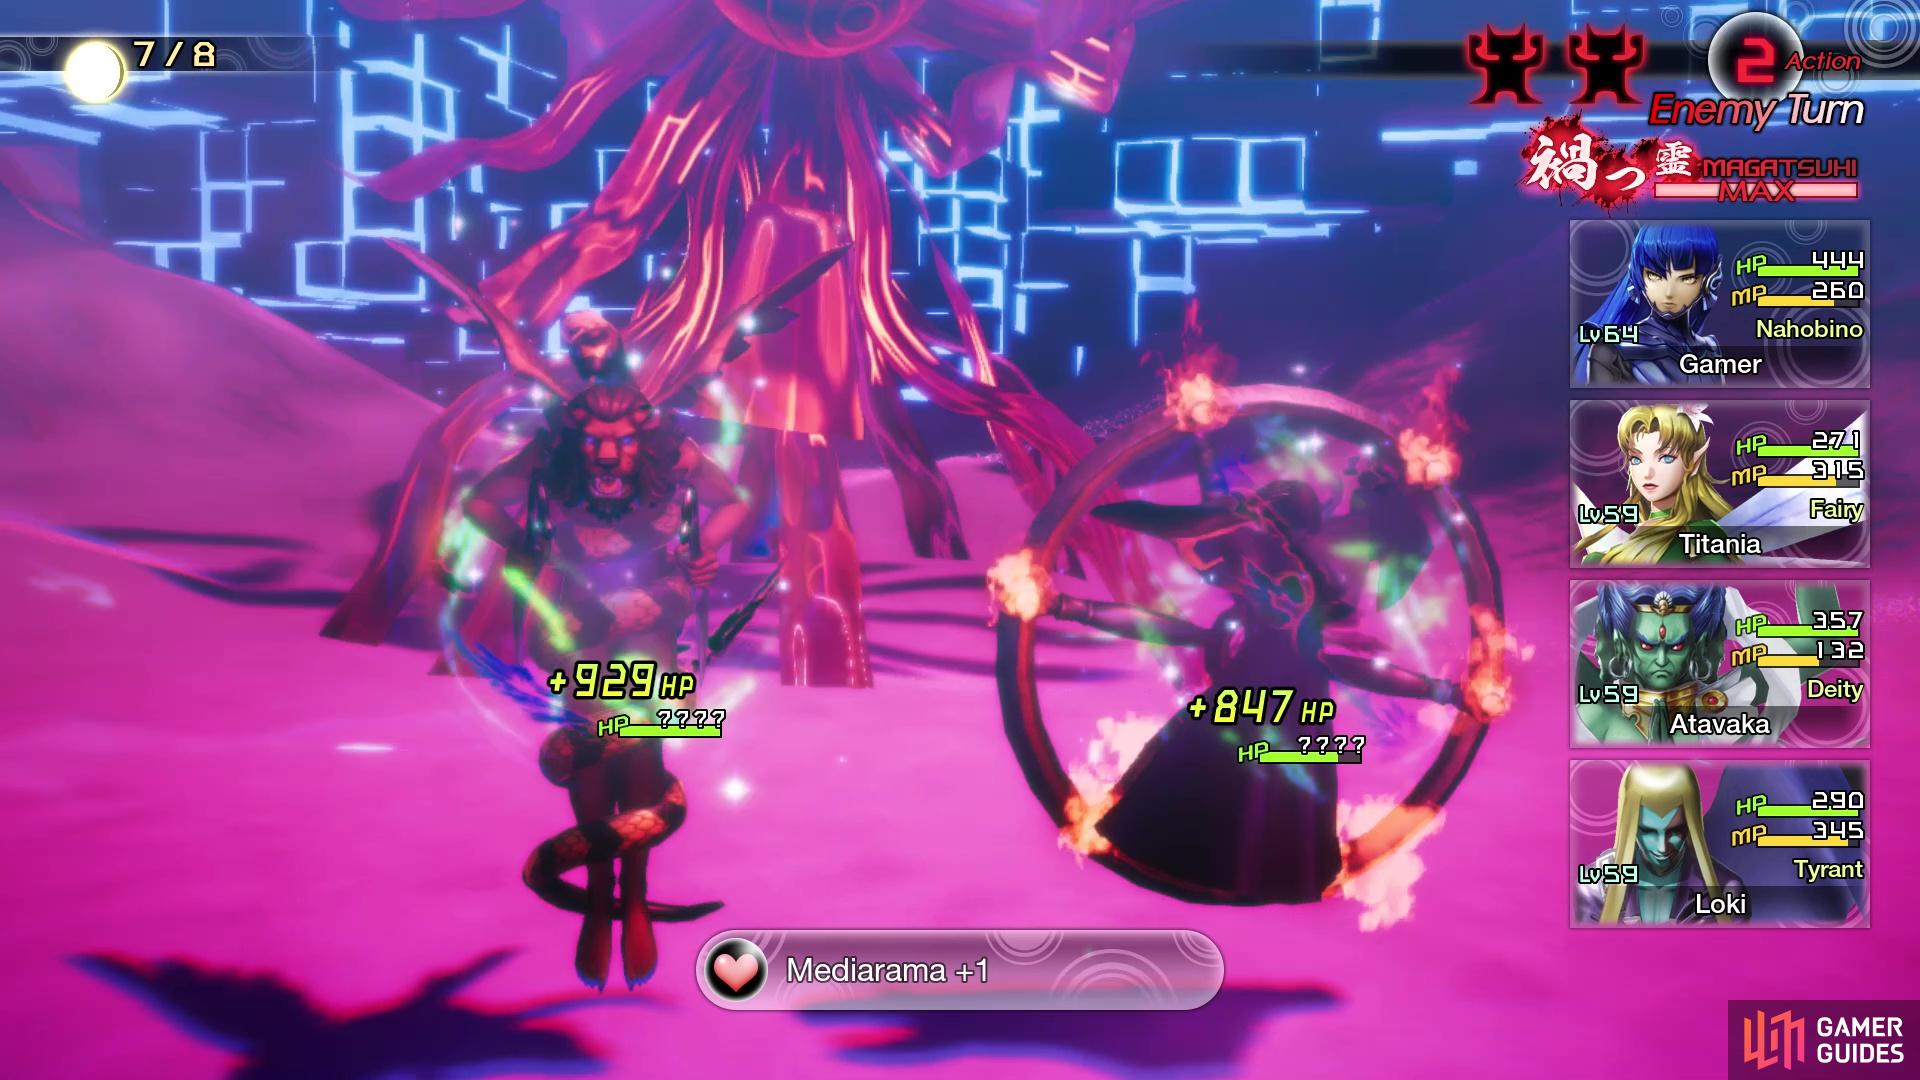
You will notice that all of the enemies are variants of the low level demons you’ve encountered at the beginning of the game, but with some interesting skillsets. Despite the low looking stats, the differences in levels between your party and the enemy’s will make sure they deal a lot of damage, and you not so much. Slime is weak to five of the six elements, while being immune to Physical. Pixie will be weak to Dark, and immune to both Electric and Force. Onmoraki will be weak to Ice and Force, while being immune to Fire and Light. Preta is weak to Fire, Force, and Light, while being immune to both Ice and Dark. The resistances are set up, where you can’t basically just nuke down the enemies with group spells, since each one is covered with an immunity. Also, each enemy will have two actions per round, so you have to deal with eight attacks before it’s your turn again.
By far, the most annoying enemy in this group is the Pixie, as it has access to Dia, that is backed up with both Heal Pleroma and High Heal Pleroma. Additionally, she has the Zan spell in her moveset, whenever she decides to attack. Slime is probably the second one to focus on after Pixie, as he can poison someone with Poisma, which is backed by Poison Adept and Poison Master. If someone does get poisoned by this, then heal it immediately and don’t let them take an action. Slime also has Lunge, a weak Physical attack that targets one character. Onmoraki has Agi, a fire skill, and Pulinpa, which can confuse a single target. His other passives allow him a chance to counter Strength-based attacks. Preta can use Bestial Bite to deal Physical damage, with a higher than normal chance to crit, since he has Bloody/Murderous Glee; he also has access to Bufu.
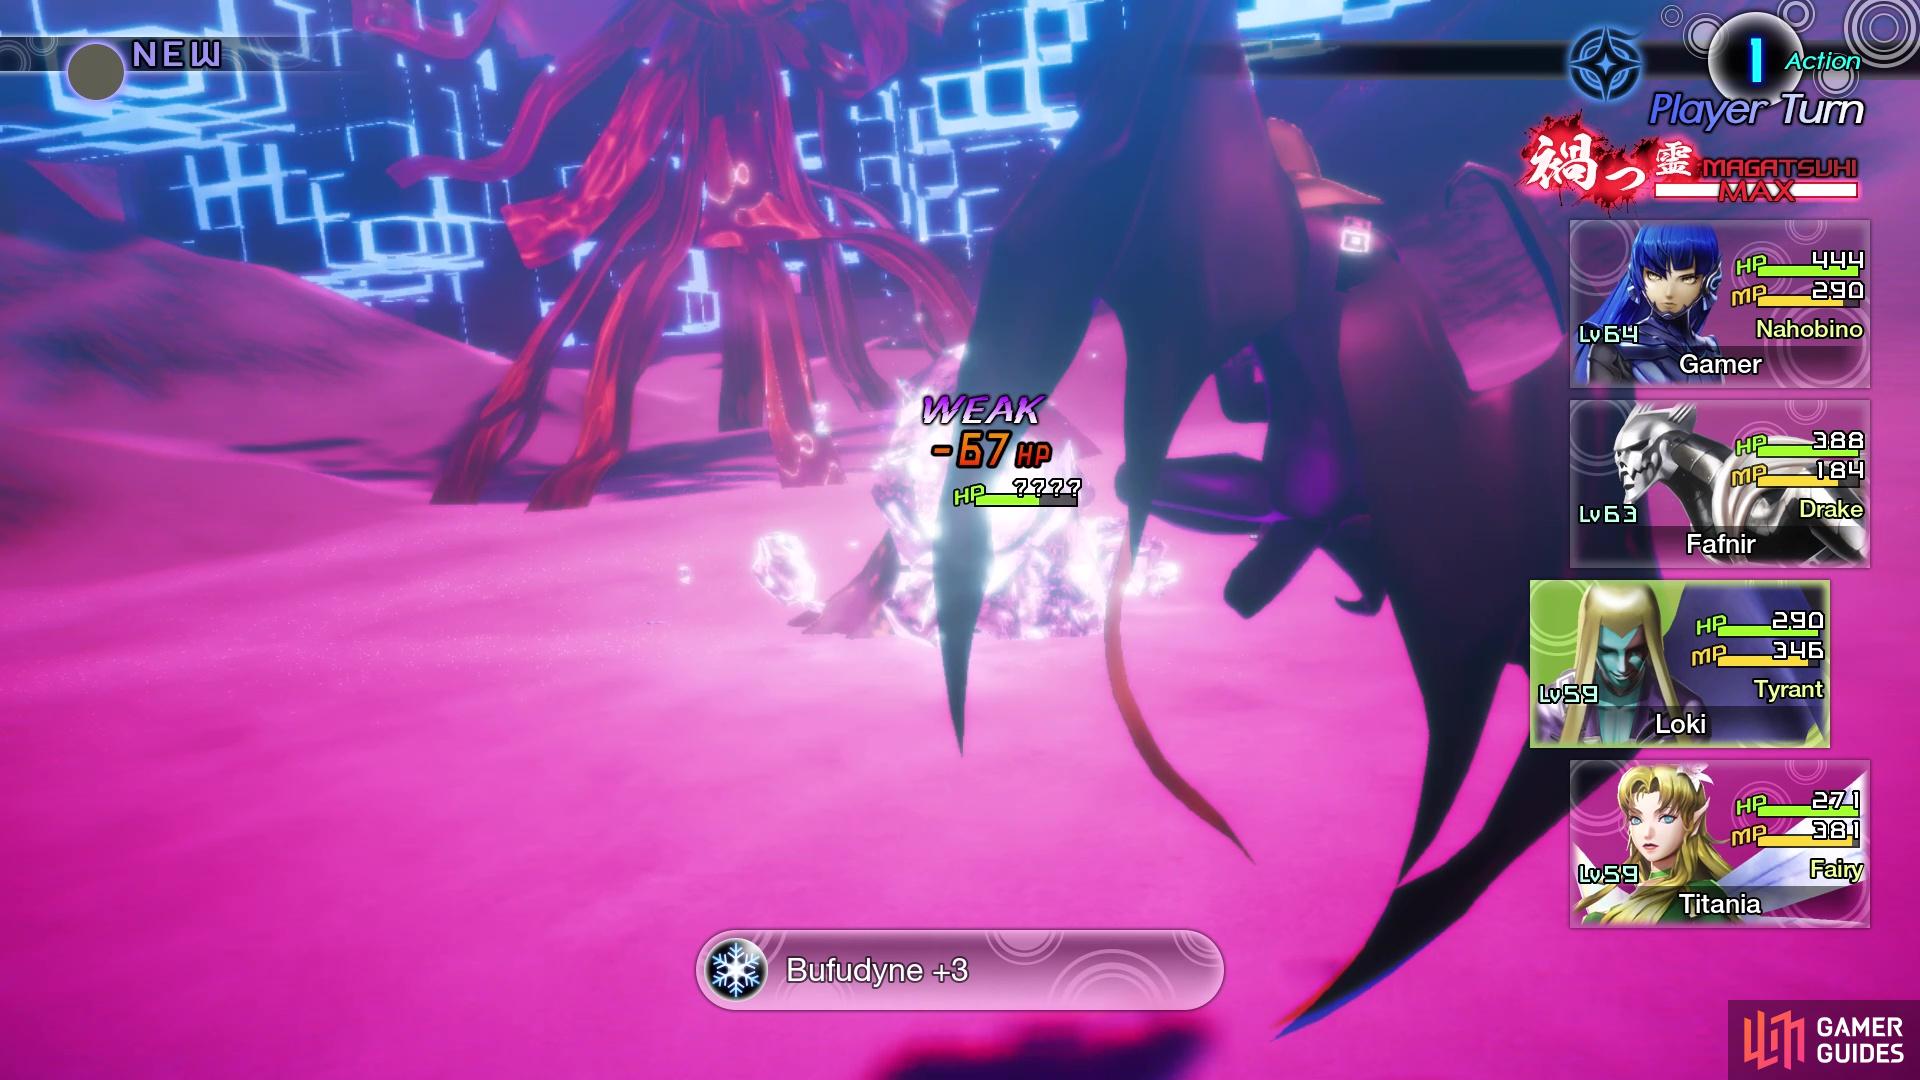
So, the best way to go about this battle is to use Poison, as none of them will be immune, although the Slime is resistant to it. If you took the advice above, then you should have Fafnir with Poison Adept and Poison Master, as well as Toxic Cloud to inflict the poison. If you’re lucky, then one cast of that can inflict all four enemies with poison, which you can then just wait out to let it kill each enemy. While you wait for the Poison to do its work, cast Masukunda on them and Marakukaja/Masukukaja on yourself, healing when necessary.
| Miracle | Category | Effect | Glory |
|---|---|---|---|
| Skillful Conservation | Supremacy | Very slightly decreases the amount of Magatsuhi consumed when using Magatsuhi Skills. | 150 |
| Dread | Supremacy | All enemies will have a random stat lowered by 1 rank at the start of a battle. | 150 |
| Summoner’s Hospitality III | Doctrine | The cost of summoning demons from the Demon Compendium is reduced by 50%. | 300 |
Azumabashi Abscess
There is only a single Abscess left on the map, with it pitting you against a single level 67 demon. If you are level 63 or higher, then there is a way to make this battle a lot easier on yourself, although it’s not necessary to be that high. If you can fuse a demon that is immune to Physical, then you will have a hard time losing the battle. Arahabaki is immune and level 62, while Siegfried absorbs Physical and is level 63.
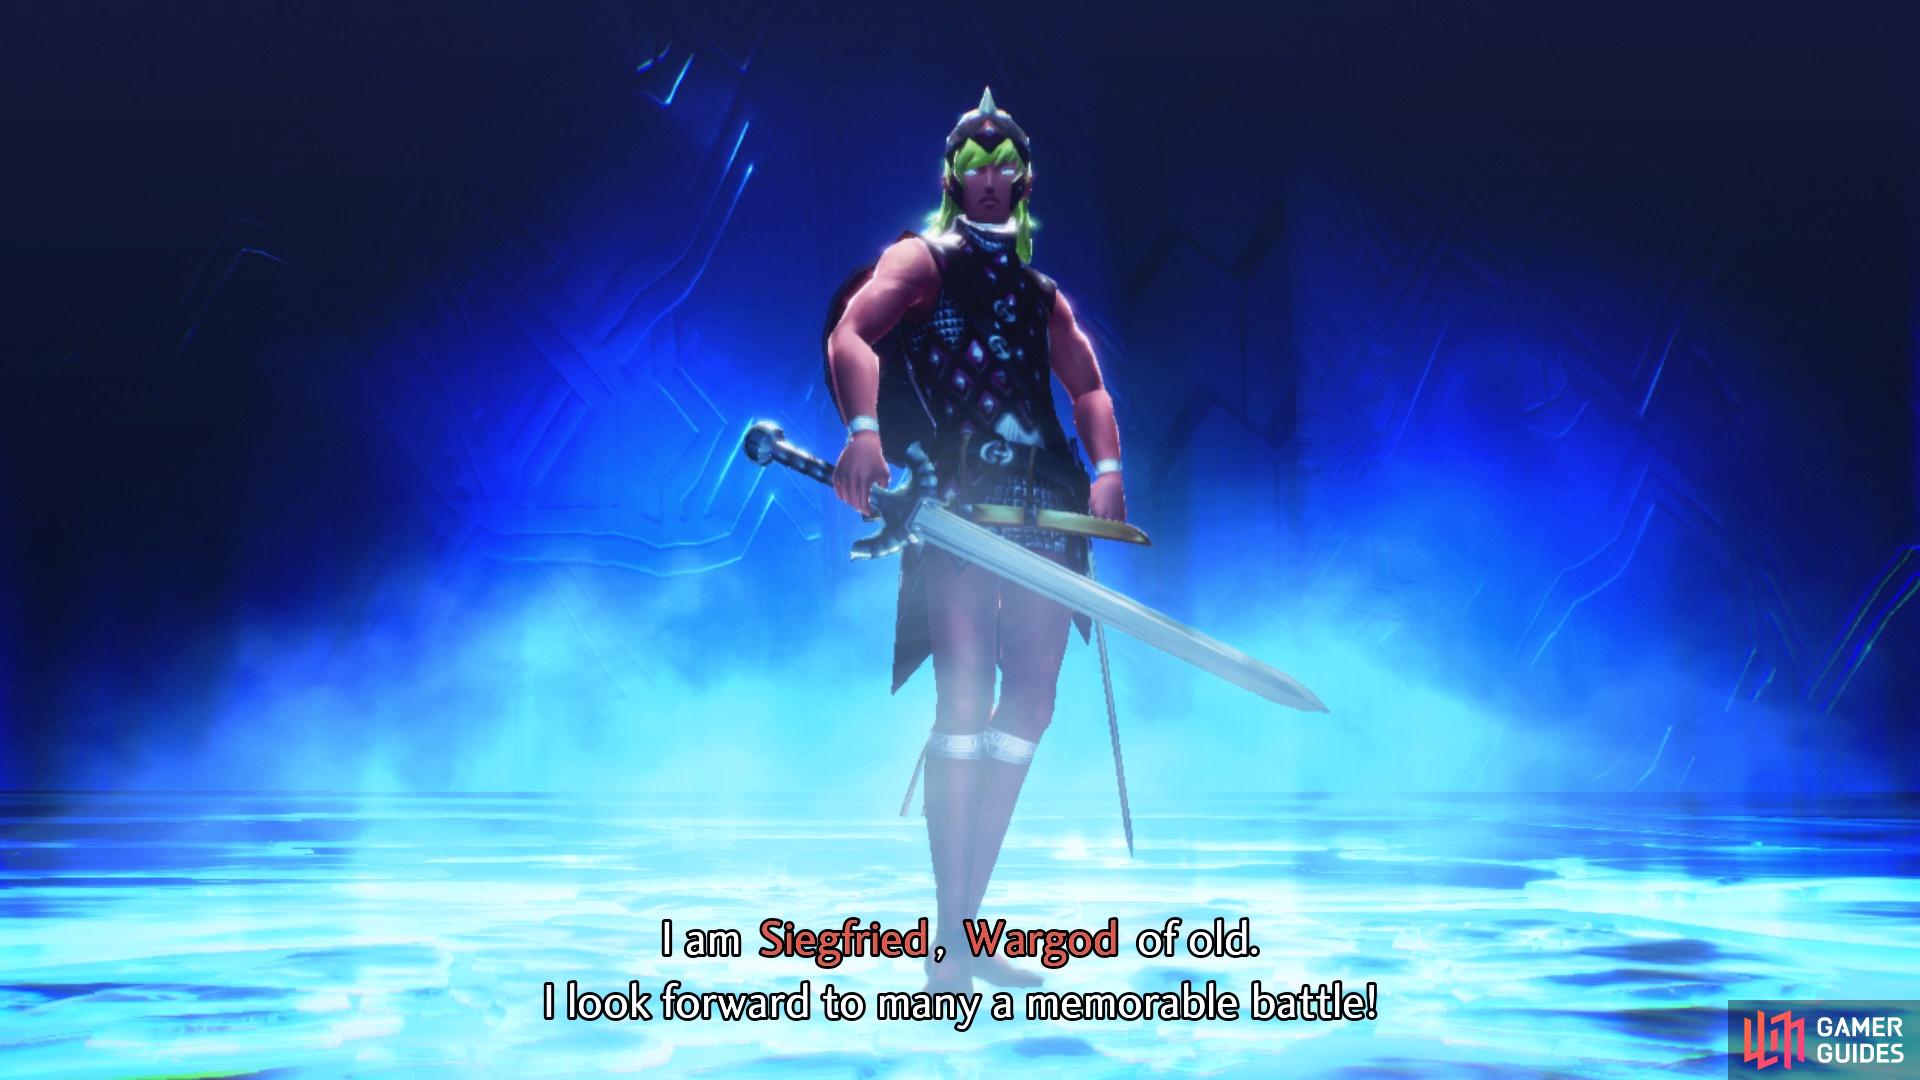
Siegfried can be a huge help during the next fight
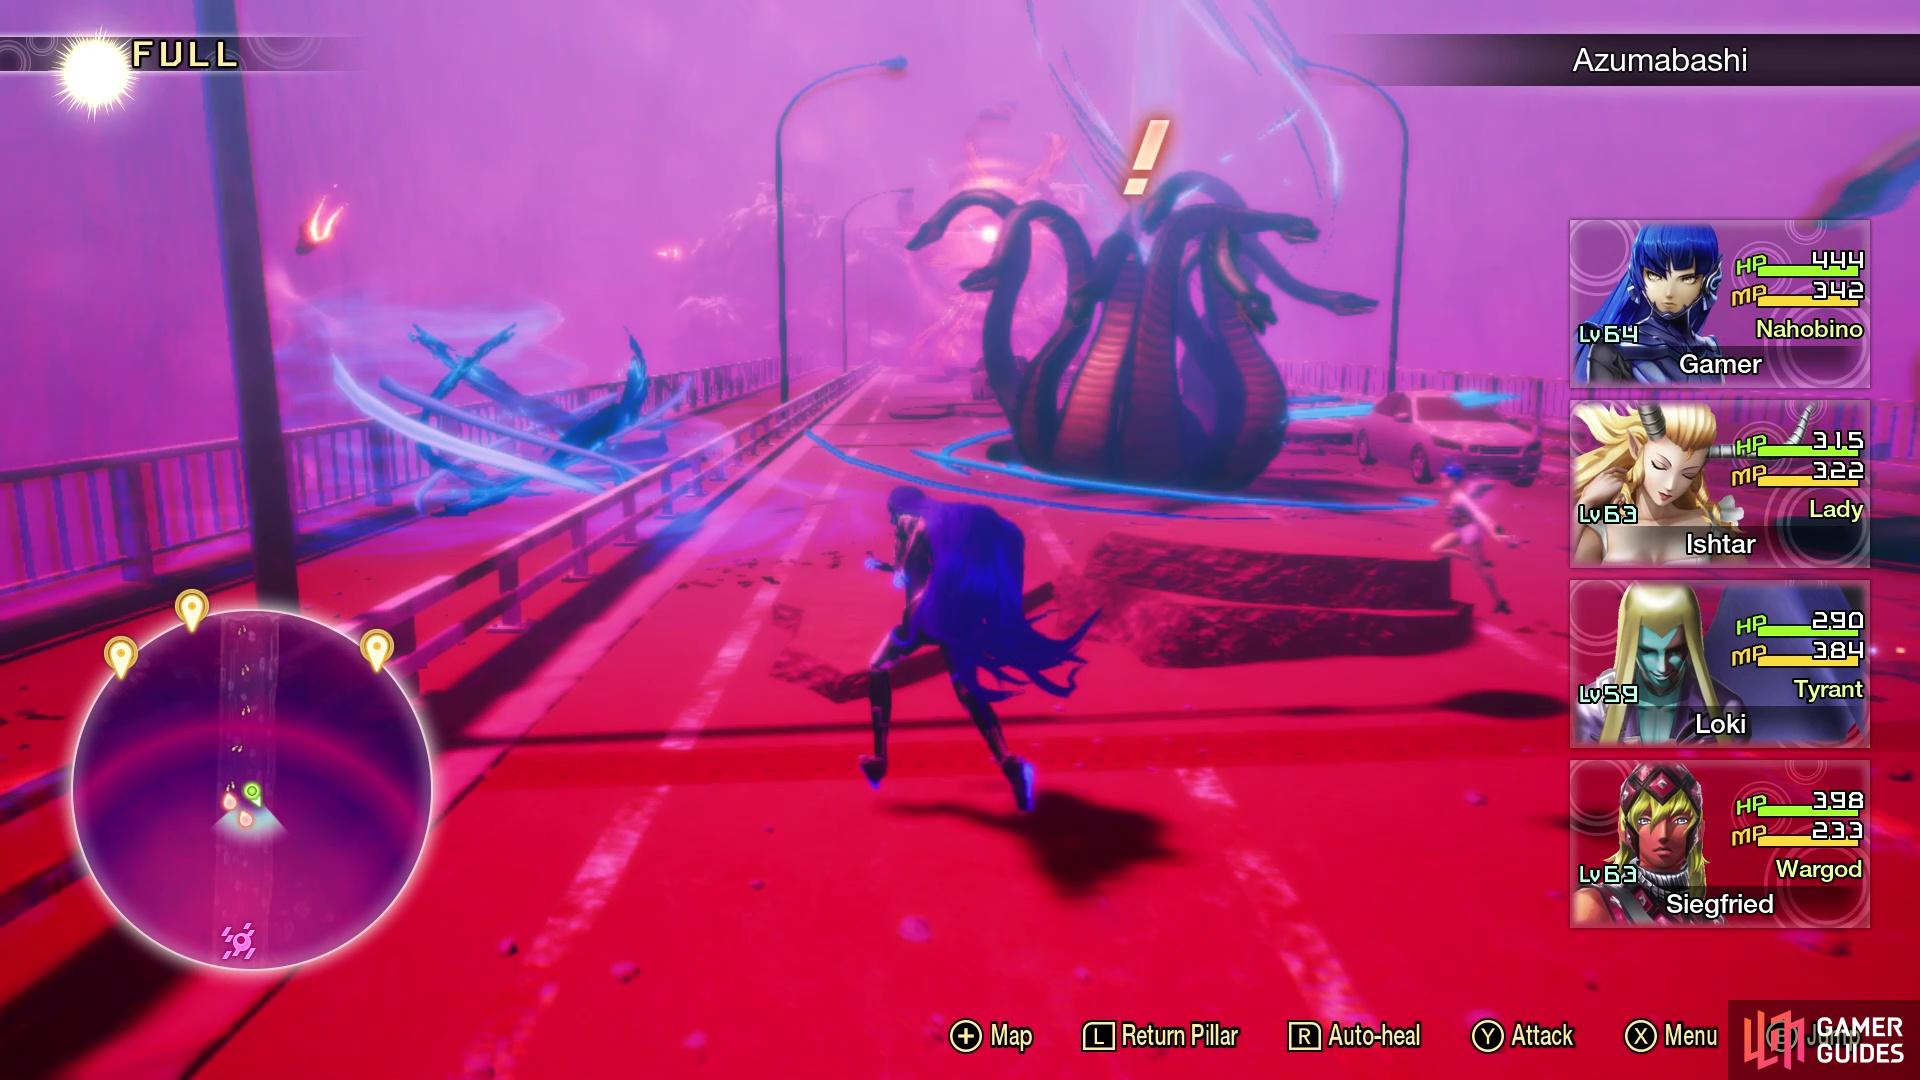
The Abscess likes to spawn the enemies right on top of you
To get to the Abscess, teleport back to the Ueno Leyline and drop off the southern side of the building here. Head east to the road, then just follow it straight south, all the way to a bridge. The Abscess will be at the end of the bridge, but you don’t want to rush straight at it. As the Abscess notices you, it will spawn Yamata-no-Orochis that appear out of thin air. These demons are level 72 and their Titanomachia Physical skill can hurt a lot, especially if it happens to crit. You will likely be forced to battle one or two before the Abscess, but if you feel overwhelmed, you can always use Smoke Balls to run away.
| Icon | Name | Lv | Weakness |
|---|---|---|---|
| Yamata-no-Orochi | 67 |
You are only up against a single enemy here, a level 67 Yamata-no-Orochi, which you may have fought on the way here. It is quite strong, physically, and its only attacking skill is Titanomachia, which will hit you entire party and has a high chance of critical. The other skill is a passive one, which increases the demon’s accuracy, so you only have to worry about Titanomachia and the normal attack. If you have a demon in your party that blocks, reflects or absorbs Physical, then the attacking skill will make this battle a cinch. Both Arahabaki and Siegfried are good for this, with the former being immune and the latter absorbing Physical.
If you wish to do this normally, Yamata-no-Orochi is weak to Electric and immune to both Fire and Ice. It is also weak to a few ailments, mainly Sleep, Poison and Confusion. So, you do have a few options on how you want to take the demon down, although only one way to really gain extra turns, unless you do utilize the ailments. There’s not much more to say about the battle, although debuffing its attack with Tarunda will also help. Rakunda will also be good to use, since Yamata is a bit of a tanky demon.

Titanomachia can hurt a lot and even one-hit KO characters
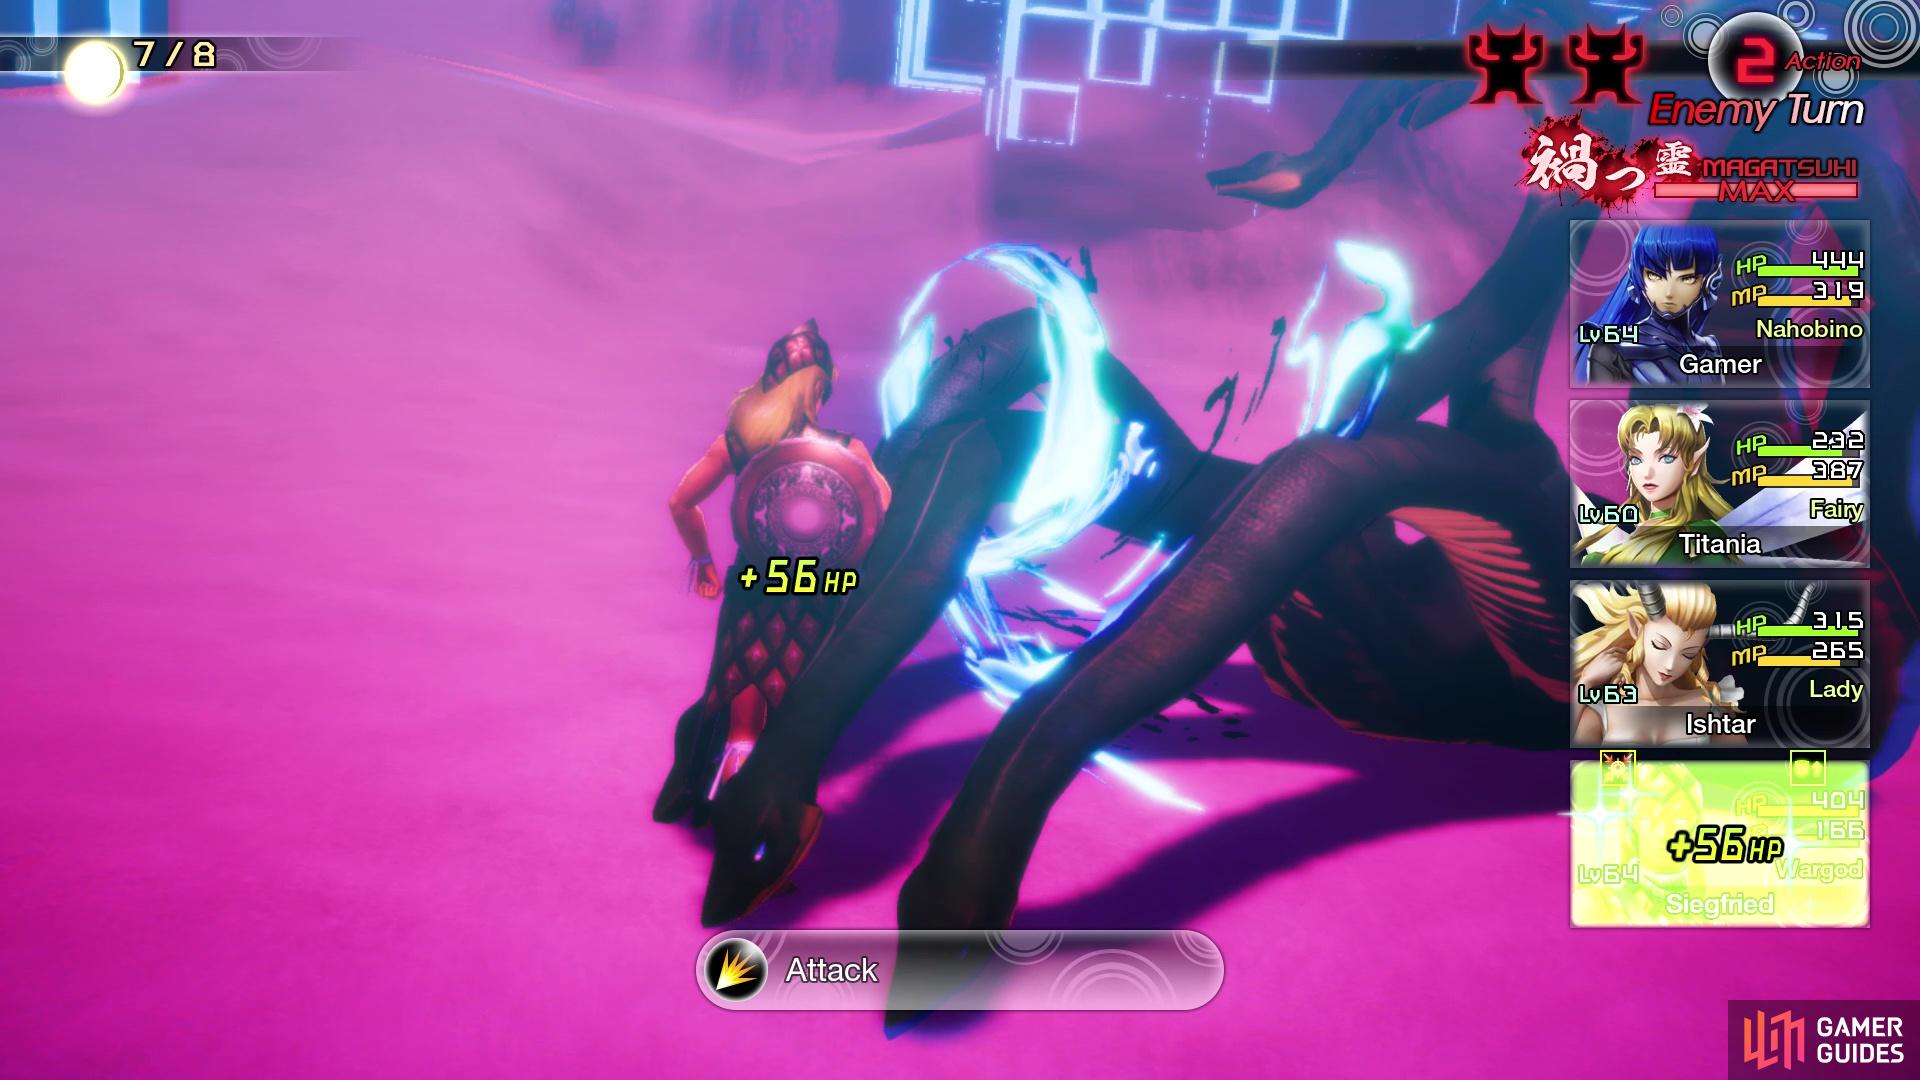
Siegfried can essentially solo the entire battle
| Miracle | Category | Effect | Glory |
|---|---|---|---|
| Demon Proficiency IV | Awakening | Increases demon ally’s skill slots by 1. | 300 |
| Divine Proficiency IV | Awakening | Increases the Nahobino’s skill slots by 1. | 150 |
| Almighty Mastery V | Cosmos | Increases the Nahobino’s Almighty skill potential by 2. | 400 |
| Physical Mastery V | Cosmos | Increases the Nahobino’s Physical skill potential by 2. | 400 |
That is the final Abscess in Taito, so you have finally cleared the map and will be able to fully explore it now.
No Comments