You have to take Justice but fortunately he is a tank. Loot The First for numerous potions, The Mother’s Chosen , and Armor of the Sentinel. Move forward towards the Fade Portal and as you do a Shade and Revenant strike. Turn the corner and head north to the iron chest that contains the Boots of the Sentinel . Move west towards the Runic Pedestal and another Fade Portal once again guarded by Revenants. Loot the pedestal for the Gladiator’s Belt then head north to another iron chest that holds the Gauntlets of the Sentinel.
Proceed southeast from the campsite to another Fade Portal. South from there is the last one, north from it lies another iron chest and it holds the Helm of the Sentinel . Open the gate to start a scene then the fight with The Baroness.
The Baroness
Drops : Firestompers, Soulbound, Dock Storage Key
The Baroness can hit a little hard but if you face her away from the group then you should be fine. She will create Fade Portals which need to be taken out as soon as possible to keep the additional enemies to a minimum. She will eventually break through the gate and fire balls of death at you. At this time you need to bring a mage to freeze her because she will pick up a melee character and attempt to kill him/her. Stick to it and it will end swiftly.
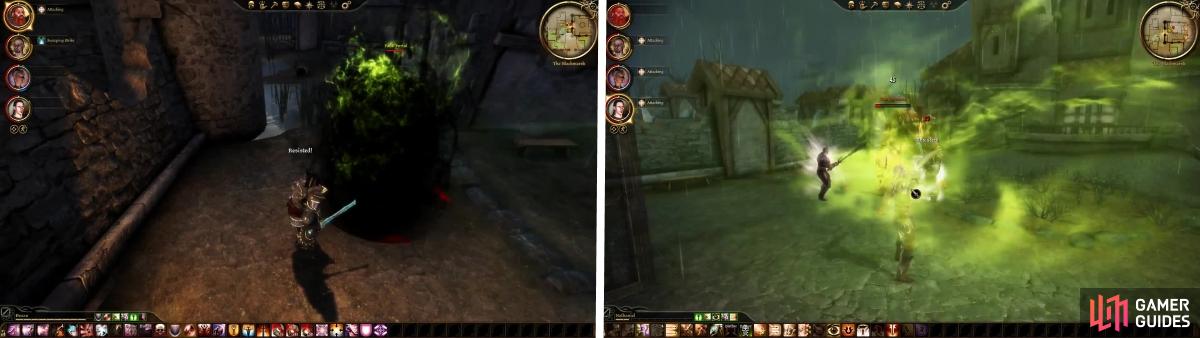
Get rid of the Fade Portals as they appear or they will cause problems. The Baroness casts Shockwave, which emanates out to your party and hurts.

Turn the corner and go east through the gate. Kill the werewolf and check the debris for an Ornate Silver Bowl . The nearby chest contains the Dispel Grenade Recipe, Dispel Poison Recipe, Misdirection Cloud Trap Plans, and Ring of Severity . The other chest contains the Momentum Rune Tracing, Grandmaster Slow Rune Tracing, and Paragon Slow Rune Tracing . Grab the last Dragon Bone then go through the crates and containers to find Ser Alvard’s Sword.
Make your way out and head to the dragon skeleton area. Get the fourth clue and go back to where Kristoff was lying for another. Head to the runestones to find the last clue, go back east to find a Floating Bottle containing Corin’s Proposal and Letter of Proposal . Return to the dragon skeleton and put the bones in their slots. Head up the stairs if you dare challenge a dragon.
Queen of the Blackmarsh
Drops : Spellminder, Toque of the Oblivious, Rough-Hewn Pendant, Earthbound
The Queen is immune to lightning based attacks so don’t bother. It has all the characteristics of a normal dragon in that it claws and tailswipes and cannot move without flying. It can be frozen and rarely stunned so those are your best bets. Tank her off to a side and use ranged to take care of it. At several points in the battle she will ball herself up and release eight Charged Wisps. If they reach her then she is healed. Fortunately they can be stunned and frozen. Once they are all defeated the Queen returns and the cycle starts over.
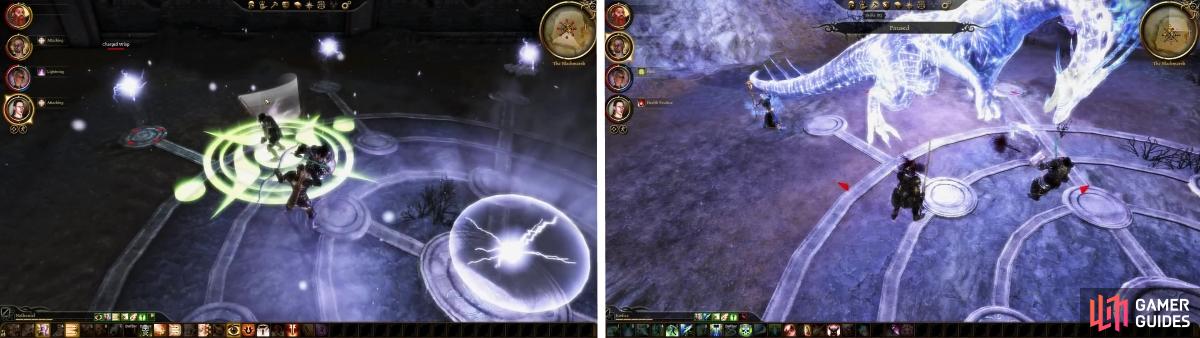
When the Queen balls herself up, she summons Wisps. If they reach her, she will be healed. Other than that, she just has some nasty physical attacks.
Don’t forget to loot the Dragonbone Rubble for the Eldest Dragonbone which starts the quest “ Worked to the Bone “. Leave the Blackmarsh and return to the Keep. You get a scene and maybe fight with some mercenaries on your way.
No Comments