
Welp, it looks like things aren’t going exactly as planned, as Captain Ginyu used his special ability to switch bodies with Goku. There will be a few scenes before you’re put into control of Gohan, with your objective being to secure the remaining Dragon Balls. Fly to the red marker, which turns out to be Frieza’s ship. They end up finding the Dragon Balls and attempt to summon Shenron, but the normal phrase used on Earth doesn’t seem to work here. Before they have a chance to do anything else, they get some visitors, in the form of Ginyu in Goku’s body and Jeice. This will lead into a fight.
Gohan/Krillin/Vegeta vs. Captain Ginyu/Jeice
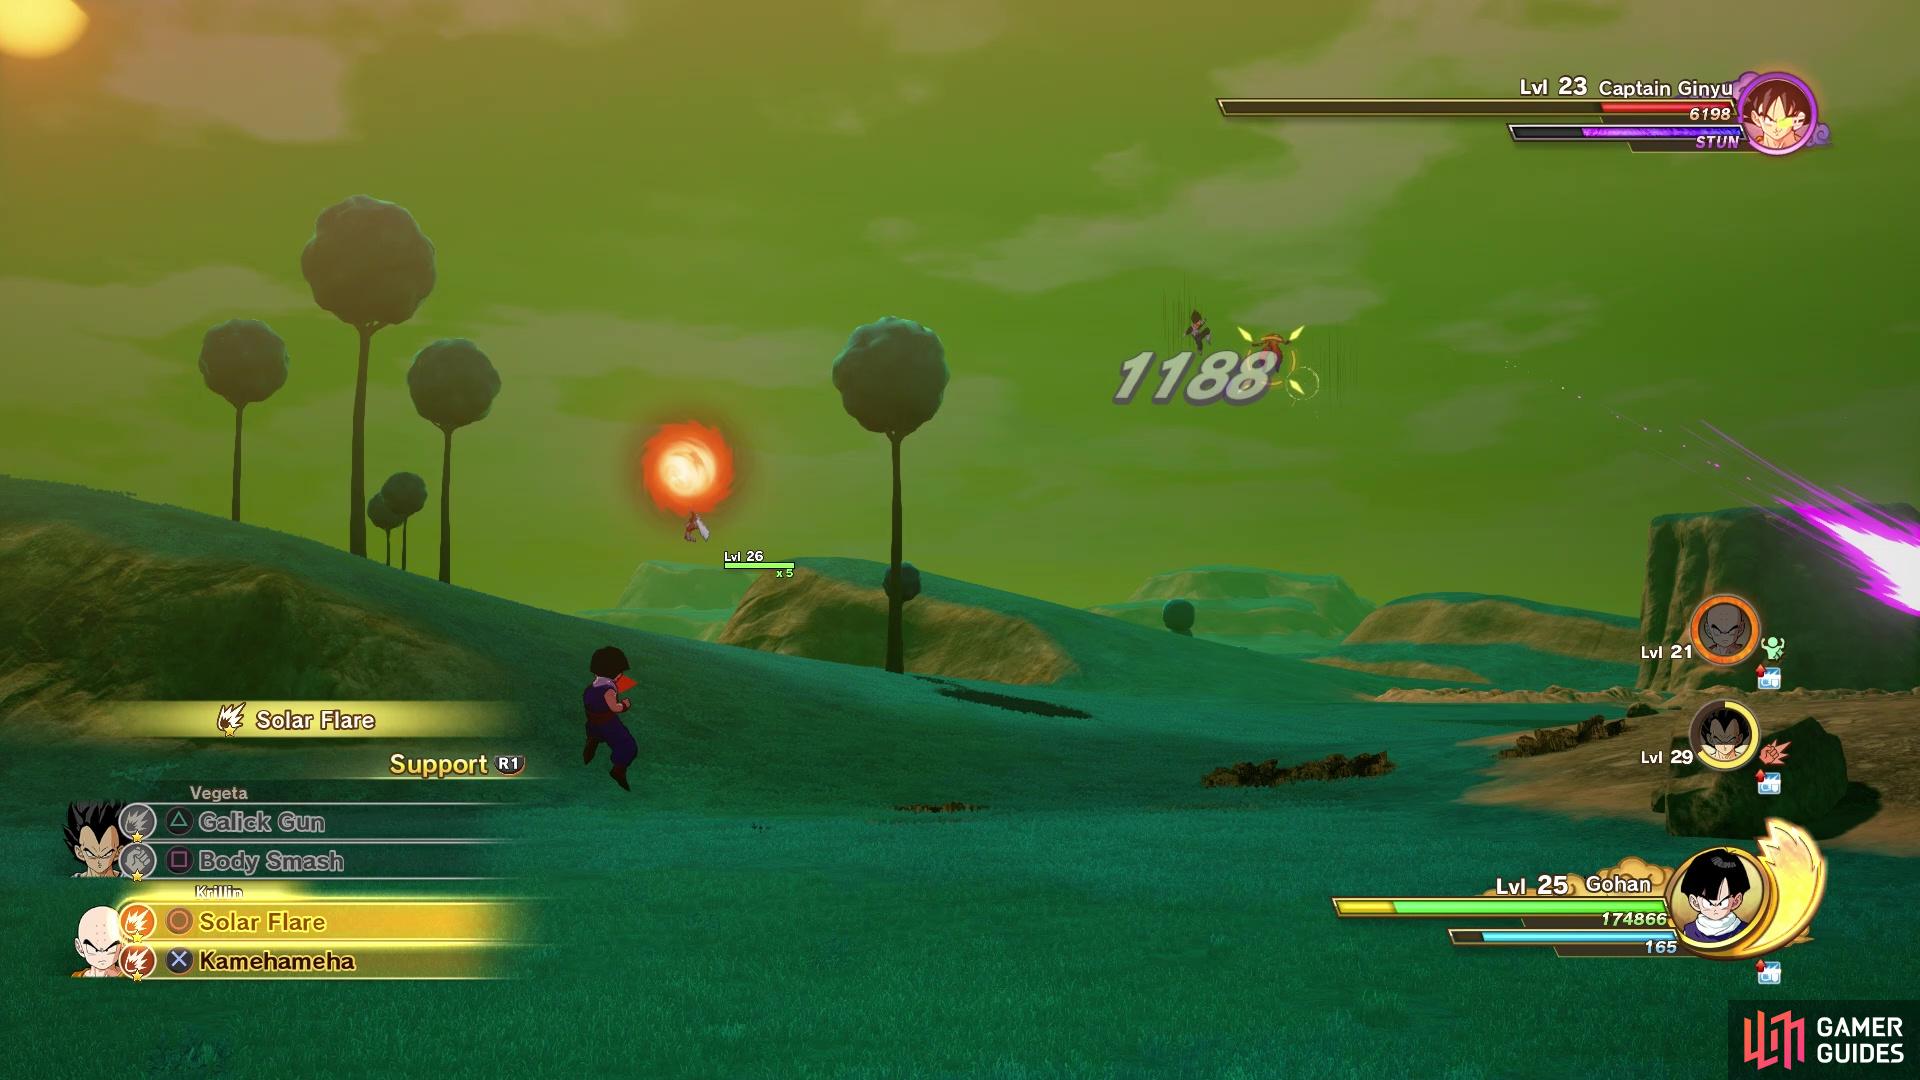
It’s three on two, which is much better odds than being at a disadvantage. Plus, you have Krillin as a support character, which means you can use Solar Flare to temporarily stun the pair of enemies. Despite Ginyu being in Goku’s body, he doesn’t have any of the Saiyan’s moves. In actuality, Ginyu seems to have a limited moveset, using only something similar to Meteor Crusher and some Ki blasts, but he may also have his skills from the previous battle, so be careful. As far as Jeice goes, he does have all of the same attacks as in his previous battle, meaning he will sit back and peg you with Ki blasts.
Don’t forget to use your support characters during the battle
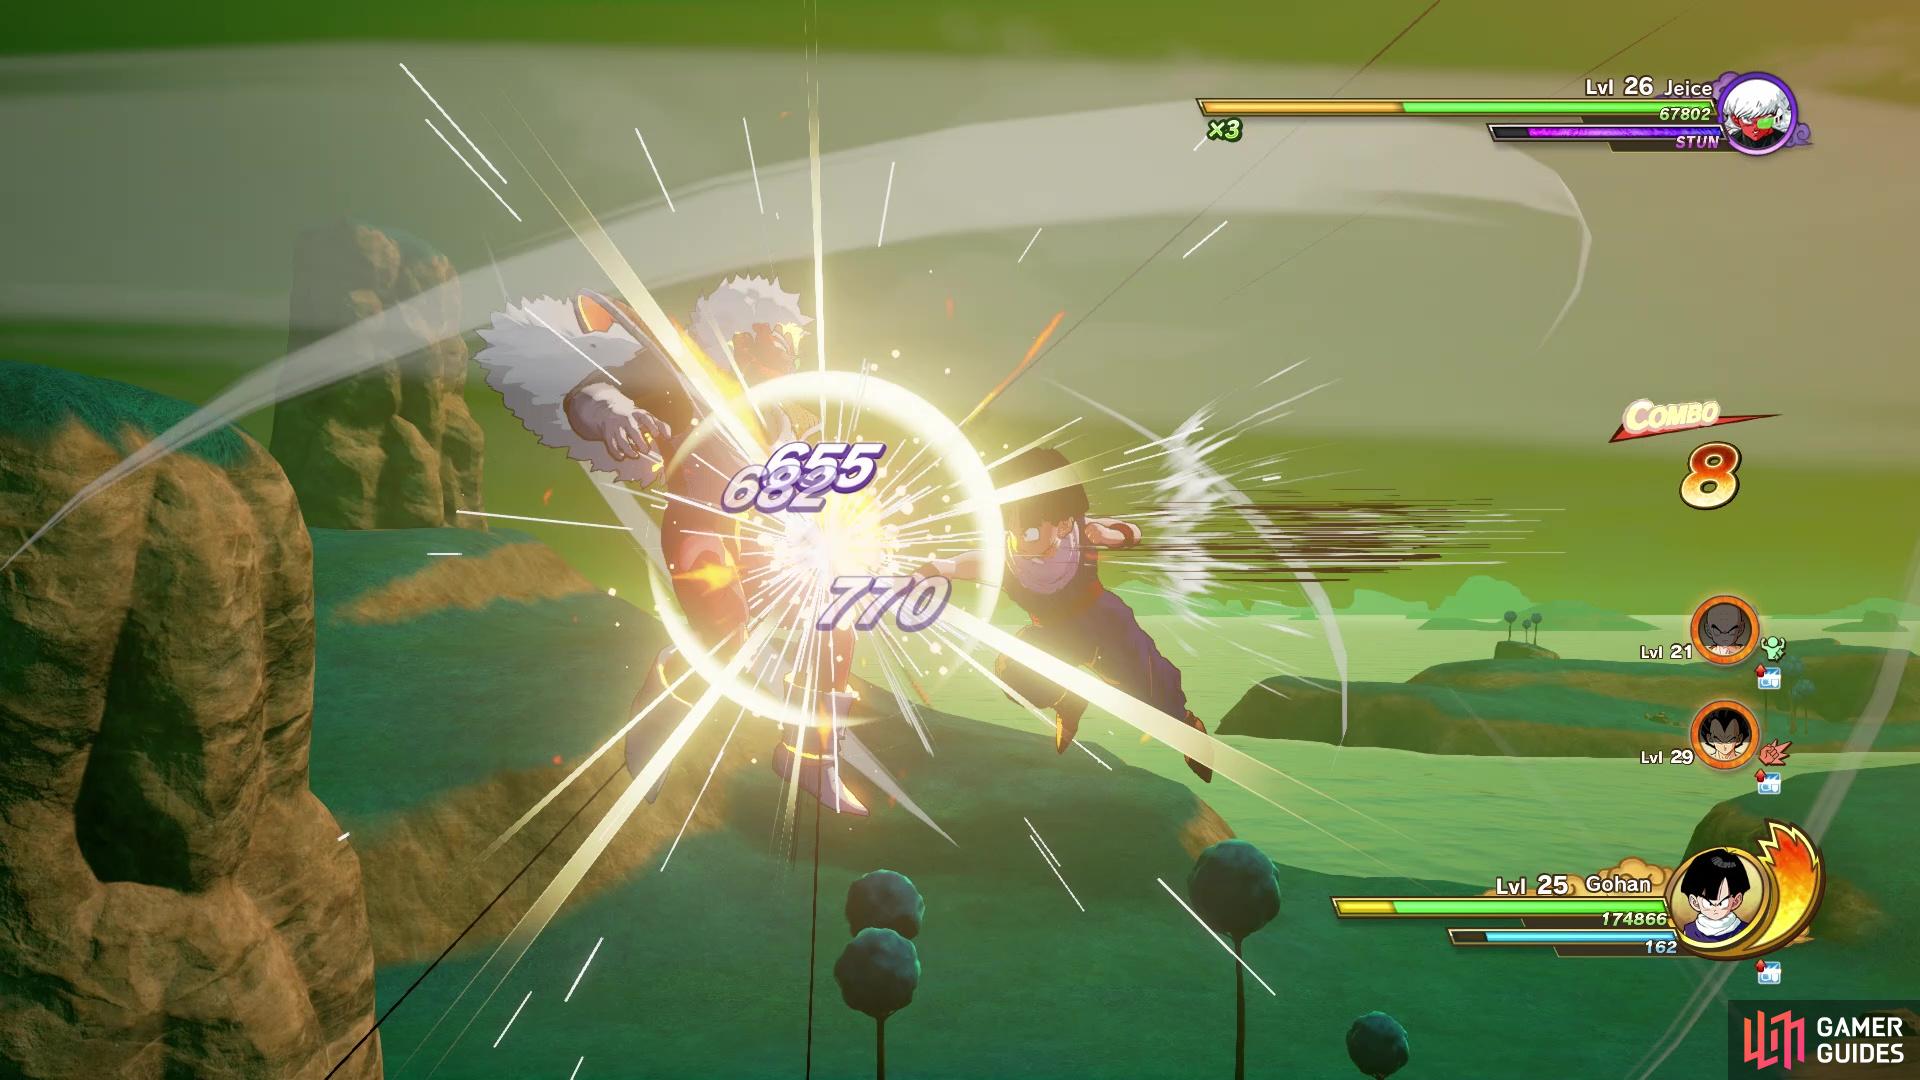
If you build it up, there is also the Z Combo
It honestly doesn’t really matter which enemy you go after first, since the man advantage you have will help a lot in stunlocking enemies, should they come after you. Plus, with Solar Flare, you can stun both Ginyu and Jeice whenever it’s available and follow up with a double beam attack (Vegeta’s Galick Gun and your Masenko). Also, using their support attacks will fill up their gauges and once they’re both full, you can unleash a Z Combo. Overall, this is a pretty simple battle thanks to having two support characters.
After the battle is over, you witness the final fate of Captain Ginyu, as he hops away from the others. More scenes will play and you will, once again, be put back in control of Gohan. You need to head to Guru’s place right now to find out how to use the Dragon Balls, but if you take a peek at the minimap, you should see another substory. Let’s head and do that substory right now.
Rogue Chef Melone
You find a Frieza soldier all alone and get into a fight with him. However, you realize he’s pretty weak, with the fight being a misunderstanding. It turns out he a famous chef in the Frieza Force and the reason he came to Namek was because of some of the ingredients. Taking advantage of the situation, he asks you to go look for some of these ingredients, namely some yuckermelons, ajisa oranges and rollonuts. As with all of the other fetch quests like this, you only have a broad range to go by, outlined as a circle on your map and you’re looking for purple orbs.
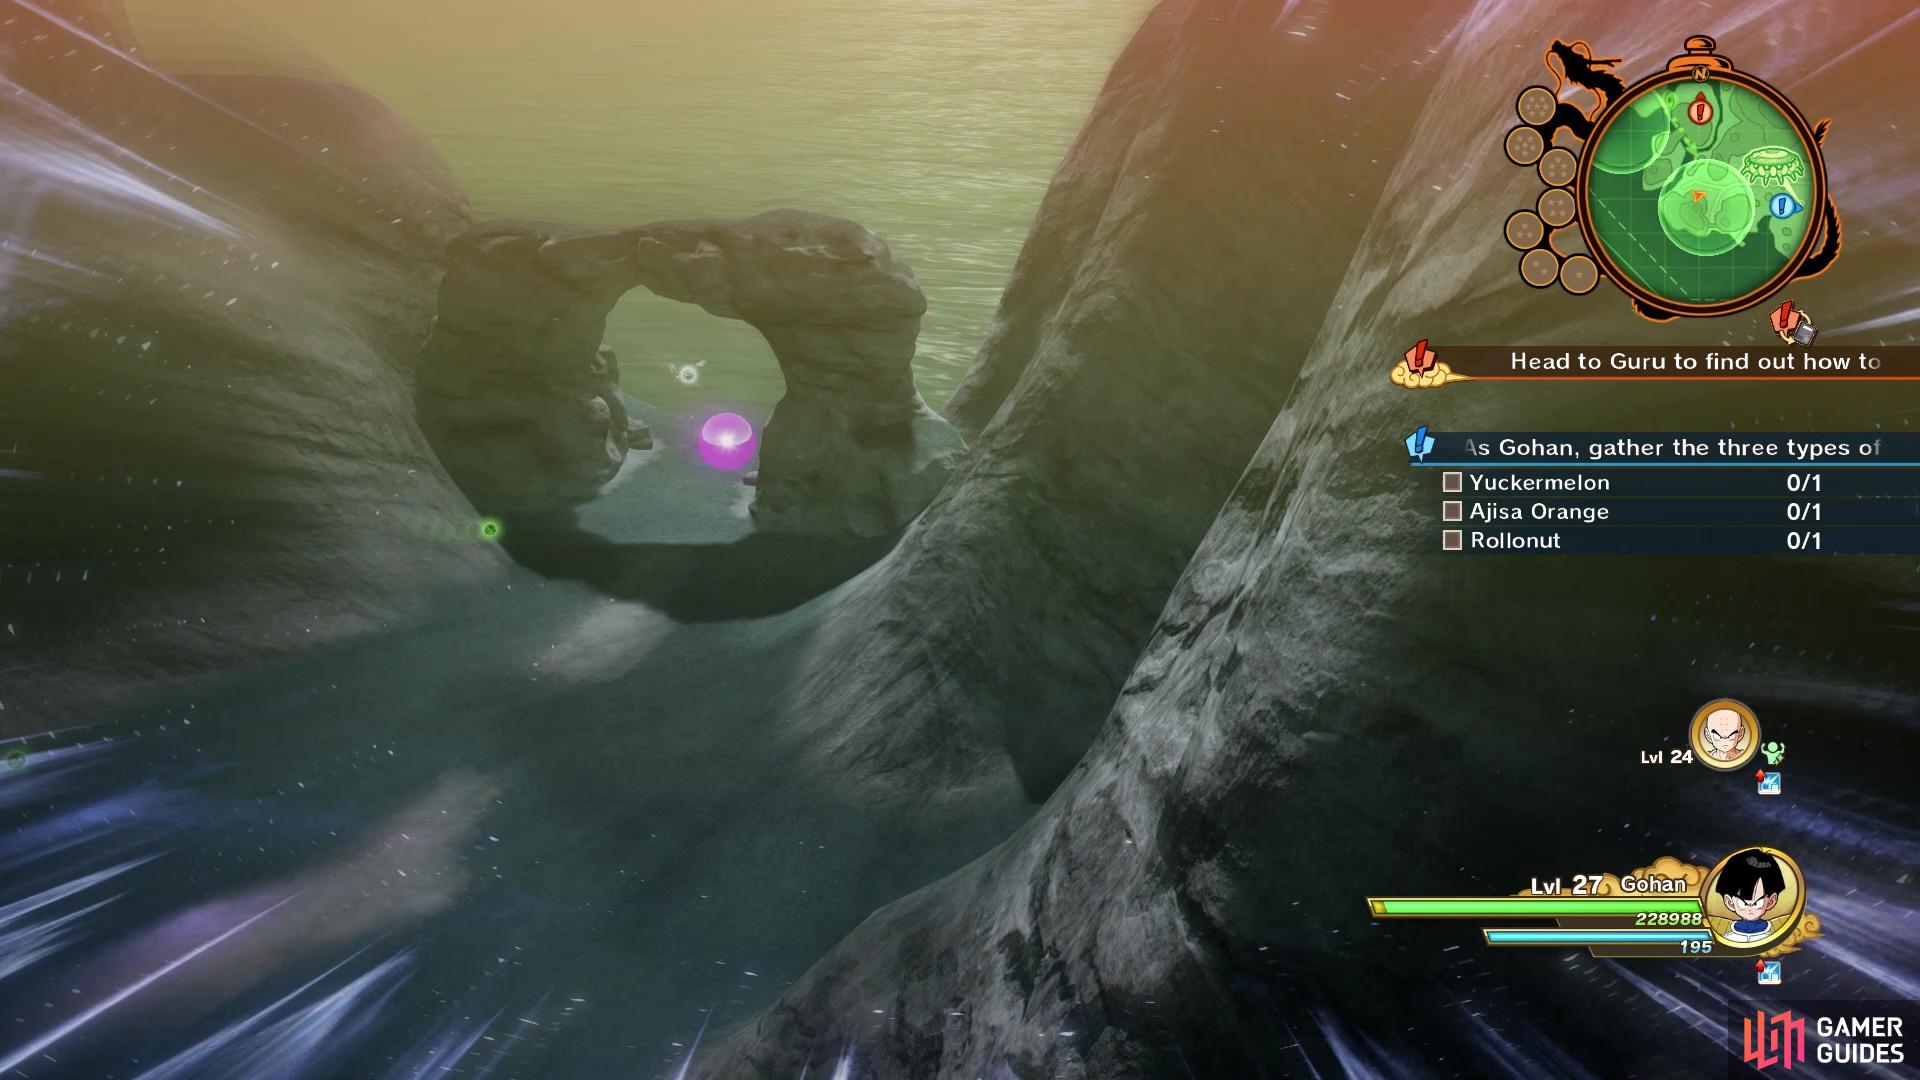
Don’t forget that your Ki-searching ability will make the purple orbs a little larger, making them a lot easier to find. The southern circle will have a rock archway close to the shoreline, with the first item being right underneath it (Yuckermelon). The second item, the Ajisa Orange, is located to the east of the first item, just southeast of Frieza’s ship. Look at the base of the trees near the center of the circle to find the purple orb. The last item is found to the west, with the circle being comprised of mostly water. In fact, the item is in the water, at the base of the large hill close to the center of the circle. While above the water, “search” to find the exact location. Bring them all back to Melone and you will finish the substory (and also receive the Ultimate Fruit Juice).
| Objective | Reward |
|---|---|
| Helped the chef with his meal | 23,144 EXP, D Medal (x1), Improved Scouter (x1) |
Begin flying toward the main story marker and about halfway there, you will run into Dende, who knows how to use the Namekian Dragon Balls. Some scenes later, they finally summon Porunga, the Namekian version of Shenron, the wish-granting dragon. The big difference between this one and the Earth one is that Porunga can grant three wishes per one set of Dragon Balls, but he can only resurrect one person at a time. Finding this out, they bring back Piccolo and wish him to be brought back to Namek. However, things go wrong before the third wish is granted and you will eventually be thrown into battle.
Gohan/Vegeta vs. Frieza
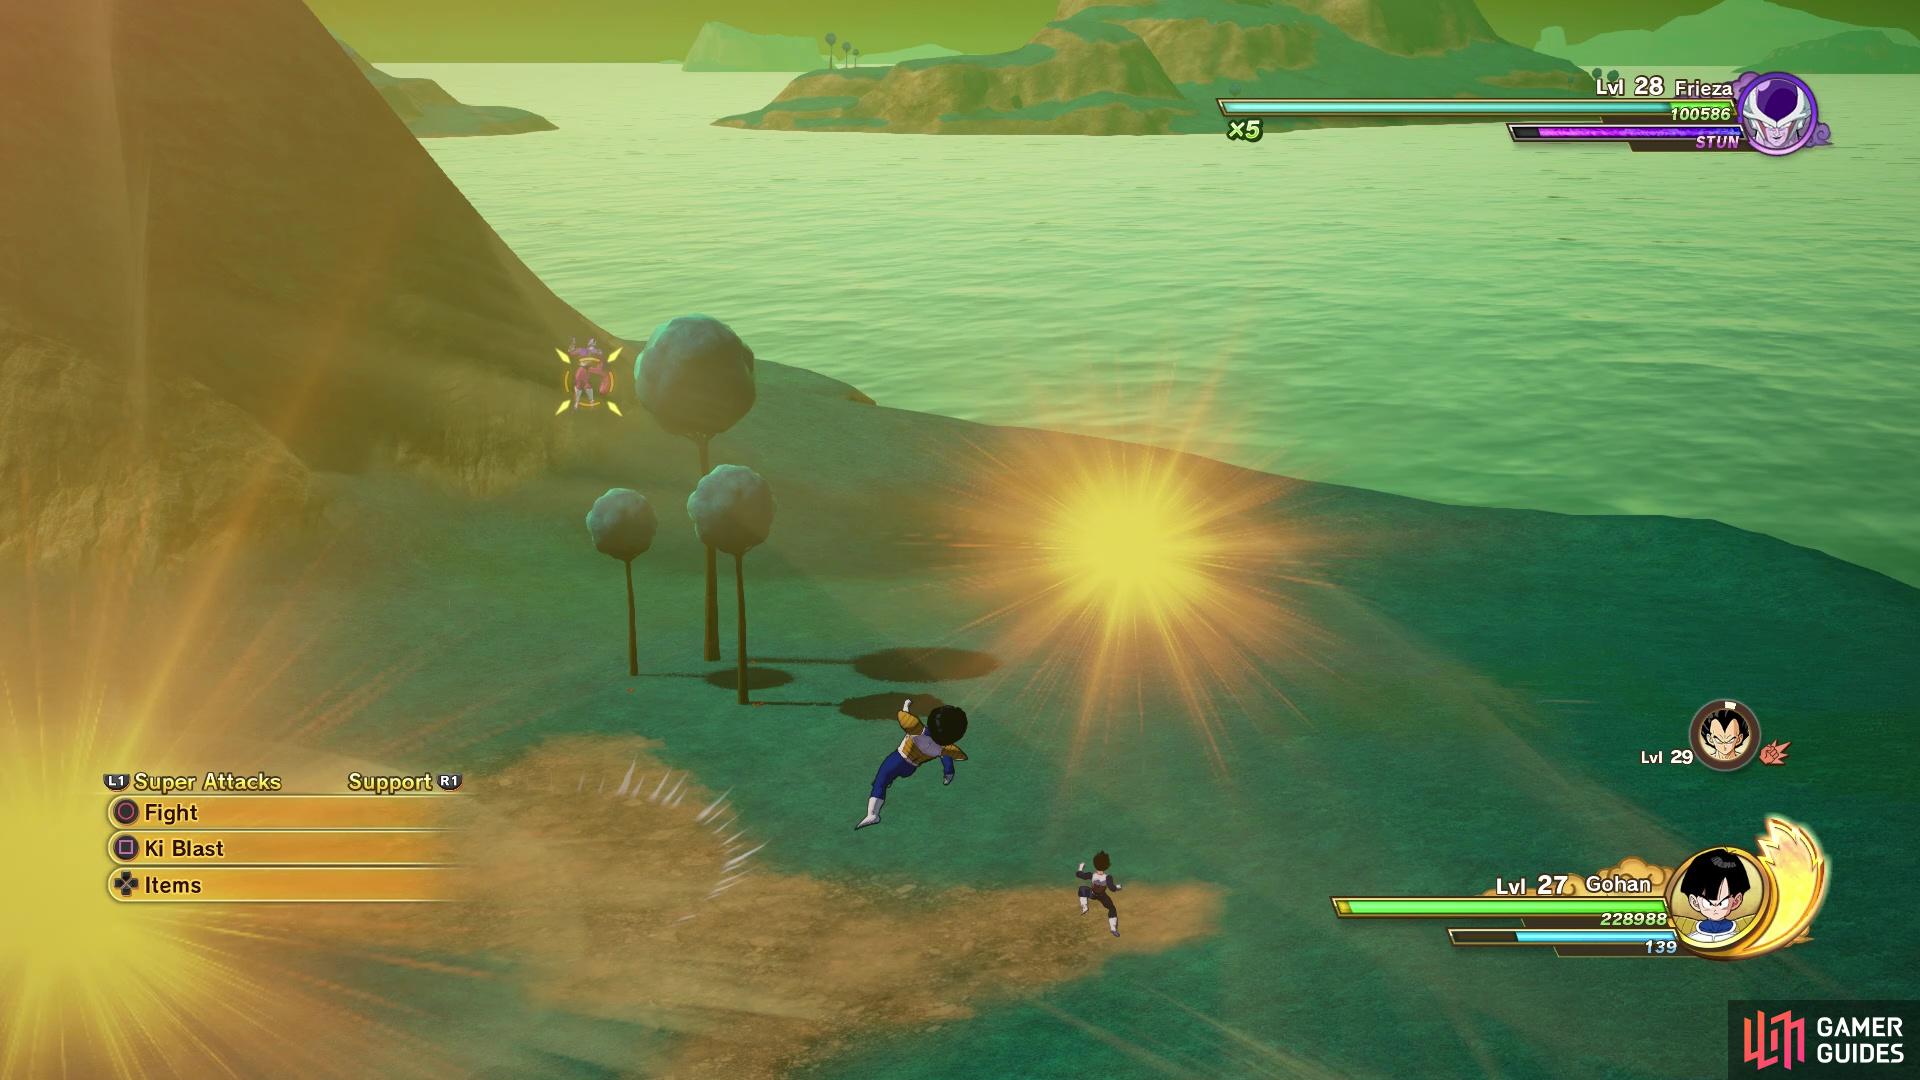
Despite the obvious power difference, your first fight against Frieza is rather tame. You will have Vegeta as a support character, so you can use his Galick Gun to try and surprise attack him. Let’s go over some of Frieza’s moves right now. Death Storm will have Frieza spawn three energy orbs in your vicinity, which will explode after a few seconds. If you keep moving, then you should easily avoid these without getting hurt at all. Death Surge is a charge attack, similar to Dodoria’s, so you should know how to avoid this by now.
Quickly get away from the energy orbs spawned by Death Storm
The last Super Attack you will probably see from Frieza is called Death Blaster. He will fire three larger Ki blasts at you, which are easy enough to avoid, but they definitely hurt a lot, so dodge them at all costs. Overall, this fight against Frieza is fairly simple, especially since you have a support character to help break up any attacks they may do. Make sure you avoid Frieza’s attacks as much as possible, though, and heal up if you need to do so at all.
Although it may look like you have won, you definitely didn’t do much of anything to Frieza in his transformed state. The game will cut over to Piccolo now, who’s on his way to meet up with Gohan and the others, although he gets distracted by someone else. He ends up finding the Namekian who fought with Frieza earlier, who offers to fuse with him to make him stronger. With some reluctance on Piccolo’s end, he does it anyway and you will unlock Nail’s Soul Emblem. Some more scenes happen, then it’s Piccolo’s turn to go up against Frieza.
Piccolo vs. Frieza
This fight is pretty much the same as the previous one, except you are solo. That means you’ll need to be much more careful in how aggressive you are, especially since the game loves giving enemies super armor whenever they charge up Ki or perform the one maneuver where they stun you. Frieza still isn’t too aggressive here, so you don’t have to play too defensively just yet.
Frieza, not one to exert too much energy, decides to instill some fear into Piccolo and the others by transforming a second time, initiating the third battle against him.
Piccolo/Gohan vs. Frieza
Frieza is definitely starting to step it up a bit with this battle, since not only does he gain a new move that’s hard to dodge, but his other attacks might go on for a little longer. Luckily, you have Gohan as a support character here, so him continually going after Frieza definitely helps. Death Blaster is the same, in terms of what Frieza does, but he shoots a few extra Ki blasts at you, so you’ll need to dodge a little bit more. The new skill that Frieza has access to is called Death Bullet.
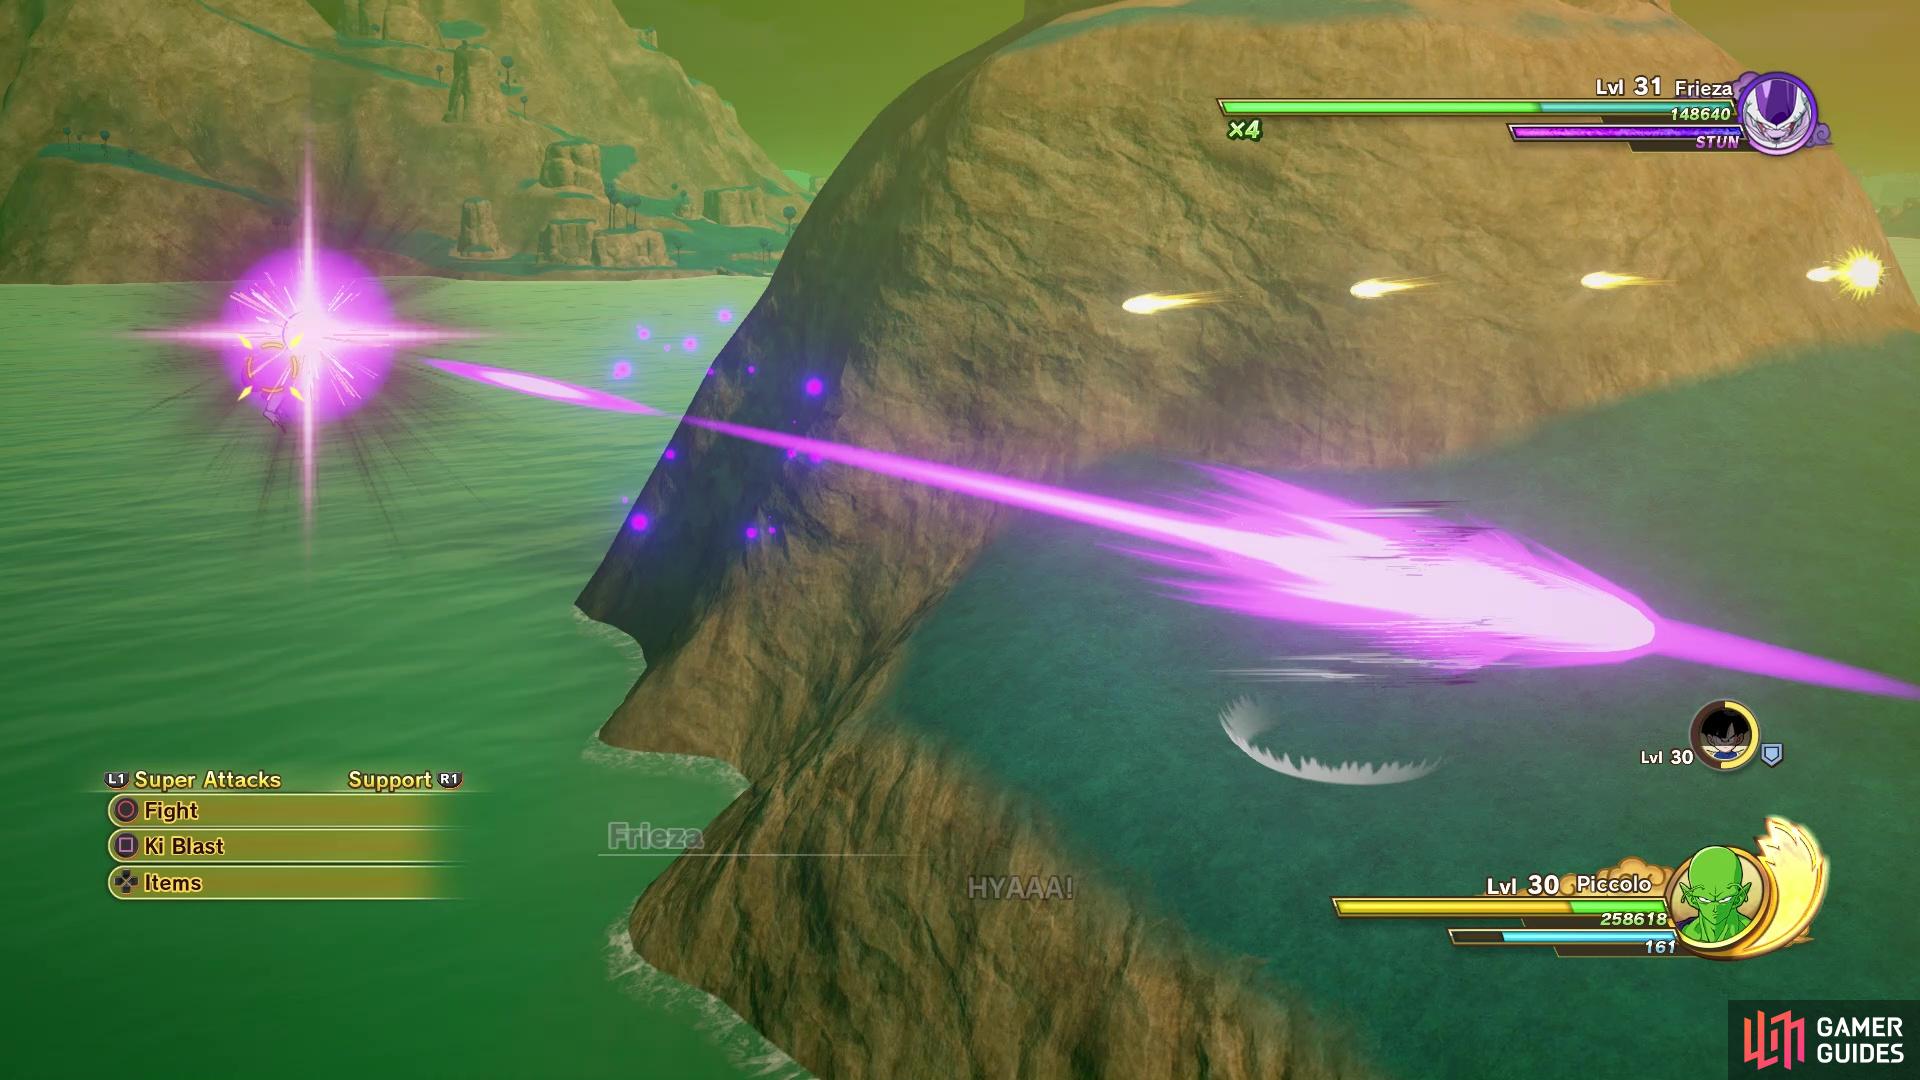
Death Bullet is a very quick Ki shot, so dodging can be hard
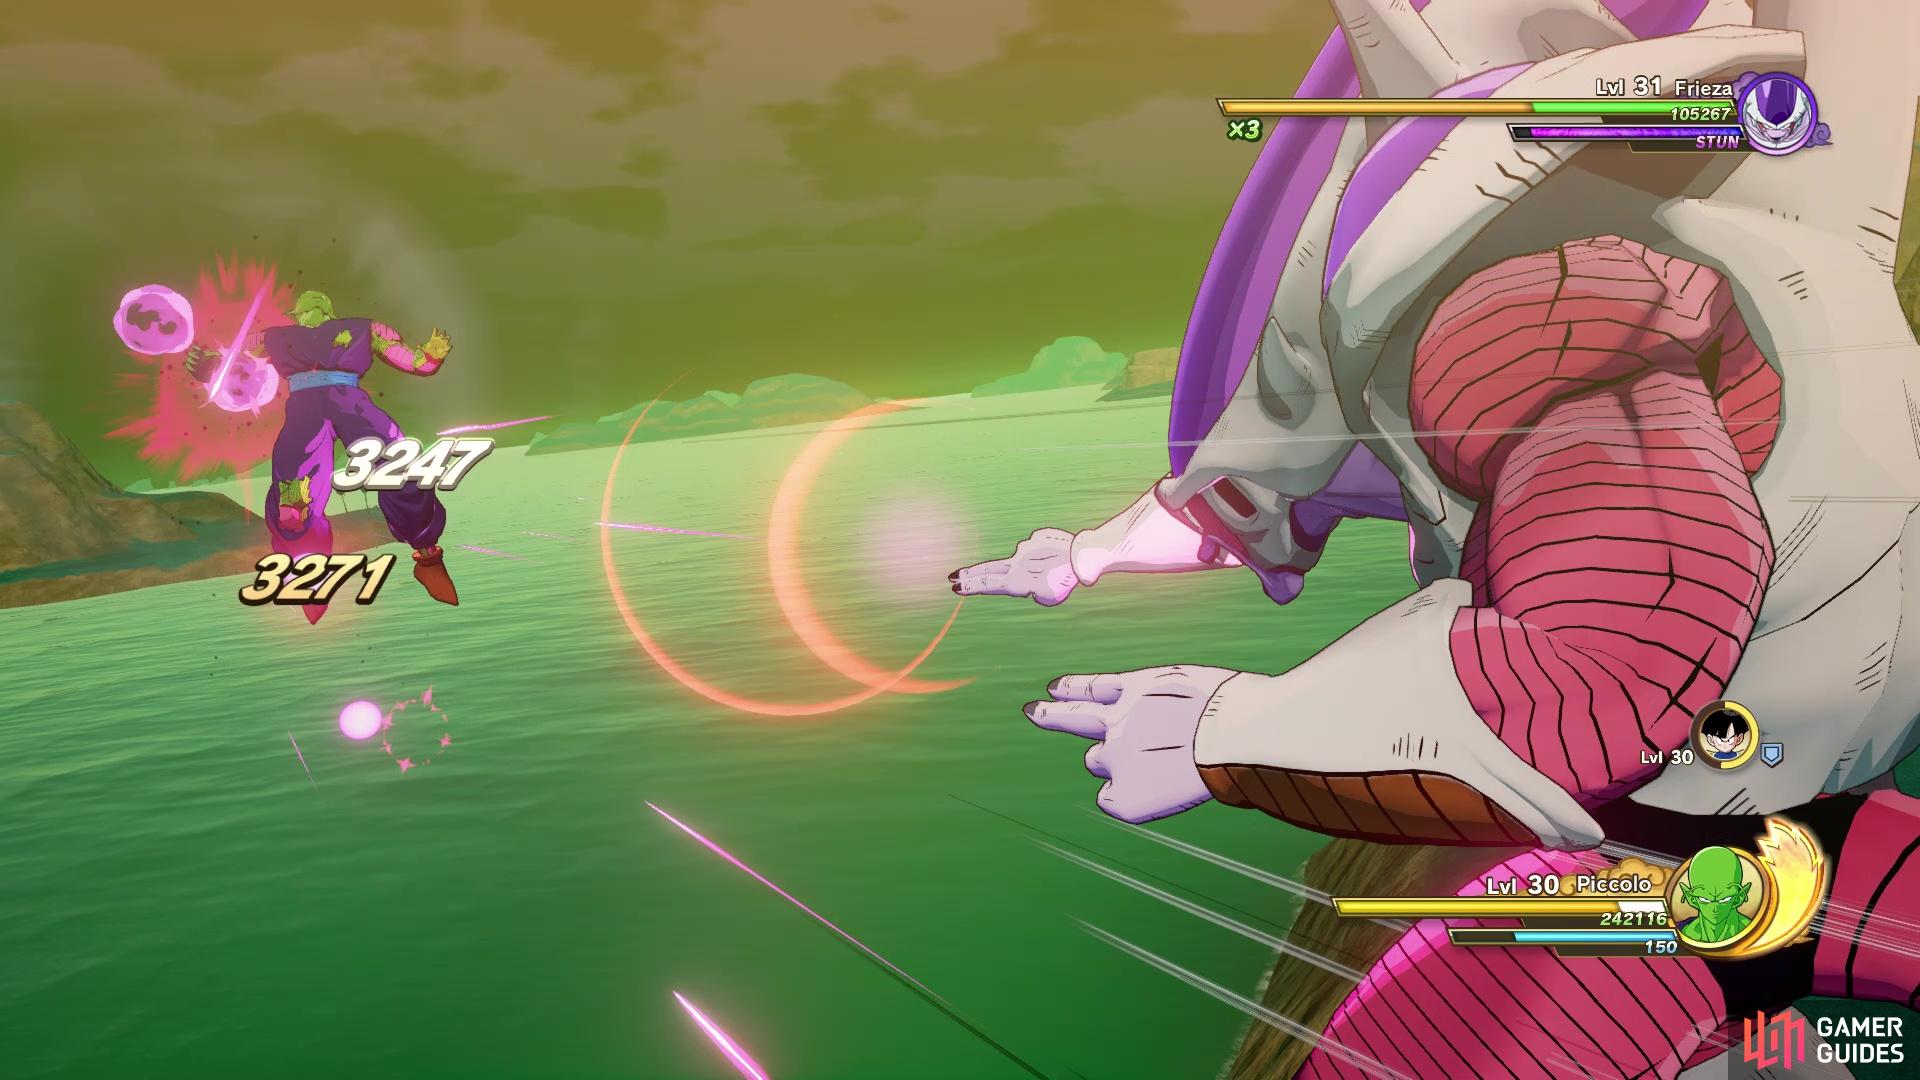
If you get hit, you get treated to a cinematic attack
Basically, Frieza will shoot a small Ki blast at you and if it connects, then you will be trapped in a cinematic attack that results in some major damage. While it is possible to dodge this, it might be better to just block it to avoid the aftermath of the attack. Despite that one attack, which is the biggest problem with this battle, Frieza isn’t too bad. You have Gohan’s help here, so don’t forget to use his support attacks and just keep an eye out for Death Bullet.
You’re getting close to finishing up the battles here on Namek, but Frieza has one more surprise for you, his final form. Thanks to some quick thinking from Vegeta, it’s time to move onto the final story mission.
No Comments