
Battles in Kakarot are something one might need to get accustomed to, as they can be a little complex at the beginning of the game. All battles take place in the air, usually in the same area where you confront the enemy. You can move about in this area freely, either going up, down, left or right. Before moving on to actual combat stuff, let’s cover the movement options first. When you begin a battle, you will be locked on to an enemy, whether you’re fighting a single enemy or a group. You can release the lock-on by pressing the right analog stick in (called R3 on the PS4 controller). This is needed if you wish to escape the current battle, although not all battles are escapable, since flying away from the enemy when not locked on will allow you to flee.
The left analog stick, when locked on, will move your character forward, backward or side to side. If you wish to move your character up or down, then you must hold the R2/RT button in combat before pressing up or down on the left analog. Another option for moving around in battle is the X/A button, which is for the Step maneuver. This is basically the dodge for Kakarot and you will likely be using it a lot during battles. One more maneuver you can do is by pressing the left stick in (L3 on Playstation), where your character will do a boosted dash towards the locked-on opponent. Note that this uses a small amount of your Ki gauge, which is underneath your health. Doing this deflects Ki blasts as you move.
The Step maneuver will be used a lot during fights
In the upper right corner of the screen, you have your opponent’s health bar and they will be defeated when it reaches zero. Additionally, underneath that is their Stun bar. As you land attacks, the Stun gauge will slowly deplete, but leave the opponent alone for a few seconds and the Stun gauge will regenerate. Thus, it’s important to keep the offensive pressure on your opponents, as depleting the Stun gauge fully gives some great benefits. Not only will your opponent be stunned for a short duration, but your attacks will do extra damage, too. Once the Stun bar refills, they will snap out of it and return to normal.
Offensive Options
When you want to go on the attack, you need to look at all of your options for that. You have a button dedicated to melee attacks, which is Circle/B, as well as one dedicated to Ki attacks (Square/X). Doing Ki attacks will use your Ki gauge, which is below your health and if you wish to replenish it, then you simply need to hold down the Triangle/Y button. Pressing the Circle/B button repeatedly will have your character perform a combo. If you do the entire combo, then the final hit will knock back your opponent. Additionally, there are other finishers during a combo, which include the X/A, Square/X, and Triangle/Y buttons.
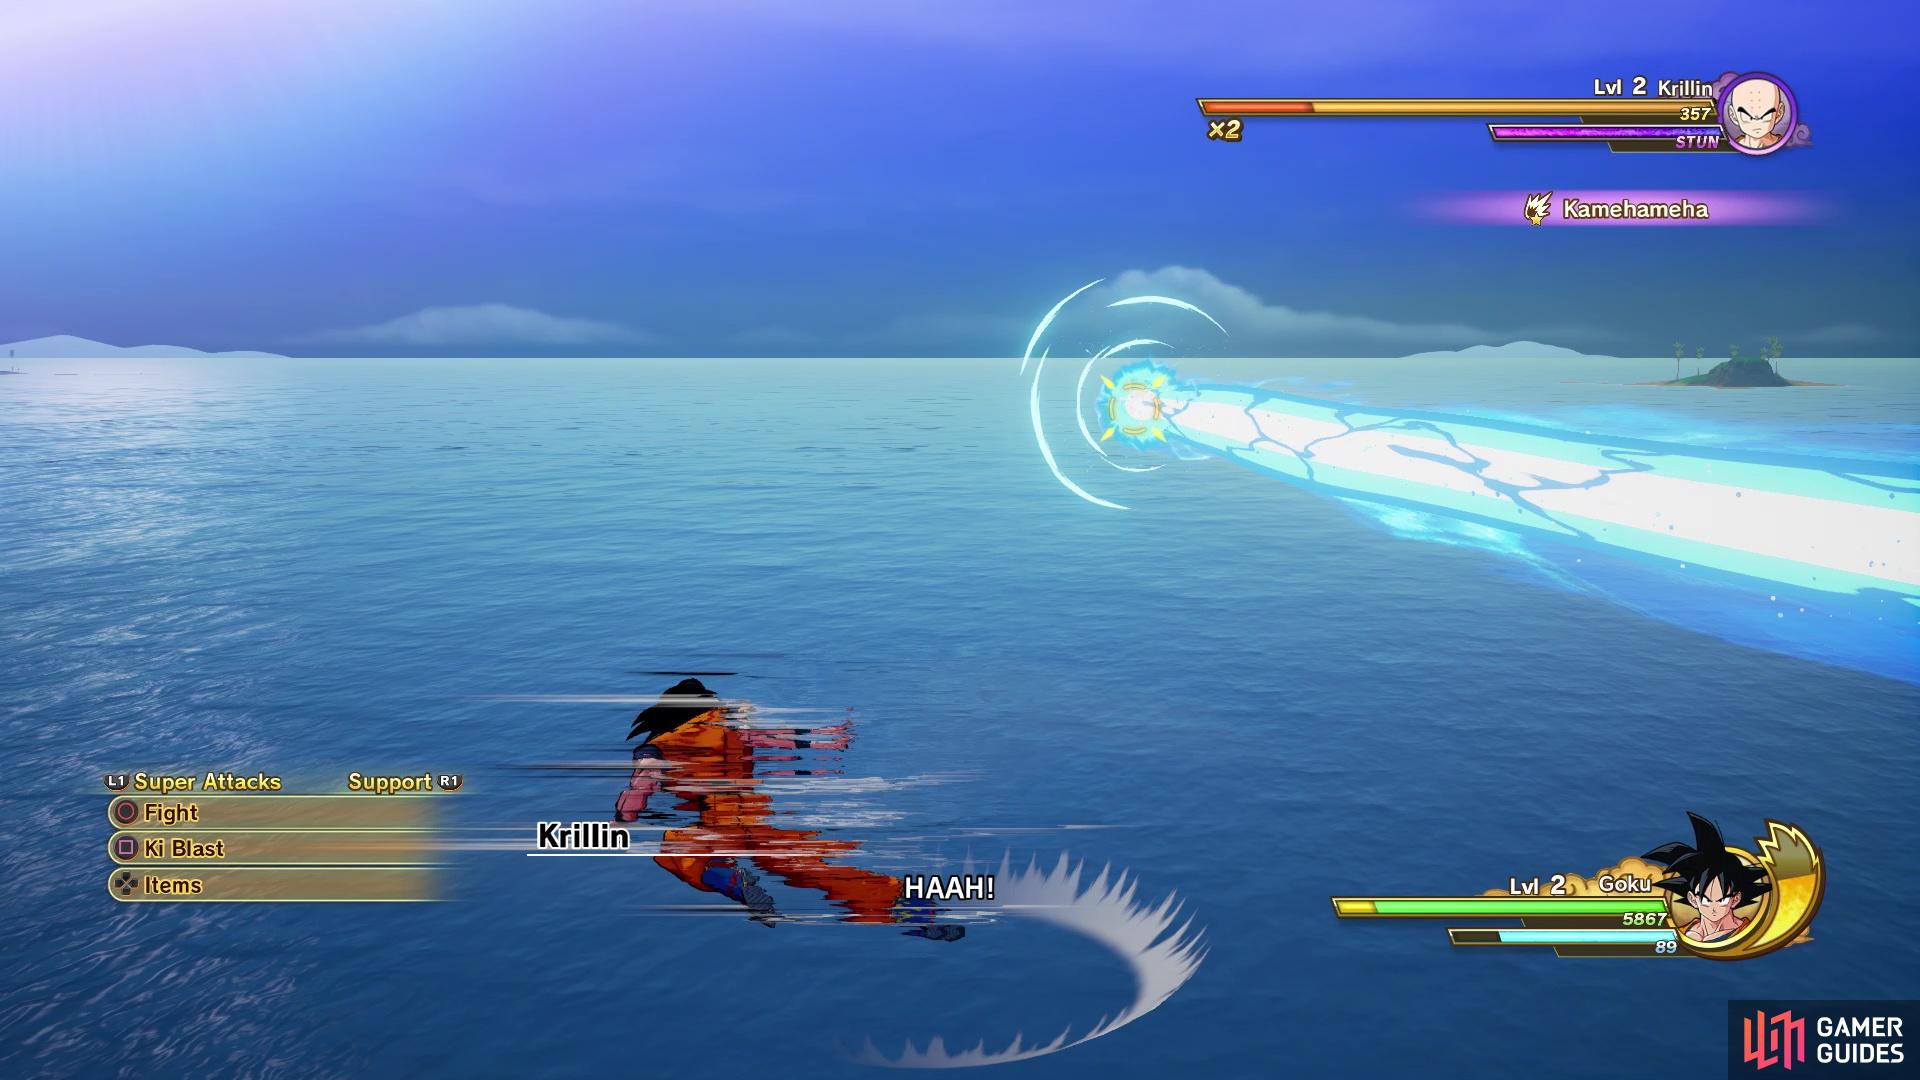
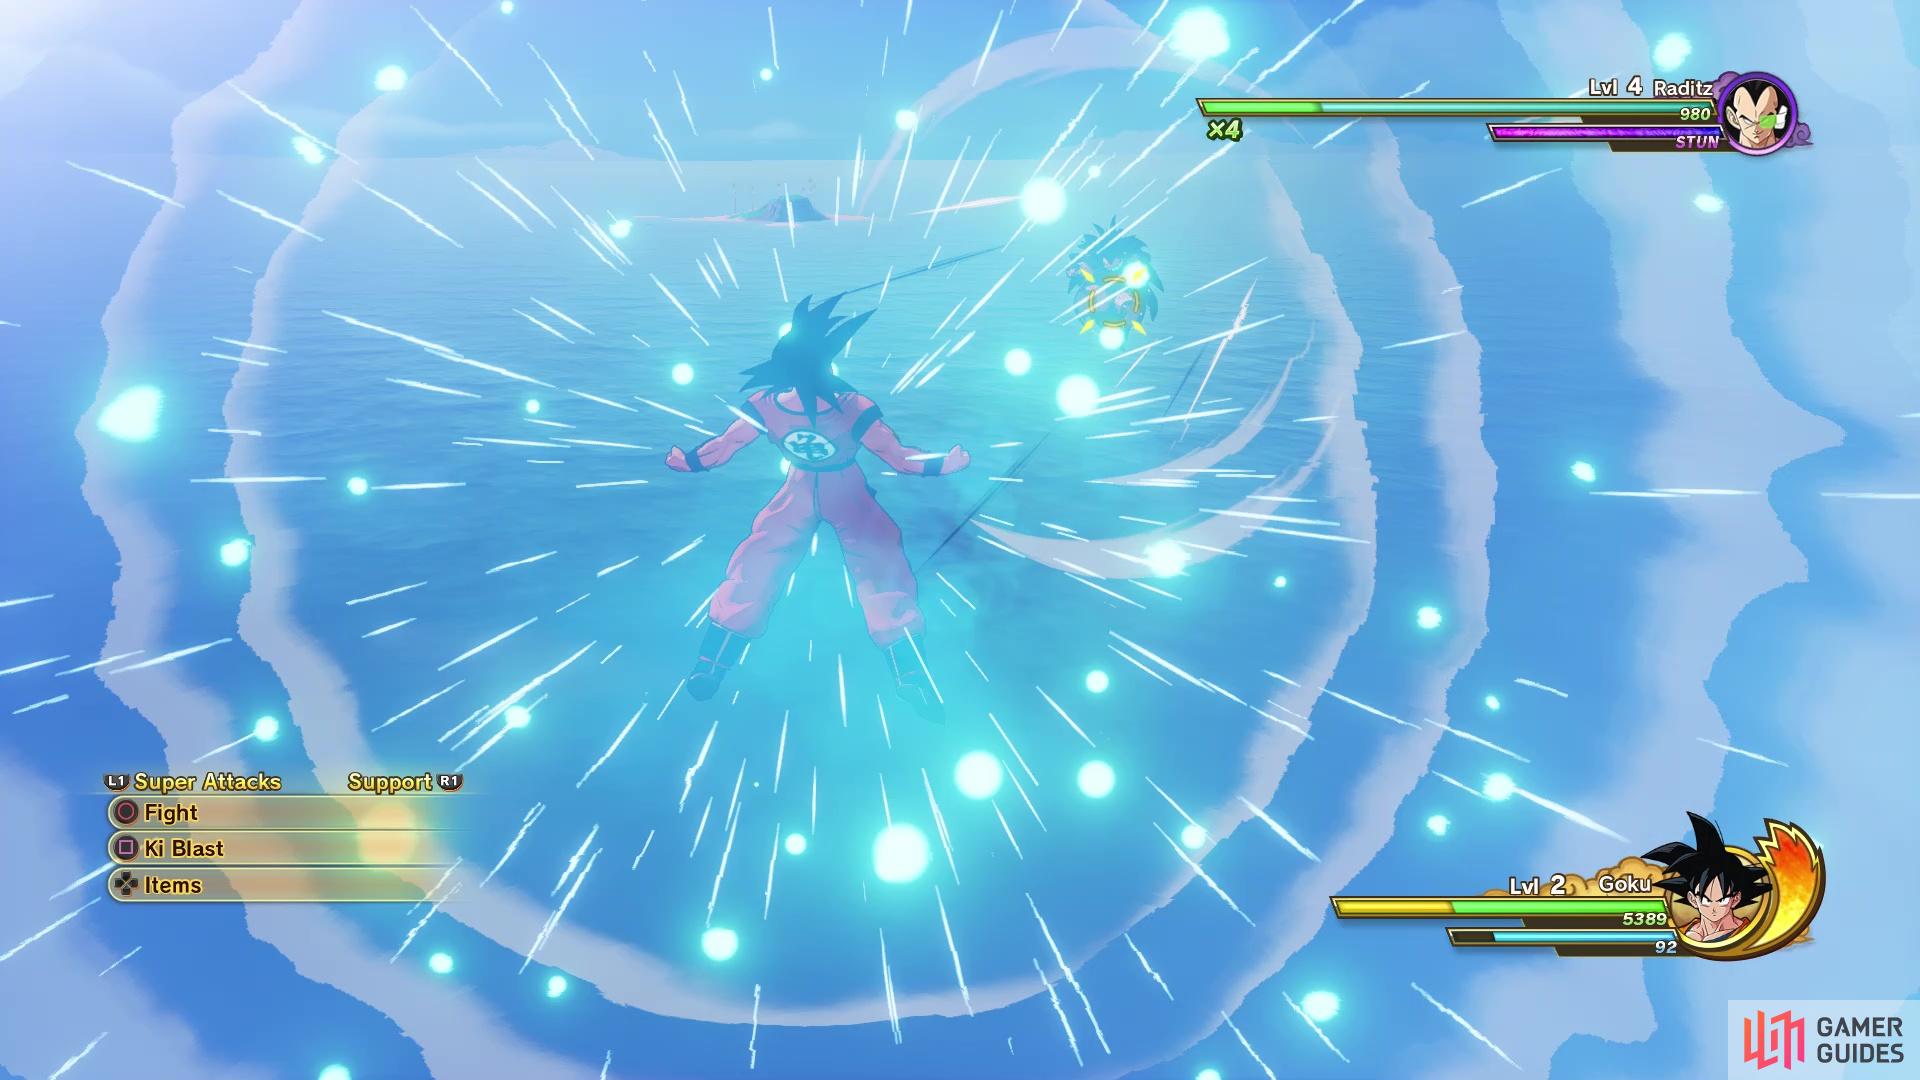
Those are the basic offensive moves in any character’s moveset, so let’s delve a little deeper and talk about Super Attacks now. These are the fancy and flashy moves that anyone familiar with Dragon Ball knows, such as Goku’s famous Kamehameha. Any character you control can equip up to four Super Attacks at once and they are accessed by holding down L1/LB in combat. This brings up a menu in the bottom left, where each Super Attack is assigned to a face button, so press the corresponding button to unleash said Super Attack.
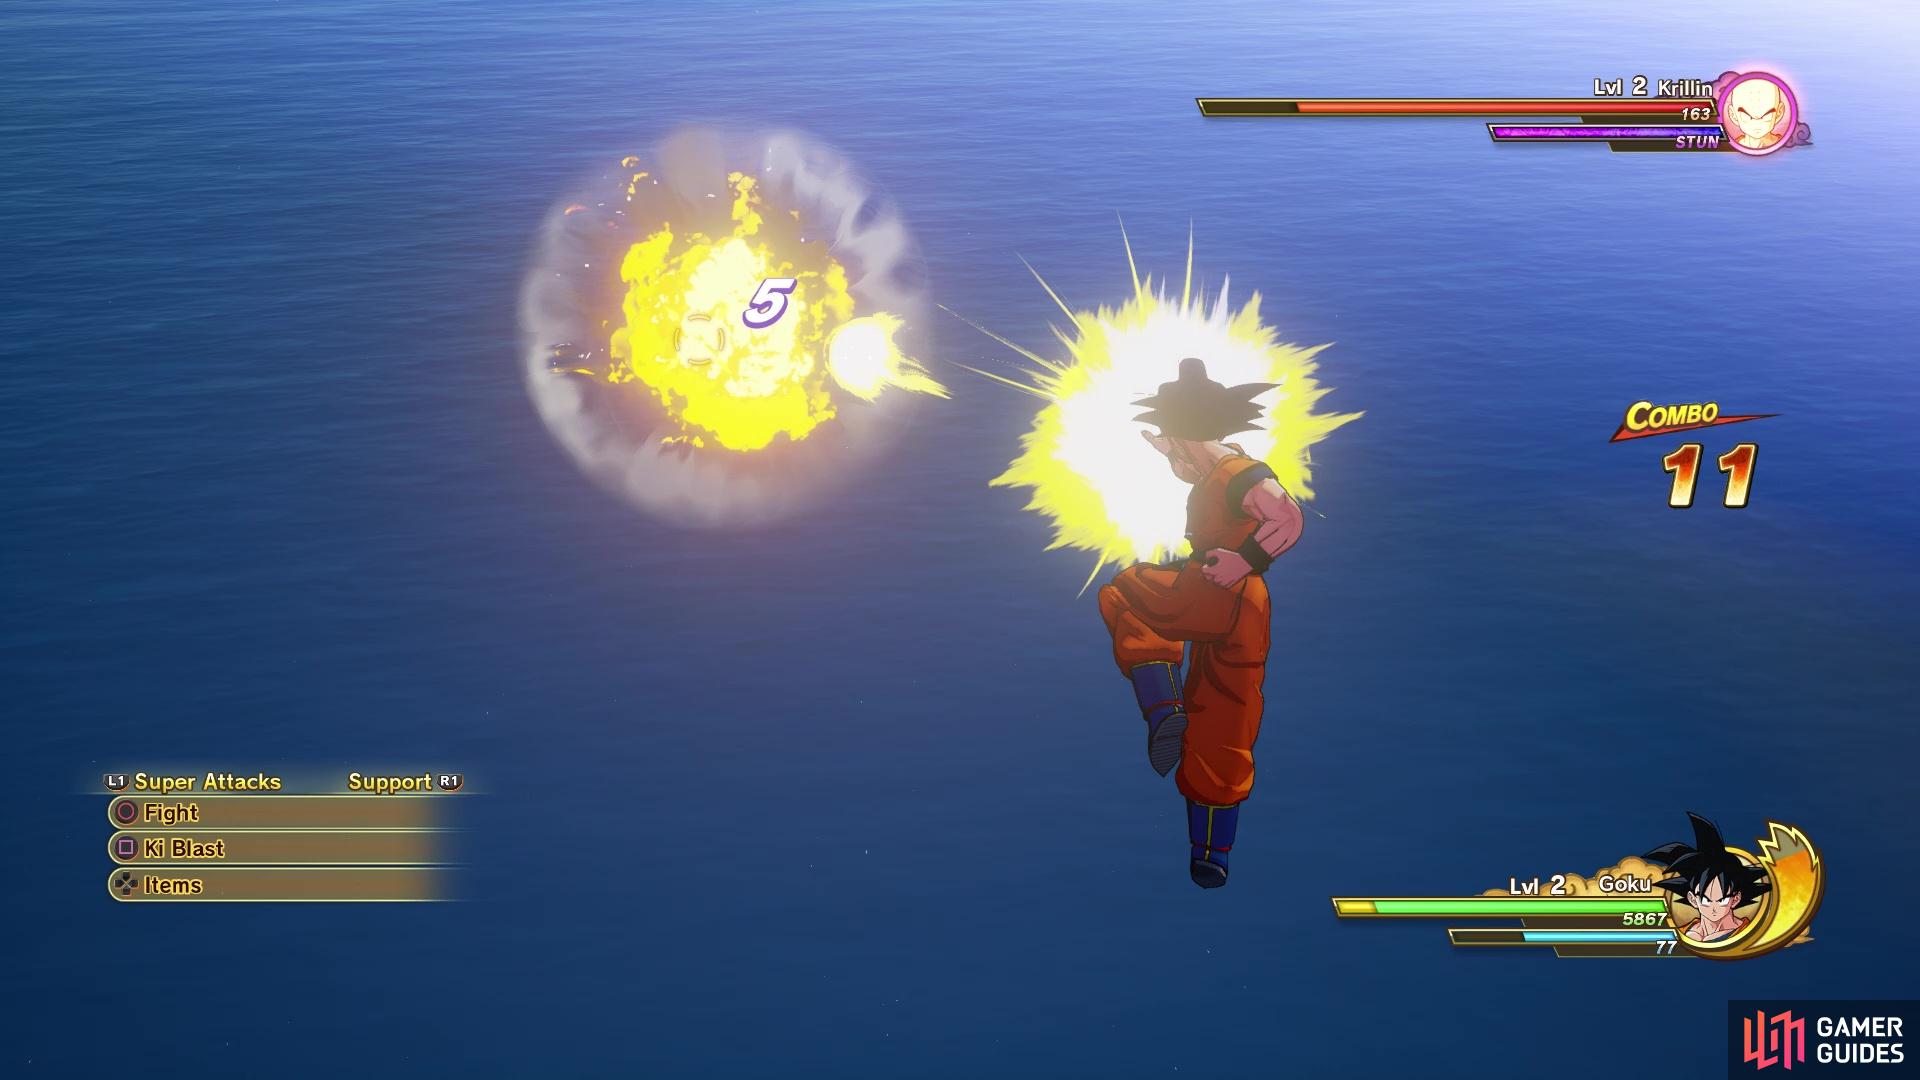
Normal Ki shots can add that little extra damage in between larger attacks
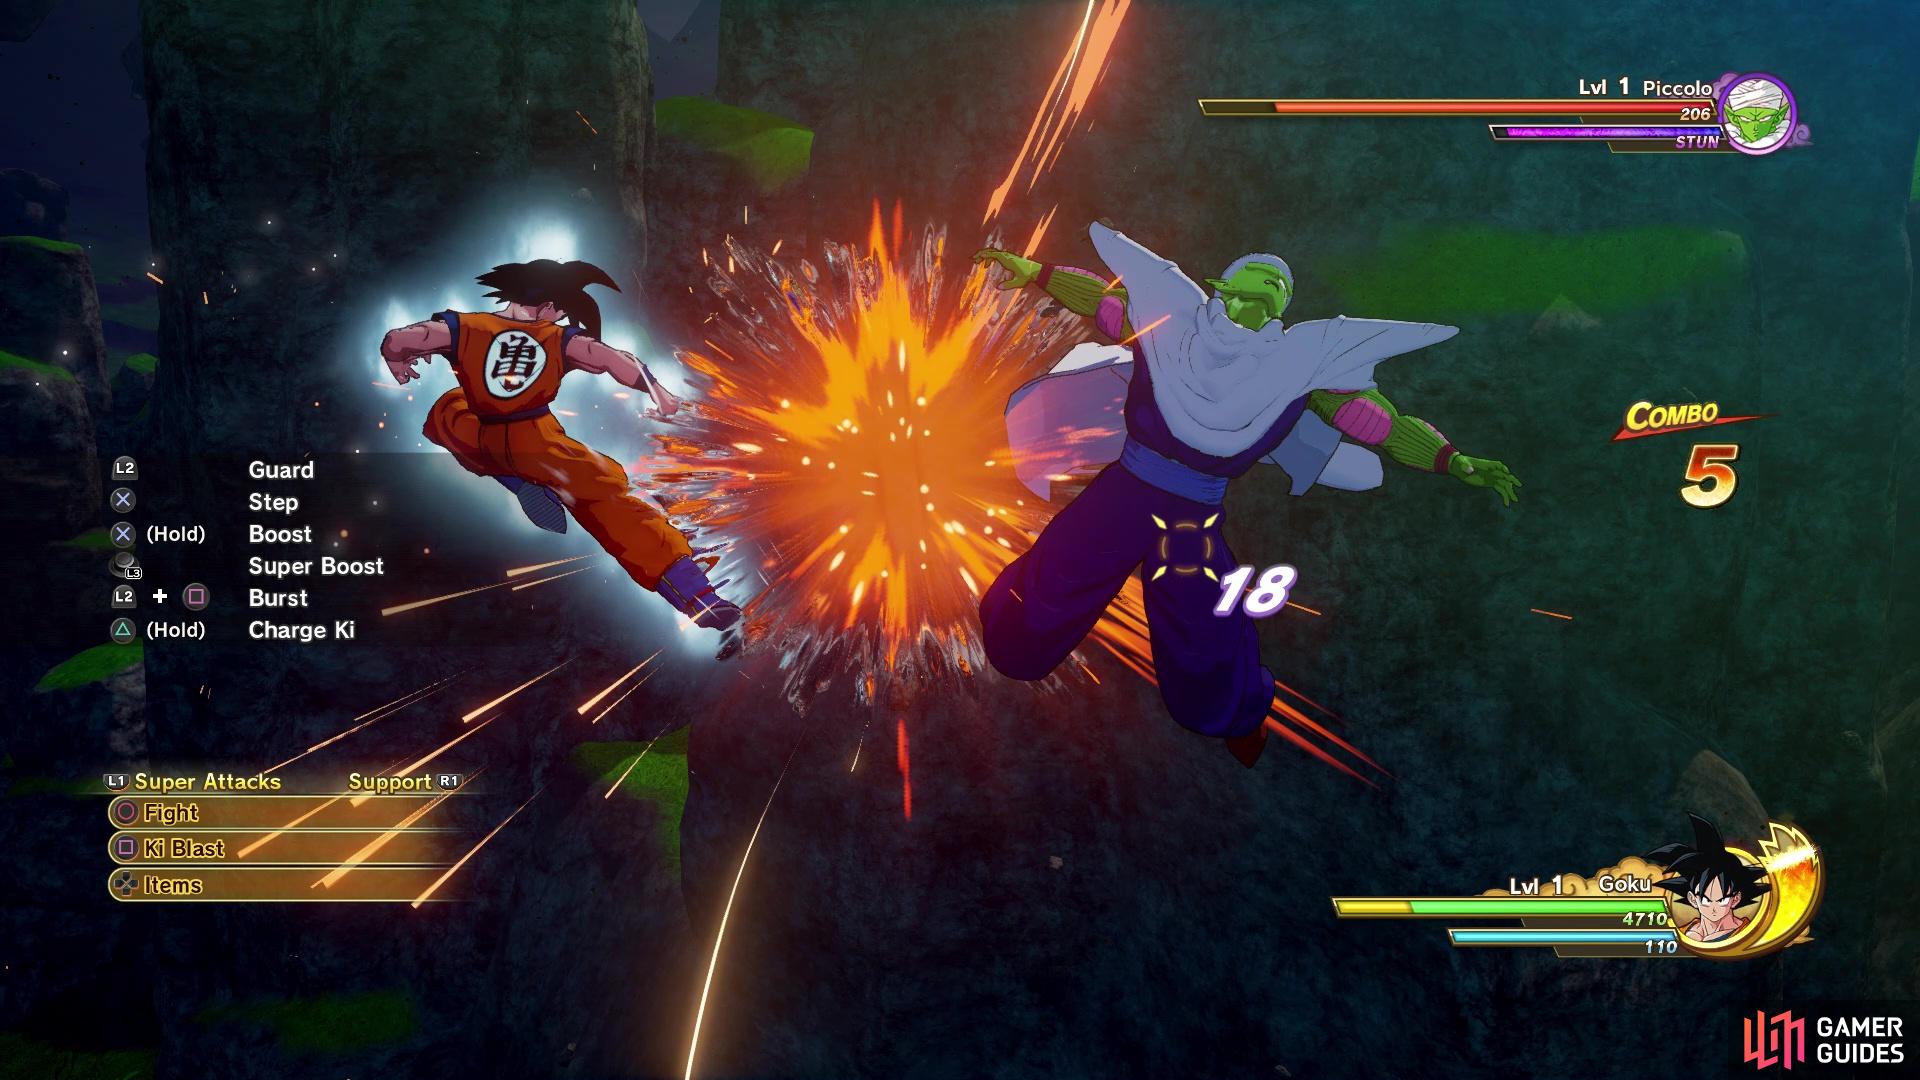
Surge mode will give your hits some extra punch to them
One last offensive maneuver comes in the form of Surge mode, which can be triggered when the Tension Gauge to the right of your character’s health/Ki in the bottom right corner is full. When it is, hold down Triangle/Y and a few seconds while the Ki gauge is also full will have you enter Surge mode. While Surge is active, all of your stats are boosted, you’ll be able to perform unique attacks and cancel Super Attacks, as well as combo into other actions. In addition to this, your character will automatically chase after knocked back opponents. One super benefit of Surge mode is the fact that you can chain together Super Attacks, so you could potentially fire off multiple Kamehamehas one after another.
Defensive Options
Focusing solely on offense is going to make some fights a lot harder than they should be in Kakarot. Thus, you need to learn all about defensive measures you can implement. The most basic defensive function is blocking, which is done with the L2/LT button. However, blocking will only carry you so far, as the enemy can break through your shield (and you can break through their shields, too). The shield will change color as its power wanes, with blue being full, yellow being weaker and red being the weakest. Even if you’re middle of taking an attack, you can still guard to minimize your damage taken.
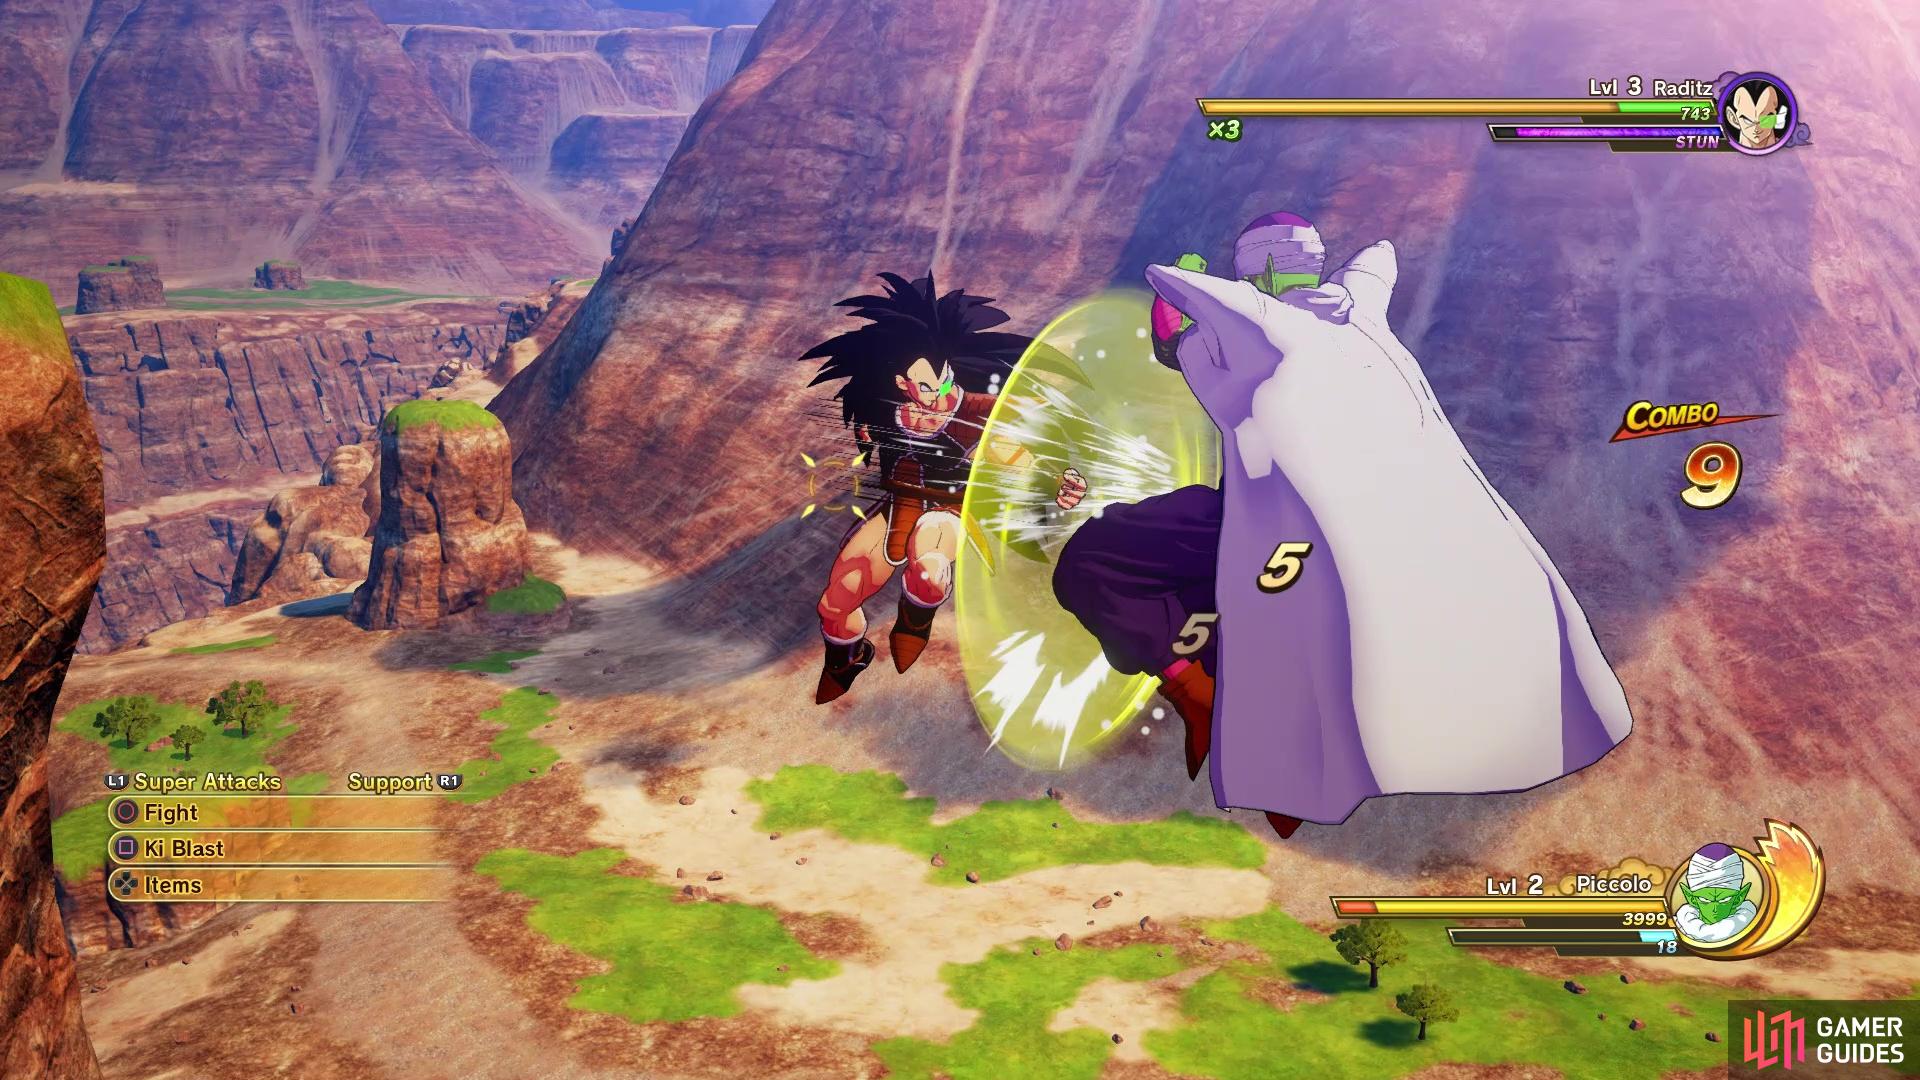
While guarding, there are two things you can do to counter your opponent. The first option, Burst, is done by pressing Square/X while guarding and will have your character send out a shockwave from their body. This shockwave can push your opponent away, but it also has the added benefit of cancelling any damage from one of their moves. Bursting will use up some Ki, so be mindful of your gauge. The other counter option is the Vanish Attack, which is done by pressing X/A while guarding. Your character will quickly teleport behind your opponent and strike them with a melee attack, sending them flying. Vanish Attacks use up a lot of Ki, though, so that is their major downside.
Keep an eye on the color of your shield when blocking
Bursting can be used to push away enemies sometimes
There will be a lot of instances when you will be taking on multiple enemies at one. The problem with this is that you can only lock-on/keep an eye on a single opponent, so the others have opportunities to attack you without you knowing. However, as you’re fighting multiple enemies, you should notice arrows on the screen when those other enemies aren’t in immediate view. These will change color when an attack is incoming, so if it turns red, then be ready to dodge an attack.
Support Characters
Thankfully, you won’t have to fight alone during some encounters in the main story, as you may have up to two additional characters acting as support. Support characters will act on their own during combat, usually meleeing or throwing Ki blasts at the enemy, as well as even healing you or restoring you Ki, depending on the type. However, you have the power to make them do their Super Attacks with the press of some buttons. By holding down R1/RB, you will bring up the menu with their Super Attacks. Unlike your controllable character, support ones can only equip two Super Attacks at a time. Press the corresponding button to unleash the Super Attack and you see you can’t do it again right away.
There is a cooldown between using Super Attacks on a support character, and you can keep track of it via their portrait on the right side of the screen. Speaking of that, you may notice a gauge surrounding their portrait. As you perform Super Attacks, this gauge will fill up. Once all support characters have this gauge filled up (if you have two, both need to be filled), then you will be able to initiate a Z Combo. There will be a flashing button prompt in the bottom left when you have access to it. Press both L1/LB + R1/RB to perform it. Note that the Z Combo is a cutscene attack, so it will always hit and your opponent will be stuck in the animation until it’s over.
No Comments