
Goku’s brother, Raditz, has finally landed on Earth and we also meet the most powerful character in Dragon Ball Z, the farmer with a shotgun. After the introductory scenes for this mission, you will finally gain control of Piccolo and have your first opportunity in free exploration of an area. Some quick tutorials will pop up at first, though, like being able to initiate Boost Flight (push in the left stick to do this). Note that Boost Flight uses Ki, so you need to keep an eye on your Ki meter. You also learn about searching for Ki, which includes the various items you can collect, as well as finding enemies (more on that in a little bit).
If you hold the [L2/LT Button] and press [Square/X], you will fire Ki blasts. Holding the latter button will make you fire a charged Ki blast. There are some objects in the environment that you can destroy with these, which will yield materials. Also, hitting an animal will stun it, making it easier to catch. A new point of interest on maps now are things called Airways. These are special wind tunnels that you can enter while normally flying (boosted flight doesn’t work), where you will be on a rail and be able to collect Z Orbs. Phantom Airways are a rarer version of these, where you might be able to collect some Rainbow Z Orbs, but they disappear when you leave the area.
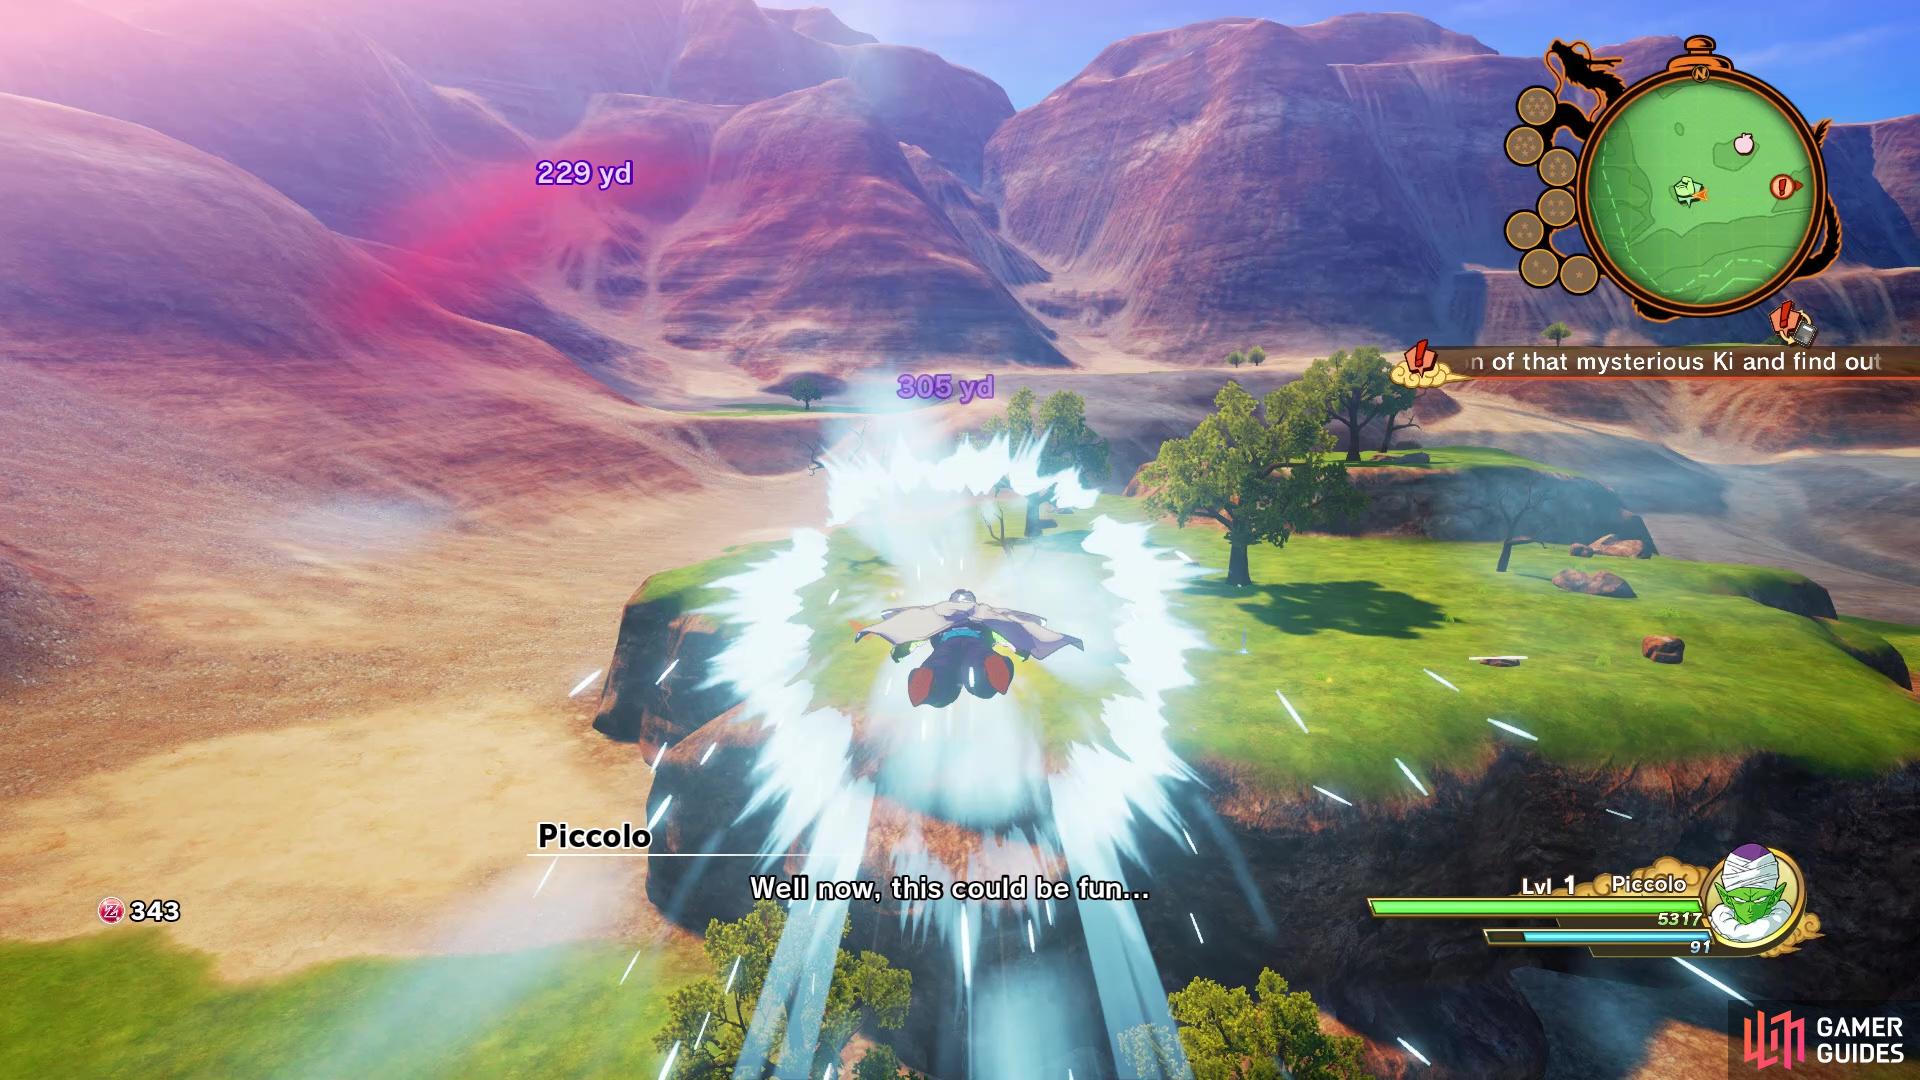
The distance and marker indicate a random encounter
You will usually get two or more enemies in random encounters
Moving on, while flying around, you may get into encounters. For right now, these are just robots and function as random encounters in the open world areas. You should be able to easily dispatch them without any troubles, but you can usually tell one is nearby, as the game will show a distance on your screen, plus there will be a color on the edge of your screen. You could always do the whole “searching for Ki” thing to find out where they’re located, but Boost Flight will generally allow you to avoid them.
There’s not really much to do right now, other than explore, collect ingredients/D Medals/Z Orbs and maybe visit one of the two towns on the map. Each town will generally have four NPC merchants: a Guide, a Grocer, a Trader, and a Cook. The latter three should be self-explanatory, but the Guide might not. The service the Guide offers is paying Zeni to unlock the various spots on your map, such as fishing. Unfortunately, these bits of information from the Guide are expensive, but they might not be needed, as if you find all of the spots offered by their services, you won’t need to purchase them.
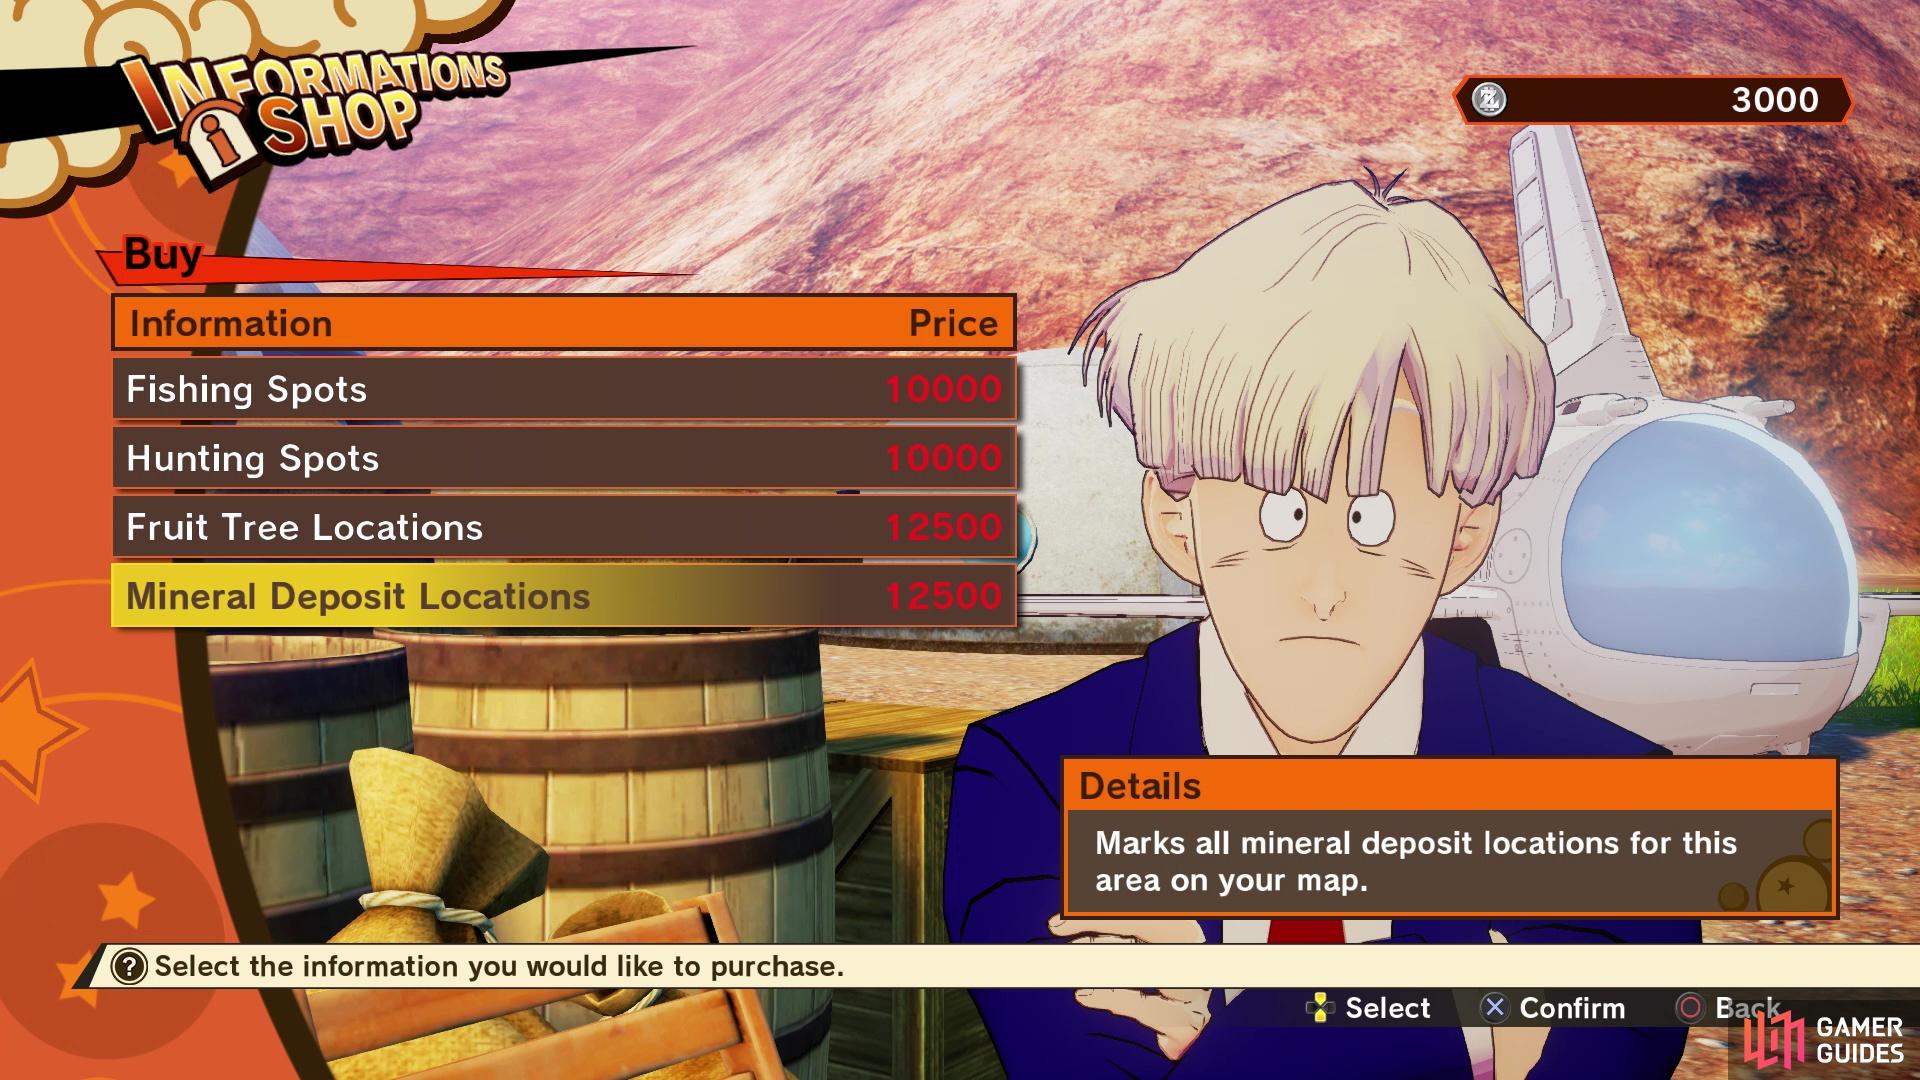
You can use the Guide to purchase information on the area
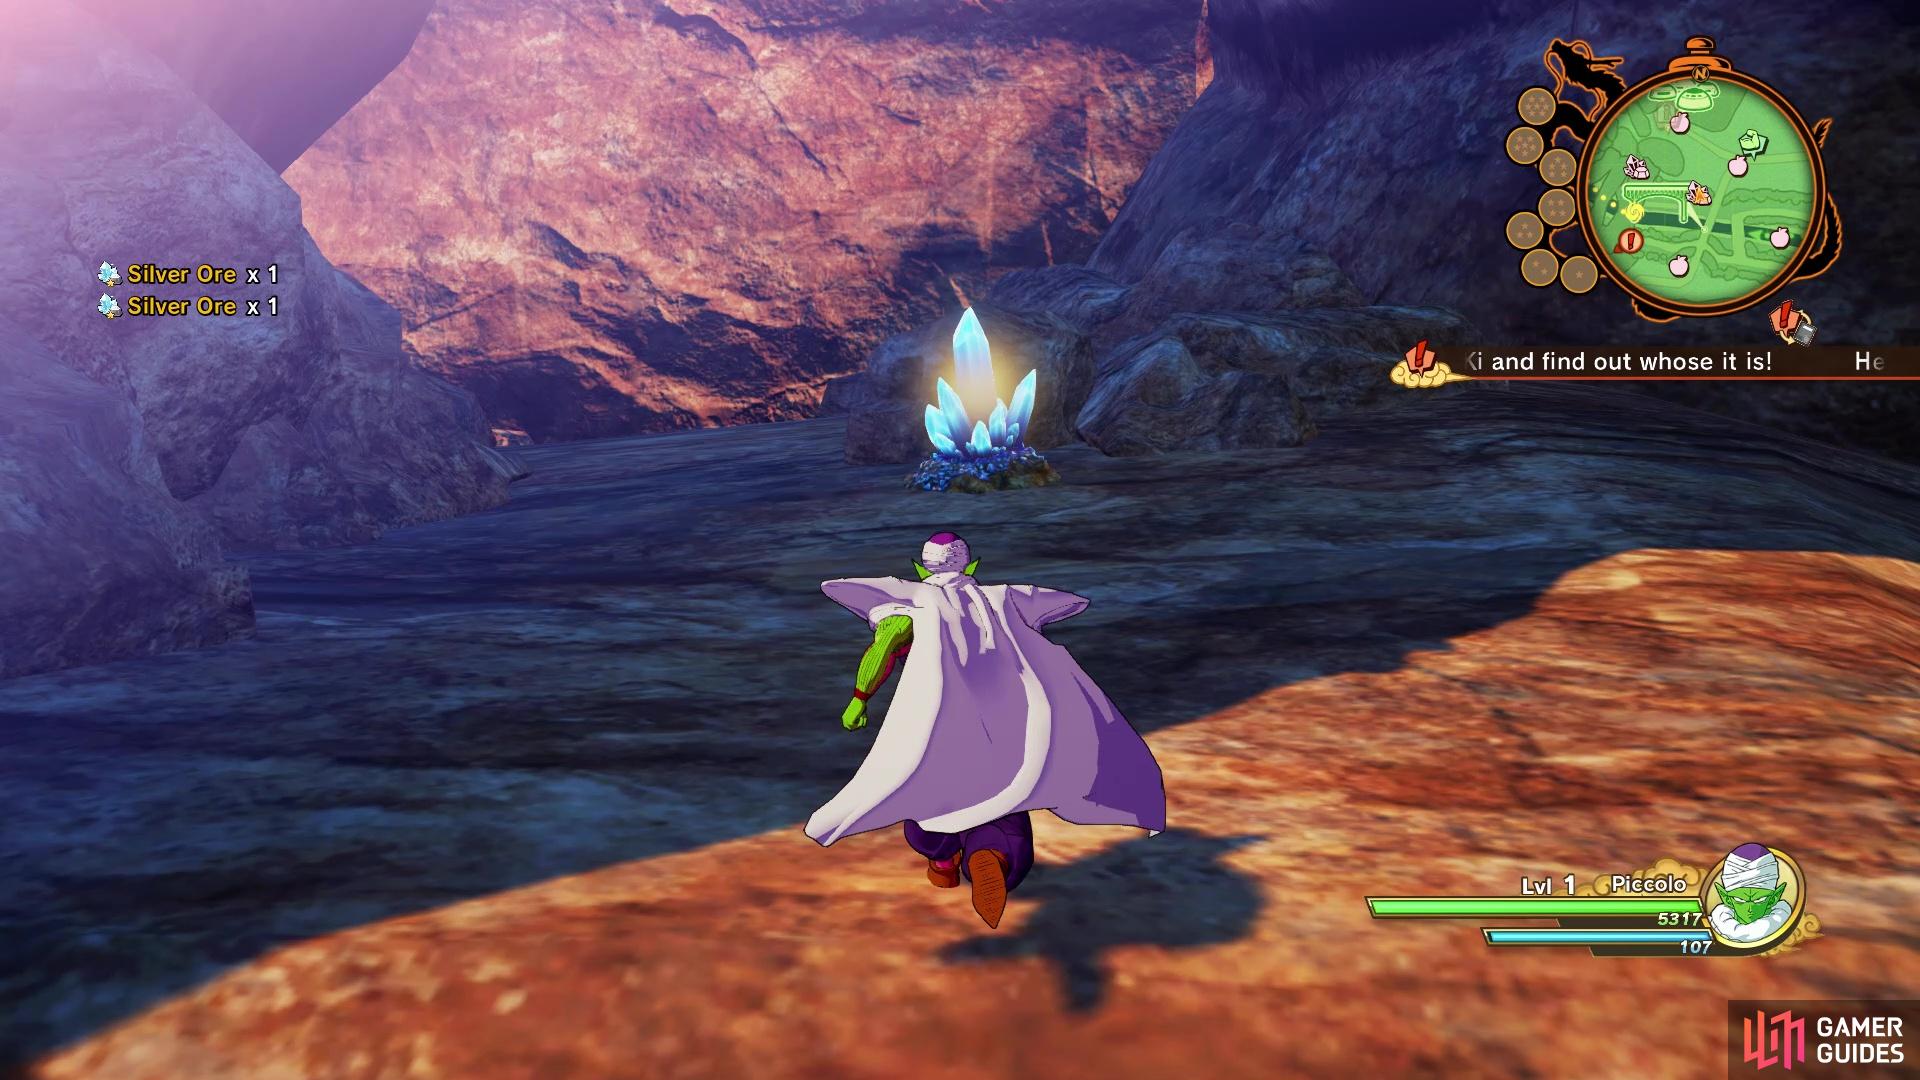
like the locations of mineral nodes
One particular point of interest is Katchin doors. If you use your Search for Ki ability, you might find some purple-colored doors in the side of mountains. Approaching them will show a level at the top of the screen, which is the level your character needs to be at before they can break them. Once you do reach the required level, approach the door and press the button that appears to bust it open, revealing the goodies you can grab.
Battle Against Raditz
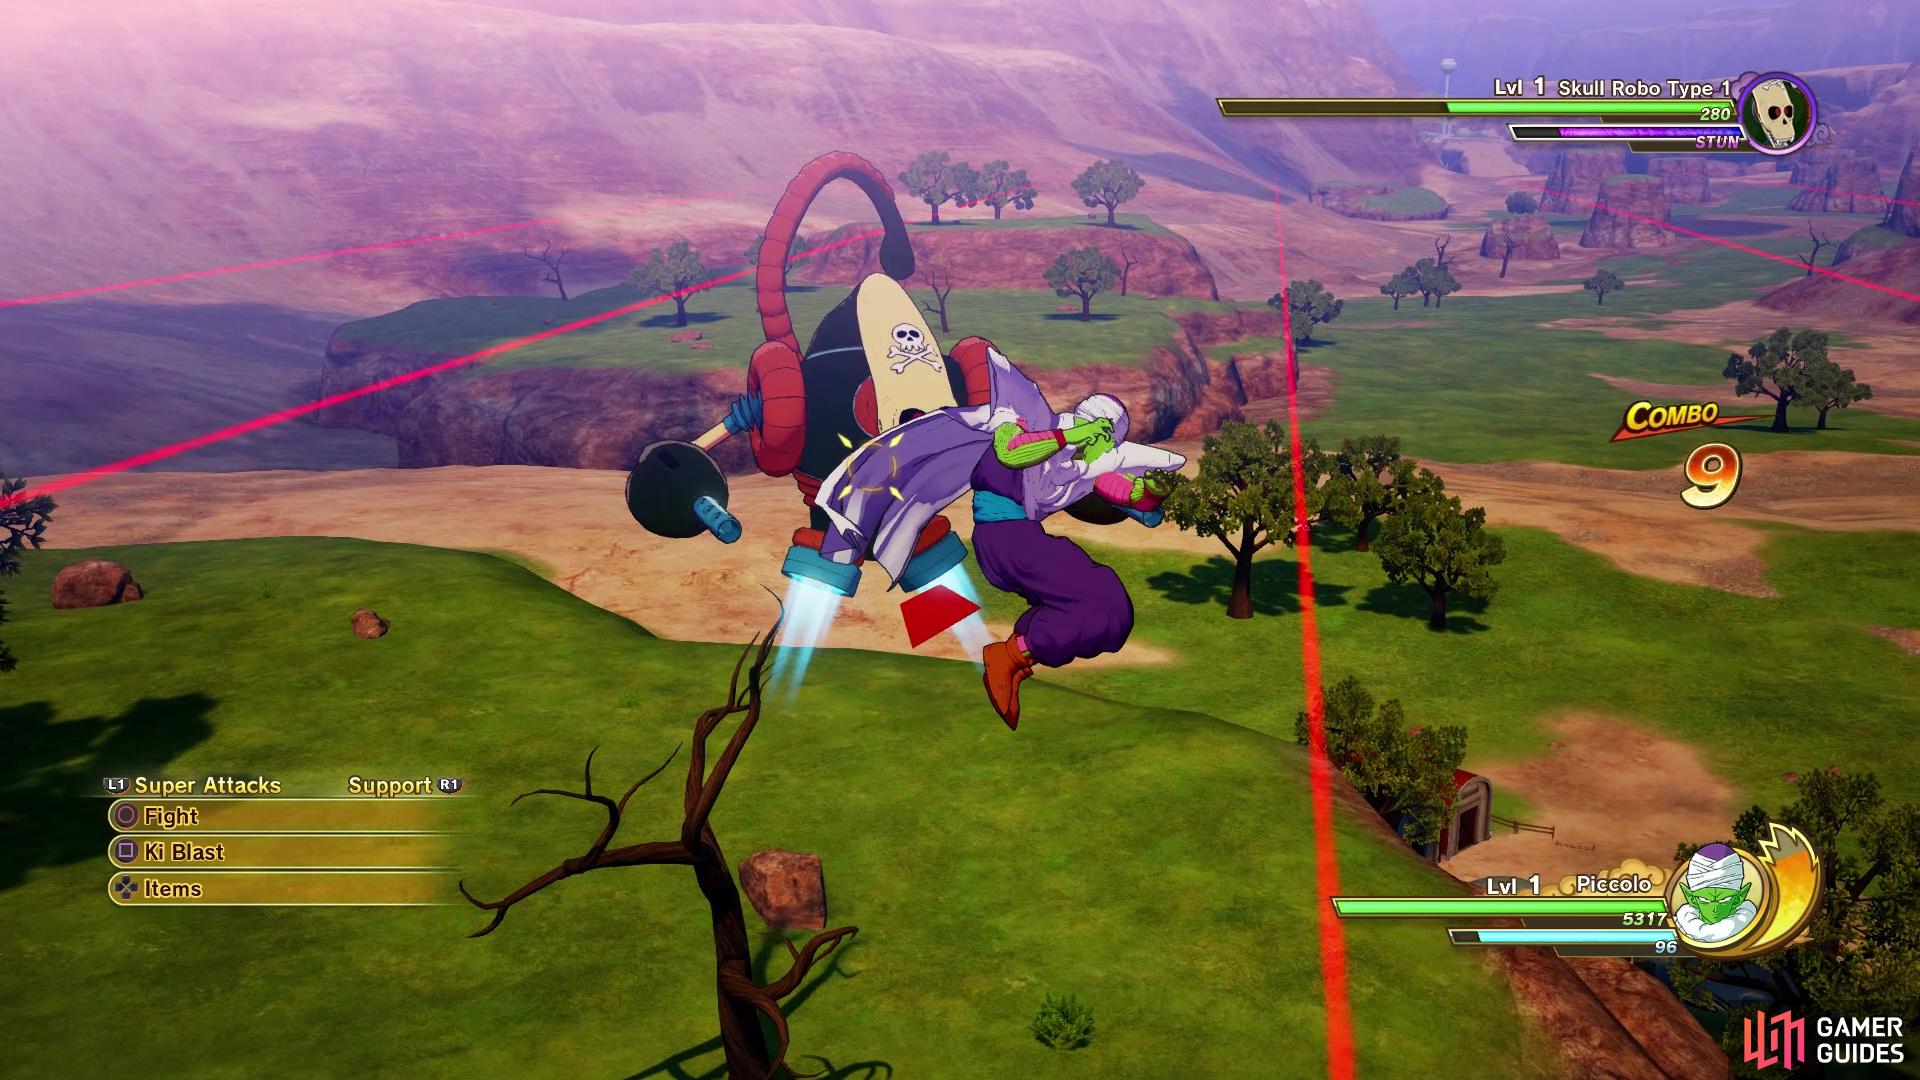
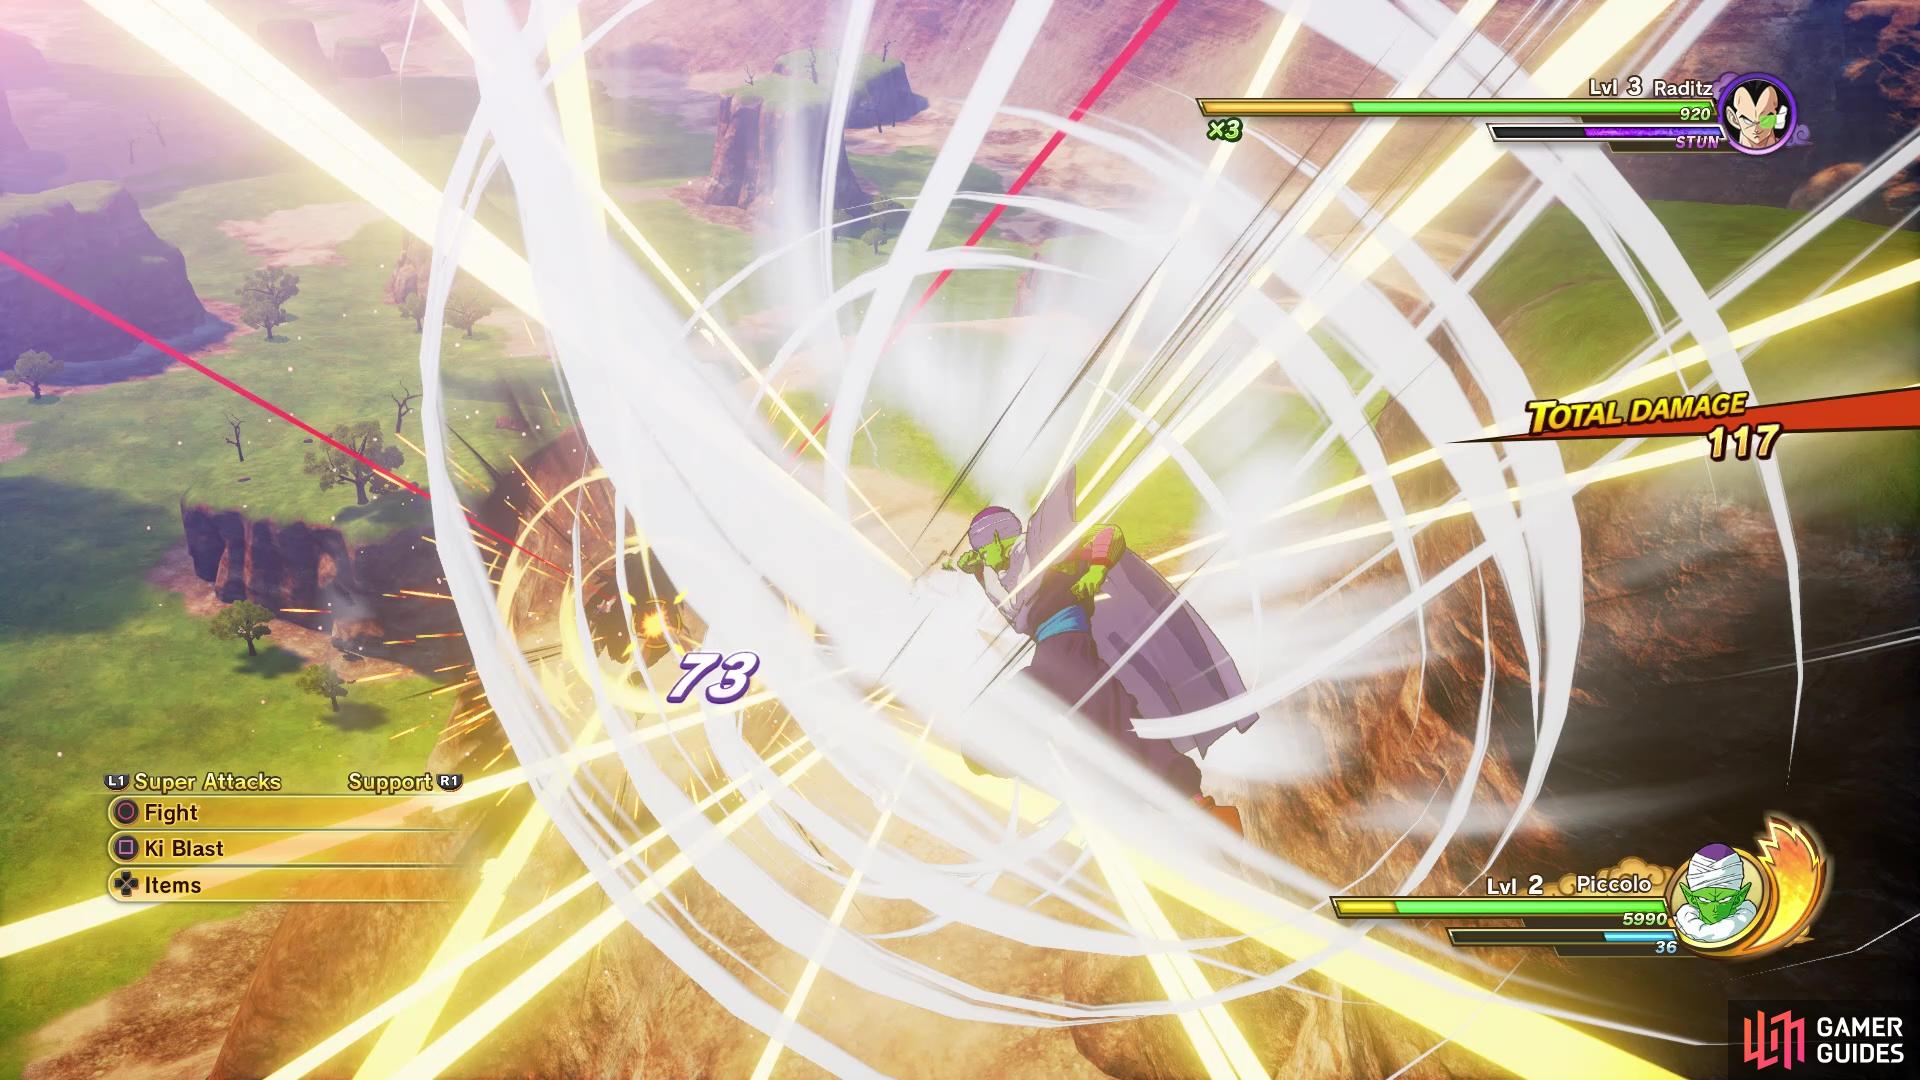
Whenever you’re ready, head to the red marker and you will meet up with Raditz, the invader you saw crash land on Earth just a little bit ago. This will lead into the first fight with Raditz, who shouldn’t prove too difficult just yet. At the beginning of the battle, fight him normally and wait for opportunities to unleash melee combos. You will probably learn about two more mechanics during this fight, though, called Burst and Vanish Attack. For the former, if an enemy has you locked in a combo of their own, hold down L2/LT and press the [Square/X Button] to send your opponent flying back. The Burst technique can cancel your opponent’s action, making it great for getting away.
The other technique, called Vanish Attack, is done in a similar manner. While guarding, press the [X/A Button] to appear behind your opponent and unleash a quick attack. This opens up the possibility to follow up with your own combo, although a lot of the tougher battles might break those combos. As for Raditz and already mentioned, you’re not going to see a lot from him in this initial battle. He’ll have a melee combo of his own to hit you with, but you can guard it or use the Burst technique outlined above to avoid taking the full damage or have your guard broken. The only special move he will do in this battle is called Cyclone Monday, which is a horizontal sweeping attack with his legs.
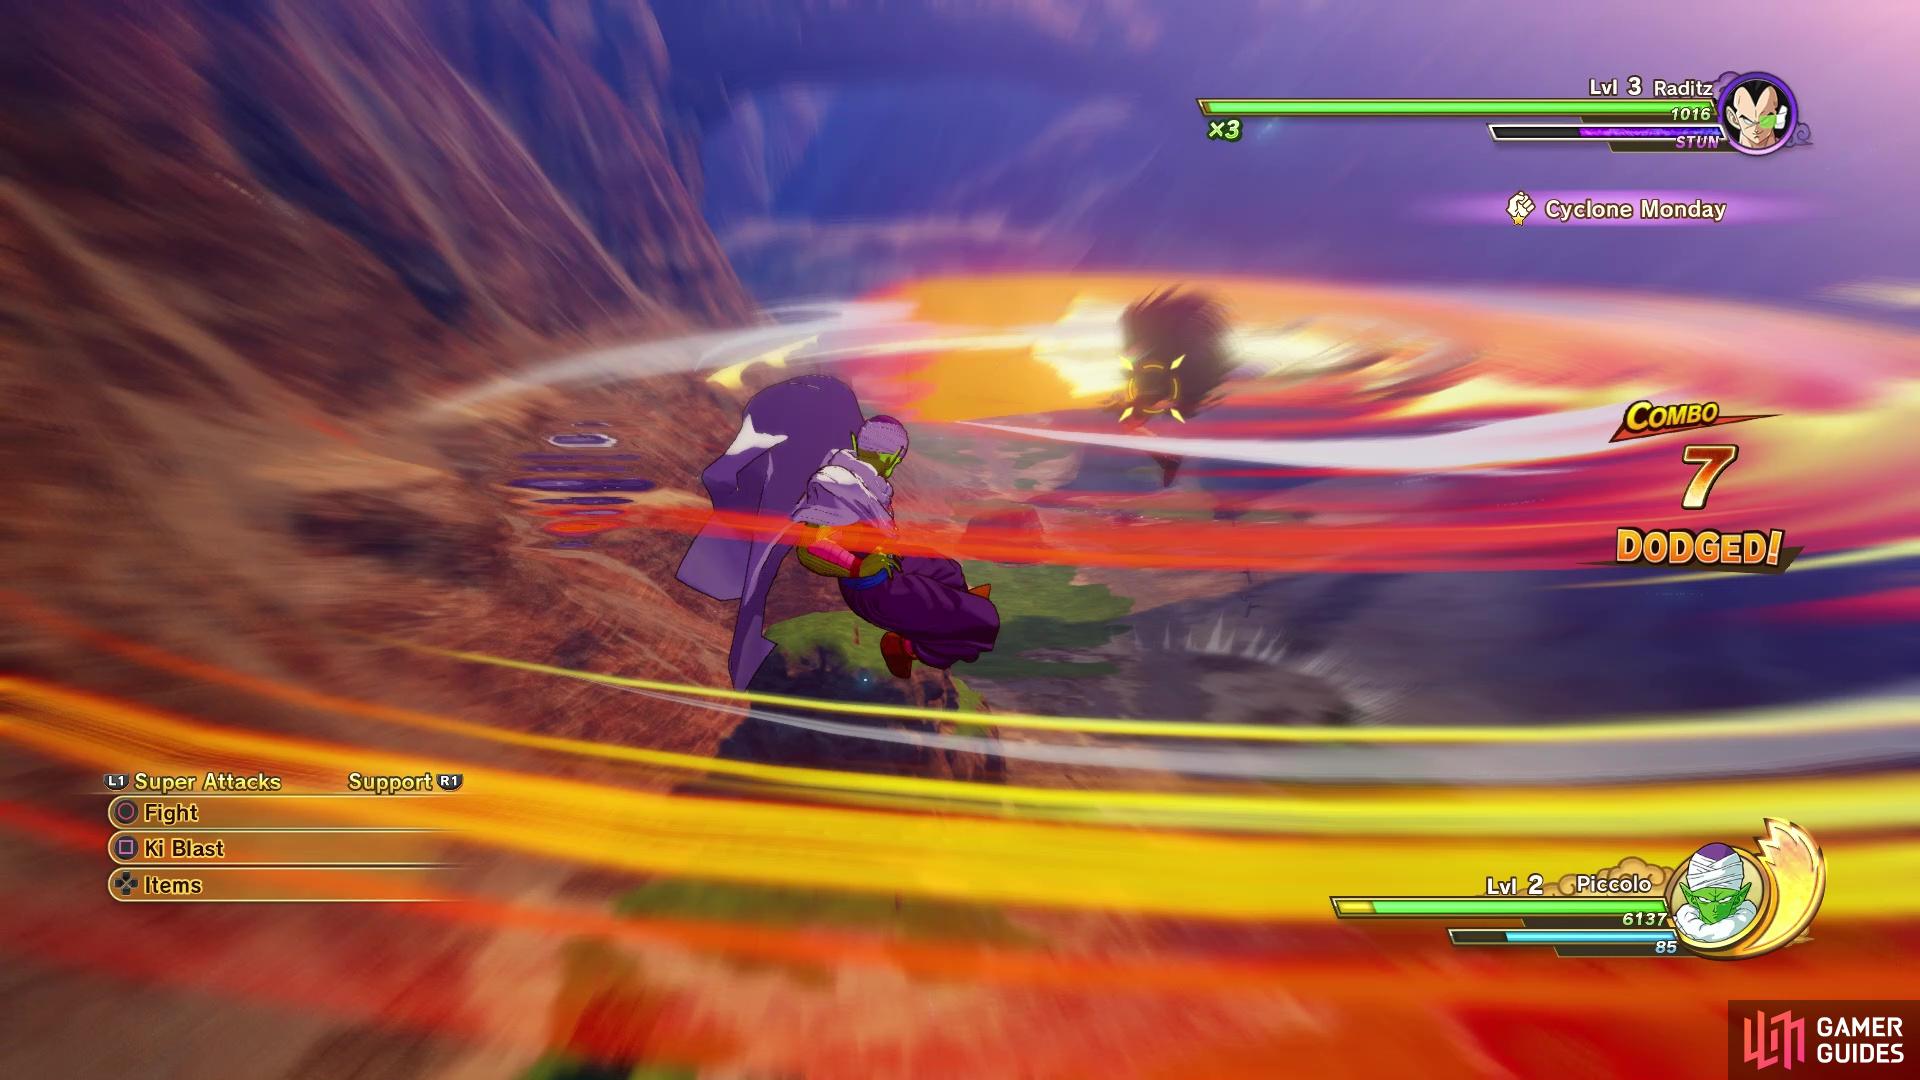
Cyclone Monday is very quick, so it’s extremely hard to dodge
Vanish Attacks create openings, but use up a lot of Ki
It’s a fairly large range and extends from his body, plus Raditz initiates the Super Attack really quickly, meaning it can be extremely difficult to dodge. Your best bet for dealing with Cyclone Monday is to just block it, if you know it’s coming. He will use it quite often, so stay on your toes at all times to avoid getting smacked with it. While the objective of this battle is to defeat Raditz, the fight will end prematurely once you bring his health down to around half or so. He will fly off after getting another power reading, leading into a second fight, this time with you controlling Goku.
There isn’t really any difference between this second battle and the first, except that Raditz can now shoot some Ki blasts at you. You still need to watch out for Cyclone Monday, though, as it’s still the same. Once again, the battle will end once you reach a certain threshold for Raditz’ health, so don’t be alarmed when the first ends prematurely.
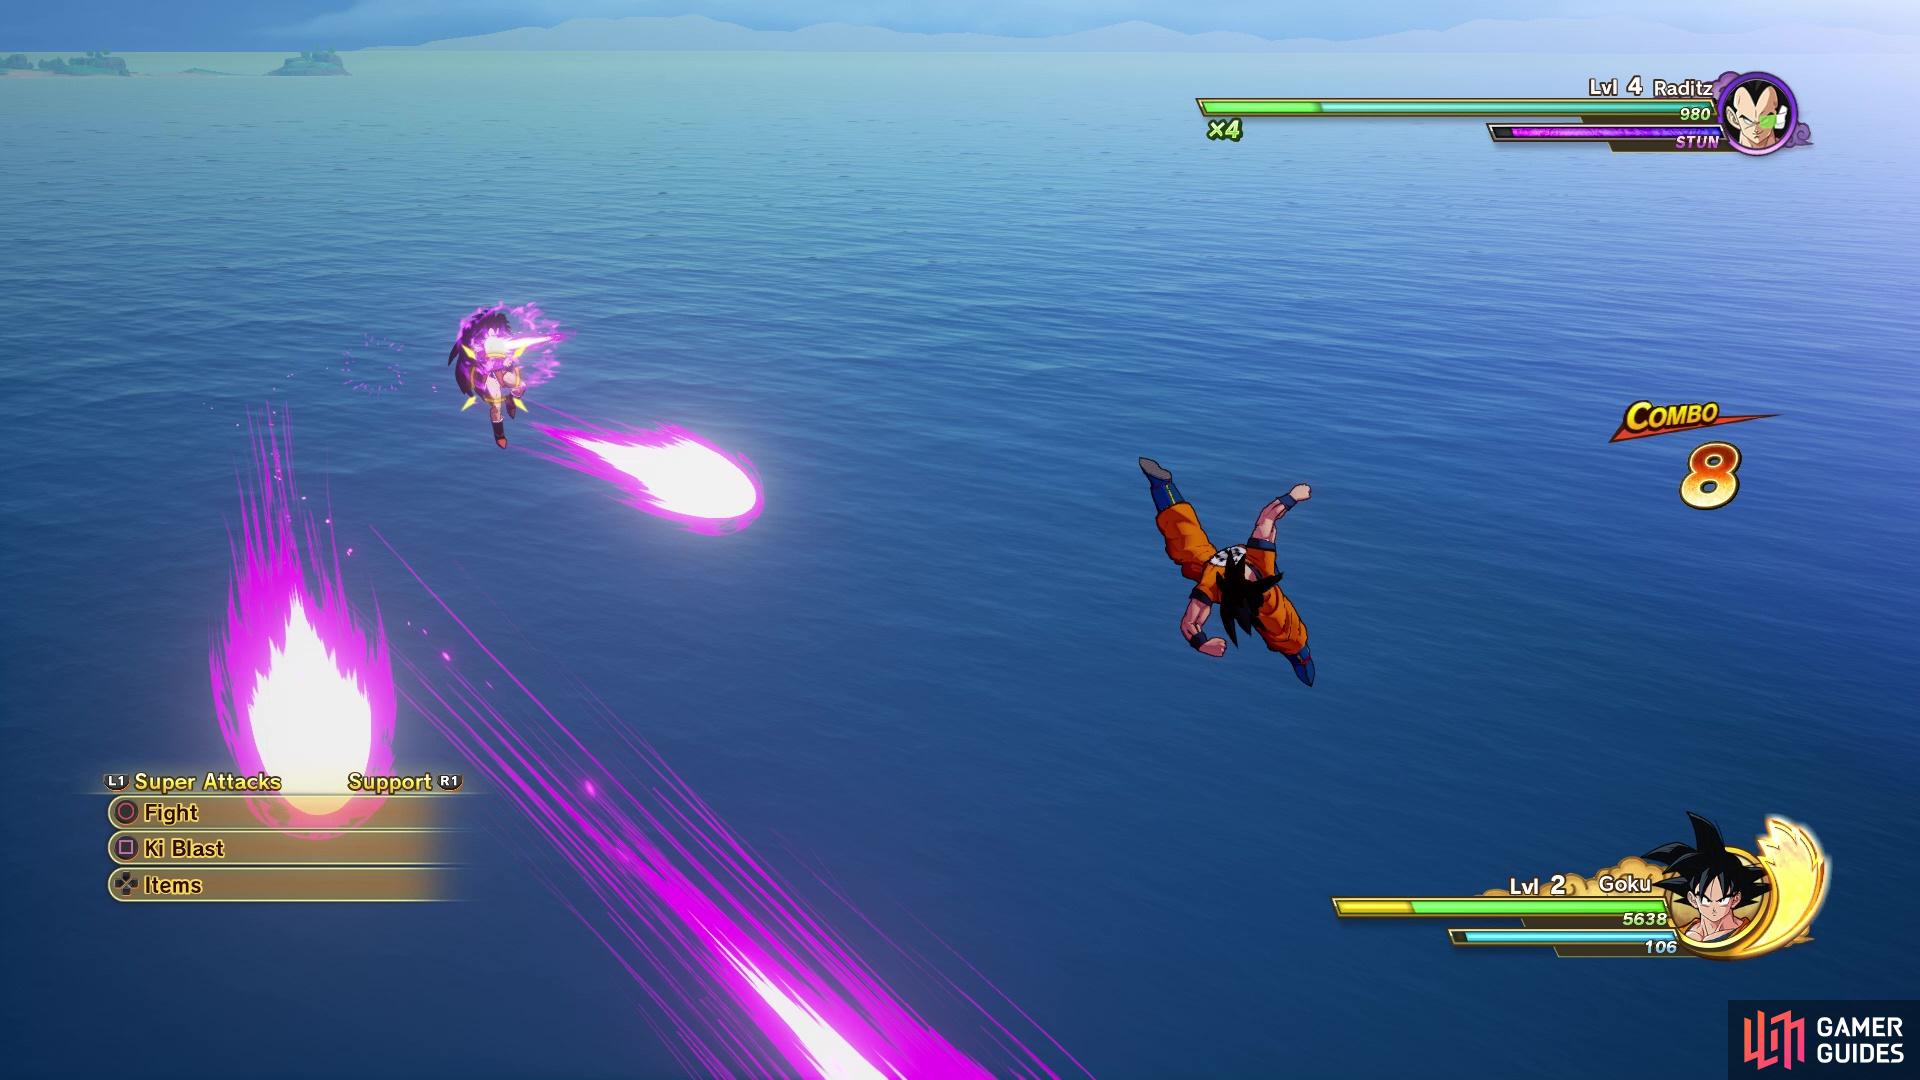
Raditz can shoot Ki blasts at you when you fight him with Goku
Piccolo overheard everything with Raditz and offers to team up to help take him down. Before flying off to confront him, though, Bulma will give you a free item, a Vitadrink. This is a healing item and to use it in battles, hold down the directional pad and press the corresponding button. Before you do that, though, you have to equip item. Go to Items on the main menu, put the cursor over the item you want to equip and press [Square/X]. You can only equip four items at a time for battle use, so make sure you have the right ones equipped. It’s time to move onto the next mission.
No Comments