
| Objective | Reward |
|---|---|
| Defeated the revived Frieza | 283,219 EXP, D Medal (x2), Card 027 (x1), Frieza’s Soul Emblem |
You need to be playing as Goku to begin this substory, which becomes available after completing the main story, as well as the Porunga Part 2 substory. You will find this substory in the West Area. You’ll be up against Frieza in this substory, but it’s not the one and done battle here. Instead, you will be fighting both the second form of Frieza, as well as his final form, so you will be doing two different battles. The second form of Frieza isn’t too bad, as he doesn’t have a large variety of moves. Death Blaster is a large Ki attack that comes out pretty quick, while Death Storm has Frieza send out three orbs that explode after a few seconds. Lastly, Death Surge will have Frieza charging at you, which can be a little hard to dodge, so try and block it if you can’t avoid it.
The first Frieza fight is fairly simple and doesn’t have much to offer
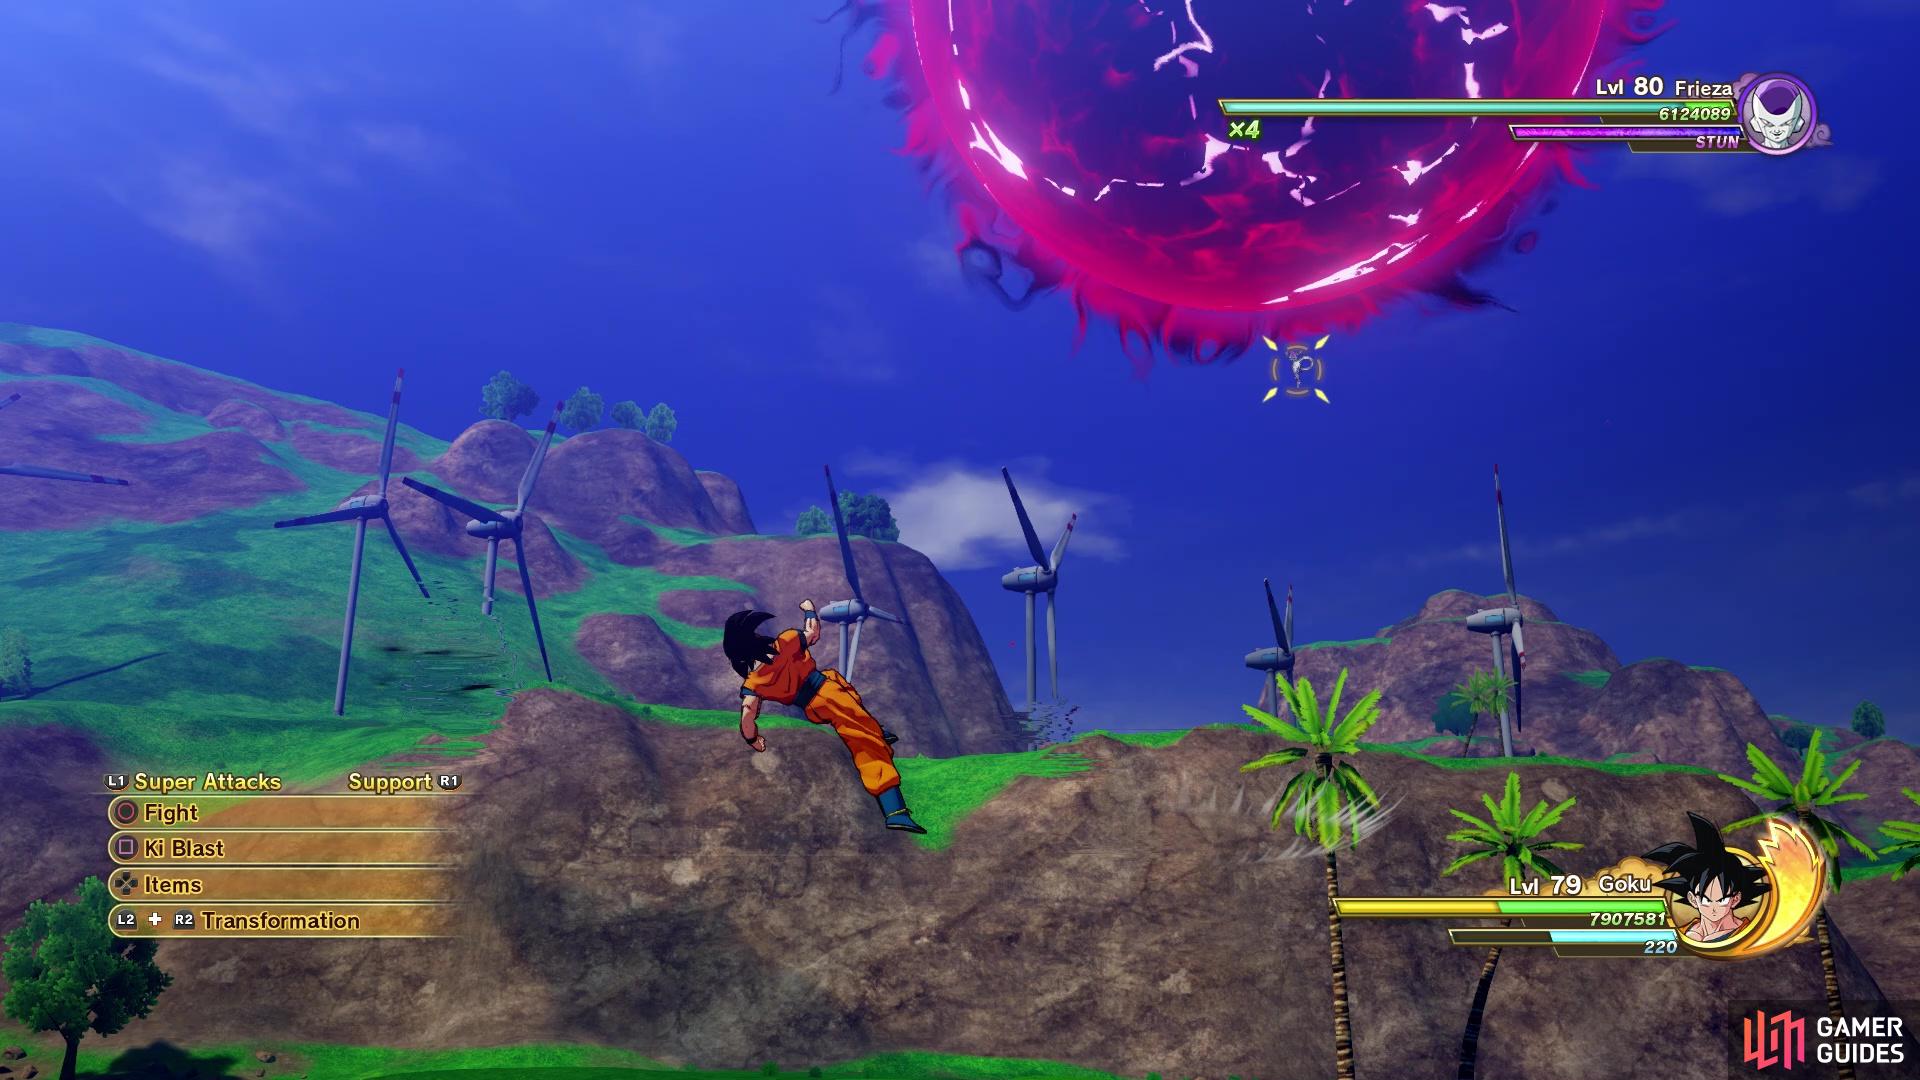
The second Frieza fight is more dangerous, due to attacks such as the Death Ball
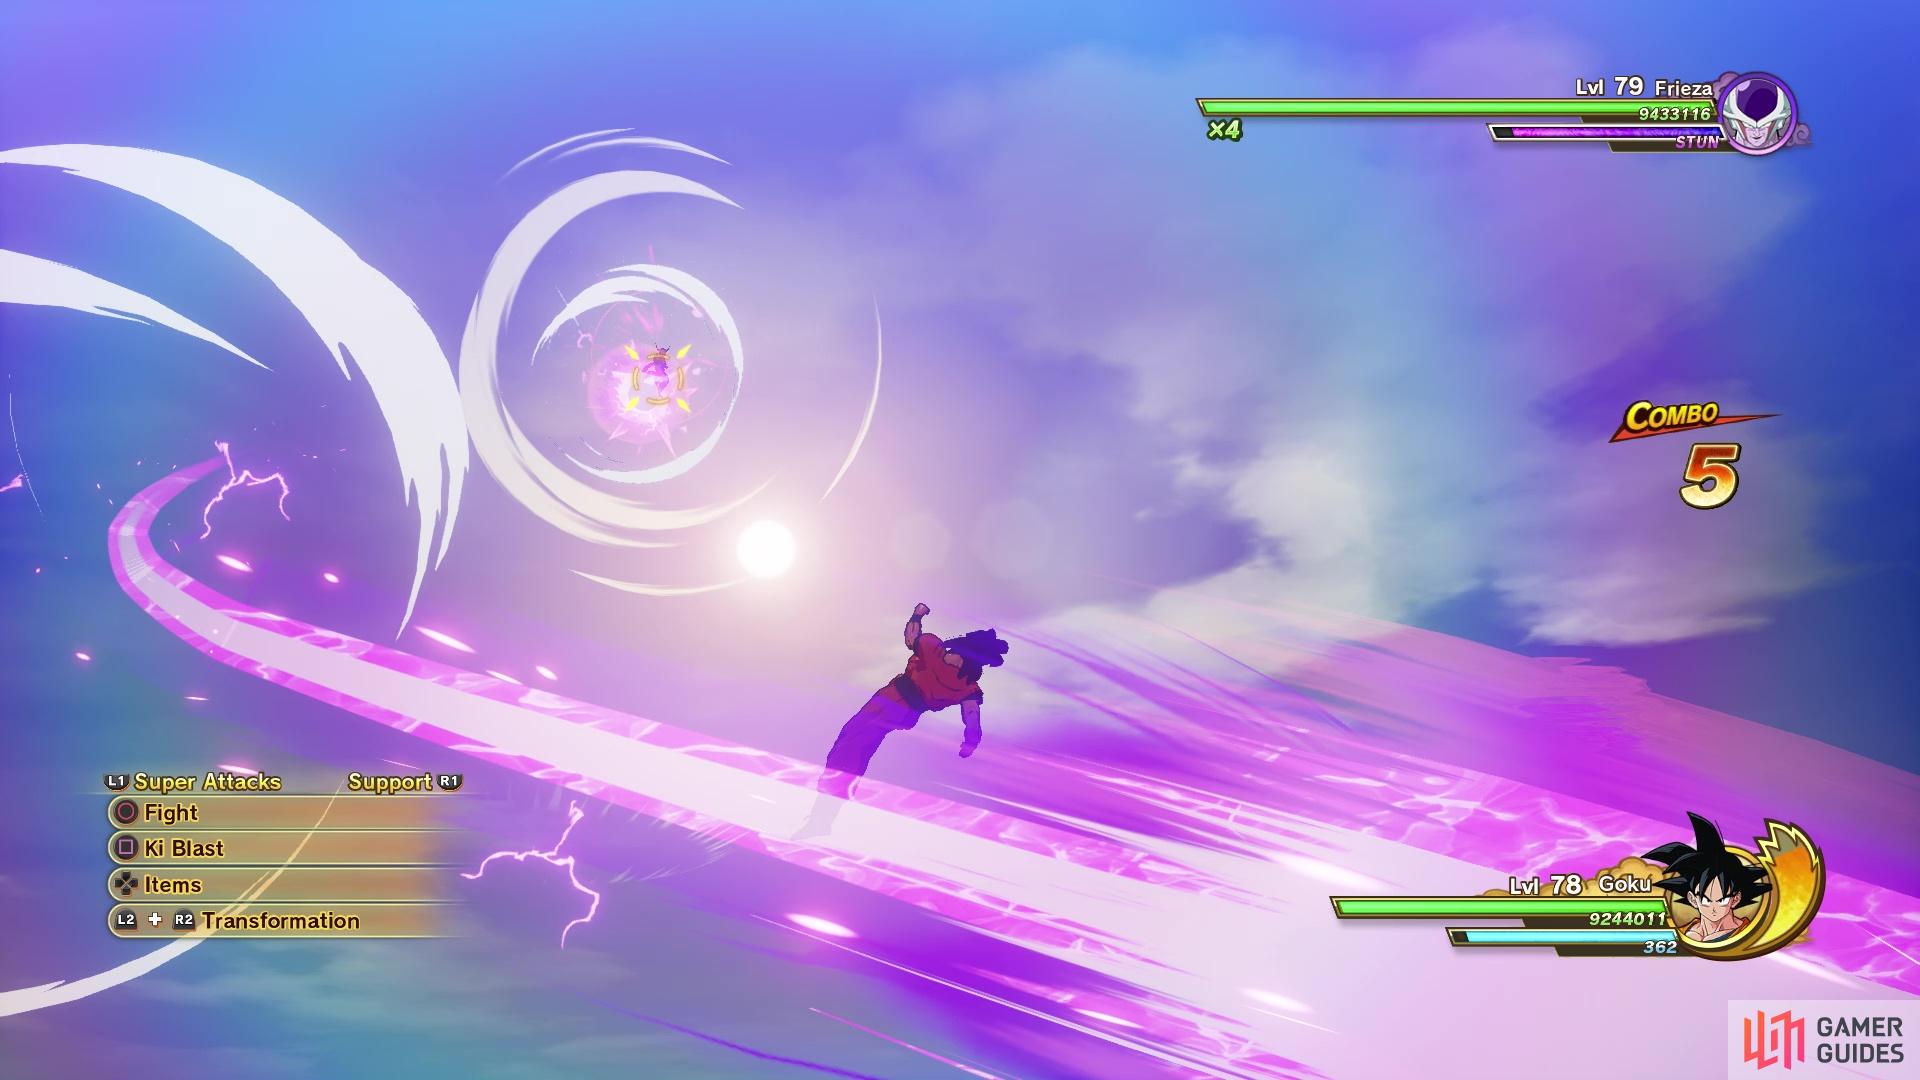
Once you defeat his second form, Frieza will end up transforming into his final one, starting the second battle. Here, Frieza will have more attacks at his disposal, like Death Beam. This attack is a bunch of lasers that are fanned out, but Frieza will shoot them one after another in quick succession. Death Slicer is a disc-shaped projectile, and Death Pummel looks like another charging move, but he’ll stop short and do a whip of his tail. By far, the hardest move to avoid for this form of Frieza is Death Ball. It is a giant ball of energy that Frieza will toss towards you, but then explode. Despite the explosion, there is only a brief moment when it will actually hit you.
Lastly, Death Blaster is similar to the Consecutive Energy Blast that a lot of the characters have, with Frieza sending out a bunch of random enemy shots. Overall, the second fight with Frieza is definitely more challenging, due to the plethora of moves in his arsenal and some of them can be a little dangerous. Take your time with this second Frieza fight and carefully watch those more dangerous attacks.
No Comments