
It’s finally the day of the tournament and that’s where you will need to go. However, there is a new substory available, but it’s in the same region as the tournament, so let’s travel to the Far Southern Islands Area. Before heading for the substory, across the street from the tournament arena is a little girl that will give you the Super Deluxe Seafood Course Recipe. You want to be careful not to get too close to the main mission marker, as the substory is pretty close to it.
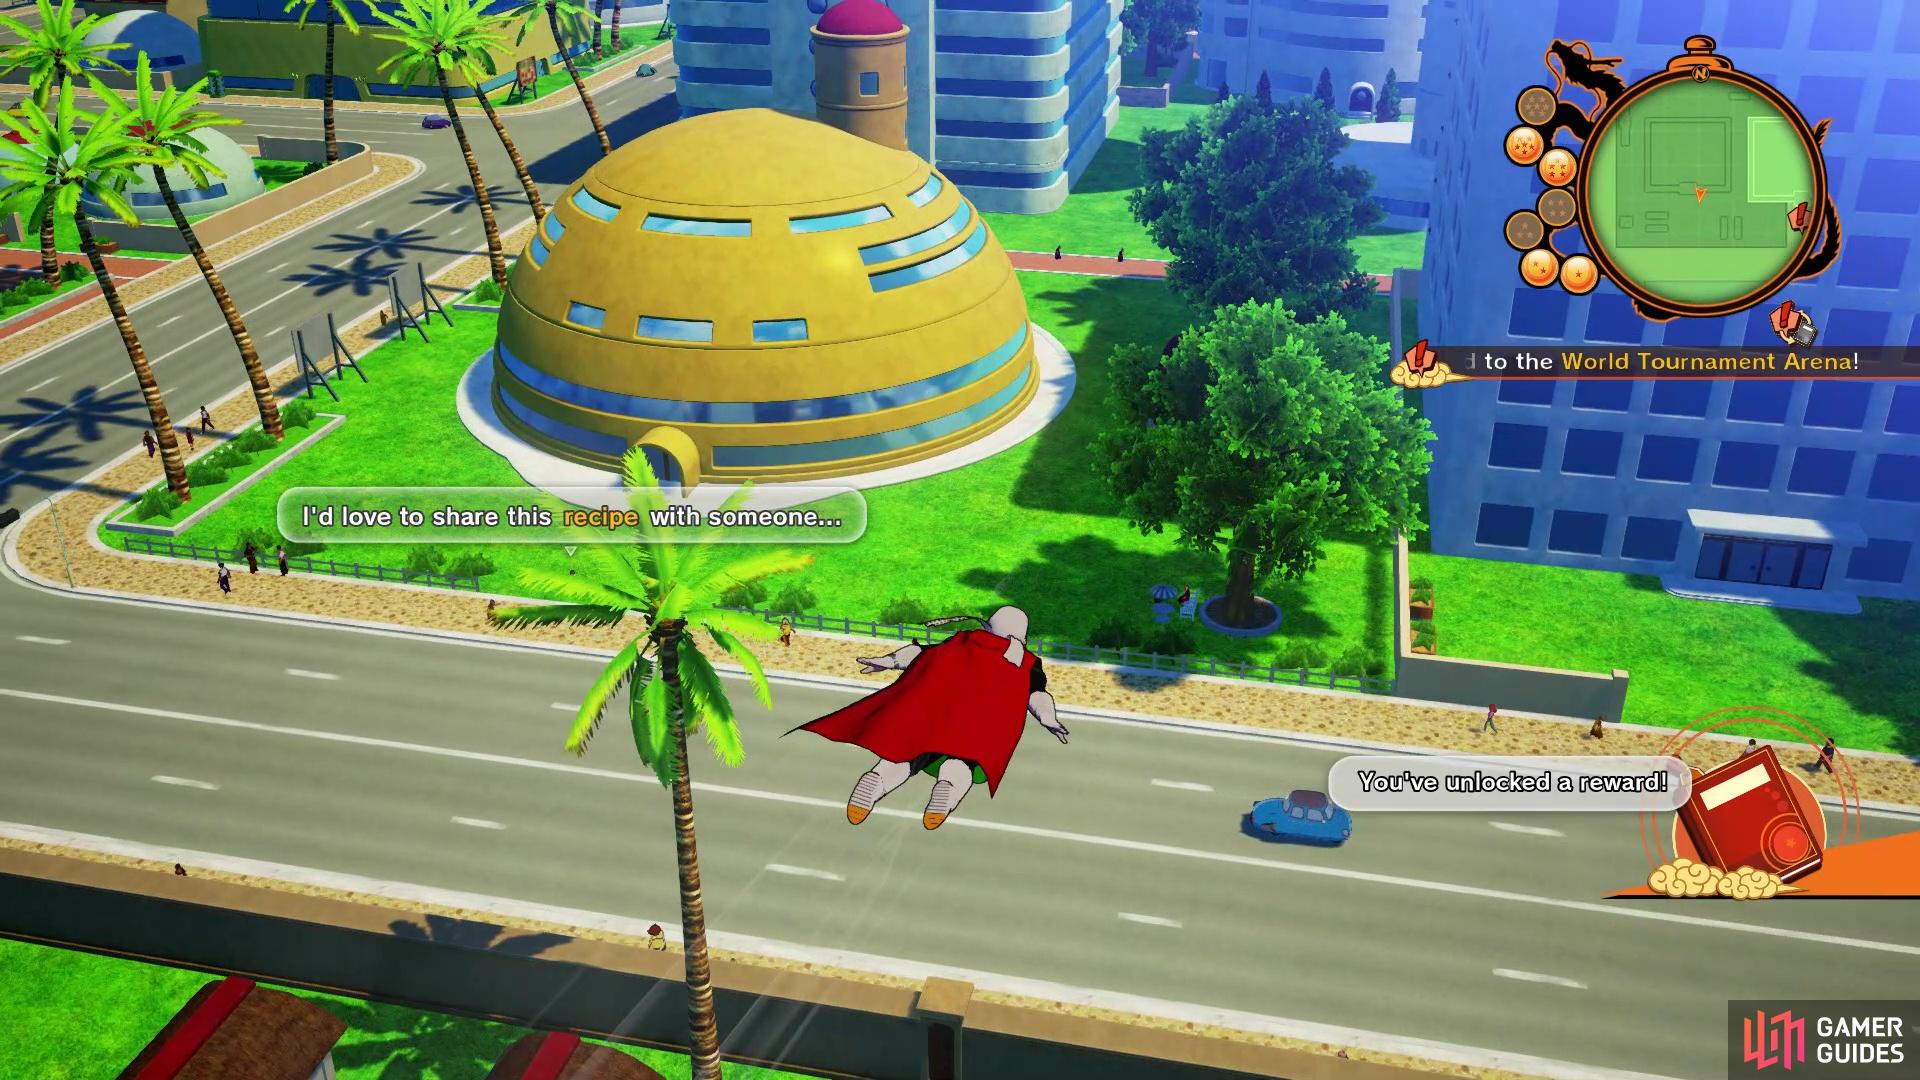
If you look when you arrive in the tournament area
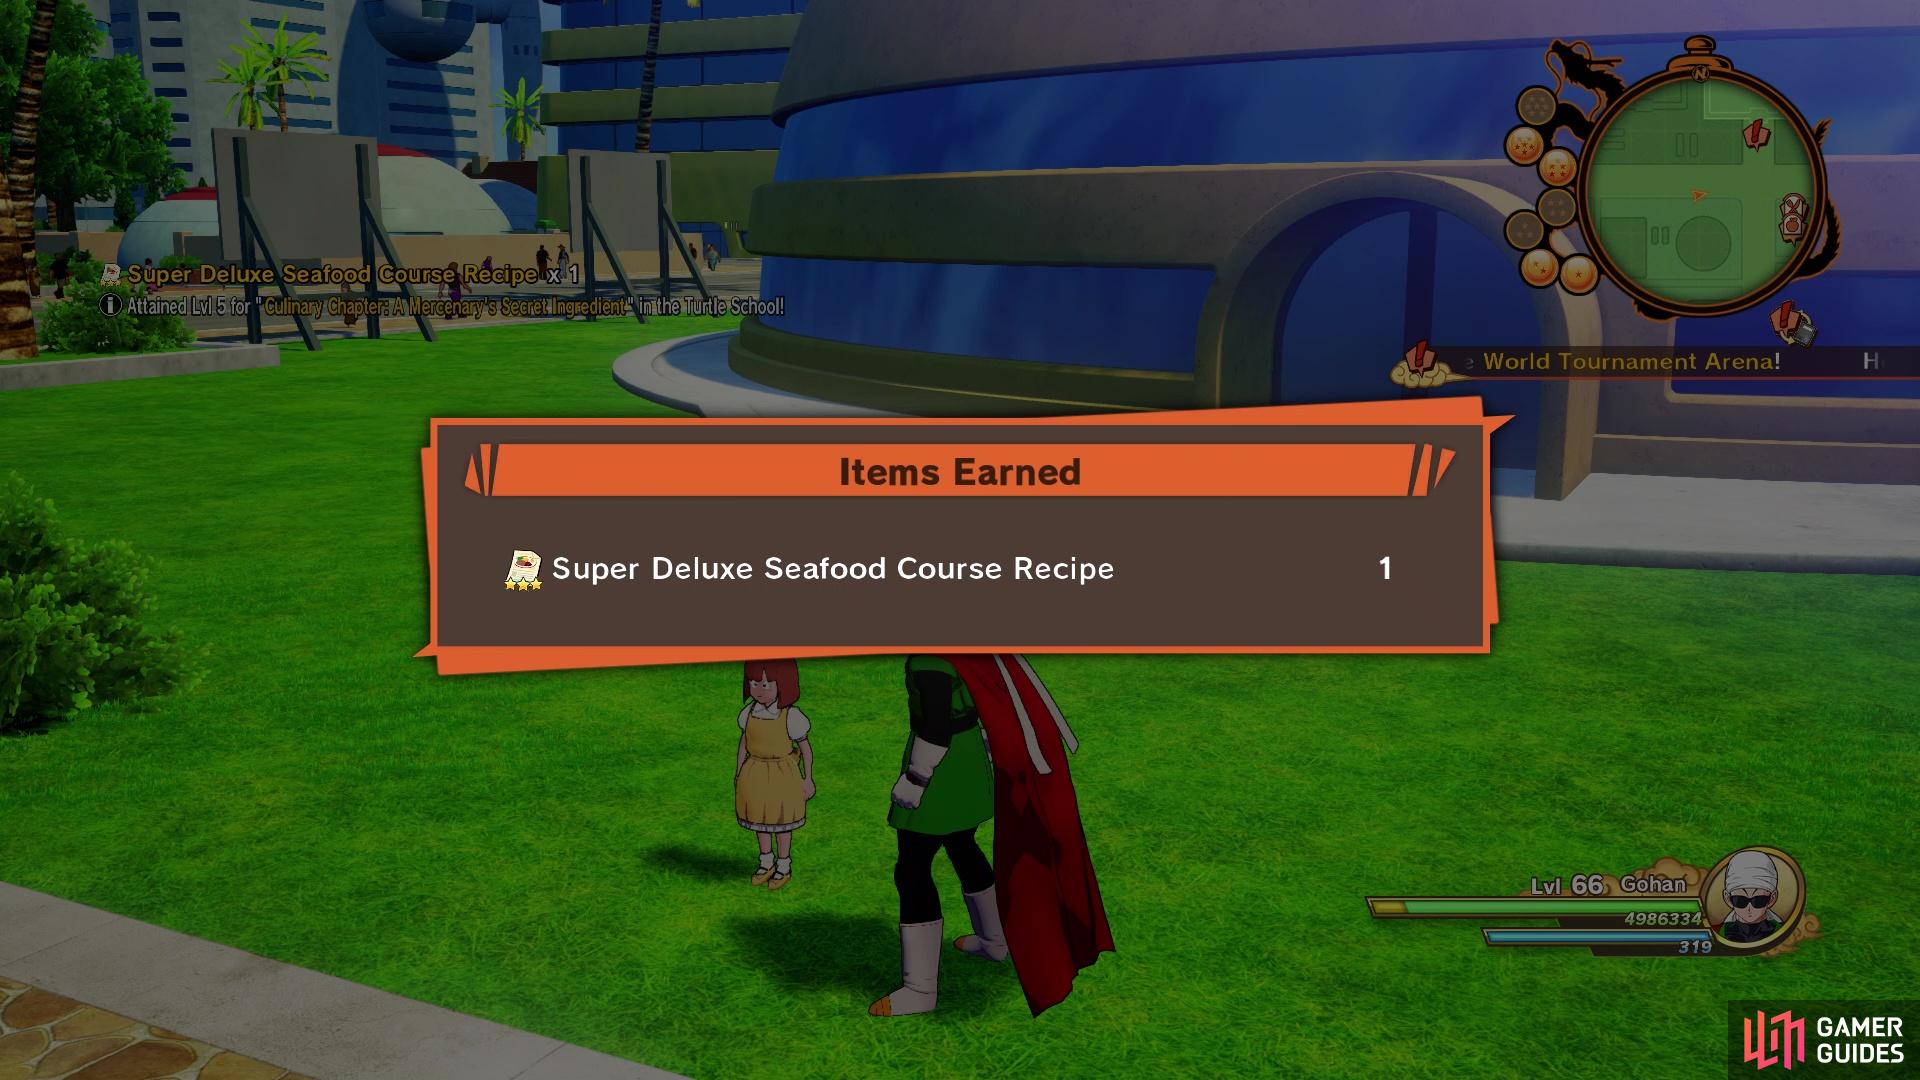
you can grab a new full-course recipe
The Good Ol’ Days
The announcer from the World Tournament has an urgent request for you, which is to see how strong you are, since the previous tournaments have been a little overwhelming from Goku’s last participations. While talking with the announcer, someone comes by and mentions a robot is going berserk. Head a little west from the announced to find the robot, which will be just a single Skull Robo. Take it out like you normally do, then you’ll automatically return to the announcer to finish up this substory.
| Objective | Reward |
|---|---|
| Fulfilled the announcer’s request | 216,397 EXP, D Medal (x3), Celebrity Fan Photo (x1), World Tournament Announcer’s Soul Emblem |
When you’re ready to continue the story, head to the marker and there will be a few scenes, before you’re put in control of Goten. Go over to where Trunks is located and keep following him, speaking to him when necessary. Eventually, you will return to Bulma and Chi-Chi, where you will be able to witness the beginning of the tournament, so go ahead and do that. There will be a number of cutscenes here, introducing the Supreme Kai, seeing Videl get pummeled, and even Gohan’s power being stolen. The Supreme Kai follows the two who stole the energy, meanwhile Gohan is healed by Kibito. Eventually, you will be in a new area and in control of Gohan, but before tackling the main story, there’s a few new Substories available. The first one will be right in front of you.
Far Beyond Frieza
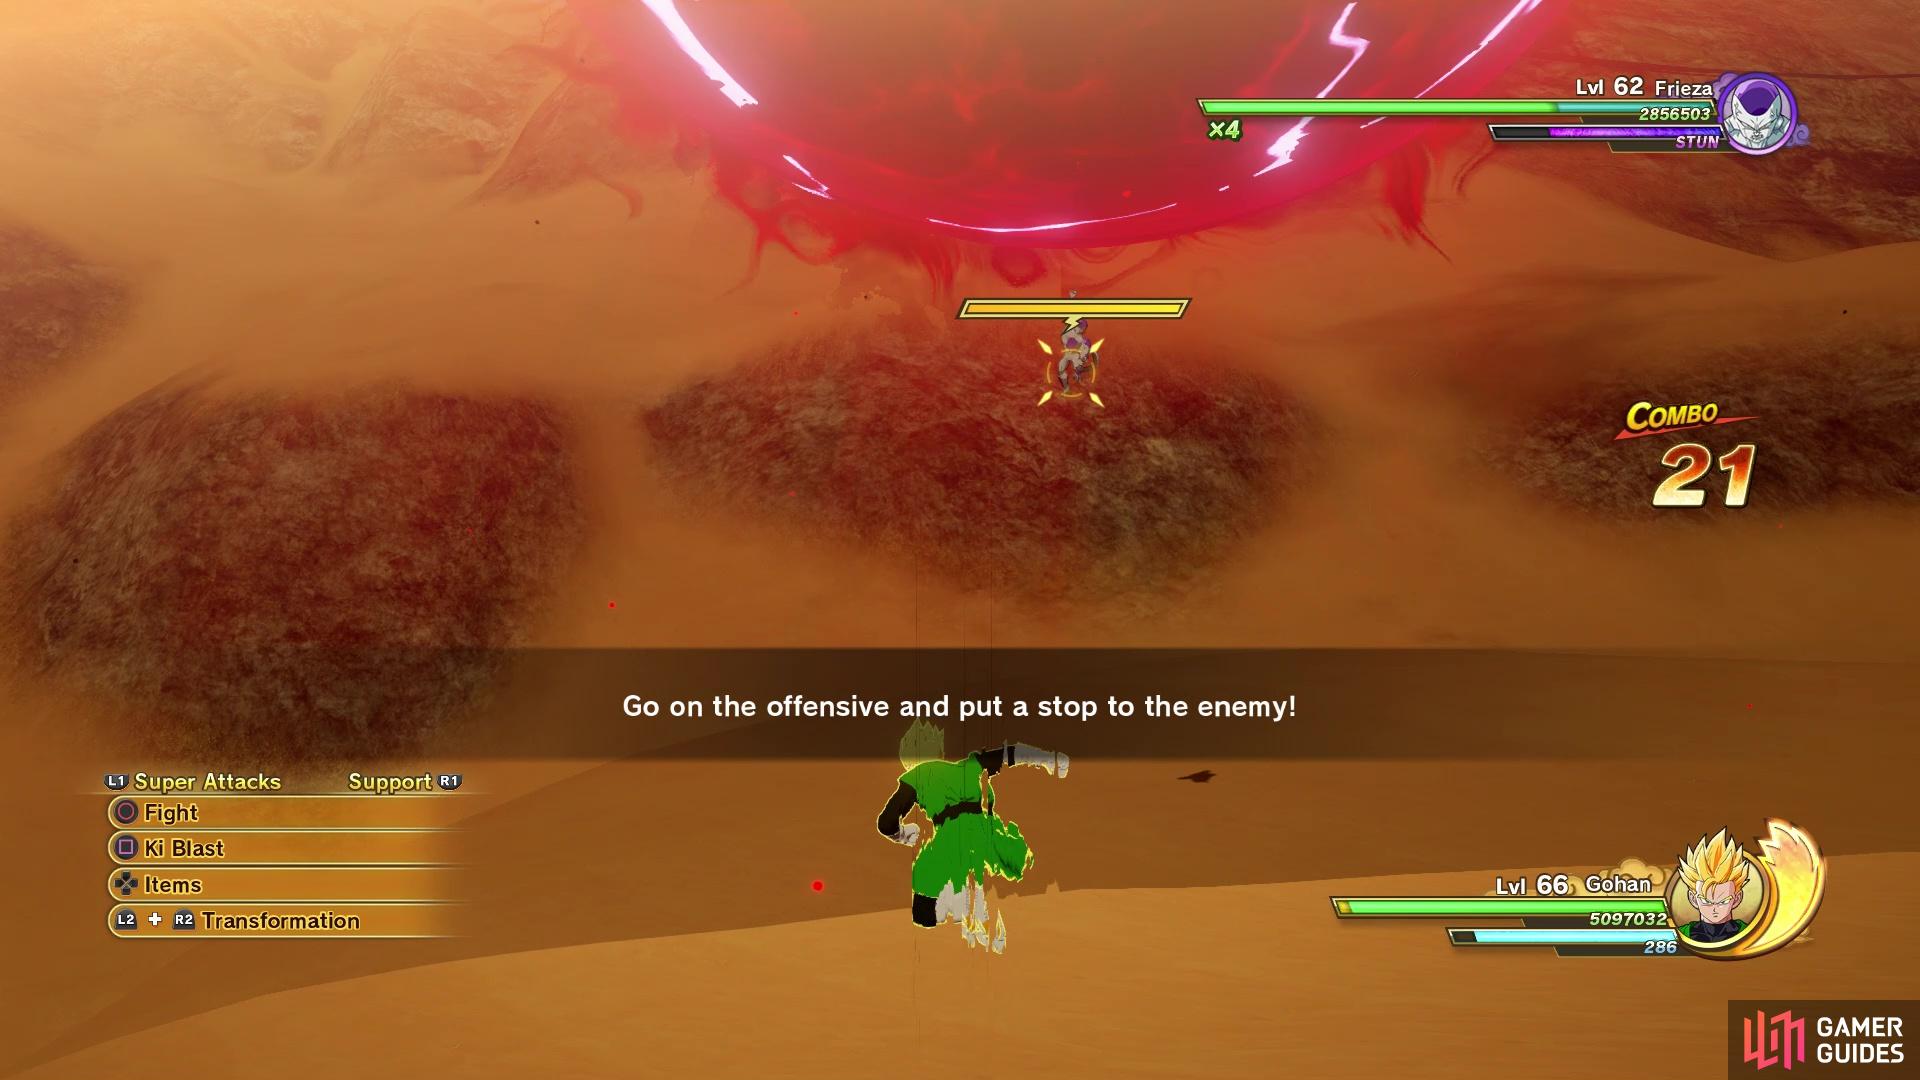
Both the Supreme Kai and Kibito are doubtful of your strength, so it’s time to show them just how powerful you are. You will be fighting Frieza here, in his very final form and in a mental simulation. He will still use Death Beam, which puts out a lot of pointers, so either dodge by going to the far left/right or stay in between the beams to avoid them. Death Pummel is a charge-in type of skill, but Frieza will perform a whirlwind kick. Death Slicer is similar to Krillin’s Destructo Disc, but Frieza will likely fire multiples of them in a row.
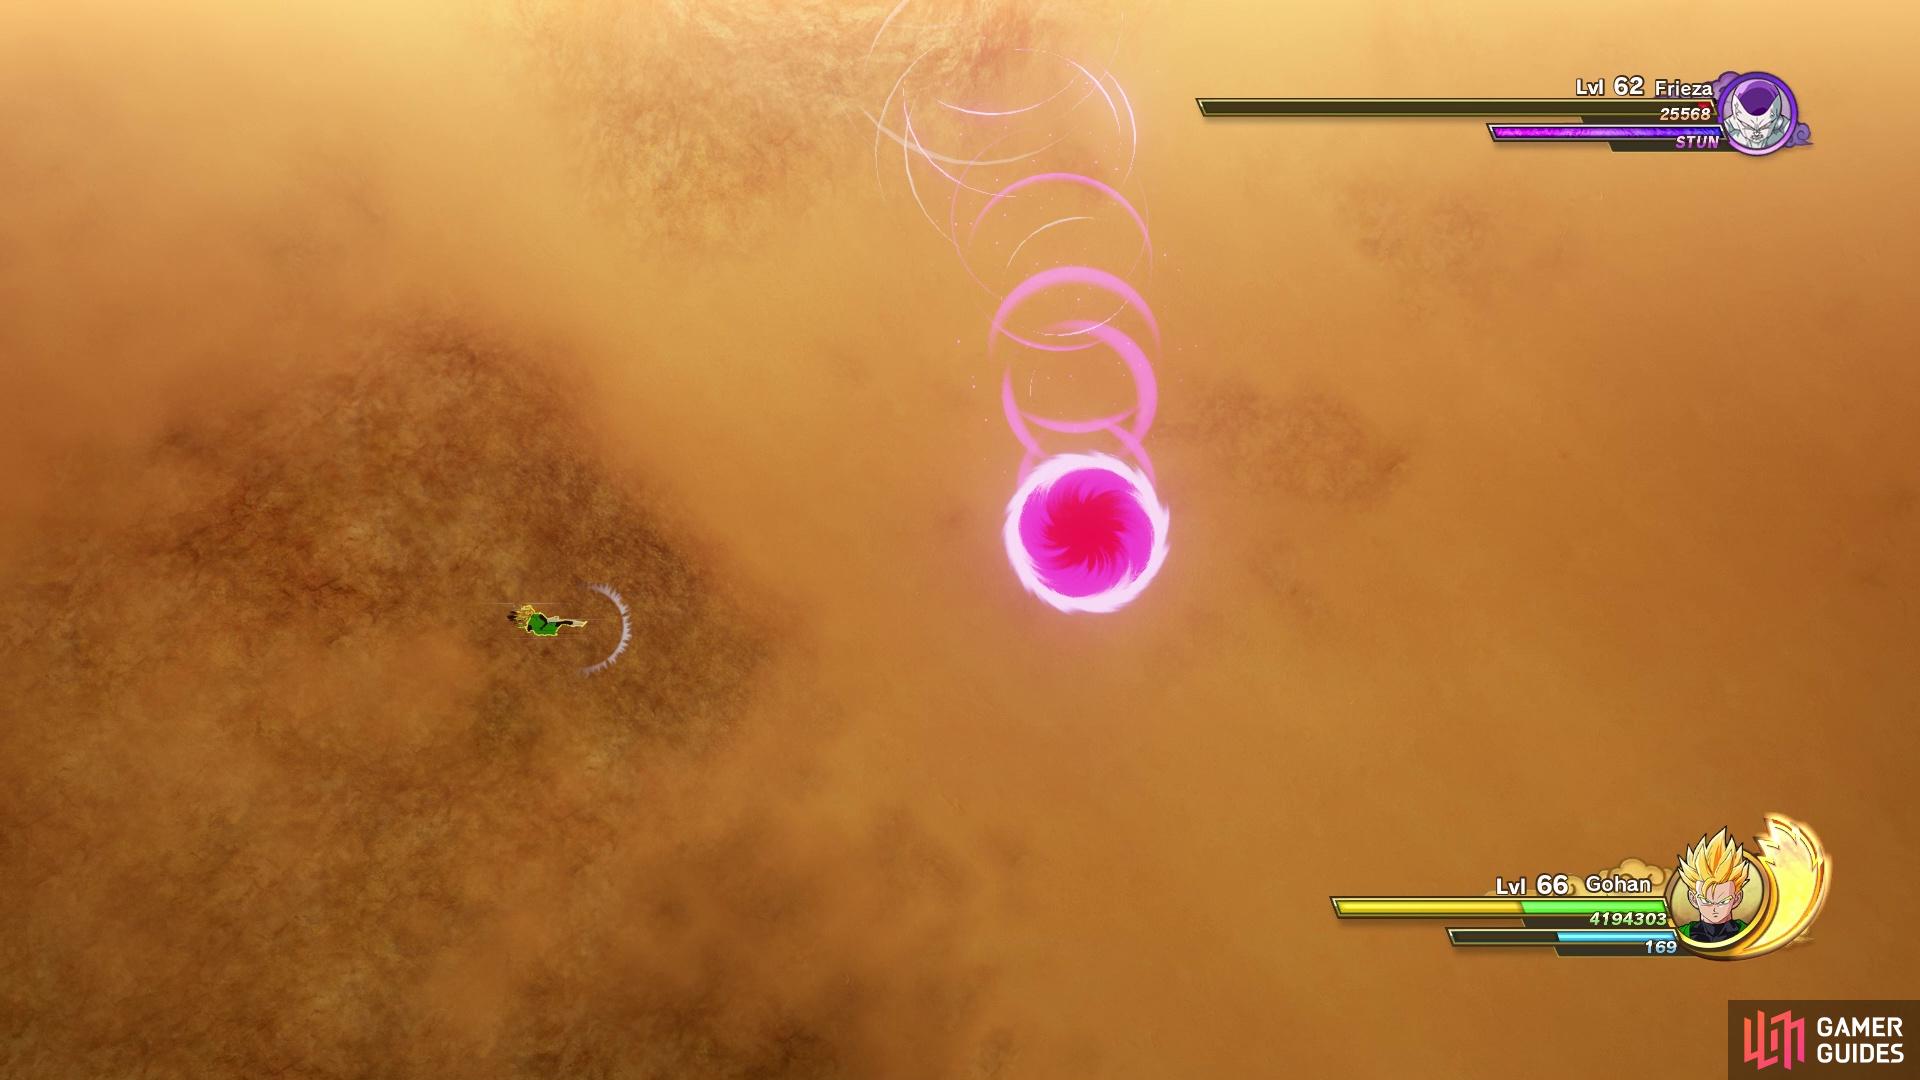
Hurry and attack Frieza when he’s doing Death Ball
Near the end, Frieza will go into a special attack where he launches a bunch of discs
At some point, Frieza will have a close-up of himself and perform Death Ball. This will place a bar underneath him and if you deplete it in time, then you can follow it with a cinematic attack that deals a great bit of damage. It’s possible this will occur more than once during this fight, so be on the lookout and quickly get in there to get free damage. Lastly, Frieza will perform a surge as he gets lower on health, where he will either perform a bunch of attacks in a row or he will do the Death Slicer attack, with the camera going into a top-down view and a bunch of discs fly across the screen. Defeat Frieza and you will complete this substory.
| Objective | Reward |
|---|---|
| Showed them your strength | 255,040 EXP, D Medal (x3), God Medal (x1), Supreme Kai’s Soul Emblem, Kibito’s Soul Emblem |
The other substory is in the southwest corner of the same region.
Teachings for Tomorrow
Nam is troubled that his fellow villagers are more concerned about the minerals than farming, plus they have been using the stockpiled water much more liberally. On the plus side, Nam has learned of a crop that could grow in harsh conditions, but he doesn’t want to leave the village. The farmer with this crop is located in West Area, so travel to that region now. When you reach the farmer, he isn’t willing to part with the seeds, but if you do something for him, then he will give you some. There is a prize in the upcoming Bipedal Robo Walker time attack in West City that he wants. If you don’t have the Robo Walker yet, then you can’t do this substory right now, but it’s not missable and is still available after completing the main story.
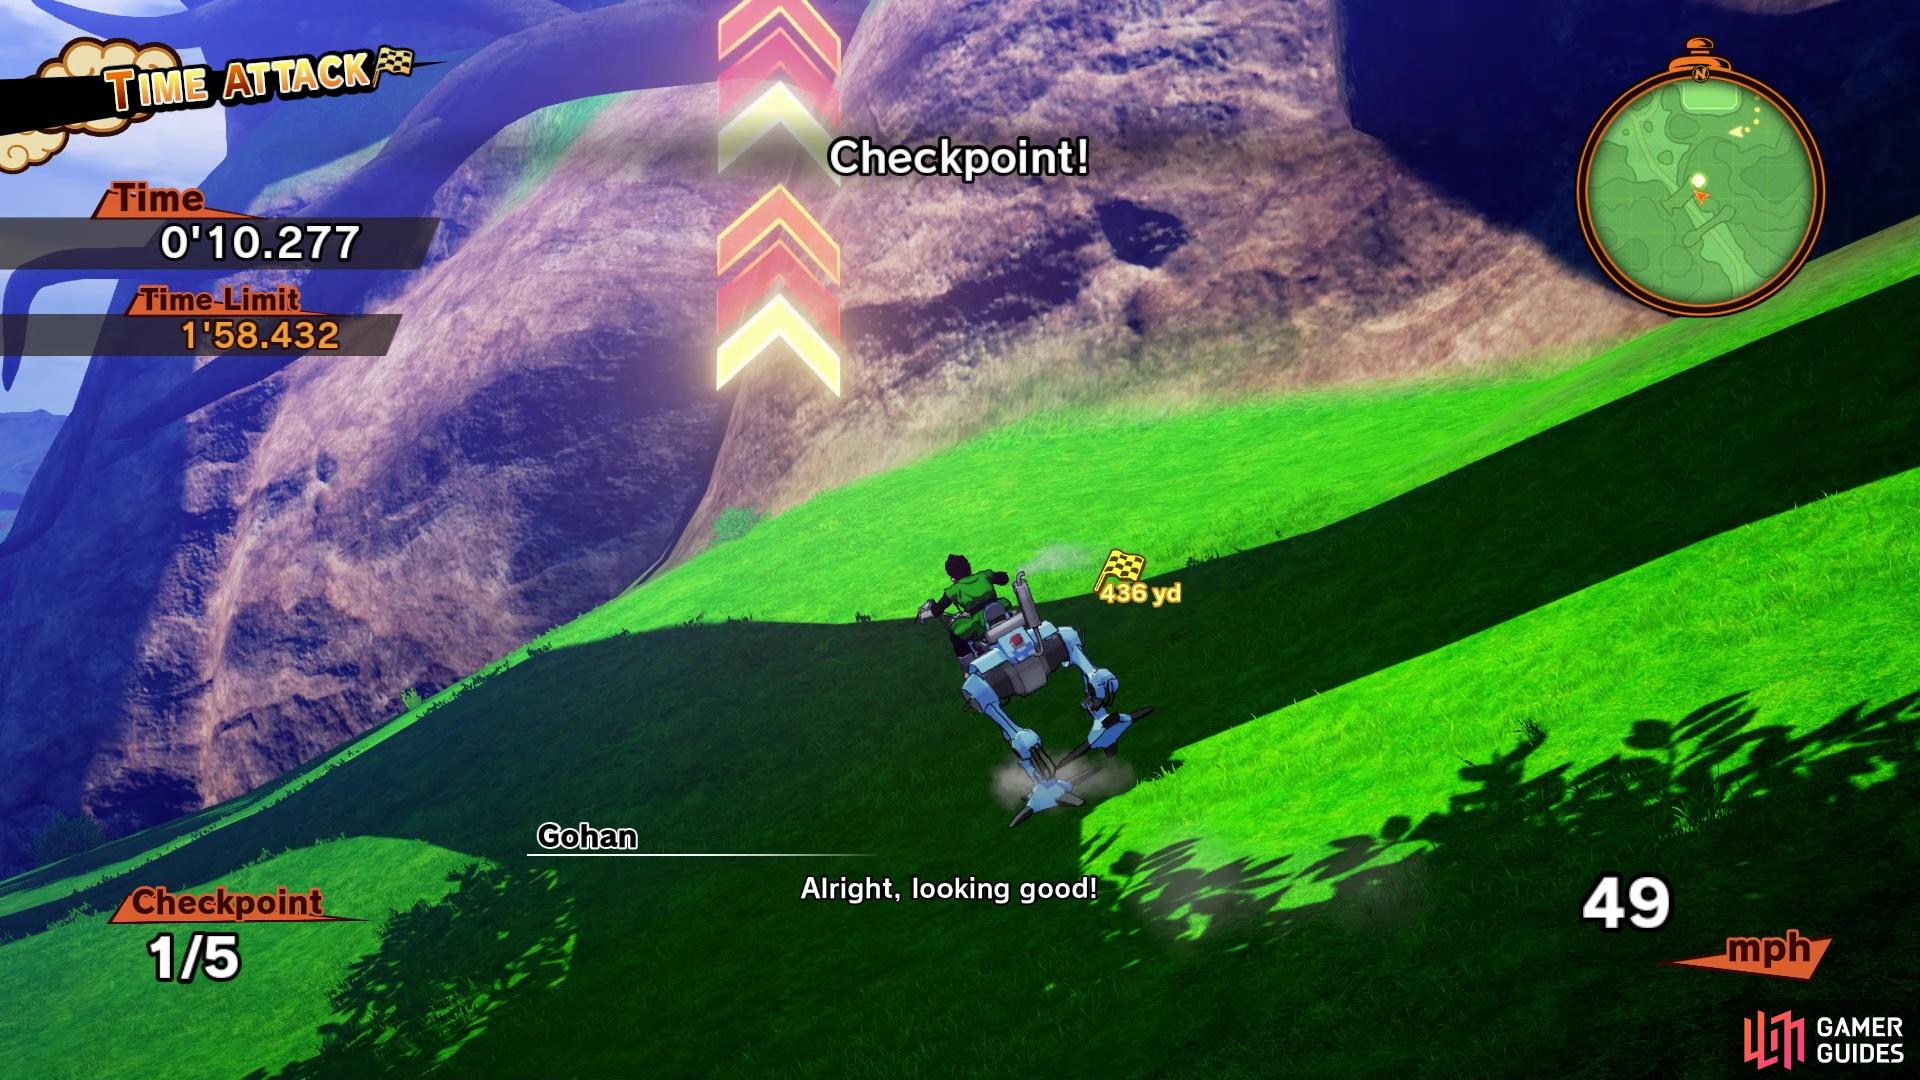
Keep a look out for the arrows during the Robo Walker time attack
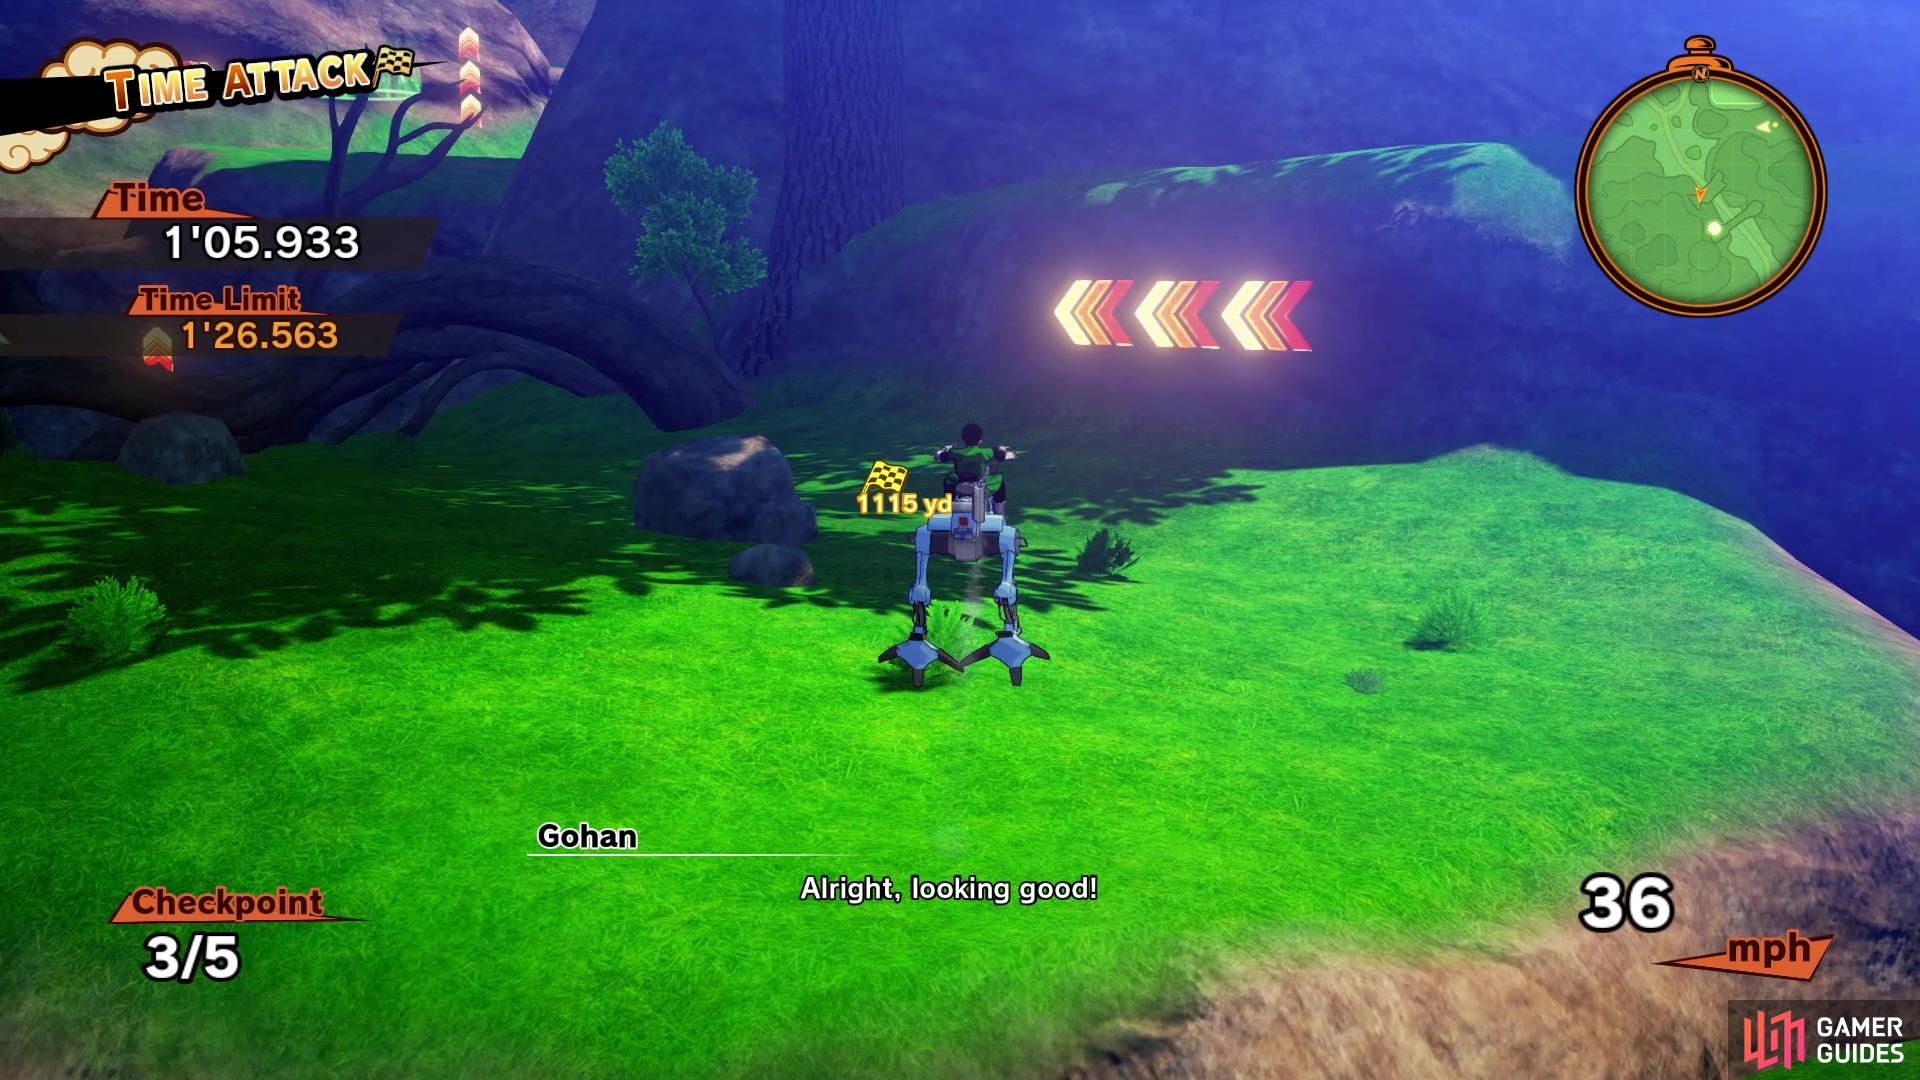
as they point you in the right direction
If you did build the Robo Walker, then head for the time attack that is marked on your map. The only controls that will matter here is jumping, so don’t even worry about anything else besides moving. There will be a lot of verticality in this time attack, so it might look like you won’t have the jumping power to reach some of the heights. However, in some spots, there are boosts (similar to the car one) that will give you extra height. Remember to keep an eye out for the arrows that point out where you should be going, as it can be easy to get lost. All you really have to do is finish in time, netting you the Tractor Capsule. You’ll automatically return to the farmer, who will hand over the Golden Grow Potato Seeds, and will go straight back to Nam. Not only will you receive the rewards below, but he will also hand over an Awakening Water, Superior Awakening Water, and a Divine Awakening Water.
| Objective | Reward |
|---|---|
| Helped Nam with his troubles | 256,465 EXP, D Medal (x15), Super Awesome Book for Grown-Ups (x1) |
Head towards the main mission marker and you will be introduced to the secondary antagonist for this story arc, Babidi. You will also see some of his minions, including the King of the Demon Realm, Dabura. Eventually, after you see some more story, you will be in control of Gohan, with Vegeta and Goku as your support characters. Head towards Babidi’s spaceship and you’ll automatically enter it. After a scene inside, you will be controlling Vegeta, in a fight against one of Babidi’s henchmen, Pui Pui.
Vegeta vs. Pui Pui
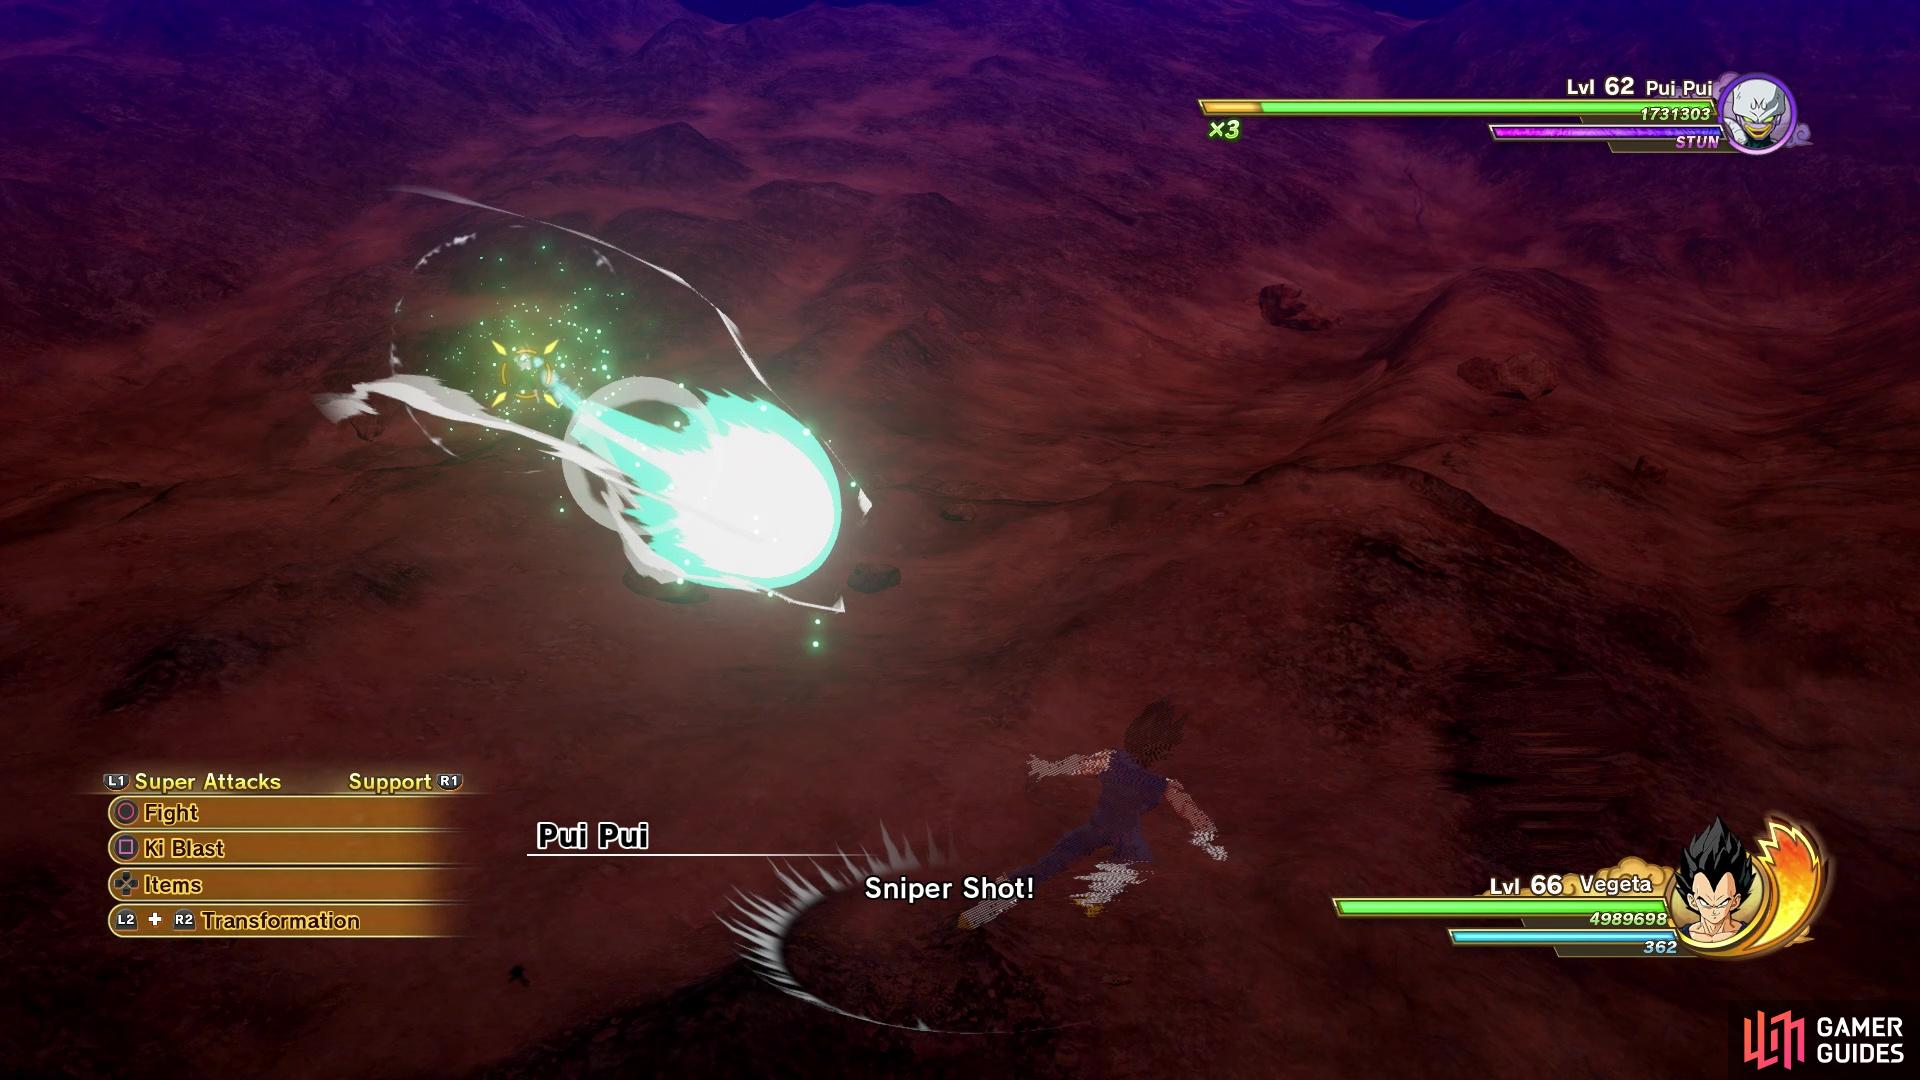
Sniper Shot is nothing more than a quick Ki attack
As your first official battle against the bad guy in this arc, Pui Pui is a pushover. He’s not too aggressive and only seems to know one Super Attack, which he will spam quite often. Sniper Shot is pretty much just a large Ki blast that comes out rather quickly. Despite that, as long as you keep moving in a single direction, you will pretty much always dodge it. Despite there only being a single opponent, Big Bang is always useful to perform, as the damage is pretty high.
Once you’ve finished off Pui Pui, you will move one floor lower and get into the next battle.
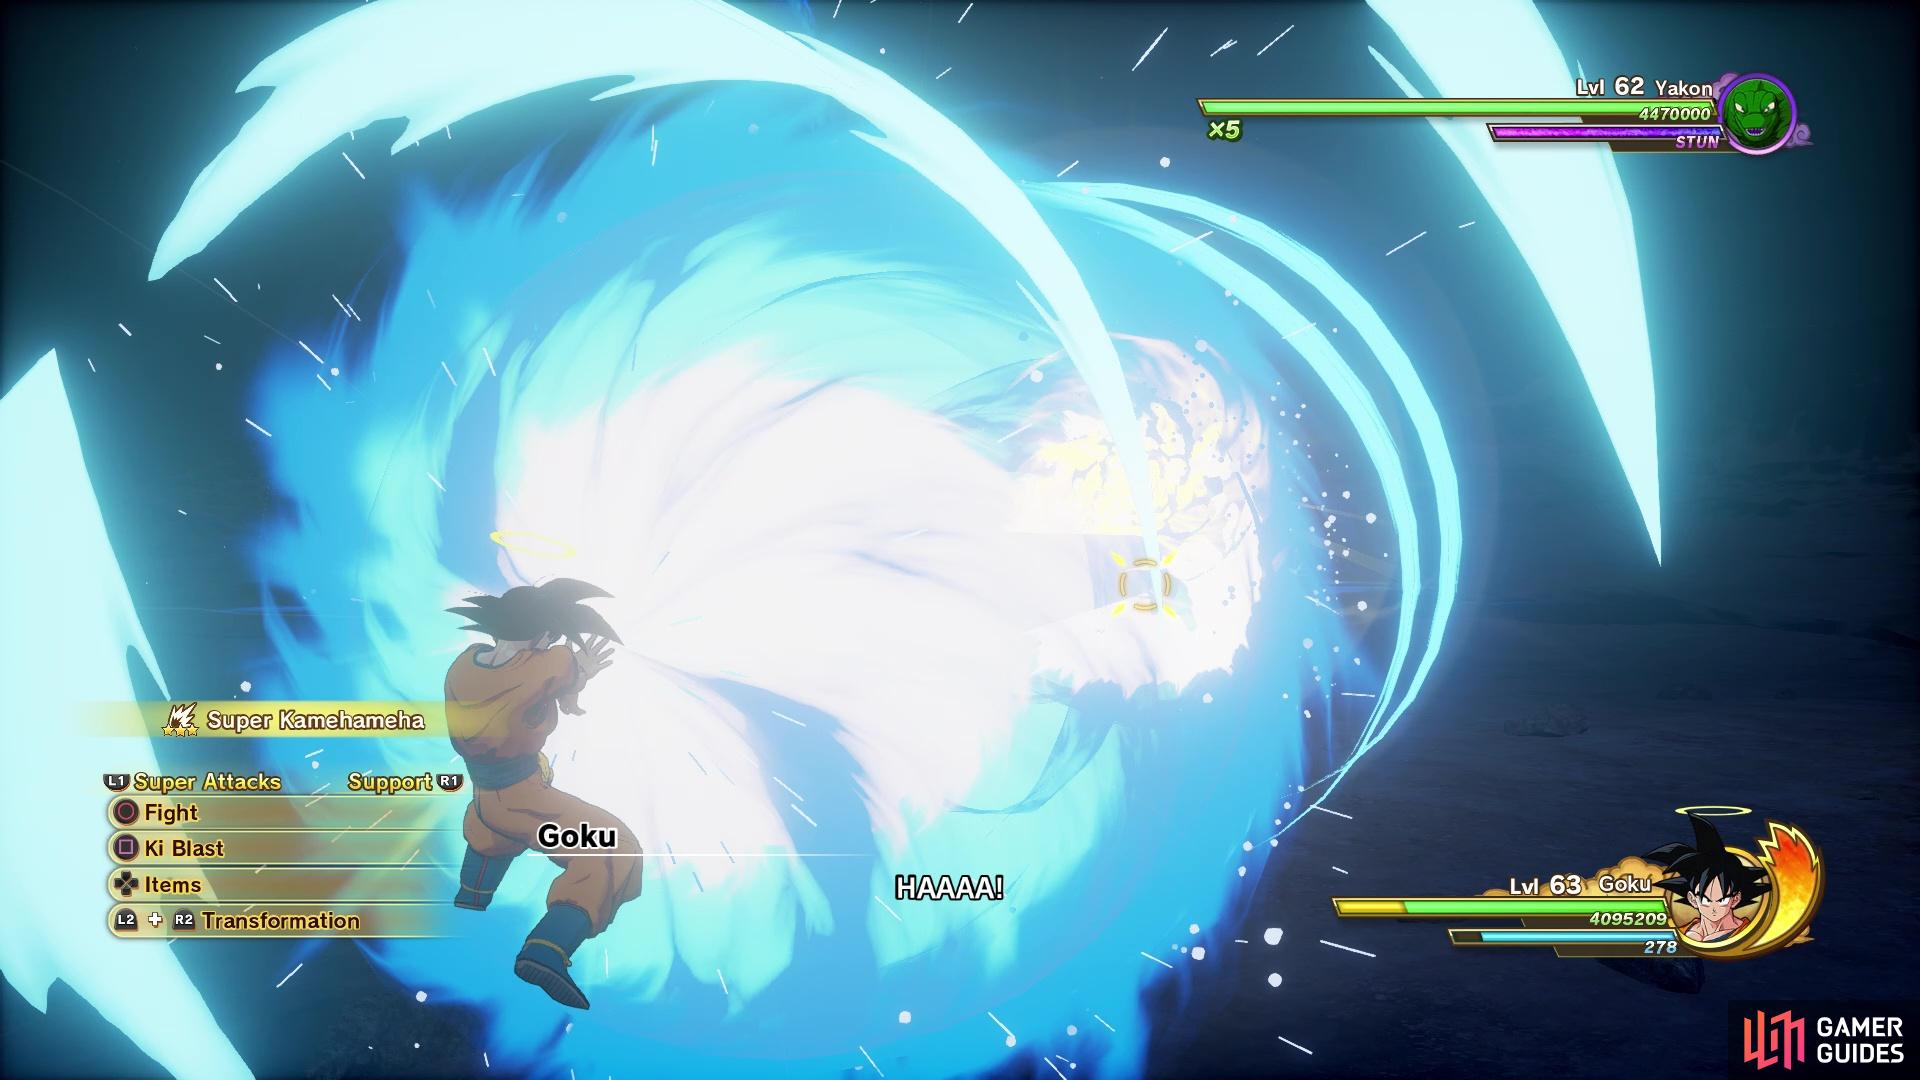
Goku vs. Yakon
Yakon is another fairly easy fight, although he leaves little room for full combos, as he is a bit more liberal with his Super Attacks. Cross Claw will have Yakon shooting forth beams from his claws in cross-like shaped patterns. There’s a good number of them each time he uses this move, but keep dodging in one direction to avoid them. He also seems to have a charge maneuver that doesn’t have a name, but this has a really large tell and can be blocked easily. You will want to be careful with shooting out random Ki attacks, as Yakon can randomly suck them in through his mouth, restoring his health.
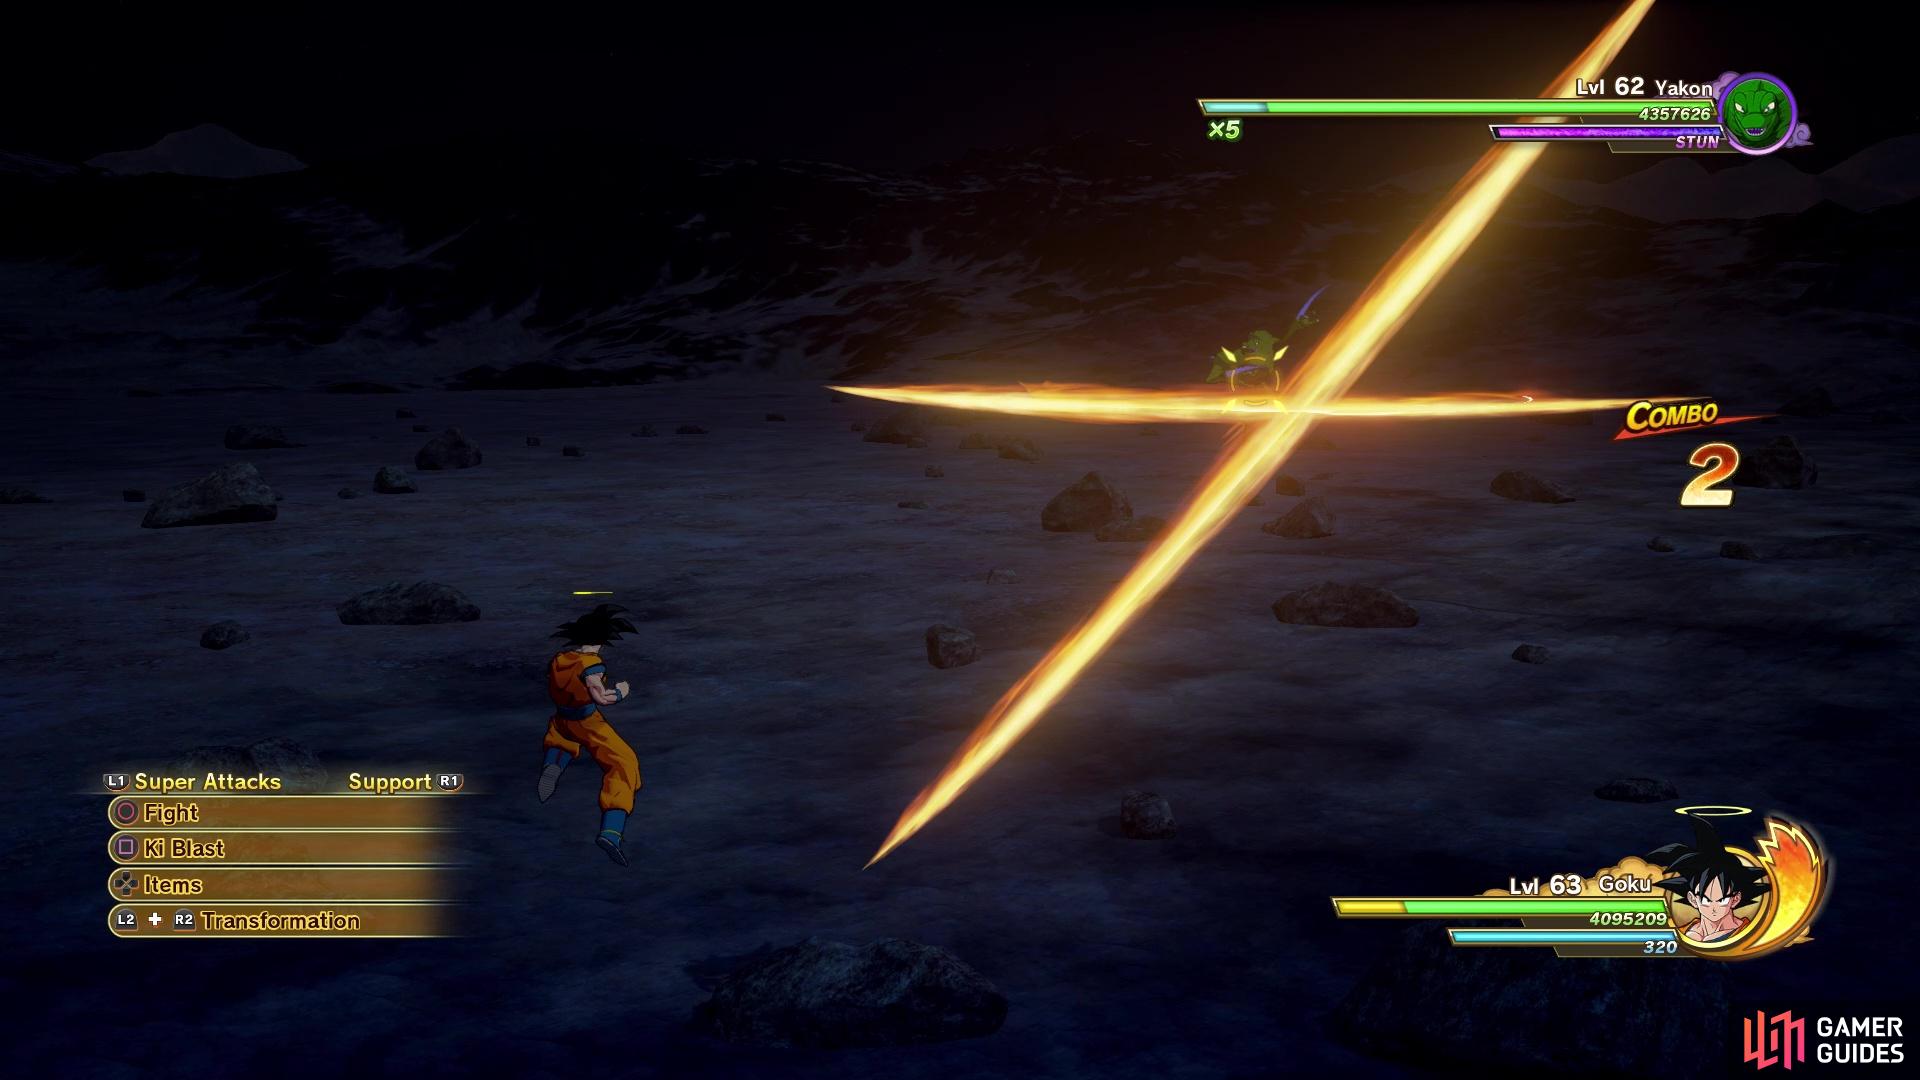
Cross Claw will be a bunch of cross-shaped projectiles shot at you
Yakon does have the ability to absorb Ki attacks, but it’s completely random
This seems completely random, though, and there is no sign that he will be doing it. So, if you can manage to pull off a full melee combo and knock back Yakon, then you can do a Kamehameha or Spirit Bomb. You can also do it in retaliation to one of Yakon’s attacks, but there’s not much that leaves him vulnerable long enough. Lastly, Yakon has sort of a surge, where he will perform Cross Claw three times in a row, with nothing special about any of them. The biggest problem with Yakon is that he has a lot of health, so it will be a longer than normal fight.
No Comments