

More complex than its Kanto counterpart, although not by much.
Pokémon Encounters - Digletts Tunnel
| Name | Types(s) | Location (Encounter Rate) |
|---|---|---|
 Diglett* Diglett* |
Rock/Steel | Everywhere/Ambush (30%/100%) |
 Zubat Zubat |
Poison/Flying | Everywhere (70%) |
*** indicates Alolan form.**
To reach Olivia’s grand trial, you’ll need to pass through Diglett’s Tunnel. You can find it south-west from the Heahea City Pokemon Center. Inside, head south to bump into Olivia herself. If you came her earlier, she’ll stop you passing, but no more.
From Olivia, carry on south towards a fork in the road. First, head east allow the narrow path. Soon, you’ll encounter another fork. Heading along the top path will send you towards a trainer, while going along the bottom path allows you to carry on unhindered.
Worker Frank
| Pokemon | Level | Type |
|---|---|---|
| Diglett (Alolan) |
22 | Ground/Steel |
This will be a common sight very soon. Water, Ground or Fighting-types are the easiest way to take care of this mole.
Either way, pick up the Dusk Ball towards the north-east corner, then return to the initial fork. Heading south from the Dusk Ball leads to a dead end–or rather the end point of a ledge jump, so don’t bother. From here, make your way west deeper into the tunnel.
Along the way, you will bump into a Black Belt who isn’t accepting a challenge until you can defeat the other trainers in the tunnel. West from him, search the small pile of rocks to find an Escape Rope . Handy if you need to leave ASAP.
After turning the corner, there will be metal stairs on the left. Search the small pile of rocks right at the corner to discover an X Attack . Next, head north past the metal stairs and  Tauros Charge west through the rocks. At the end is a Fire Stone for the taking.
Go back and follow the metal stairs up. You’ll bump into a pair of Aether Foundation Employees. After that encounter, carry on south, then east. Grab the Hyper Potion by the side of the trough. After that, follow the narrow path south from the trough.
On the other side is a burrowing Pokemon circling a rock mound in a clockwise direction. If you go clockwise as well, it should be easy to outrun. Past here, head north. At the end, there’s another peculiar boulder cube on the left. Meanwhile, to the right is a trainer.
Worker Jeff
| Pokemon | Level | Type |
|---|---|---|
 Roggenrola Roggenrola |
21 | Rock |
 Mudbray Mudbray |
22 | Ground |
Both of his Pokemon are weak to Water and Grass moves. Surely you must have a solid Water or Grass Pokemon by now.
Jump over the ledge east from Jeff and continue east past the trough. Past here is a Pokemon trainer walking clockwise around the central rocks.
Worker Vaclav
| Pokemon | Level | Type |
|---|---|---|
 Machop Machop |
22 | Fighting |
Nothing special to note. As usual, Flying, Psychic or Fairy Pokemon will make short work of this Fighting-type.
Along the north side, search the crate with the pickaxe to find a hidden Nugget . To the right is a super obvious  Zygarde Cell (28) . South from here, you’ll be stopped by a unfriendly pair. Fortunately Hau will arrive just in time to lend a hand.
Team Skull Grunt and Team Skull Grunt
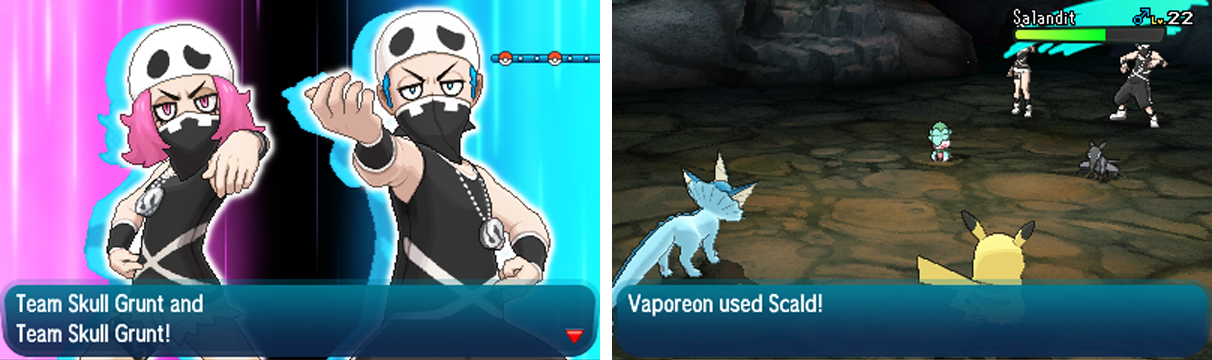
These ought to be a familiar pair of Pokemon.  Salandit takes 4x damage from Ground moves, so use them if you can. Water, Rock and Psychic moves work well too.
 Fomantis is a straightforward Grass-type so Fire, Flying, Bug and Poison moves are good to use. Hau will lead with his
  Pikachu, who will probably target Salandit. So you should try to focus on Fomantis.
Once the Grunts are gone, Hau will give you a Max Elixir as thanks. Your Pokemon will also be magically healed. Further south is the exit of the tunnel. Before leaving though, you may want to challenge the Black Belt from earlier.
If so, head north-east from your current position, then east along the narrow path. At the end, hop over the ledge and you’ll be back to where you met Worker Frank. From here, travel in an easterly direction to return towards the north entrance side, where the Black Belt is waiting.
Black Belt Greg
| Pokemon | Level | Type |
|---|---|---|
 Hariyama Hariyama |
23 | Fighting |
A bulky Fighting-type Pokemon with Fightium Z. Flying and Fairy-types are your safest choices, since Hariyama has Knock Off, which is super-effective against Psychic and Ghost-types.
Triumph against the powerhouse and you will earn a cool Max Revive .
No Comments