
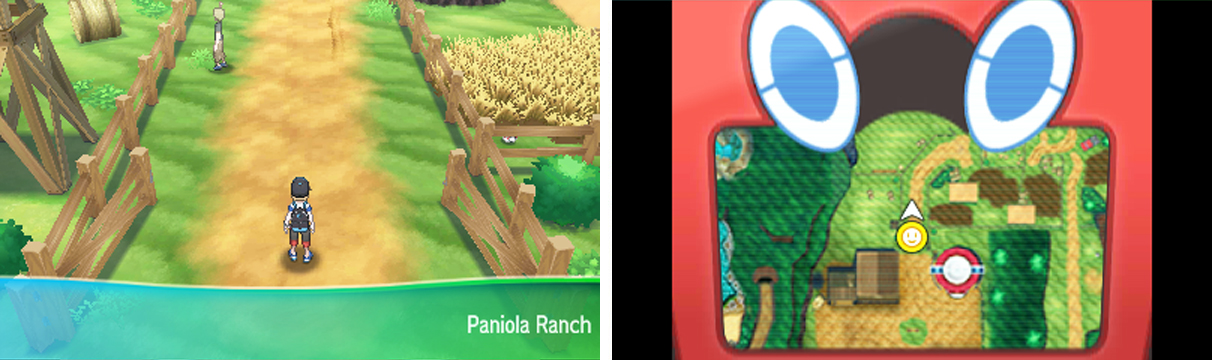
A relaxing path where you can start literally sniffing for items.
Pokémon Encounters - Paniola Ranch
| Name | Types(s) | Location (Encounter Rate) |
|---|---|---|
 Tauros Tauros |
Normal | All grass (5%) |
 Miltank Miltank |
Normal | All grass (5%) |
 Mudbray Mudbray |
Ground | All grass (50%) |
 Lillipup Lillipup |
Normal | All grass (40%) |
It’s still a ways until your reach the 2nd trial, so just relax and continue at your own pace. From the entrance, head north past the man who’s waving at something. As the path starts to turn, there’s a trainer wandering around ahead.
Madame Elizabeth
| Pokemon | Level | Type |
|---|---|---|
 Carbink Carbink |
15 | Rock/Fairy |
Easy prey for Steel-type Pokemon such as  Magnemite and
  Diglett, as it’s 4x weak to Steel moves. Otherwise, Water, Grass and Ground moves work well too.
Follow the path as it bends towards the north-east. Very soon, you’ll come across a Pokemon breeder in front of an open gate. He’s here to lead you inside for a nice surprise. You’ll catch up with Captain Mallow and receive  Stoutland Search for your Ride Pager.
This replaces the Item Finder and Dousing Machine in previous games. As with Tauros Charge, press the Y button to access the Ride Pager, then select Stoutland Search to summon Stoutland. You can also assign a D-Pad shortcut by tapping the D-Pad icon to the left.
Anyway, Mallow isn’t here to give you a trial, but there are hidden items waiting to be found. So without further ado, call Stoutland with the Ride Pager and starting searching! Hold the B button and Stoutland will sniff the ground.
You can move while Stoutland is sniffing and if he (or she?) senses an item, you’ll see an exclamation sign. This means an item is nearby in the direction Stoutland is facing. When you’re right next to the item, Stoutland will bark frantically and the exclamation sign will change red.
At this point, you can press the A button to pick up the hidden item. Since Stoutland moves slowly while sniffing, when you’re simply scouting around, a good trick is to move at normal speed, then hold the B button and quickly do a 360 to see if any items are nearby.
If all this sounds a bit complicated, like many other things, it’s much easier if you just try it and get used to it. From your current location, go north-west towards the right side of the trough. Have Stoutland sniff around near the corner of the trough to find a Moomoo Milk .
Next, head for the west side of the ranch, where the pond is. About halfway up, where the pair of Tauros are grazing, search just above the Tauros pair to find some Fresh Water . After that, hurry east towards the barrels west from the entrance.
Have your new friend sniff the right side of the barrels to find a hidden Repel . That’s all the hidden items in the ranch. Hopefully you got some good practice in! Of course, we’ll continue to mention any hidden items, since there are a lot of them.
To leave the ranch, head for the open gate to the south-east. Back on the main path, start by traveling south. Soon, you’ll bump into the side of a ramp, with some tall grass to the right. Go into the tall grass and make your way east, along the wooden fence.
If it’s day time, you can find a  Zygarde Cell (18) in the far corner, where there’s no tall grass. From here, head south into the tall grass and search the area behind the sign for a Soda Pop . Um, is this still safe to drink? Next, go west and cross over the ramp, while keeping to the north.
On the other side, if it’s night time you can find a Zygarde Cell (19) by the corner of the grass mound, immediately after coming down the western side of the ramp. From here, step into the tall grass to the south. In the bottom-left corner, there’s an Ether on the floor.
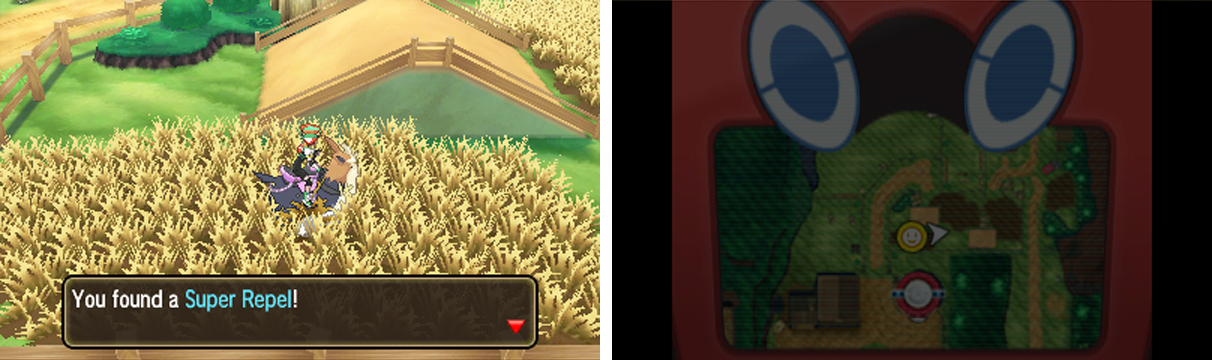
Finding hidden items in the middle of nowhere is easier with Stoutland.
The next part can be a bit fidgety. Align yourself so you’re halfway up the tall grass, then slowly move until you’re opposite the left-most part of the ramp above. Search around here for a Super Repel . In fact, you may need a Repel to save your sanity looking for it!
After that, make your way east. Where the tall grass ends, there’s a trainer looking for a stompin’. If you want, you can sneak behind him.
Pokemon Breeder Glenn
| Pokemon | Level | Type |
|---|---|---|
| Mudbray |
15 | Ground |
If you haven’t encountered one yet, Mudbray is a Ground-type Pokemon and a fairly sturdy one at that. No problem for your Water or Grass Pokemon though. Flying-types are good as well, since they’re immune to Ground moves. Perfect for the  Rowlet line then.
Afterwards, cross over the ramp to the east, then wade your way north through the tall grass. At the end, you’ll reach the Pokemon Nursery, a haven for Pokemon Breeders. Before going in, head into the small pen south from the Miltank, through the small gap in the fence.
You can just about fit Stoutland in this pen, but it might be easier to search yourself. In the very middle, you can find an Oval Stone . Inside the Nursery, chat to the breeder to the left to receive TM10 Hidden Power . She can also check your Pokemon’s Hidden Power Type.
Alright, time for the lowdown! The Pokemon Nursery is a place where you can leave two Pokemon to play, akin to the Pokemon Daycare Centre in previous games. The big difference is that Pokemon do not gain experience in the Nursery, which can be a good or bad thing.
Instead, the sole purpose of the Nursery is to breed Pokemon. If you leave a male and female Pokemon of a compatible “egg group” (in other words, interbreedable species), there’s a chance of receiving a Pokemon Egg from the Pokemon Nursery Lady outside.
Once you have an egg, just keep it in your party and after you’ve moved enough steps, the egg will hatch. The Pokemon that emerges from the egg will be the same species as the female and will inherit certain attributes from one or both parents.
You can also substitute either of the two parents for  Ditto, which is useful if you don’t have a female Pokemon and want to breed more of the male Pokemon. This can be important as some Pokemon–like the starter Pokemon–are very rarely female.
To get you started, the lady at the counter will give you a Pokemon Egg . Keep this in your party and after traveling a fair distance, it’ll eventually hatch into a Level 1  Eevee. Which is handy if you haven’t already caught one, but a bit useless if you have.
Back to the main quest, head a short distance east from the Pokemon Nursery, towards the red truck. From there, go south and step into the tall grass on the right. At the very centre, search around for a Big Mushroom . After that, continue south to find a Heal Ball .
Return to the trodden path and continue south, where a Pokemon trainer is waiting.
Pokemon Breeder Amanda
Two very basic Pokemon. Lillipup is a punching bag for a Fighting Pokemon; Rock and Steel-types are good choices too. Meanwhile  Growlithe will shudder at the sight of Water, Ground or Rock-types. Just be cautious of the Attack drop from Intimidate.
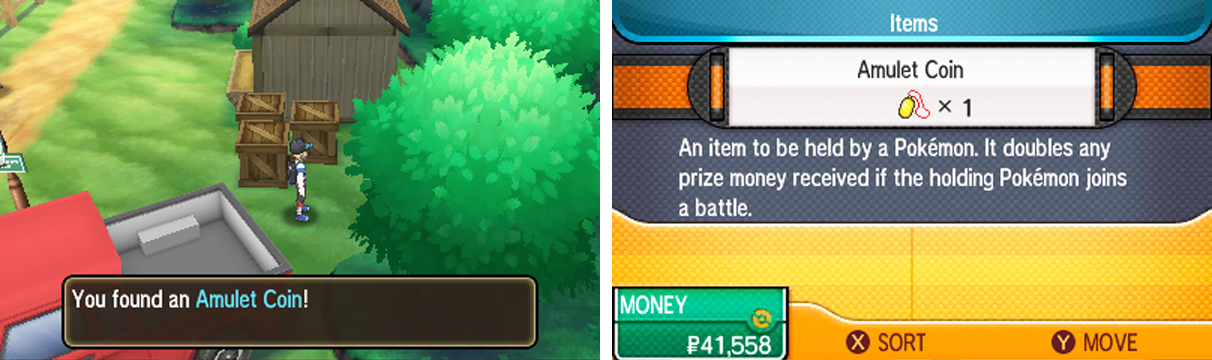
Have your first Pokemon hold onto the Amulet Coin where possible.
You won’t be able to advance south right now, so turn around and head north back to the red truck. Go east from the signpost, around to the back of the red truck to find an Amulet Coin . If a Pokemon holding this participates in battle, your prize money is doubled!
What better way to take advantage of your shiny new item than to continue north and take on the Pokemon trainer looking around for a scuffle?
Gentleman Gerald
| Pokemon | Level | Type |
|---|---|---|
 Sableye Sableye |
15 | Ghost/Dark |
An interesting Pokemon with no weakness until Pokemon X and Y introduced the Fairy type. If you have any users of Fairy moves, it’s time for them to shine. Otherwise, you should rely on Steel Pokemon or those not weak to Ghost or Dark.
When you’re finished counting your money, proceed north to exit to the next area.
No Comments