
Right, let’s get into the game - First F#@!ing Day starts off after you have gone through all the initial story-setting cut-scenes. These conclude with a cryptic ‘Two Months Earlier’ caption before the game cuts right into an induction video for Marshall.
Here comes the tutorial. You know the drill and can guess you are going to be running forward, crawling, and vaulting until the devs are sure you have the basics down.
Your mission here - beyond surviving, is to capture criminal gang leader The Nahualli, and you can be sure Saints Row is going to show off its shiny graphics engine with lots of bangs and explosions.
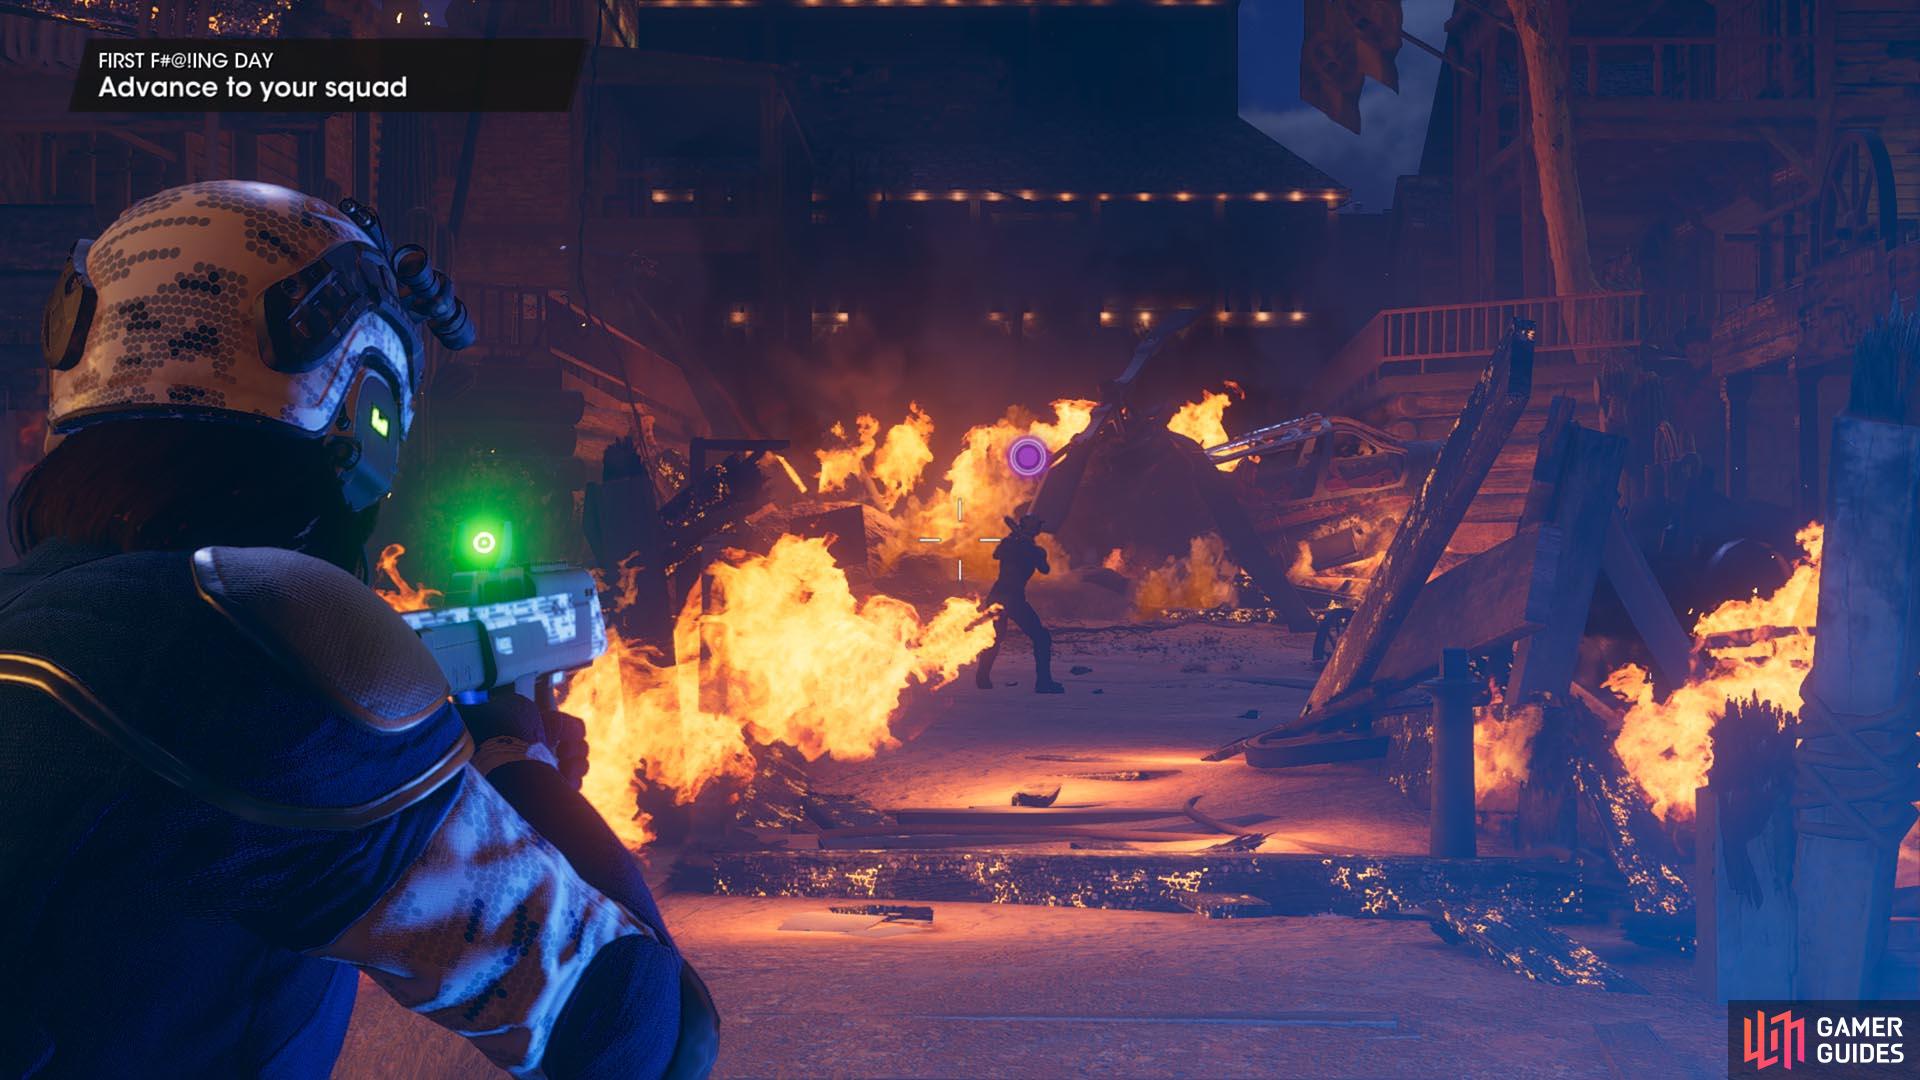
Ooh, pretty fire. You will be seeing a lot of that in Saints Row’s first mission.
How To Complete The First F#@!ing Day Mission In Saints Row
Use the foillowing steps to complete First F#@!ing Day and find your feet in the new Saints Row franchise reboot.
Objective 1: Advance To Your Squad
Straightforward enough, you need to move your Boss up to rendezvous with the surviving members of your squad while facing up to a huge barrage of artillery (it’s the tutorial so doesn’t really do critical damage but it’s still good to get your tactics in.
You will come under fire from a turret or two and there are a couple of footsoldiers along the way you can practice your headshots on.
There is plenty of cover to sprint between so move up and take out any stray enemies quickly.
Objective 2: Rendezvous With Bravo Team
Once you have progressed enough your objective will switch to meeting up with your team. You will see a Marshall soldier ahead of you and as you speak to him he will get blown to bits. Nice.
Objective 3: Regroup With The Squad
Continue to move forward and you will locate Gwen and the guys alongside an armored vehicle (APC). Move up to initiate a conversation with Gwen.
Objective 4: Protect The APC
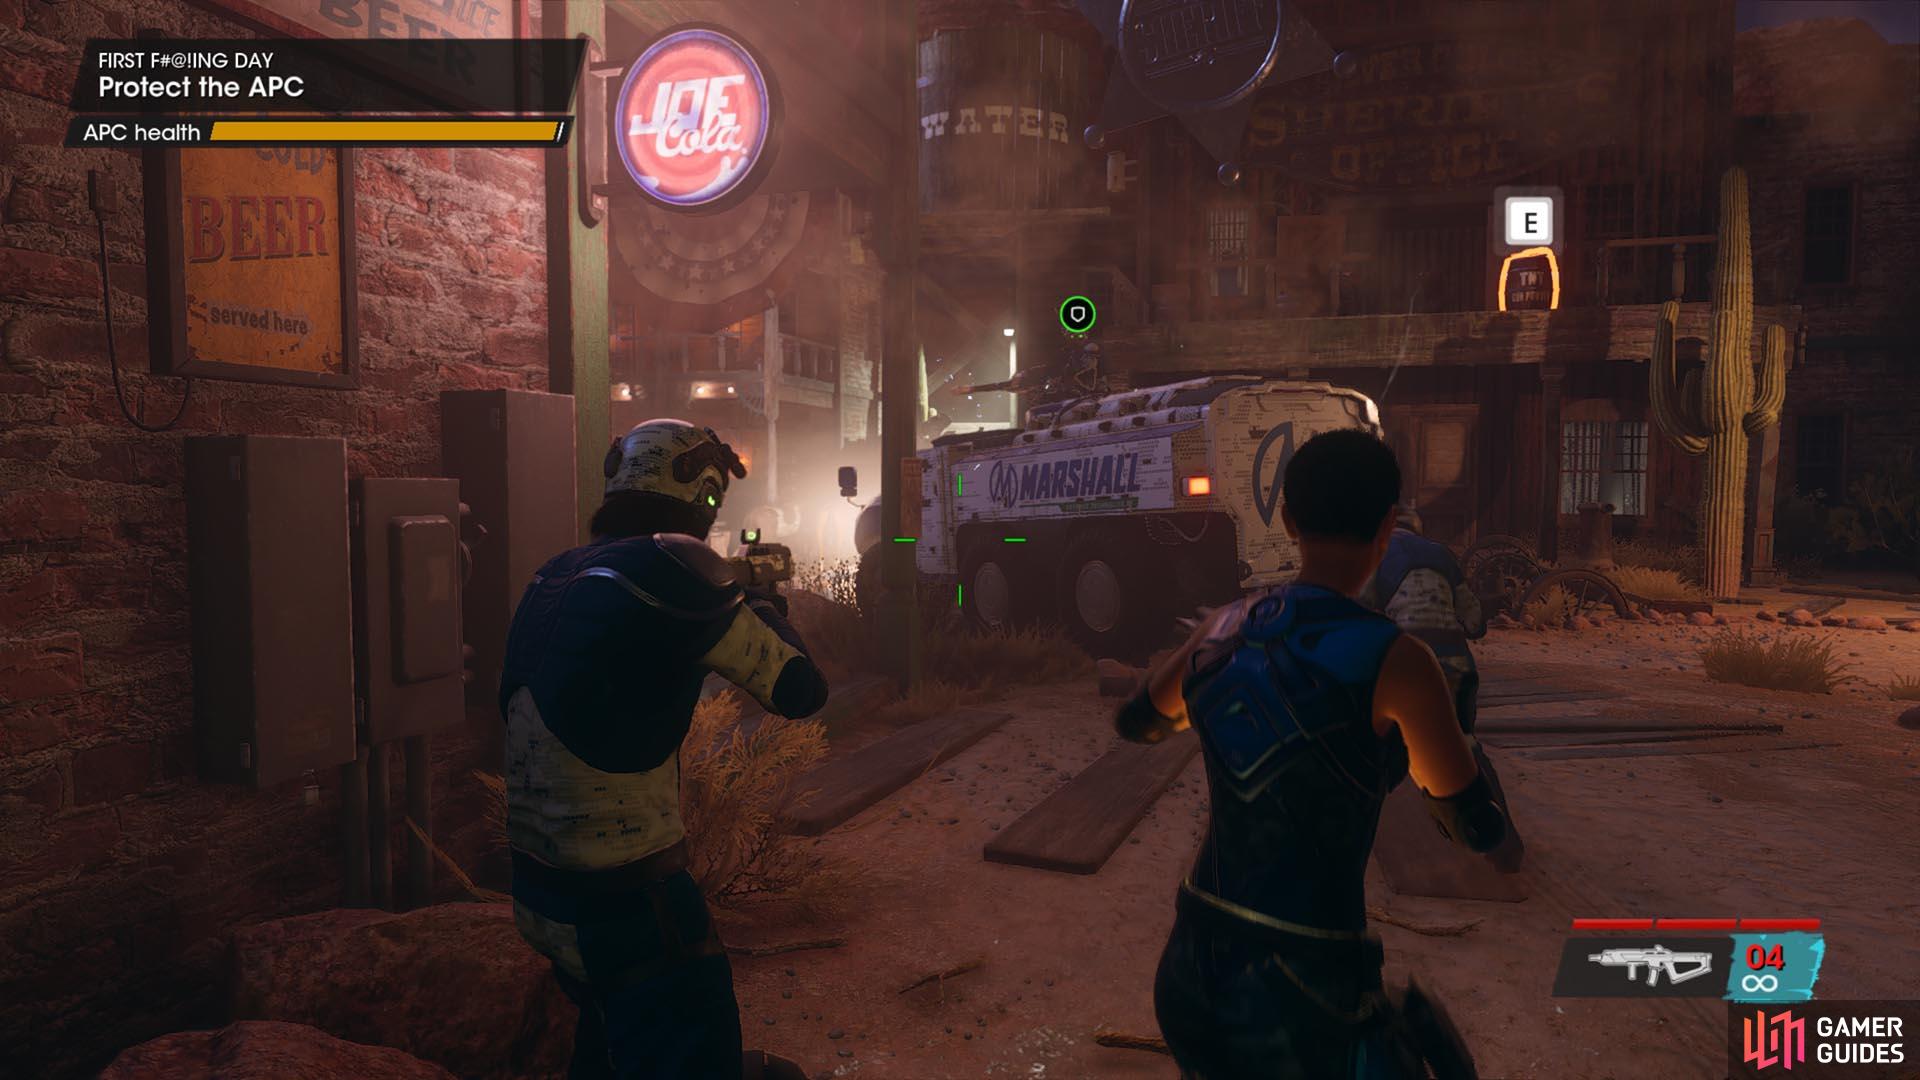
Your APC health is shown in the top left of the screen.
The APC will begin to roll forward and come under heavy fire from all sides. Here you are especially looking for danger on the rooftops. What you will find to help though is a ton of explosives, so make sure you hit that with gunfire to take out enemies quickly.
You can use your Quickshot button here to take it out super-quick. Your APC health is shown as a yellow bar in the top right-hand corner of the screen under your objective.
Eventually, you will reach a point where the APC stops in front of a small bridge loaded with explosives. Shoot that to cause a huge explosion.
Objective 5: Get In The Turret
Now it’s your turn to unleash a little hell. You will now find yourself in the APC turret and can use the machine gun to take out all the enemies. Make sure you sweep around both sides of the vehicle as the bad guys are numerous. There are also a couple who will appear on the remnants of the bridge with rockets. You need to finish them off quickly.
Objective 6: Eliminate The Hostiles
You would have thought this didn’t need to be an objective as such as that is what you have been doing, but continue to take them all out anyway. You will now be attacked by a helicopter gunship over the ruined bridge, drop everything and concentrate your fire on that until it explodes.
Objective 7: Hold On!
As the APC continues forward on rails just shoot everything. Your driver though will get hit, the APC will spin out of control and crash in a mine tunnel, blocking the exit. Your luck stinks. It’s your first day!
Objective 8: Advance On Your Own
Work your way forward through the tunnels. There are a couple of bad guys around the first corner to the right. Here you will be introduced to the Takedown mechanic. Where a guy has a glowing purple outline (assuming you have Highlight Mode turned on) you can hit your Takedown button or key and your Boss will lunge into a special move kill. You can’t do this all the time and you will see a counter in the middle of the screen slowly count up before you can do it again.
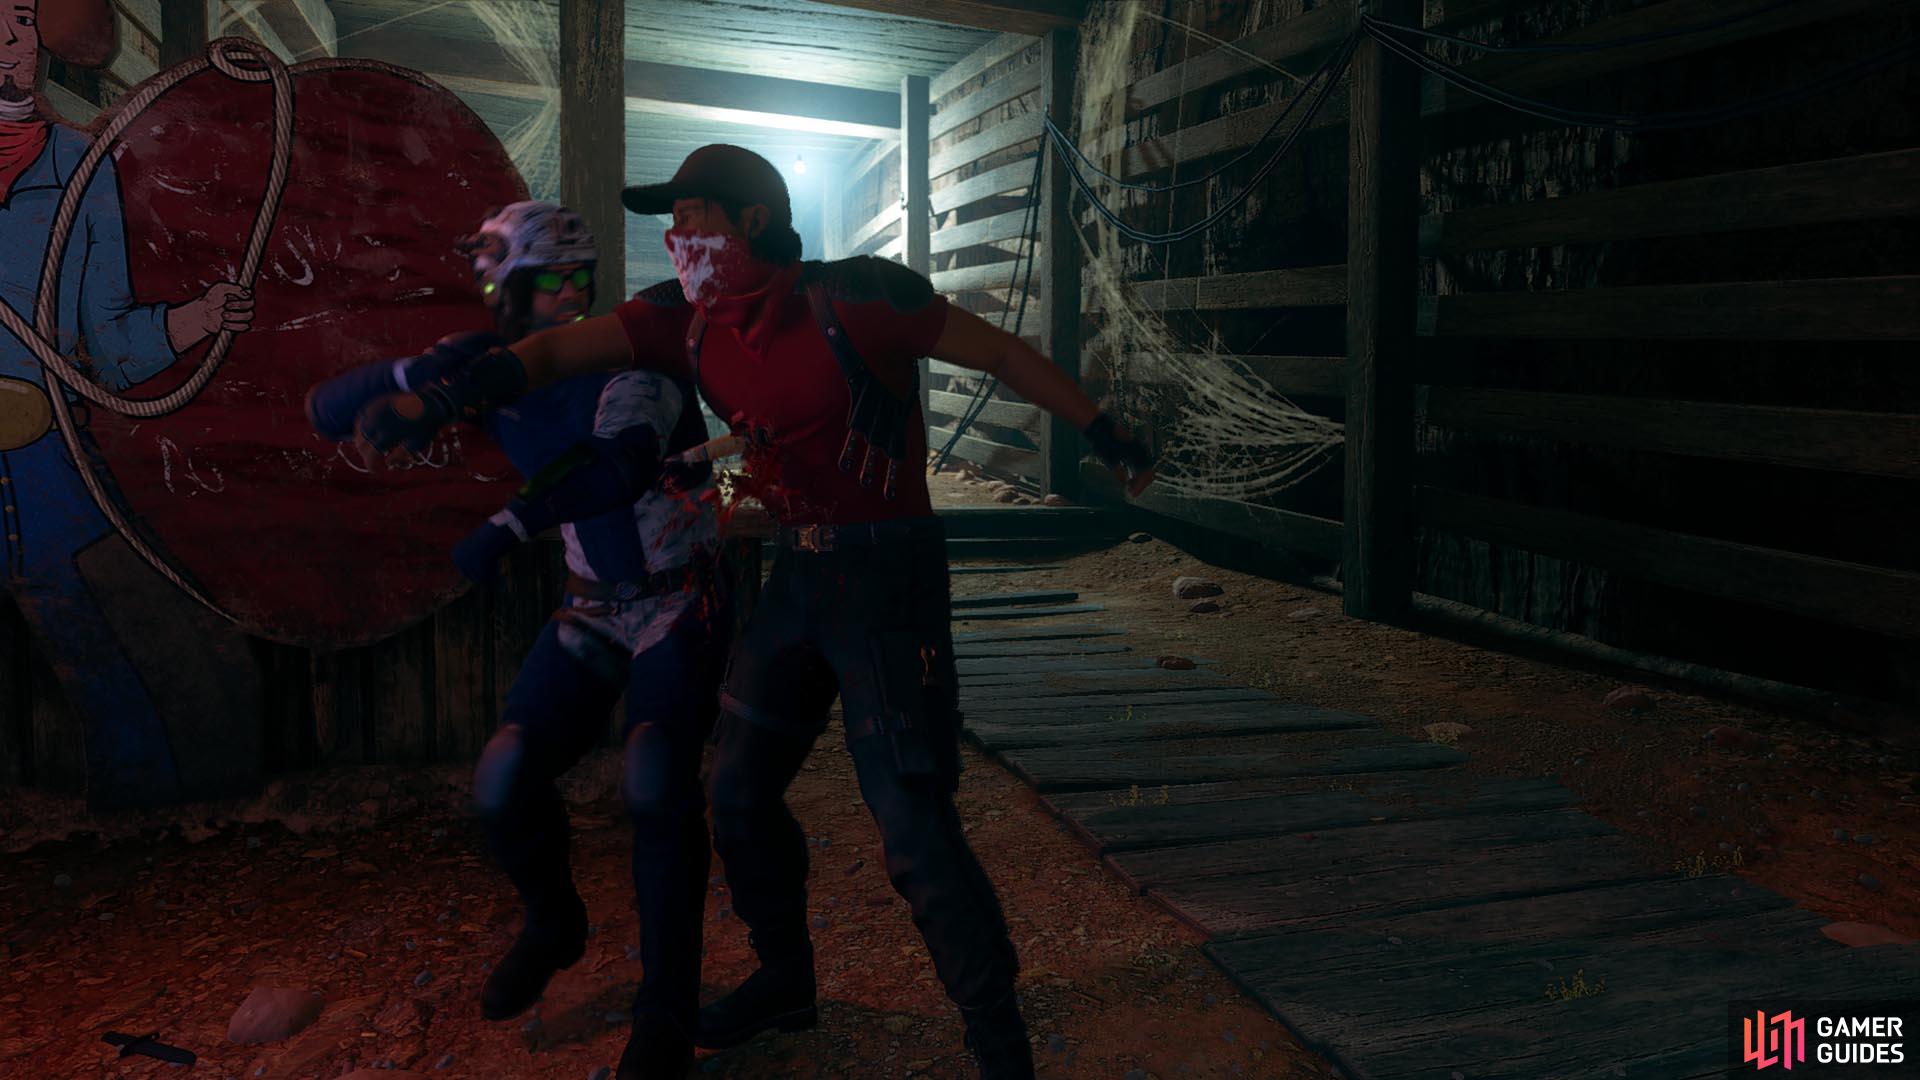
Performing a takedown will also boost your own health.
You will also be taught how to kick enemies at this point.
Eventually, you will reach the end of the tunnel and can switch to your SMG, although we still prefer the pistol.
Objective 9: Rendezvous With Gwen
Kill the two goons as you go forward. If you want to you can go under the water to the right-hand side to get closer and then splash out and SURPRISE! Now you will enter a kill zone with a lot of enemies out for blood.
Objective 10: Eliminate The Hostiles
You will need to be on your toes here as the enemies are numerous and some like to throw grenades. You can rush up the stairs and kill the enemy up there and then have yourself a high point with which to finish the rest off.
Objective 11: Advance And Report
When they are all dead move towards the mission marker and you will find your way blocked by a barricade.
Objective 12: Destroy The Barricade With C4
You aren’t getting through this with anything less than high explosive. It’s very secure. Or at least it would be if somebody hadn’t left a pile of high explosives on the table close by. Stoopid.
Pick up the C4 and throw it at the barricade (it’s just like any weapon, just press fire). You can then detonate the explosive as per on-screen instructions and the blockage will be no more.
Objective 13: Regroup With Gwen
Move forward to Gwen and initiate the conversation.
Objective 14: Advance And Report
You are instructed to stay in formation and then flank to the left which you should do as you reach the saloon.
Objective 15: Take The Saloon
There are a lot of baddies here, but there is a Quickshot opportunity on the first floor that will quickly remove a couple of them.
Stay behind cover and take out any running at you. Relief is on the way with Charlie Team but you will need to hold on until they get here and help you clean up
Objective 16: Enter Rhe Saloon
At this point for us, Gwen caught fire and burnt to death, but we are assuming that was a bug and she will be fine in a minute.
Enter the saloon and wait through the cutscene before giving chase.
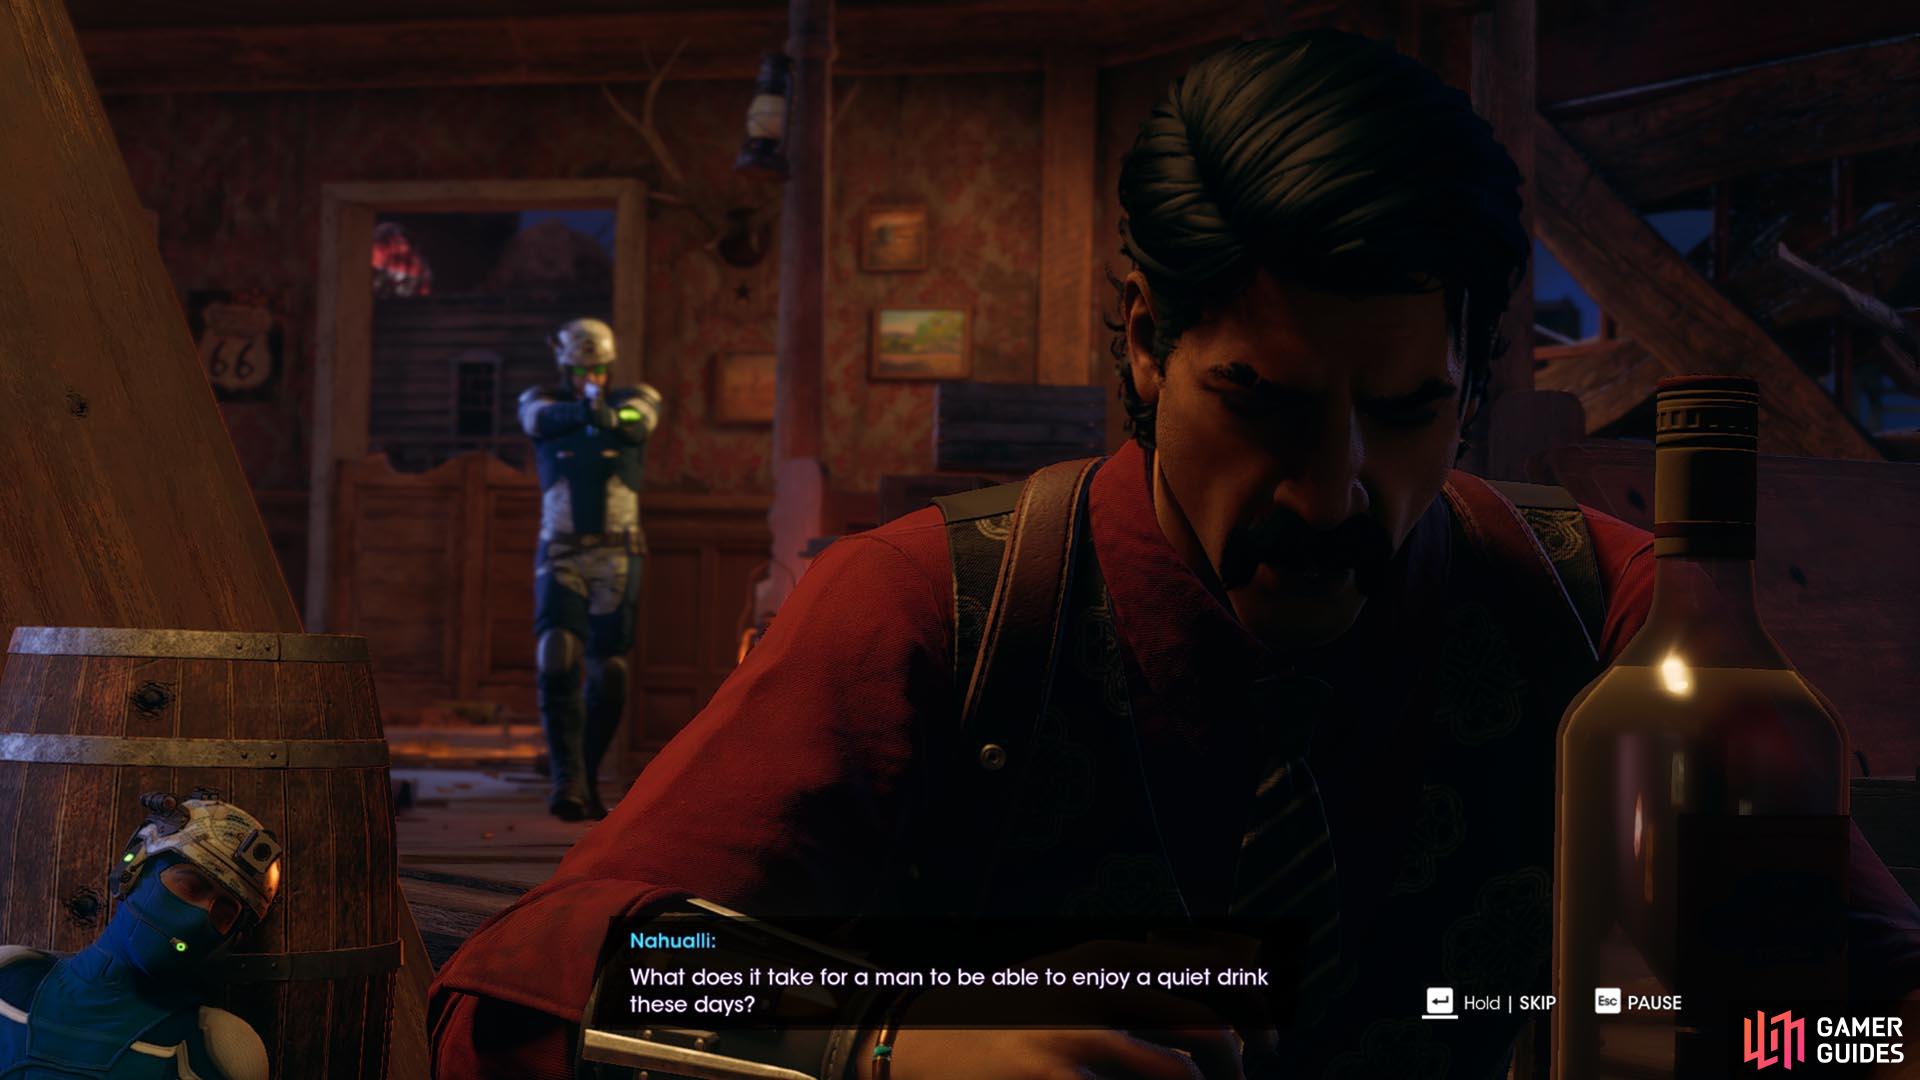
You might just have a feeling this is not going to go well.
Objective 17: Chase The Nahualli
There are a couple of bad guys along the way and eventually, you will lose your man after he lets off a red smoke bomb. Kill the remaining guards and Gwen, (who has made a remarkable recovery from her recent death) will tell you to forget about him.
Objective 18: Return To Gwen
Gwen is now waiting next to an APC, head there and initiate the conversation which will turn into a cutscene as the Nahualli tries to get away with the Marshall aircraft. Time for you to do something stupid!
Objective 19: Eliminate The Hostiles
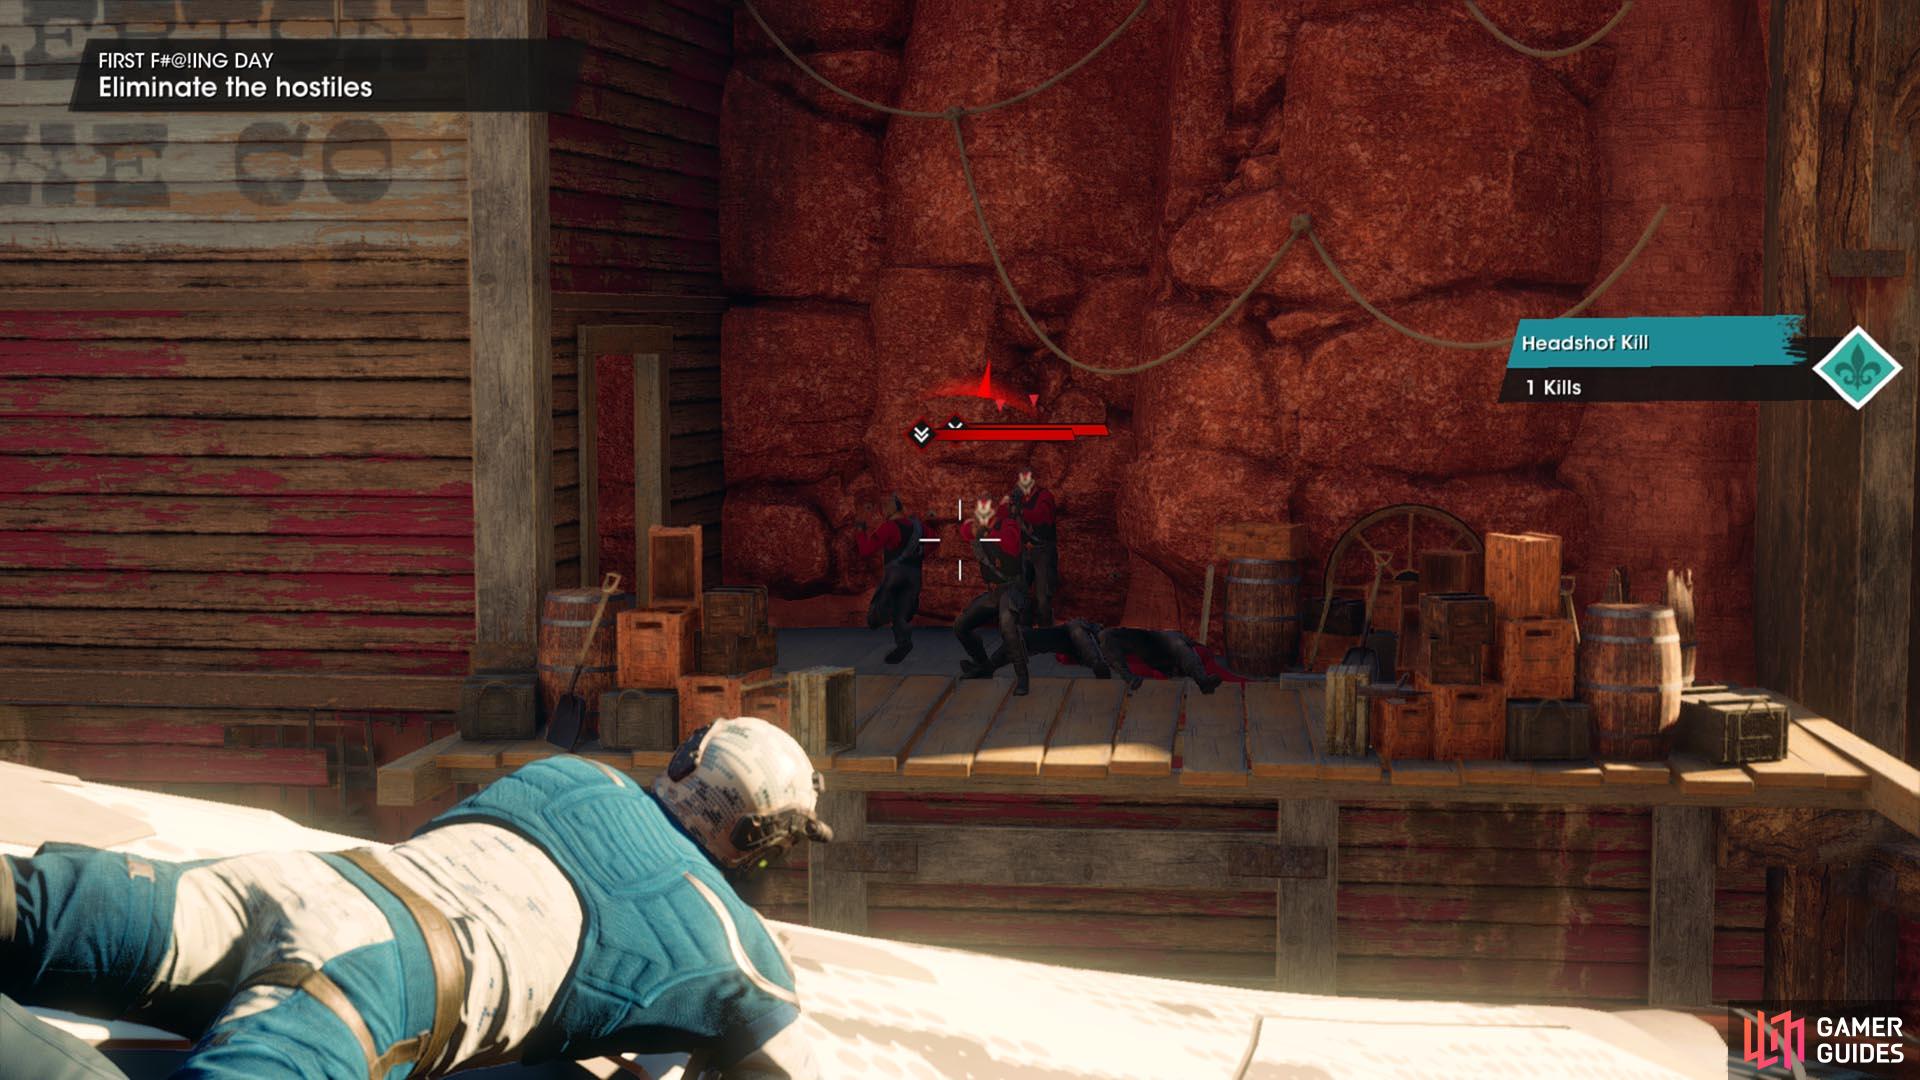
Clinging to the roof and shooting is the order of the day. Aim for all the TNT lying around.
After a long cut-scene involved you clinging on, you will eventually find yourself hanging on top of the aircraft being shot at by guards below. You need to take them out. There are a lot of them but there is also a lot of TNT you can shoot to cause big bangs and kill a lot of them easily enough.
There will be a mini cut-scene after the first wave and then you will be back at it with some more to dispatch. There should still be some TNT lying around that is worth shooting to help you out.
After a bit more killing you will return to a cutscene, the plane will crash, and more or less, after a bit more chat you have completed First F#@!ing Day.
Unlocked: Style App
Customize your look anytime, anywhere, on the phone.
You will have quieter days. Well, it’s Saints Row so maybe you won’t.
No Comments