
Information about the Pony Express Side Hustle in Saints Row, including the locations of each Pony Express event, how to complete Pony Express events, and what rewards you get for completing them.

The locations of all the Pony Express Side Hustles on the map.
What is the Pony Express Side Hustle?
Pony Express is a Side Hustle in Saints Row, a sort of side mission/minigame that is otherwise not connected to any particular Venture. Pony Express is one of the initial Side Hustles that’ll unlock after you complete the Mission Making Rent (along with Wingsuit Saboteur and @TCHA, and while there’s no incentive to complete these Side Hustles in terms of progression, you’ll earn various rewards for completing them, including XP, cash and potentially new vehicles.
There are twelve Pony Express Side Hustles you can take on, but initially only three will be available. Each Pony Express job is offered by one of three different characters - Diamond, Emilio and Julian, and once you complete one of their Pony Express jobs, the next one in their questline will appear. Each of these three NPCs offers four Pony Express job.
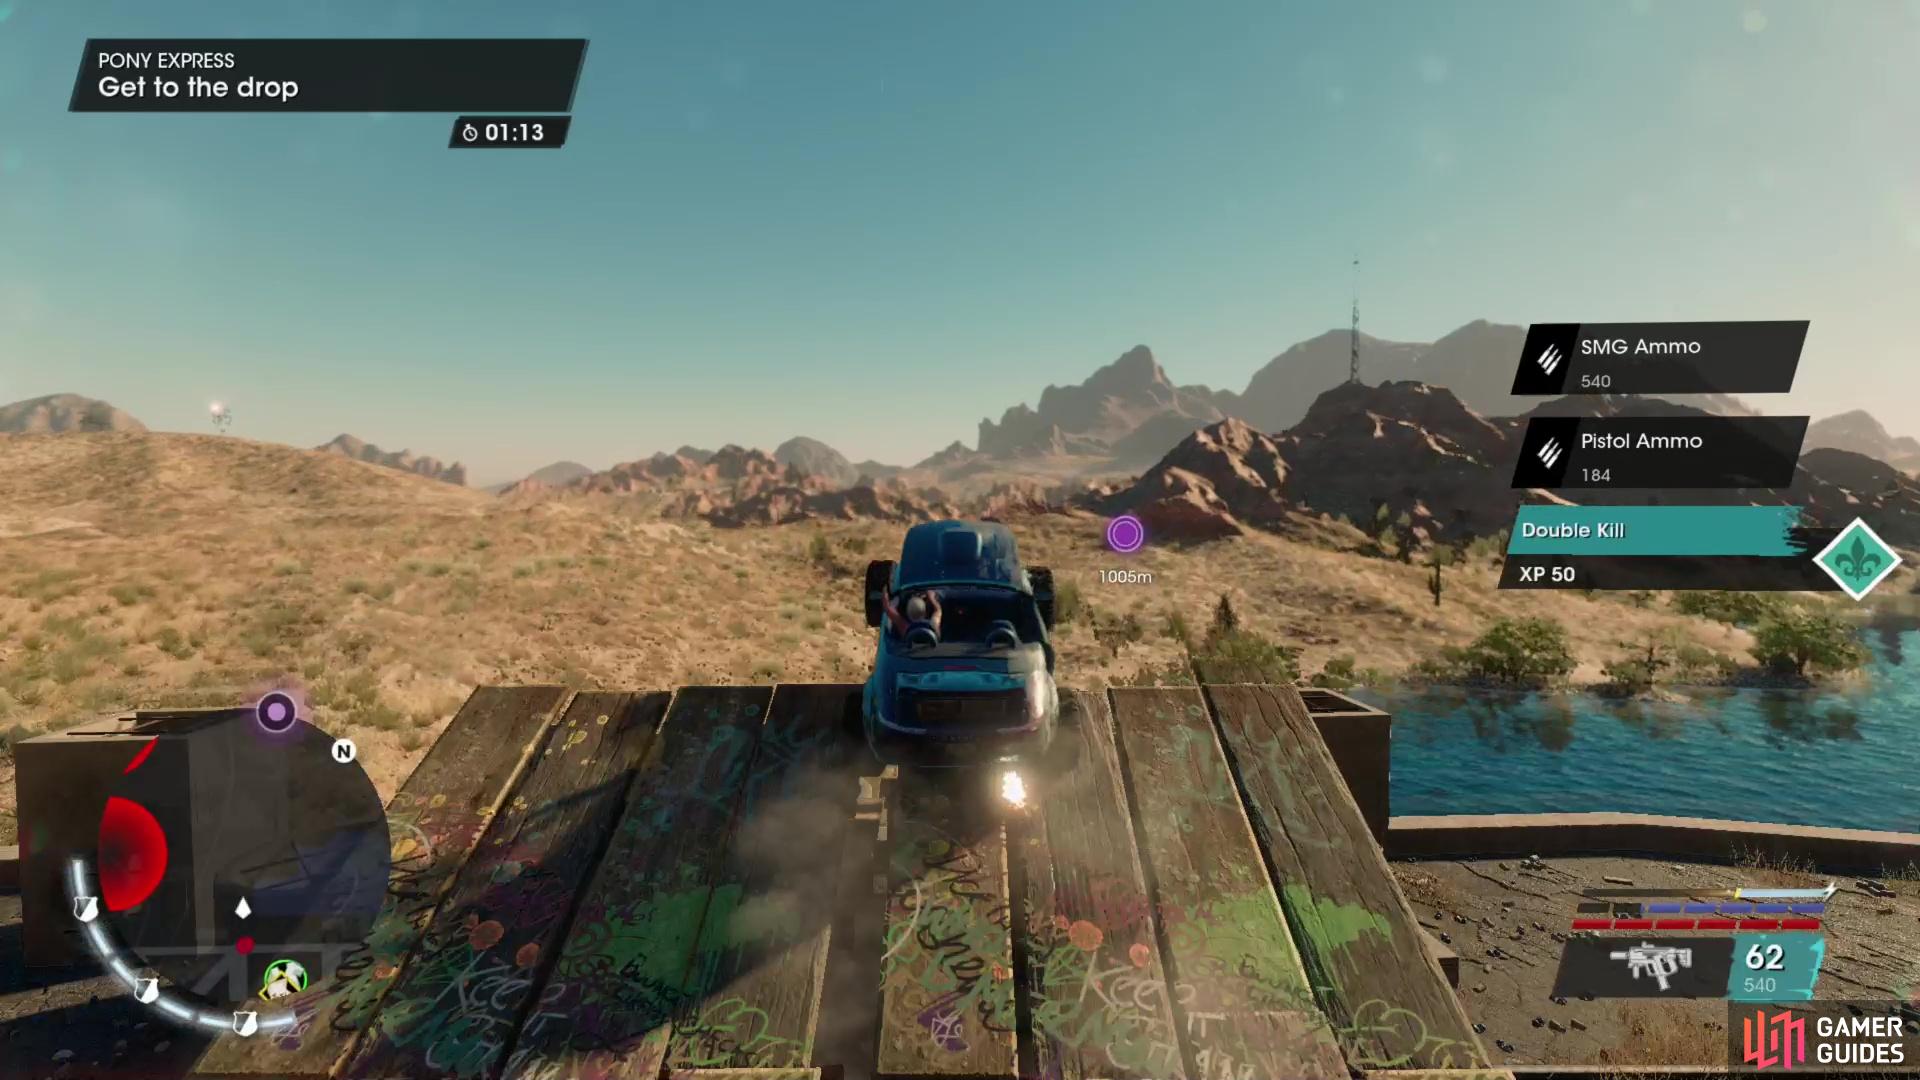
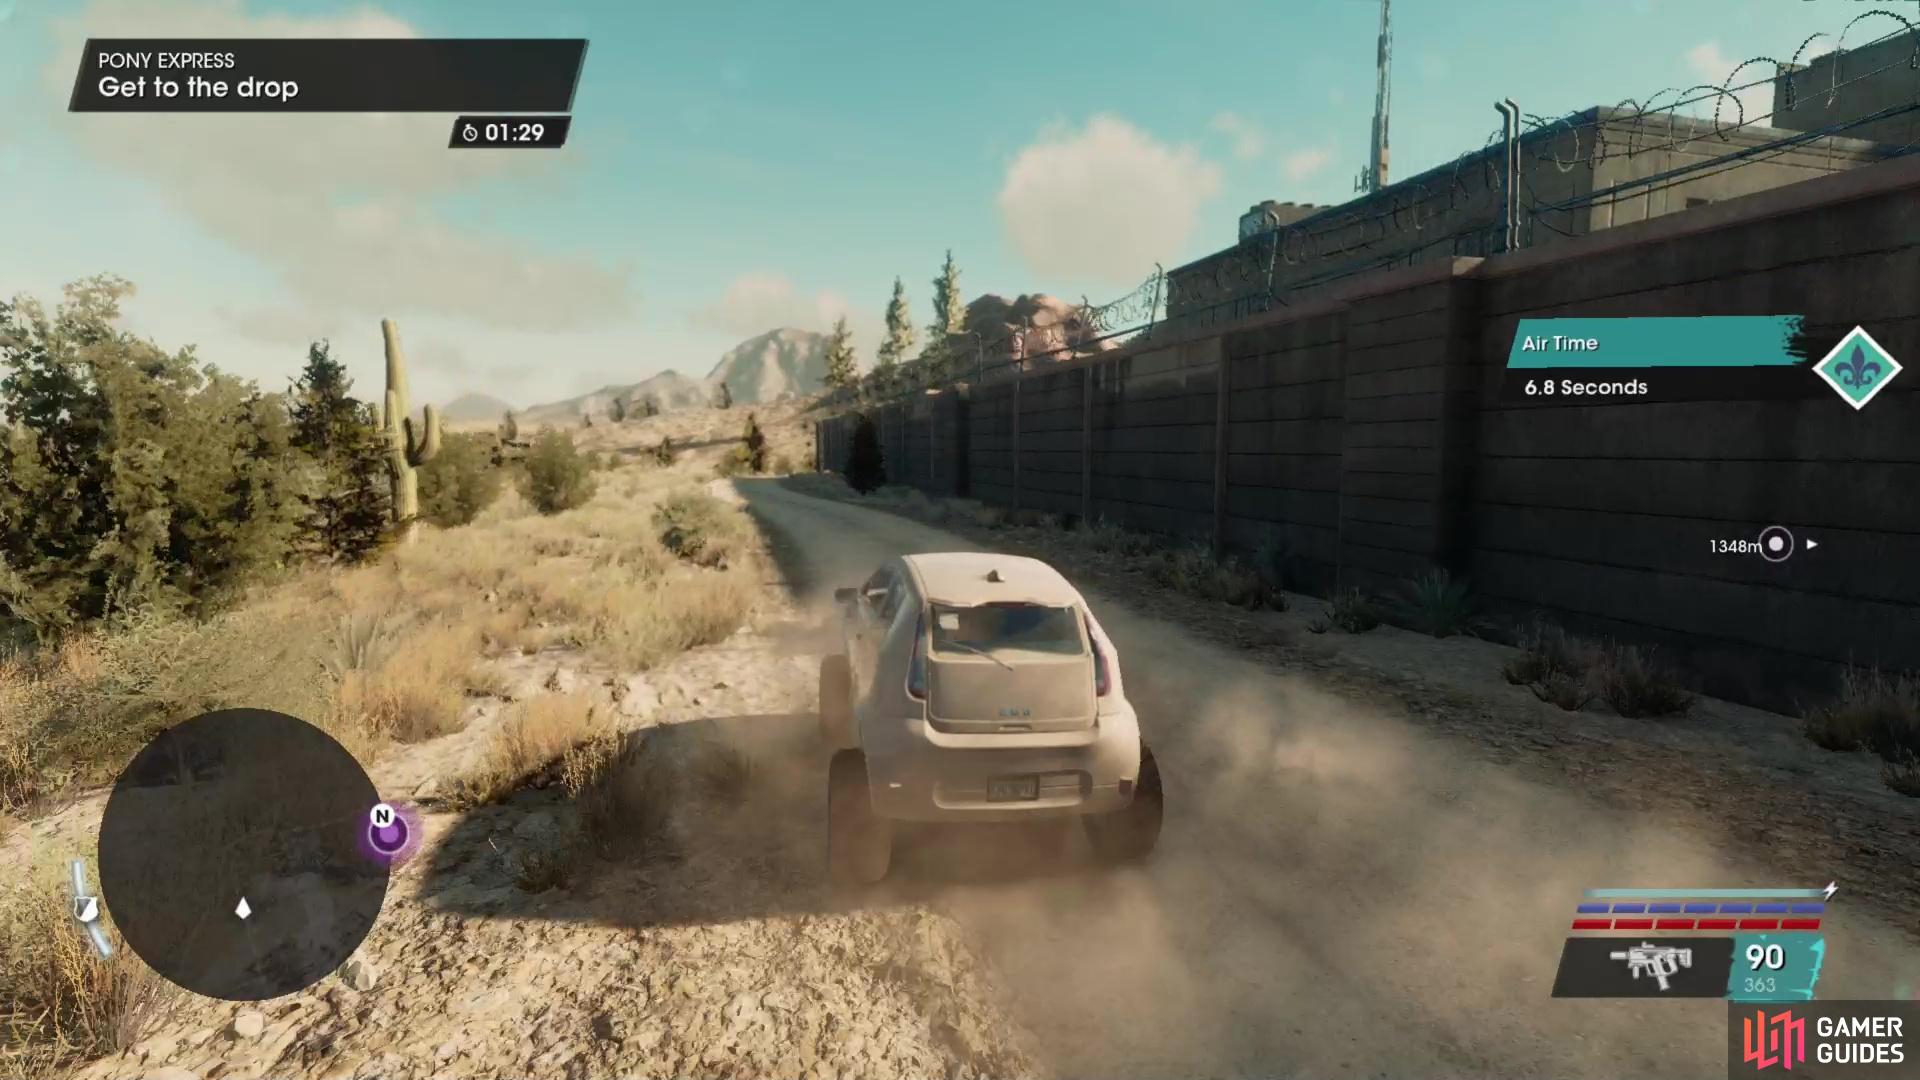
(1 of 3) Pony Express Side Hustles task you with driving (often off-road and through the desert) to a destination as quickly as possible.
How to Complete Pony Express Side Hustles
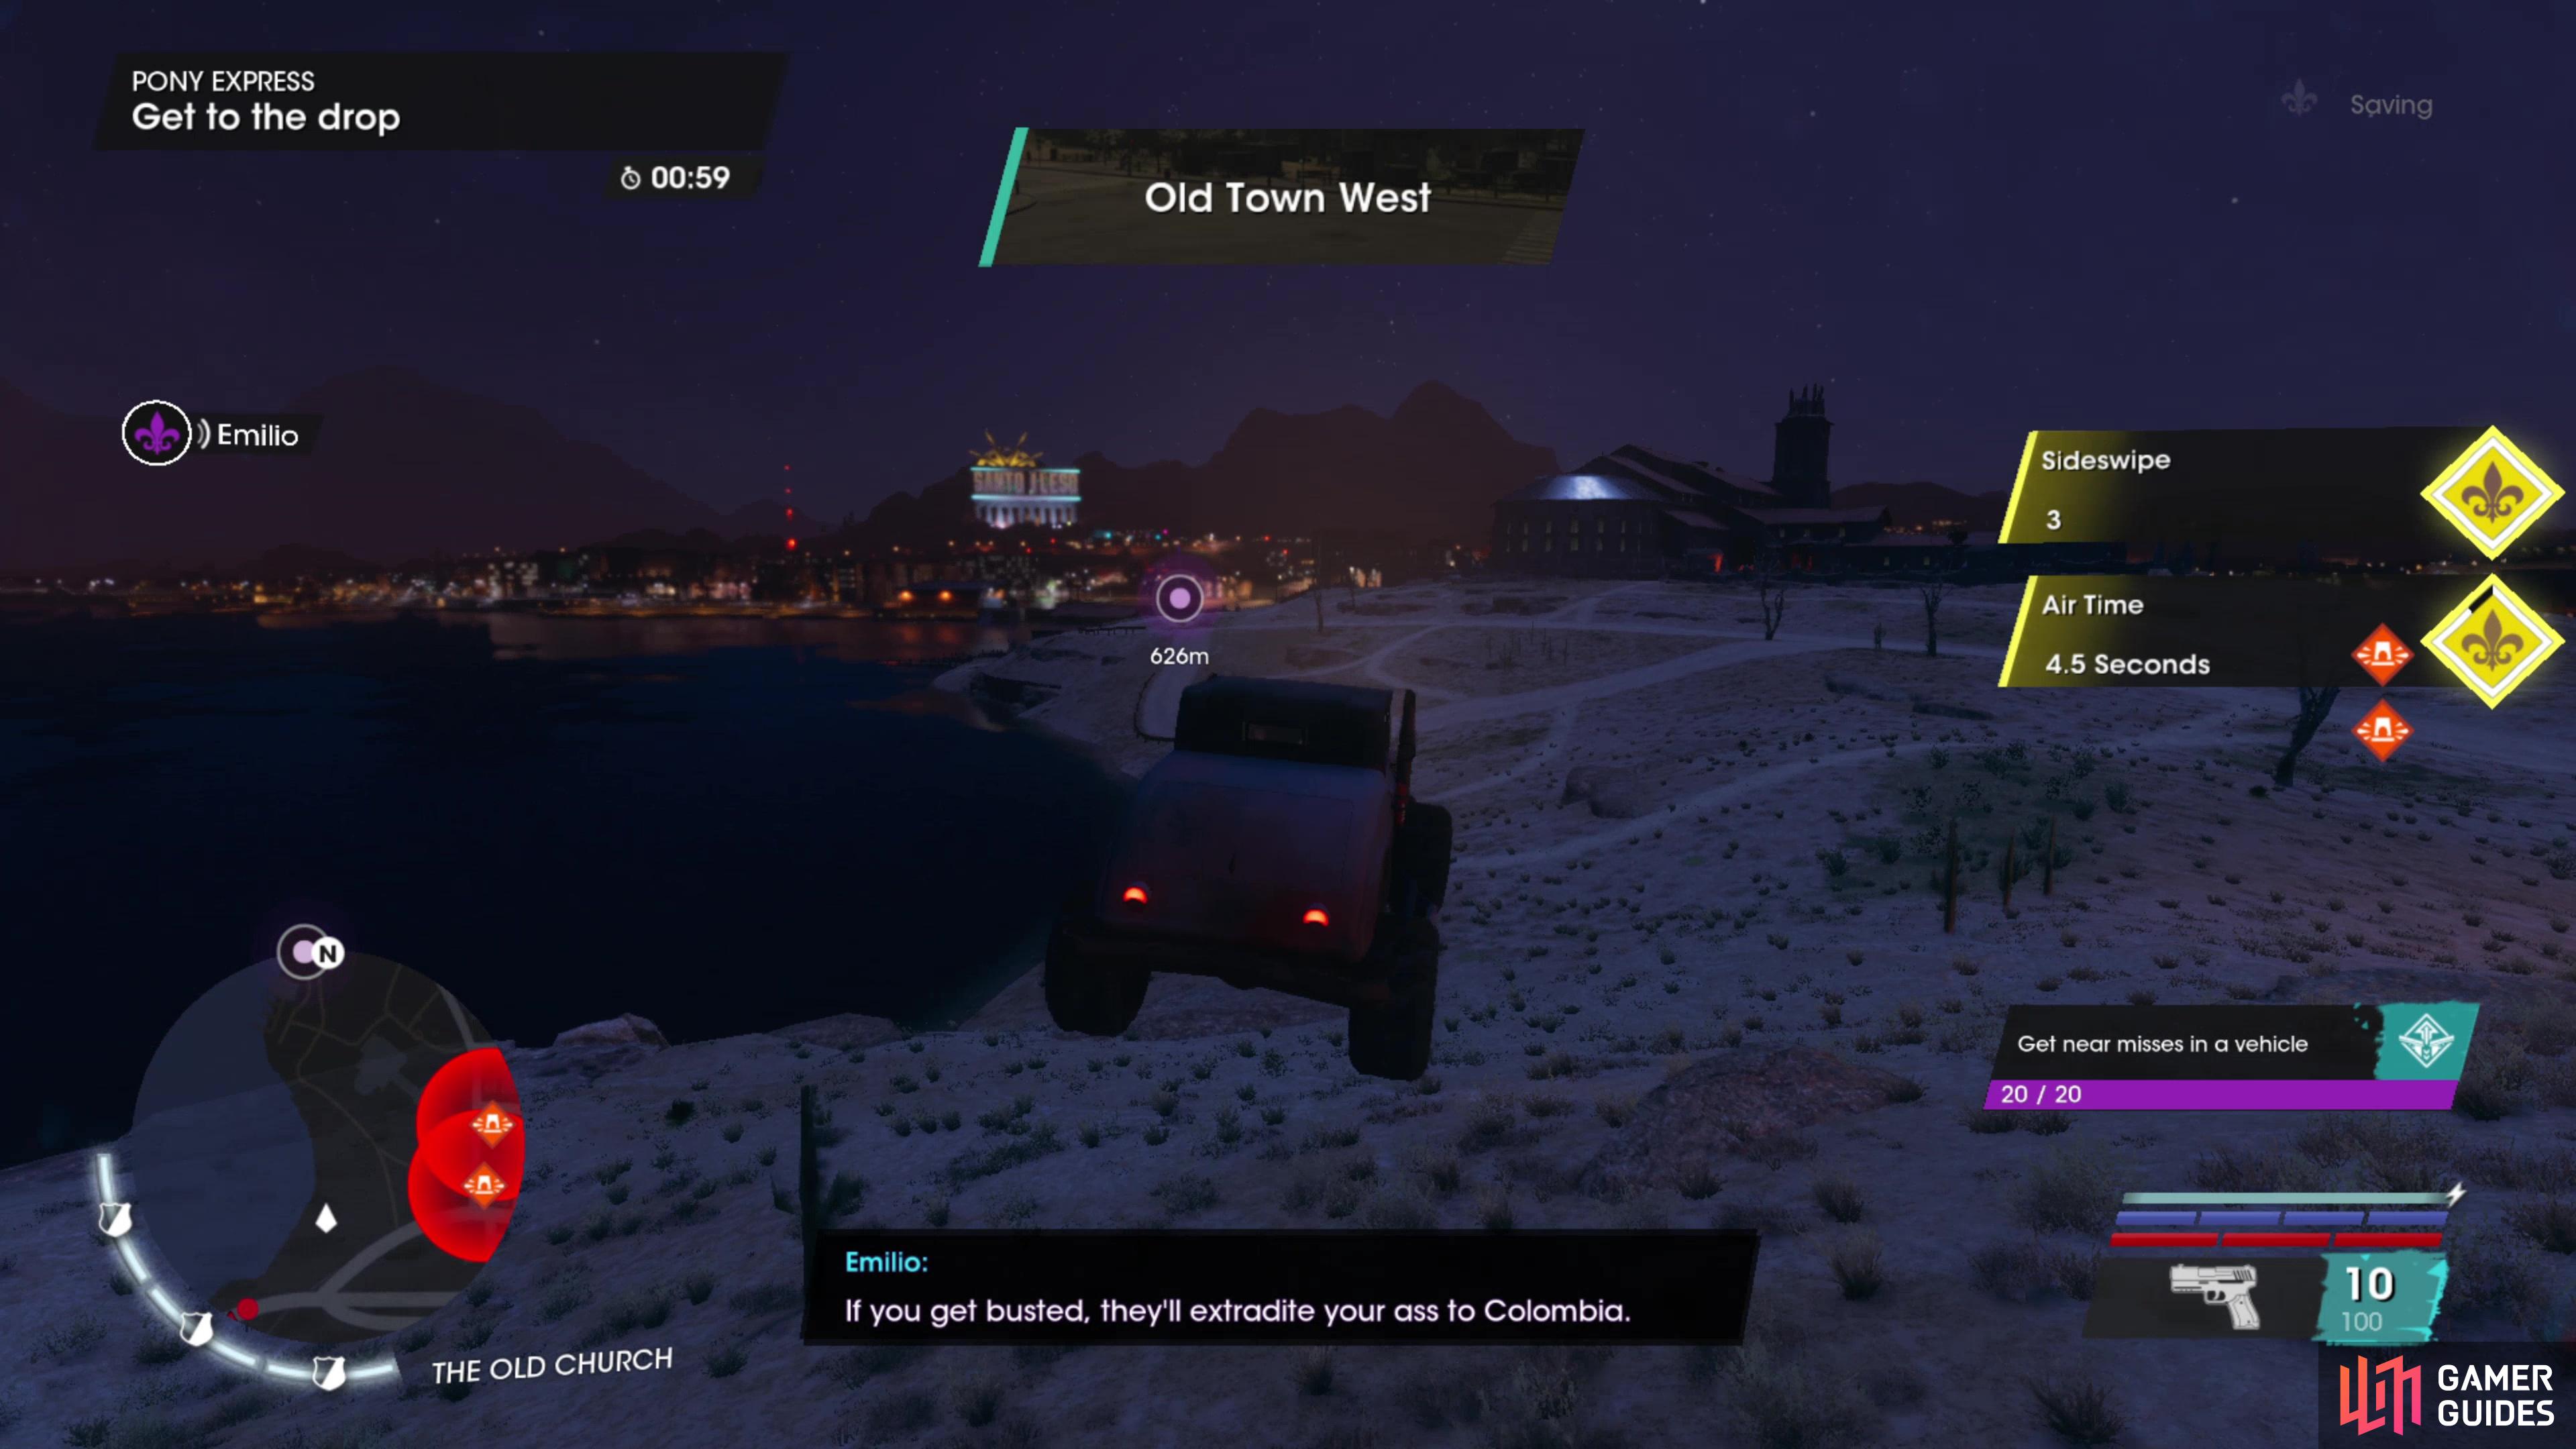
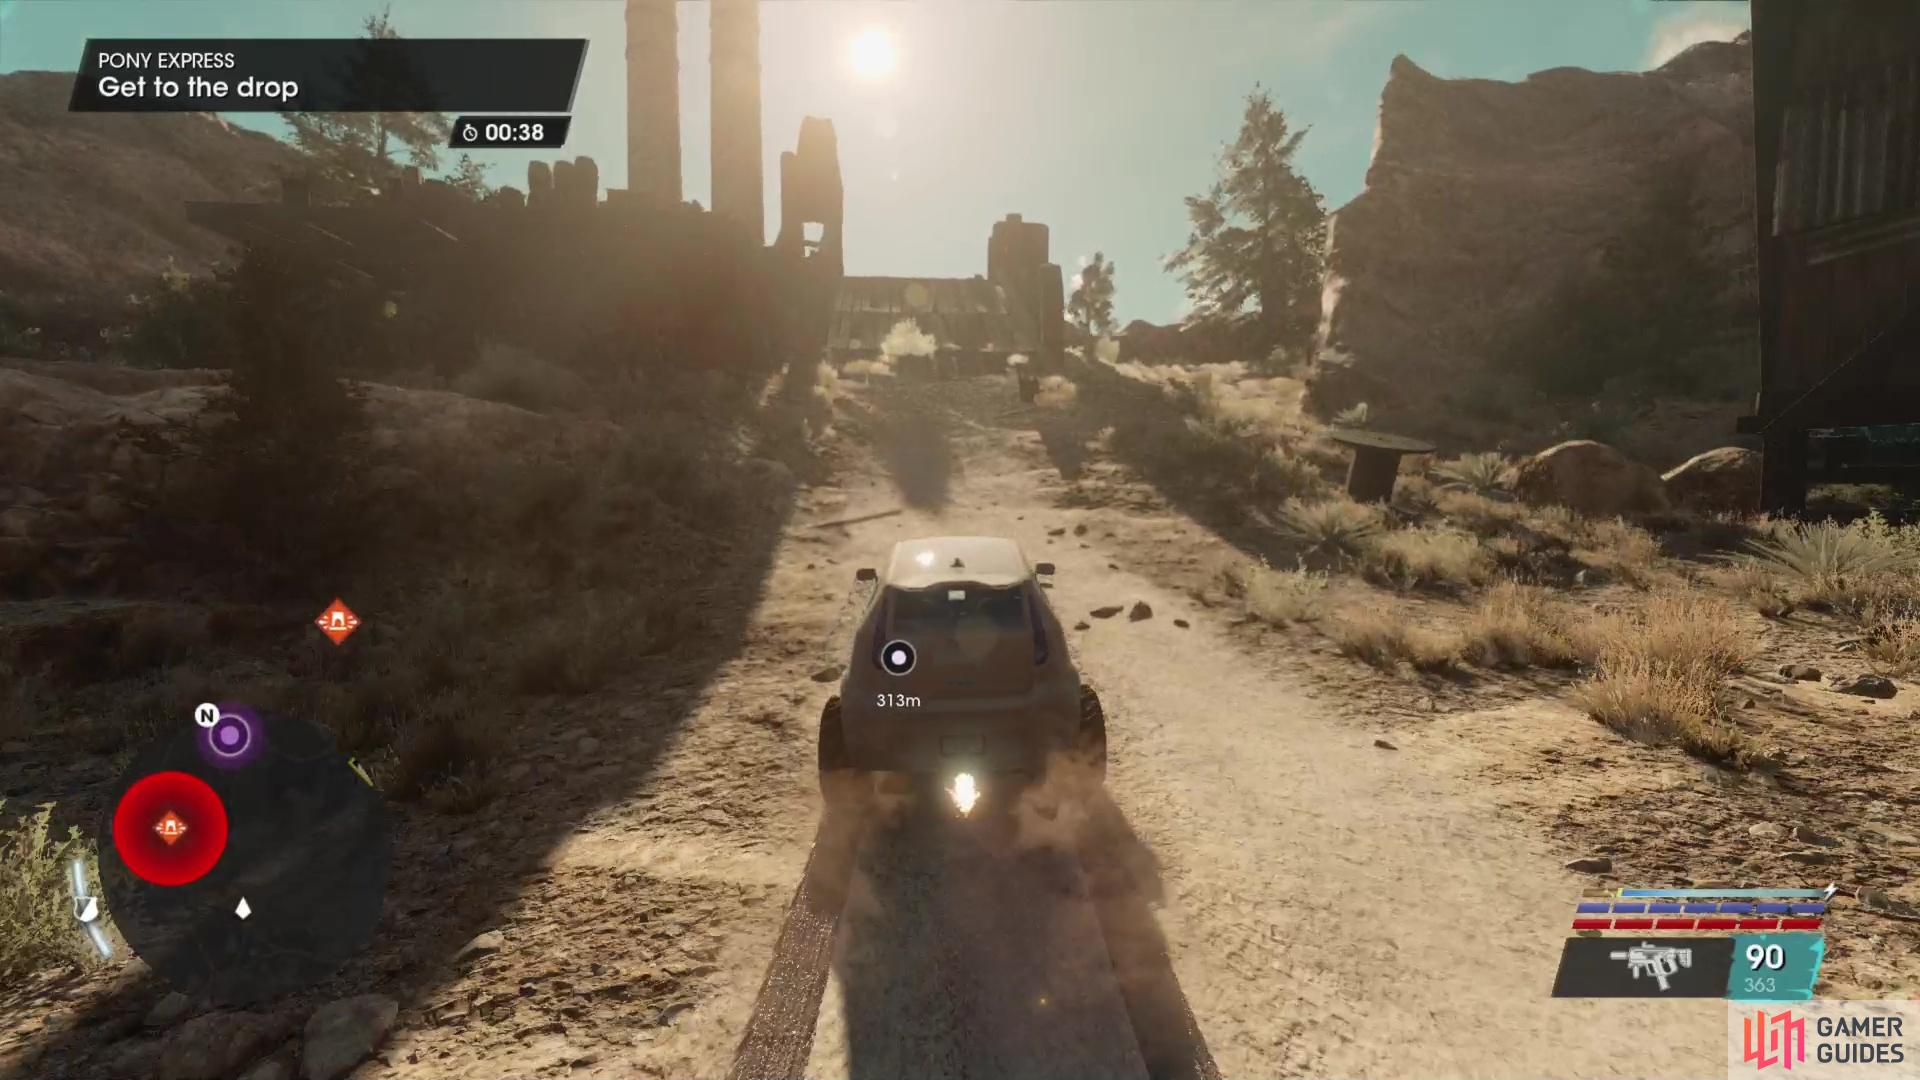
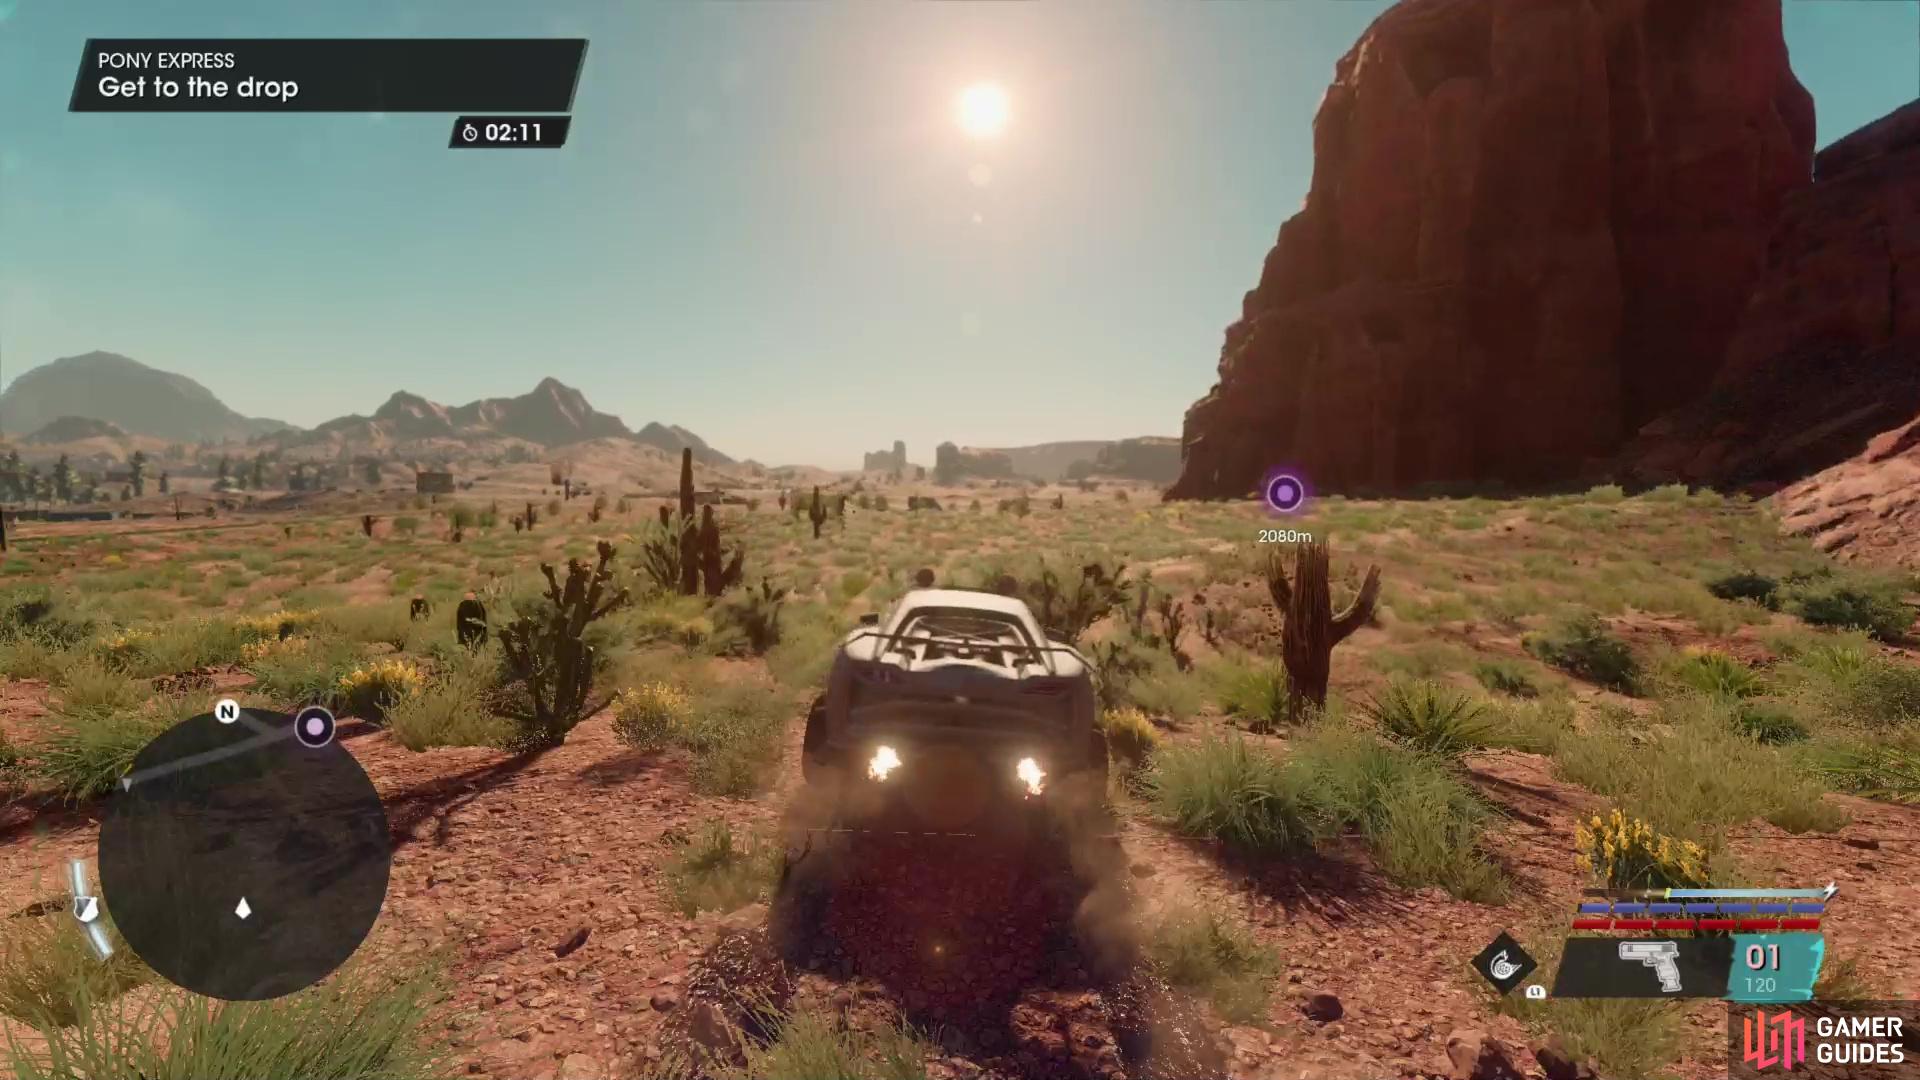
The Pony Express Side Hustle is essentially a race. Get from Point A to Point B as quickly as possible to deliver your contraband in a timely manner. To make this task interesting, however, you’ll need to evade police dragnets, which are marked on your minimap with red icons. If you get too close, police vehicles will spawn and chase you. You’ll also have police Notoriety during these Side Hustles, which may cause randomly spawning police cars to chase you, and for citizens to nark on you, which will also summon police. You don’t have to avoid police, but it’s often quicker and safer to do so, especially since most of these Pony Express jobs will take you through the desert around Santo Ileso - treacherous enough terrain without police vehicles ramming you. It should go without saying that having the Shiny & Chrome Perk will make these Side Hustle easier.
You also will be offered three Bonus Objectives for each Pony Express job. Standard for Side Hustles, these merely offer 450 XP if you complete them, and do not otherwise affect completion, progress, or the rewards you earn for completing these jobs. Some of them are conflicting, in fact, as sideswiping other vehicles is something you’re not going to do if you’re trying to avoid police dragnets, presumably to save time. If you want to ignore these Bonus Objectives and focus on just completing the job, you won’t come off any worse for doing so.
Last and certainly not least, you’ll be assigned a different vehicle for each job. You’ve no choice in this matter, and the vehicle you’re assigned can make the job easier or more difficult. Generally the vehicles you’re assigned will have the Nitrous upgrade and Off-Road Kit upgrades installed, but you’ll need to tailor your strategies based on the wheels you’re stuck with. Faster vehicles may be able to drive through police dragnets if it means staying on a road and maintaining their speed, slower vehicles might want to take a more cautious, meandering approach to reach their destination in order to avoid police scrutiny.
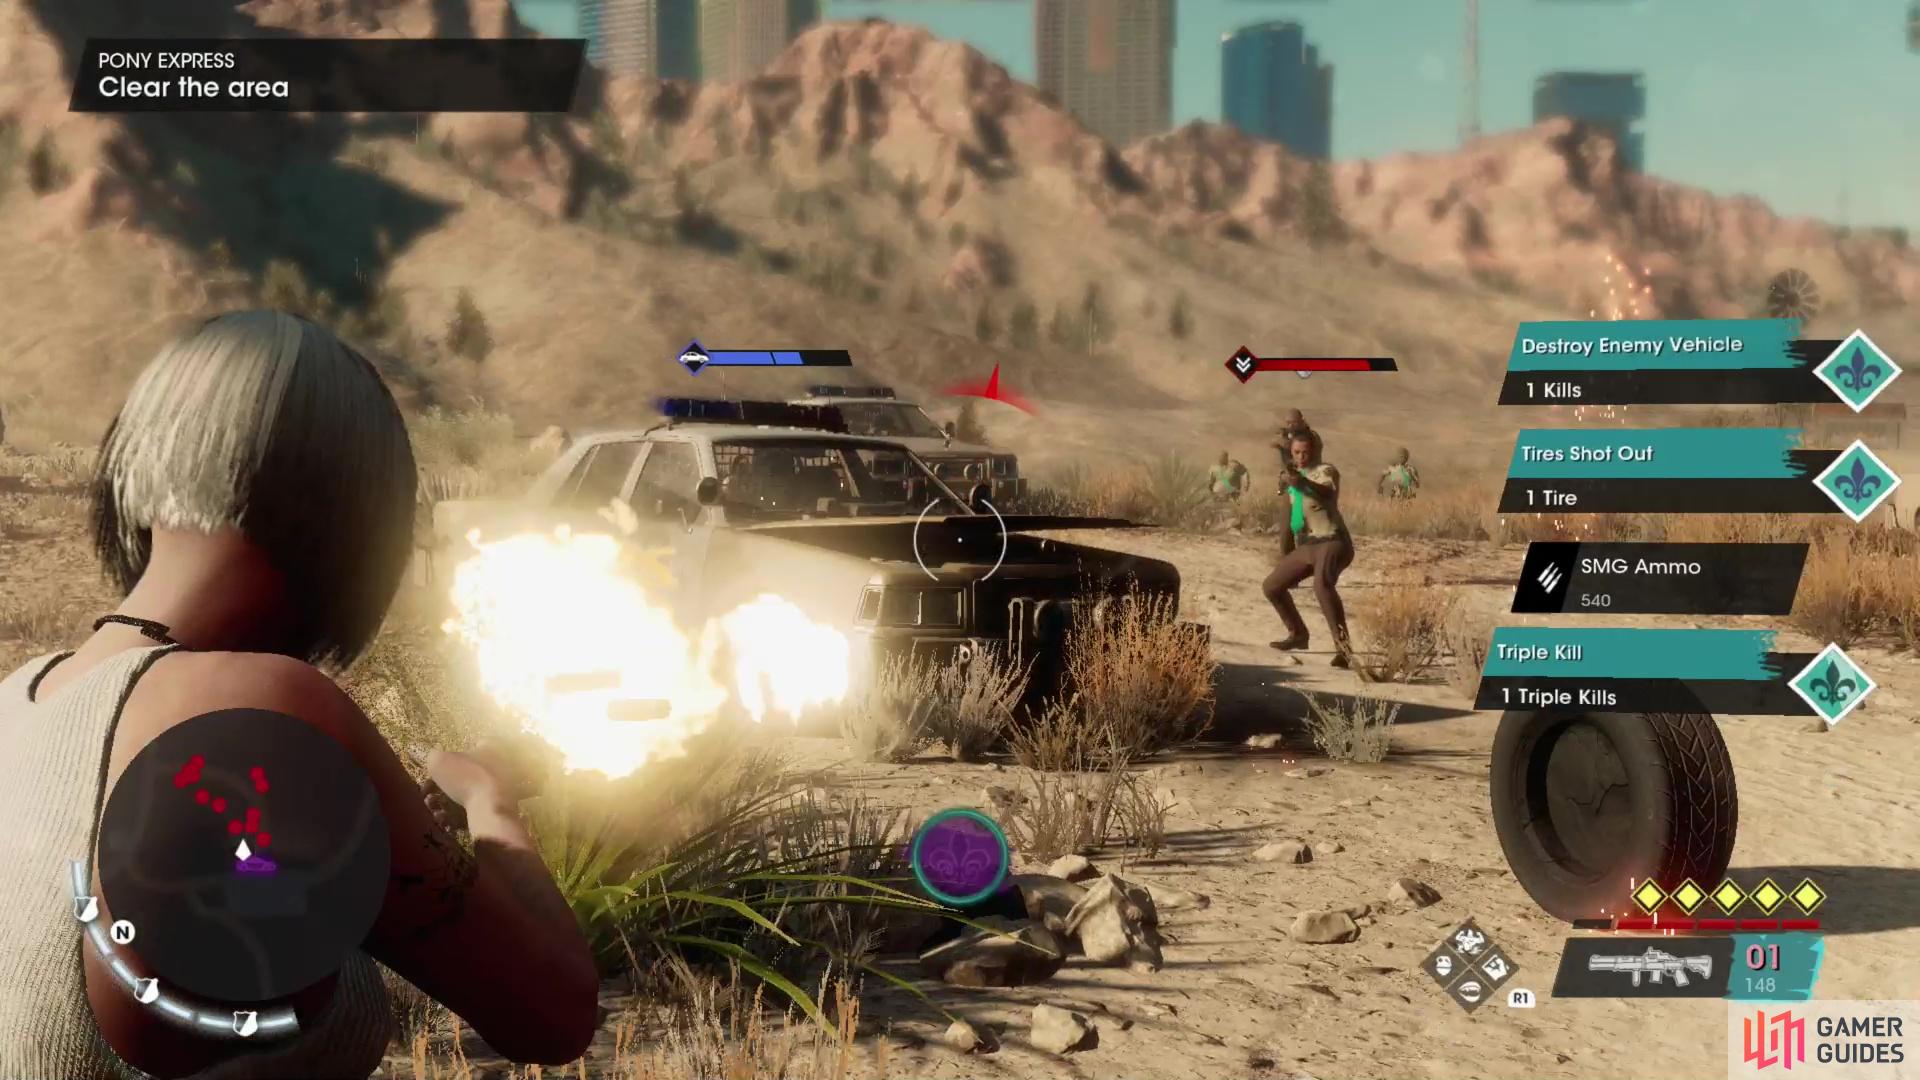
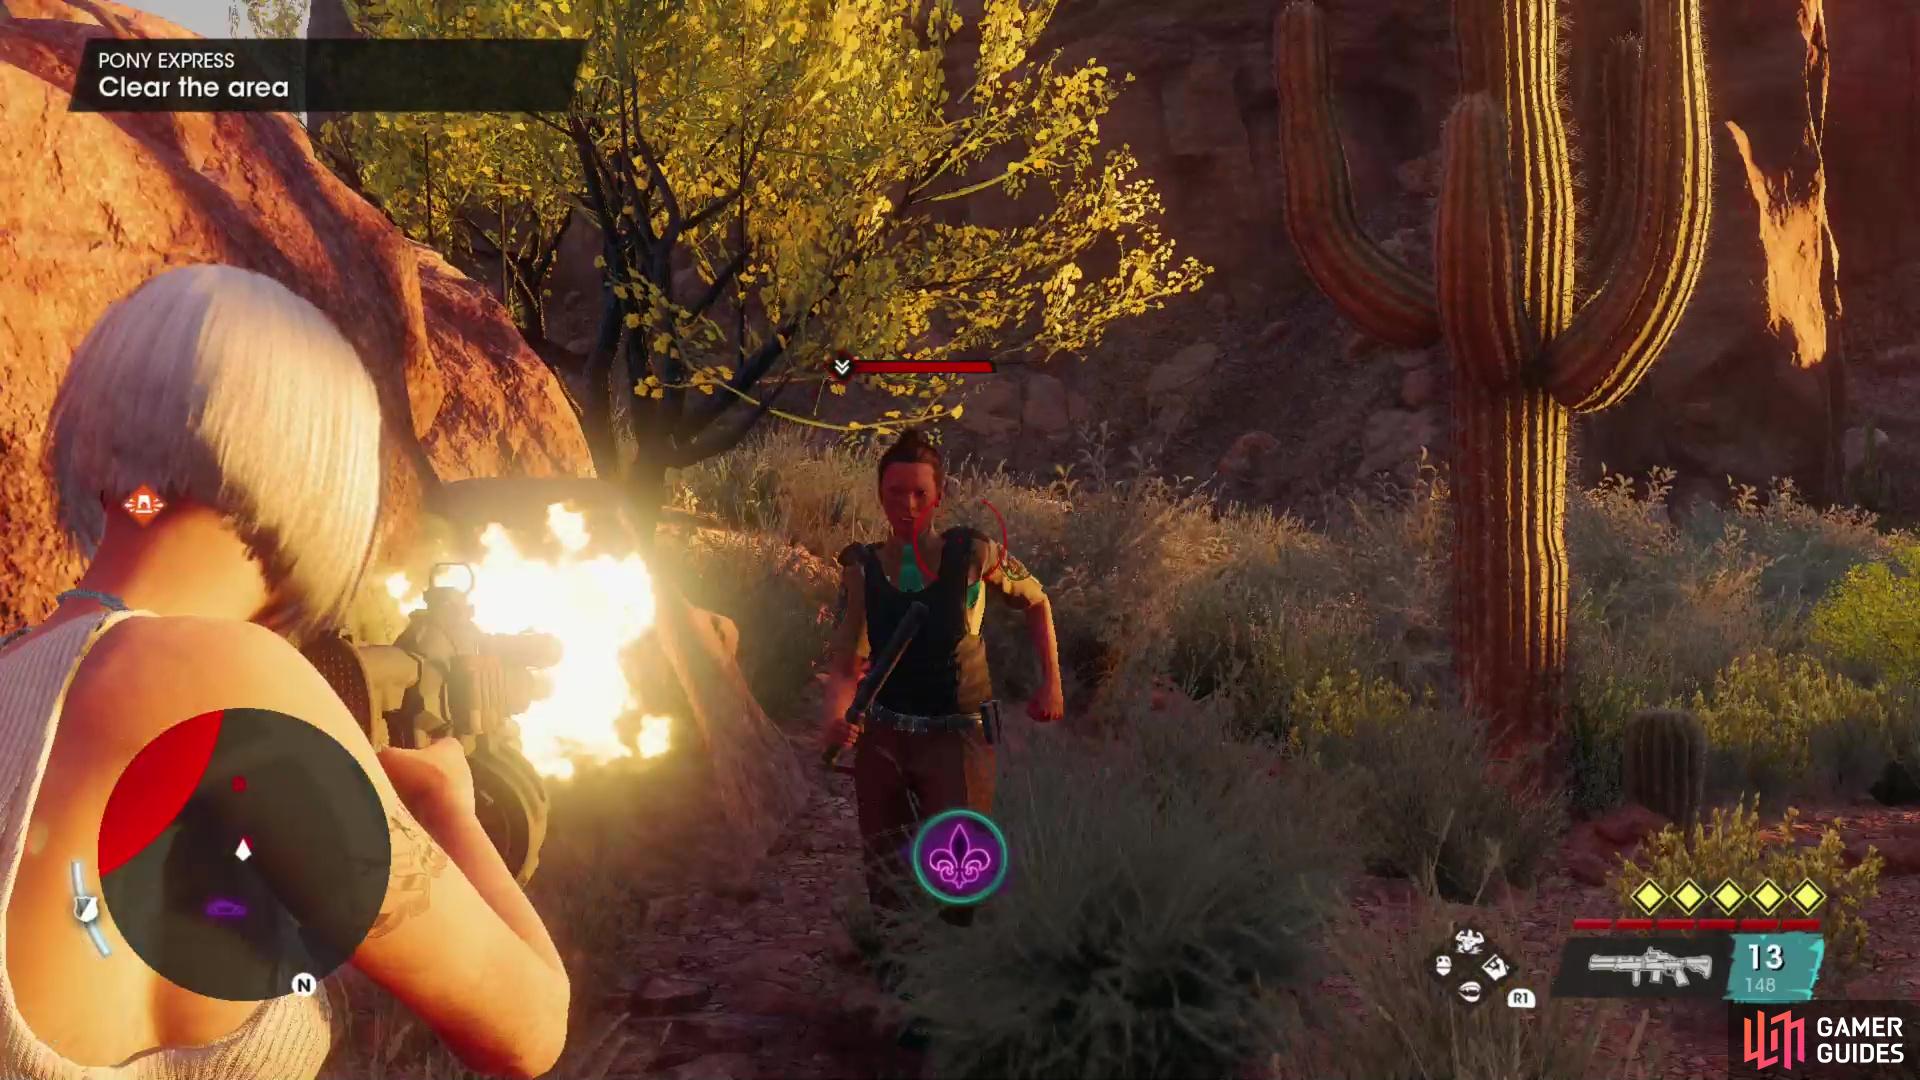
If your vehicle is destroyed, you leave your vehicle for any reason, or you run out of time you’ll fail the job, but you can retry them as many times as you wish. You can also replay these Side Hustles after completing them, if you wish. If police are chasing you when you reach your destination, you’ll have to defeat all the pursuing cops before the job will be considered complete.
How to Complete Diamond’s First Pony Express Job
| Pony Express Location | Vehicle | Bonus Objectives | Rewards |
|---|---|---|---|
| Rojas Desert South | Hopper | Get 9 seconds Total Airtime, Sideswipe 3 Enemy Cars, Finish with 20 seconds Time Left | $4,000, 1,200 XP, FB’s Buggy |
Another fairly standing Pony Express job, Diamond will guide you through some stages of it, telling you the obvious - avoid town and the cops therein, take a bridge across the water, etc. The Hopper’s a competent enough off-roader, so you should be fine skipping the police dragnets even if it means taking some small dirt roads that aren’t quite as direct as the police-infested routes are.
How to Complete Diamond’s Second Pony Express Job
| Pony Express Location | Vehicle | Bonus Objectives | Rewards |
|---|---|---|---|
| El Dorado | Courser | Get 5 seconds Total Airtime, Sideswipe 3 Enemy Cars, Finish with 20 seconds Time Left | $4,000, 1,200 XP |
The Courser might not be an obvious choice for this task, and it’s a bit fast for its own good on this romp that’ll take you almost exclusively through the desert (and off-road, if you want to avoid police dragnets), but with a bit of restraint the vehicle’s Off-Road Kit will serve surprisingly well. Avoid the cops and thread the needle between dragnets, slowing down cautiously if you must, and when you’re in the clear take advantage of the Courser’s speed and you should easily complete this job comfortably within the time limit.
How to Complete Diamond’s Third Pony Express Job
| Pony Express Location | Vehicle | Bonus Objectives | Rewards |
|---|---|---|---|
| Rojas Desert South | Saguaro | Get 5 seconds Total Airtime, Sideswipe 3 Enemy Cars, Finish with 20 seconds Time Left | $4,000, 1,200 XP |
The Saguaro (Jeep) is a fine off-road vehicle, which will be useful for the initial phases of this job, where Diamond will direct you over shallow water. After that, you’ll actually be able to spend a lot of your time on the road, casually driving past police dragnets. You might not finish this job as fast as you did when Diamond furnished you with a Courser, but it should still be a fairly easy drive.
How to Complete Diamond’s Fourth Pony Express Job
| Pony Express Location | Vehicle | Bonus Objectives | Rewards |
|---|---|---|---|
| Rojas Desert North | Sandstorm Elite | Get 5 seconds Total Airtime, Do 1 Midair Backflip, Finish with 20 seconds Time Left | $4,000, 1,200 XP |
Once again, the vehicle defines the job. The Sandstorm Elite is a capable motorcycle, but running into solid obstacles does have the rather unfortunate tendency to send you over the handlebars, and given how exposed you are on this bike, you should go out of your way to avoid the police. That said, the Sandstorm Elite is relatively nimble and fast, hence uniquely capable of threading the needle between police dragnets. Pick your route carefully, worm between police search areas, and when you have both freedom and some road, make up for lost time. With caution you should still finish this job with quite a bit of time left, making it more of a test of judgment rather than speed.
How to Complete Emilio’s First Pony Express Job
| Pony Express Location | Vehicle | Bonus Objectives | Rewards |
|---|---|---|---|
| Smelterville West | Bucket | Get 5 seconds Total Airtime, Sideswipe 3 Enemy Cars, Finish with 20 seconds Time Left | $4,000, 1,200 XP |
Your standard Pony Express job, you’ll be assigned a Bucket, an old-fashioned car that’s moderately fast and stable. After navigating the Ilesoil factory grounds, just avoid the police dragnets and you should be fine. You have plenty of time to navigate safely, so take advantage of it.
How to Complete Emilio’s Second Pony Express Job
| Pony Express Location | Vehicle | Bonus Objectives | Rewards |
|---|---|---|---|
| Badlands South | Grandad | Get 5 seconds Total Airtime, Sideswipe 3 Enemy Cars, Finish with 20 seconds Time Left | $4,000, 1,200 XP |
The Grandad is a surprisingly sluggish truck whose handling is poor in the best of circumstances, so you might as well just ignore the roads and take to the hills, especially if it allows you to skirt the cops. Regardless of how you try to evade the police, random cops always seem to spawn during this job, and you’ll likely get into a substantial firefight when you reach your destination, as there’s a police dragnet nearby.
There’s no need to avoid the police in a Gargantua!
How to Complete Emilio’s Third Pony Express Job
| Pony Express Location | Vehicle | Bonus Objectives | Rewards |
|---|---|---|---|
| Badlands North | Gargantua | Total 3 seconds Time Drifting, Crush 15 Enemy Cars, Finish with 20 seconds Time Left | $4,000, 1,200 XP |
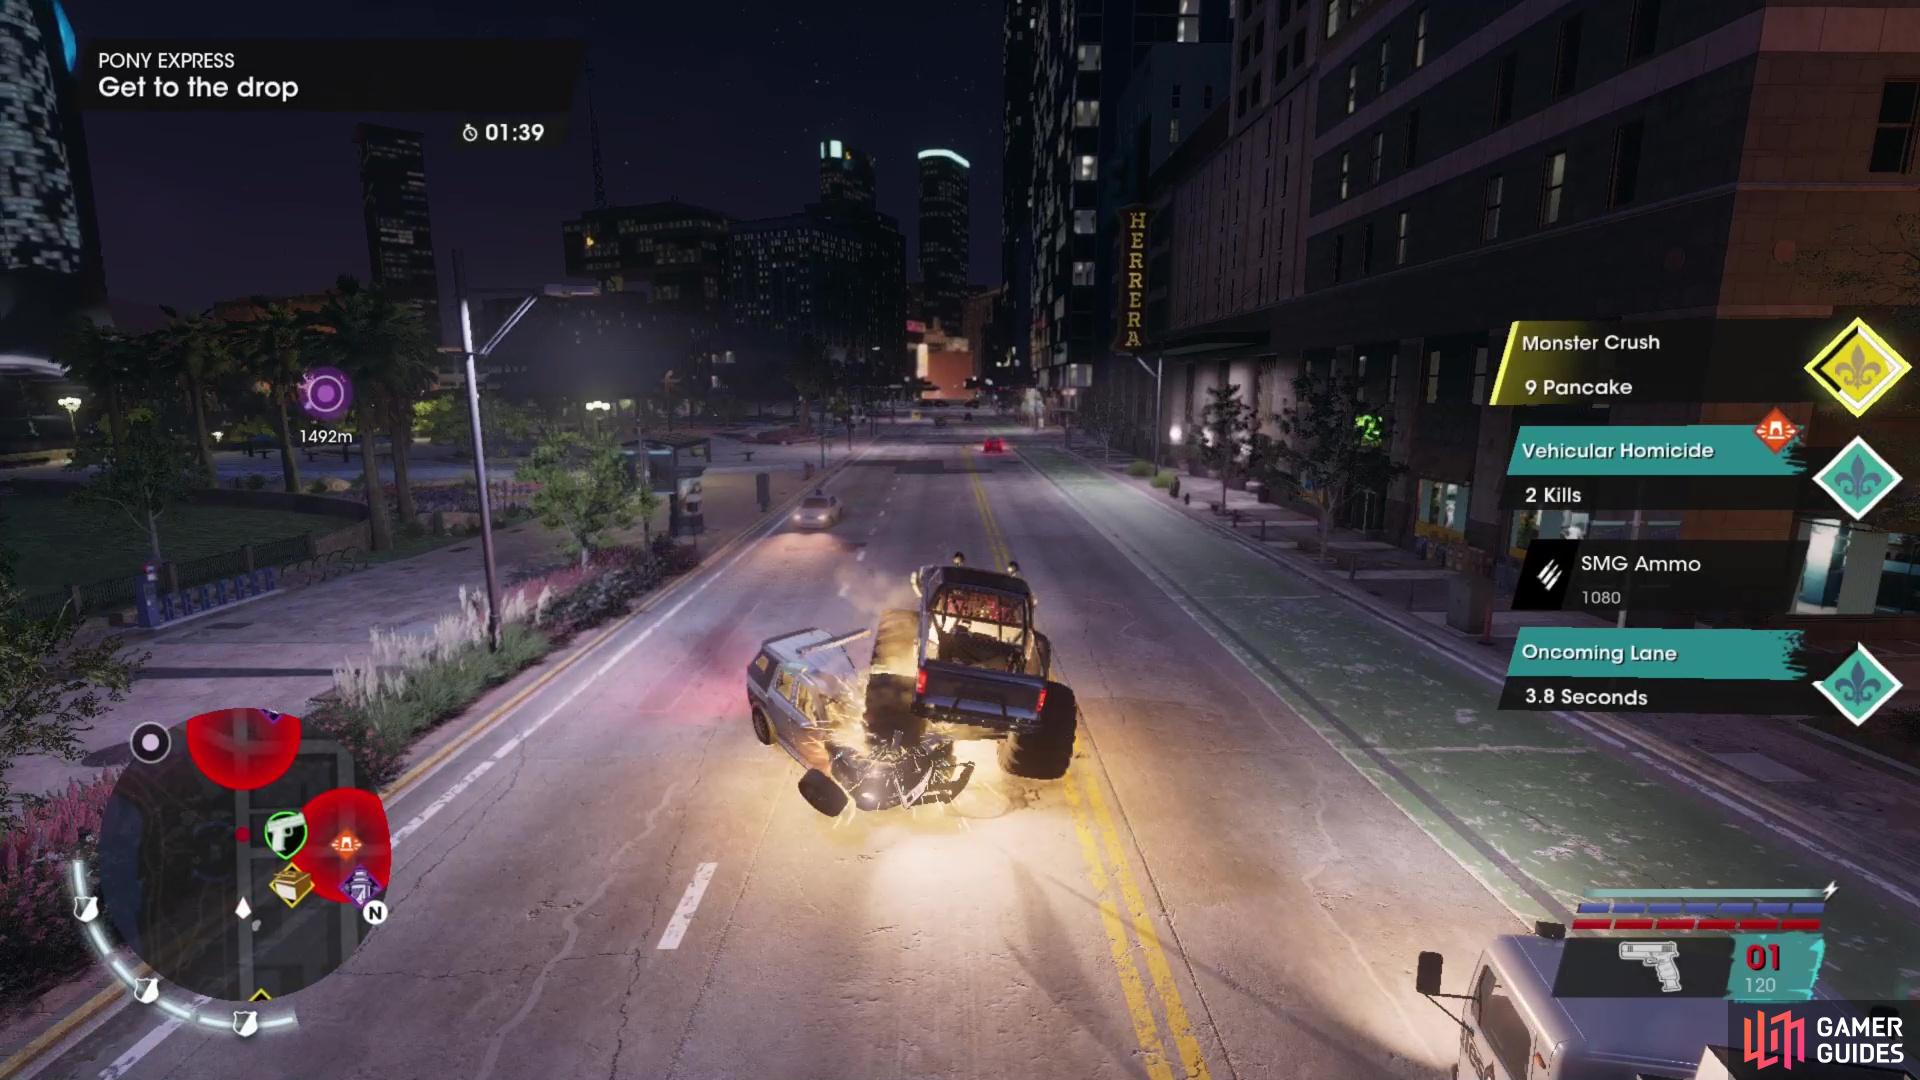
Along with Julian’s fourth delivery, Emilio’s third delivery is one of the easiest - and most unique - Pony Express jobs. You’re told to be stealthy, only to be seated in a Gargantua. Don’t even bother avoiding the police this time around (or civilian vehicles for that matter), your monster truck will flatten any pursuers. Just barrel through the streets of Lakeshore North and Lakeshore South to reach your destination - the stadium in East Flats. Easy-peasy.
Hit a ramp to escape Santo Ileso and reach the Badlands North.
When you reach your destination you’ll invariably have to dispose of a horde of police.
How to Complete Emilio’s Fourth Pony Express Job
| Pony Express Location | Vehicle | Bonus Objectives | Rewards |
|---|---|---|---|
| East Flats | Crisis | Get 5 seconds Total Airtime, Sideswipe 3 Enemy Cars, Finish with 20 seconds Time Left | $4,000, 1,200 XP, Schooner |
Perhaps the most difficult Pony Express job - Emilio giveth, and Emilio taketh away. Like last time you’ll find yourself blitzing carelessly through the streets of western Santo Ileso, but this time around you’re driving a Crisis, a fast vehicle, but nowhere near as capable of dealing with pursuers as the Gargantua was. This is a shame, as you’ll spawn right on top of a police dragnet, and it’s largely a wasted effort to try and avoid them, as they’re all over the city and the streets don’t give you a whole lot of room to maneuver. If you try to evade the police (aside from the ones you’re saddled with by default, of course), time might become an issue, if not, vehicle durability and police interference threaten to derail you.
We suggest just making your way northwest down the four-lane road just to the left of where you start this job. It’s riddled with police barricades, but your job is to distract, and this is definitely going to get the attention of the authorities. Just avoid the APCs - they won’t be too impressed by the efforts of your Crisis to dislodge them. The make-or-break moment for this job comes at the end of the road, where you’ll find a ramp catapulting you out of Lakeshore South and into Badlands North. If a police vehicle sends you off-course at the wrong moment, it could botch the entire job. Fortunately it’s a short enough Side Hustle that retrying a few times isn’t going to be all that painful. When you get it right and reach the freedom of the desert, this turns into a more normal Pony Express job, albeit with a lot more cops chasing you.
Make it through the desert and to the destination and you’ll have to deal with one final complication - all those police aren’t going to kill themselves, unfortunately. You’ll have to fend off quite a horde of cops (including shield-bearing SWAT squads) to secure the delivery site and end the job. Just draw attention away from your parked Crisis so it doesn’t become collateral damage, and don’t be shy about destroying parked police vehicles - for some reason vehicles in Saints Row explode like grenades. Awfully useful for clearing out a host of enemies who are perhaps standing a bit too close to said vehicles for their own good.
Circle around a Marshall prison,
then hit a ramp near an abandoned mine to reach your destination.
How to Complete Julian’s First Pony Express Job
| Pony Express Location | Vehicle | Bonus Objectives | Rewards |
|---|---|---|---|
| Badlands South | Emu | Get 5 seconds Total Airtime, Sideswipe 3 Enemy Cars, Finish with 20 seconds Time Left | $4,000, 1,200 XP |
The humble Emu isn’t an ideal choice for… anything, really. It’s not terribly durable and its top speed and handling are mediocre. Fortunately the job plays down to the Emu’s weaknesses, as you can largely follow various roads north while avoiding police dragnets without much trouble. About midway through your trip you’ll come across a Marshall prison - follow the road west and circle behind the prison to avoid police, then continue north until you reach an abandoned mine. Julian will mention this to you, and tell you about a ramp you can take to facilitate an expeditious escape. If you hit this ramp you’ll land just over 100 meters away from your destination, with nothing to stop you from easily completing the job.
How to Complete Julian’s Second Pony Express Job
| Pony Express Location | Vehicle | Bonus Objectives | Rewards |
|---|---|---|---|
| Badlands North | Varsity | Get 5 seconds Total Airtime, Sideswipe 3 Enemy Cars, Finish with 20 seconds Time Left | $4,000, 1,200 XP |
The Varsity is a more reliable vehicle than the Grandad, but it’s still not great, and while you can make a good pace through the desert with this vehicle, you’re arguably better served by sticking to the roads as much as possible. Avoid the police and use your nitrous whenever you have some clear road ahead of you. The time will be tight, especially if you take a detour near the end to avoid the police. This may ultimately be a futile effort, however, as there are police at the destination, so you’re bound to fight at least two cops - a few more might be a worthwhile tradeoff for the extra time you’ll gain by just barreling through the dragnet a few hundred meters away from your goal.

The Palanquin is a terrible vehicle, and your first task is to escape the golf course in which it dwelt.
Take a shortcut through a police dragnet to finish the job, then dispose of the nosy cops who show up.
How to Complete Julian’s Third Pony Express Job
| Pony Express Location | Vehicle | Bonus Objectives | Rewards |
|---|---|---|---|
| Monte Vista | Palanquin | Get 5 seconds Total Airtime, Sideswipe 3 Enemy Cars, Finish with 20 seconds Time Left | $4,000, 1,200 XP |
Your steed for this job is your worst enemy, the Palanquin, a golf cart, doesn’t handle well or does it have a high top speed. Your first objective is to escape the golf course, avoiding ponds, police and nosy pedestrians, among other obstacles. Once you reach the highway this becomes a fairly standard Pony Express, although you’ll definitely want to evade the police this time around, as the Palanquin is a terrible vehicle to try to ram with. Police dragnets aren’t too dense until you near your destination, but they do lie along the roads, forcing you into the desert. Still, it’s not a difficult job once you’re off the golf course. Police are close to your destination, so you’ll probably have to fight at least a pair of cops to finish off this job.
While not the best off-roading vehicle, the Attrazione’s speed more than makes up for any of its flaws.
How to Complete Julian’s Fourth Pony Express Job
| Pony Express Location | Vehicle | Bonus Objectives | Rewards |
|---|---|---|---|
| Rojas Desert South | Attrazione | Get 5 seconds Total Airtime, Sideswipe 3 Enemy Cars, Finish with 20 seconds Time Left | $4,000, 1,200 XP, The Kingmobile |
This job is basically a freebie, as Julian furnishes you with an Attrazione to complete the delivery. It might not be the most obvious choice of vehicle for this task, but with an installed Off-Road Kit, it does fine. Once you’re off the dam grounds you’re pretty much in the clear, as this vehicle can blitz past police vehicles without much worry. You’ll be able to stick to roads of various quality for much of this ride, taking a brief detour into the desert when police dragnets force you, but even exercising such caution you can easily make it to your destination with a minute left on the clock. Cake.
No Comments