
Description
Bridges and inclines allow you and your villagers to reach other parts of your island, like higher levels and the land across rivers. Having lots of bridges and inclines also increases your island’s appeal and increases ratings.
Building an Incline
An incline will allow your villagers to reach higher areas of the island, and you won’t have to use your ladder! To build an incline, speak to Nook and choose the option, About bridges/inclines. Then choose to talk to him about inclines instead of bridges.
The inclines are expensive, but the cheapest option is 98,000. And, once you’ve placed the incline, you don’t have to pay for it straight away! You can add a little money towards it each day, or you can pay it all in one go. It won’t be built until you’ve paid off all the construction fees though.

The inclines can be quite expensive, but you don’t have to pay the fees all at once.
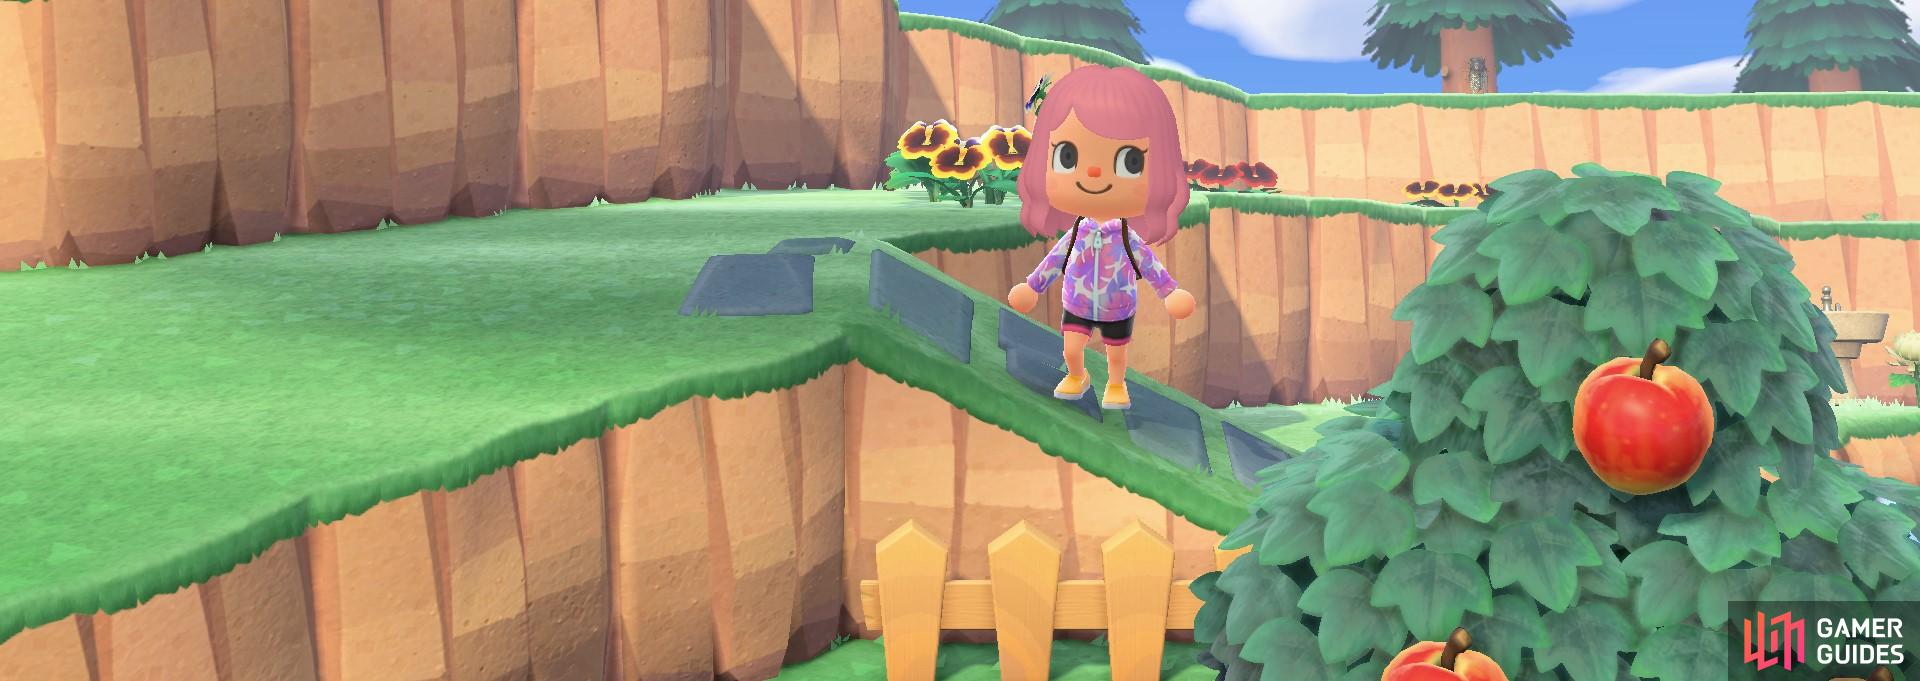
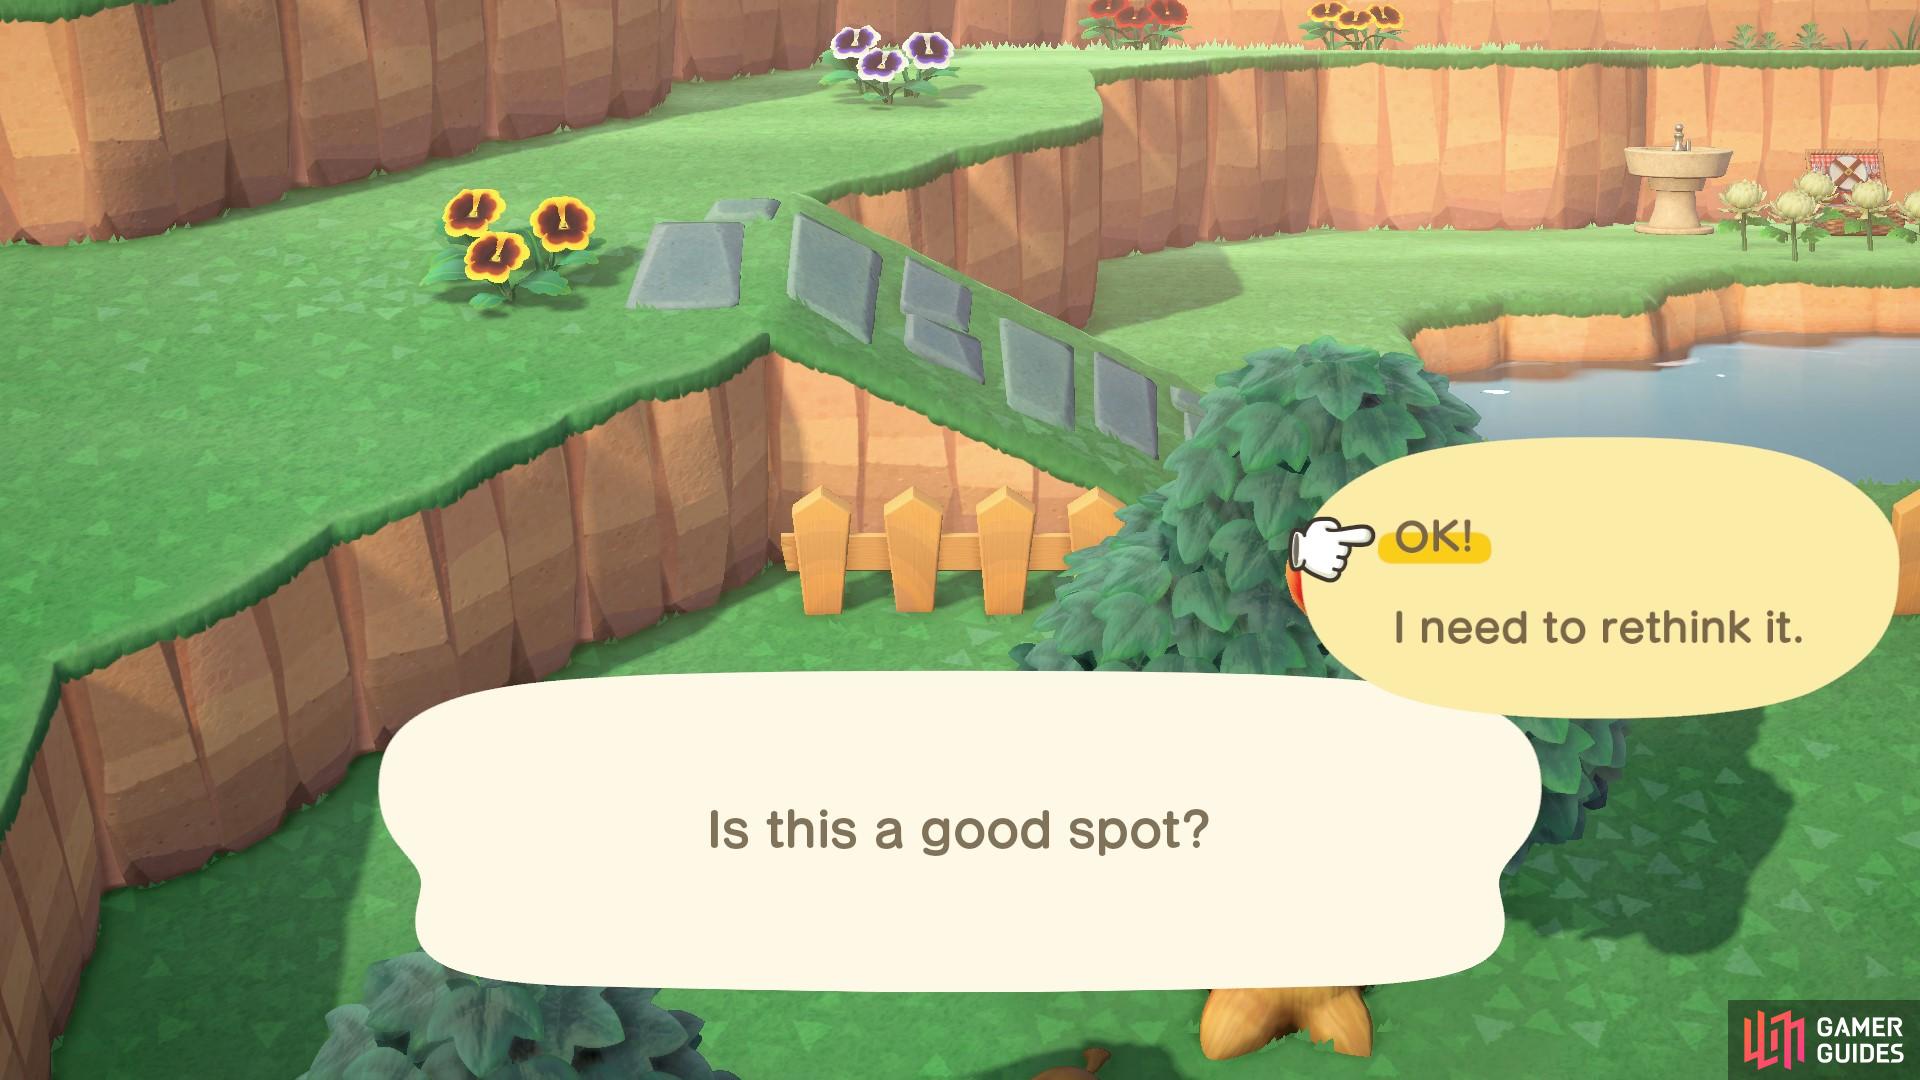
Once you’ve chosen an incline style (you probably want to start with the natural ramp), Nook will give you an incline marker kit. You’ll have to play around with the location of the ramp, as it has a few requirements that need to be met, like even cliff face and not too close to lakes and houses, etc.
An incline will mean your villagers can wander up to higher levels of your island.
When you’ve picked a spot, Lloid will manage the accepting of donations. Your villagers will donate a little money everyday towards the construction, but it is really not a lot. You might as well just pay as much as you can towards the incline.
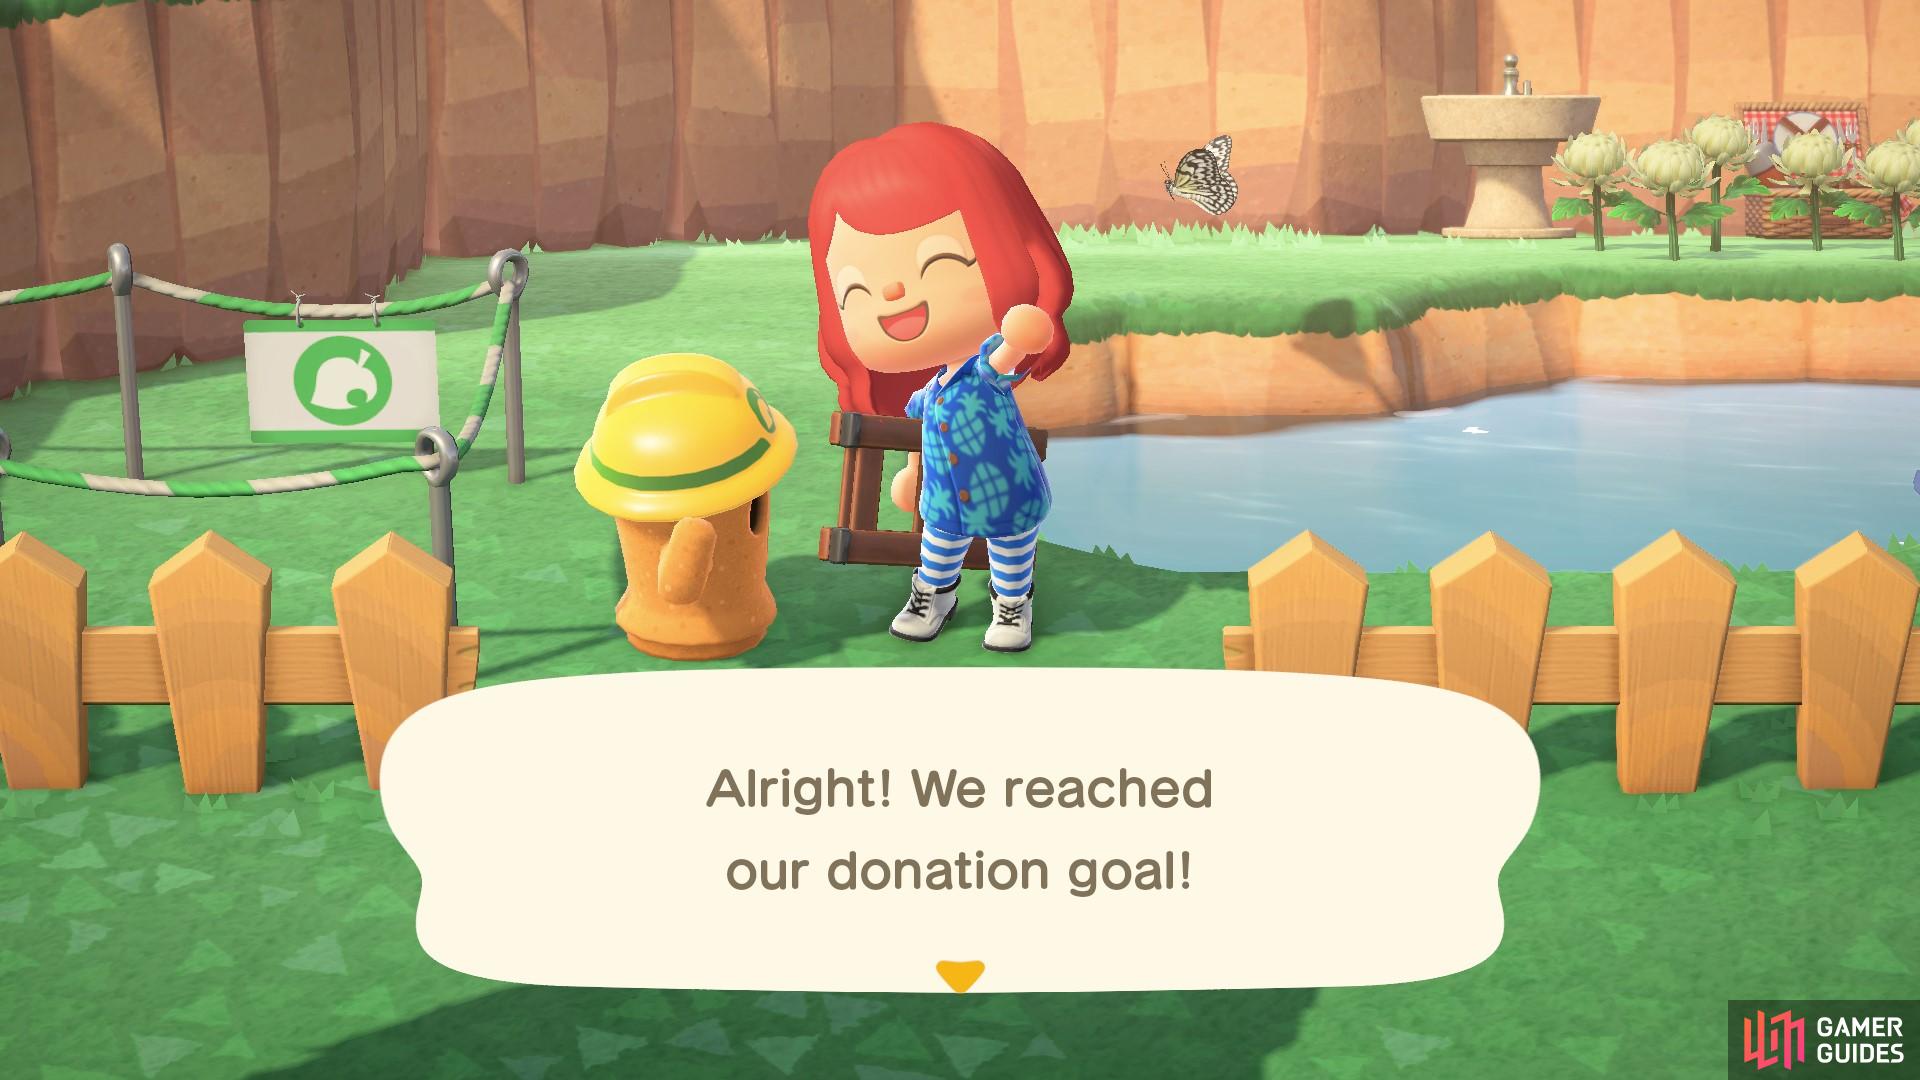
Paying off the construction fees means the incline will be built by tomorrow!
Building a Bridge
To begin construction you’ll need to speak to Nook and ask about bridges. You’ll then get to pick from a selection of bridges. You’ll notice that you have lots more options than just the log bridge you made for Nook. Unfortunately, they are more expensive.

There are lots of bridges to choose from, and they vary in style and price!
Once you’ve picked your desired bridge, head over to a river and choose a spot for it. If you want a good angle for your bridge, consider placing it on a diagonal part of your river.
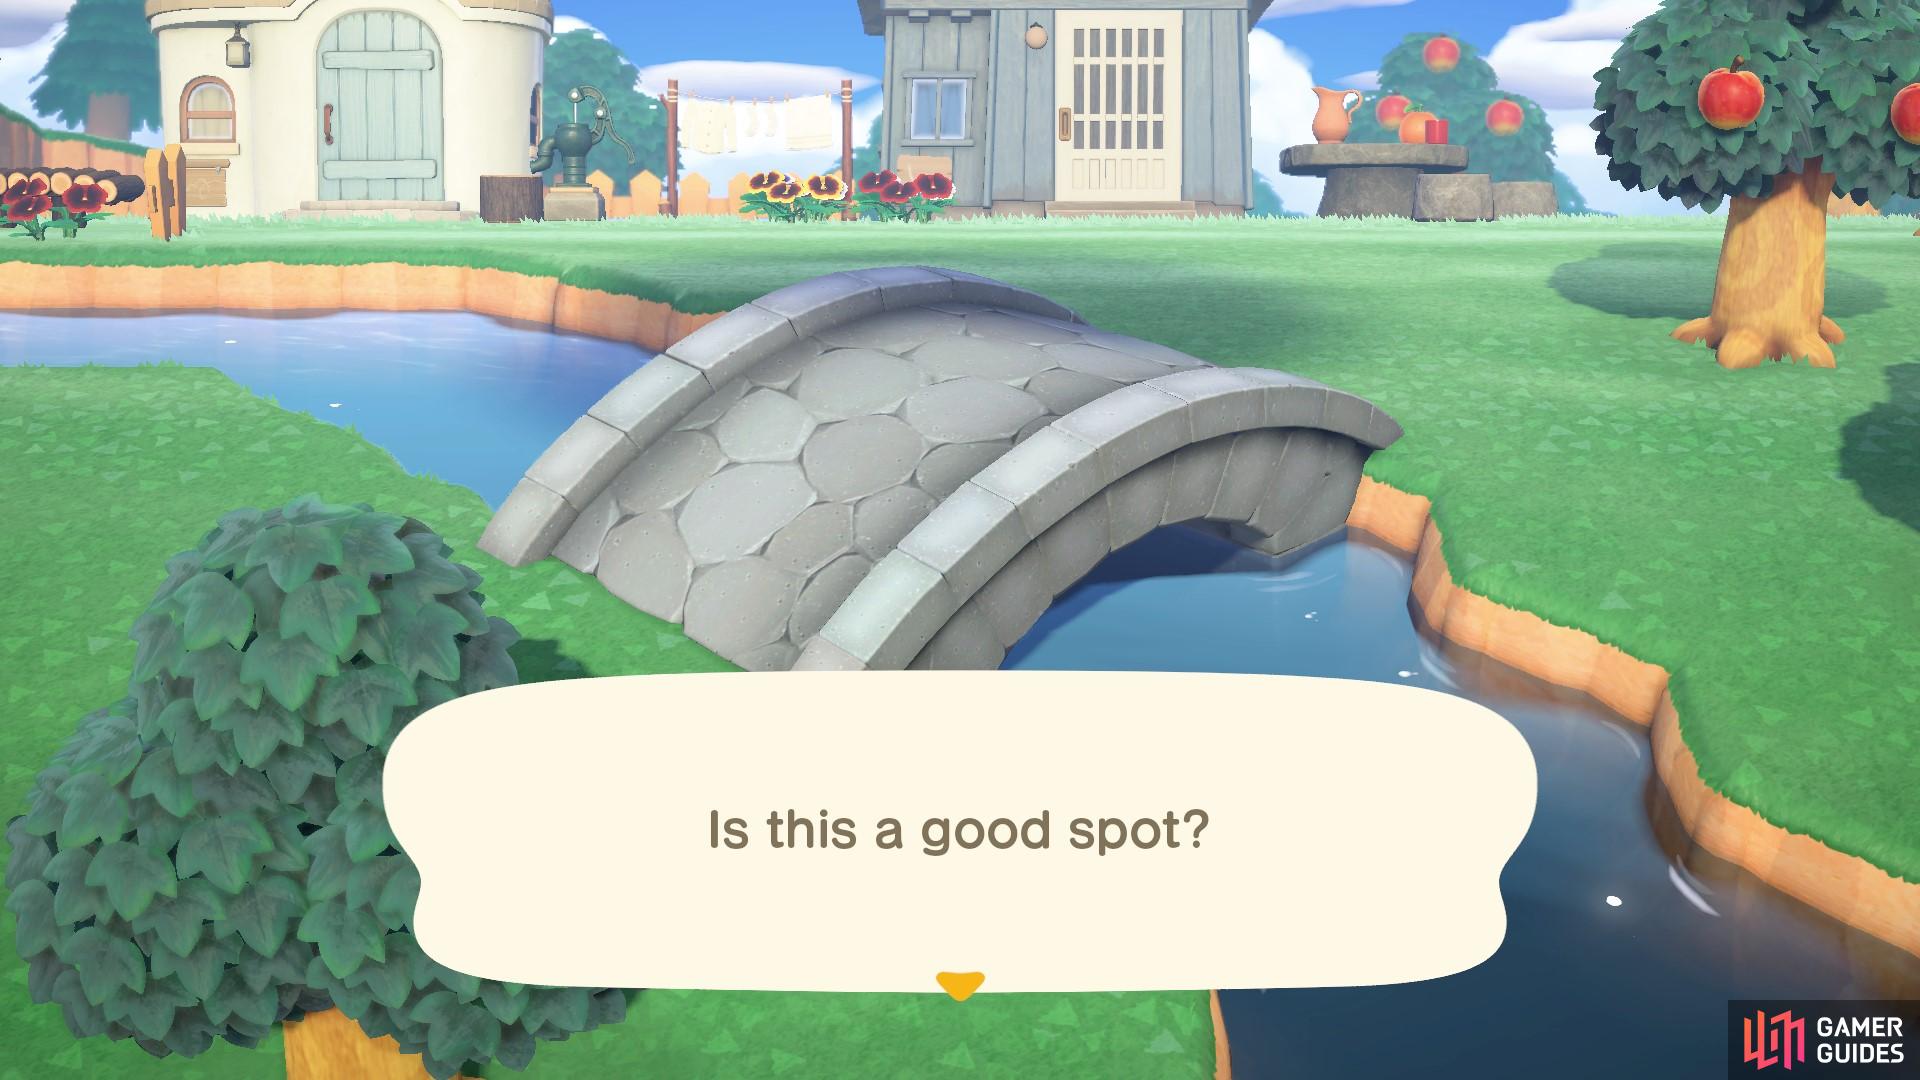
The diagonal bridge means you can see the front and side of the bridge.
For example, the stone bridge costs 168,000 to pay off so you might have to take a couple of days to save up for this if you’re low on bells. Building bridges and inclines is an important step to increasing your island’s overall appearance and rating.
The bridge will only be built when the fees have been paid.
No Comments