
This page offers a guide on how to unlock the School Facility in the Happy Home Paradise DLC.
If you haven’t started the DLC, check out our guide on how to begin Happy Home Paradise.
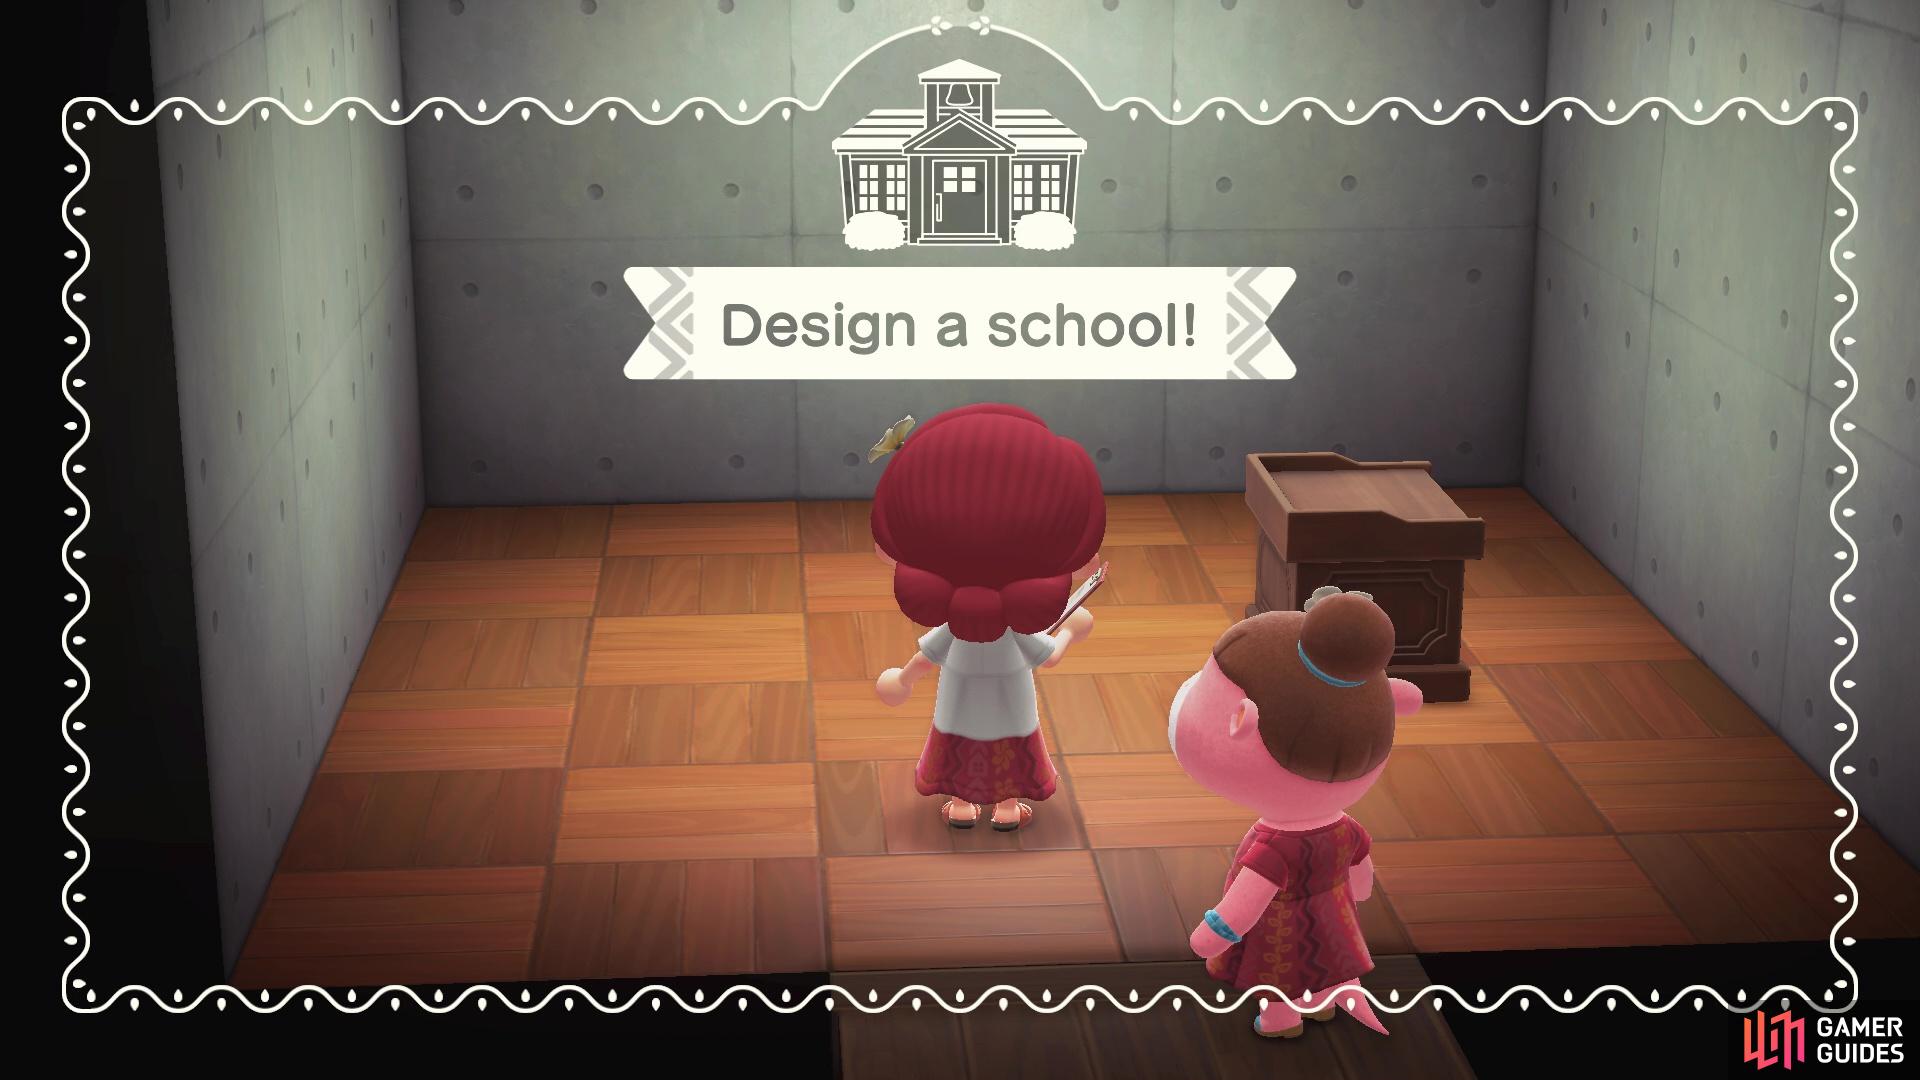
The School is your first facility!
Designing Facilities
After you’ve done approximately four vacation home designs, Lottie will prompt you to take break so you can explore the island. You can explore as much as you want, but when you’re done head over to the facility to the left of the Paradise Planning reception building and speak to Lottie, who is standing just outside. She’ll tell you that dotted across the island are several empty facility buildings. She thinks that this one in particular would make a great school. However, she says they need to build up a bigger client base before it’s worthwhile.
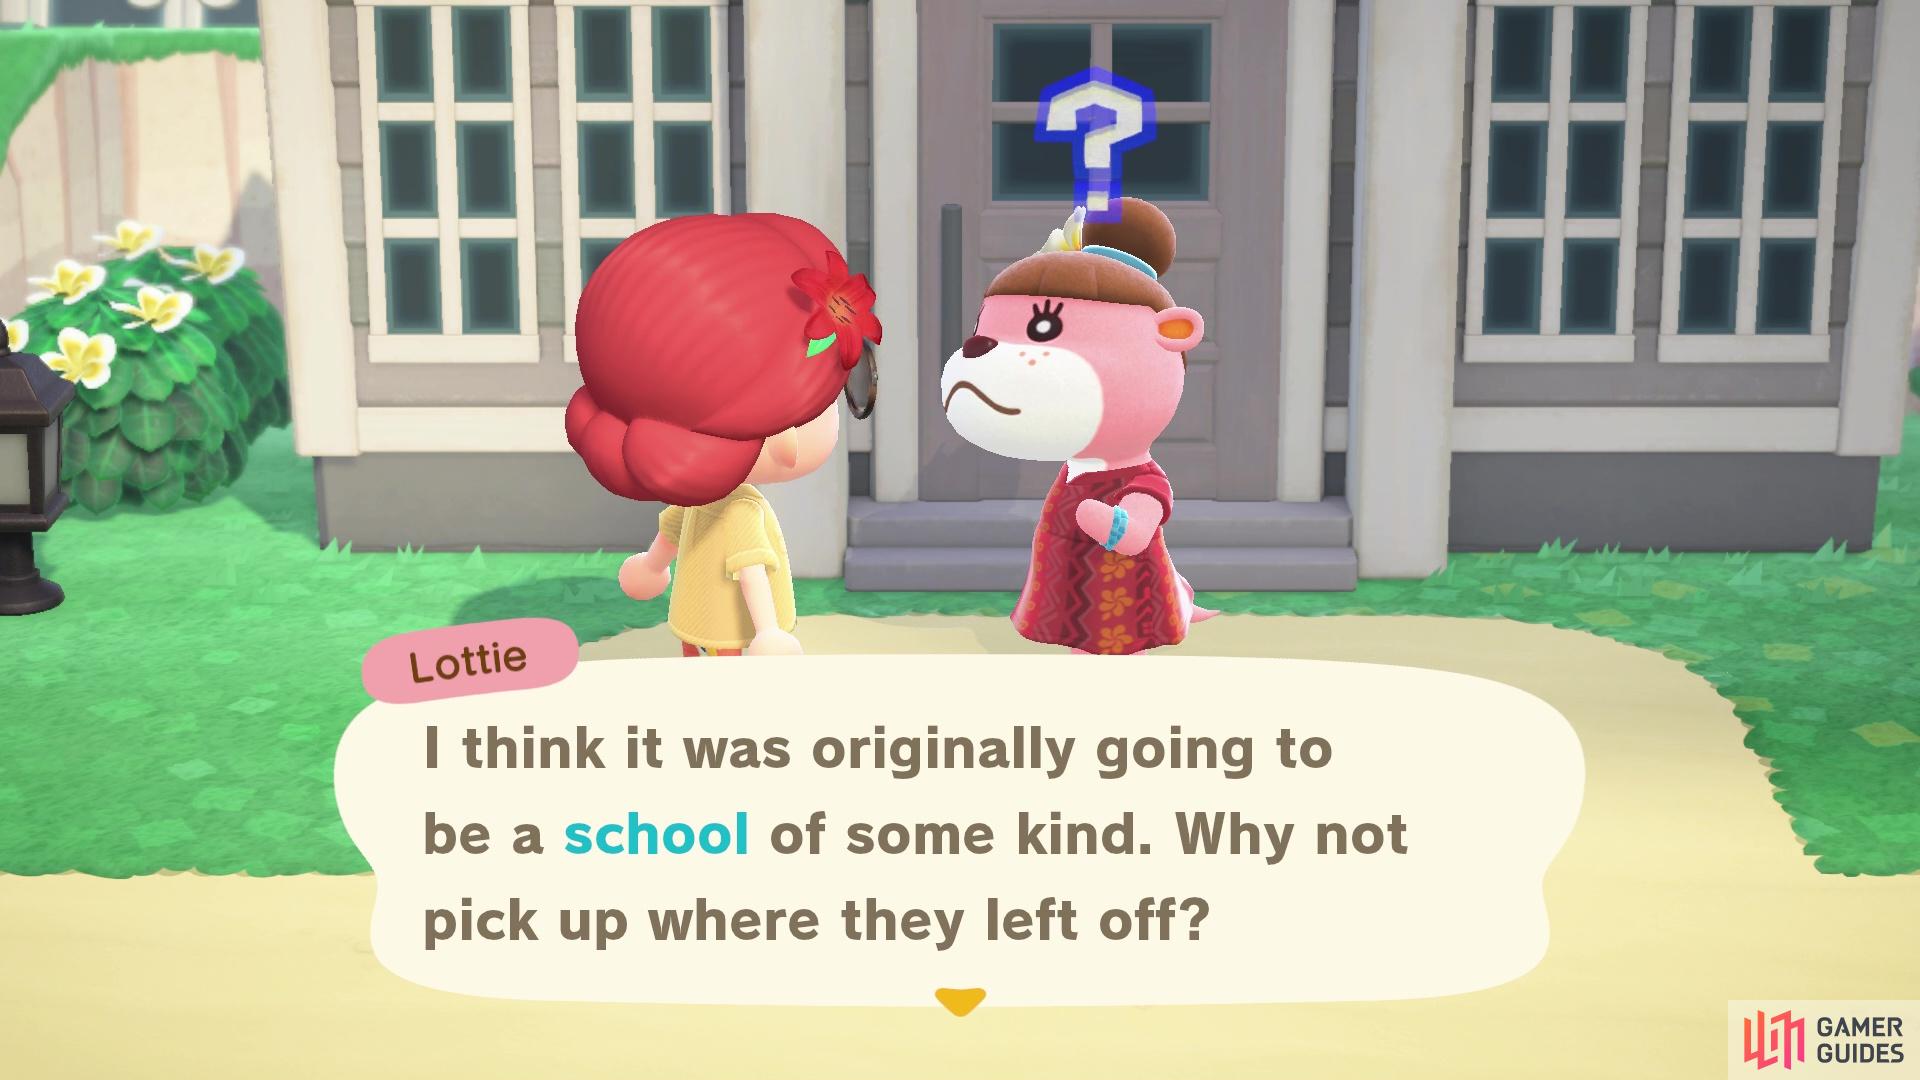
Lottie has big plans!
When you’re finished talking, head back into the Planning building and start up work again by speaking to Lottie and then go outside and find yourself another client. You’ll need to do two more vacation homes to be promoted to Promising Designer. So, before you have access to the facility, you’ll need to complete a total of six vacation homes as well as complete the various mini tasks such as learning about Niko’s DIYs and how to polish furniture to make them sparkle.
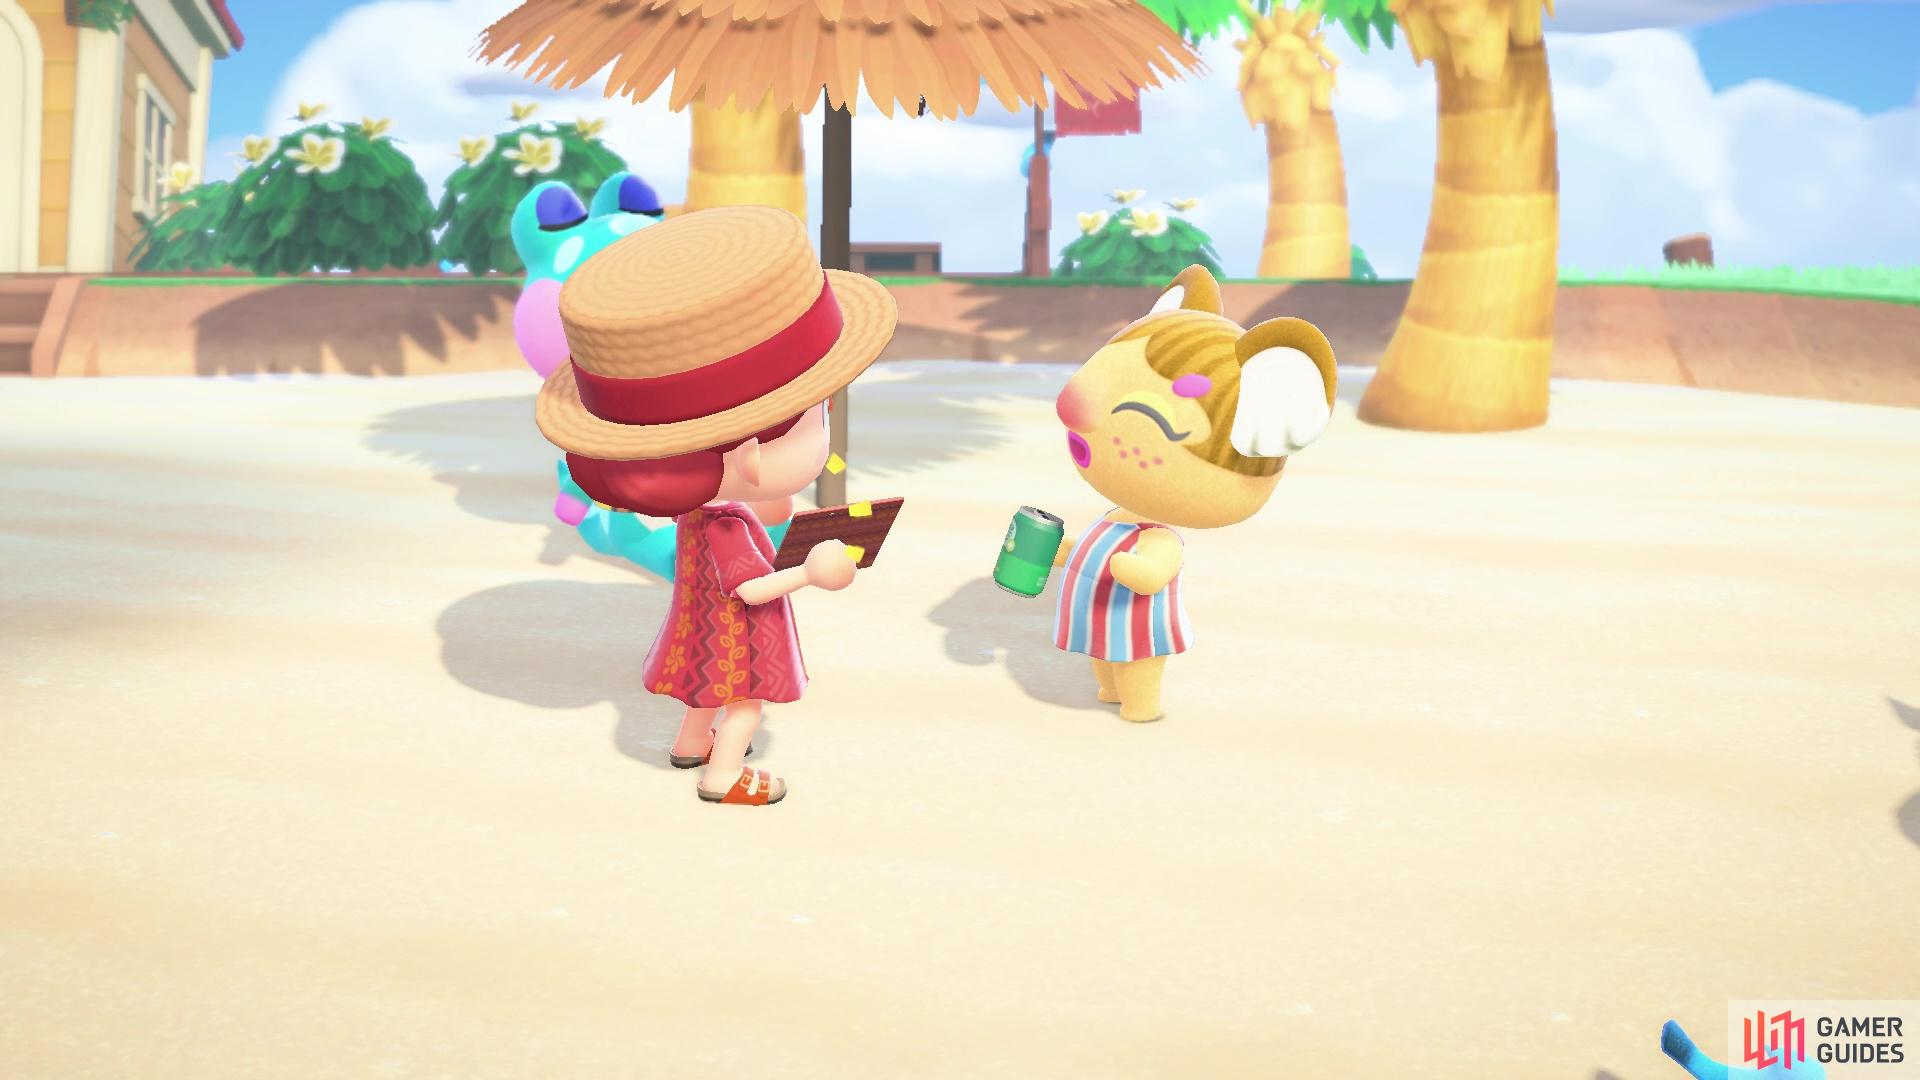
Time to get on the client search again to unlock the school facility.
After completing six vacation homes, Lottie will finally ask you to help out with designing the school!
How to Design the School Facility
The first thing you’ll be tasked with is redesigning the outside of the school by choosing the roofing, exterior, door and bell tower color! If you’re unsure of what colors to go with, you can always choose to change it later on by asking to remodel.
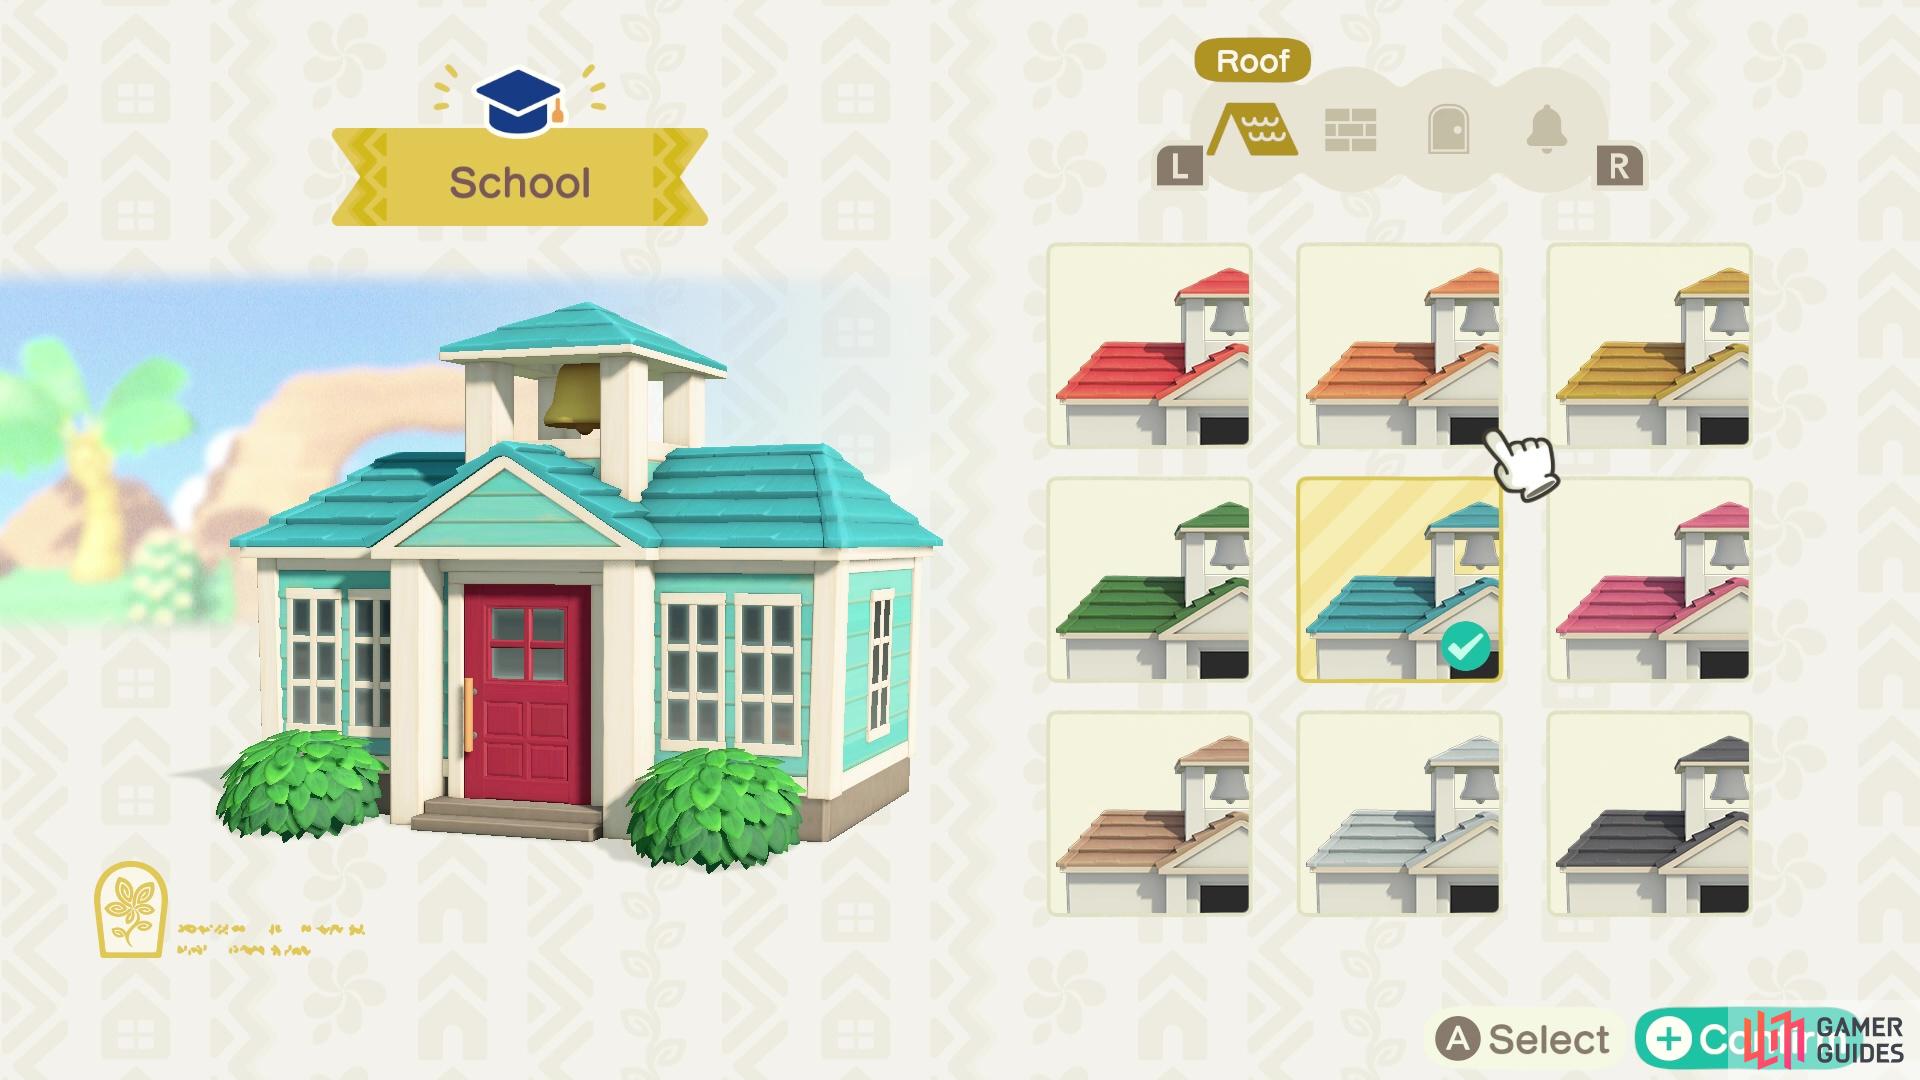
You can choose what colors to paint the roof, exterior walls, door and bell tower.
How to Increase Room Size
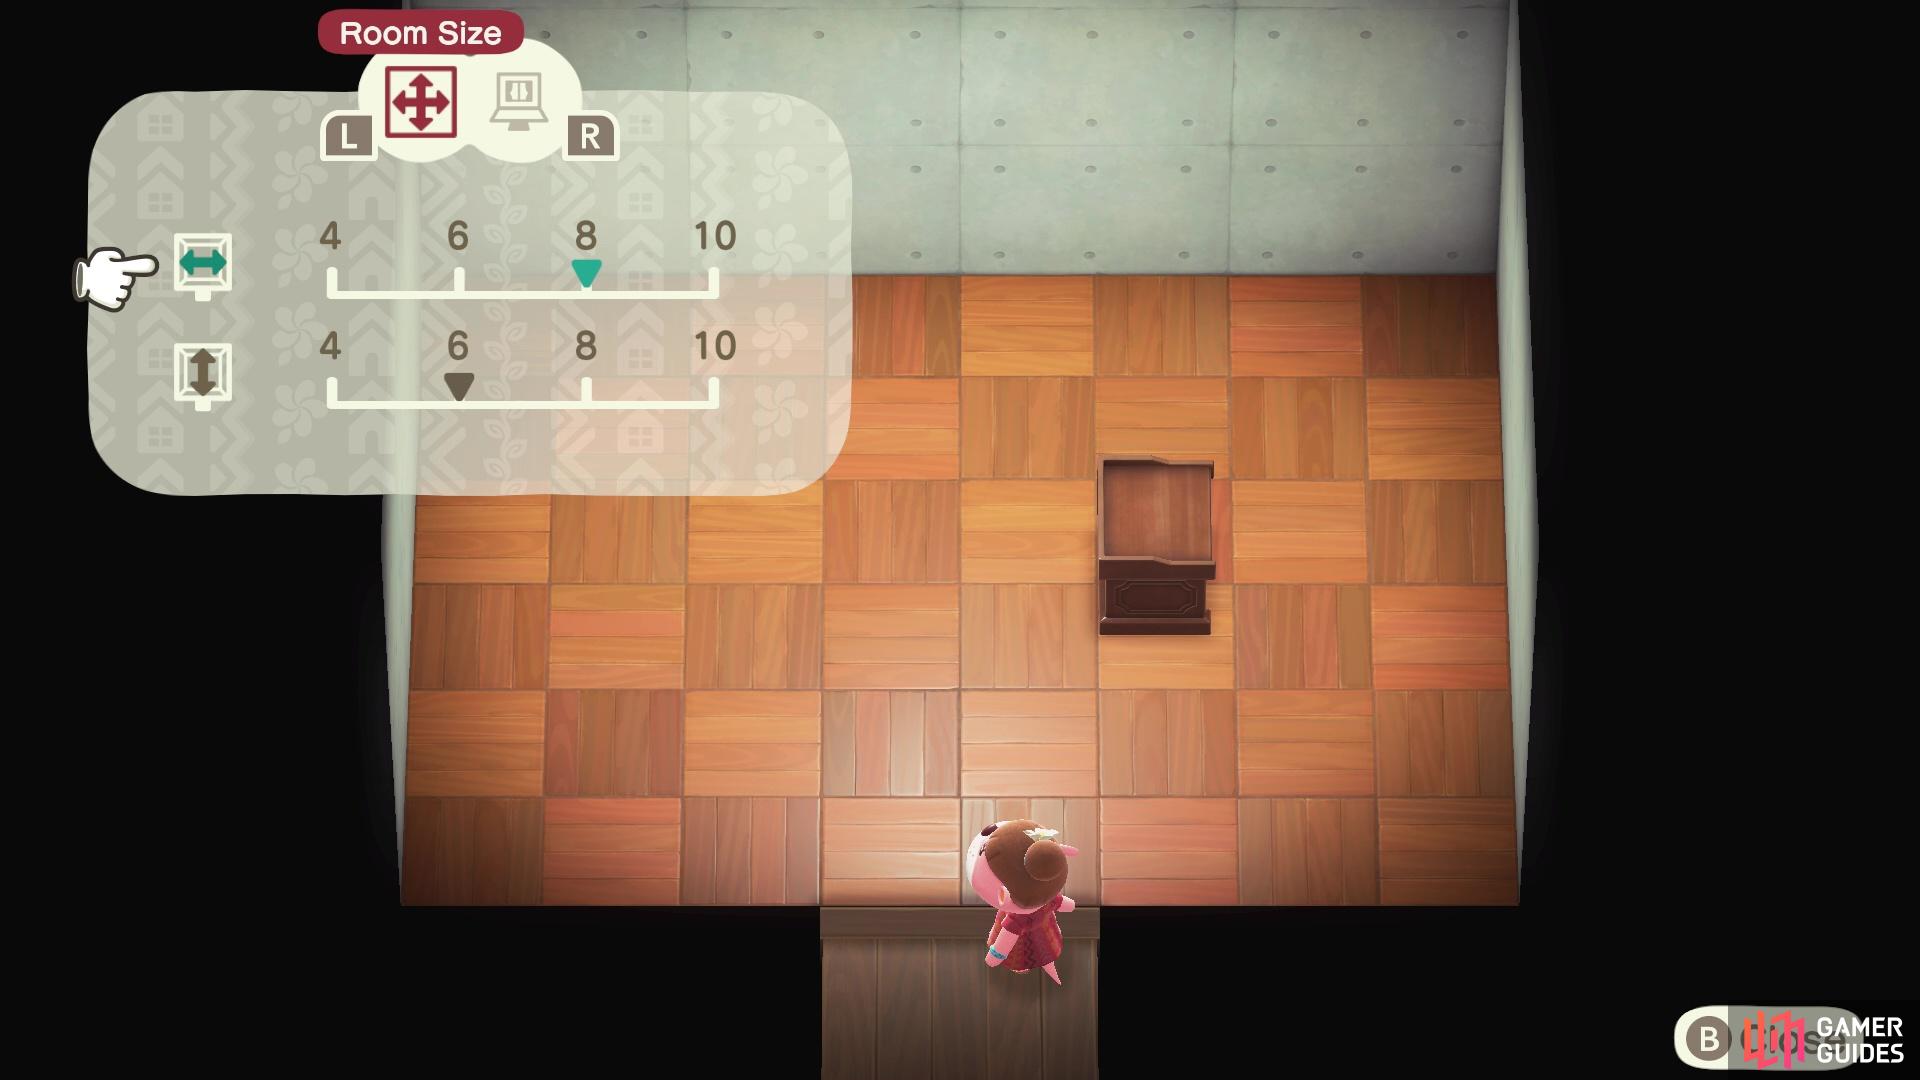
When you first enter, you’ll be greeted with a pretty tiny room and a single podium at the center. In here, Lottie will show you the secret trick of expanding the room! To do so, you’ll need to enter decorating mode and then press the left button on the D-pad to enter into a new mode that allows you to adjust the size of the room! The room begins at size 6x6 but you can adjust it up to 10x10 or as low as 4x4. You could also make the room as skinny or as long as you want by only adjusting the width and not the length, or vice versa.
For our school room, we opted for a 10x8 room so that it was rectangular but also big enough for lots of desks and chairs!
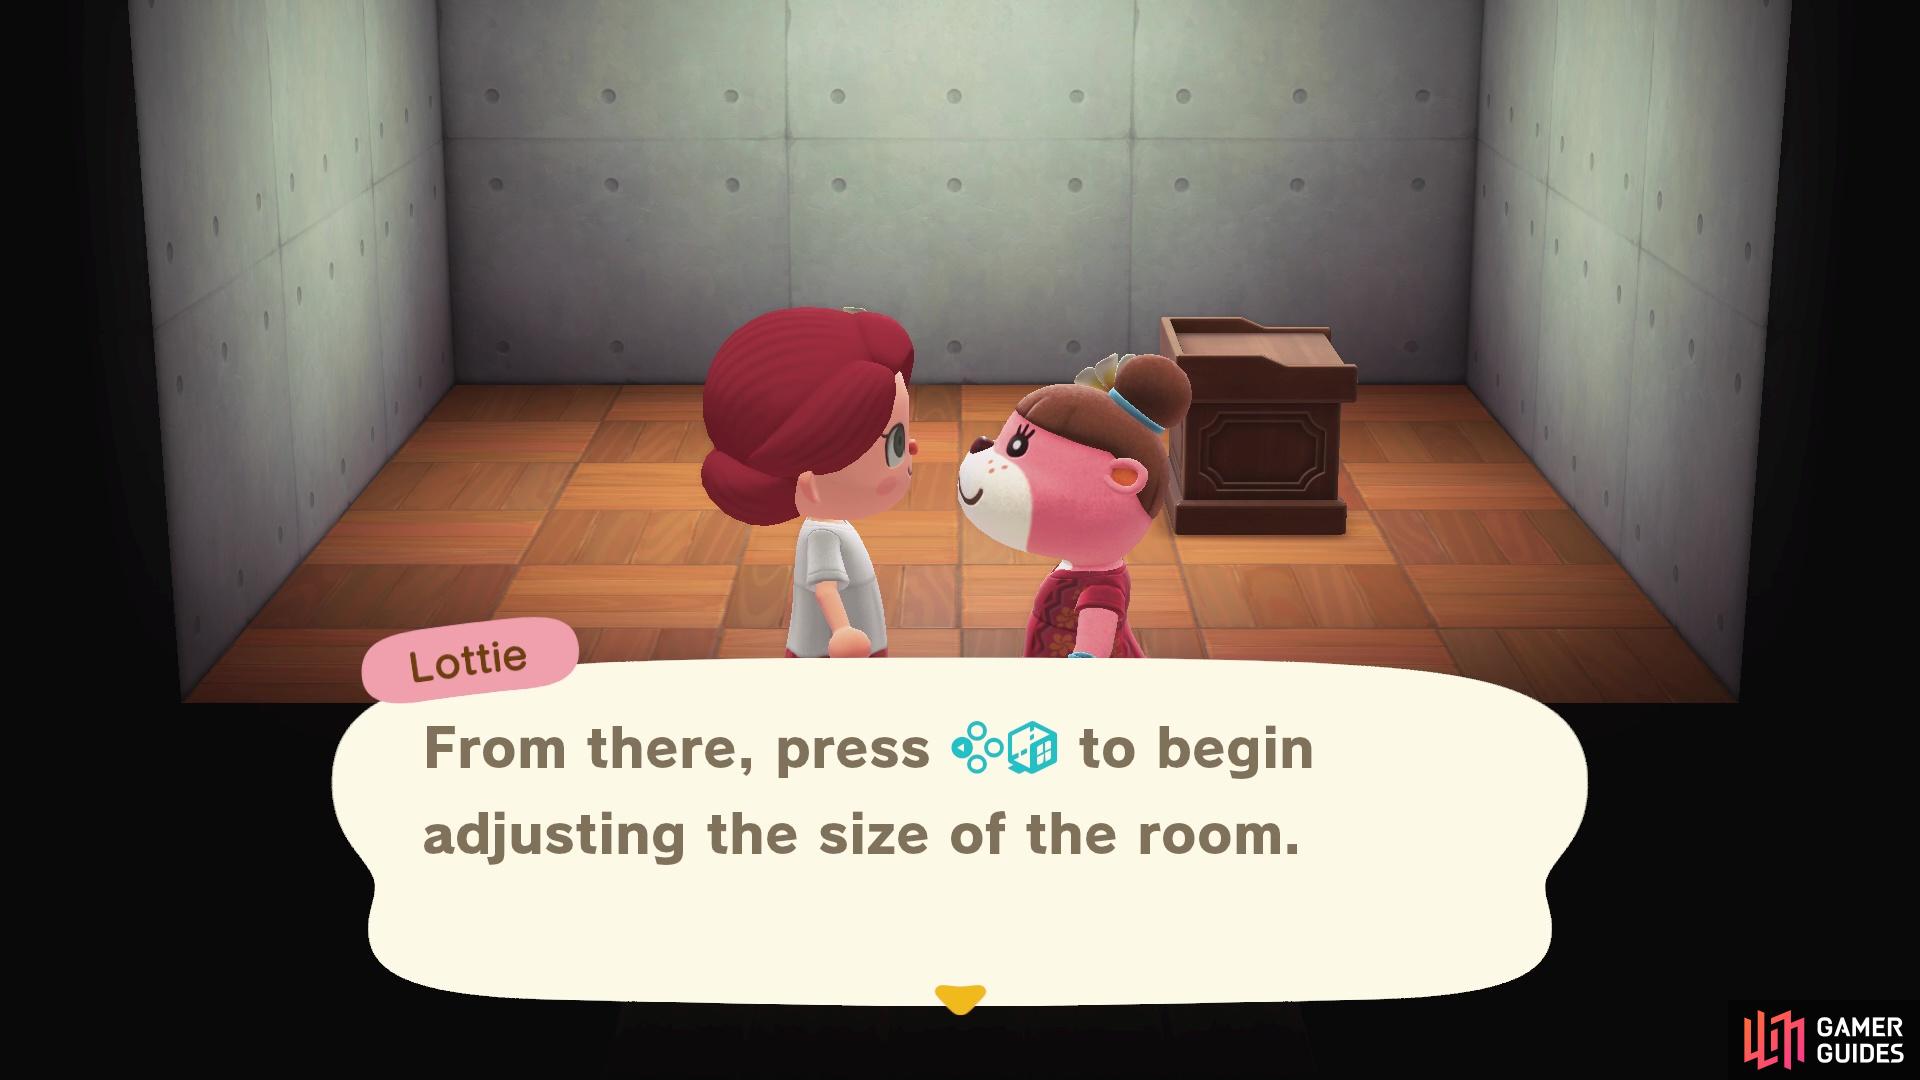
Lottie will introduce you to a new trick that
allows you to adjust the size of the rooms!
How to Decorate the School
Once you’ve decided on a room size (you can change it whenever you like), you’ll now get to do the fun part of decorating the school!
Remember, you can do whatever you like with the decoration, but you must have the required items: x1 teacher’s desk, x2 desks and x4 chairs. Unlike decorating vacation homes, there aren’t specific items you need to include, you need the required amount of desks and chairs, but you can choose from a huge selection so it’s a lot less restrictive. When you click on the required items in the order category, it’ll open up a list of items that qualify as a teacher’s desk, desk or chair.
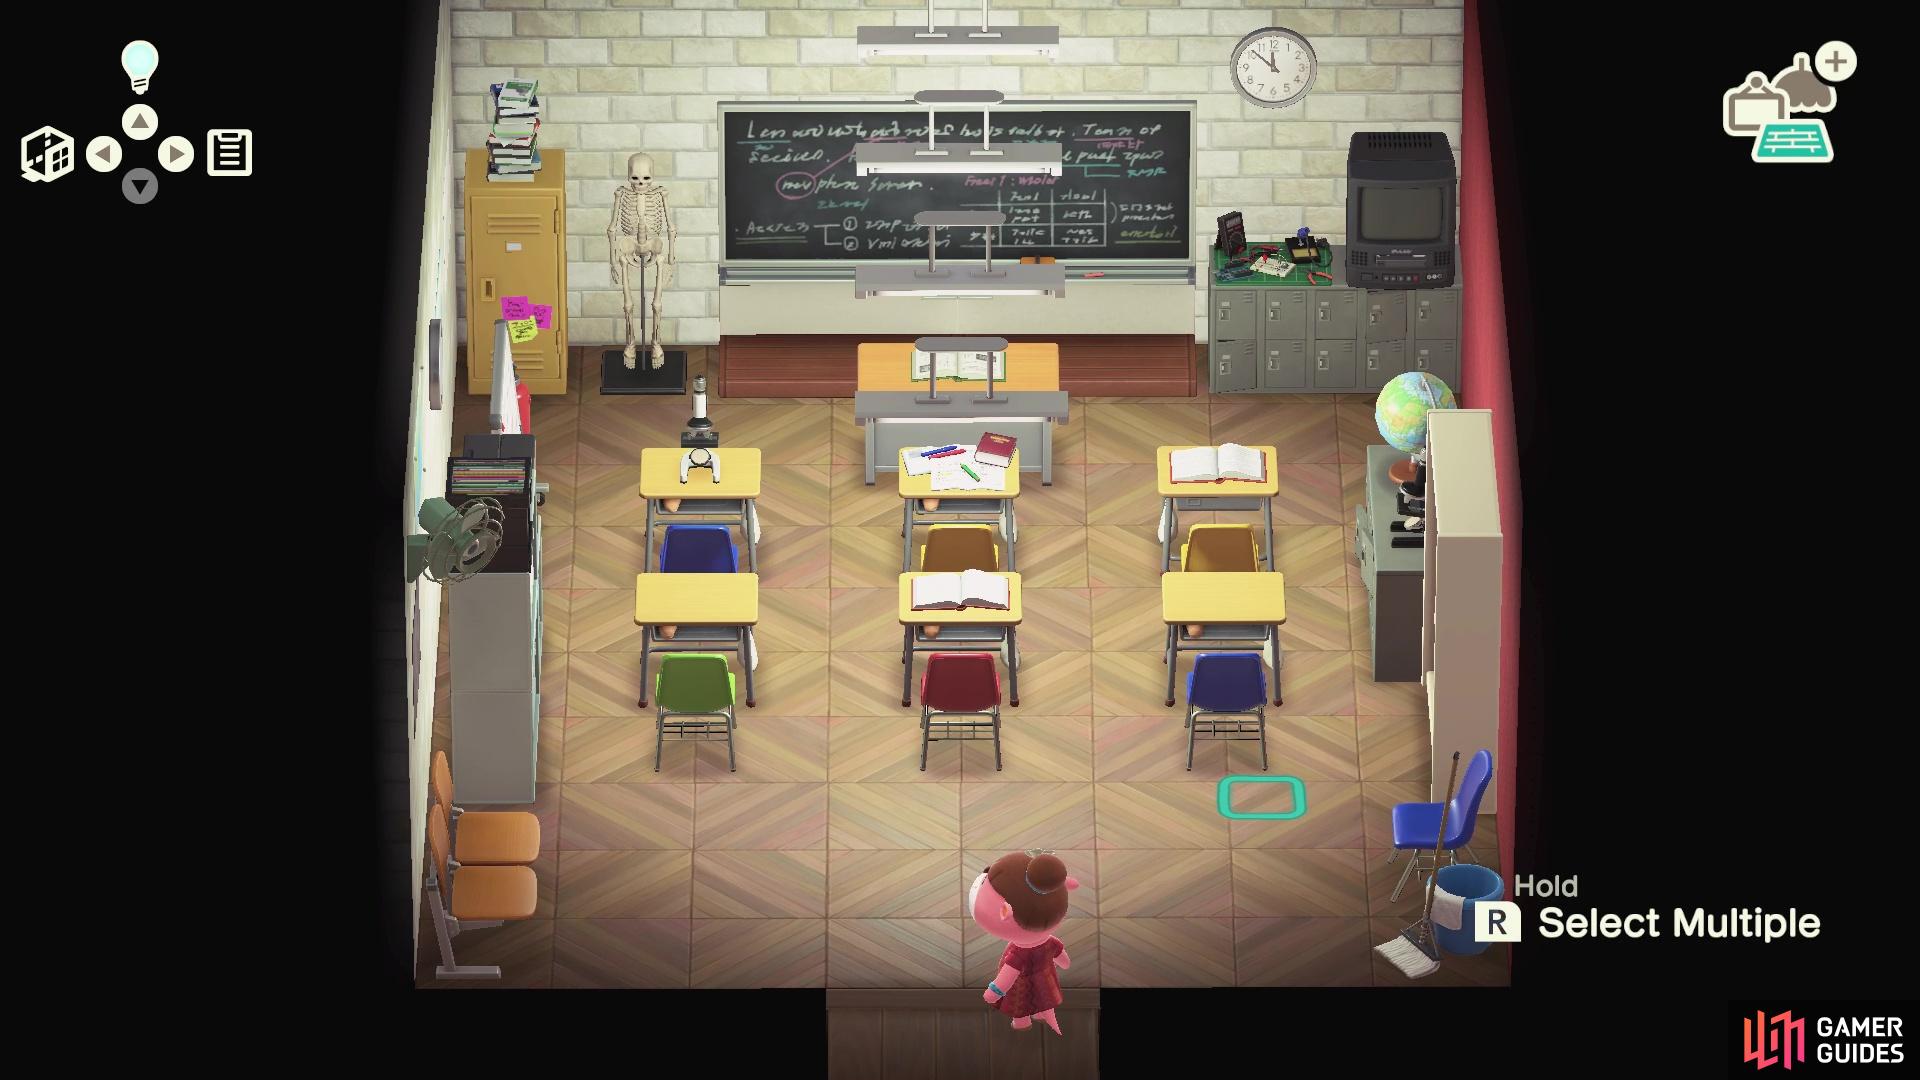
Make sure to add lots of desks and school themed items
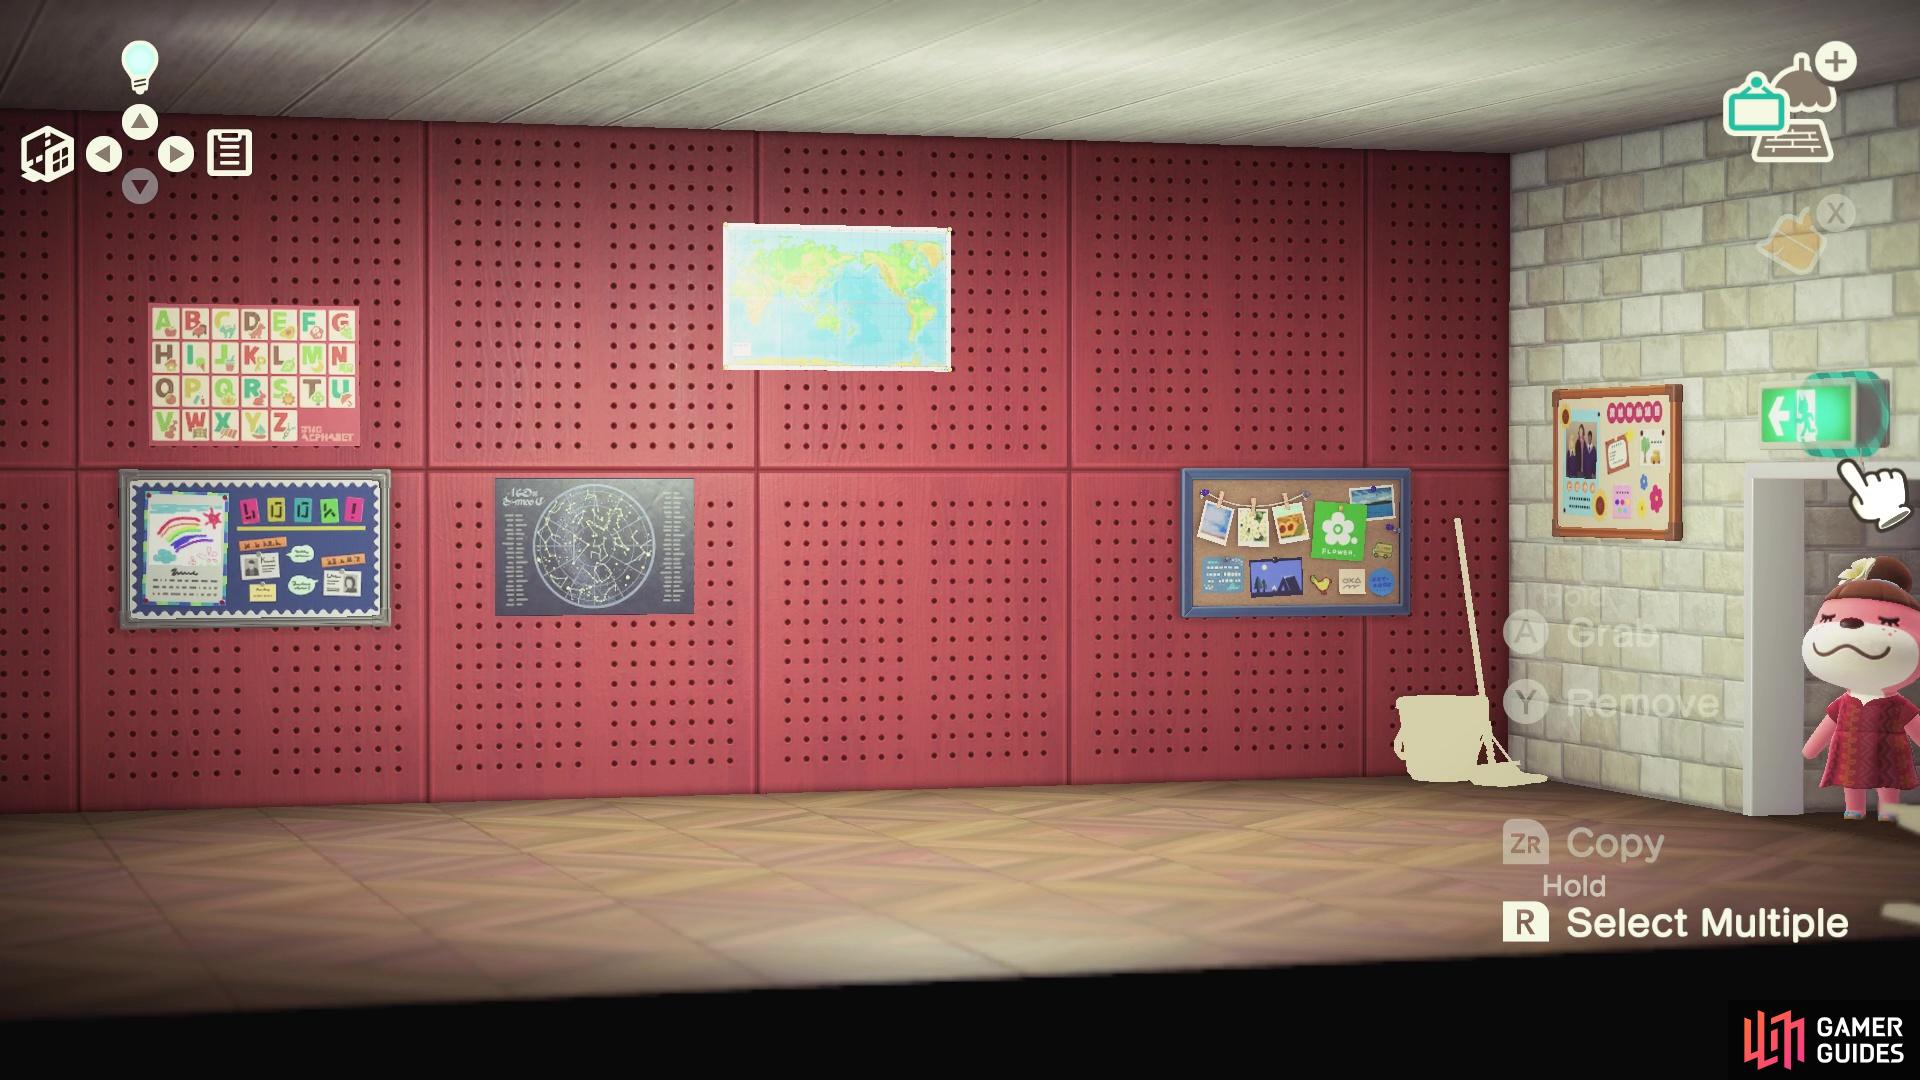
and don’t forget about your walls!
Of course, other than those required items, you can decorate the rest of the room however you wish, but the order tab does offer a lot of fun school-themed furniture recommendations! Don’t forget to decorate the walls and ceilings!
Once you’re finished furnishing the room, speak to Lottie and she’ll ask you to help her decide on a teacher to hire! You can then choose from the pool of villagers who you’ve designed vacation homes for and then also alter their work uniform. Then, you’ll be asked to name the school and grab some pictures of it for your portfolio! For more information on photography, head over to our guide on how to take the perfect picture!
Congratulations on designing your first facility!
No Comments