
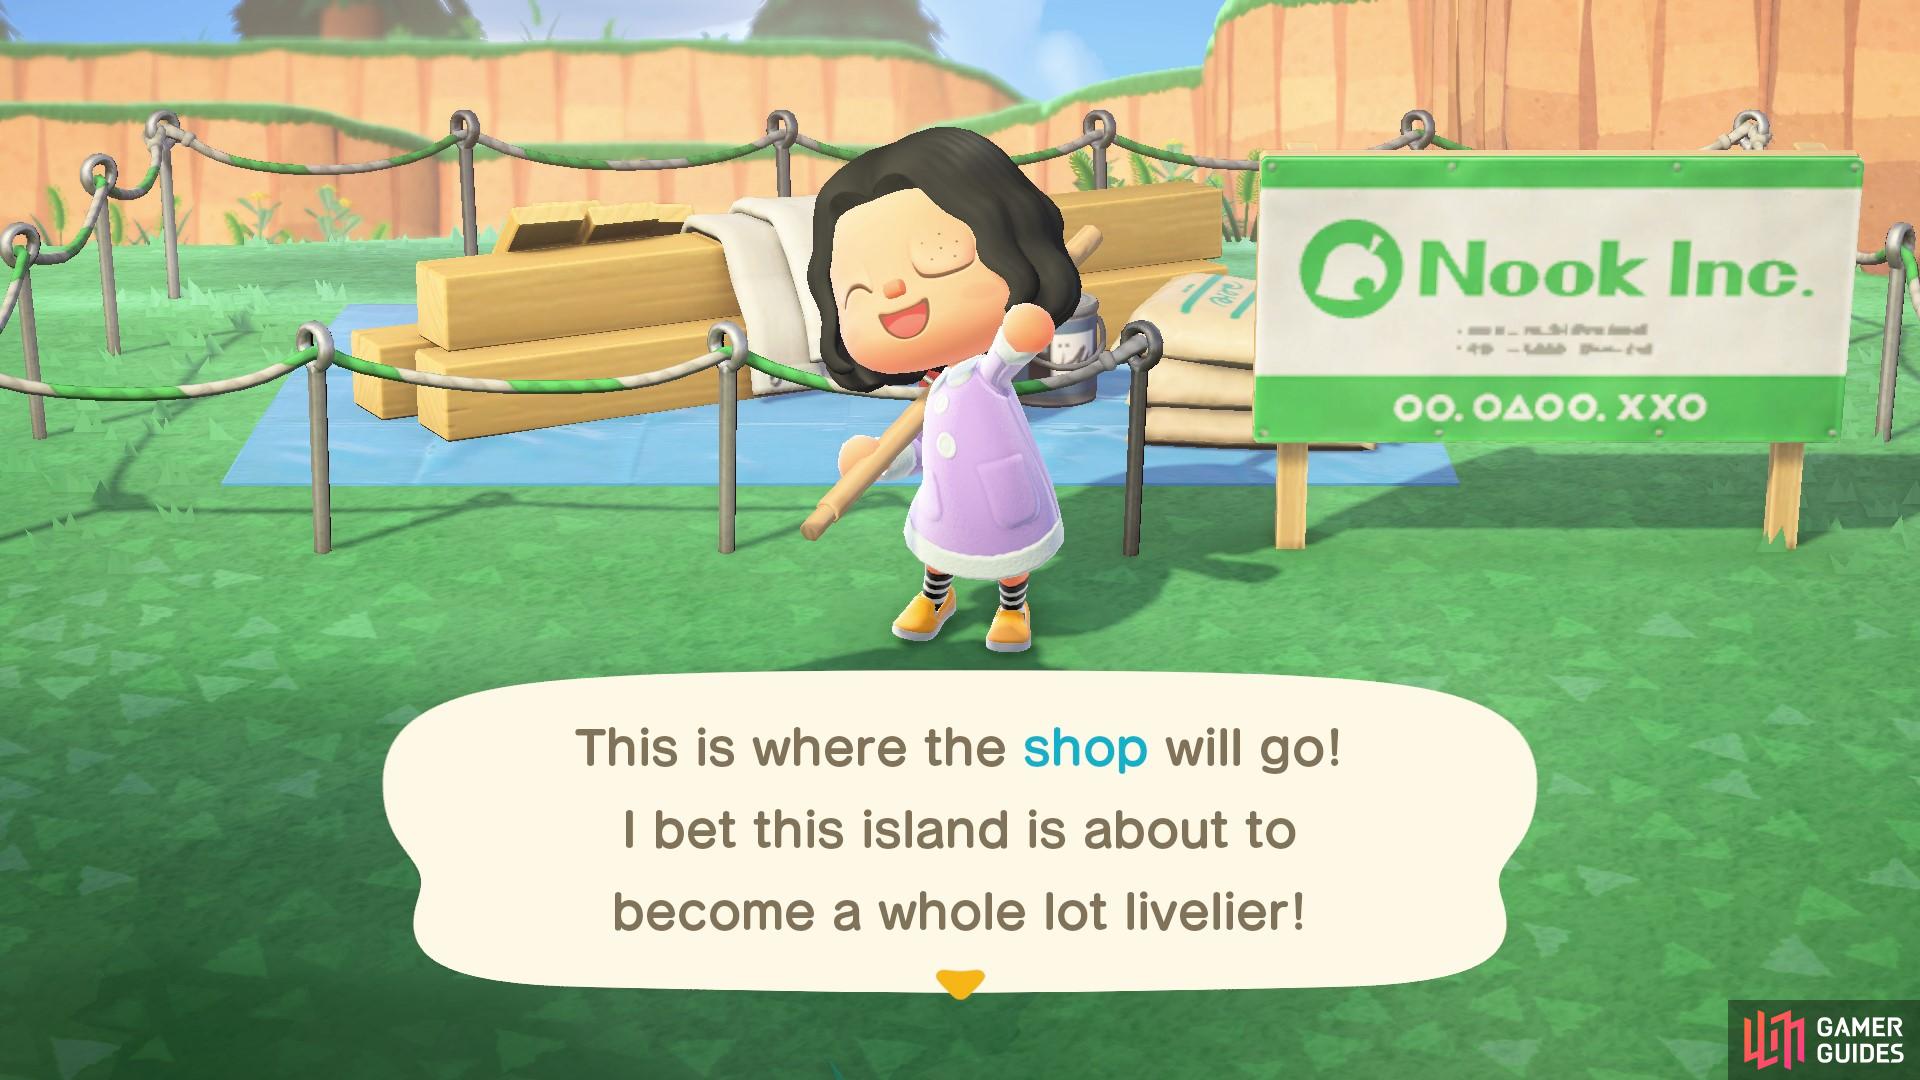
Building a Shop!
After you have had your house upgraded, when you next visit Resident Services, you will walk in on Timmy and Tom Nook discussing plans for a shop on the island! When you next speak to Timmy he will ask for your help in bringing these plans to fruition.
Gathering Materials
To build a shop, Timmy needs a lot of materials. He has asked you to collect 30 pieces of each type of wood and 30 iron nuggets too!
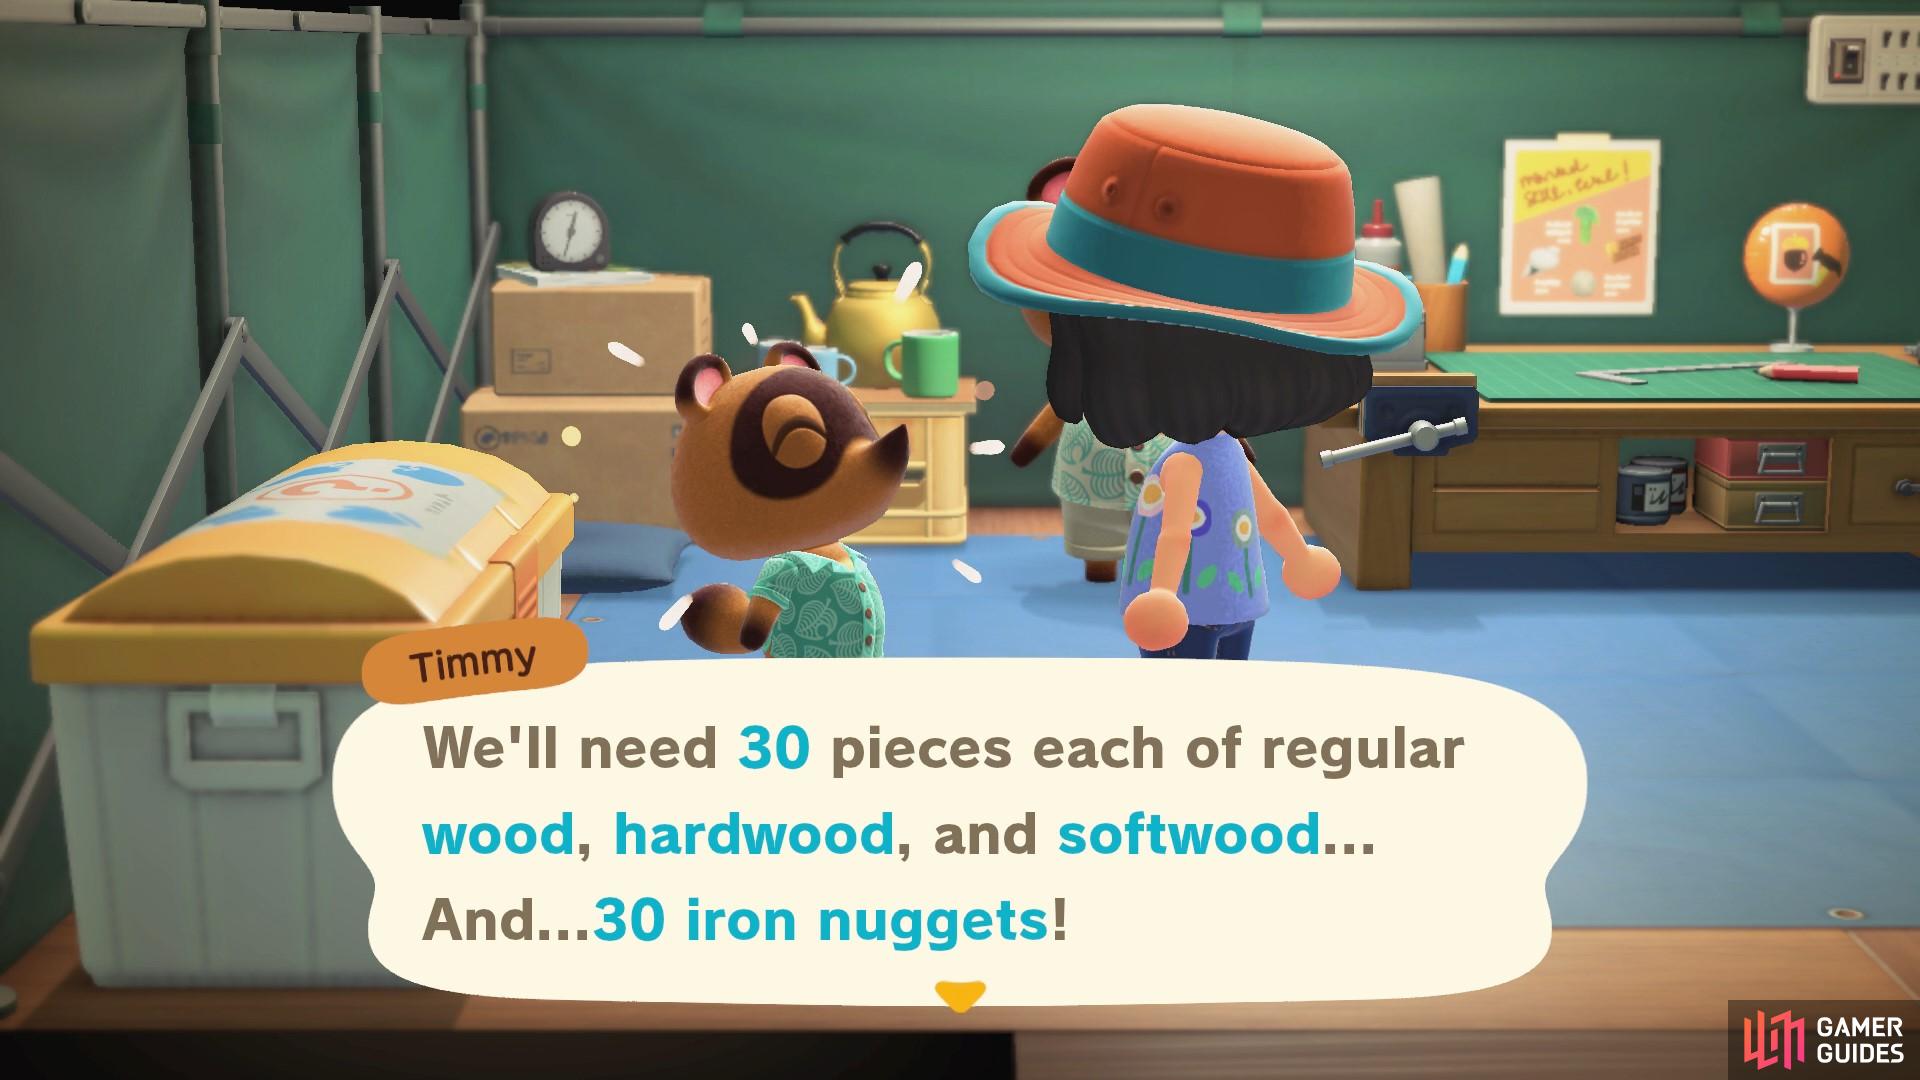
Timmy needs a lot of materials to build the shop!
Start will collecting the wood pieces, as this will be the easiest part. You want to craft a few axes before you start chopping, so you don’t have to stop every few trees to make a new one. Remember, it only takes five tree branches and a rock to make one, so they’re cheap to make! Remember to be careful of wasps though!
Once you have 30 of each, drop the bundles near the Resident Services so that you don’t accidentally use them when crafting DIY recipes. Next, you’ll need to collect the iron nuggets.
Collecting 30 Iron Nuggets
The most difficult material to collect will be the iron nuggets. Collecting 30 of each wood will still be a bit tedious, but you have a lot more trees compared to how many boulders you have to mine. To mine the rocks, you can either use a flimsy axe to hit the rock or you can use a shovel, which will be more durable for this process. You can obtain a shovel DIY recipe from Blathers, once he’s moved onto your island. If you’ve followed this walkthrough, then you will already have met Blathers and obtained the shovel and vaulting pole recipe. A guide on how to unlock Blathers can be found here, and then details on how to obtain the recipes can be found on the Unlocking Blathers’ Museum page.
You can get up to eight rocks, iron pieces and gold nuggets out of a rock if you hit it with a shovel fast enough. Everytime you hit a rock though, it recoils you backwards so you will need to keep moving forwards with each hit. You can only mine rocks for materials once per day, so make sure you’re ready to make the most of a rock before you start hitting it, as there is a timer that determines how many items you can mine. The majority of the materials that come out of the rock will just be rock pieces, but you can also obtain iron, clay, and gold nuggets. Gold nuggets are especially rare.
There are six rocks on your island. Having the pole vault will be super handy because you can access new areas of your island, but you likely won’t be able to reach all of the rocks on your island until you have the ladder tool (which you won’t get until at least day three). One of six rocks on your island will be filled with Bell bags instead of materials! Mine it up to eight times and you can earn 16,000 Bells!
When you’ve mined all of the rocks on your island, you’ll likely only have around a third to a half of the required iron nuggets. You can either wait till tomorrow when you can grab more materials from the rocks OR you can use your Nook Miles ticket and gather resources on a new island!
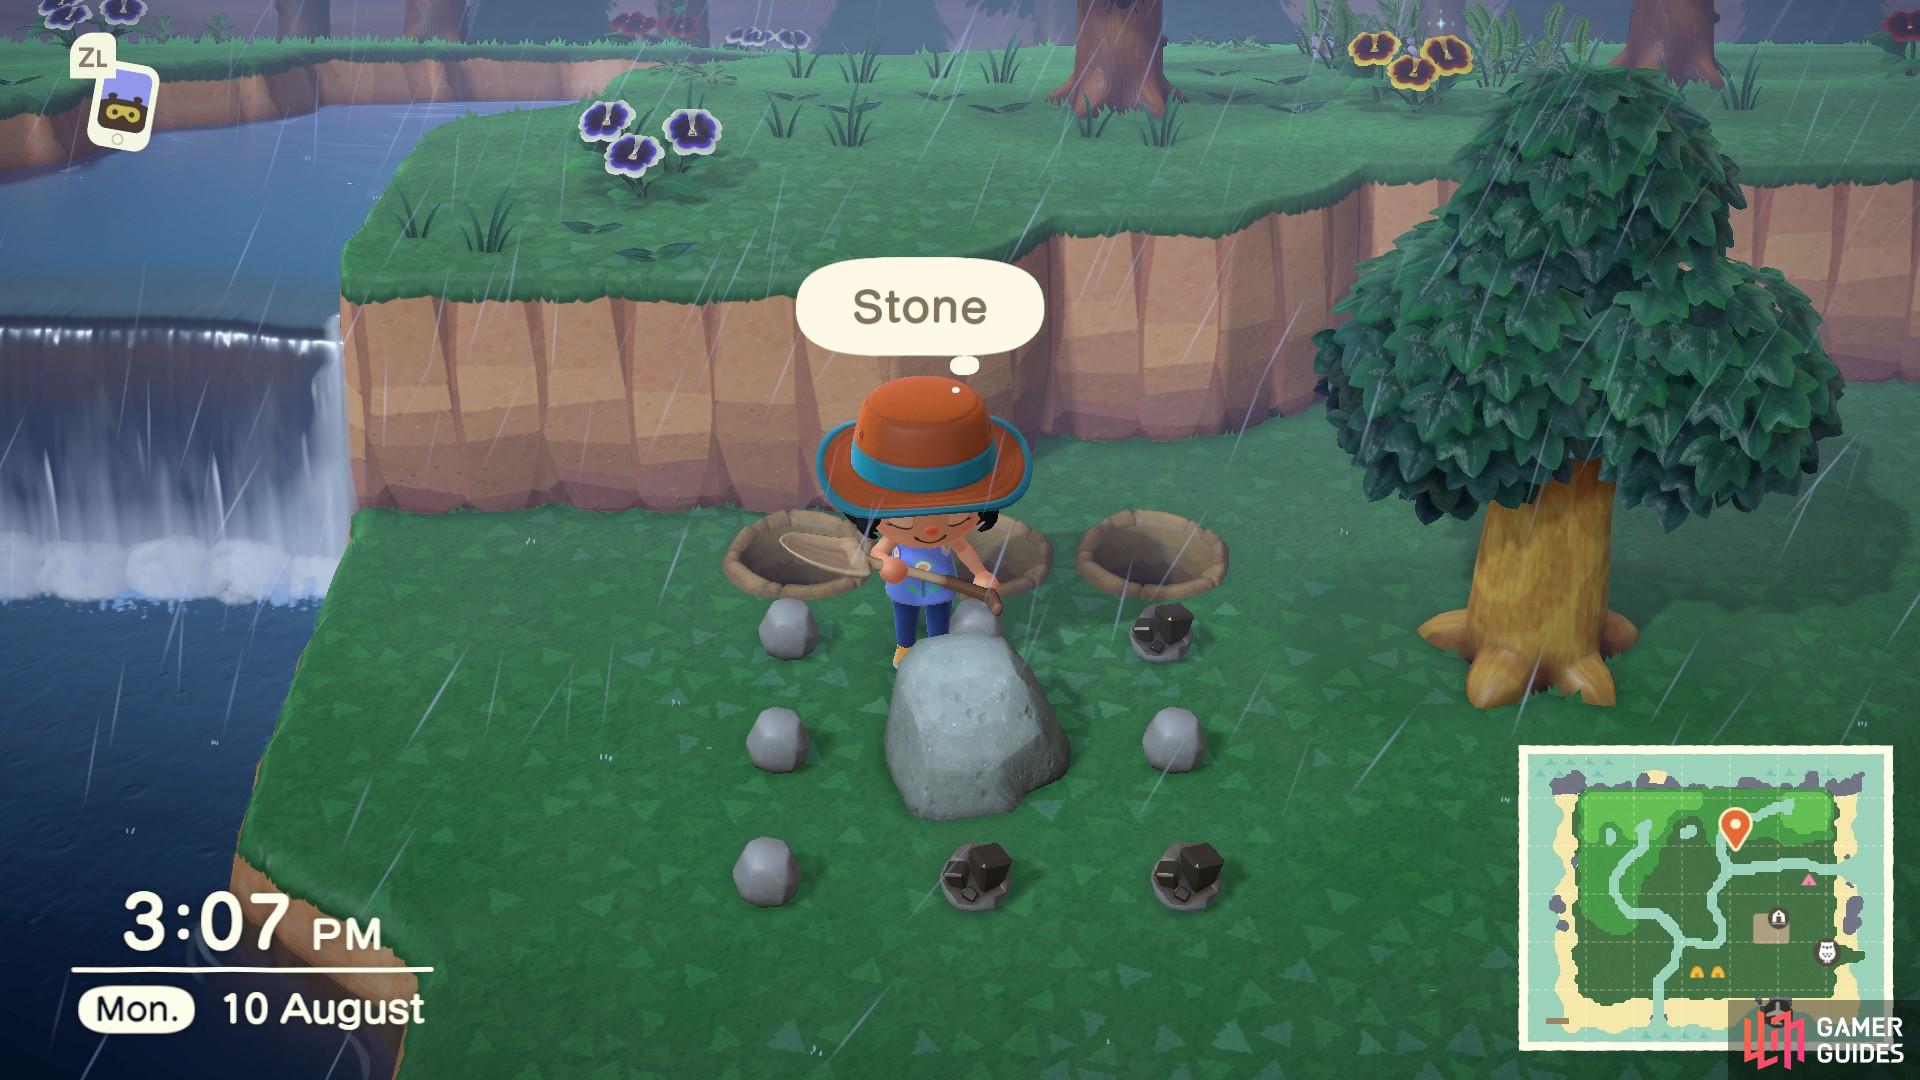
You can only obtain materials from rocks once per day.
Preparing to Go Island Hopping!
There are a few things you want to do to maximise your first trip to a new island!
-
Empty your pockets! - During your first trip, you’ll likely only have the default inventory size (or one upgrade higher), which means you’re tight for pocket space. Make sure you sell or put away anything you don’t need! You want as much space as possible for collecting new materials.
-
Make Tools! - You definitely want to bring tools! Bring a fresh set of tools so that they don’t break on you straight away. If you’re wanting to gather a lot of resources, bring some extra materials with you to make some more tools. Most islands will have trees to gather wood from, but not all will. You can buy tools from the pilot for Nook Miles, but you want to avoid spending Miles on things like that, at the beginning at least.
Head to the Airport
First things first, you’ll need to a have a Nook Miles ticket to hand. If you’ve completed your first home upgrade, Orville at the Airport will have your gifted ticket.
Next up, you’ll need to tell Orville that you want to fly! After selecting this option, Orville will double check that you definitely want to go and are ready to fly!
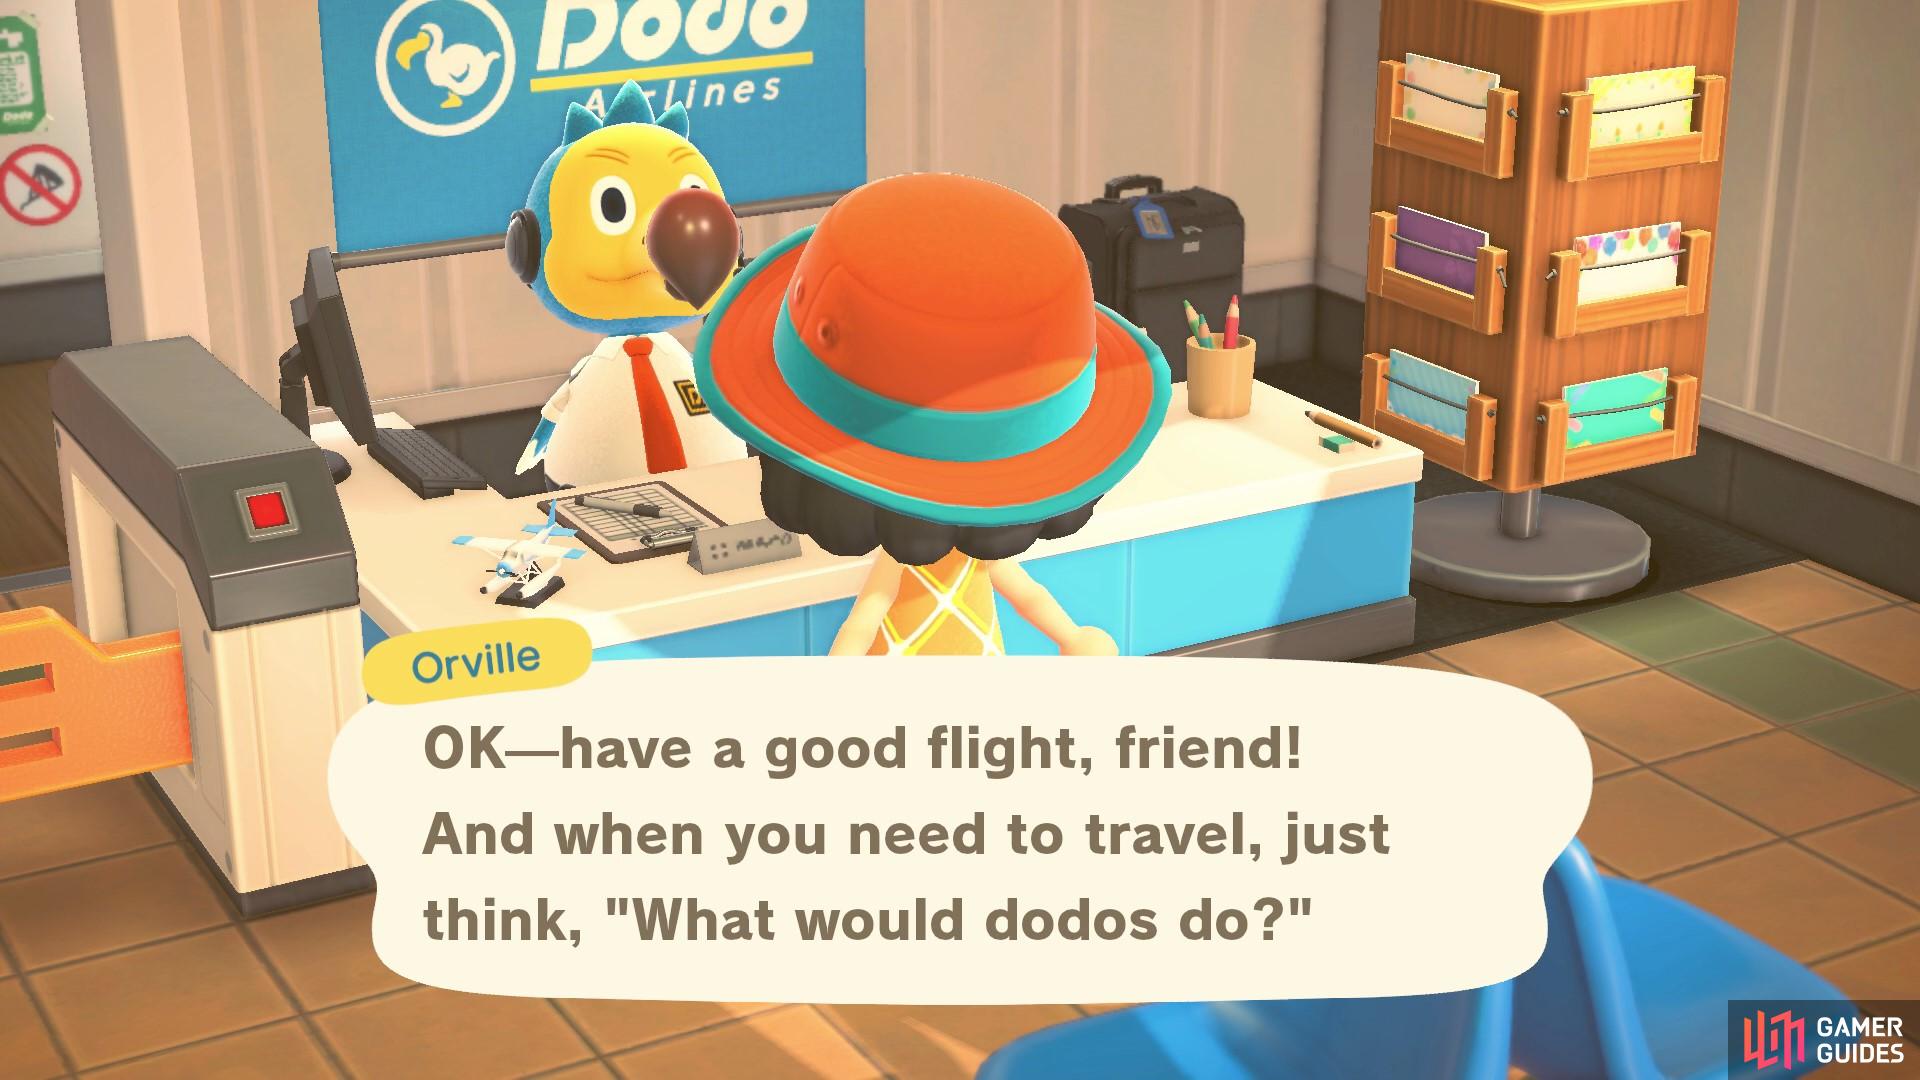
Head to the airport with a Nook Miles ticket to begin your Mystery Island tour!
Things to do on the Island
Whilst you might be there to collect iron nuggets, there’s so much more to do on a mystery island! Here’s a list of all the possible things you can do:
-
Gather Materials! - There are often lots of trees, flowers and a few rocks on mystery islands, you should make the most of the deserted islands by harvesting whatever you need. You can also do some weeding if you like!
-
Dig Up Any Fossils - Sometimes, you might come across some fossils on your journeys. Make sure you dig them up so you can donate them to the Museum back at home.
-
Shake Trees - One tree on the island (if there are trees), will have an item of furniture in it. Careful of the potential wasps though!
-
Scour the Beaches - Keep an eye out for bottles on the beach, you might be able to get a new DIY recipe!
-
Collect Fruit - This is particularly important if the fruit aren’t native to your island! Your native fruit sells for 100 Bells a piece, but non-native fruit sells for 500 each! If you come across an island with new fruit, you should harvest as many as you can, so you can plant some on your island and sell the rest for big bells. Mystery Islands will often have palm trees on their beaches. You should consider harvesting all the coconuts on an island because you can plant some on your beaches and sell the rest of the fruit for 500 bells a piece.
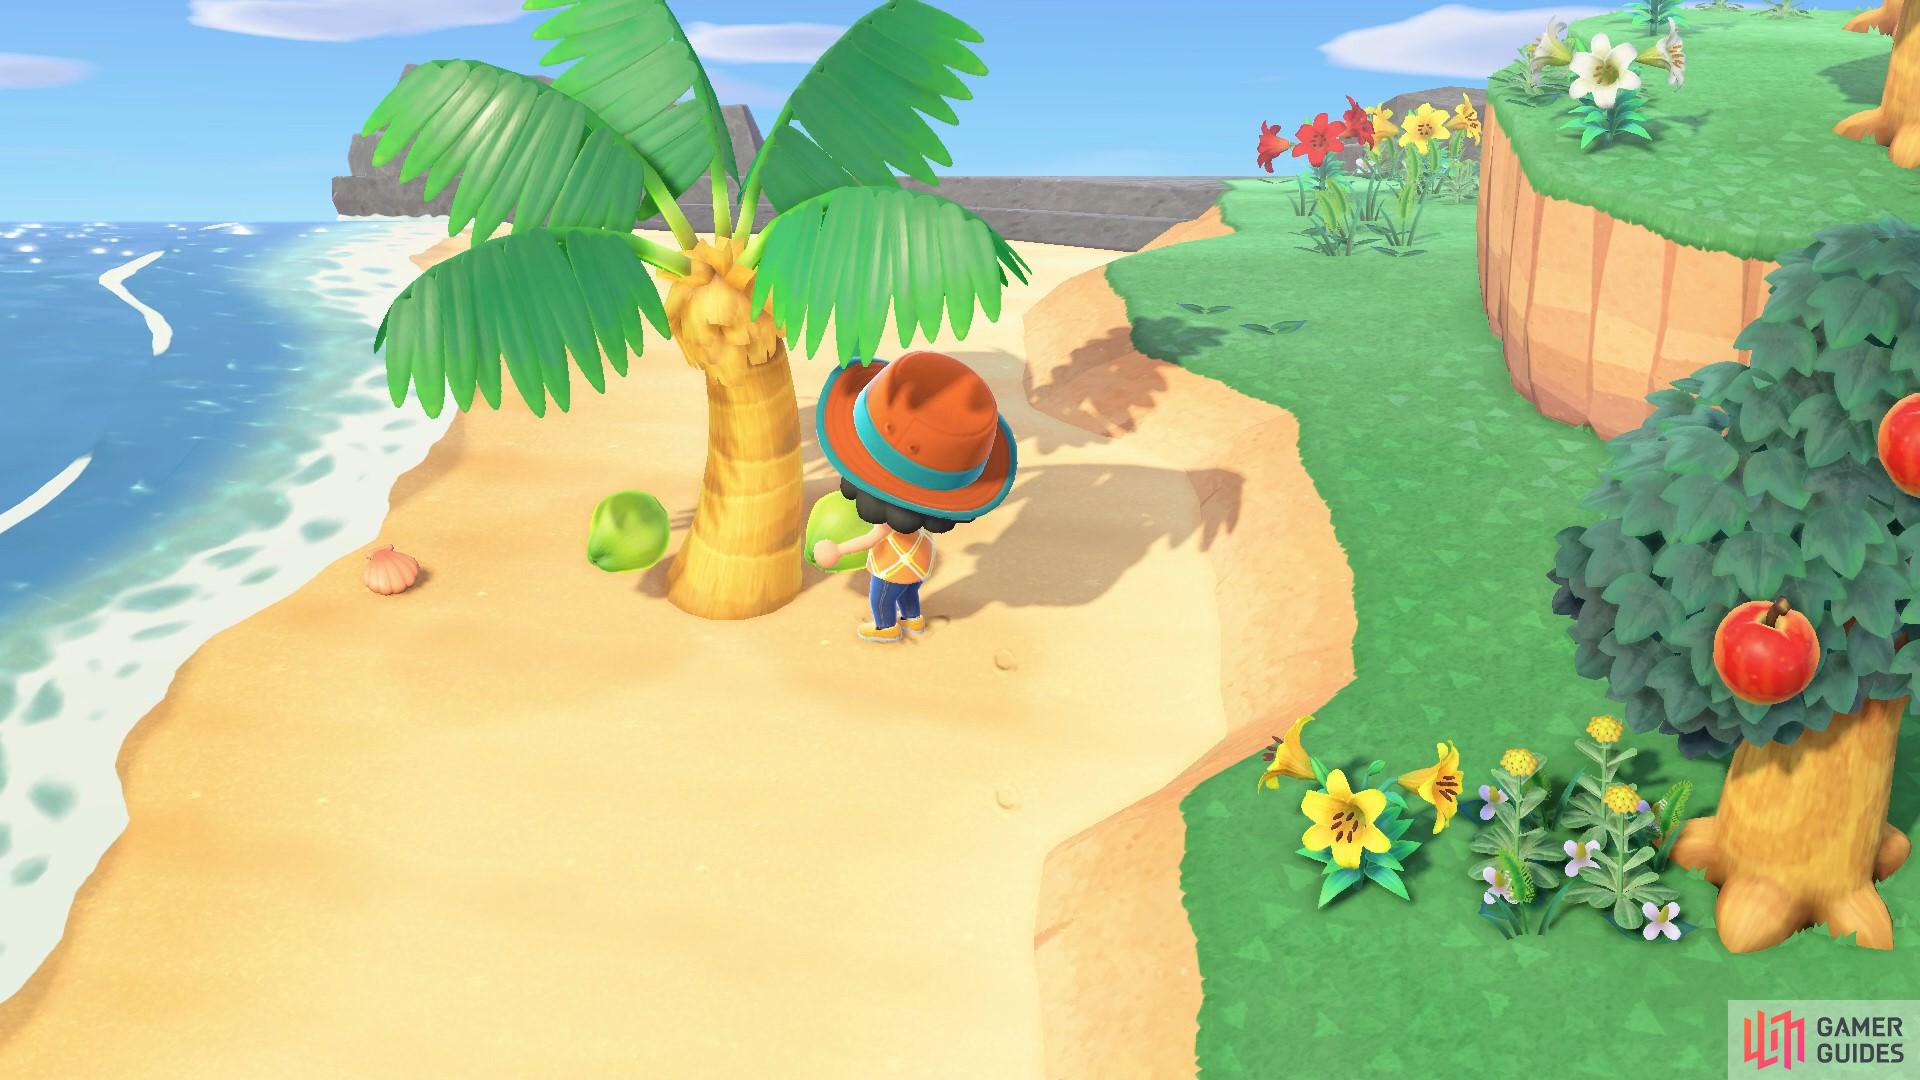
Take the coconuts home and plant your own palm trees!
-
Catch Bugs and Fish - You might find some new fish and bugs that you haven’t caught yet. Sometimes, the islands have specific, rarer creatures that spawn repeatedly, so it’s a great way to farm some of the rare, expensive fish and insects.
-
Talk to new villagers! - This won’t be the case for all visits, but if you have empty lots on your island, you will come across some new villagers wandering the deserted islands. You can talk to them and even invite them to your island. If you don’t like them, though, you don’t have to invite them!
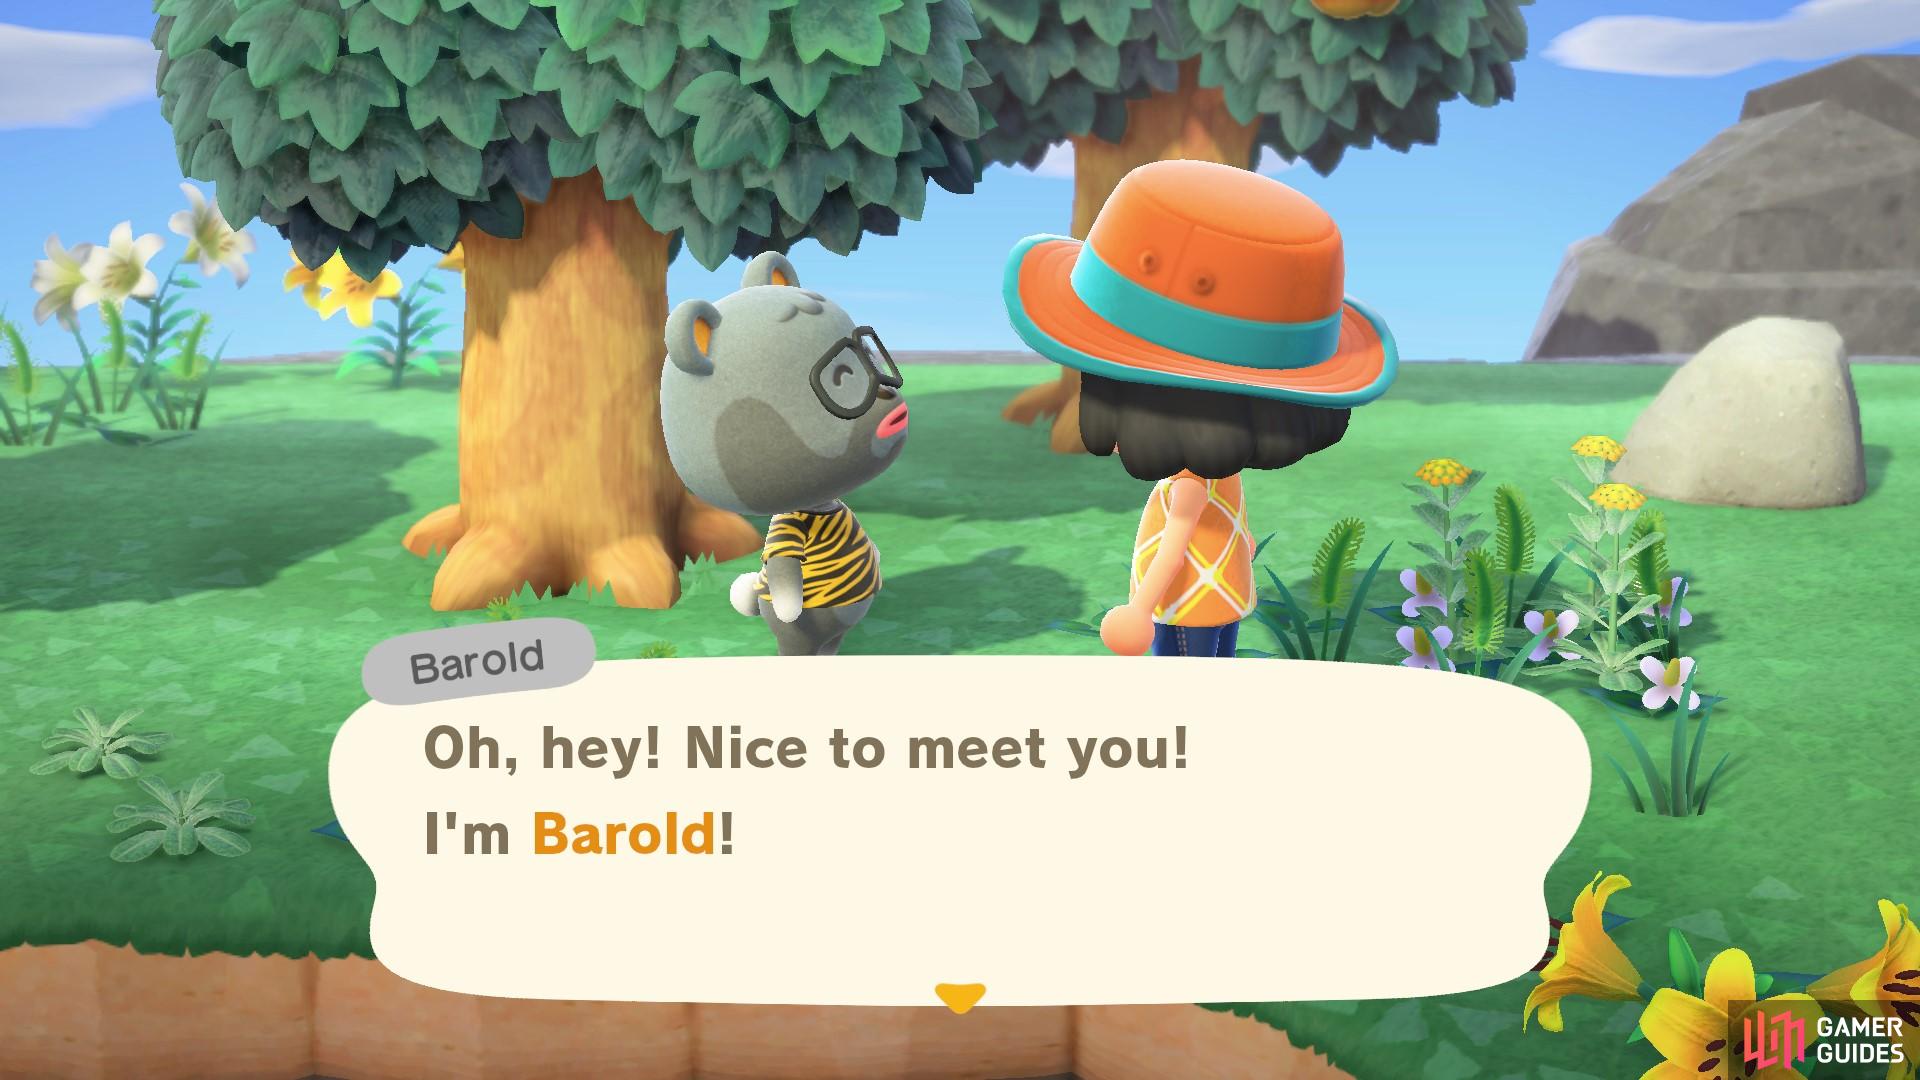
There are over 400 different villagers to meet!
Returning to your Island
When you want to return back to your island, head back to Wilbur on the dock. Remember, anything you leave on the island will be lost to you, so make sure you’ve picked up everything you need. Wilbur will double check with you that you have everything before he whisks you back to your home island.
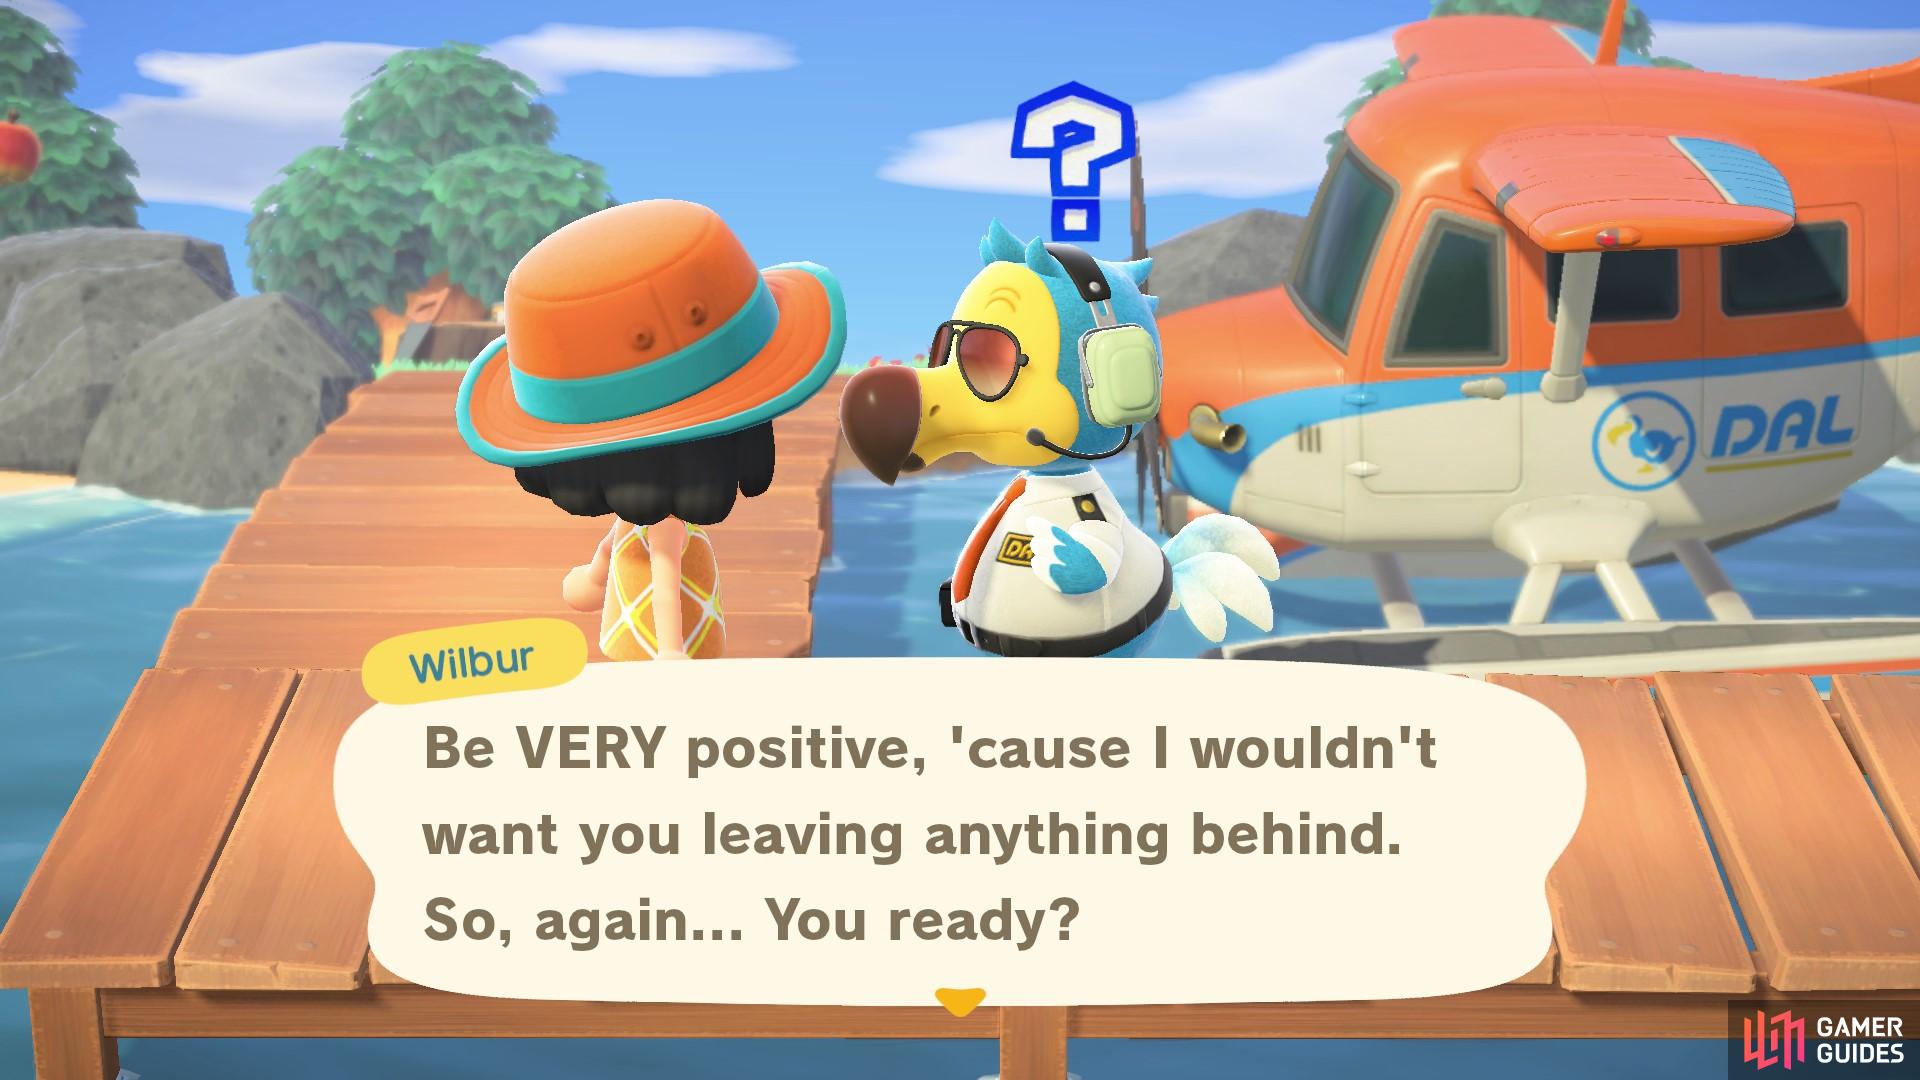
Make sure you don’t leave anything behind!
Speak to Timmy
Hopefully, after you’ve been to one island, you will have the required amount of iron nuggets to begin construction! If not, then you can either wait it out until tomorrow, when the rocks replenish, or you can go on another Mystery Tour. Sometimes, your villagers will run up to you and give you some of the materials you require, but this isn’t guaranteed.
Once you have all of the materials, head to Resident Services and speak to Timmy. Select the About Building a Shop option and you can donate all of the materials he requires in one go! Each building material you complete, Timmy will give you a random gift.
When you have donated all materials, Timmy will ask you to find a spot for the new shop! Like when you pitched tents for the island residents, you’ll be given a construction kit to choose a location for the shop. The shop fits a 7x4 grid so will need a bit of space to plot.
You can pick exactly where your shop will go!
After you’ve picked a spot for the shop, return to Timmy once more to tell him the good news. You will need to wait till tomorrow to visit the new shop!
No Comments