
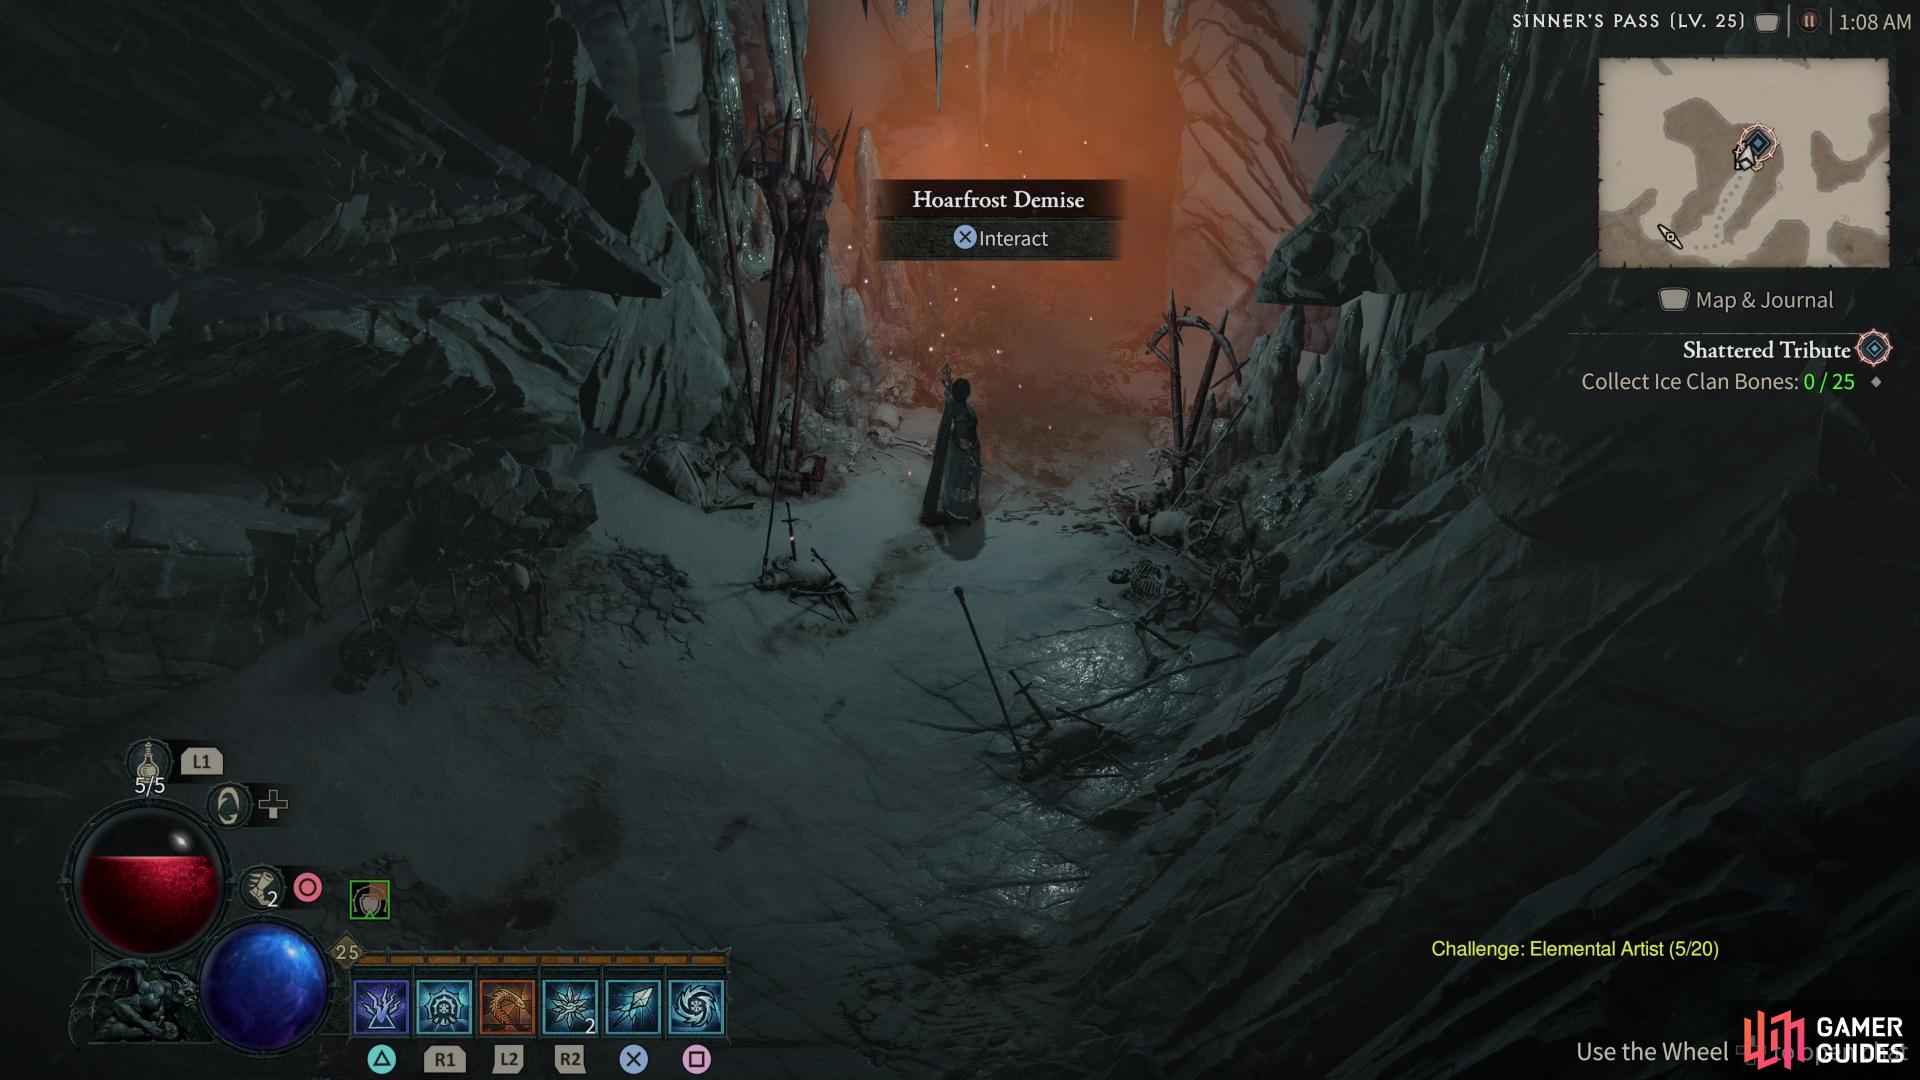
Dungeons are discrete concentrations of hostility in an already dangerous world. Marked on your map with gate icons, you’ll find dungeons scattered throughout Sanctuary, often appearing in the form of ruins or caves. Filled with monsters, you’ll often have to fight your way through these dens of evil while completing various objectives, usually culminating in a fight with some dungeon boss at the end. In addition to the loot you’ll gain from vanquishing foes and looting chests in dungeons, you’ll also earn an aspect unique to said dungeon, which can be used to empower gear. This page covers the ![]() Hoarfrost Demise dungeon in Diablo 4, including how to find this dungeon, complete its objectives, and defeat the dungeon boss at the end.
Hoarfrost Demise dungeon in Diablo 4, including how to find this dungeon, complete its objectives, and defeat the dungeon boss at the end.
The Hoarfrost Demise dungeon can be found along the northwestern edge of the Seat of the Heavens region.
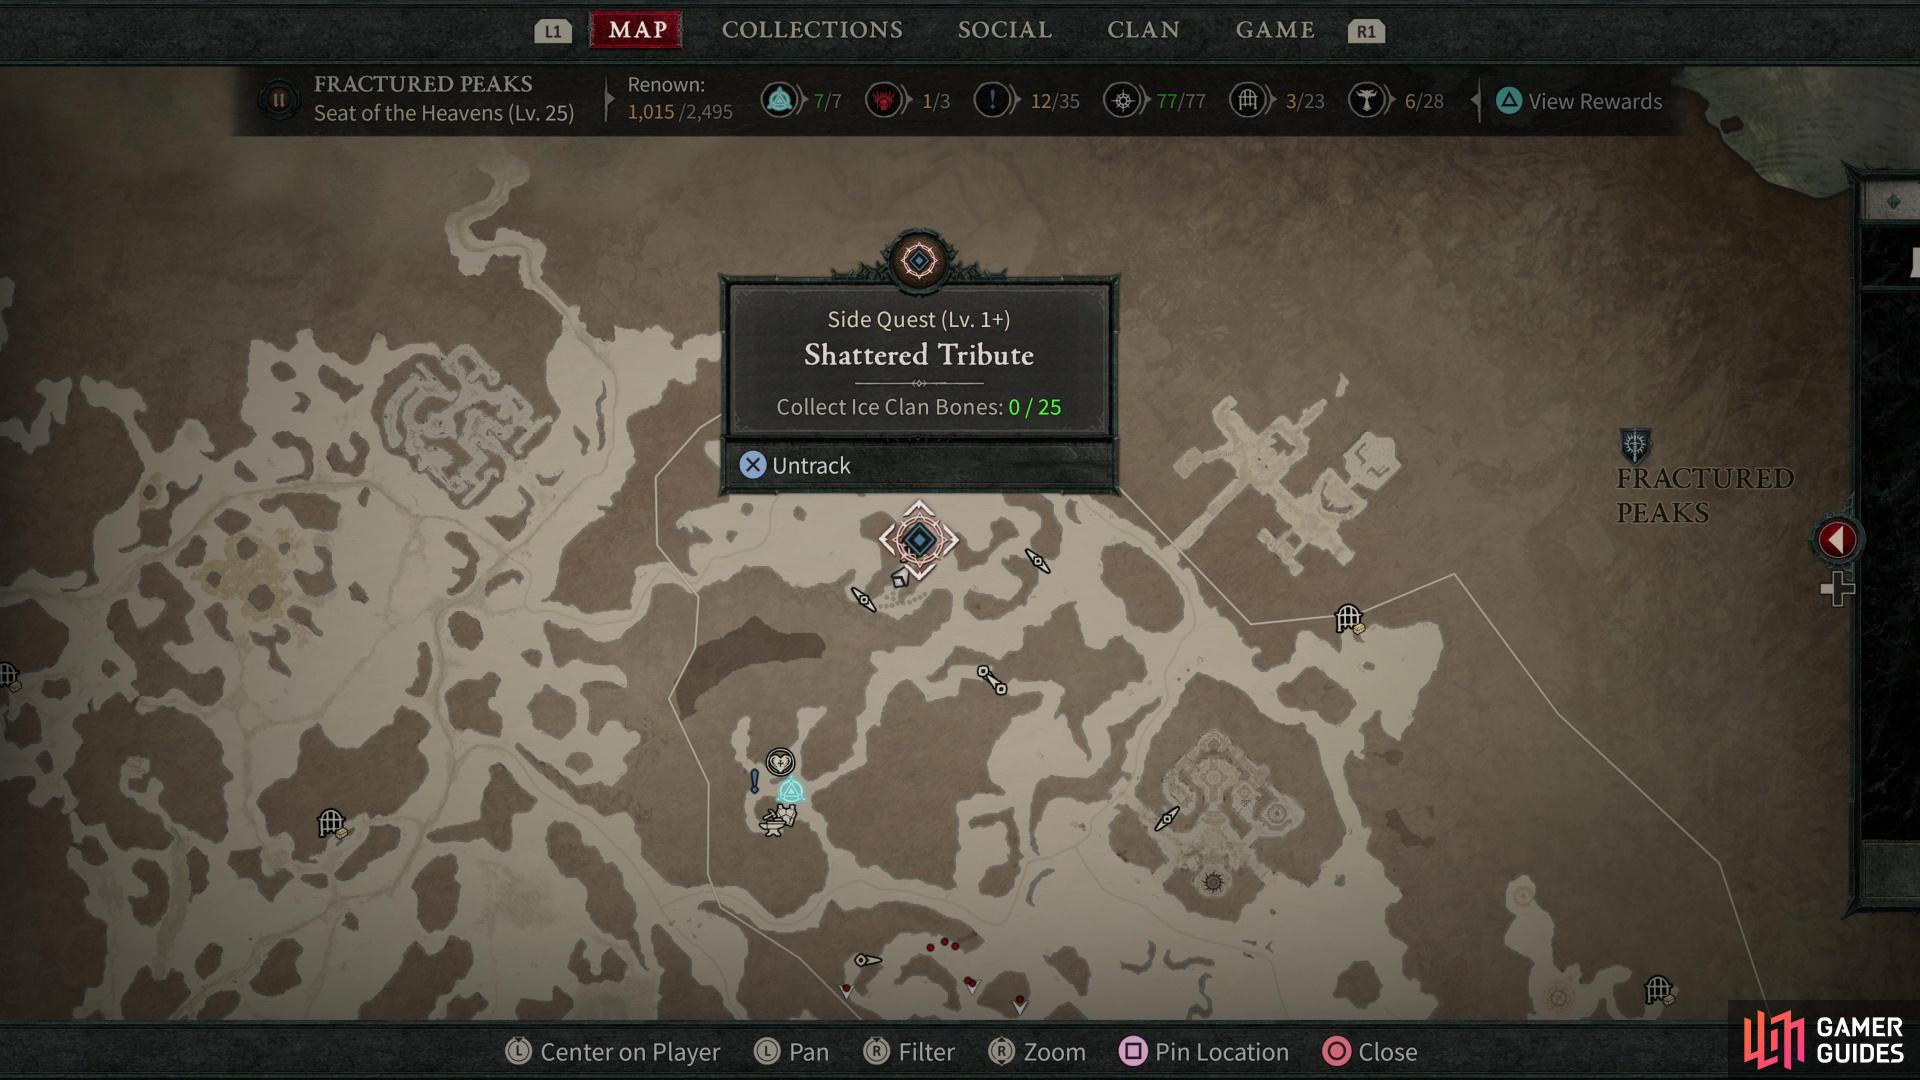
It’s location on the map.
How to Find the Hoarfrost Demise Dungeon in Diablo 4
The Hoarfrost Demise dungeon can be found a short distance north of the ![]() Bear Tribe Refuge, along the northern edge of the
Bear Tribe Refuge, along the northern edge of the ![]() Seat of the Heavens region in the Fractured Peaks. As the adage goes, “good fences make good neighbors”, but apparently the treacherous mountain passes aren’t enough of a barrier to make the local Ice Clan khazra - the primary inhabitants of this dungeon - good neighbors for the intrusive Bear Tribe barbarians. Given the proximity of the two, it should be no surprise that there’s a side quest tying them together - talking to
Seat of the Heavens region in the Fractured Peaks. As the adage goes, “good fences make good neighbors”, but apparently the treacherous mountain passes aren’t enough of a barrier to make the local Ice Clan khazra - the primary inhabitants of this dungeon - good neighbors for the intrusive Bear Tribe barbarians. Given the proximity of the two, it should be no surprise that there’s a side quest tying them together - talking to ![]() Sena in the Bear Tribe Refuge and she’ll task you with collecting 25
Sena in the Bear Tribe Refuge and she’ll task you with collecting 25 ![]() Ice Clan Bones to serve as tribute to the Bear Tribe chieftain. Since this task will require you to clear a good chunk of the Hoarfrost Demise dungeon, you might as well pick it up before attempting said dungeon. Two birds and all that. Another adage, but this adage actually holds.
Ice Clan Bones to serve as tribute to the Bear Tribe chieftain. Since this task will require you to clear a good chunk of the Hoarfrost Demise dungeon, you might as well pick it up before attempting said dungeon. Two birds and all that. Another adage, but this adage actually holds.
As far as objectives go, the Hoarfrost Demise dungeon is about as straightforward as dungeons get in Diablo 4:
- Destroy the
 Skeletal Construct: 3
 - Travel to the Flesh Cavern
- Defeat the
 Khazra Abomination
That’s right. Smash effigies. Head to boss chamber. Smash boss.
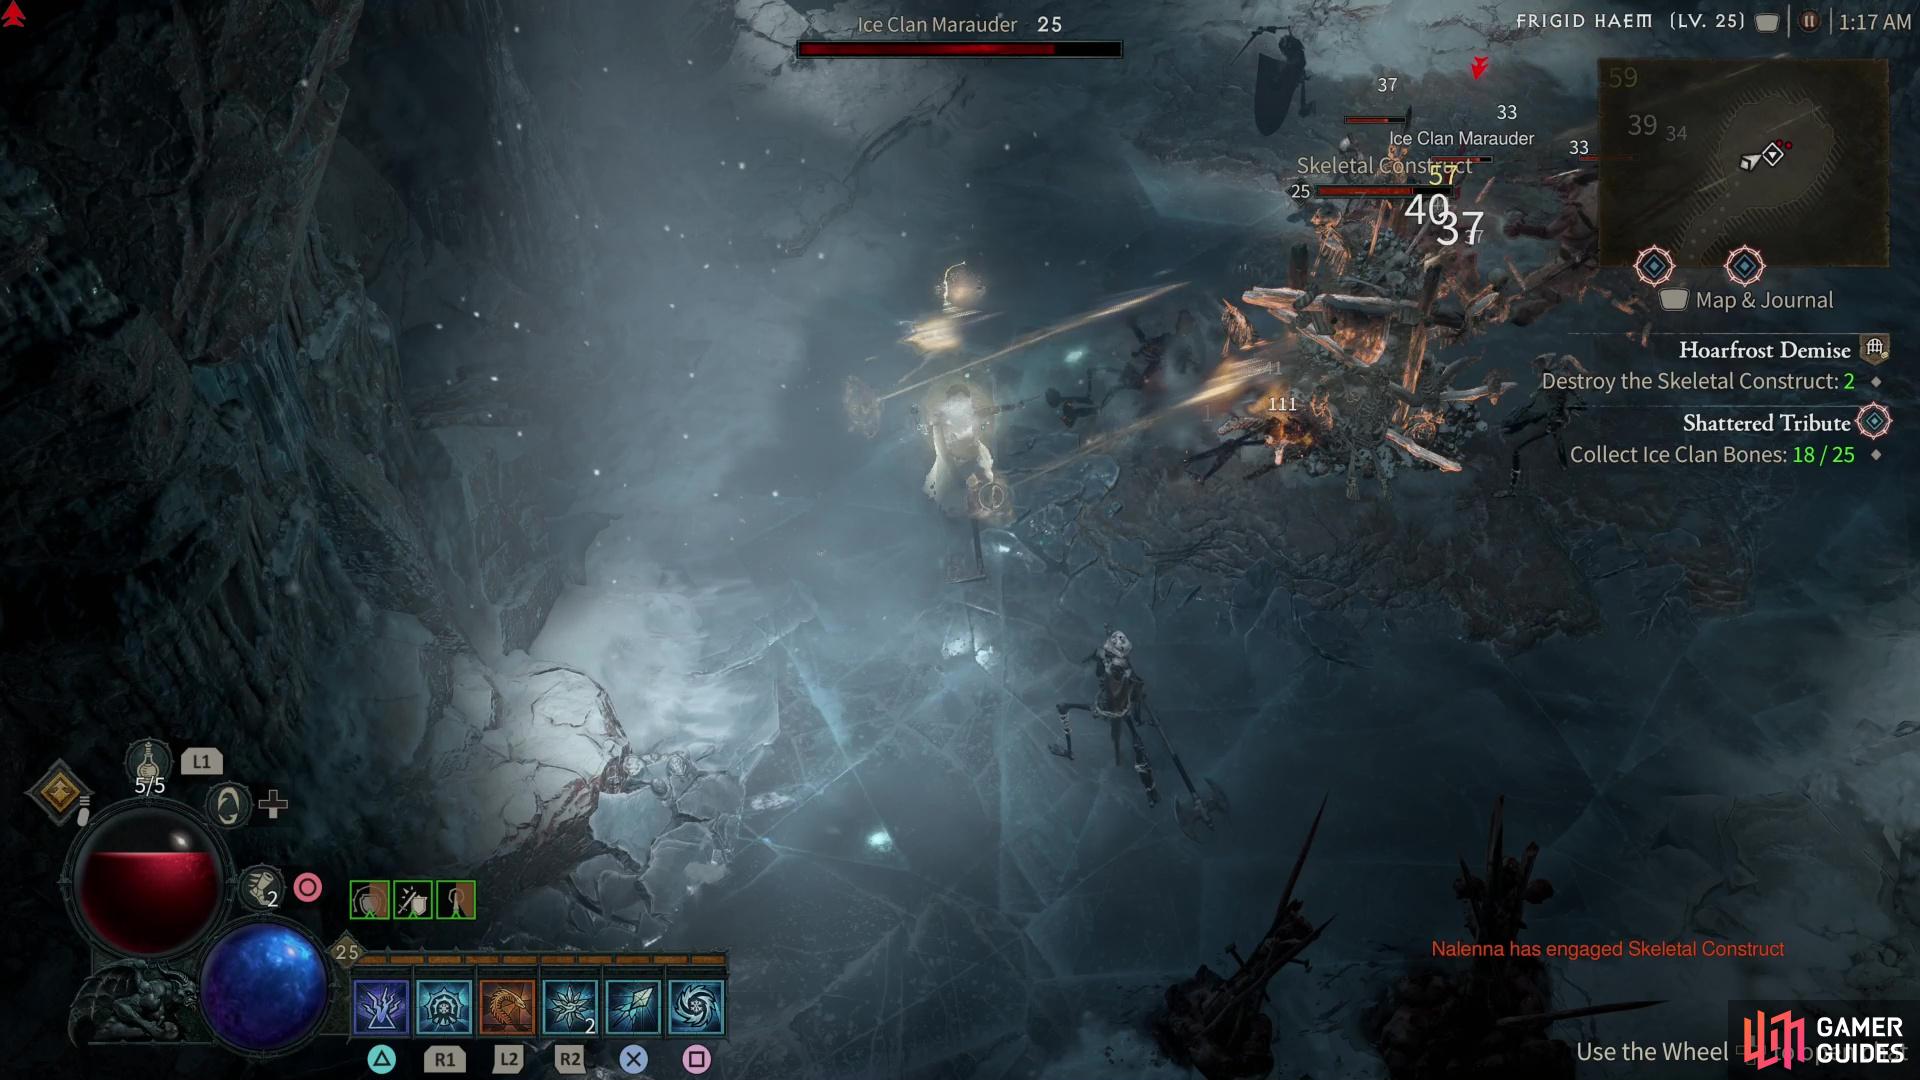
Most of your time in the Hoarfrost Demise dungeon will be occupied with destroying three Skeletal Constructs.
How to Clear the Hoarfrost Demise Dungeon in Diablo 4
The vast majority of your time in the Hoarfrost Demise dungeon will be spent hunting down the three Skeletal Constructs you need to destroy in order to access the boss chamber. These Skeletal Constructs are very similar to the effigies you have to destroy during Raze the Effigy events. They count as elite enemies and will summon minions to defend themselves, but otherwise aren’t terribly dangerous. The khazra you encounter during this phase should be sufficient to complete the side quest Shattered Tribute.
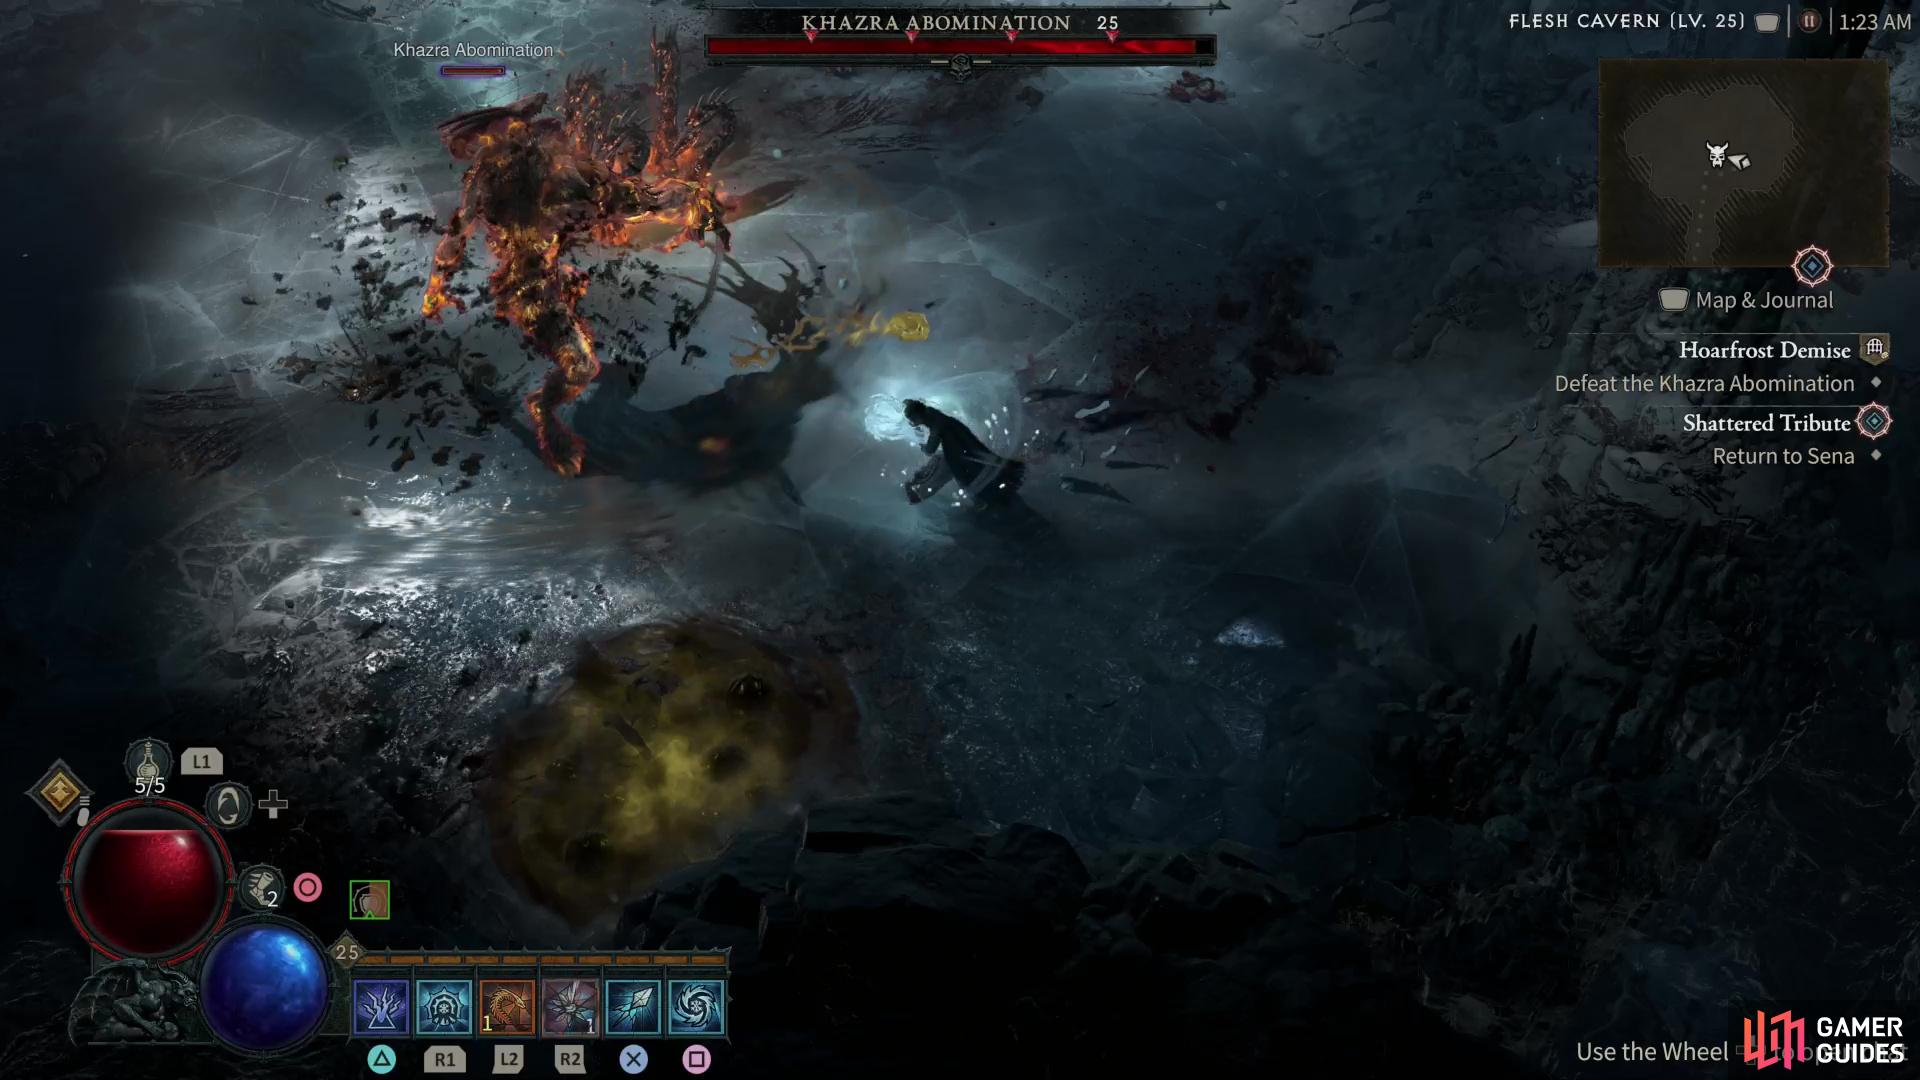
(1 of 4) The Khazra Abomination’s most common attack deals damage at close range, discharges a ball of phlegm as a ranged attack, and leaves toxic pools behind as area denial.
How to Defeat the Khazra Abomination in Diablo 4
Once you’ve smashed all four Skeletal Constructs, make your way to the “Flesh Cavern”, which is where you’ll find the dungeon boss, the Khazra Abomination. A massive, mutated khazra, his primary danger involves the toxic pools he can leave behind with various attacks, which will make much of the arena hazardous. He can also inflict stagger and bleed with some of his attacks, otherwise being a fairly straightforward physical-damage dealing brute.
-
Phlegm Swipe: The Khazra Abomination’s main attack is a claw swipe that also dislodges a ball of toxic phlegm, which leaves behind a pool of poison. It’s a combination melee attack, ranged attack, and damage-over-time/area denial attack, and ultimately it’ll force you to keep moving if you don’t want to sustain prolonged damage. As the boss’s health bar depletes he’ll start tossing out two, then three balls of poison every swipe, which will quickly fill up the arena and make avoiding damage-over-time more difficult.
-
 Claw Slam: The Khazra Abomination slams his larger, malformed arm into the ground, dealing damage and leaving behind another pool of toxic excretions - this attack will inflict bleed damage if it connects on top of physical and poison damage.
 -
Charge: A simple but effective attack, with little warning the Khazra Abomination can charge forward at speed, dealing heavy damage if he connects.
You’ll want to stay moving and, if possible, keep your distance. Standing close will just clutter the area adjacent to your foe with poison (sorry melee characters) forcing you to bait him away before you can close again. On the other hand, keeping yourself at midrange will offer you some protection from his sweep and slam attacks, but you may be too close to dodge his charge. At longer distances you’ll have more room to avoid the Khazra Abominations attacks, but he’ll naturally be loathe to let you maintain that range. Save your more powerful skills for the last quarter of the boss’s health bar, if possible, as the copious amounts of poison he covers the arena with later on makes avoiding damage difficult - the sooner you can end him, the better.
Defeat the Khazra Abomination and you’ll clear the dungeon, earning the ![]() Blood-bathed Aspect for doing so.
Blood-bathed Aspect for doing so.
No Comments