
Nightmare Dungeons are a key endgame activity in Diablo 4, and while their prominence may have slightly waned due to the lure of new content like Uber Bosses and Blood Harvests, they still remain the fastest way to farm XP… at least for high-level players who know what they’re doing. Regardless of your preferences when it comes to doing runs, you’ll need to power up your Glyphs, so running some Nightmare Dungeons (read: a lot of Nightmare Dungeons) is a necessary step if you want an endgame competent character. This page will provide information on the best Nightmare Dungeons to run in Season 2 of Diablo 4, taking into consideration the simplicity of the objectives, enemy density, and dungeon layout when determining which are the fastest, most efficient Nightmare Dungeons to run.
Nightmare Sigils spawn with a random Tier level and several modifiers,

and when used will turn a dungeon into a Nightmare Dungeon, modifying the enemies within based on the properties of the Nightmare Sigil used.
Nightmare Dungeon Tier Lists
Nightmare Dungeons are pretty straightforward bits of content, you use a Sigil (dropped by World Bosses, from caches given to you by the Tree of Whispers or found in other Nightmare Dungeons) to turn a normal dungeon into a Nightmare Dungeon, which levels the enemies up (or down?) within and gives them and the player several modifiers. The enemies within get more modifiers than the player does, and this generally trends towards making things more difficult, and the tier of the Sigil used to create the Nightmare Dungeon determines the level of the enemies within and the number of modifiers applied. Clearing a Nightmare Dungeon will reward you with XP and gold (in addition to whatever drops within the Nightmare Dungeon) and you’ll be able to power up one of your Glyphs, granting it Glyph XP which, like most things, increases the higher the Nightmare Dungeon’s tier.
Since most players run Nightmare Dungeons for the rewards at the end, there’s a big bias towards clear speed, and even without the random modifiers that spawn on Sigils, all Nightmare Dungeons aren’t created equal. Some have more obnoxious objectives, more labyrinthine layouts, more dangerous enemies, and varying levels of enemy density, all of which conspire to take more time, make the runs more difficult and score you less XP and drops along the way. The best Nightmare Dungeons are short, simple and brimming with easily dispatchable enemies, preferably ones that aren’t terribly dangerous. Below we’ll provide a list of the best Nightmare Dungeons in the game, ranking them into three categories:
-
Difficulty: How dangerous the enemies within each dungeon are. This varies considerably by build and stats - if your poison resistance is poor, spiders will give you trouble, even if they’re dense and otherwise something considered positive in dungeons. The main things we’re looking for here are debuffs and damage spikes, with spiders, Nangari and wraiths (blue ghosts are fine, red ghosts are bad) all being considered somewhat odious foes, while drowned dead, goatmen, and fallen are less dangerous.
-
XP Farming: Largely influenced by enemy density and the speed at which dungeons can be cleared. Simple layouts and easy objectives along with dense mobs (drowned dead and spiders being generally ideal) are good things, labyrinthine dungeons with time-consuming objectives and low enemy density are bad.
-
Glyph XP Farming: You get Glyph XP at the end of a Nightmare Dungeon, hence this is almost solely a measure of difficulty and clear speed. Anything that complicates a run negatively affects Glyph XP Farming. There’s some overlap with normal XP Farming, but if you just want to power up your Glyphs, you aren’t all that concerned with enemy density.
List of Nightmare Dungeons by Tier
Below you’ll find a tier list of the top Nightmare Dungeons in Season 2, you know, assuming you don’t care to read the reasoning about why each dungeon is ranked where it is:
| S-Tier Dungeons | A-Tier Dungeons | B-Tier Dungeons | C-Tier Dungeons |
|---|---|---|---|
| – | – | Vault of the Forsaken |
(1 of 3) You’ll need to hunt down objectives in the Belfry Zakara Nightmare Dungeon, but all these objectives are in plain sight and won’t slow you down.
S-Tier
Belfry Zakara
| Difficulty | XP Farming | Glyph XP Farming |
|---|---|---|
| Low | Great | Great |
Quite possibly the fastest dungeon in the game, it’s a series of roughly squarish rooms connected by hallways, and while there’s bound to be the odd roundabout, you can’t ever really get lost or find yourself running down a lengthy dead-end. Accompanying you through this short, simple dungeon will be a host of drowned dead - one of the two enemy types that tend to be incredibly dense (the other being spiders, which we’ll see in other top-tier dungeons), and of the two, drowned dead are far less dangerous. ![]() Quartermasters and First Mates can hit hard, and the dungeon boss, the
Quartermasters and First Mates can hit hard, and the dungeon boss, the ![]() Drowned Seahag, can also deal serious damage with her waterspout attack. None of these attacks are hard to avoid and there are no DoTs worth mentioning in this dungeon aside from elite mods. This dungeon’s simplicity and clear speed make it great for leveling up your glyphs, and while there could arguably be more elites, that’s just nitpicking. You should breeze through this dungeon without any serious difficulties, earning decent loot and XP along the way. Hard to find much fault in any of that.
Drowned Seahag, can also deal serious damage with her waterspout attack. None of these attacks are hard to avoid and there are no DoTs worth mentioning in this dungeon aside from elite mods. This dungeon’s simplicity and clear speed make it great for leveling up your glyphs, and while there could arguably be more elites, that’s just nitpicking. You should breeze through this dungeon without any serious difficulties, earning decent loot and XP along the way. Hard to find much fault in any of that.
Flooded Depths
| Difficulty | XP Farming | Glyph XP Farming |
|---|---|---|
| Low | Good | Great |
Consisting of winding passages and flooded rooms, you’d think this would be a slow dungeon, but it’s not. There’s usually a clear way to go, and you can generally just follow the red dots on the minimap to the next area. Speaking of which, this dungeon is occupied by dense throngs of drowned dead, and while the First Mate enemies can hit hard with their AoE wave attack, you shouldn’t encounter much trouble in this dungeon. Dense enemies, fast runtime, little threat - it’s best for Glyph XP, but no slouch for character XP either, and even with bad mods this is something of a lucrative freebie dungeon. Solidly top-tier. The only real downside to this dungeon is that the enemy mobs could be a bit denser, and there could be more elites.
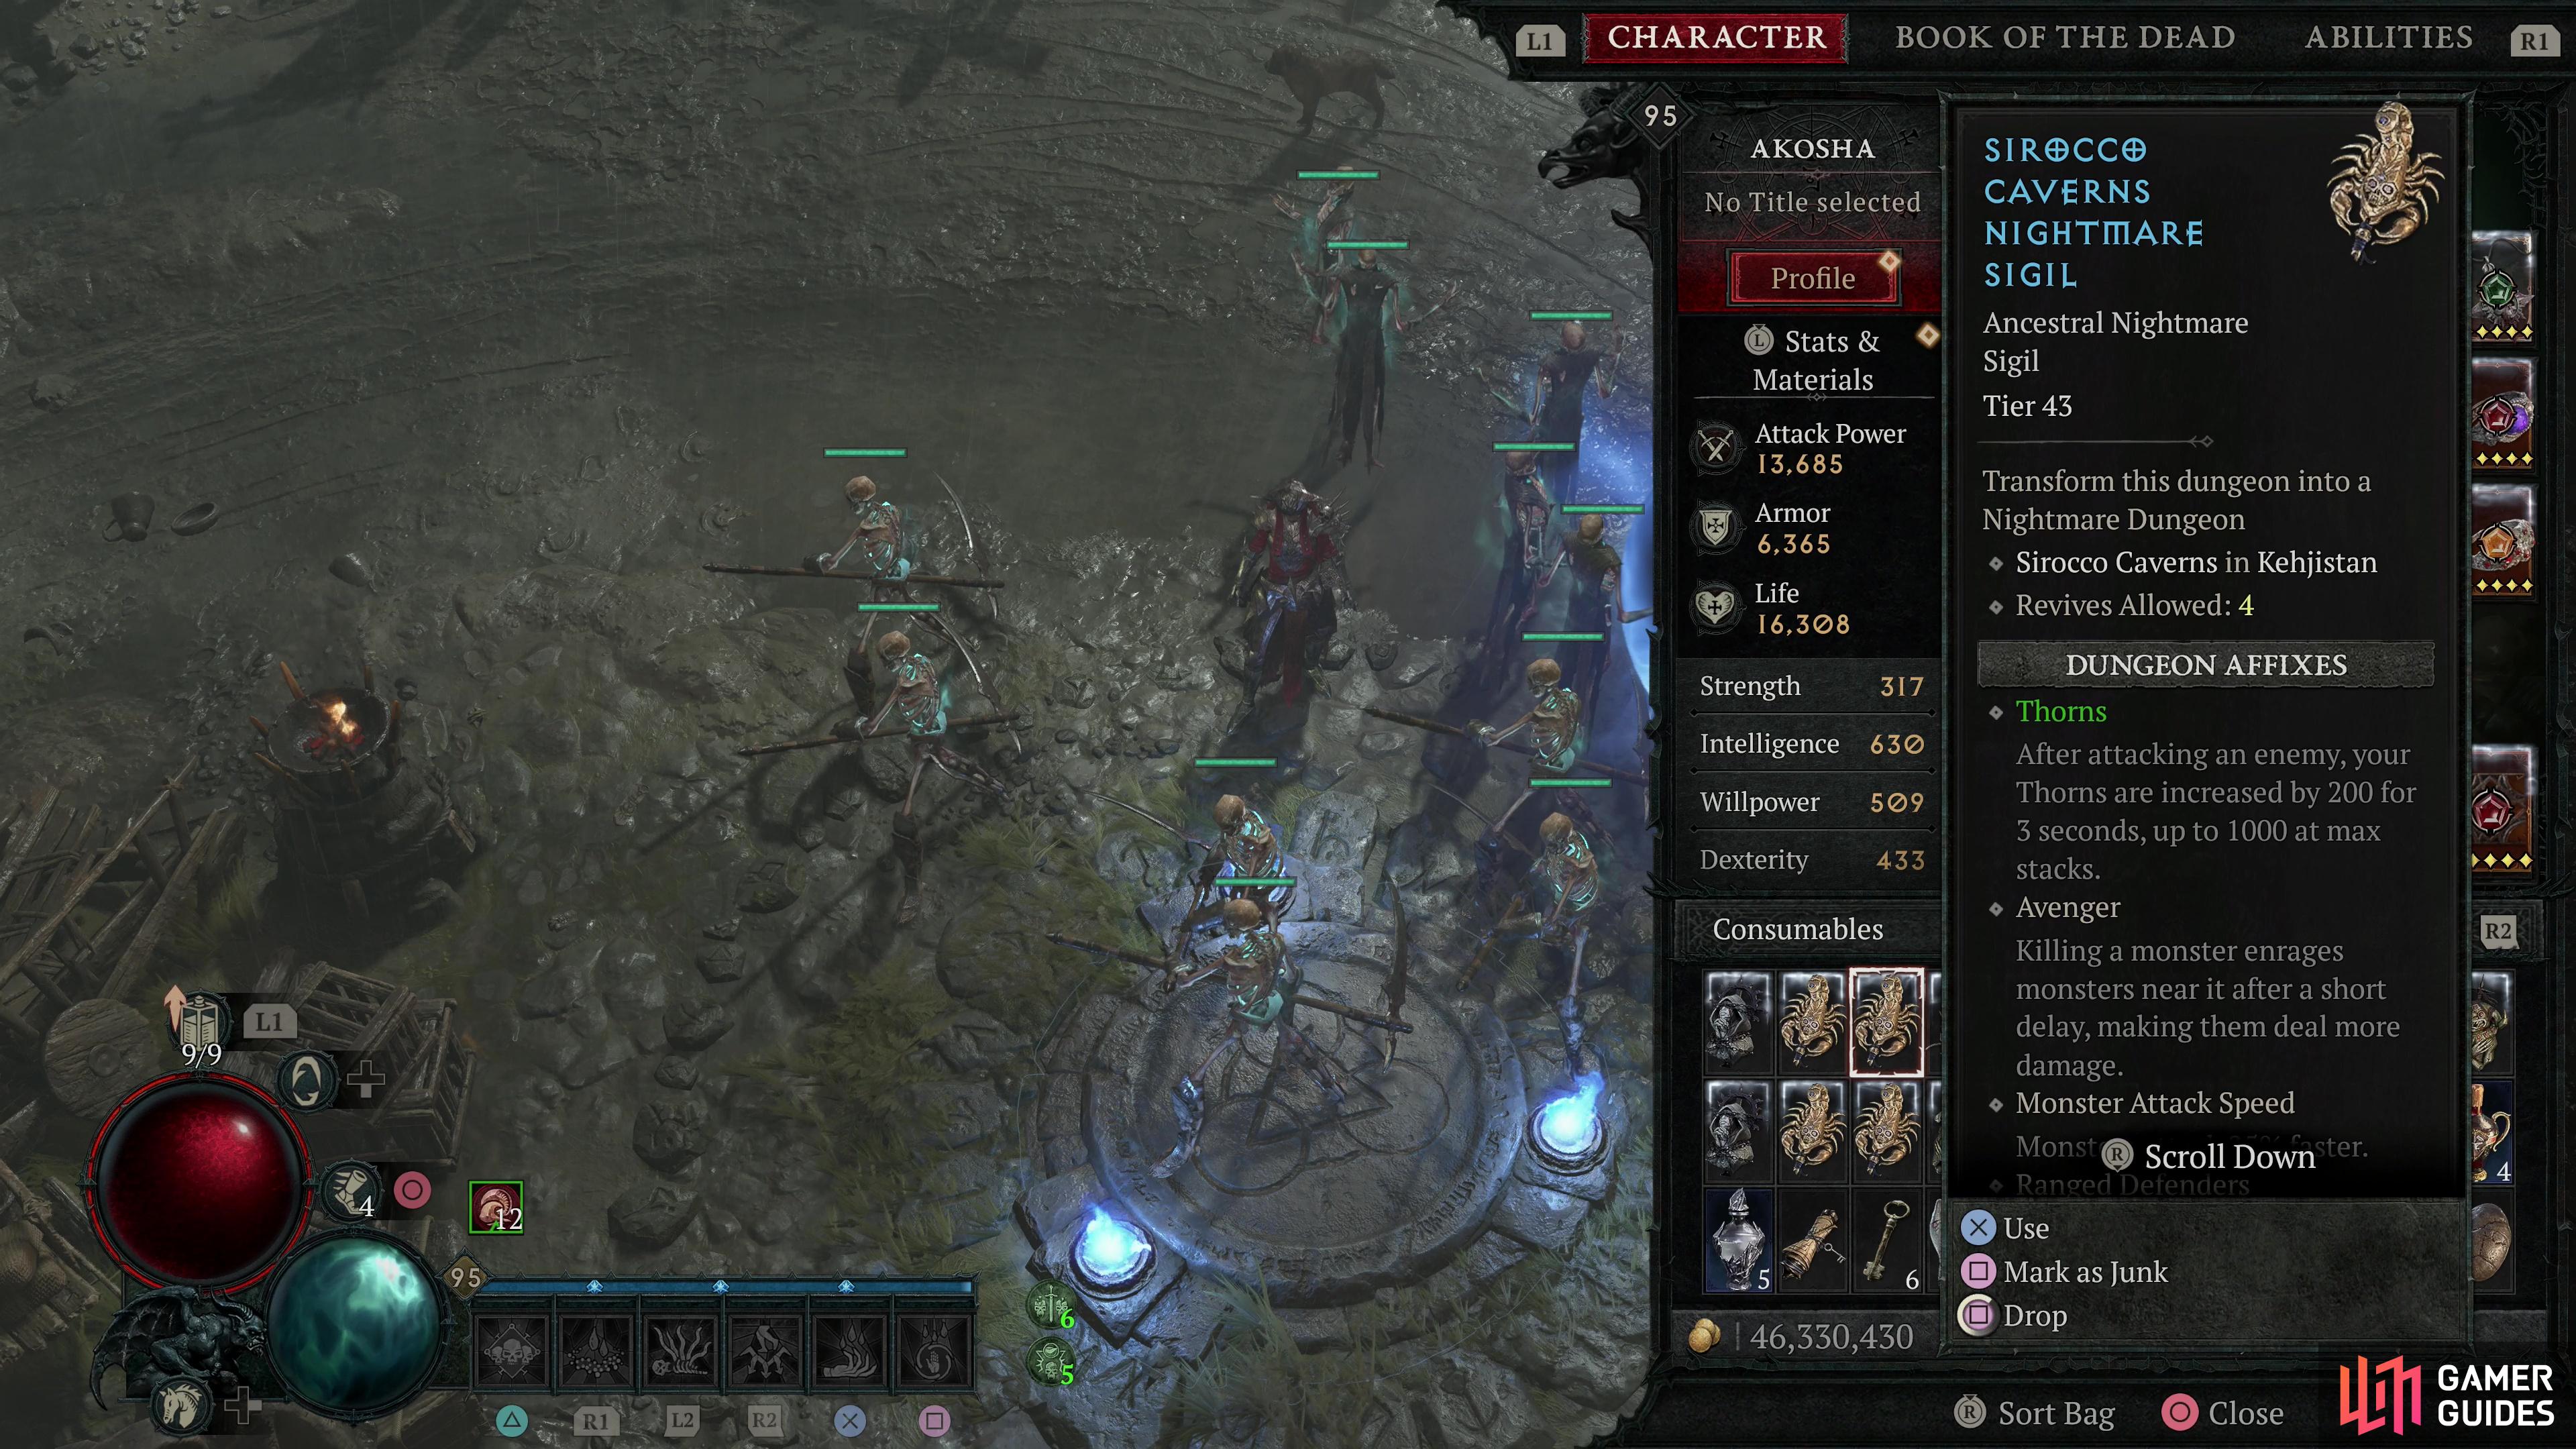
Sirocco Caverns
| Difficulty | XP Farming | Glyph XP Farming |
|---|---|---|
| High | Great | Great |
The first half of the dungeon is infested with spiders, which invariably means poison damage, especially from ![]() Arachnid Horrors and their on-death explosion. In the second half, these spiders will be joined by
Arachnid Horrors and their on-death explosion. In the second half, these spiders will be joined by ![]() Fallen. Destroy Silken Spires in the first half, and Spider Callers (elite
Fallen. Destroy Silken Spires in the first half, and Spider Callers (elite ![]() Fallen Shaman) in the second half. While the spiders may slow things down - especially if your mobility and/or poison resistance aren’t top-tier, this dungeon has many things going for it - simple layout with minimal potential to get lost (even the dead ends are short and you’ll usually spot them before you waste time), all your objectives will be right in front of you. Enemies are dense and elites are plentiful, meaning you’ll be getting tons of XP and loot, and provided there aren’t survivability issues, it’s a fast run. Great for leveling and for Glyph XP.
Fallen Shaman) in the second half. While the spiders may slow things down - especially if your mobility and/or poison resistance aren’t top-tier, this dungeon has many things going for it - simple layout with minimal potential to get lost (even the dead ends are short and you’ll usually spot them before you waste time), all your objectives will be right in front of you. Enemies are dense and elites are plentiful, meaning you’ll be getting tons of XP and loot, and provided there aren’t survivability issues, it’s a fast run. Great for leveling and for Glyph XP.
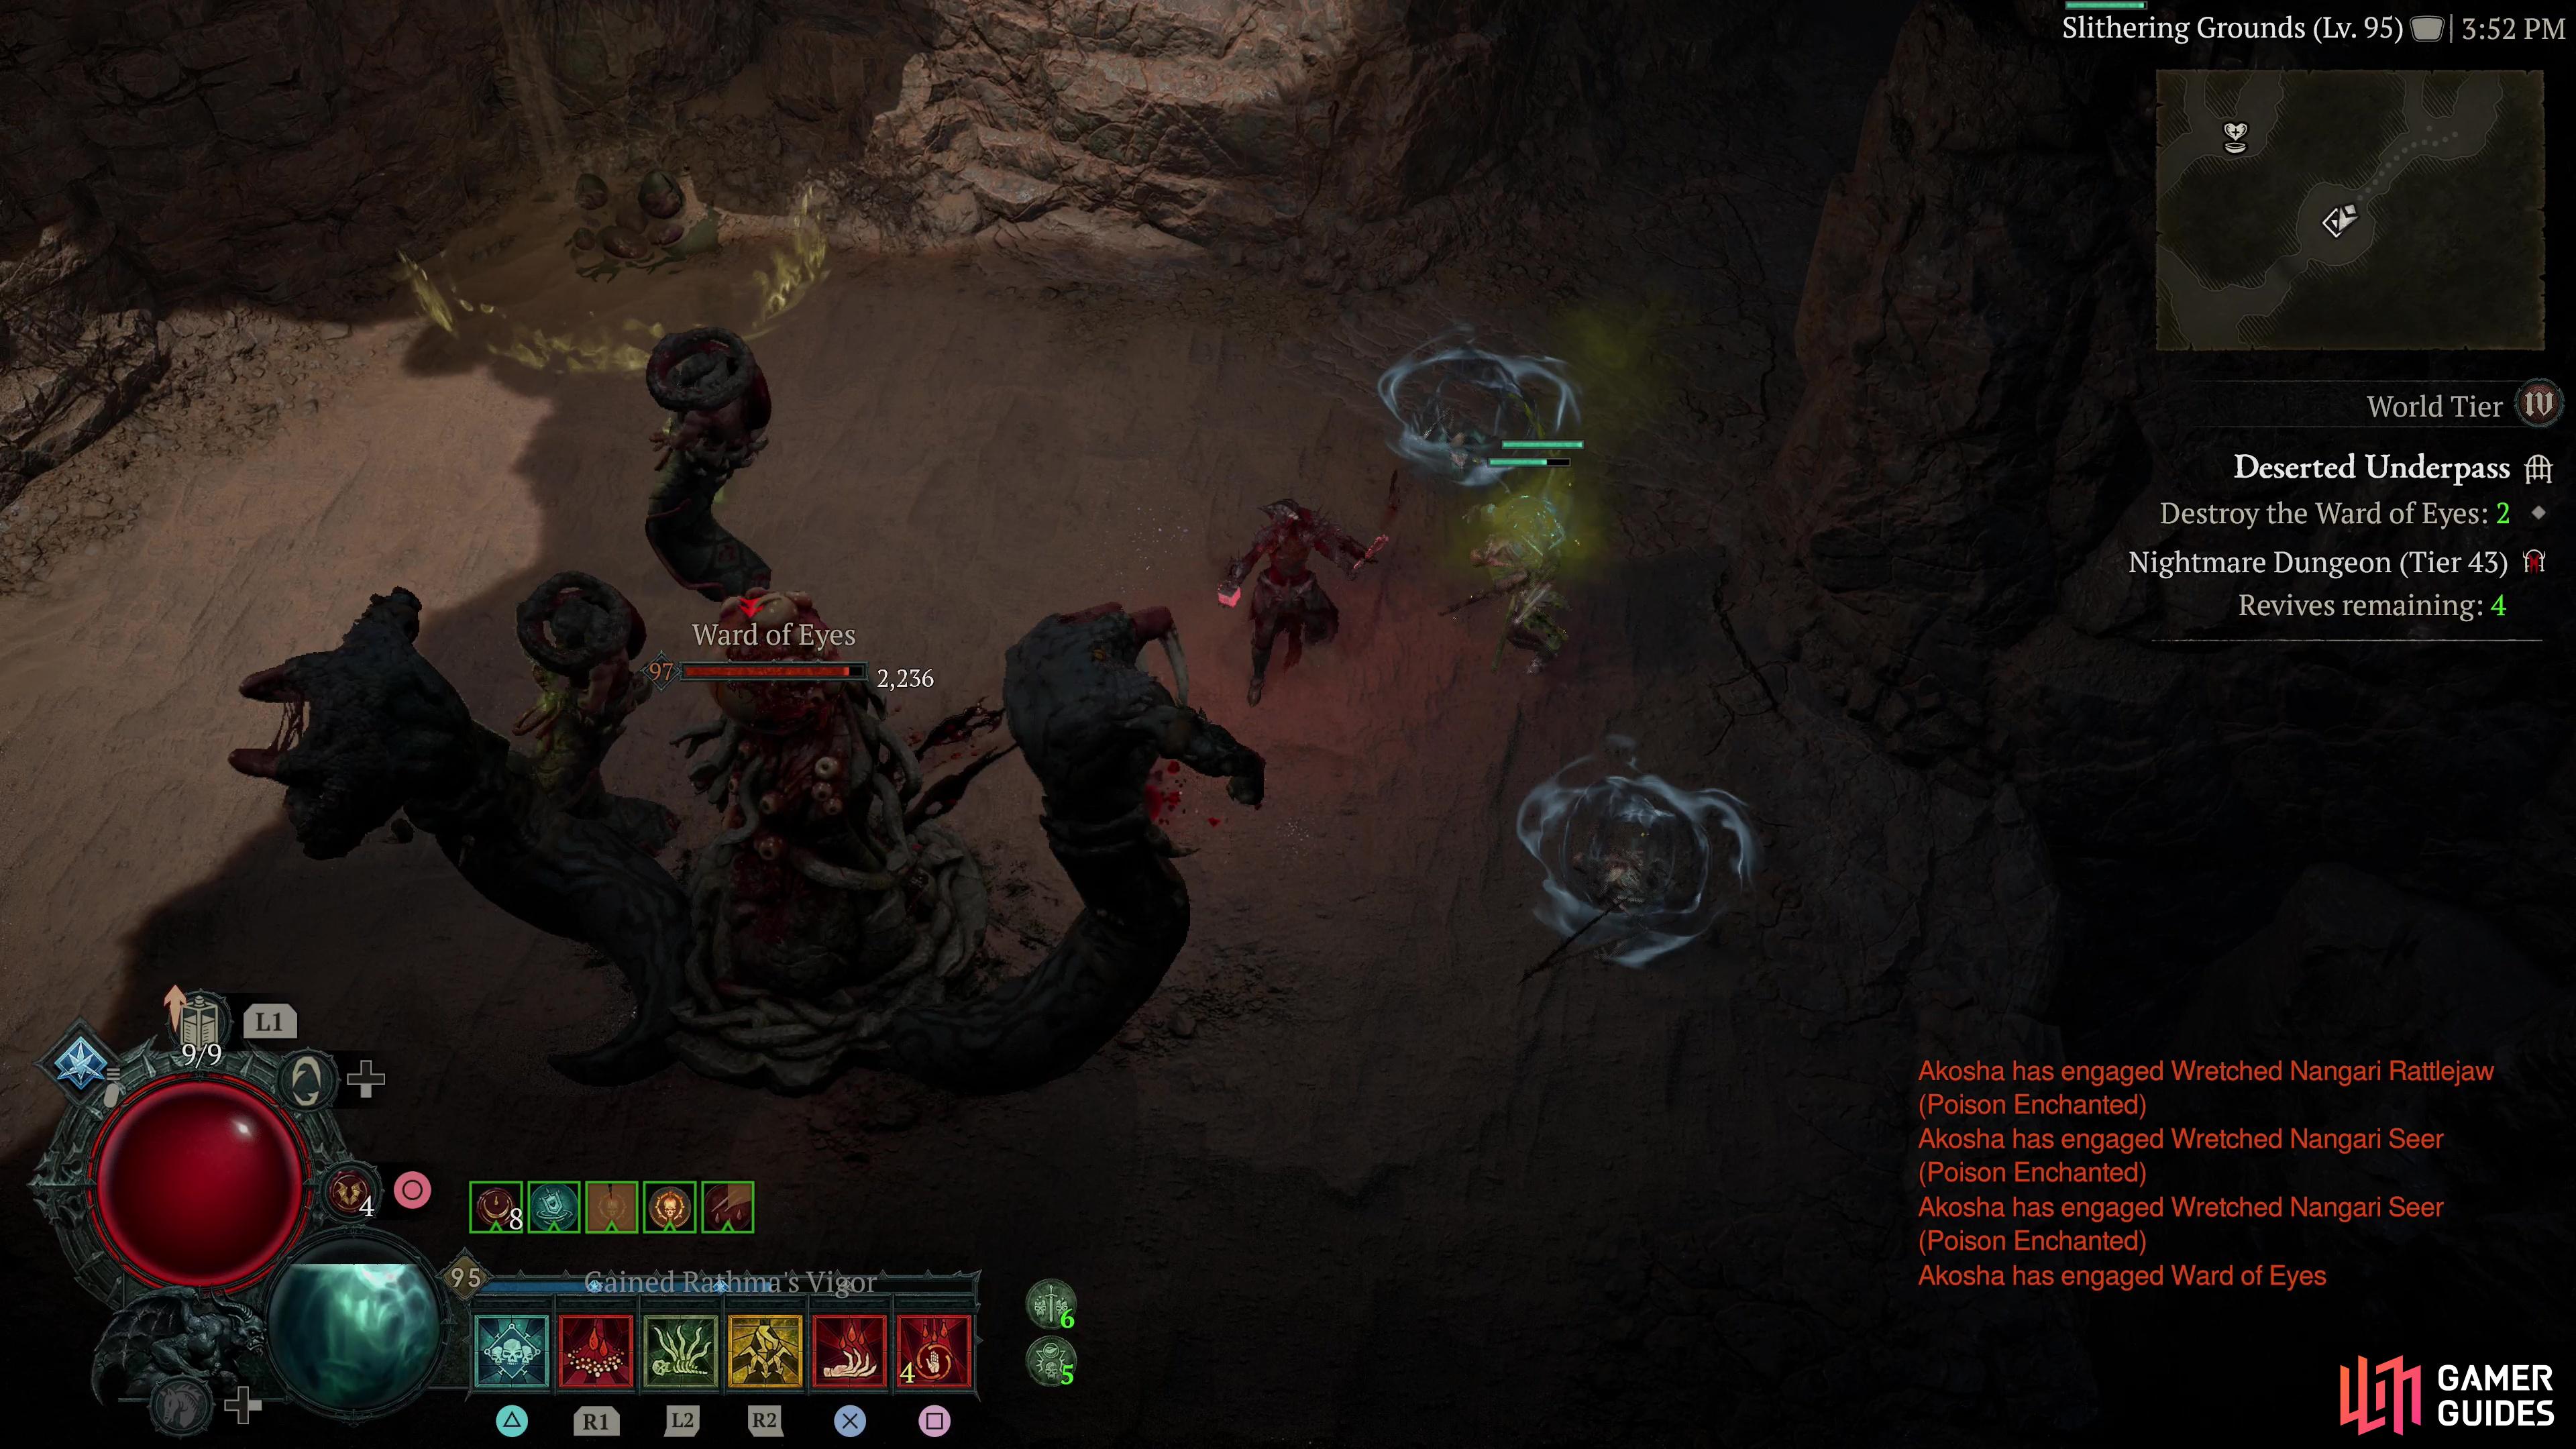
(1 of 3) Densely packed with spiders and Nangari, the Deserted Underpass nonetheless rewards you with great XP if you can handle the enemies within.
A-Tier
Deserted Underpass
| Difficulty | XP Farming | Glyph XP Farming |
|---|---|---|
| High | Great | Good |
Straddling S-Tier and A-Tier, the ![]() Deserted Underpass is an uncomplicated dungeon consisting of tunnels with only the odd dead-end and roundabout complicating matters - generally, you’re pushing forward and killing. The enemies here can be a chore, however, consisting of spiders in the first half and Nangari in the second half. Needless to say, poison and other debuffs will be flying around liberally, and Arachnid Horrors and their on-death explosion remain a persistent threat. If you have high poison resistance and the ability to escape the various stun effects inflicted by Nangari enemies, this might not slow you down much, but it can understandably render this dungeon unappealing to certain builds. If the enemies don’t deter you, this is a straightforward dungeon crawling with dense mobs of enemies and elites at every turn, great for farming XP and aside from the odd straggler slowing things down, a pretty fast run for Glyph XP, too.
Deserted Underpass is an uncomplicated dungeon consisting of tunnels with only the odd dead-end and roundabout complicating matters - generally, you’re pushing forward and killing. The enemies here can be a chore, however, consisting of spiders in the first half and Nangari in the second half. Needless to say, poison and other debuffs will be flying around liberally, and Arachnid Horrors and their on-death explosion remain a persistent threat. If you have high poison resistance and the ability to escape the various stun effects inflicted by Nangari enemies, this might not slow you down much, but it can understandably render this dungeon unappealing to certain builds. If the enemies don’t deter you, this is a straightforward dungeon crawling with dense mobs of enemies and elites at every turn, great for farming XP and aside from the odd straggler slowing things down, a pretty fast run for Glyph XP, too.
Ghoa Ruins
| Difficulty | XP Farming | Glyph XP Farming |
|---|---|---|
| Medium | Good | Great |
In the first half of this damp dungeon, you’ll encounter pirates and in the second half pirates and Nangari. Quartermasters can inflict heavy damage and Nangari can stun, so it’s not the easiest run, but it is potentially a very, very fast one, as your objectives are simply to run to the boss room, only stopping to complete a random checkpoint event separating the two halves of the dungeon. Enemy density is decent, so it’s fine for XP farming and potentially great for Glyph XP, you do need to be wary of the dungeon’s layout, however, as it’s not always straight-forward and you could end up finding yourself wasting time down side routes that don’t lead anywhere.
Jalal’s Vigil
| Difficulty | XP Farming | Glyph XP Farming |
|---|---|---|
| Medium | Poor | Great |
Jala’s Vigil is full of beasts and lycanthropes, neither of which have great enemy density, and ![]() Tusked Chargers can prove annoying due to their tankiness and the heavy damage they can inflict with charges. That said,
Tusked Chargers can prove annoying due to their tankiness and the heavy damage they can inflict with charges. That said, ![]() Jalal’s Vigil is one of the quickest Nightmare Dungeons in the game, as its objectives are usually as simple as heading to the next area. Aside from a random event separating phase one and phase two of this dungeon, there’s nothing really slowing you down from just rushing to the boss,
Jalal’s Vigil is one of the quickest Nightmare Dungeons in the game, as its objectives are usually as simple as heading to the next area. Aside from a random event separating phase one and phase two of this dungeon, there’s nothing really slowing you down from just rushing to the boss, ![]() Bramble (watch out for his high poison damage) and finishing the dungeon. Great for Glyph XP, not so much for anything else.
Bramble (watch out for his high poison damage) and finishing the dungeon. Great for Glyph XP, not so much for anything else.
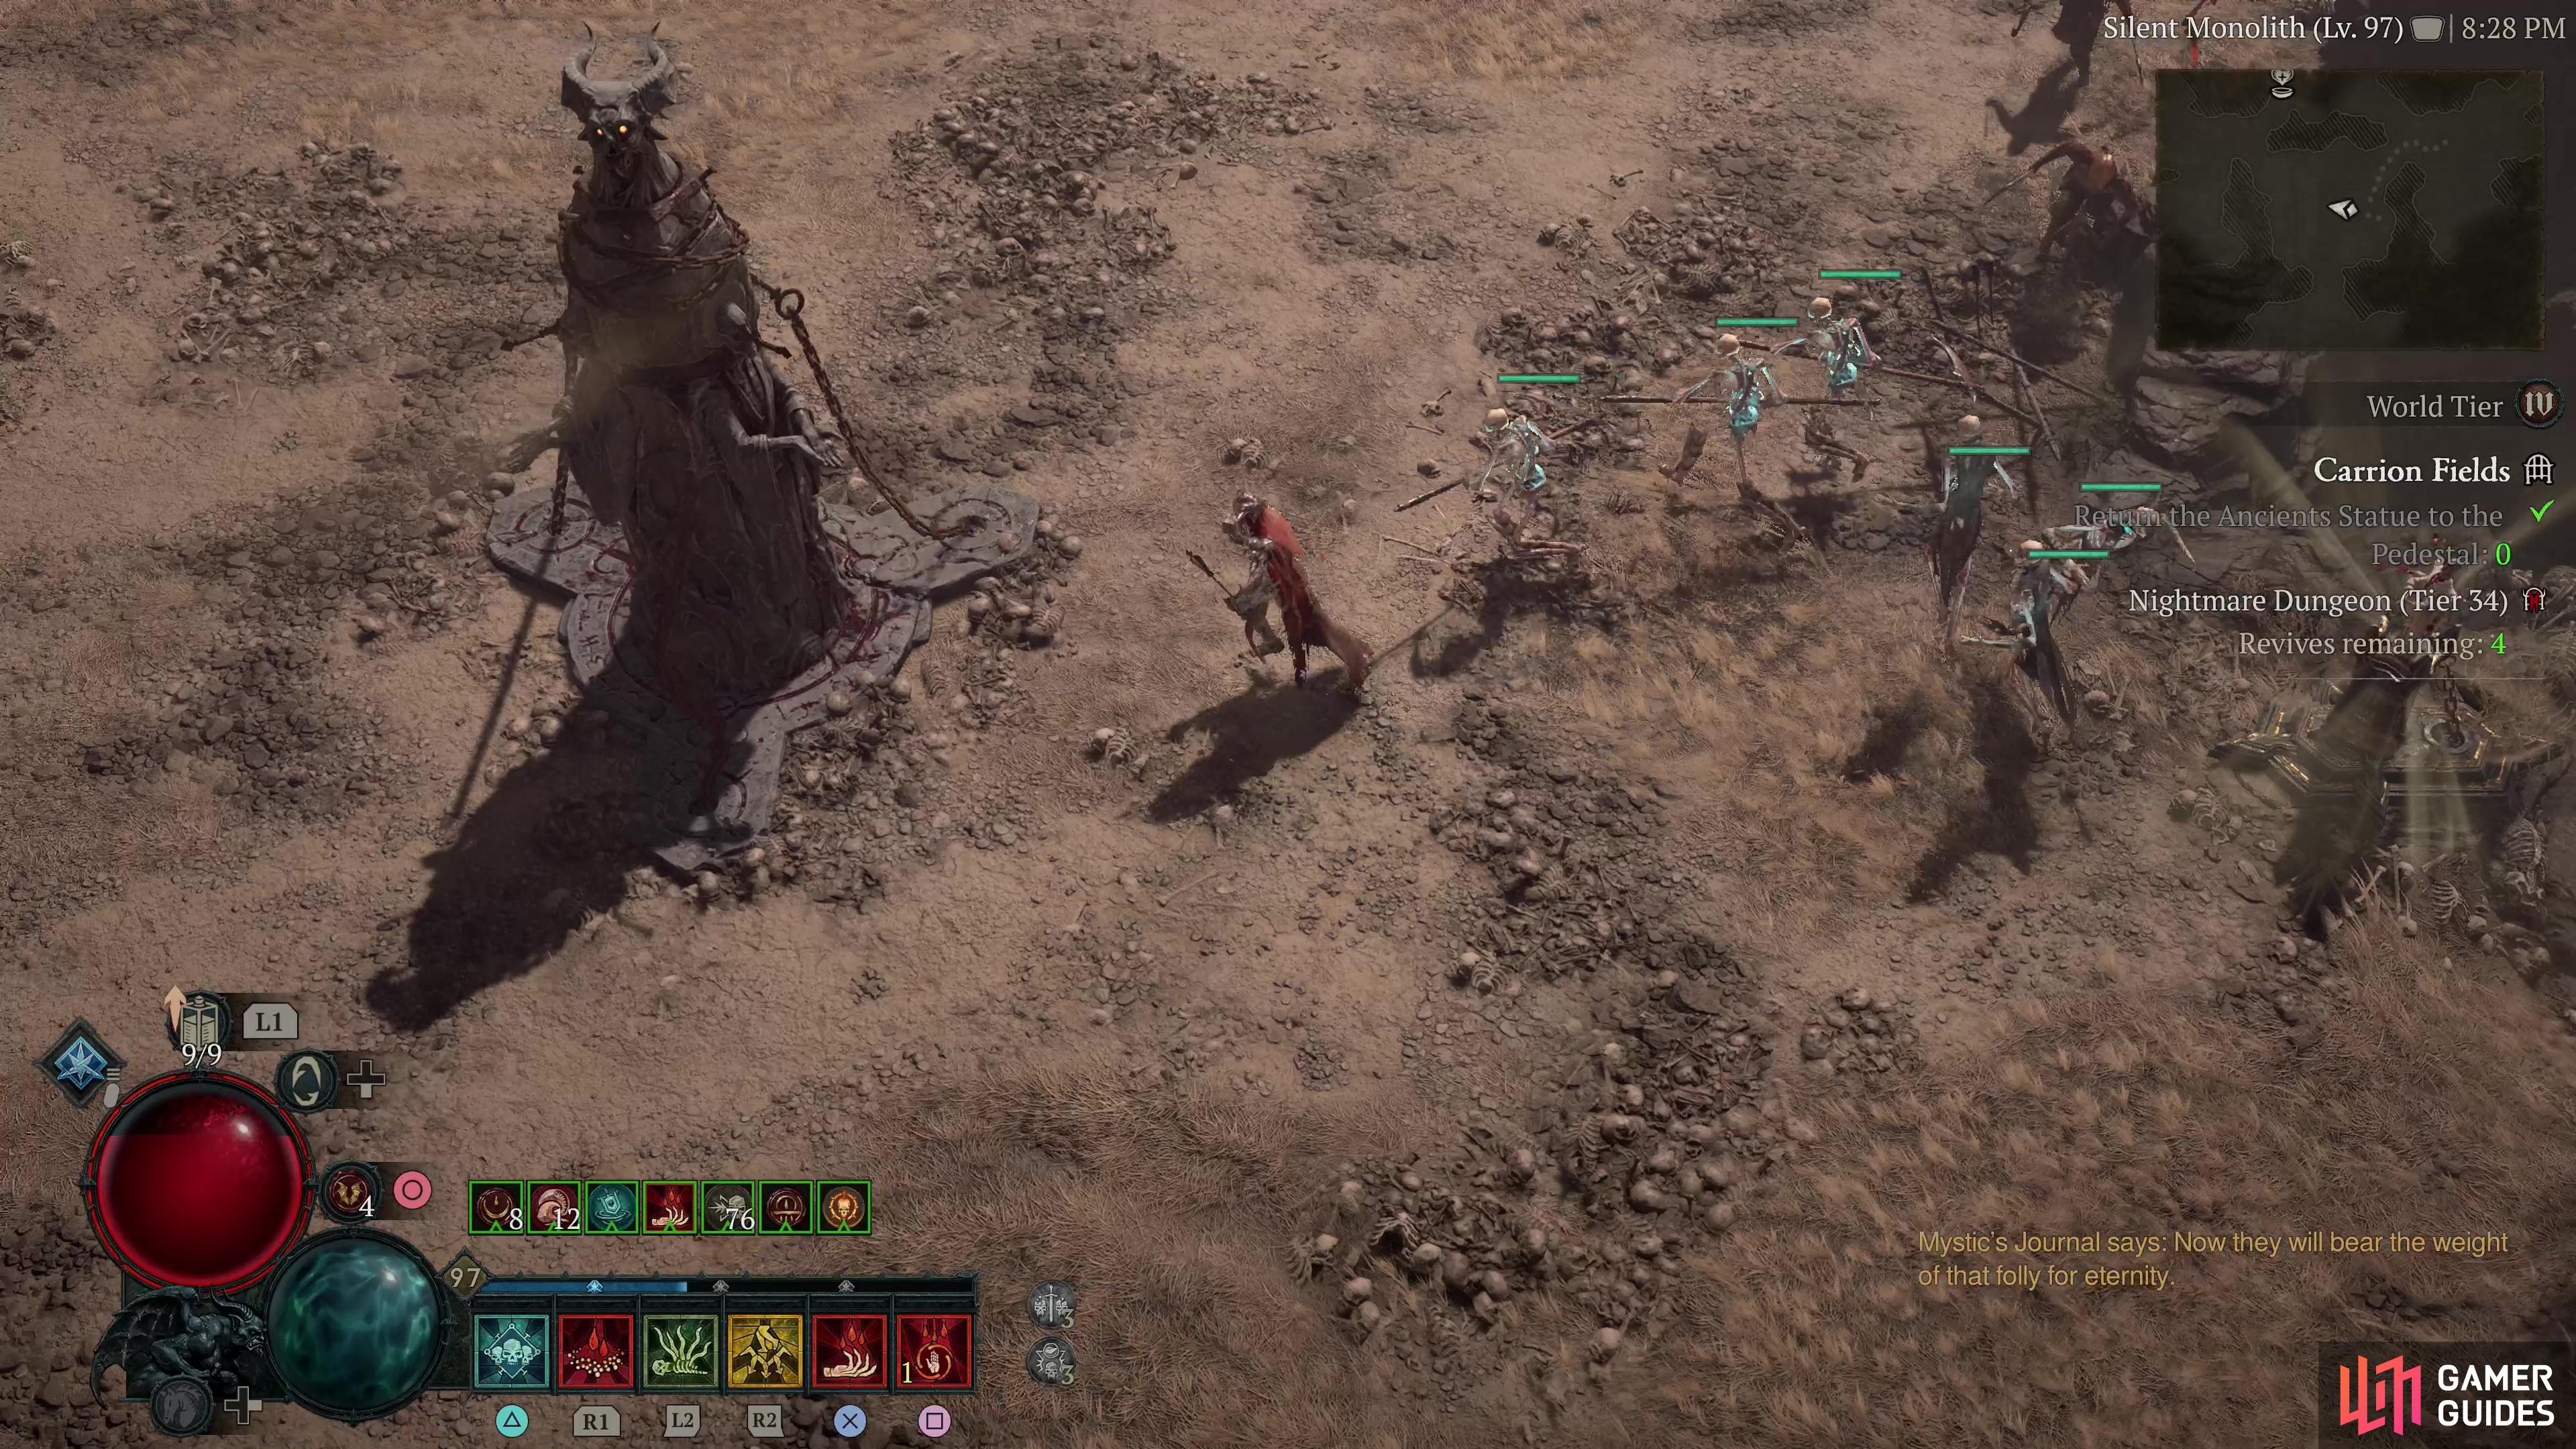
(1 of 4) In the Carrion Fields you’ll need to seek out two Ancient Statues, and since their locations are static, an experienced player can run through this dungeon very quickly.
B-Tier
Carrion Fields
| Difficulty | XP Farming | Glyph XP Farming |
|---|---|---|
| Low | Poor | Great |
On its own, this dungeon isn’t great. It’s full of undead (including Bloatfiends who explode when defeated) and a side area has spiders (including Arachnid ![]() Horrors, which also explode upon death). Neither should be the least bit of a problem given how open this dungeon is. It’s also an oddity in that it’s not divided into two distinct halves, instead tasking you with fetching two Ancient Statues from separate wings of the dungeon. If you know what you’re doing, this is an incredibly fast dungeon, if not, not - both statue pieces are in some passages along the northern part of each wing, and you can complete this dungeon with quickness if you know where to go and don’t waste time killing the relatively sparse mobs along the way. Once you place both statues you’ll fight the dungeon’s boss (a
Horrors, which also explode upon death). Neither should be the least bit of a problem given how open this dungeon is. It’s also an oddity in that it’s not divided into two distinct halves, instead tasking you with fetching two Ancient Statues from separate wings of the dungeon. If you know what you’re doing, this is an incredibly fast dungeon, if not, not - both statue pieces are in some passages along the northern part of each wing, and you can complete this dungeon with quickness if you know where to go and don’t waste time killing the relatively sparse mobs along the way. Once you place both statues you’ll fight the dungeon’s boss (a ![]() Tomb Lord), which is no bother at all. If you don’t know where to go, you could end up wasting a lot of time. This dungeon is as fast as you want it to be, and is one of the better Glyph XP runs, provided you make it so.
Tomb Lord), which is no bother at all. If you don’t know where to go, you could end up wasting a lot of time. This dungeon is as fast as you want it to be, and is one of the better Glyph XP runs, provided you make it so.
Light’s Watch
| Difficulty | XP Farming | Glyph XP Farming |
|---|---|---|
| Low | Good | Good |
Either high B-Tier or low A-Tier, as you prefer, ![]() Light’s Watch is full of bandits and lycanthropes, neither of these enemy types are terribly dangerous nor do they have great enemy density. Further complicating things are the objectives and layout of the dungeon, which requires you to slay two Watchmen in different wings of the keep. Combine that with stairs and narrow passages full of twists and turns and navigating can be somewhat tedious, at least during the first phase of the Nightmare Dungeon. The second phase is more straightforward. Expect an easy and reasonably fast run, but not perhaps as mindless as you’d like to make it top-tier, especially if one of the Watchmen proves elusive.
Light’s Watch is full of bandits and lycanthropes, neither of these enemy types are terribly dangerous nor do they have great enemy density. Further complicating things are the objectives and layout of the dungeon, which requires you to slay two Watchmen in different wings of the keep. Combine that with stairs and narrow passages full of twists and turns and navigating can be somewhat tedious, at least during the first phase of the Nightmare Dungeon. The second phase is more straightforward. Expect an easy and reasonably fast run, but not perhaps as mindless as you’d like to make it top-tier, especially if one of the Watchmen proves elusive.
Sanguine Chapel
| Difficulty | XP Farming | Glyph XP Farming |
|---|---|---|
| Medium | Good | Good |
Another dungeon that straddles the line between B-Tier and A-Tier, the ![]() Sanguine Chapel is occupied by Church of Light knights and vampires, the former of which have somewhat dangerous, tanky specimens, and neither have great enemy density. The first phase of this dungeon forces you to explore two wings in search of Mechanical Boxes, but after that, you’re just killing mobs to open the way up to the boss - the second half of this dungeon is much better than the first half, but it’s a quick run in general, and the enemies are thick enough in the second phase to make it a good all-rounder for both XP and Glyph XP.
Sanguine Chapel is occupied by Church of Light knights and vampires, the former of which have somewhat dangerous, tanky specimens, and neither have great enemy density. The first phase of this dungeon forces you to explore two wings in search of Mechanical Boxes, but after that, you’re just killing mobs to open the way up to the boss - the second half of this dungeon is much better than the first half, but it’s a quick run in general, and the enemies are thick enough in the second phase to make it a good all-rounder for both XP and Glyph XP.
Tormented Ruins
| Difficulty | XP Farming | Glyph XP Farming |
|---|---|---|
| Low | Poor | Great |
While fairly straightforward, there are just enough side rooms and dead-ends to threaten to make this short dungeon a poor choice for Glyph Farming. Fortunately, the objectives are pretty lax - you’re hunting down one elite to find a key in the first half, then making your way to the boss. The dungeon is full of demons and undead, and the term “full” is being used here very generously, as the enemy density is poor. Good for Glyph XP, not so much anything else, this one honestly is just barely hanging onto B-Tier.
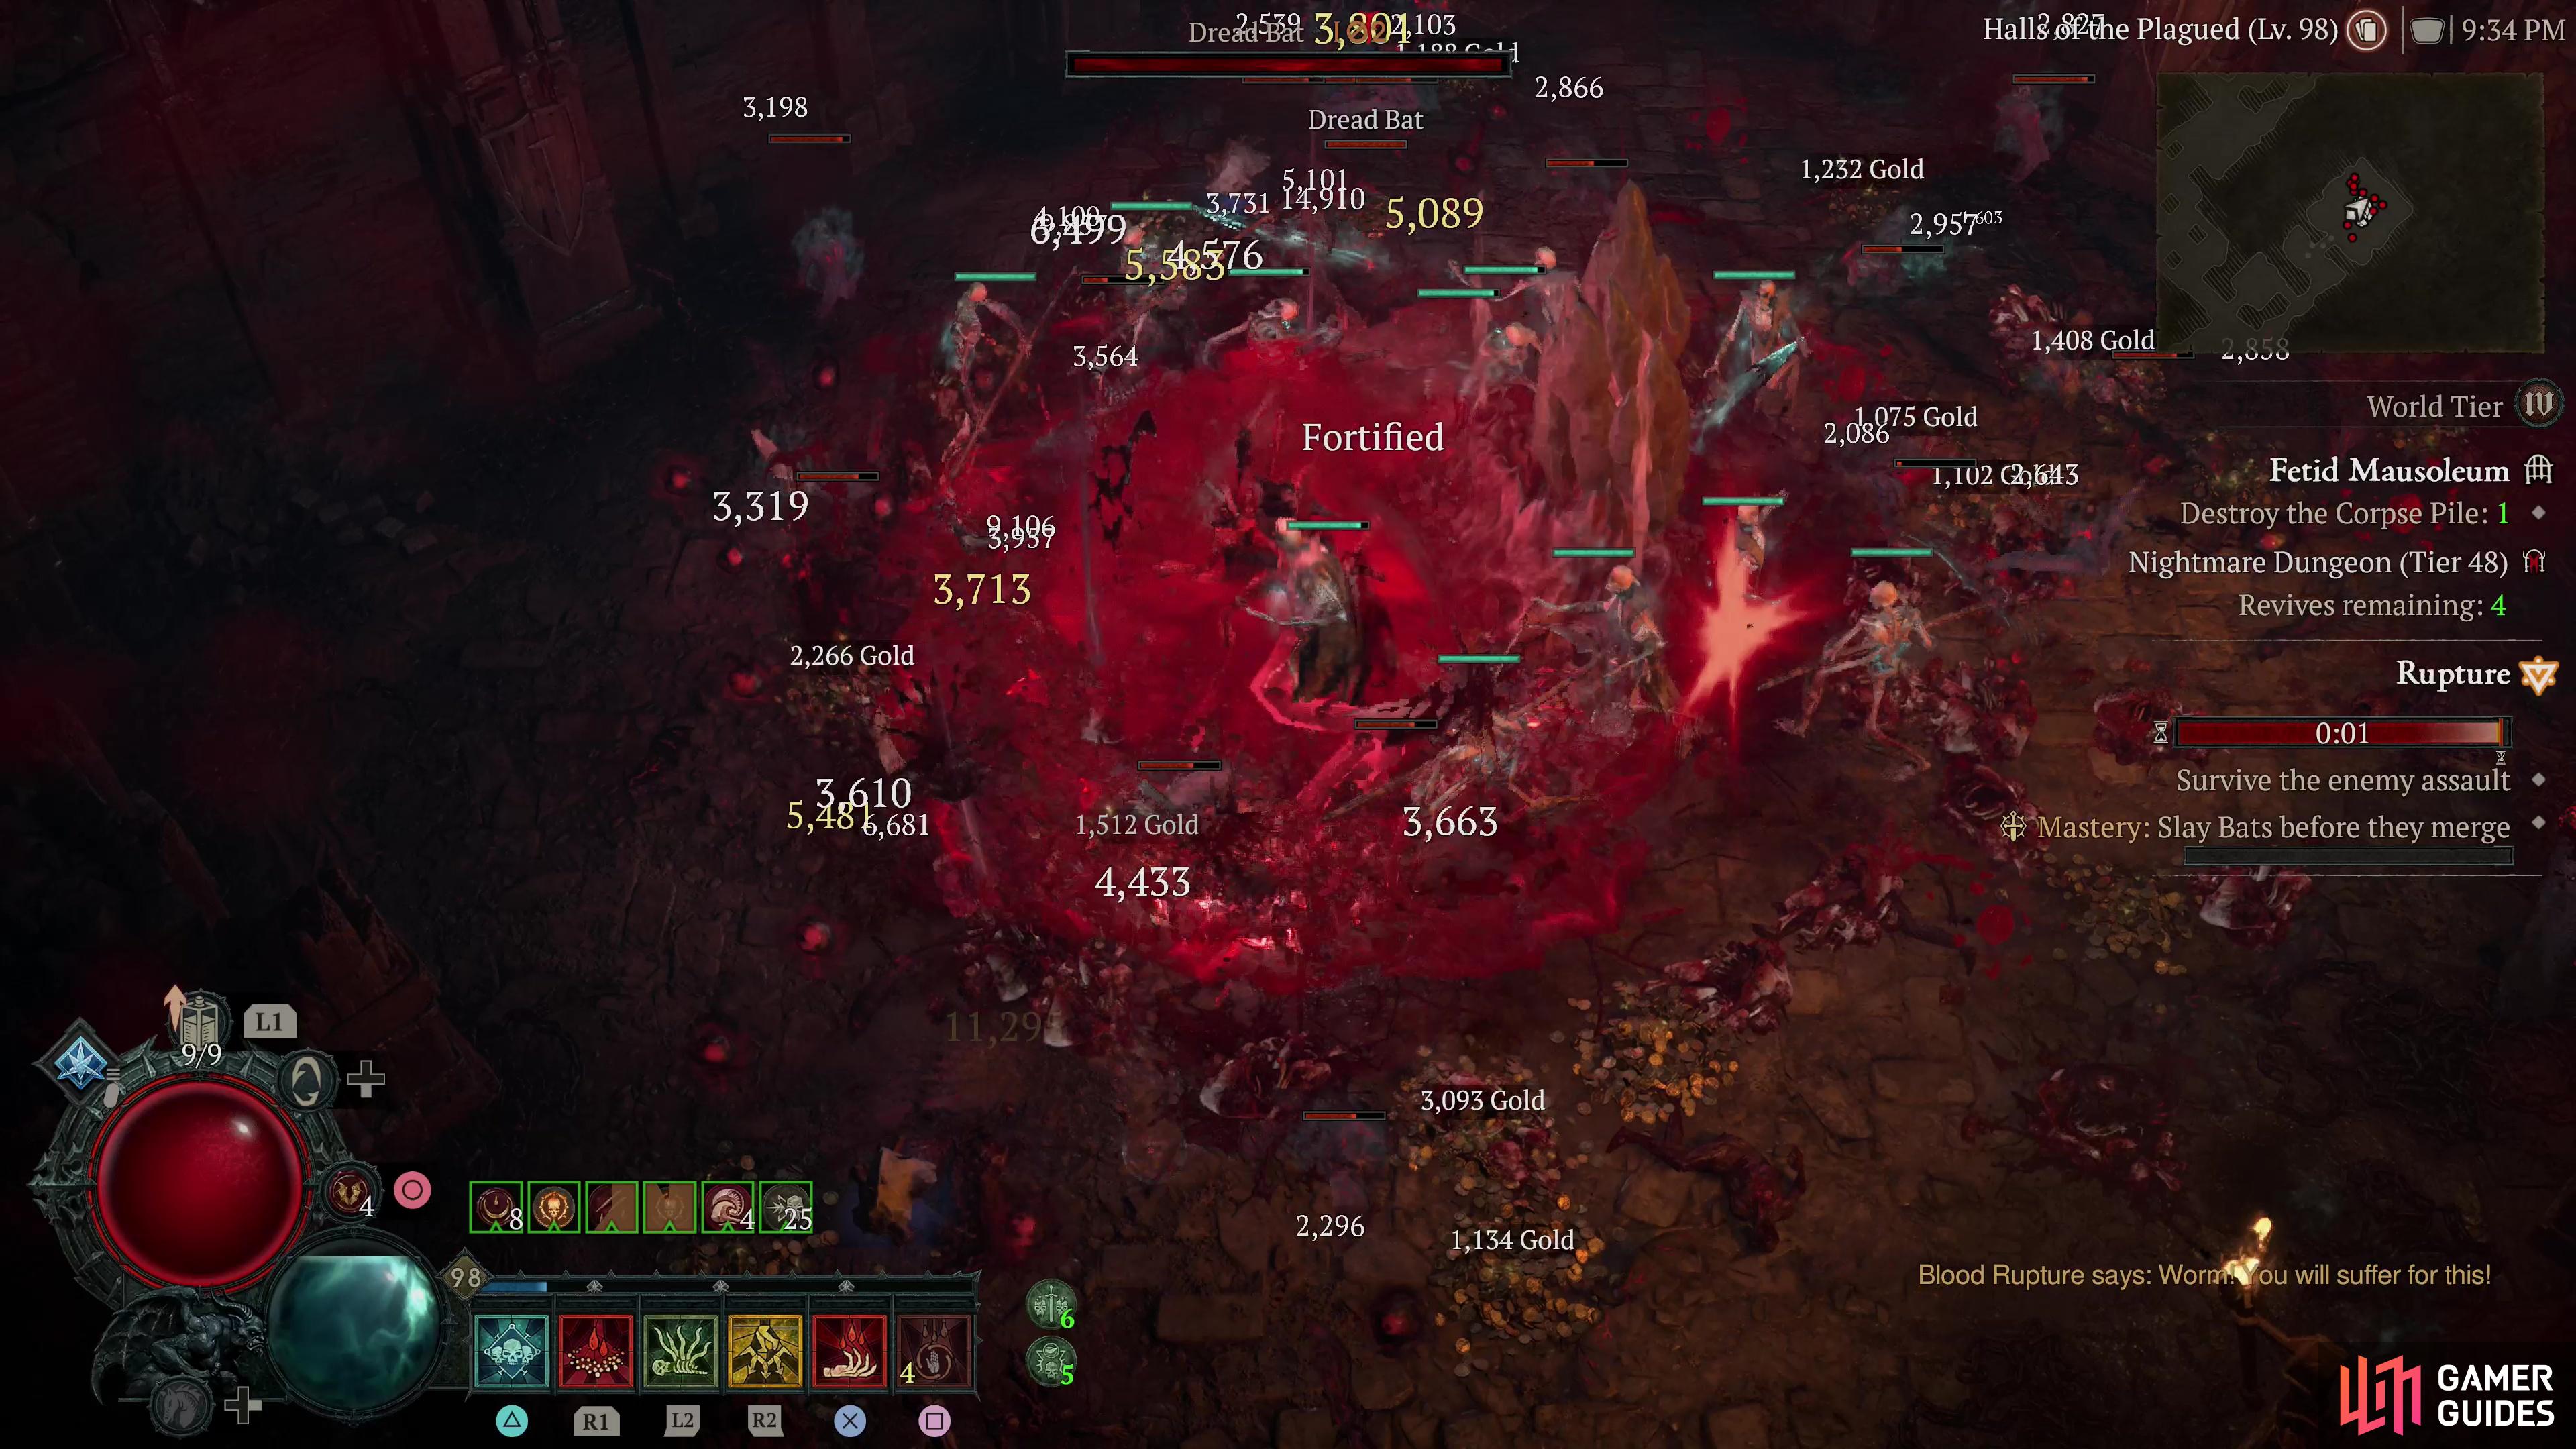
(1 of 3) You’ll have to hunt down Bloodstones and Corpse piles through a convoluted layout, slowing down runs through the Fetid Mausoleum, but the enemy density ensures that runs are lucrative.
C-Tier
Broken Bulwark
| Difficulty | XP Farming | Glyph XP Farming |
|---|---|---|
| Low | Good | Poor |
Clearly the product of a whimsical architect, this dungeon consists of the odd room connected by stairs, hallways, and the odd exterior segment. The route is often constrained and full of twists and turns, and in both sections you’re tasked with hunting down something - slain knights or animus-carrying elites - which could end up wasting time if you happen to miss their hiding spot. That said, enemy density is generally good, with mobs of ghosts and goatmen making up the vast majority of your prey, punctuated by the odd lycanthrope. Not a fast dungeon if you want to grind Glyph XP, but it is relatively easy, and Animus-bearing elites are always a welcome potential loot drop. The ![]() Khazra Abomination at the end is also one of the least threatening dungeon bosses you can encounter. Aside from the stun debuffs caused by
Khazra Abomination at the end is also one of the least threatening dungeon bosses you can encounter. Aside from the stun debuffs caused by ![]() Blood Clan Maulers, nothing in this dungeon should really slow you down.
Blood Clan Maulers, nothing in this dungeon should really slow you down.
Fetid Mausoleum
| Difficulty | XP Farming | Glyph XP Farming |
|---|---|---|
| Low | Great | Poor |
A meandering dungeon consisting of various interconnected rooms, the objectives here make this one rather slow. First, you’ll have to find two Bloodstones in separate wings of the dungeon, then in the second half, you’ll need to navigate a maze-like section and destroy three Corpse Piles. While you probably won’t complete this one quickly, it’s brimming with vampires, so you’ll get plenty of XP from the dungeon.
Hallowed Ossuary
| Difficulty | XP Farming | Glyph XP Farming |
|---|---|---|
| High | Great | Poor |
A tedious dungeon full of winding passages and interconnected rooms with most of your options gated off, between the design and the objectives (hunting down Animus-carriers in the first half, a Bloodstone in the second half) it’s easy to end up wasting time backtracking. That said, the dungeon is positively festering with undead, who are joined by vampires in the second half, and both enemy density and elite density are great. While neither of these foes is generally all that dangerous, the fact that you’ll be facing so many elites in such confined spaces means you’ll frequently be subjected to DoTs and damage spikes from elite mods, making this a fairly dangerous run, especially if your mobility or resistances aren’t up to snuff. Adding to this, Sanguine Magus enemies can detect you from a ways off and will teleport about in ways the player can’t always emulate, and Bloatfiends further complicate things by dying upon defeat.
Vault of the Forsaken
| Difficulty | XP Farming | Glyph XP Farming |
|---|---|---|
| Low | Poor | Good |
A pretty simple, straightforward dungeon. You’ll largely be running down straight paths killing hapless undead, with the only real threats being the damage-spiky First Mate enemies, who telegraph their attacks pretty brazenly. You’ll need to kill everything in the first half of the dungeon, clear a checkpoint room separating the two dungeon halves, then hunt down some elites and get a key to push to the end. While easy enough to farm for Glyph XP, the enemy density isn’t great and you might waste time hunting for stragglers down dead-ends and in corners. You should never be in any real threat this entire dungeon, however.
No Comments