
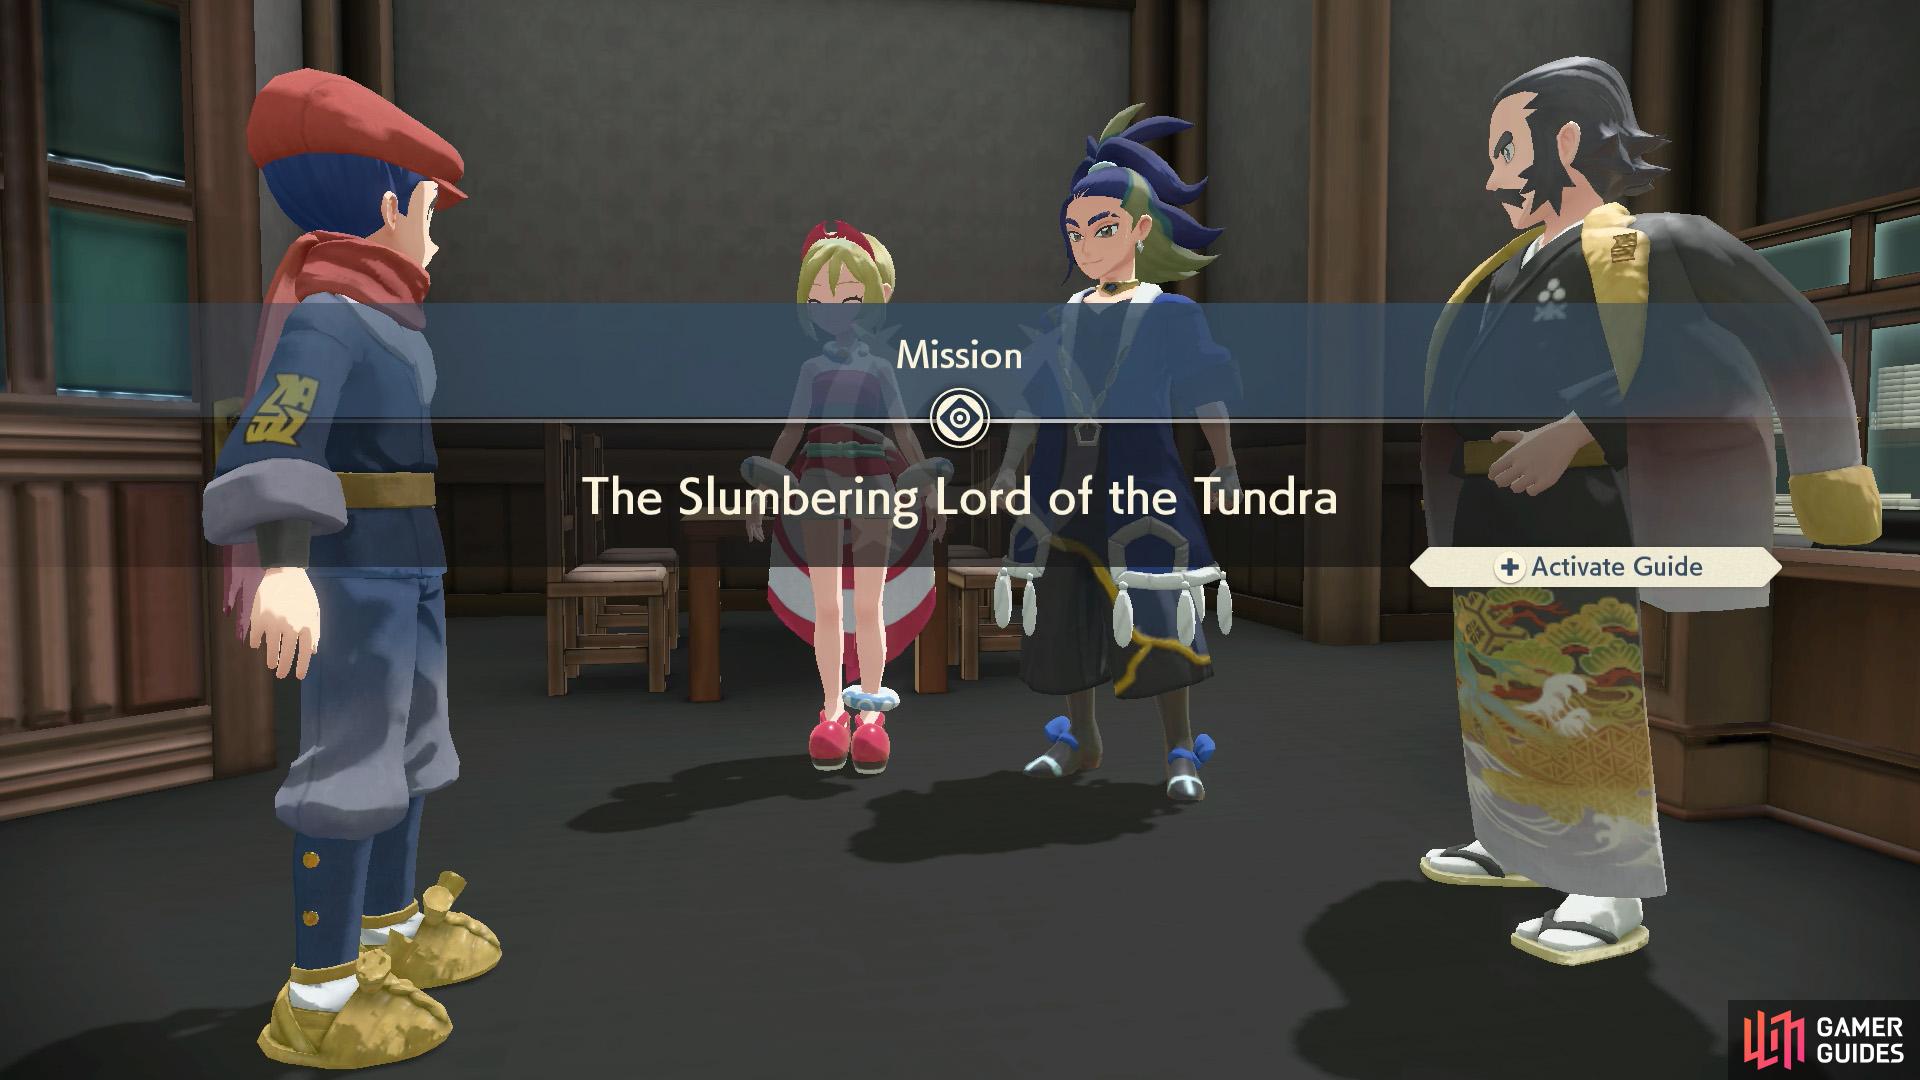
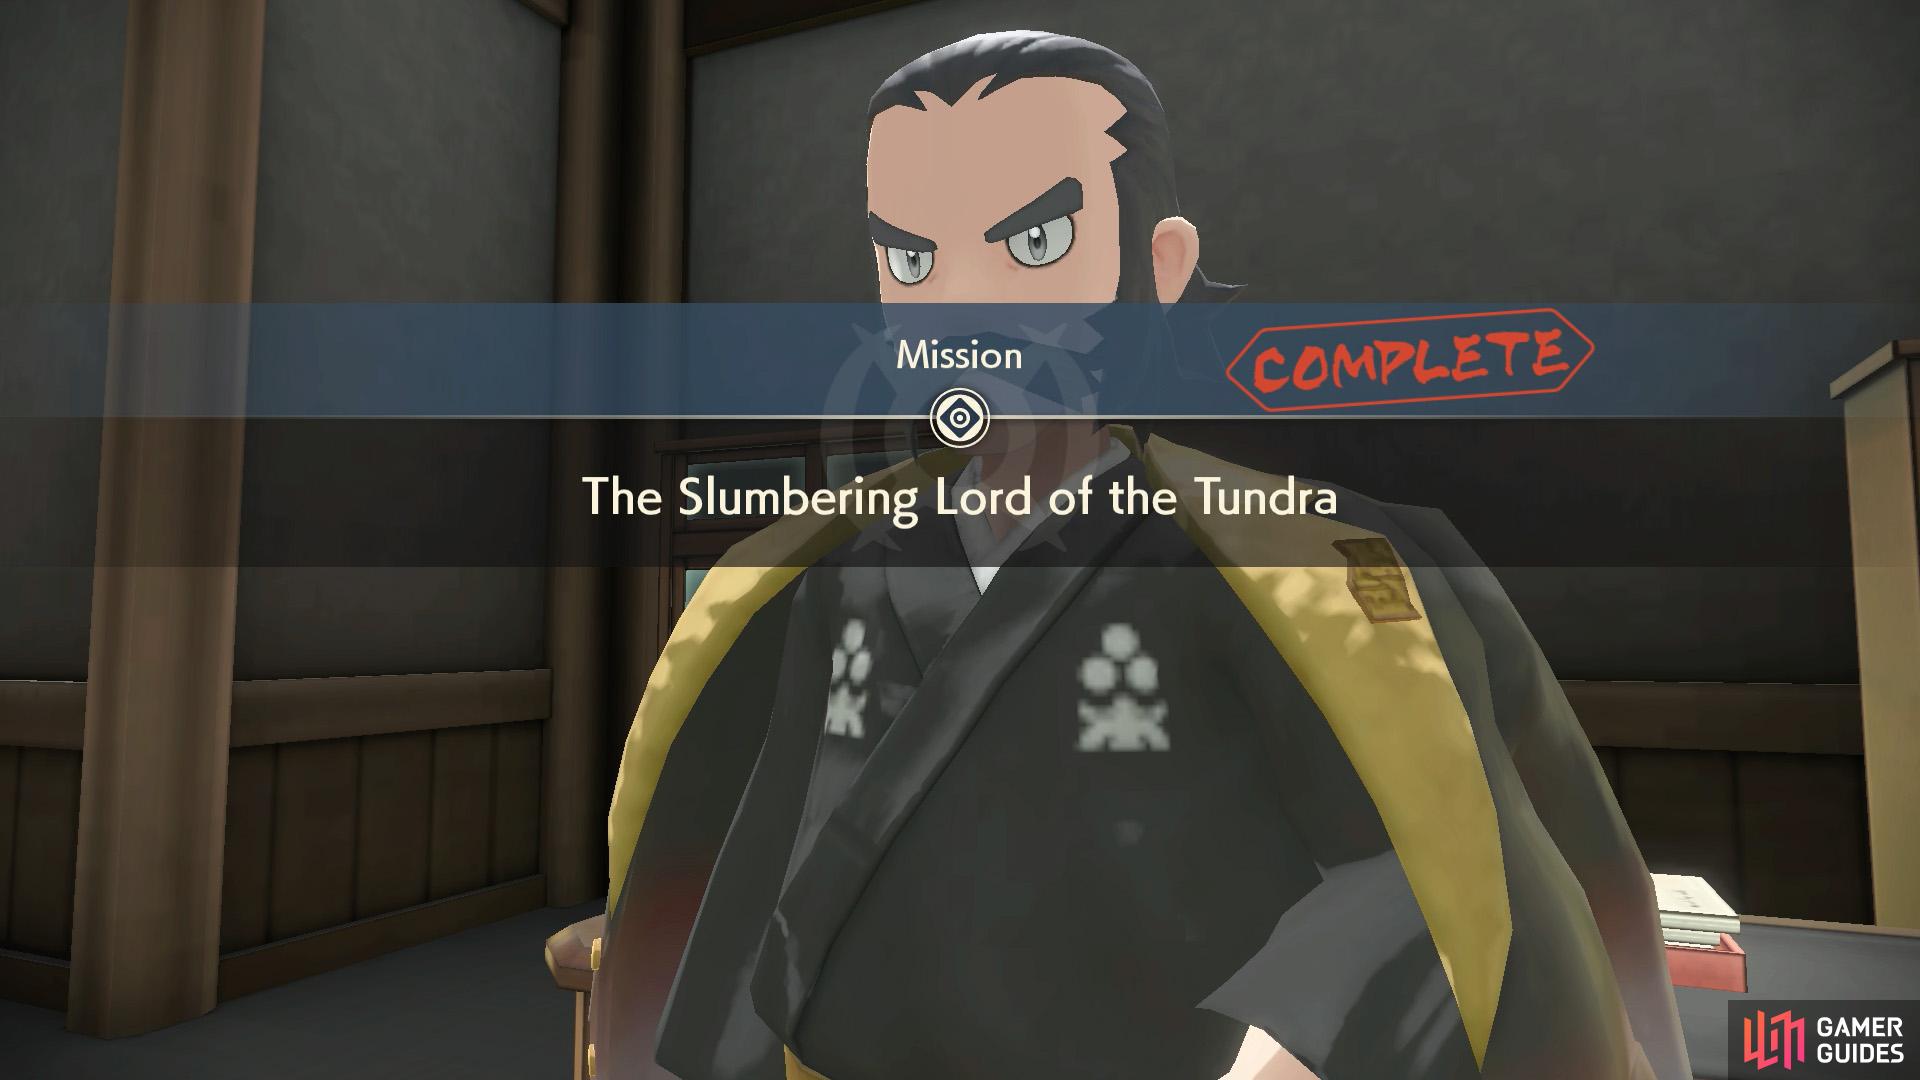
This is a guide for Mission 12: “The Slumbering Lord of the Tundra” in Pokémon Legends:  Arceus (PLA).
How to Start Mission 12
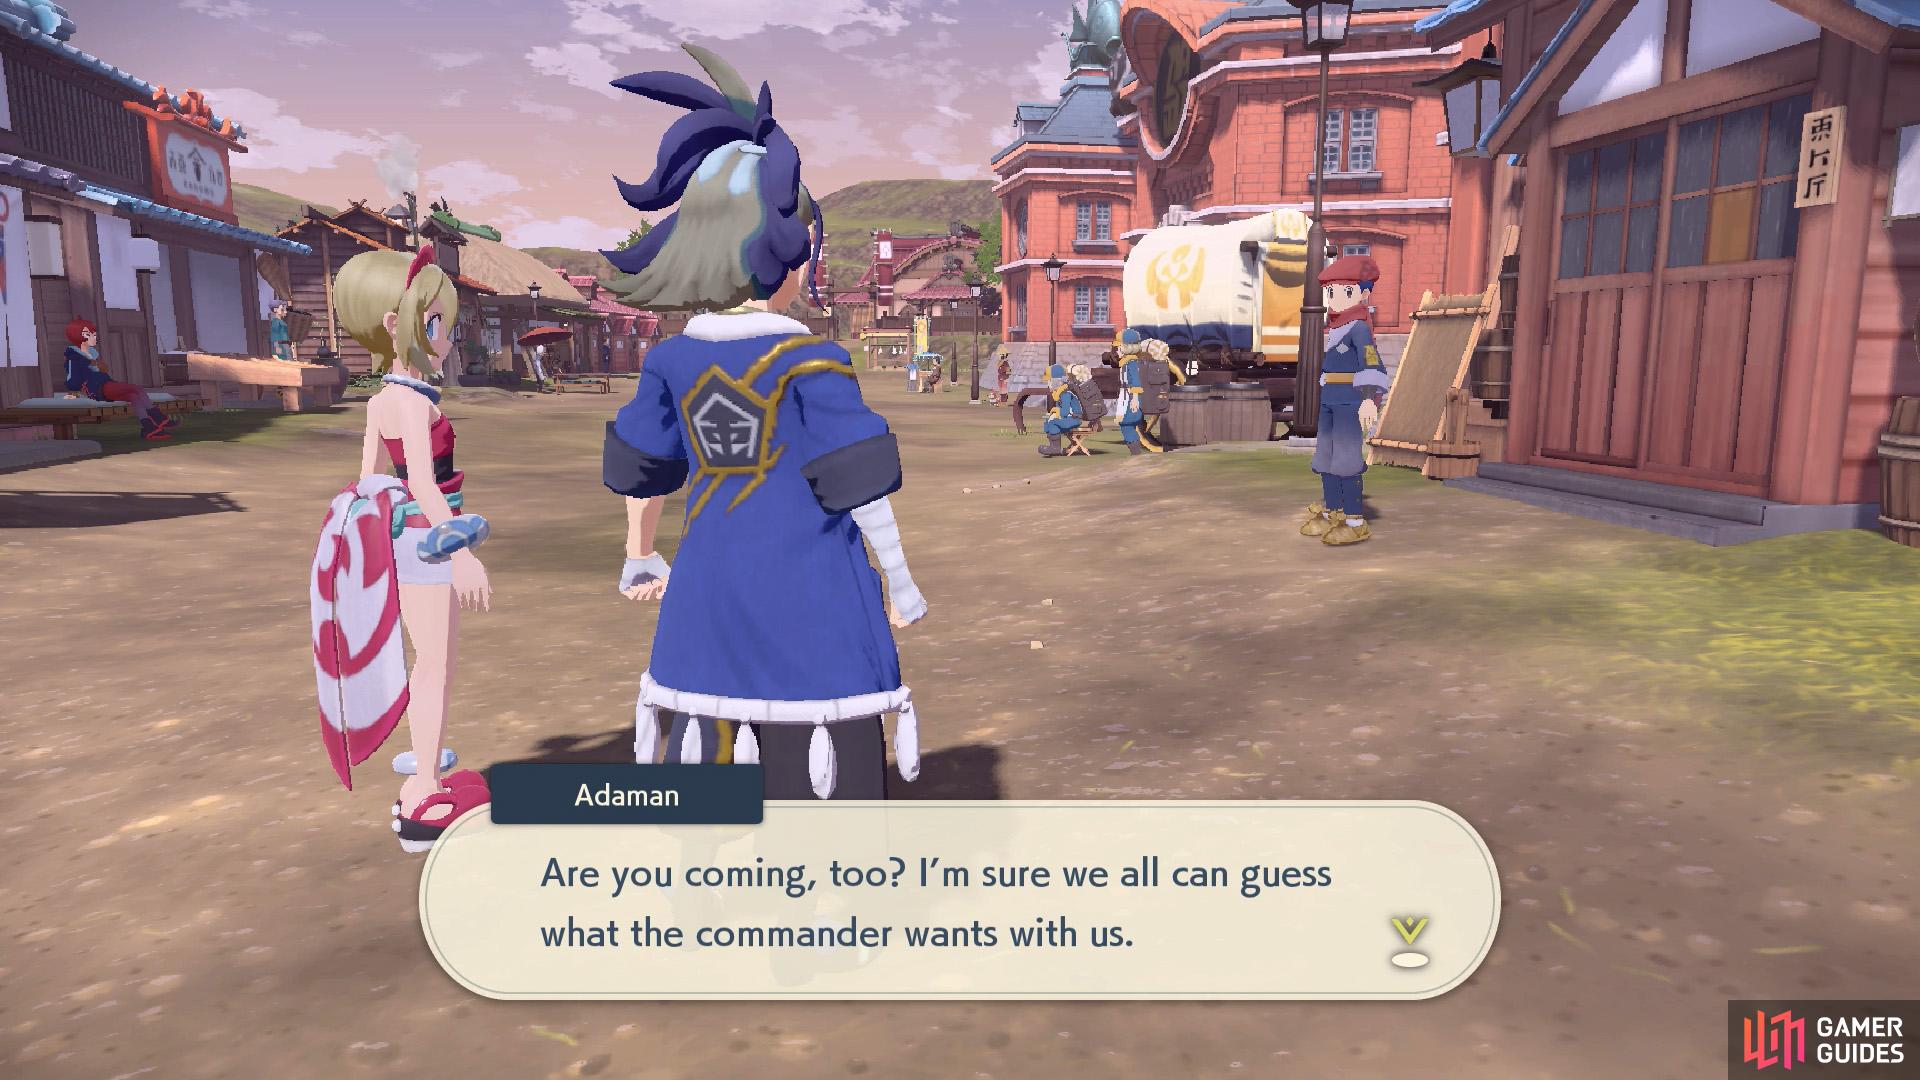
Adaman and Irida will head to Kamado’s office with you.
The final frenzied Noble awaits; let’s make this count!
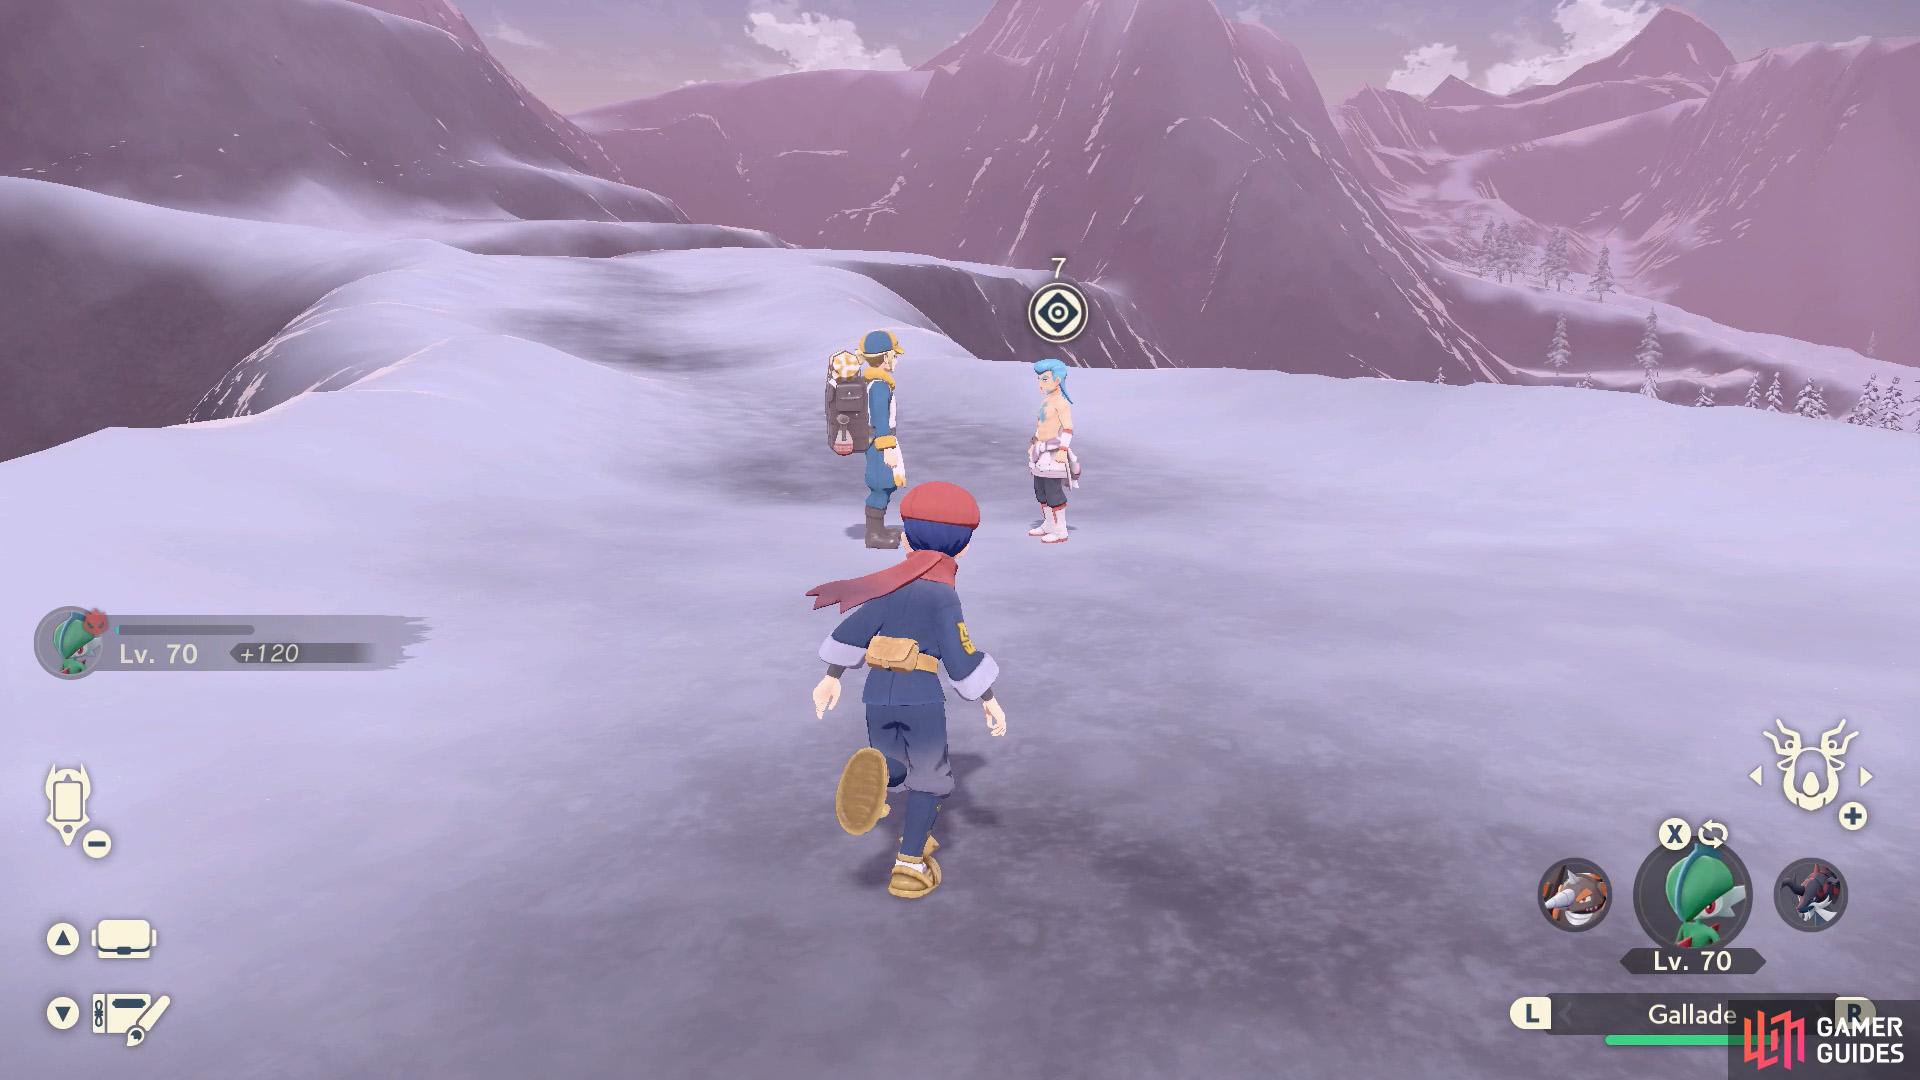
You’ll automatically receive Mission 12 the day after completing the previous mission. Outside your house, you’ll run into Adaman and Irida, on their way to meet with Commander Kamado. Since you’re all here, you decide to go together. As expected, your next task is to deal with the fifth and final Noble, at the Alabaster Icelands.
1. Head for the Front Gate
Assuming you have permission to depart for the icelands, make your way to the Front Gate of Jubilife Village. Akari/Rei and the Prof will be waiting for you. As a warm up, Akari/Rei will challenge you to a fight.
Survey Corps’ Akari/Rei
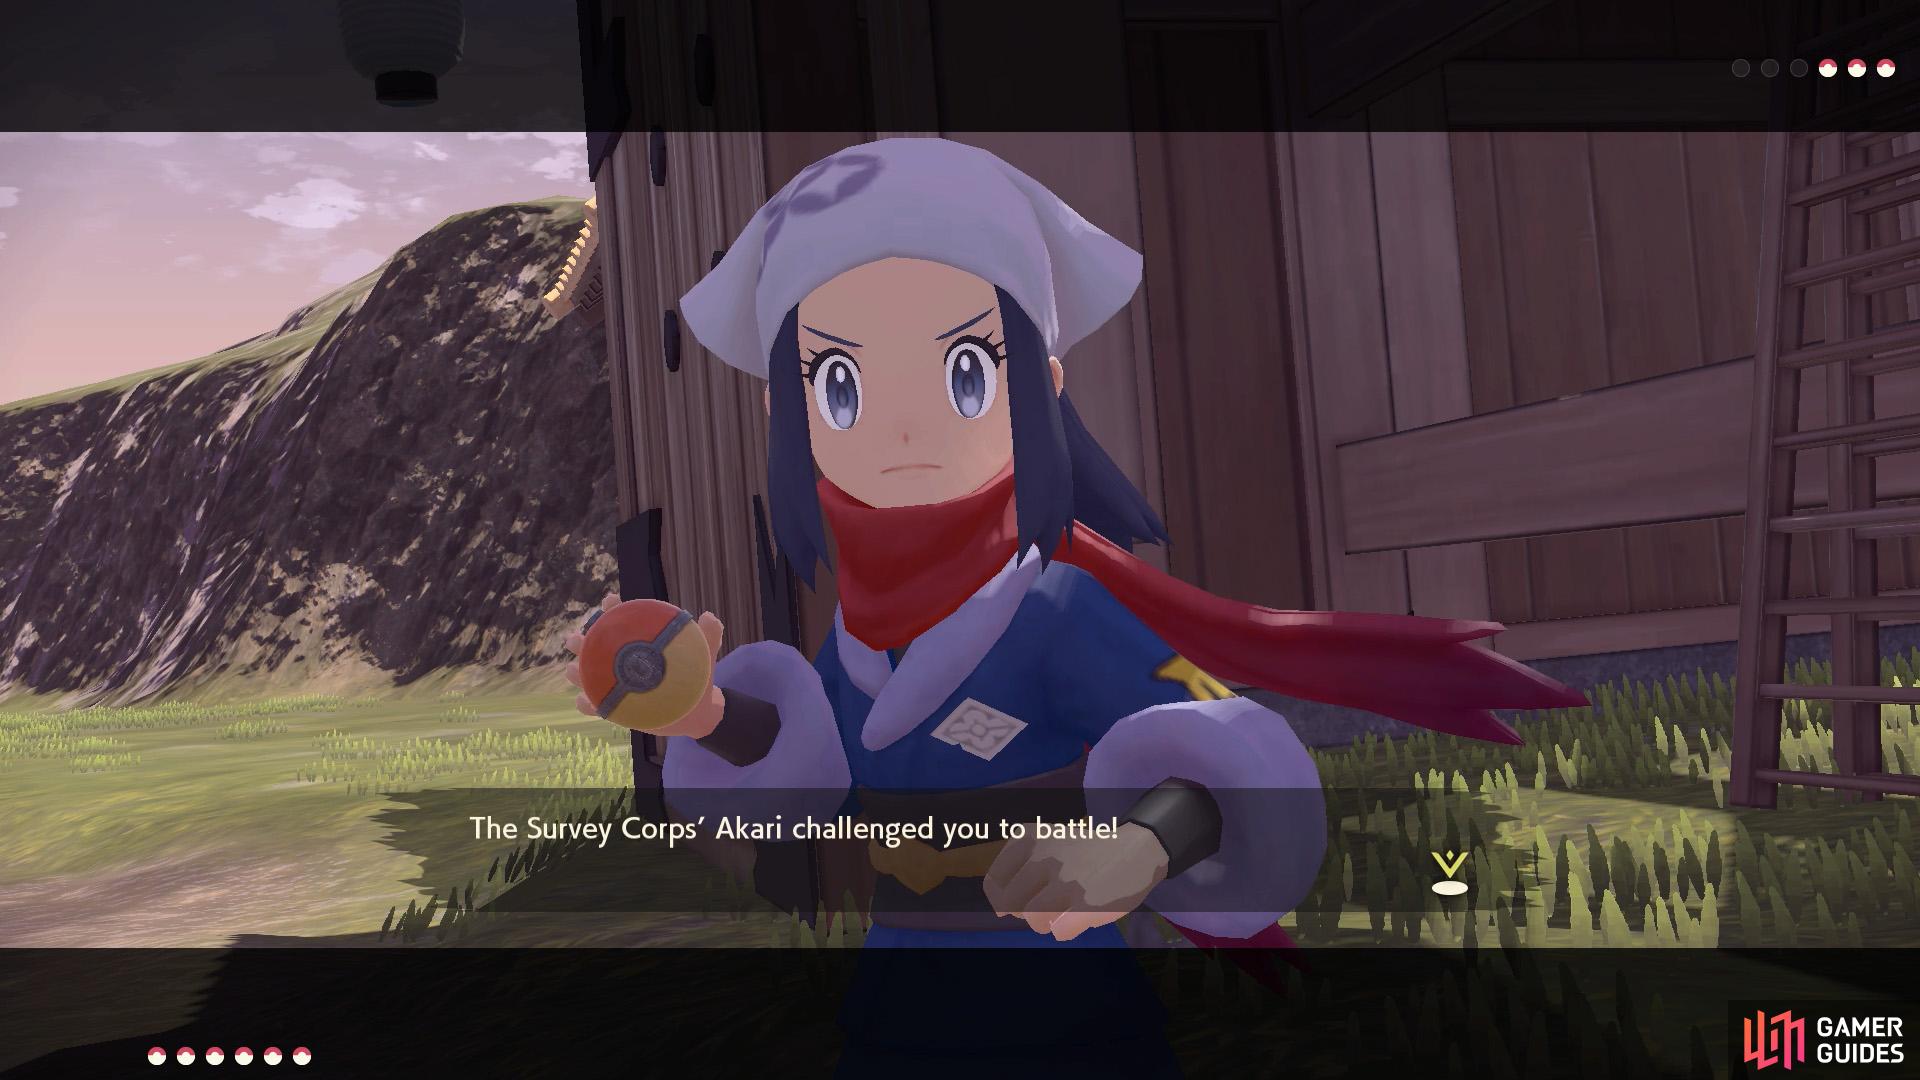
Akari/Rei has gotten much stronger.
However, we bet you’re stronger still.

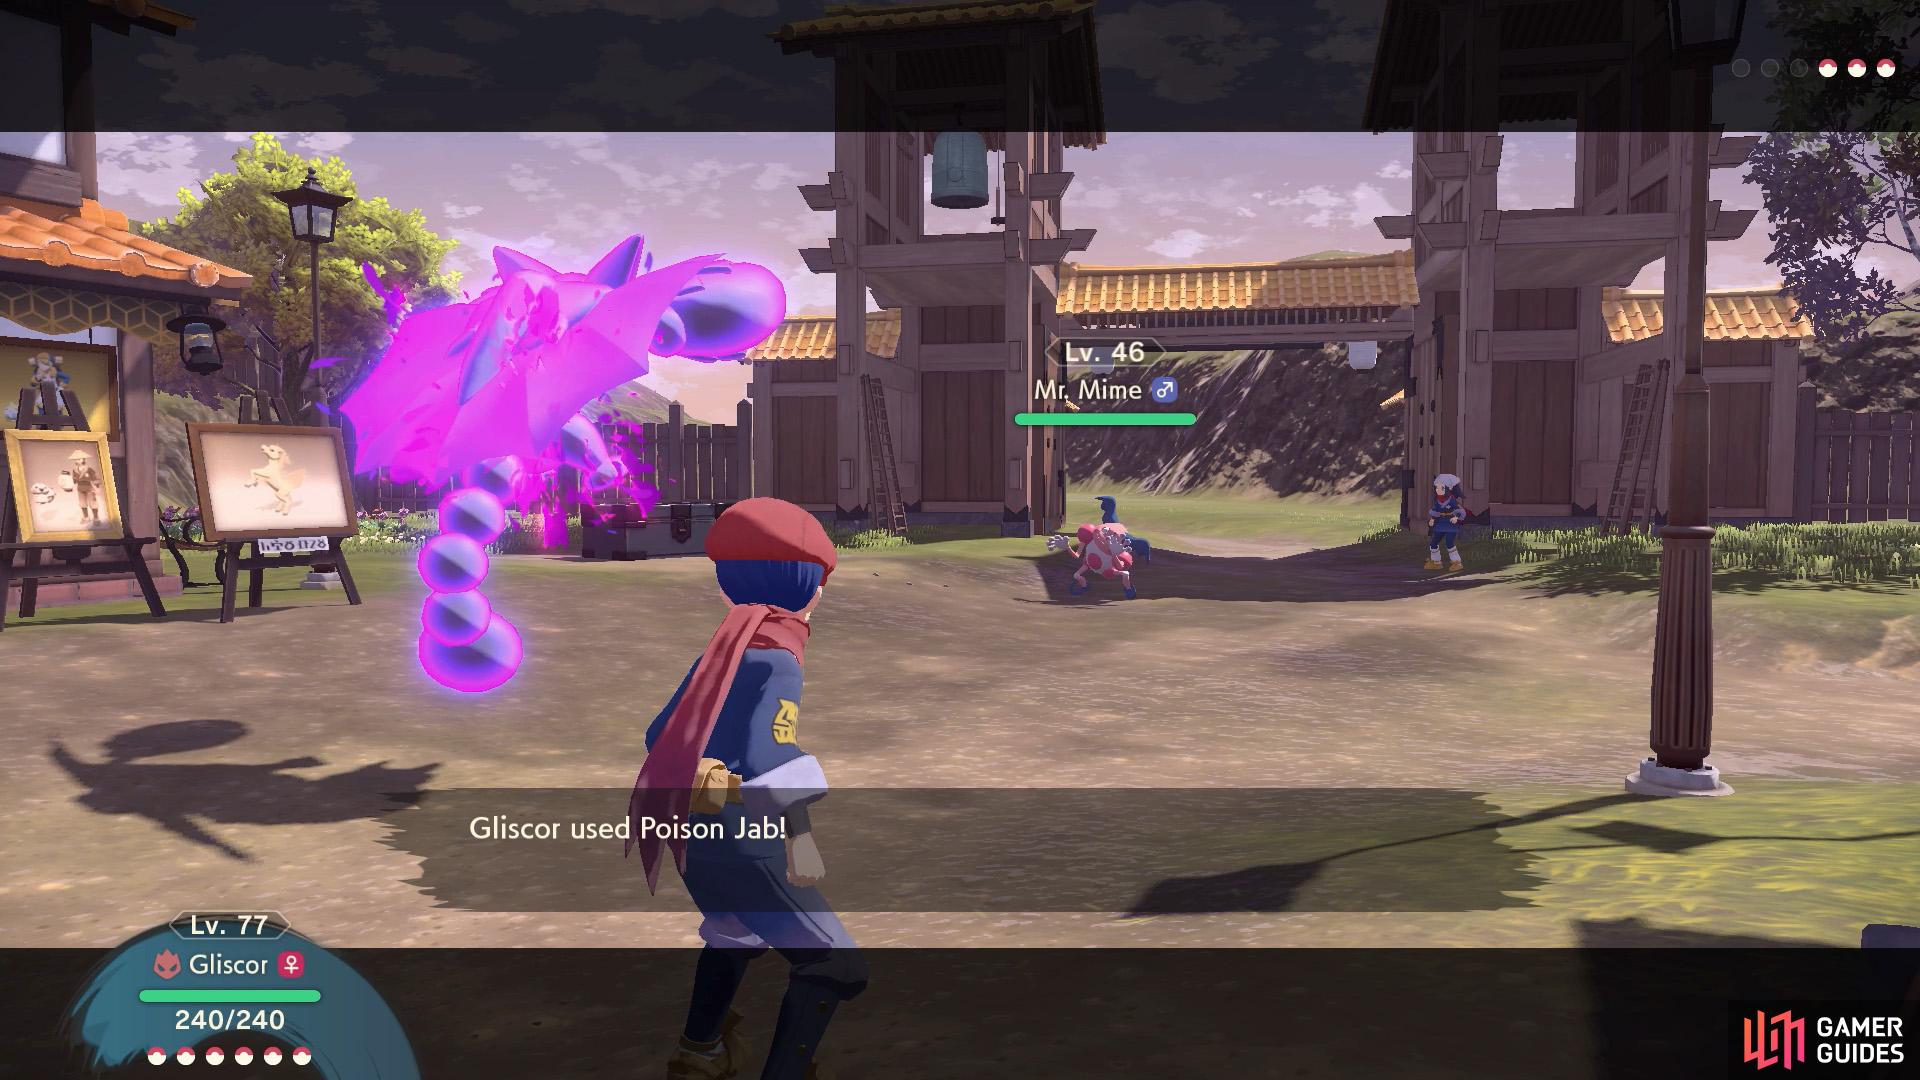
Akari/Rei has evolved their  Mime Jr. We suggest smashing it with a Steel or Ghost-type. Be wary of Hypnosis, which can cause drowsiness, and Calm Mind, which boosts its offensive and defensive stats.
 Staravia is a new member of their party. Electric or Rock-types are recommended. Lastly, Akari/Rei still hasn’t evolved their
  Pikachu. Like previous battles, Ground-types will ensure a snappy victory.
Feeling warmed up? When you’re prepared, leave the village and choose the new region towards the north: Alabaster Icelands.
2. Meet Gaeric at Avalugg’s Legacy
Irida’s master can be found at Avalugg’s Legacy.
Don’t leave them waiting in the snow too long. Well, Adaman at least.
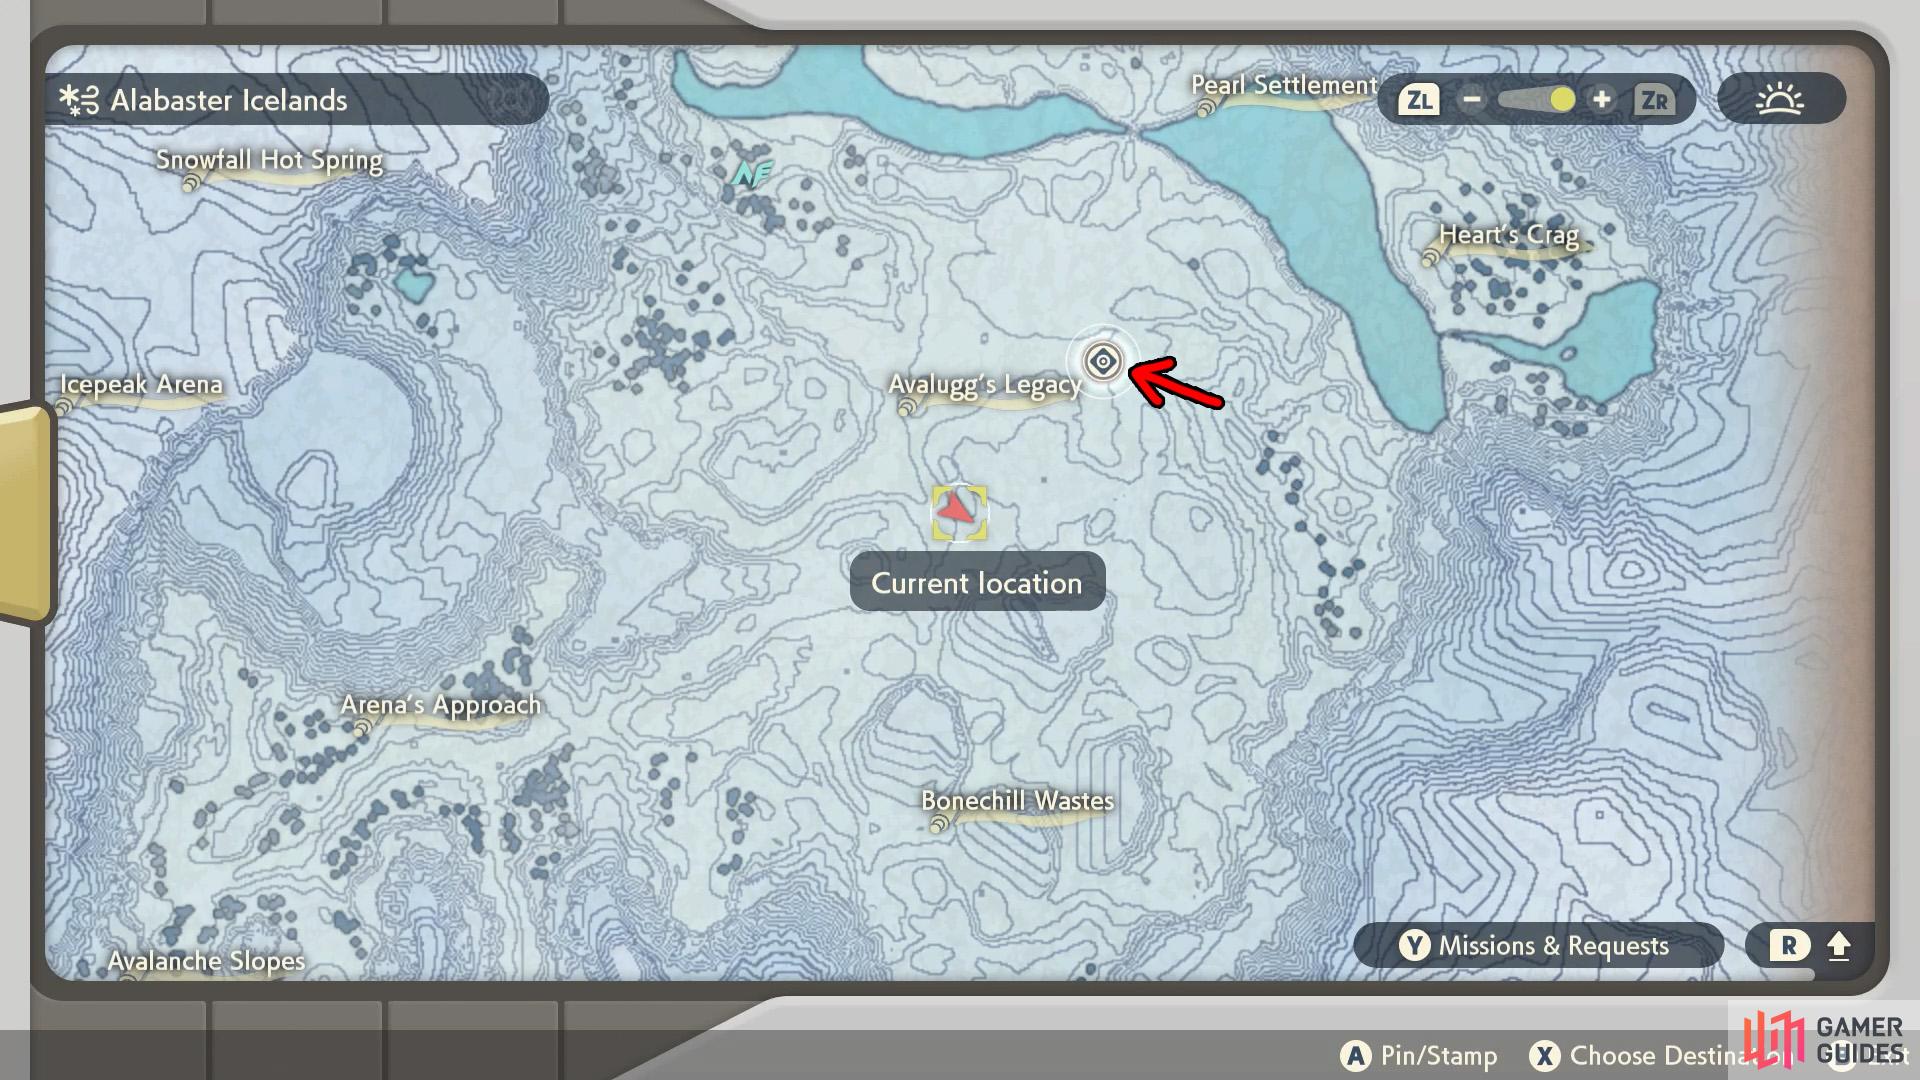
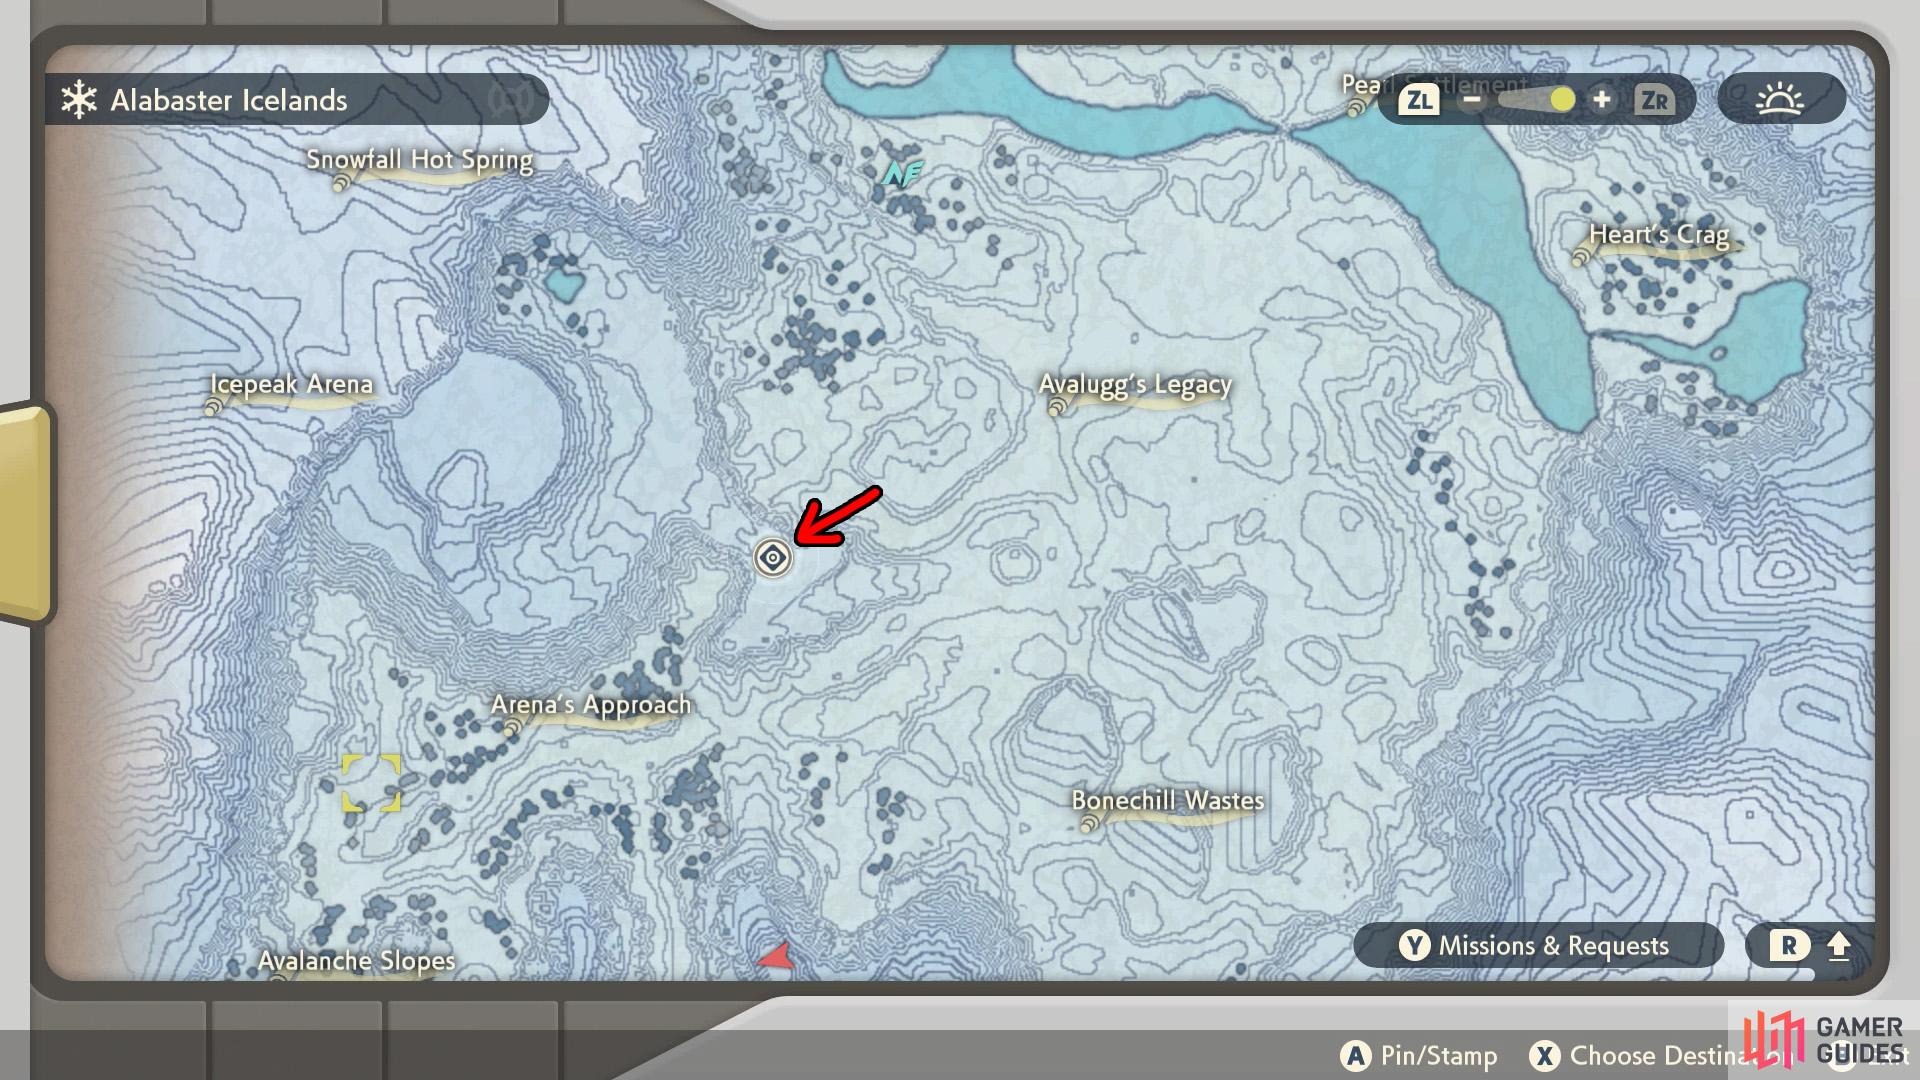
Your first port of call is  Avalugg’s Legacy, which is located near the center of the icelands, directly north from the entrance. You can use Sneasler to climb up the valley near the start, then ride the rest of the way on Wyrdeer. Or you could enter the cave at the east end of the valley, which leads north-east, and go from there.
At the meeting point, Adaman and Irida will have met up with Gaeric, who serves as Avalugg’s warden. Gaeric is skeptical of leaving Avalugg in your hands and demands a test of your ability.
Warden Gaeric

Gaeric’s main Pokémon is Glalie.
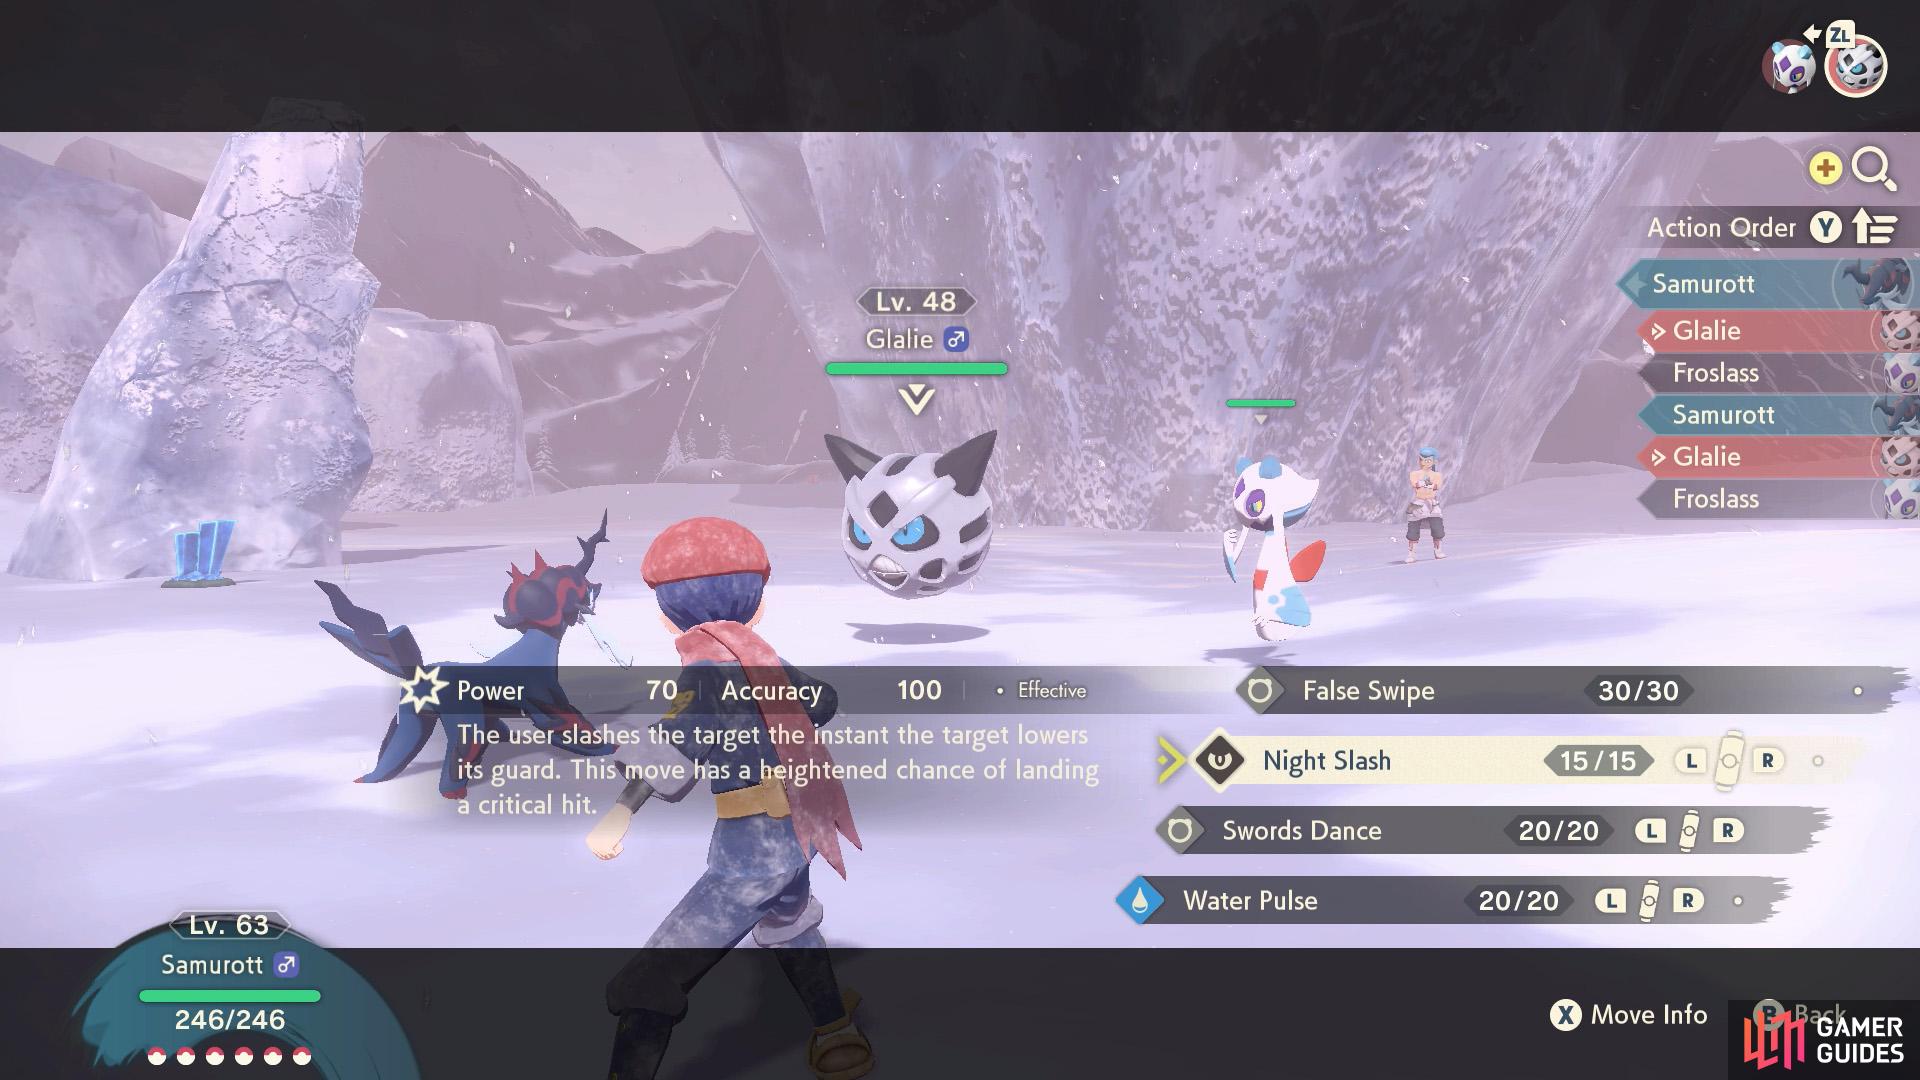
But he also has a Froslass for support.
Gaeric will send out  Glalie and
  Froslass at the same time. Glalie is the main threat here; aim to quickly KO it with Fire, Fighting, Rock or Steel-types. Froslass is lower level and less bothersome; Fire, Rock, Steel or Dark-types would be useful against her.
3. Play Tag with Sabi
Sabi is waiting at the end of this tall path.
We realize Braviary is close by, but that’s quite a dangerous place to stand…
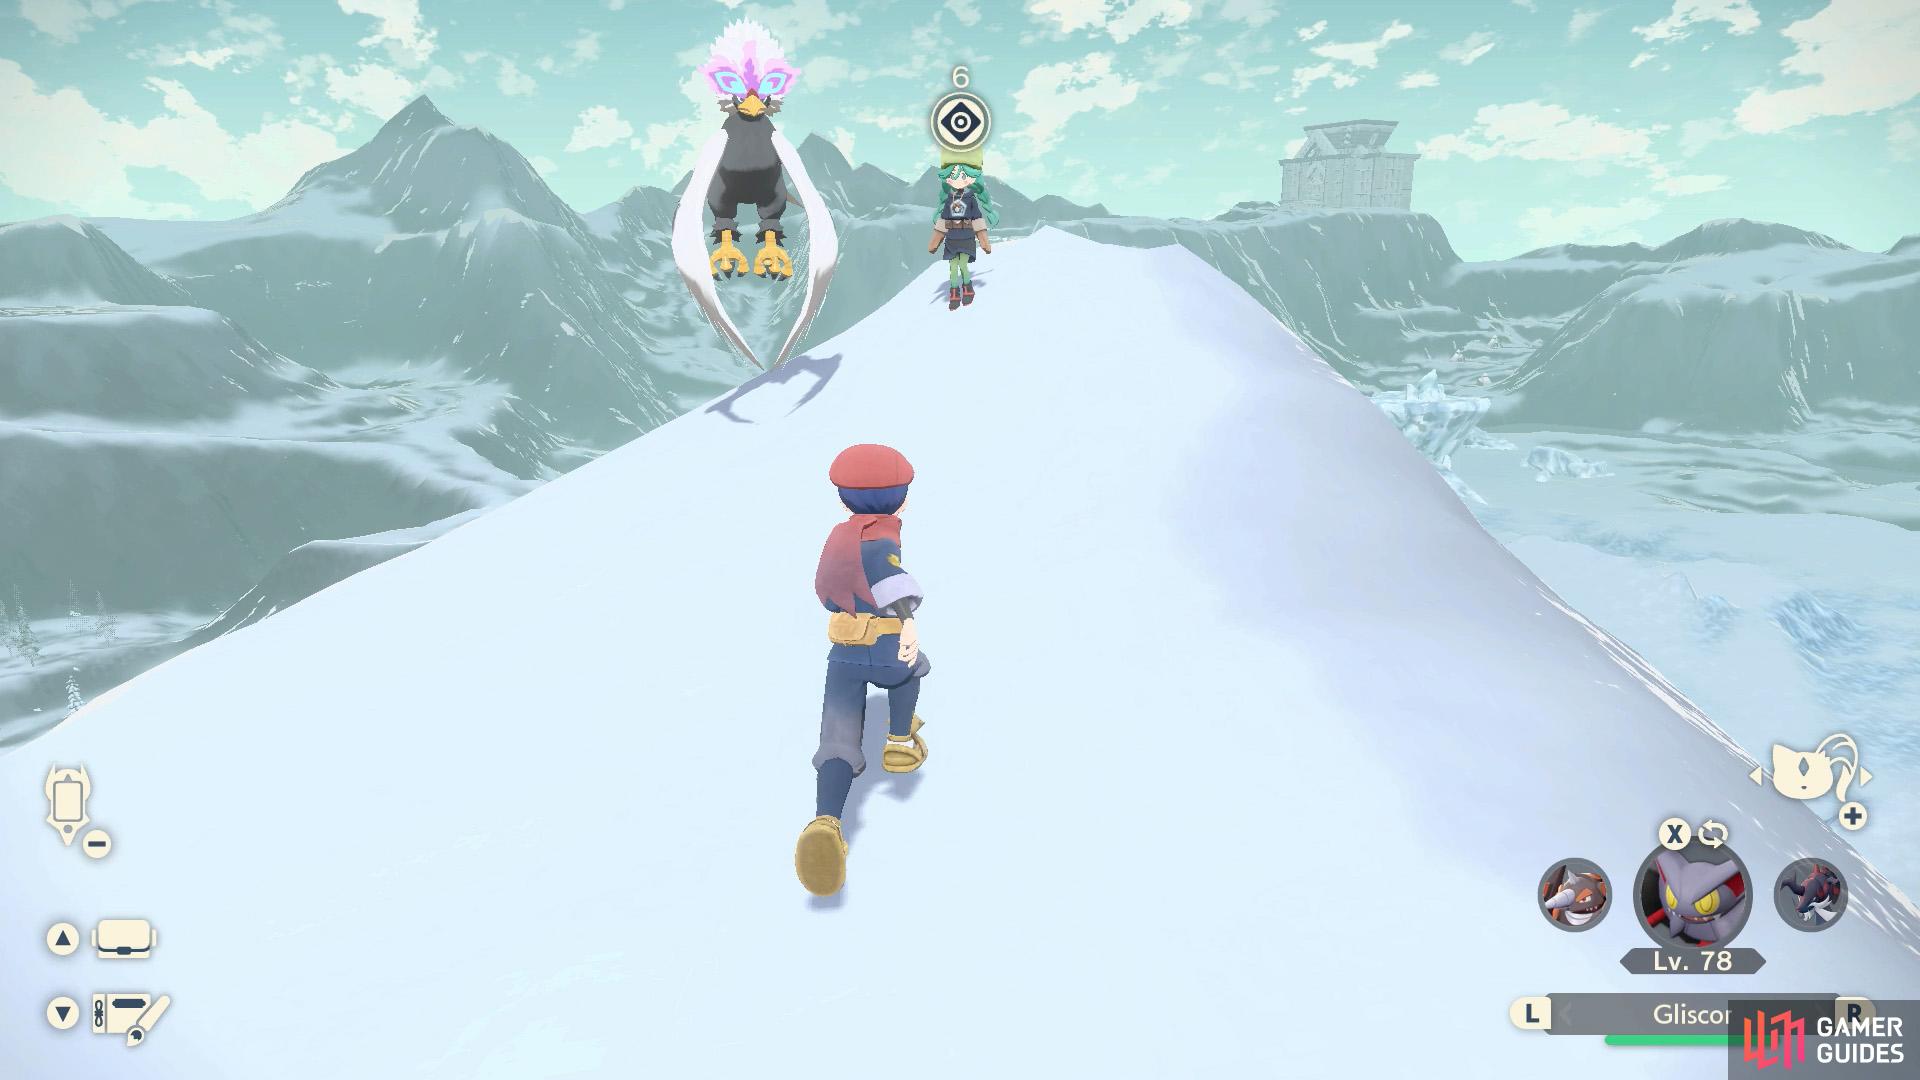
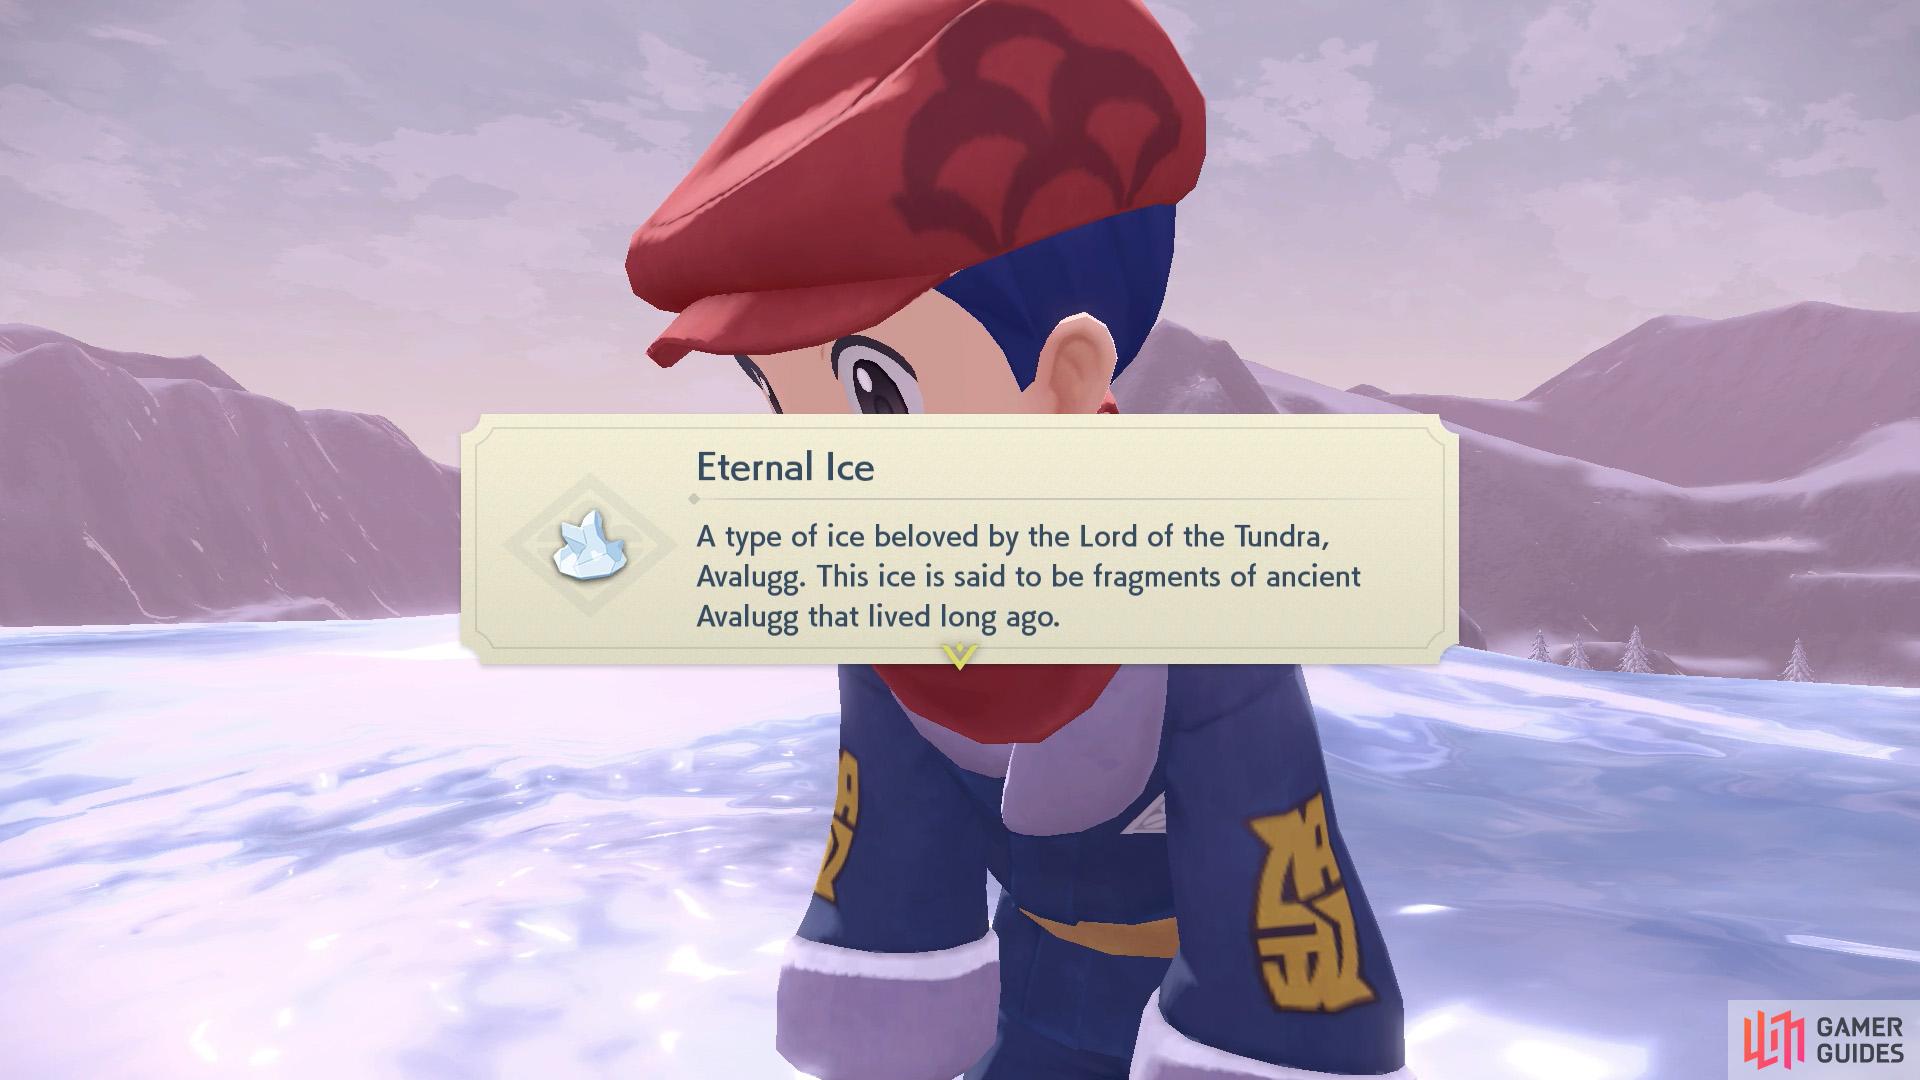
To calm Avalugg, you’ll need its favorite food–the Eternal Ice atop Avalugg’s Legacy. However, due to the slippery walls, you can’t climb to the top with Sneasler. All hope isn’t lost though, you’ll need to convince Sabi,  Braviary’s Warden, to lend you her Noble Pokémon. Go up the back of the ramp leading up to Sabi and say “hi”.
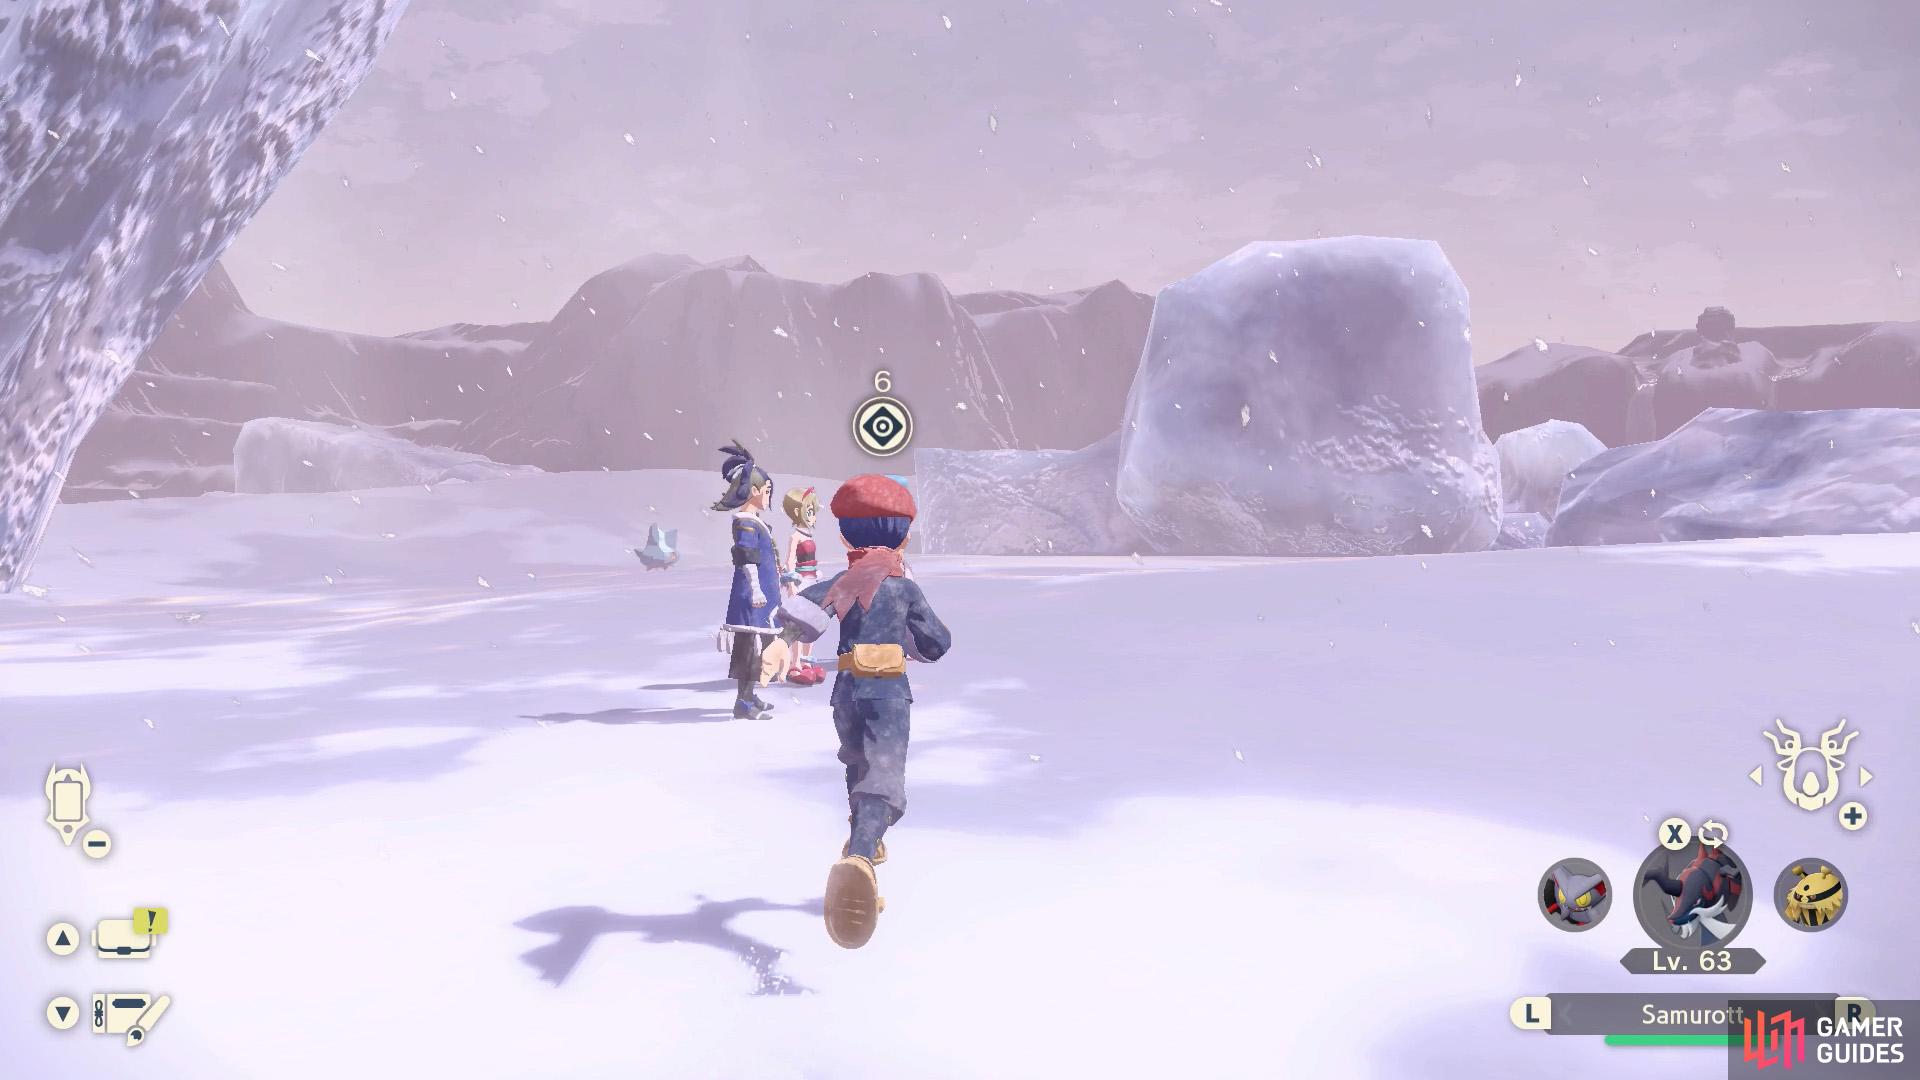
Sabi will fly away into the distance. Fast-travel to the base camp at the entrance, then climb up the mountains directly west. When you reach the top, proceed north along the narrow highland path. Sabi’s waiting at the end. Once again, she’ll fly away, this time to the entrance of Snowpoint Temple.
Next, you’ll find Sabi in front of Snowpoint Temple.
Is she happy to see us? Or is she actually bored?
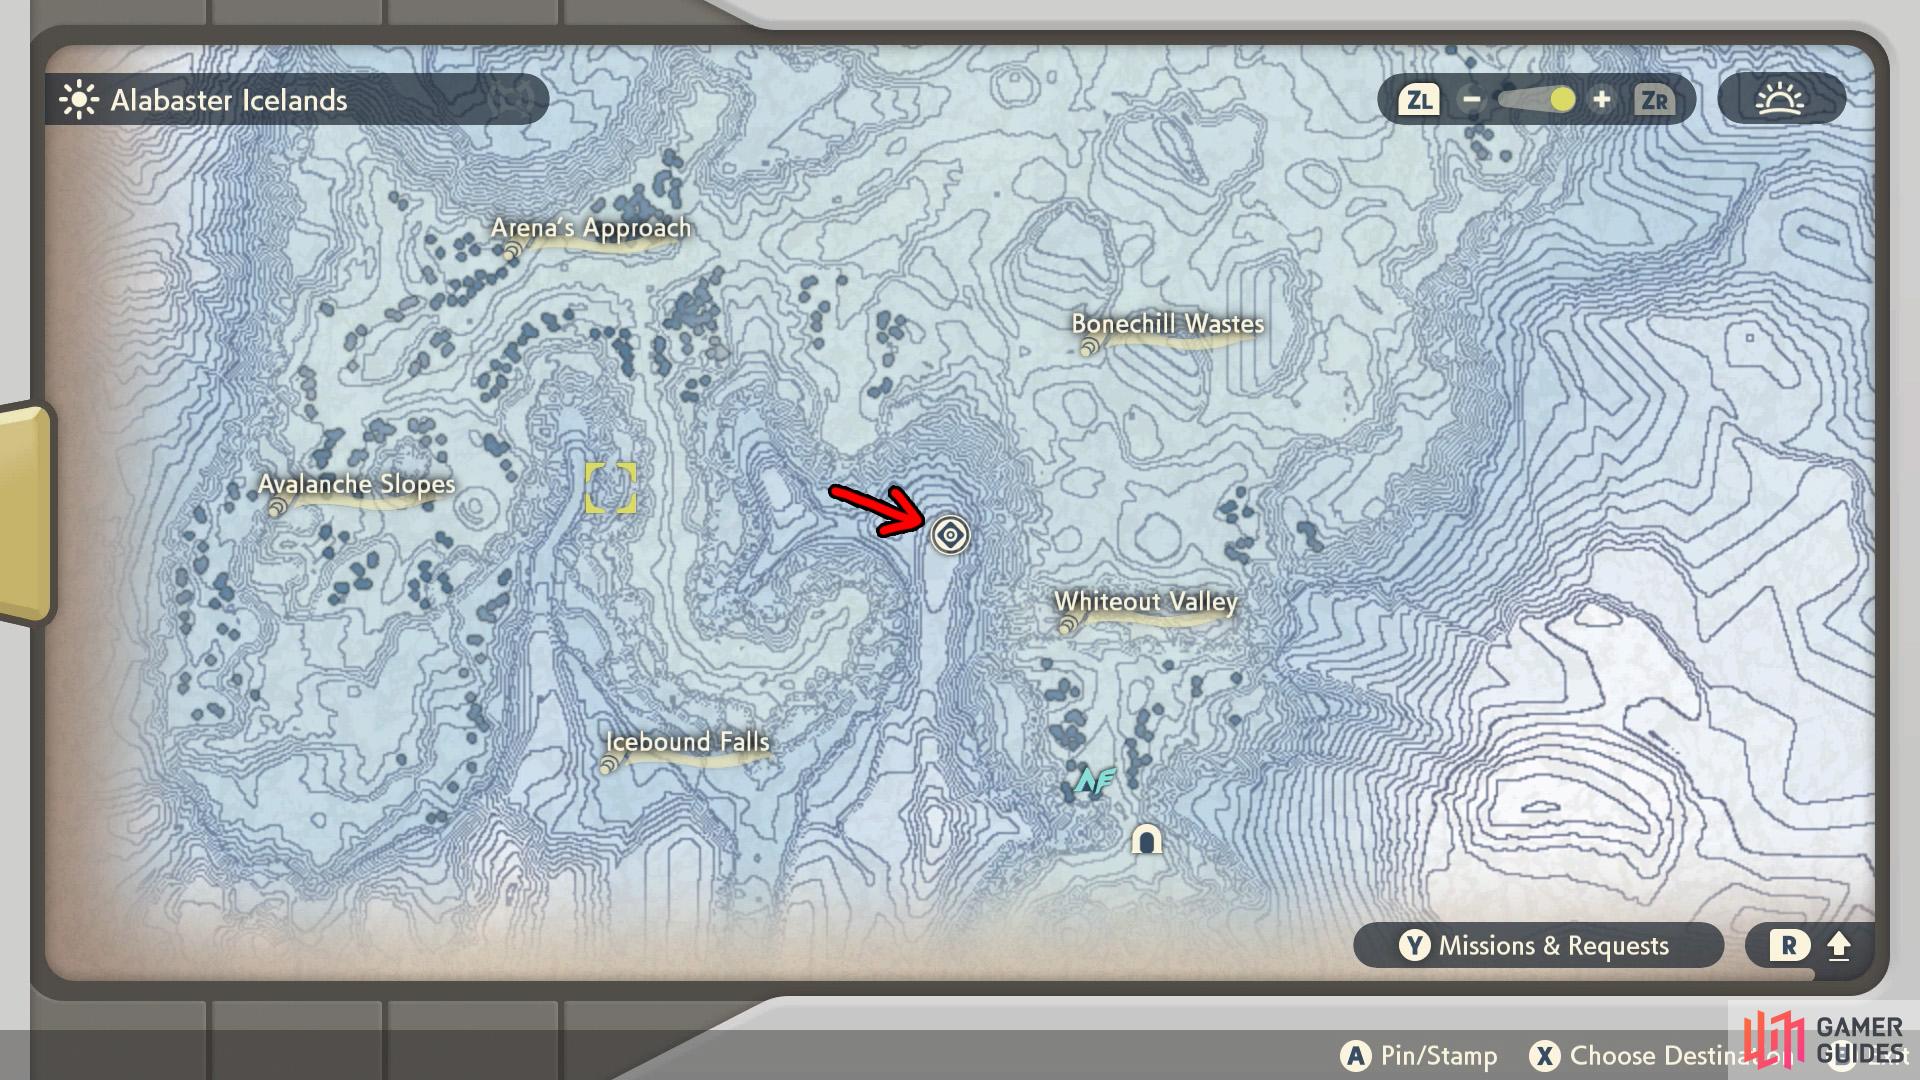
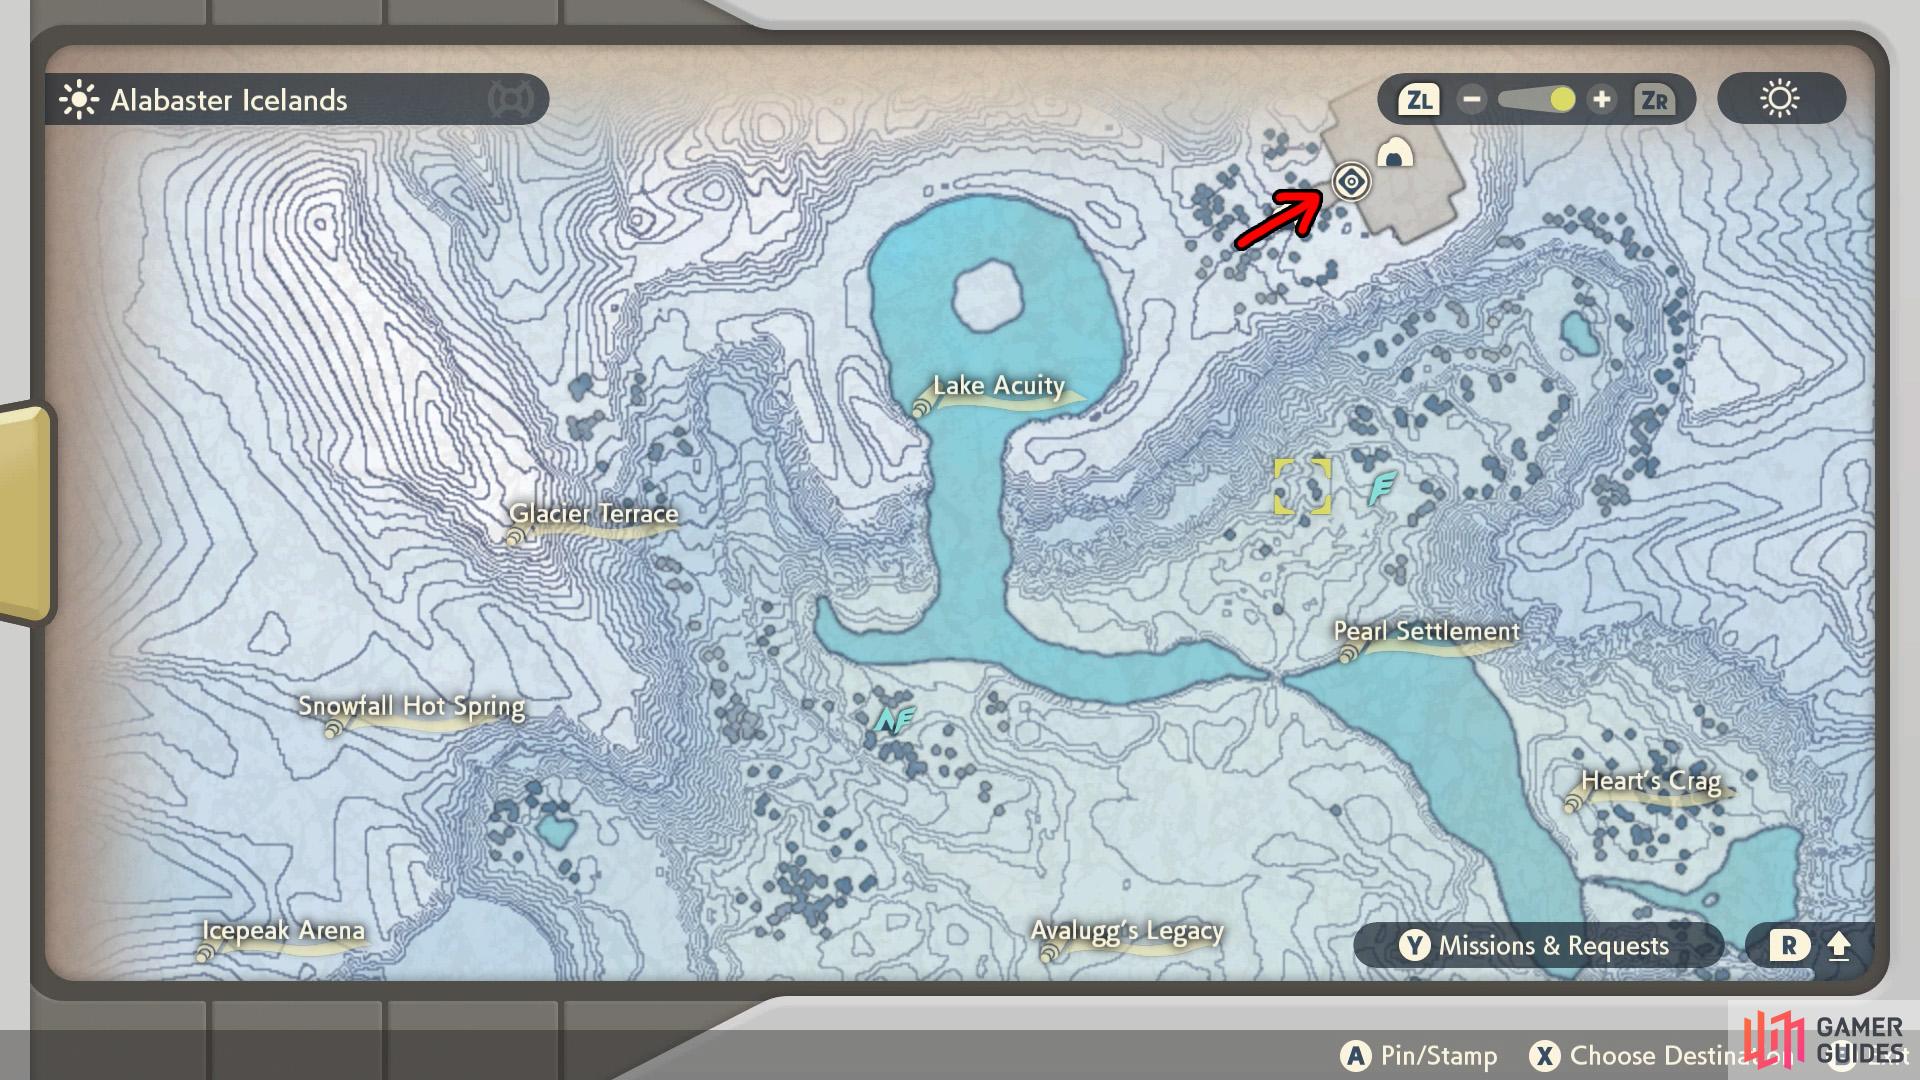
Snowpoint Temple is located at the northernmost part of the icelands, near Lake Acuity. You can get there by continuing north from Avalugg’s Legacy. The cliffside there isn’t slippery, so you can climb all the way up with Sneasler. If you unlocked the Icepeak Camp or visited the Pearl Settlement, you can fast-travel to one of those places to save time.
4. Navigate Snowpoint Temple
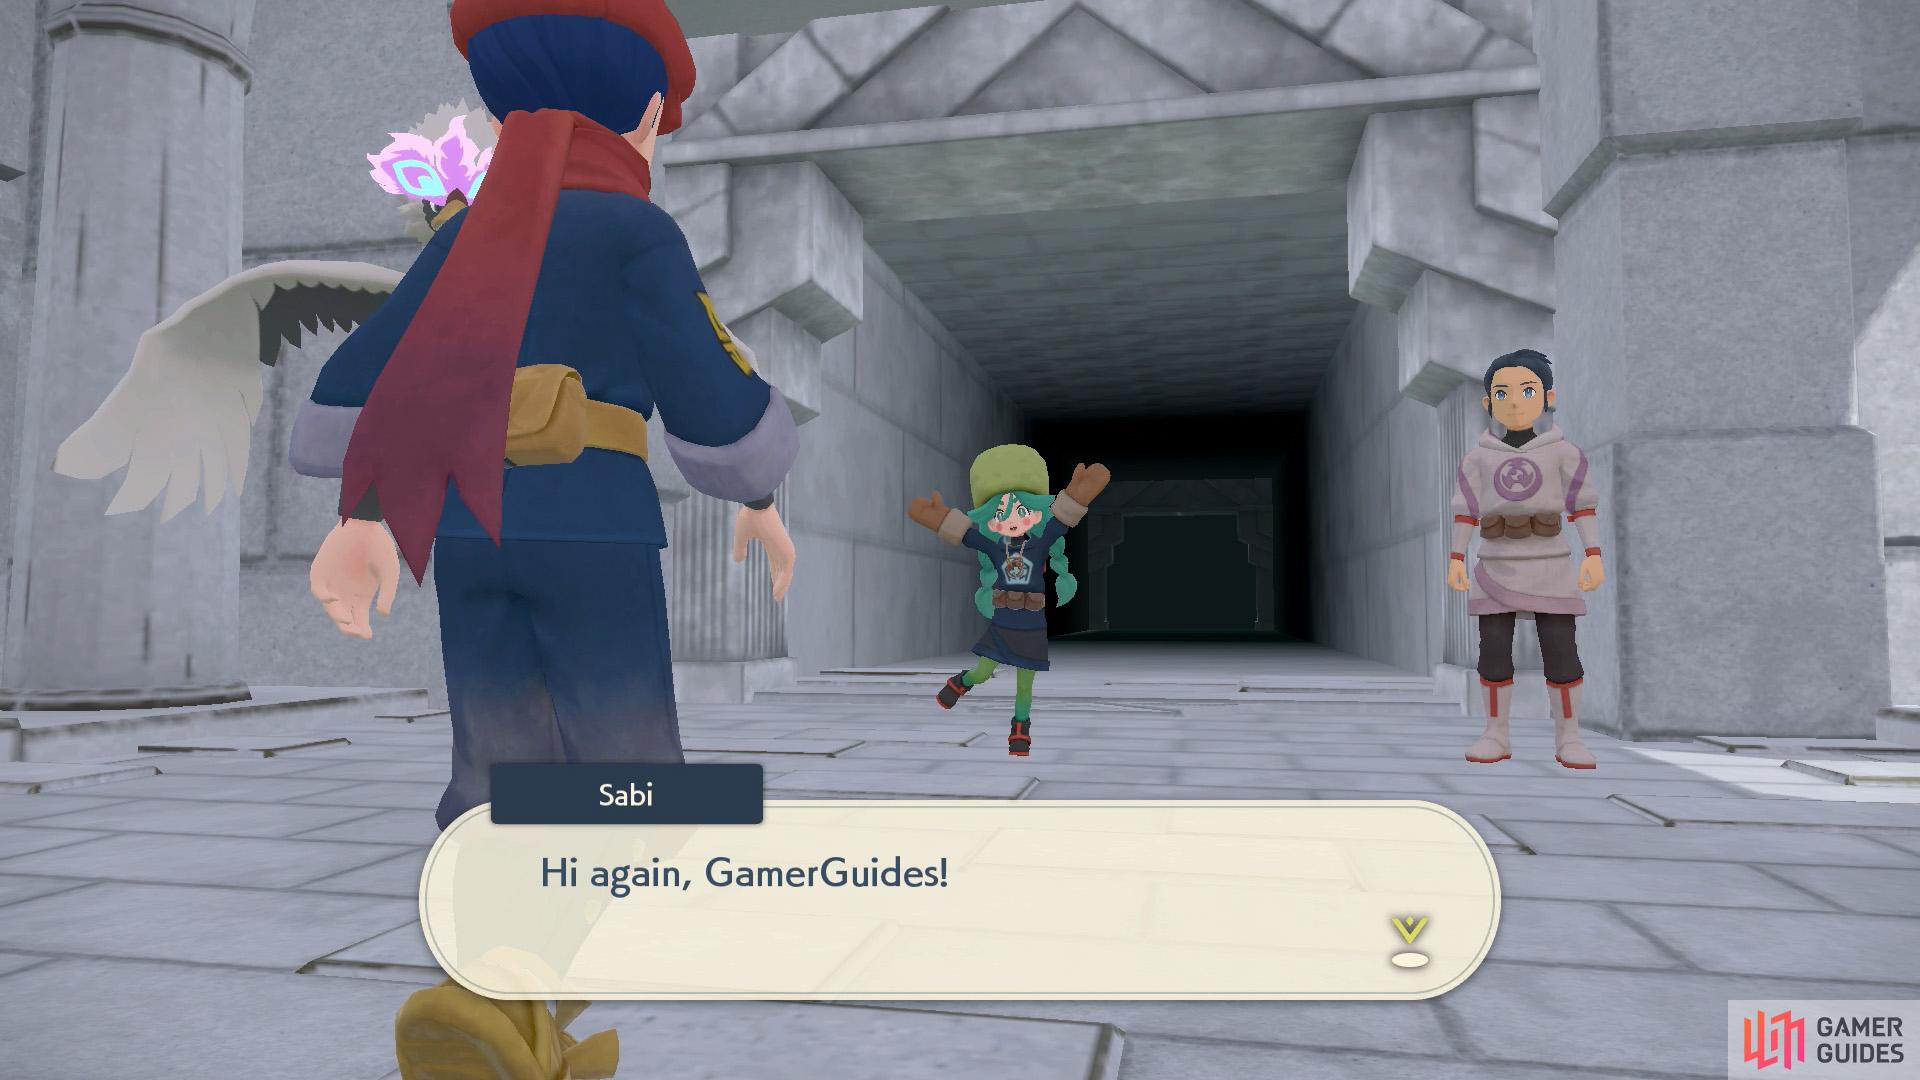
Did you think the games were over? Nope. Sabi will enter Snowpoint Temple and wait for you at the innermost area. Alright, let’s get this over with already…
Inside the temple, head forward through the initial room, while keeping towards the left. Head up the stairs in front, then follow the path around as it bends right and right again. After climbing the second set of stairs, you’ll arrive at the first puzzle room.
The key to solving this puzzle is to follow the statues’ line of sight.

Press the panels in the correct order and the door will open.
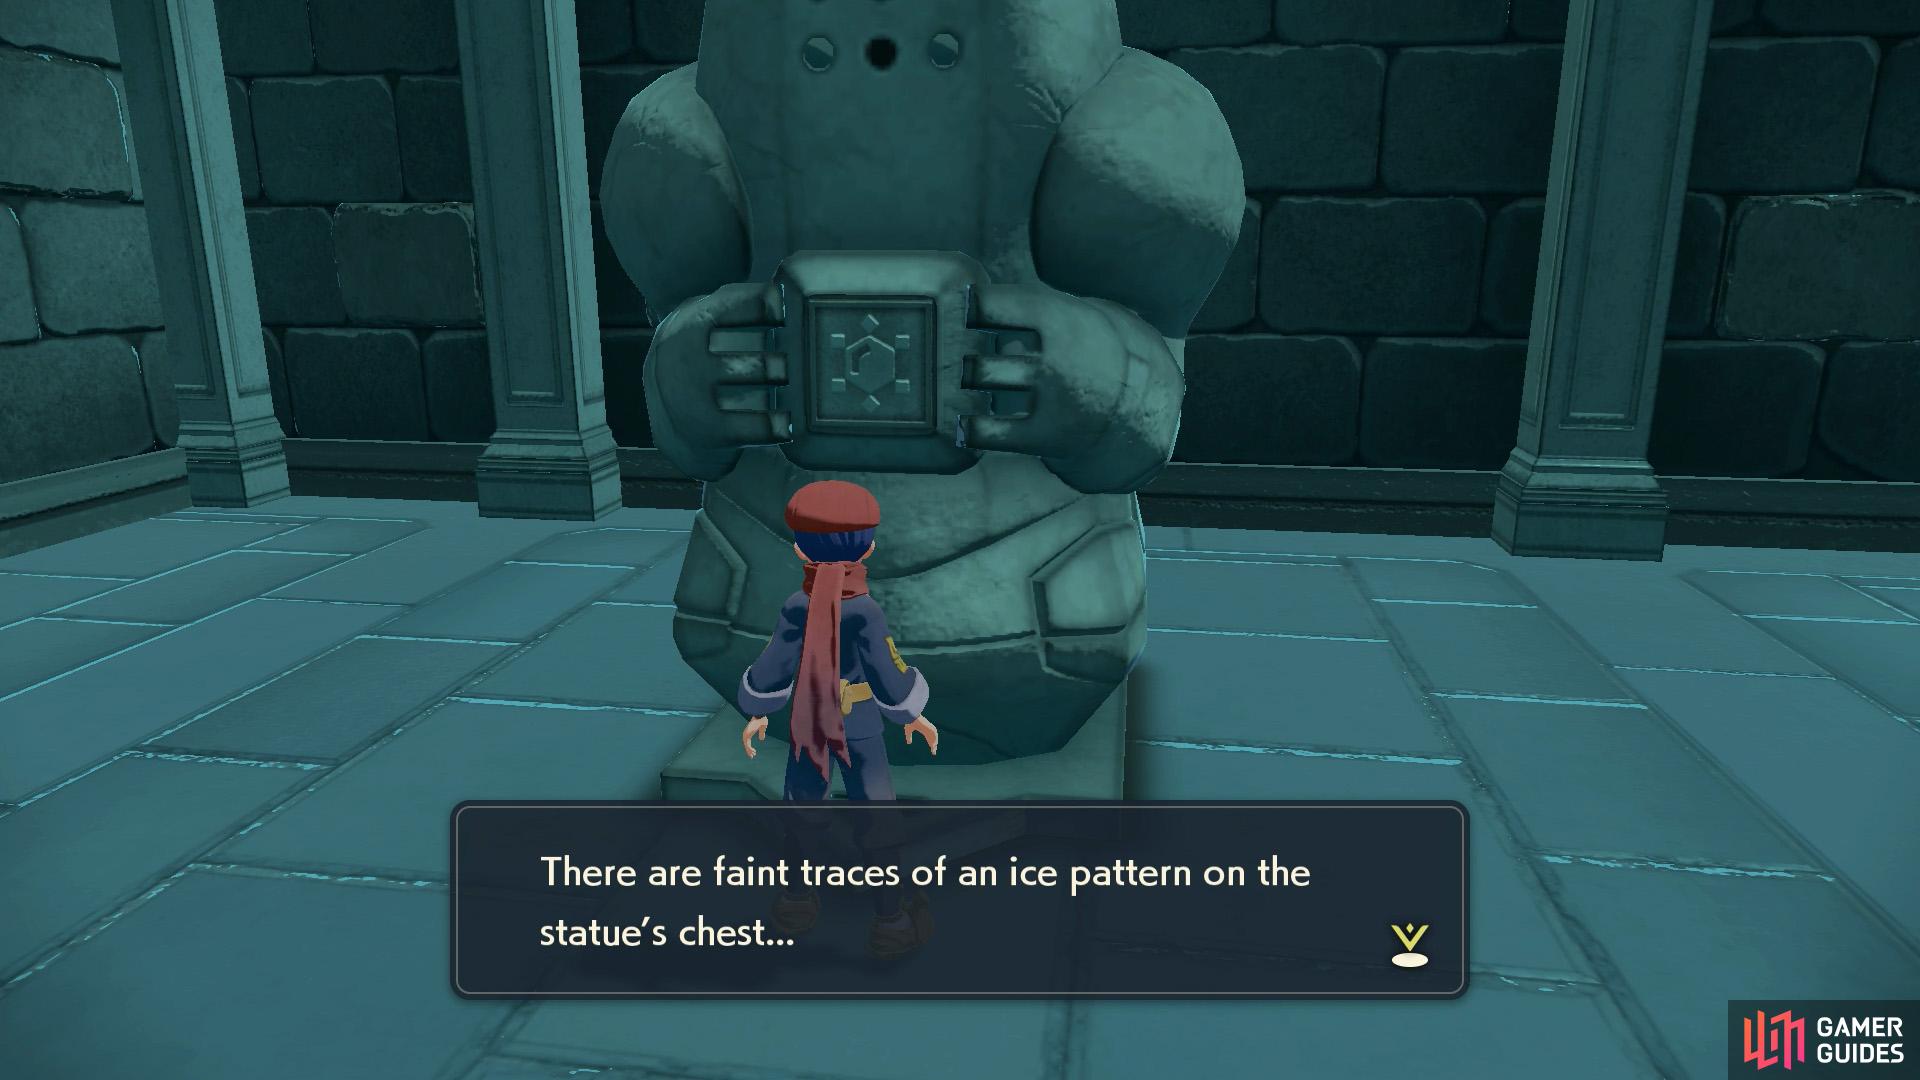
There are three Regi-shaped statues holding a type plate that corresponds to Rock, Steel and Ice, from nearest to furthest. At the far end of this room is a locked door with panels that you must input in the correct order. Your hint is the “gaze of the statues”.
Beyond is another puzzle room. This time there are five statues. If you haven’t figured out the clue, you need to start from the statue that’s furthest away, with no other statues looking in its direction. Then follow the direction of this statue to the rest of the statues.
Can you guess what’s behind this door? Another puzzle room! This is the one last one though. There are six statues forming a train. Like before, the puzzle is trivial so long as you go backwards until you find the statue that’s furthest away. It’s also helpful if you have a piece of paper and pen/pencil to jot down the types. But we’ve saved you the trouble.
After opening the final locked door, go up the stairs ahead and cautiously turn left. Over here, there’s an alpha  Gallade staking its turf. Beyond is a longer flight of stairs. Upstairs, zig-zag along the corridor towards some more stairs. After the next corner, you’ll finally catch up with Sabi. Unamused, she challenges you to a fight.
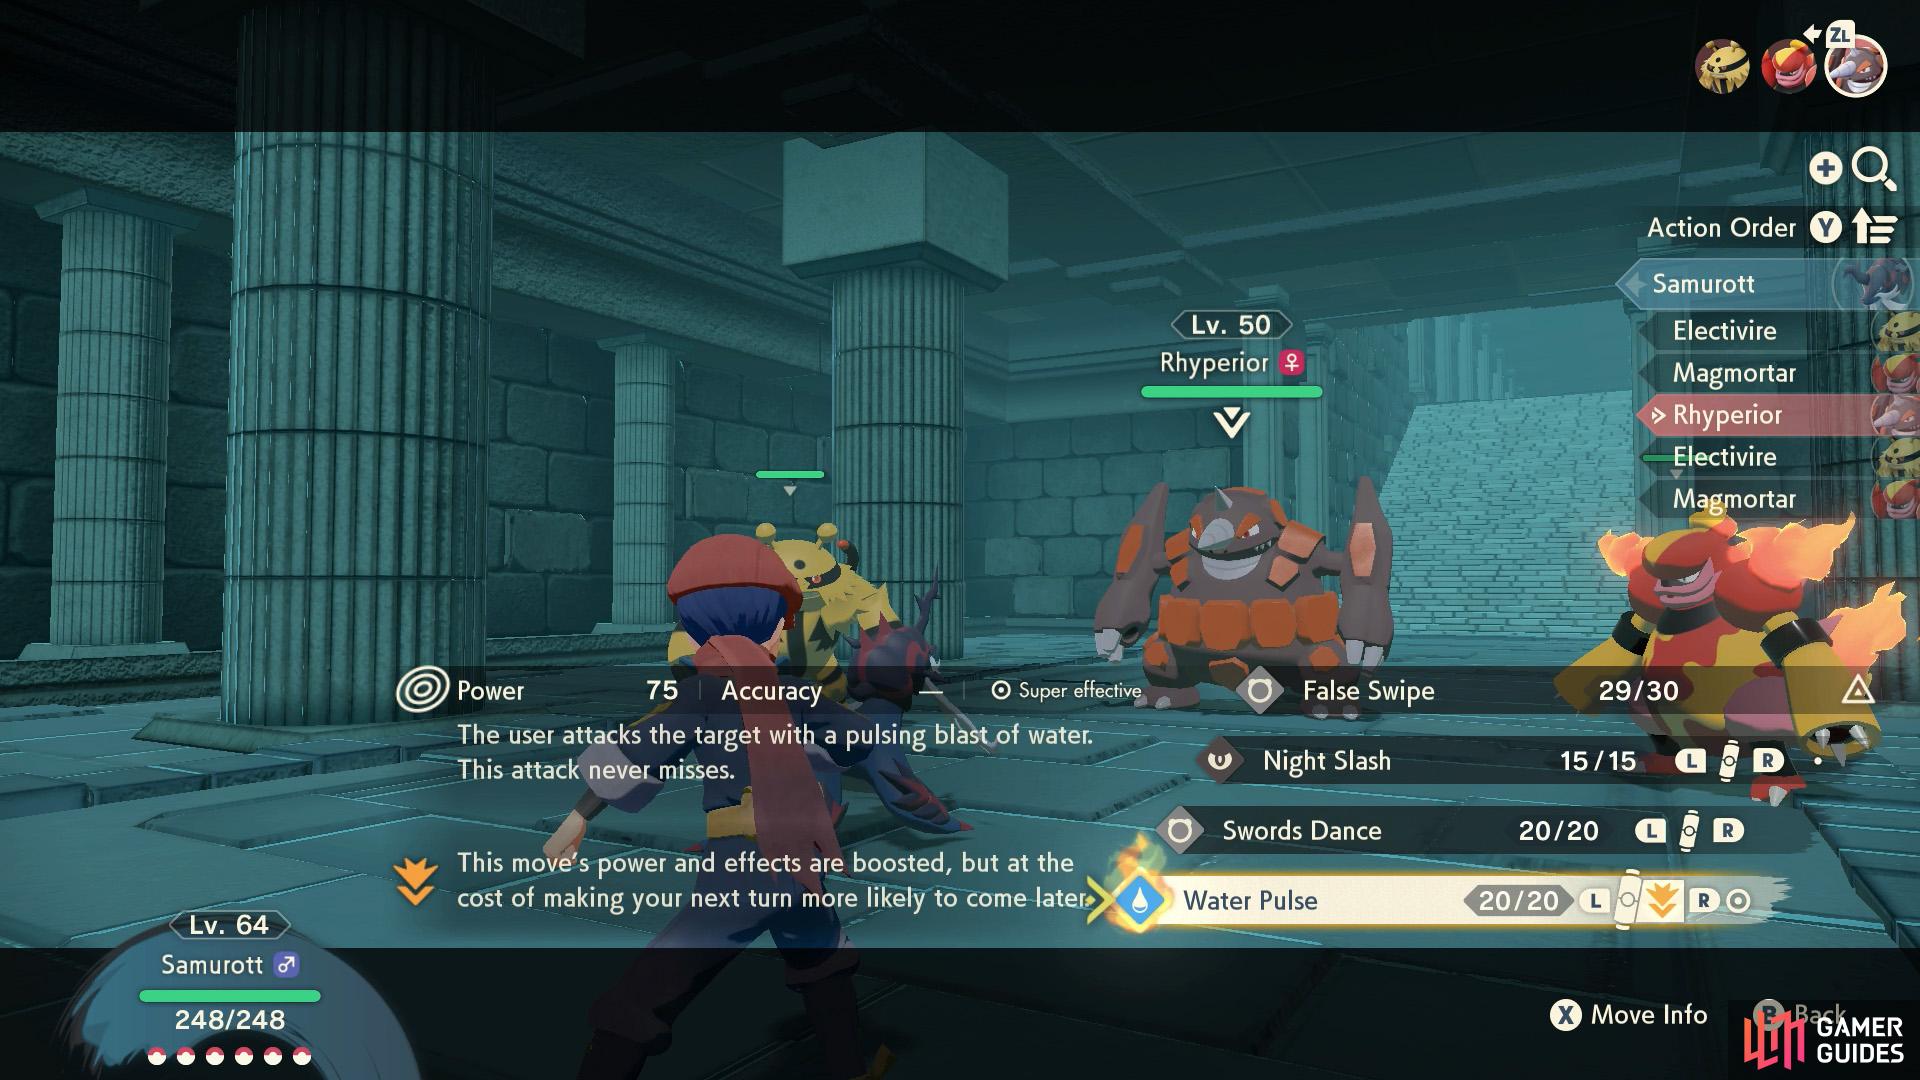
Warden Sabi
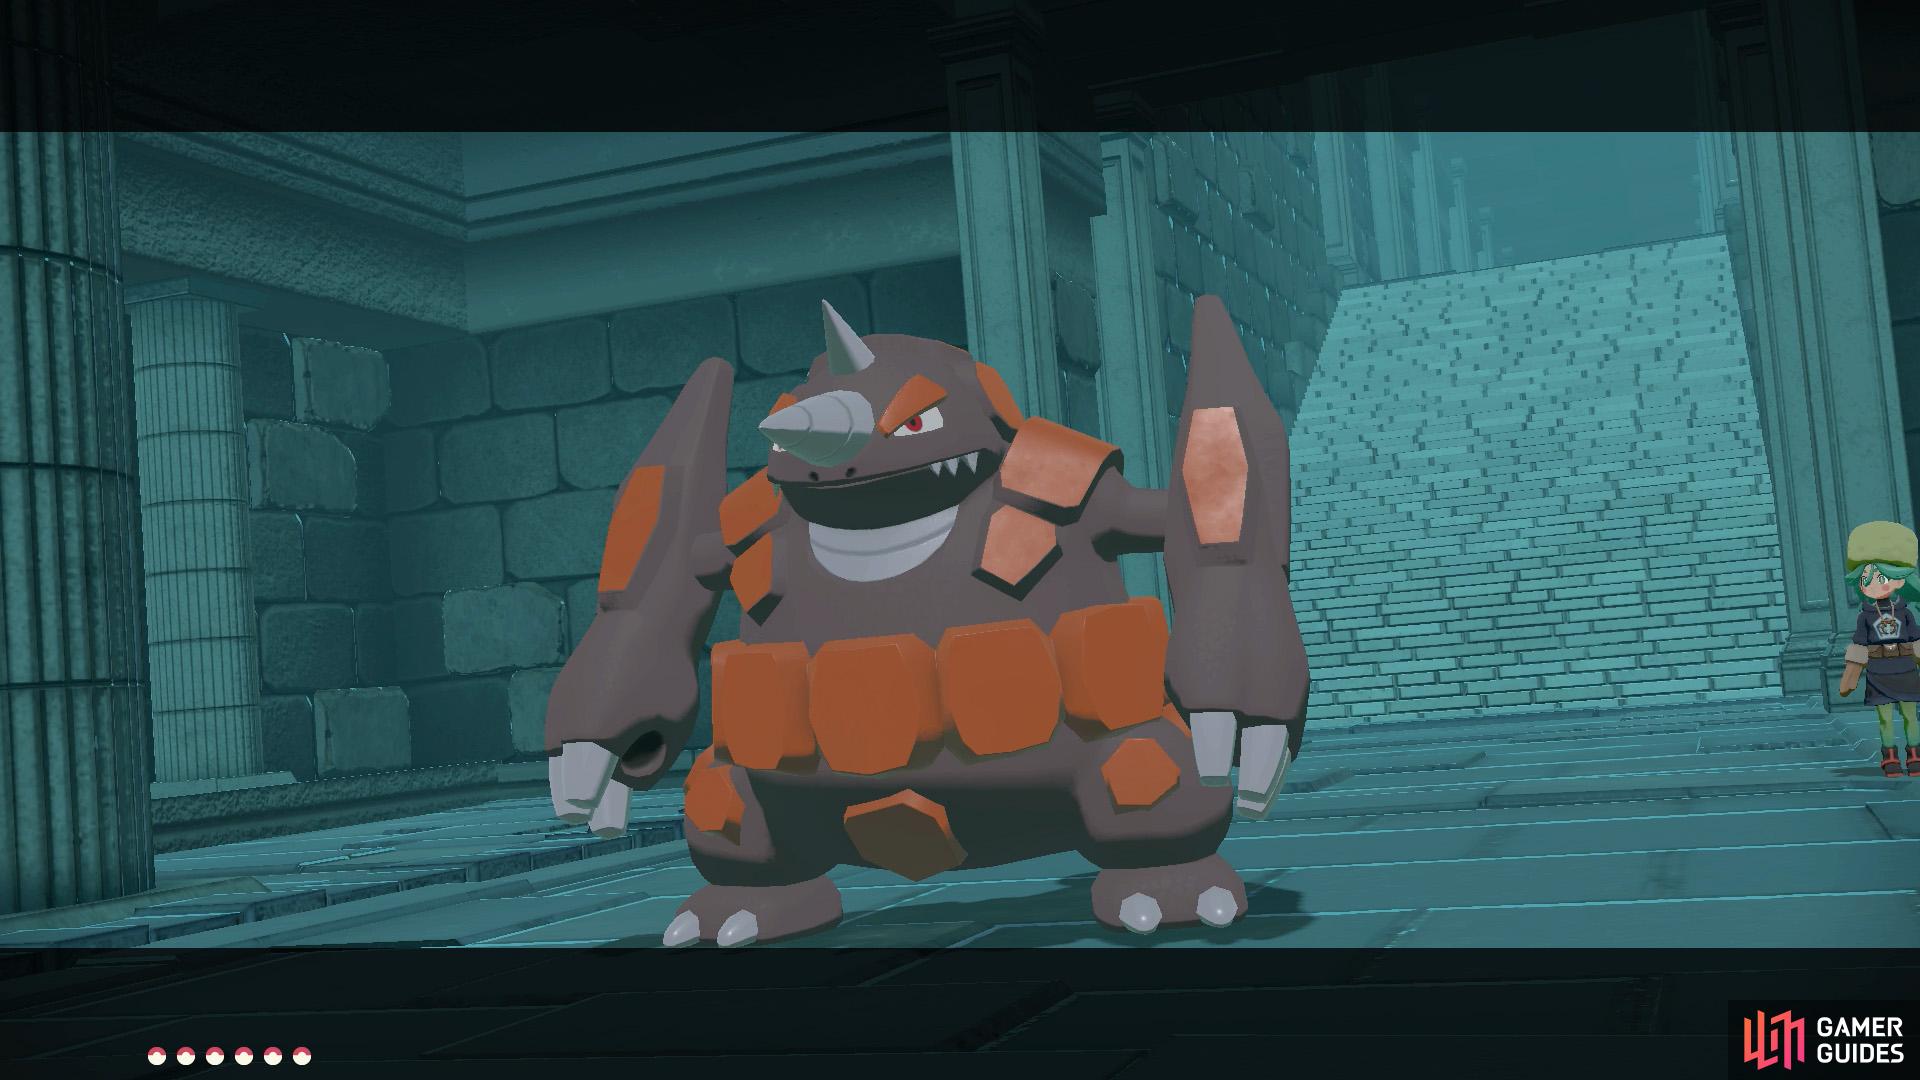
A Rhyperior, huh? We can handle that.
Hang on, what are these other two guys doing here?
| Pokémon | Level | Type |
|---|---|---|
 Rhyperior Rhyperior |
50 | |
 Magmortar Magmortar |
30 | |
 Electivire Electivire |
30 |
Sabi doesn’t like to play fair and sends out three relatively tough Pokémon at once. Definitely focus on Rhyperior, since the other two are lower level. Water-types or Grass-types can KO Rhyperior easily, but are weak to Electivire or Magmortar. However, once Rhyperior is gone, the other two are easier to handle. Or you could wipe out all three with a Ground-type.
5. Battle Braviary atop Snowpoint Temple
After defeating Sabi, follow her to the roof of the temple. Outside, prepare to face her Noble Pokémon.
Noble Pokémon
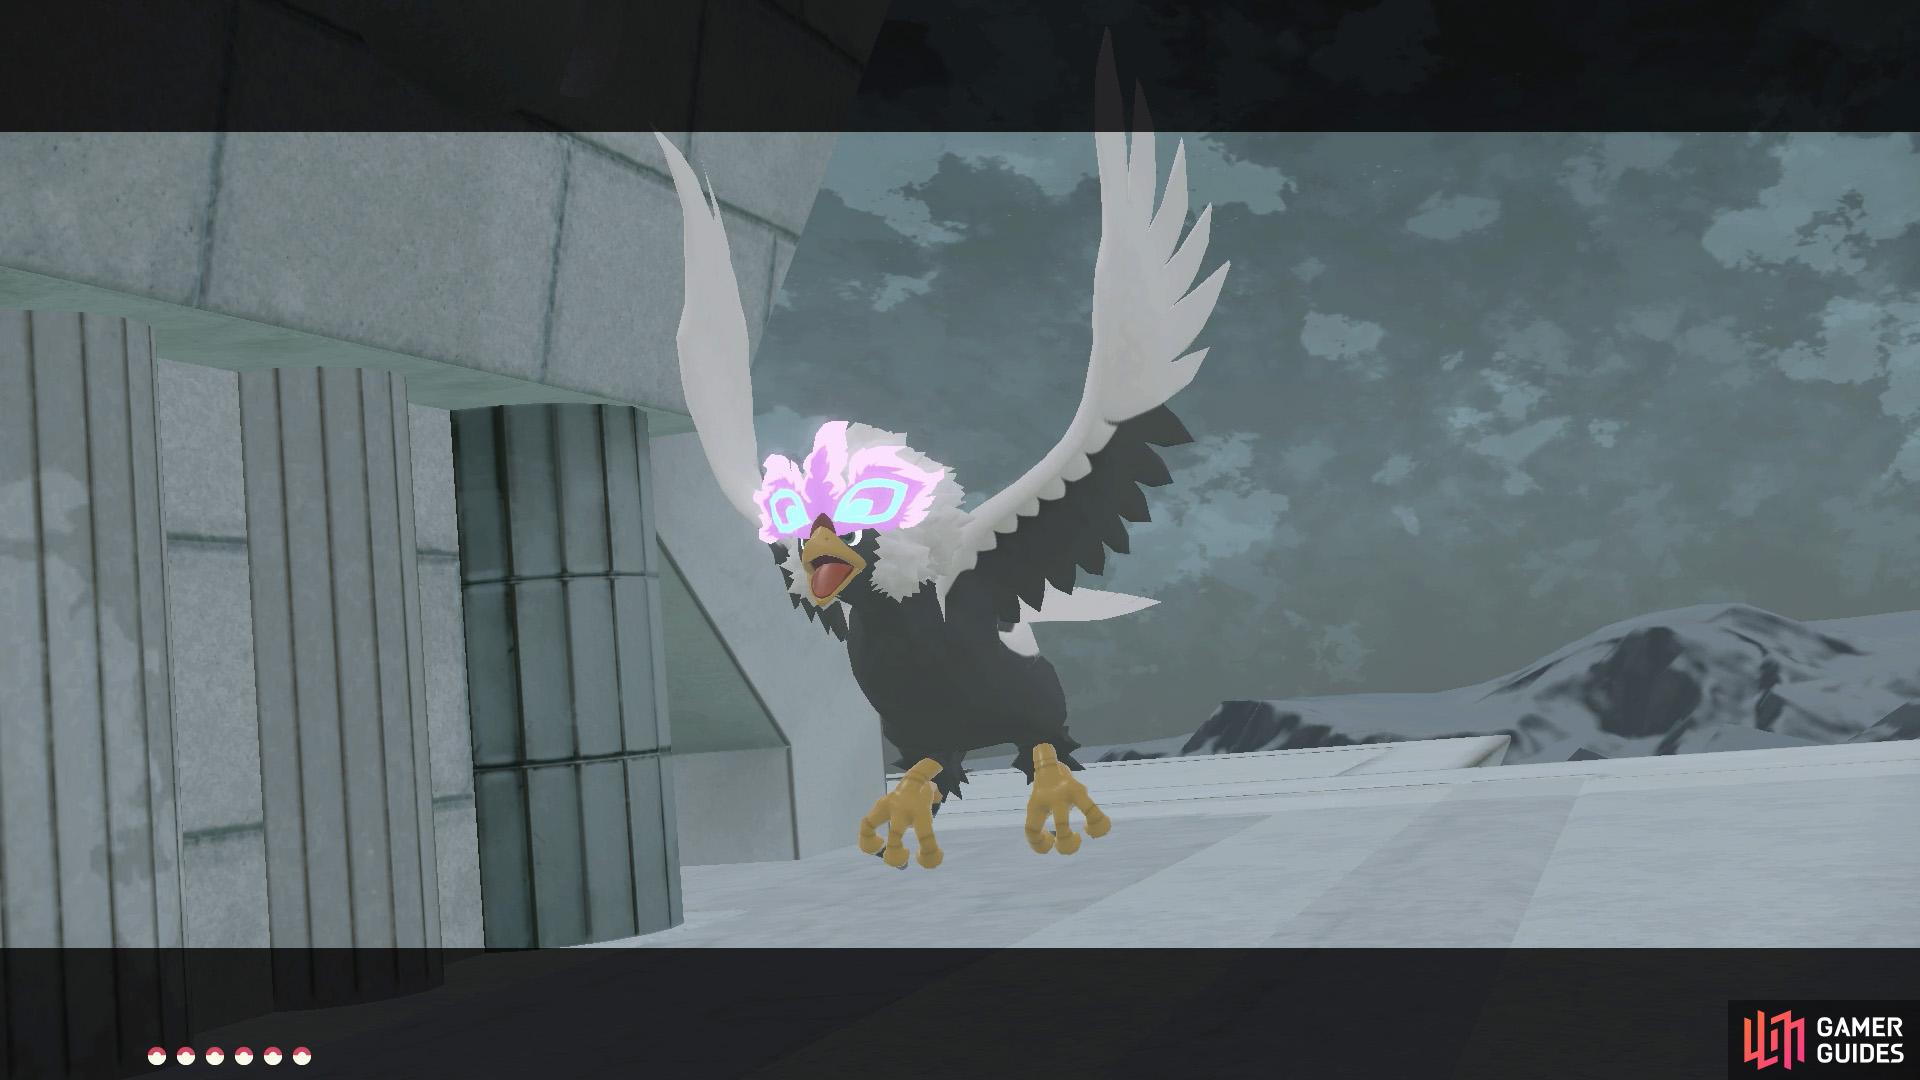
Hisuian Braviary is Psychic instead of Normal.
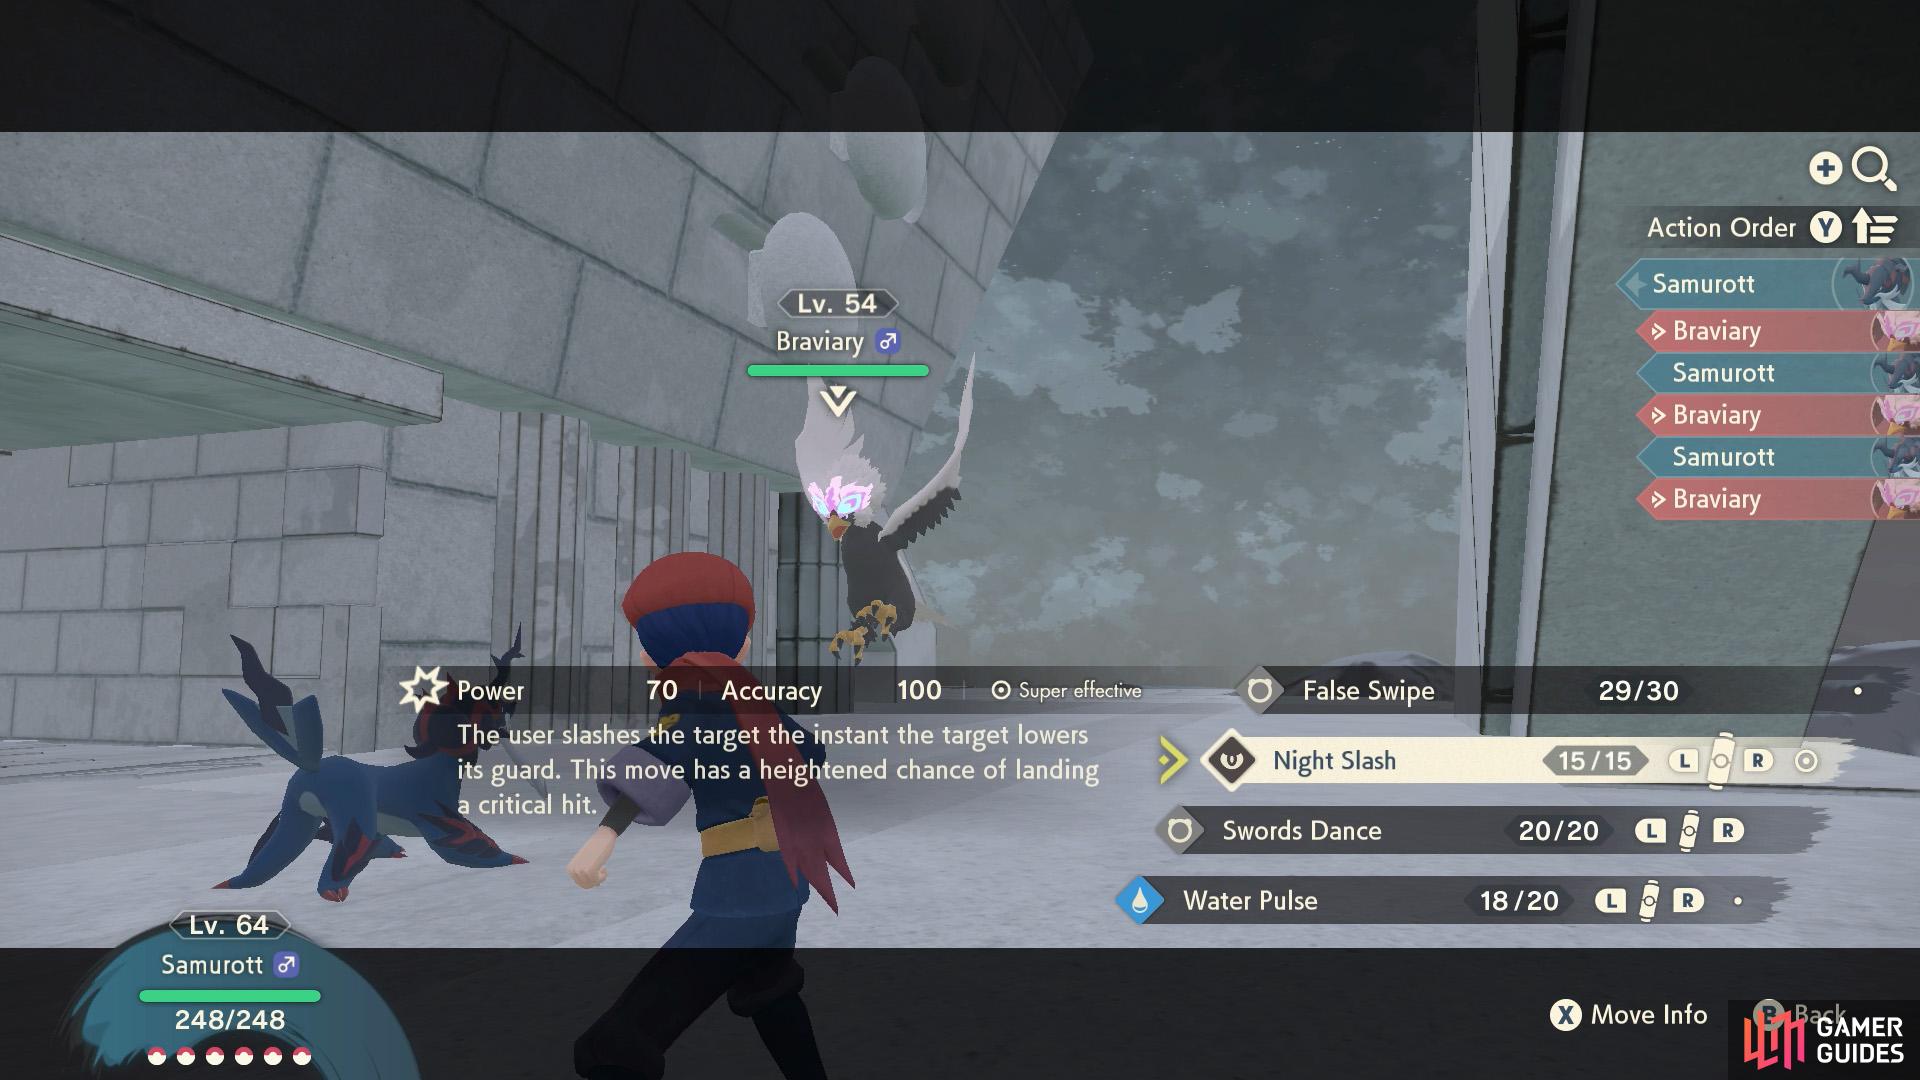
Dark-types will easily keep it at bay.
| Pokémon | Level | Type |
|---|---|---|
| Braviary (Hisuian) |
54 |
Having survived a 3 on 1 fight, this fight is incredibly straightforward. Dark-types have a superior advantage, while Electric, Ice, Rock and Ghost-types should also fare well.
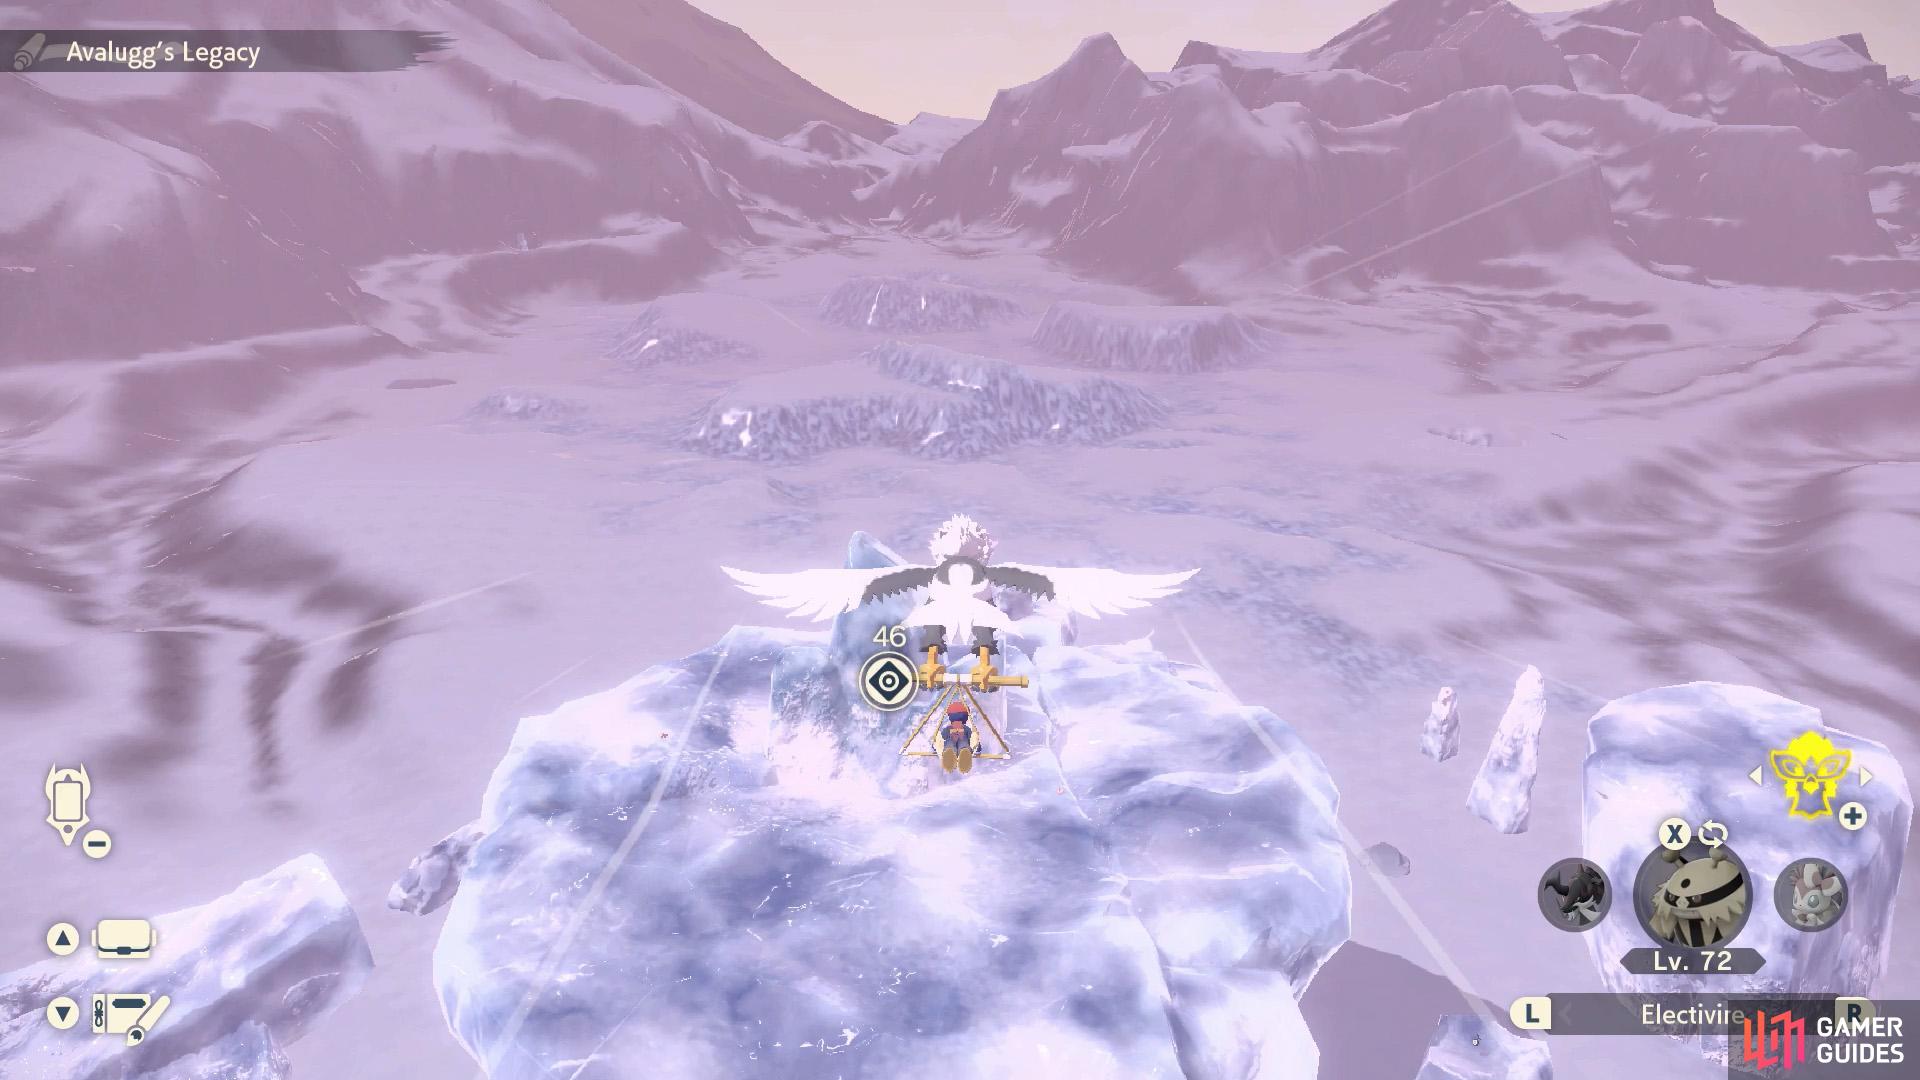
Defeat Braviary and it’ll acknowledge your bravery, we guess. You’ll be able to glide in the skies with Braviary and receive the Sky Plate as a souvenir.
6. Retrieve the Eternal Ice atop Avalugg’s Legacy
You can fly directly here from atop Snowpoint Temple.
That’s a lot of effort for a chunk of ice; it’d better be incredibly tasty ice.
We bet you’re excited to try out your new toy. Summon Braviary and glide south back to Avalugg’s Legacy. Aim for the top of the big ice structure; there’s plenty of space there for you to land. Upon landing, search the icy rock near the center for the Eternal Ice.
7. Meet Gaeric at Icepeak Arena
Gaeric is waiting at the slope leading to Icepeak Arena.
If Volo wasn’t a merchant, he’d be pretty suspicious.
Having secured the ingredients to make balms for Avalugg, you’ll be asked to follow Gaeric to the Icepeak Arena. It’s located west from Avalugg’s Legacy. Gaeric will be waiting at the beginning of the slope leading to the arena, a short distance south-east from the arena itself. There, you’ll run into Volo again; he sure gets around.
Afterwards, Gaeric will go on ahead to the altar in front of the arena. Head up the slope, then turn left to reach the altar.
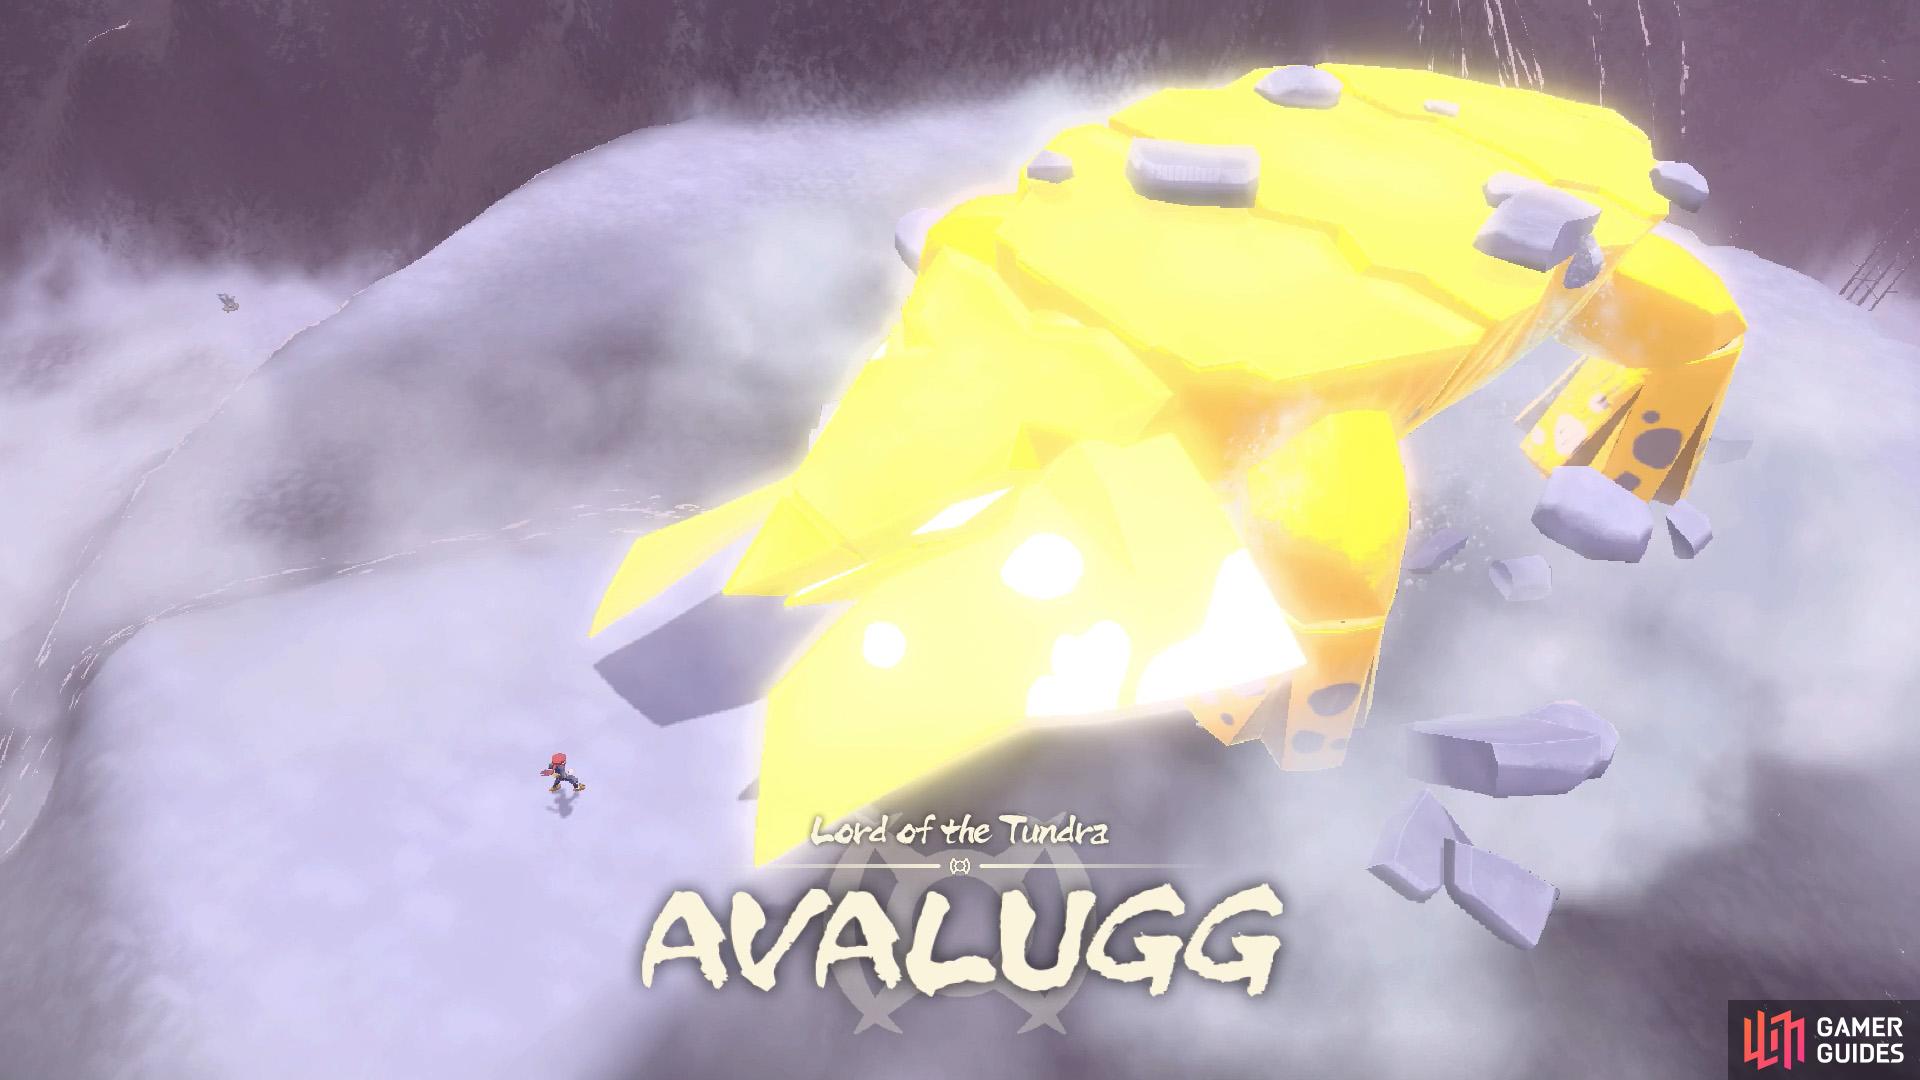
8. Battle Noble Avalugg
Volo was smart for not wanting to deal with this…
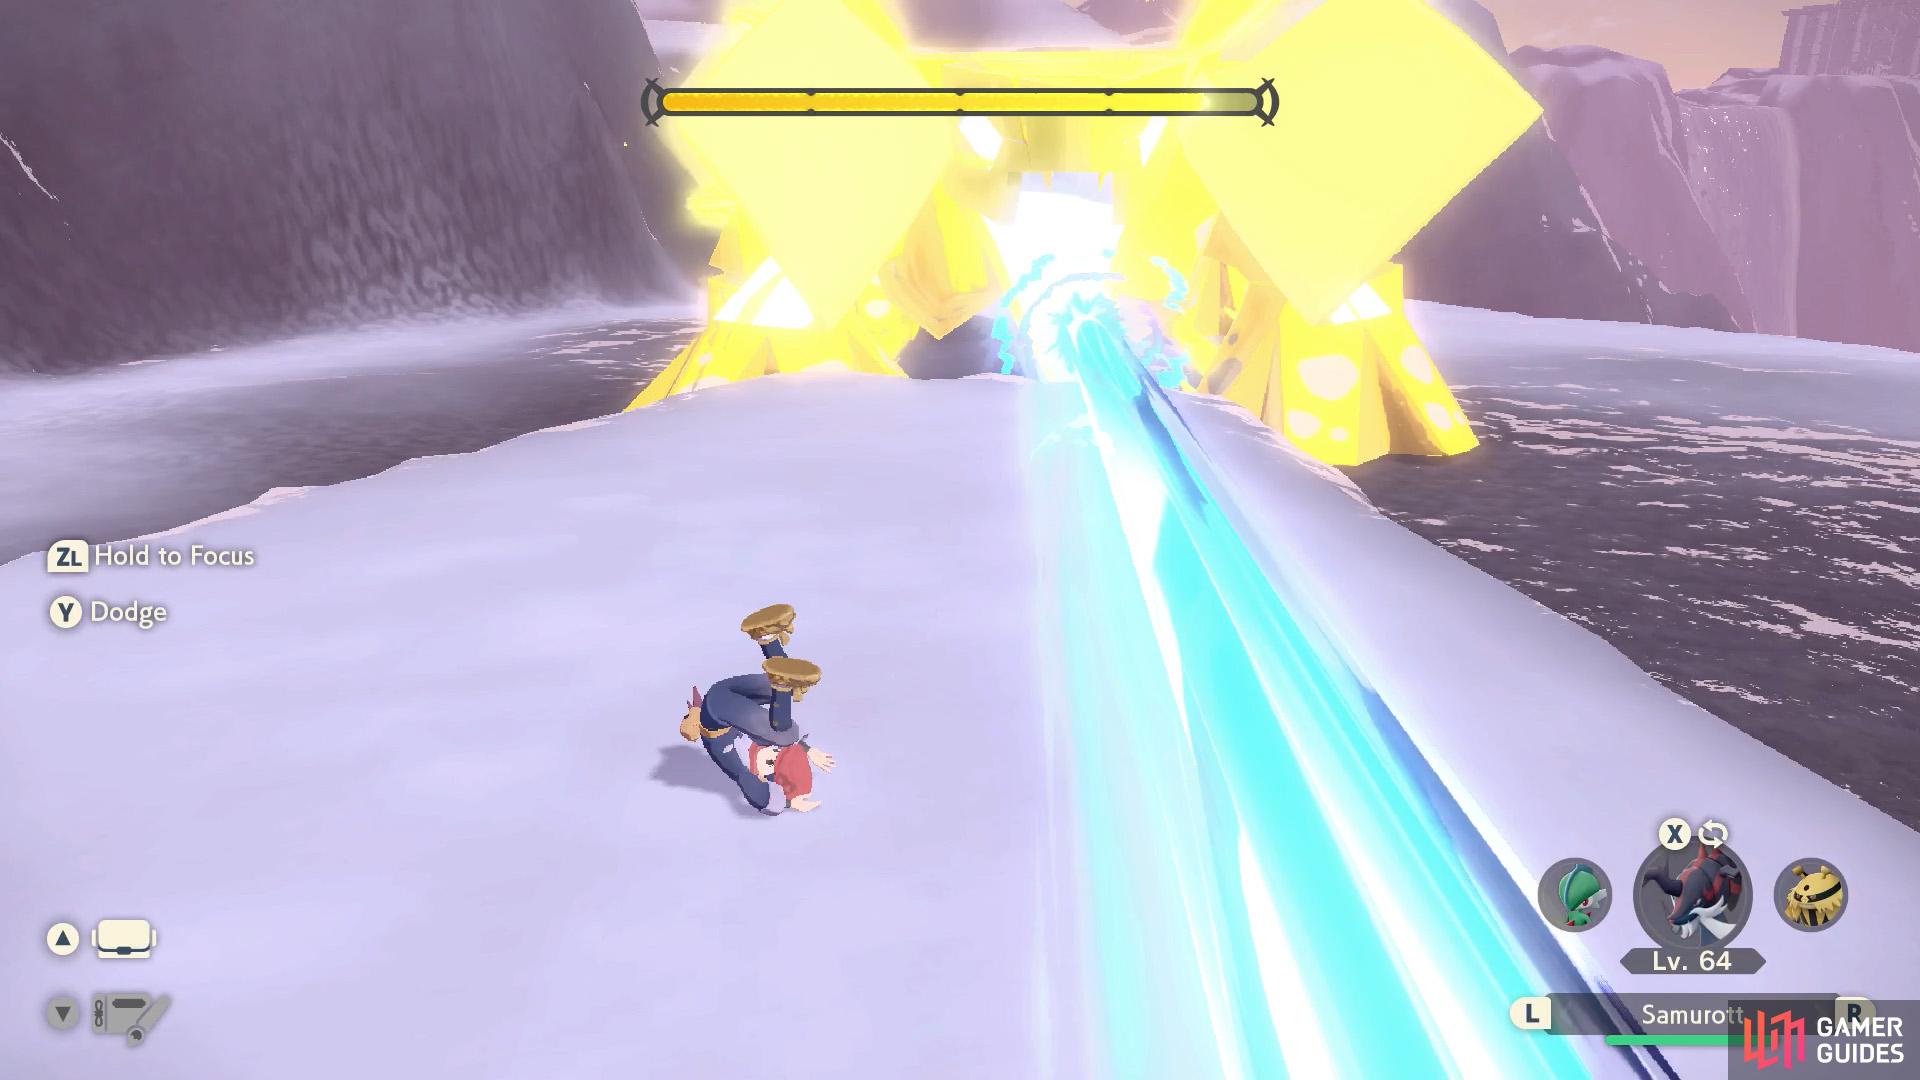
Getting hit by big lasers is never good.
When you’re ready to face the final Noble, speak to Gaeric. The Noble Avalugg you’re up against is unlike the others–it’s massive!
Succeed in surmounting this mountain and you’ll receive the Icicle Plate.
9. Return to Commander Kamado

GamerGuides is here to report another successful mission.
We’re assuming there’s a grin behind that mustache.
Nothing else needs to be said. Hurry back to Jubilife Village and report your latest (and potentially last) victory to Kamado at his office on the top floor of Galaxy Hall. That said, we’ve got a nagging feeling that the story’s not quite over…
No Comments